Active Arts & Crafts Posts

How To: Gloss your polymer clay pendant jewelry
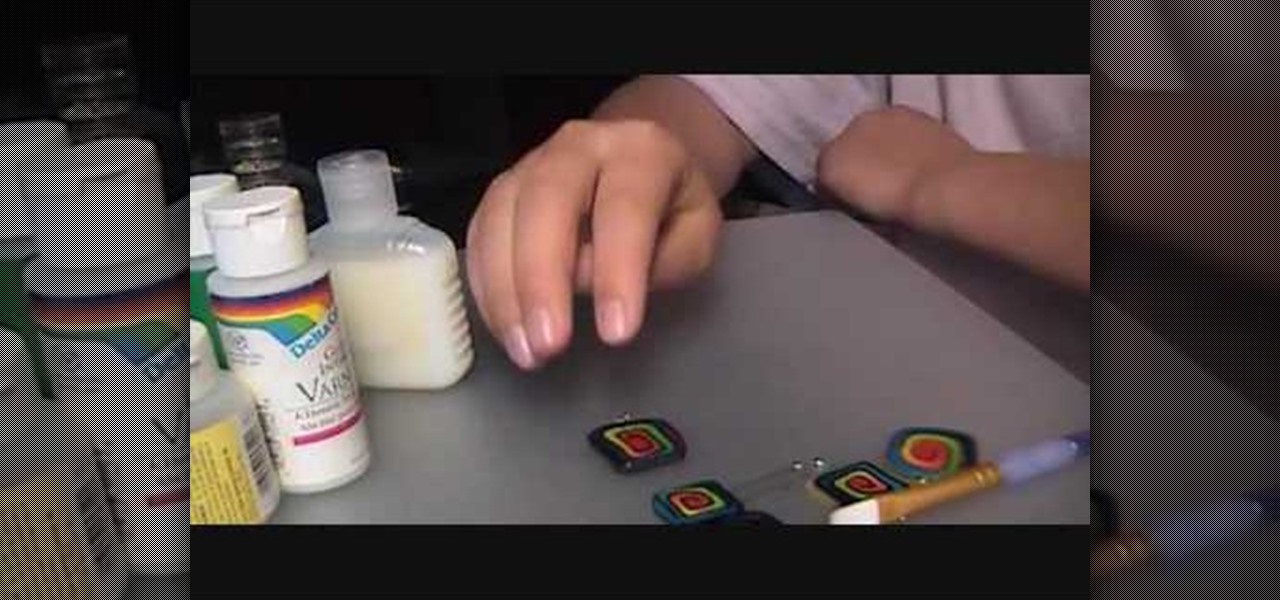
You'll learn how to gloss/polish your polymer clay pendant jewelry in this video. To do this, you'll need a brush. Preferably, a nice, soft brush. You'll also need your clay pendants (of course), some gloss, and aluminum foil. First, you pour two drops of the gloss onto the aluminum foil. Next, you take your brush, put it in the gloss, and run it across your pendant. This will give your pendant a really thin coat of gloss. Be sure to wash your brush soon after, otherwise the gloss will dry an...
How To: Make medieval tissue-transferred candles
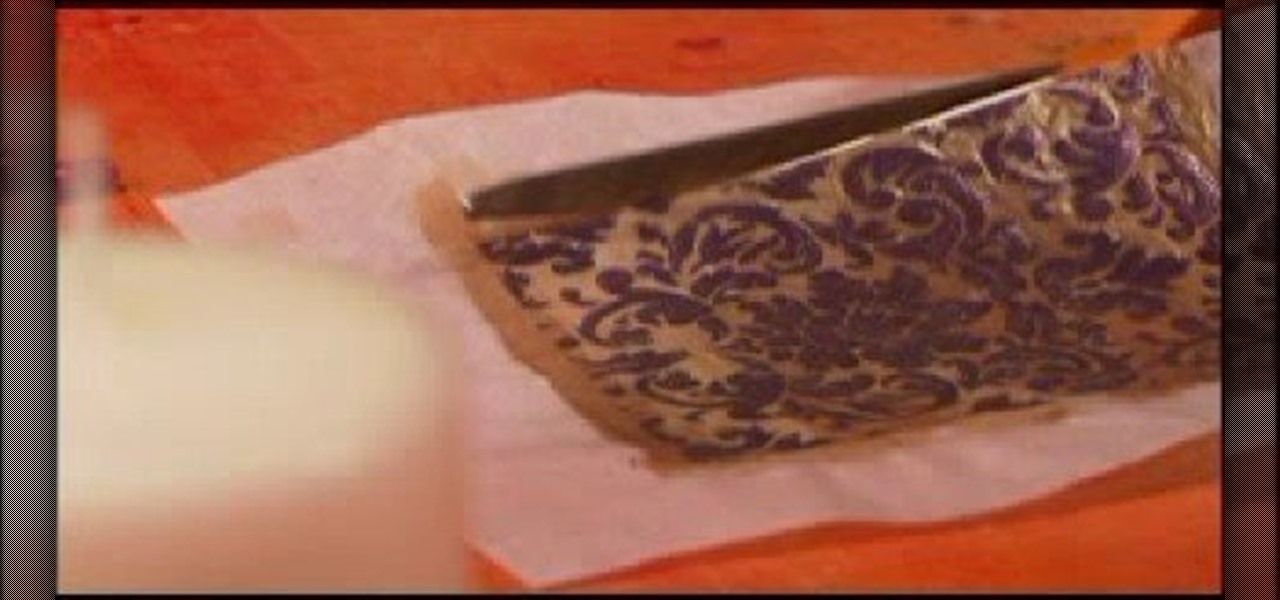
Cathie Filian and Steve Piacenza demonstrate the way of making medieval candles using tissue paper transfer technique. Steve asks you to first take a piece of tissue paper and a square-shaped chunky stamp. Then you should load the stamp with black pigment. Once the loading is completed, you should cut the tissue paper in square shape and place the shining side on the stamp and give a nice light press with your fingers. Then once you get the stamp image on the tissue, gently take it out and pl...

How To: Make a great paper box
This six and a half minute long video shows how to fold a square piece of paper into an hollow inflatable box or cube. Even simple origami projects like this one are just about impossible to instruct someone in using words alone, so a video like this one is the perfect way to find out how to do this project. Origami paper would make a nice box or cube, but any piece of paper will do. It is easy to square off a regular piece of typing paper and that works just fine. In just a few minutes you c...
How To: Add texture effects to your scrapbook page with ink
StampinMama1 demonstrates how to add ink texture effects to your scrapbook projects. When creating backgrounds for your scrapbook pages, you can use ink to both create texture and create interesting effects on the layout. Press the ink on the paper to use a direct to paper ink application technique. You can create cool effects like waves using this technique. Don't swipe the pad around or smudge it onto the paper. Instead, drag the ink pad in a motion of waves across the page. Start at one ed...
How To: Make a paper pumpkin for a card
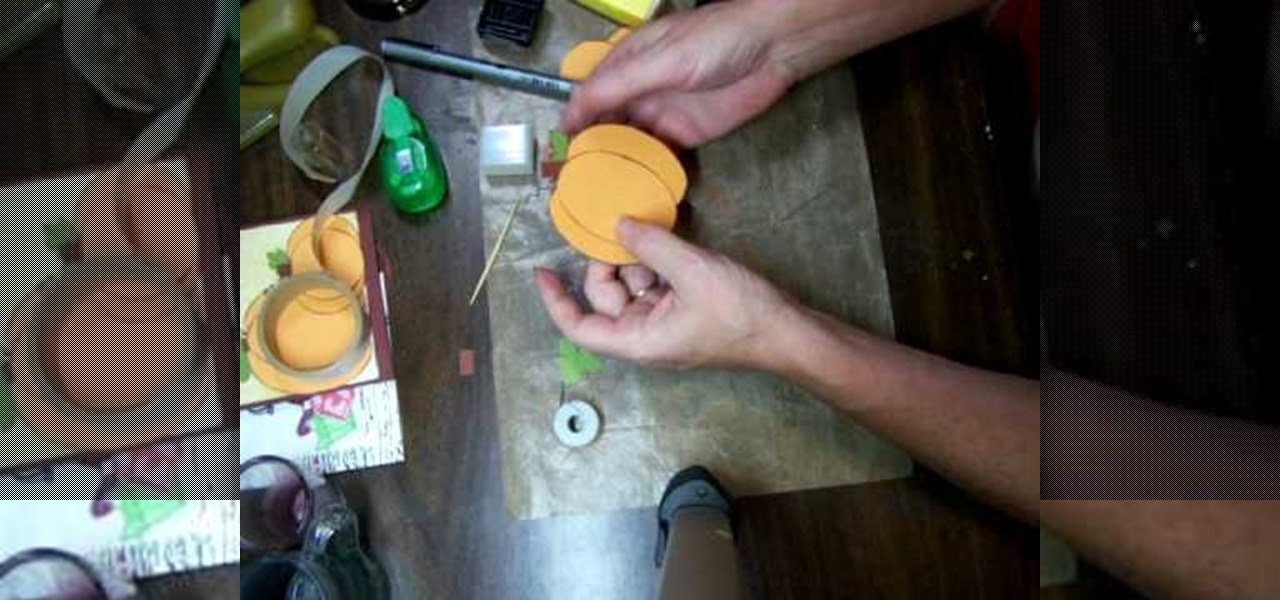
For anyone looking to dress up a card, learn how to make a paper pumpkin using punches in this video tutorial. Take a white piece of paper and distress it with Memory Mist (with the pale ale color). Use a box to distress the paper, while avoiding getting the mist all over your work space. To actually make the pumpkin use a store-bought punch (either round or oval). Make the punches with orange cardstock. For each pumpkin, you will need either three ovals or circles. Using a chalk ink to distr...
How To: Make scrapbooking cardstock look like faux suede
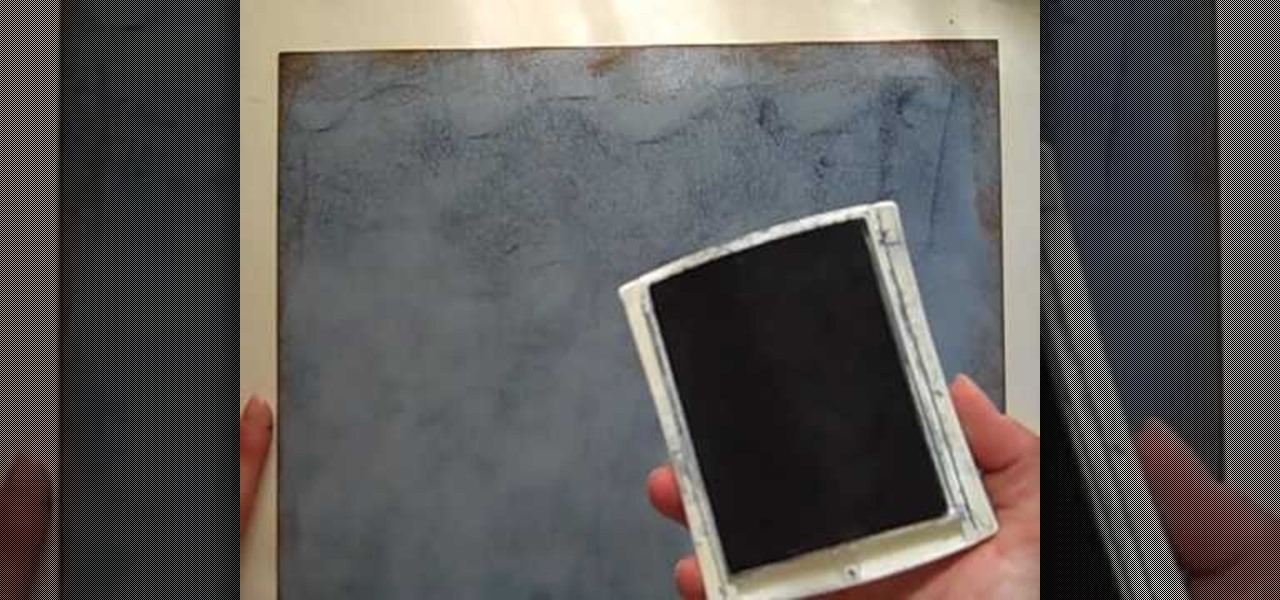
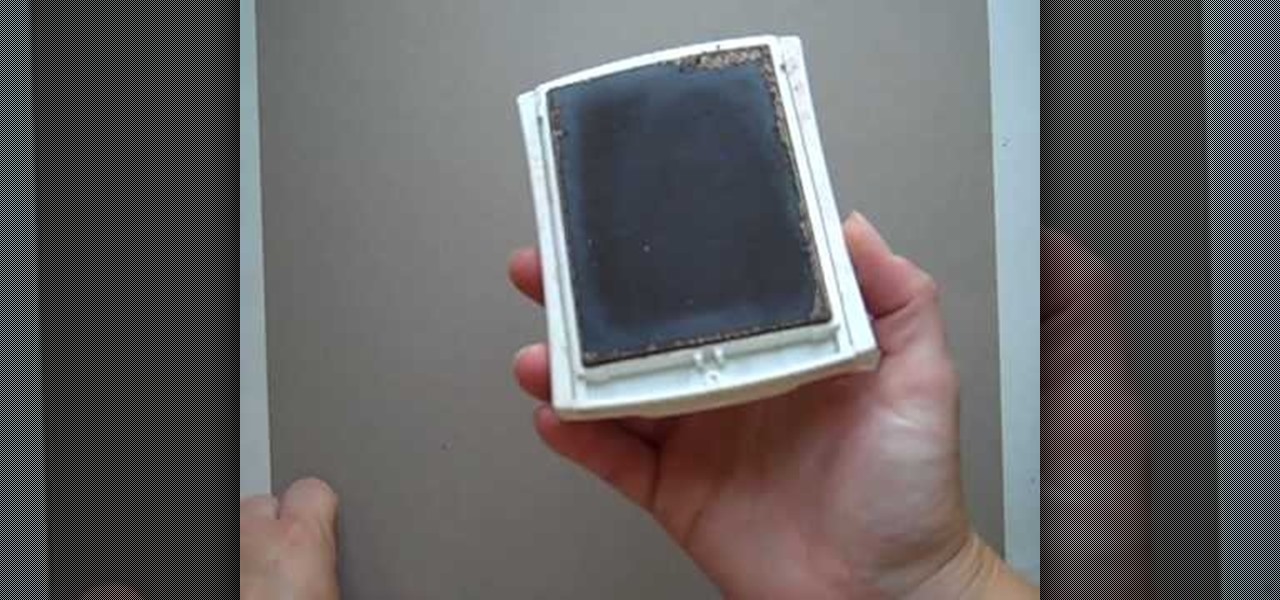
In this video tutorial, viewers learn how to create a faux suede technique on cardstock. Users will need a plastic stamp pad. This stamp pad will be used for rubbing, so it should be an extra or an old stamp pad. Users will need to re-ink the pad once in a while. This will give the cardstock a textured look. It will give an old age, distress look. Simply take the stamp pad and rub it over the cardstock. This will pick up the texture of the cardstock. This video will benefit those viewers who ...
How To: Make a pocket mod or mini-book from a piece of paper
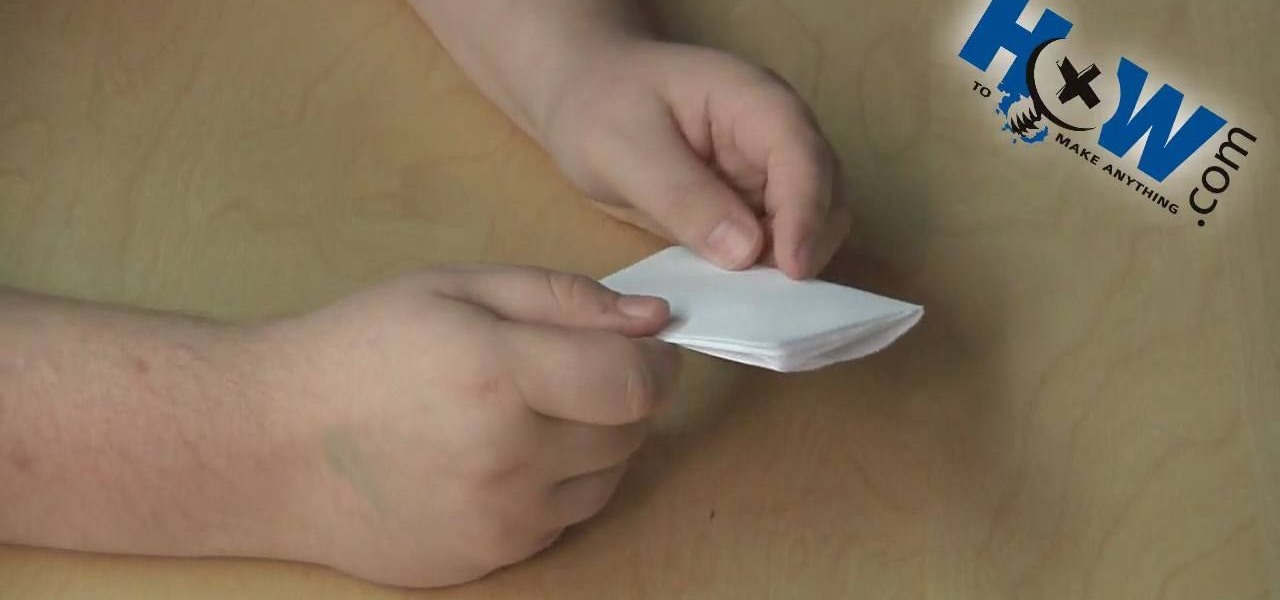
"How to make anything" is going to show you how to create a pocket mod, which is very handy and more elegant then just tearing a sheet of paper and stuffing it into your pocket. This demonstration is going to show you how to create the pocket mod using a regular piece of blank white paper. First, you want to fold the piece of paper "hamburger" style, and then fold each flap back towards the crease. Fold the paper again in half the "hamburger" way and unfold the paper so there's a ridge in the...

How To: Make a DIY earring holder
This video shows how to make an earring holder. You will need a canvas and some acrylic paint. Paint the entire canvas including the sides. You can paint it a solid color, or paint any design you like. Use glue to attach some glitter, or use puffy paint or glitter glue to decorate the earring holder. When the paint is dry it is ready to use. Simply push your earrings through the canvas. If you have earrings that are delicate, you may want to use a nail to form a hole in the canvas before plac...
How To: Transform a hoodie into a strap bag
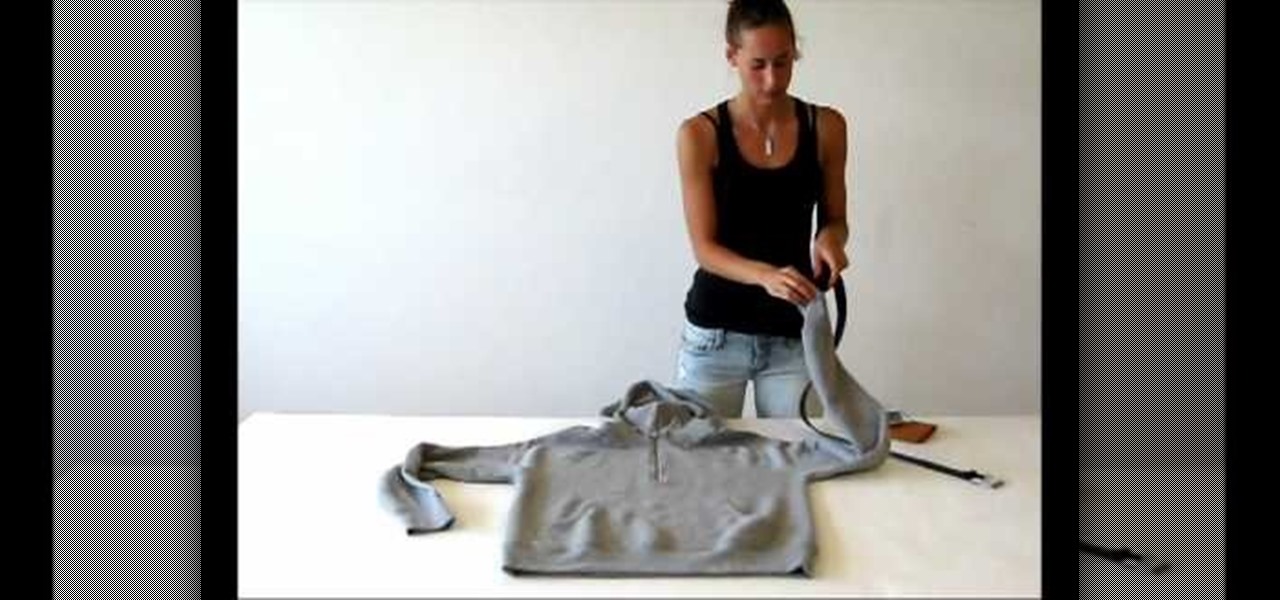
This video visually explains how to convert your hoodie into a strapped bag. First lay the hoodie face-up onto a table or other flat surface. Then you take a normal belt and, holding it in one hand, feed it in from one sleeve all the way through to the opposite side. Once the belt is peeking out through both sleeves, buckle it together. You can then place the items of your choosing inside the hood, tying it shut, while using the belt as a strap that you can hang around your shoulder like any ...
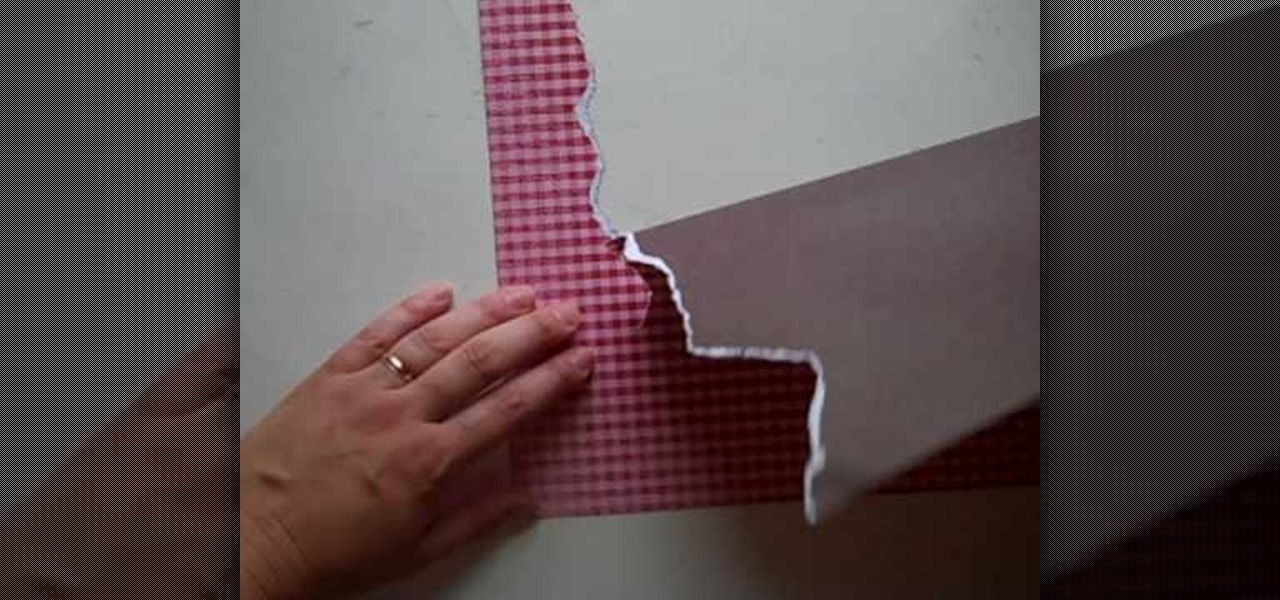
How To: Create scrapbook scenery by tearing paper
Want to create scenery to decorate your scrapbook? You can use torn paper to create this effect cheaply and easily. This video describes how. For example, if you want to create mountains, choose some brown paper, and tear in a jagged pattern, using your finger as a guide. If you want white-capped mountains, tear with the front side facing you. If you don't want white-capped mountains, turn the paper over and tear. You can also create other scenery. The woman in the video creates scenery such ...

How To: Fold an paper origami soaring dragon
Majkee shows us step by step how to fold an origami paper dragon. You will need to take a square piece of paper and fold it so that it is shaped like a triangle. Open it back up and fold the piece of paper in half (like a hot dog bun). Open the paper and refold it so that is shaped like a diamond cup. Fold up one corner of the diamond and on the opposite side, fold up the other corner, creating a diamond shape within your diamond. Additional folds from each corner will leave you with a narrow...
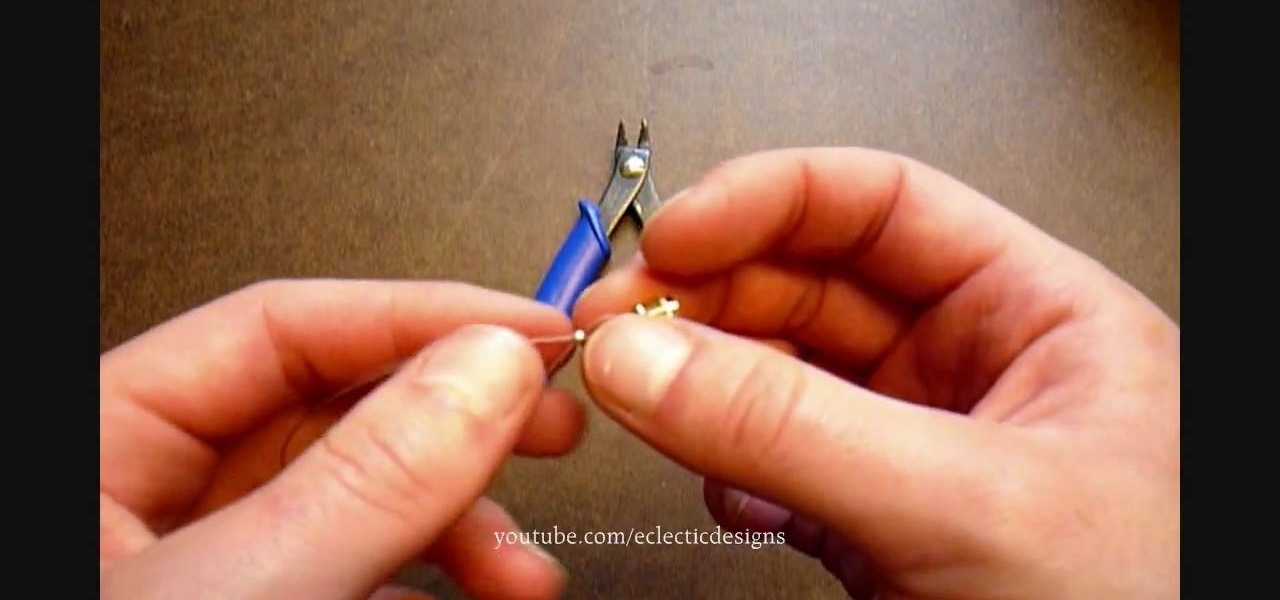
How To: Finish off your jewelry with crimps & crimp covers
Jewelry-making Techniques demonstrates how to finish your jewelry with crimps and covers. To use crimps and covers to finish your jewelry you will need 2mm crimps, 3mm crimp covers, crimping pliers, a clasp and beading wire. First, attach the clasp by stringing the crimp bead and one part of the clasp onto the wire. Take the end of the wire and string it back through the crimp bead to make a loop. Adjust the crimp bead up to the clasp and use the crimping pliers to crimp the bead. Repeat on t...
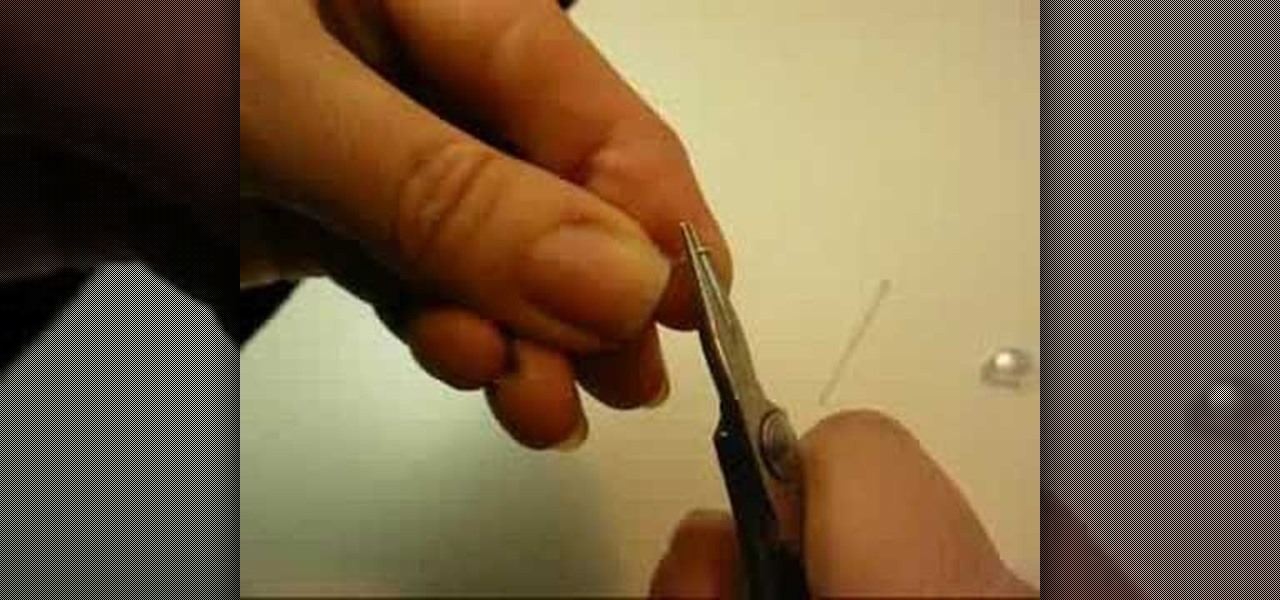
How To: Make Swarovski crystal earrings in sterling silver
This video explains how to create a pair of Swarovski crystal earrings. You will need a tooth headpin, two pear-shaped crystals, two spacers, two diamond beads, and sterling silver ear hooks. First, slide the pear-shaped crystal onto the head pin. Follow with a spacer, a bead, then use a pair of pliers with a side-cutting edge to cut the wire and bend at a 90 degree angle. Use round-nose pliers to then create a circle at the end of the wire, then 'squash' a bit with the other pliers. Then ope...

How To: Make a continuous daisy chain necklace
This video shows you how to create a continuous, daisy-chain necklace. The materials used include: size 11 rock eyes in yellow, red and purple, a toggle clasp , 9mm thread and a size 10 beading needle. Start by sewing on one half of the clasp, tying a knot to hold it in place. Be sure to leave the tail ends long enough to be able to re-thread it later with a needle to sew the tail ends. The video then shows the precise order in which the various beads are threaded through to produce a chain i...

How To: Crochet a cap for an Ogeechee bear
Teresa demonstrates how left-handed people can complete a crochet project. The project is a round cap for a toy Ogeechee bear. Using her left hand to hold the crochet needle, she starts with a circle of crochet stitches to form the crown of the cap, and counts out the number of stitches needed for each row. A yarn marker is used to keep the rows organized, and Theresa shows how to utilize a slip stitch to make turns in the crochet to complete partial-rows that form a brim to the cap. She ends...

How To: Make DIY guitar pick earrings
In this video you learn to make earrings out of guitar picks. You will need round nose and regular pliers, wire cutters, 2 regular picks, bead reamer, earring hooks, jump rings, and long silver strands. Use the bead reamer to make a nice clean hole on the top edge of the guitar pick. Use the jump ring through the hole you just made to attach the silver strand. This makes the earrings dangle. On the other end of the silver strand connect the earring hook with another jump ring. This completes ...
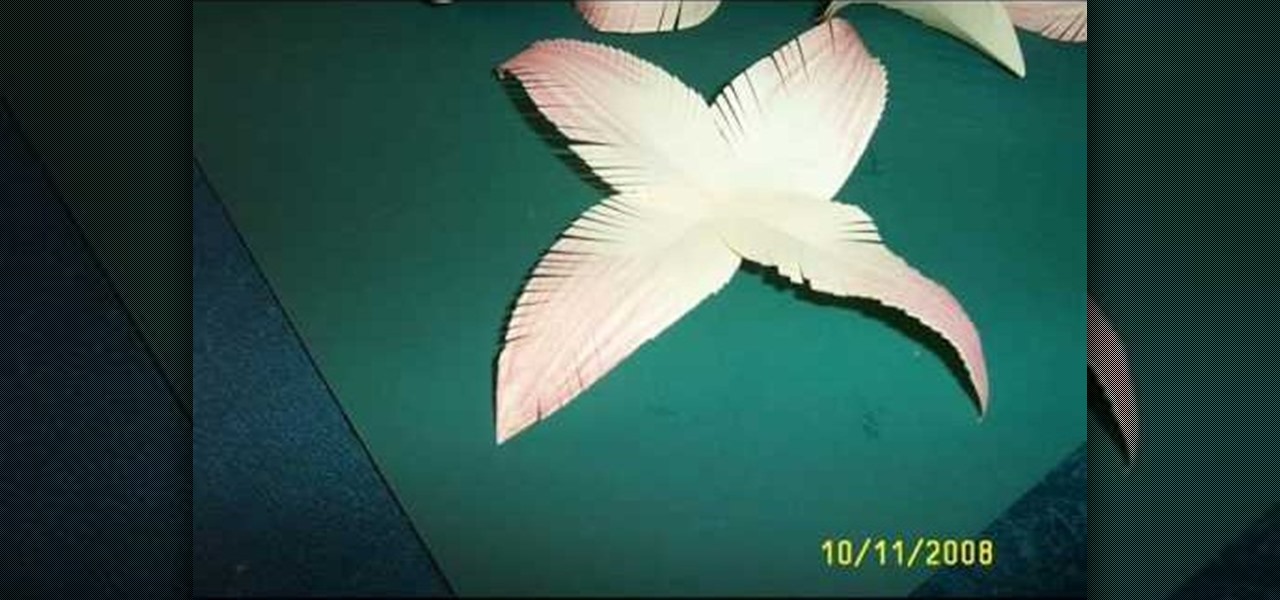
How To: Make an easy paper flower
In this video you learn how to make paper flowers with paper, craft glue, crayons, and scissors. First you cut paper into strips and then fold them in half long ways before cutting them into petal shapes. You then color the tips of the petals with the crayons. Next you fold the petals in half again and cut small lines along the unfolded side to make the appearance of more natural petals. Then you layer the petals together with craft glue in a flower shape. When desired shape is reached you th...

How To: Make cute mini polymer clay radish earrings
MsKreant teaches viewers how to create cute radish earrings with polymer clay! Use Sculpey baked clay in red, white, and two different greens for the leaves. Roll each color into tiny balls. First, take the red ball of clay and put the white ball of clay next to it. Put them together and pull together. Make the white part pointy. Next, make and indent at the top for the leaves with a bamboo skewer. Next roll your two colors of green into long spaghetti strips. Put the two together and flatten...
How To: Fold an origami paper flag
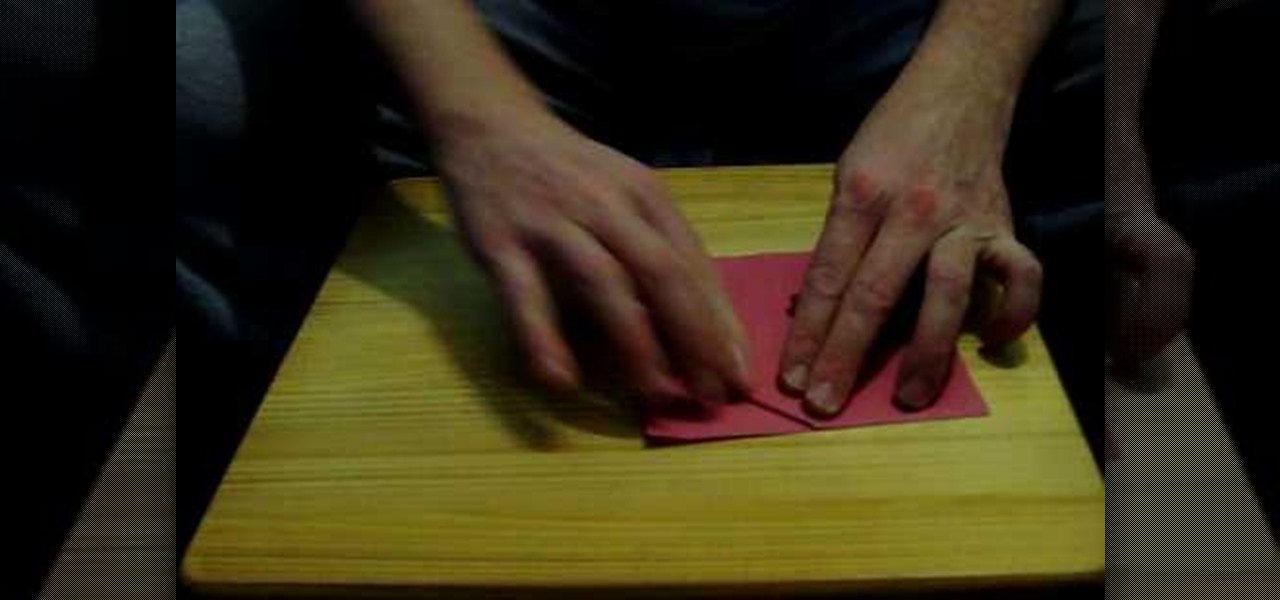
The man describes and demonstrates how to create a paper flag using basic paper folding methods. You need an oblong piece of paper. Then fold the paper in half the long way and crease it down the middle. Then fold it the same way in half again and recrease then open the paper back up one time. Fold a corner into the middle and then crease it on both sides and unfold it. The you need to open up a flap and let it fold into a point and crease it. At the end of the tutorial you need to open it up...
How To: Make classic paper roses
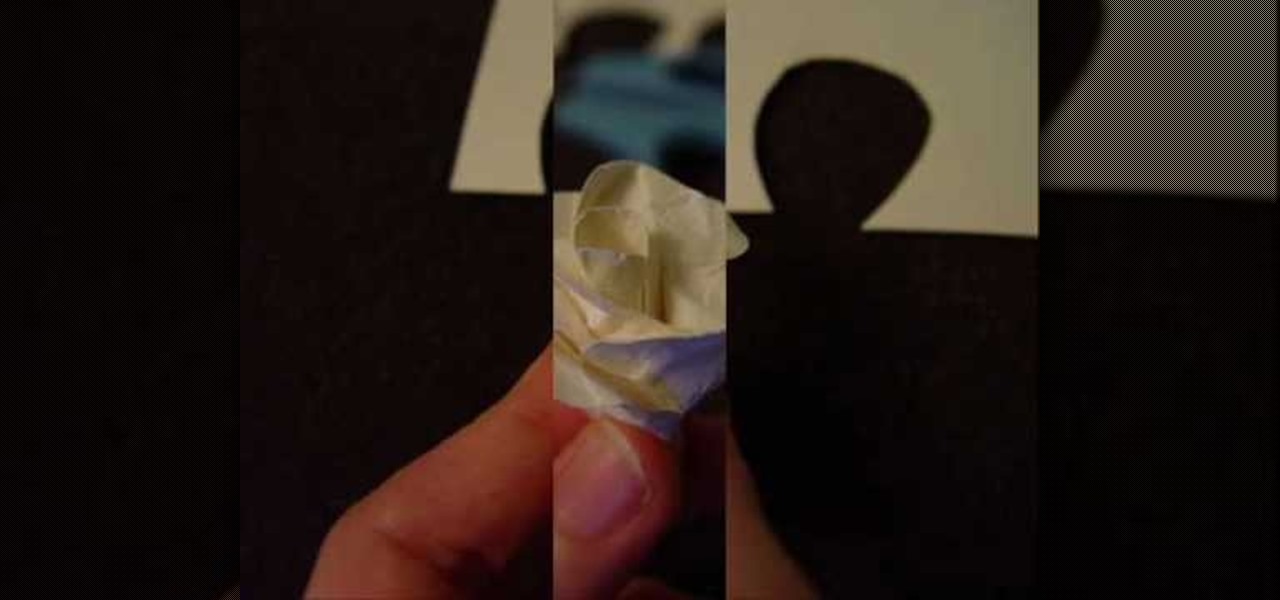
This tutorial demonstrates how to make simple yet beautiful paper roses using only a few materials. The image displayed at the end of this video is just one example of how realistic a paper rose can look. In order to do this, you will need at least one sheet of plain or colored paper, tacky glue, wire and a pair of scissors. Initially, you must first cut your paper in to the shape of your pedals, then crumple them up. Crumpling your pedals not only makes them more flexible, but can also add a...

How To: Do a double crochet cross stitch
This video shows you how to make a double crochet cross stitch. Working from left to right you loop the yarn over on your finger. Then skip one stitch and go through the next stitch. Then you make a double crochet on your finger. Then loop the yarn over once again on your finger, go back in through the stitch that you skipped, pull the yarn out of that stitch, and then loop pull the yarn over again on your finger. Finally you make another double crochet. Keep on repeating this process along t...

How To: Make vintage-style button earrings
This video tutorial demonstrates how to make a simple vintage style button earring. Materials required are two pairs of vintage style buttons, a button shape remover or pliers, some earring poles and super glue

How To: Add hemp twine to accent your scrapbook photo
In this video tutorial, viewers learn how to add hemp twine to accent a scrapbook photo. Users will only need a line of twine and tape. Put the twine on one side of the picture and tape the back to hold it. Now wrap the twine in a diagonal pattern (right and left). Then wrap it down the middle and tape the back again to hold it. Trim off the extra twine and tape all the strings of twine at the back, so that it won't move. This video will benefit those viewers who want to add an embellishment ...

How To: Make a simple daisy necklace
To make a daisy chain beaded necklace you must get three different bead colors, two that are size eleven and one that is size four. The size eleven beads are for the stems and the outer part of the flower, while the size four beads are for the inside of the flowers. You will also need nylon thread and a clasp, such as a magnetic clasp. First slide the clasp on first and connect it to the thread. Next follow the following pattern for the beads, 8 for the stem (size 11), 6 for the outer petals ...
How To: Stitch a full length wedding veil
In this two-part easy-to-follow tutorial Corinne Bradd shows Kate Hemmings how to stitch a full length, two tiered wedding veil for just a small amount. Budget busting brides will love the stylish veil for the big day. It'll be perfect for any bride and mean that much more if sewn it yourself.
How To: Make a transforming origami spikey ball
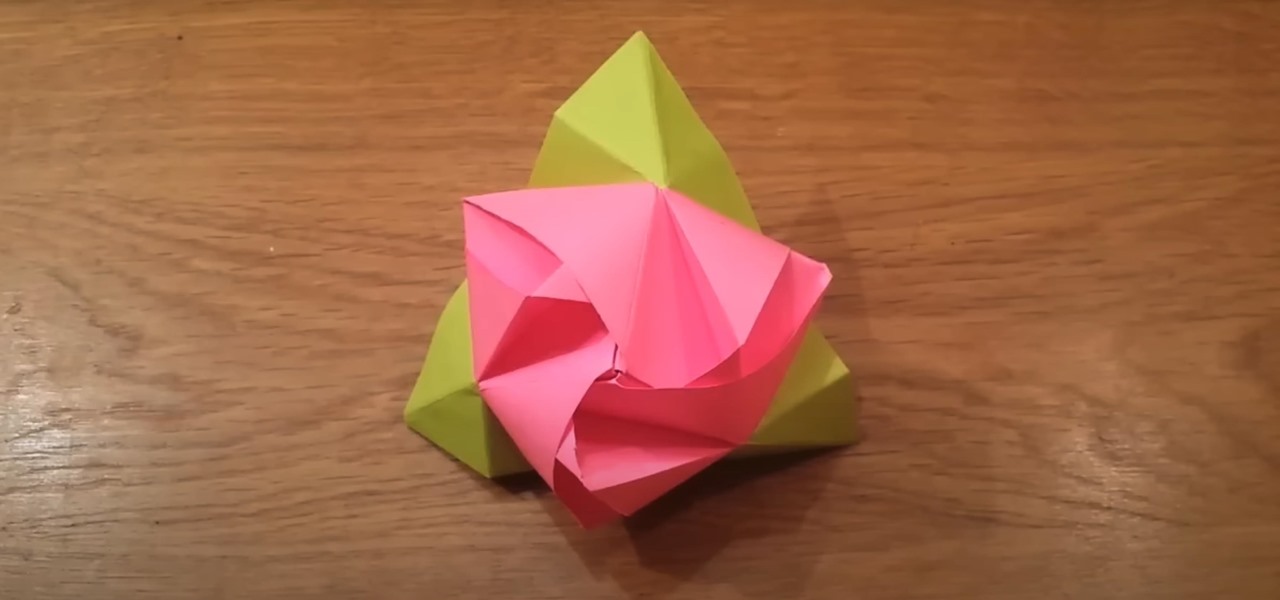
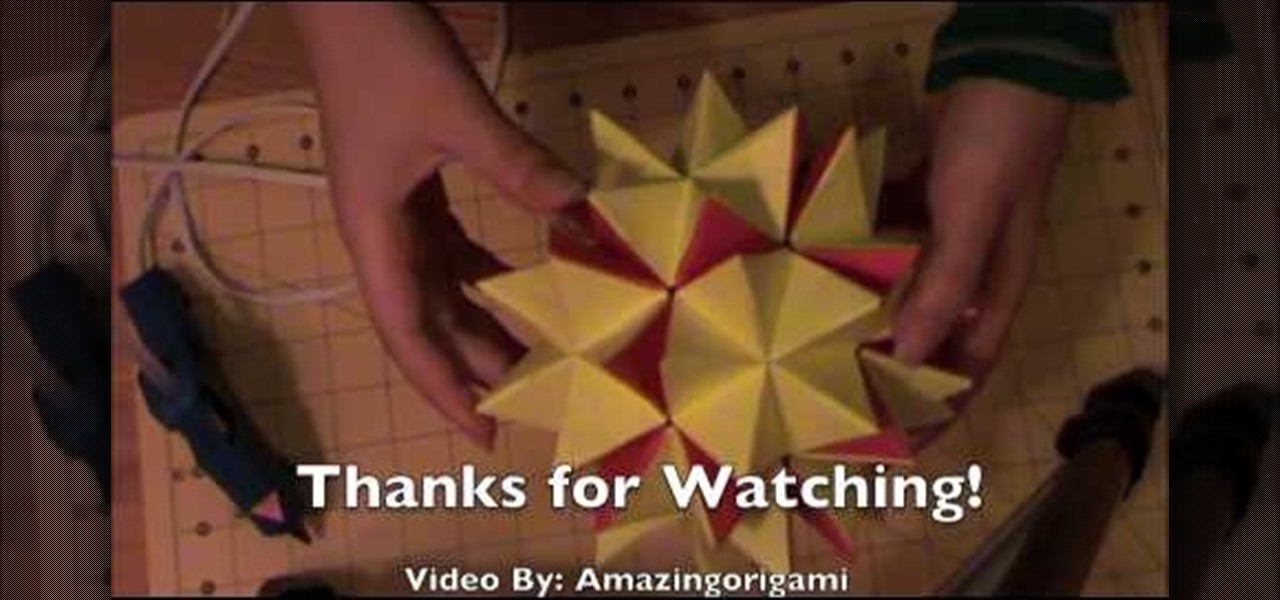
Ever wonder how to make an amazing piece of art just using paper and some glue? This video takes you through the step-by-step process of how to make a Transforming Spike Ball. The video includes the materials needed, and a video demonstration of all the steps that you will need to construct your perfect Transforming Spine Ball. And if you ever get stuck, you can just hit pause, complete your step, and continue. The video also leaves room for you to be creative, allowing you to pick and choose...
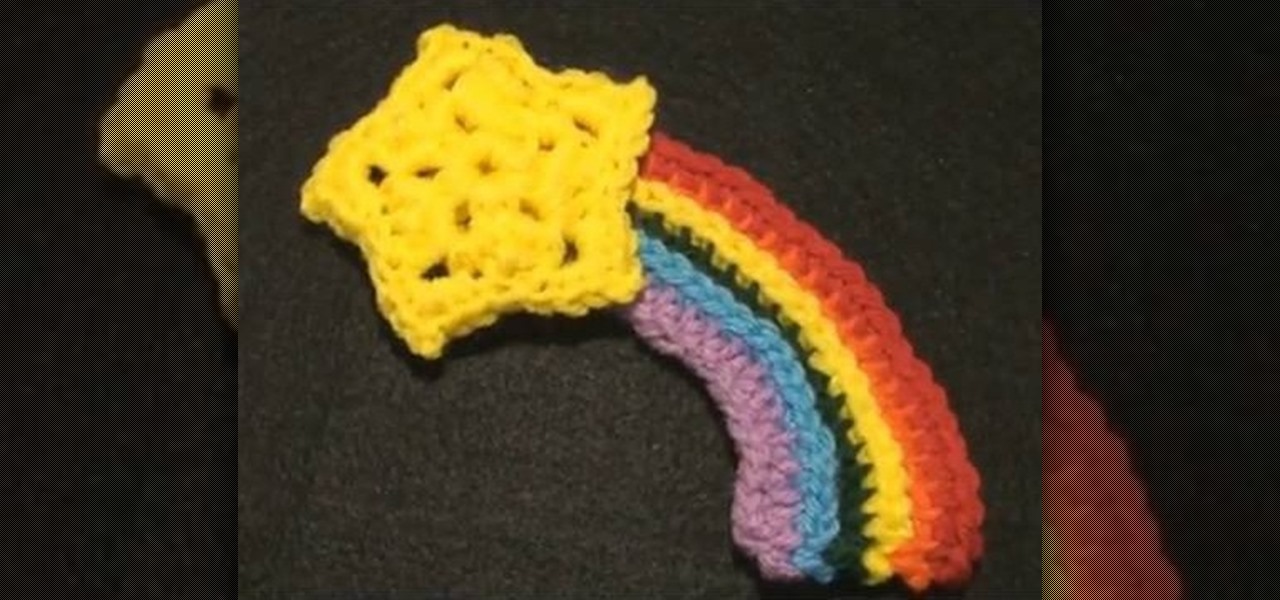
How To: Left hand star rainbow crochet applique
This tutorial will take you step by step on how to crochet a star with a cascading rainbow. Though it is specifically for the left handed person, its easily adjustable for anyone. You'll start with the star, and lead to the adjacent rainbow. It's a great task for anyone trying to master the art of crocheting.
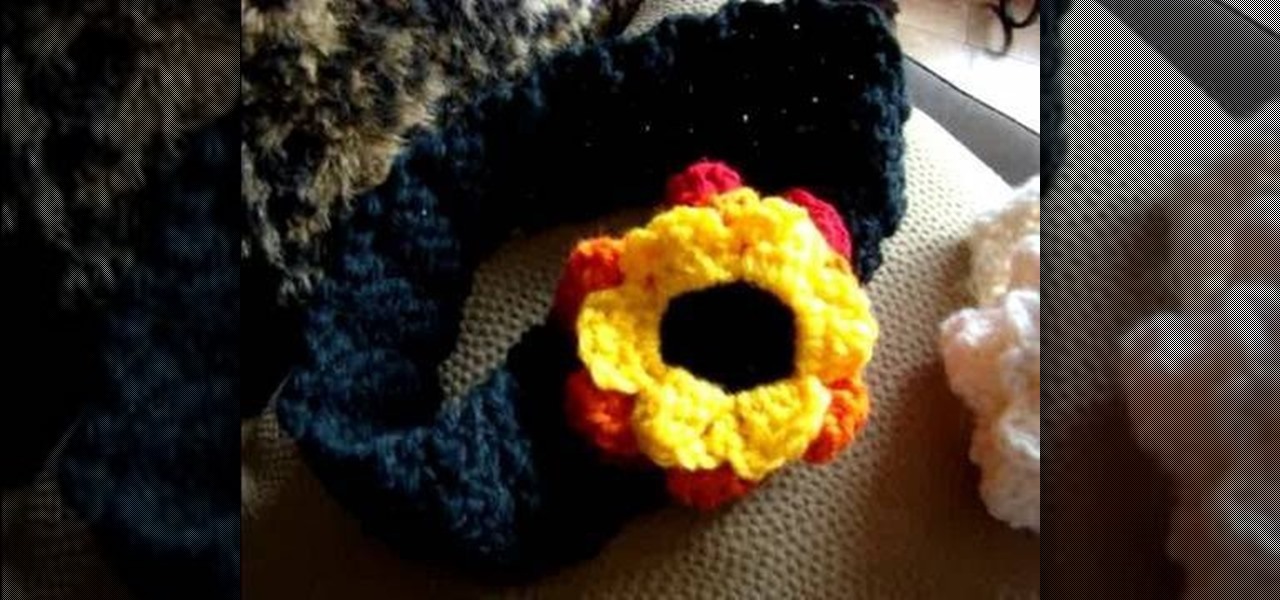
How To: Crochet Siobhan Magnus American Idol headband
This is an imitation headband that Siobhan Magnus has worn on American Idol. Her new style of bringing back crochet to fashion is brilliant. This is a step by step tutorial on following through this entire project. The advanced student will have your very own Siobhan headband in no time.
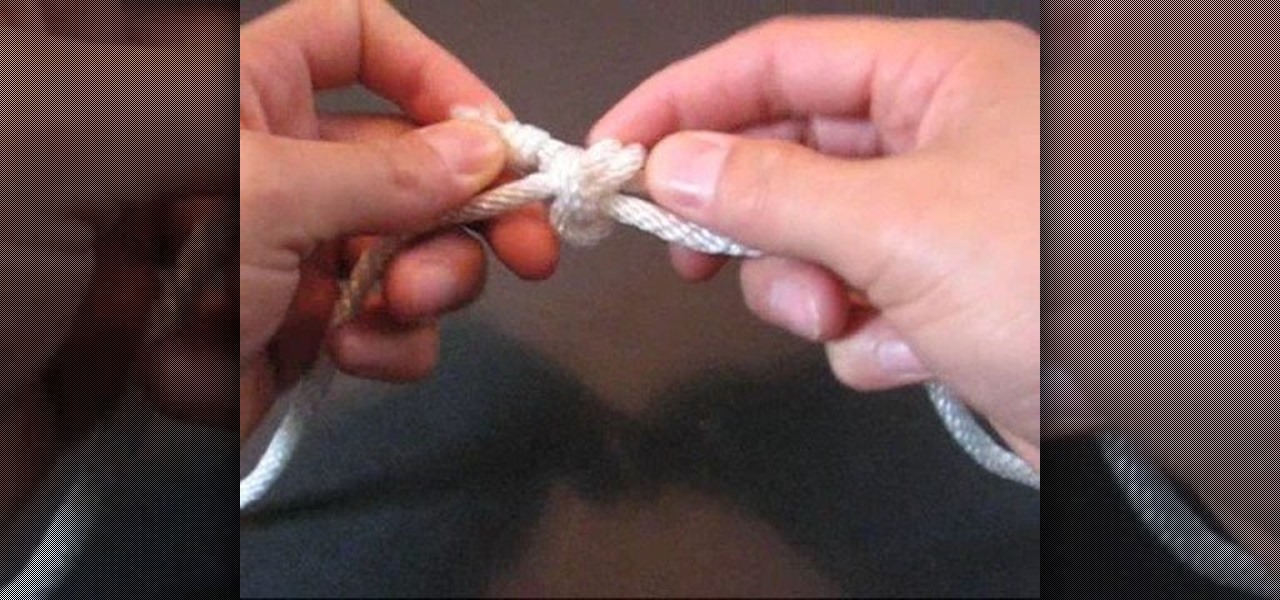
How To: Tie the Hunter's Bend decorative knot
In this video you will learn how to tie a knot known as the "Hunter's Bend". A "bend" is a type of knot used to join two ends of a rope together. Generally, it should be possible to untie this type of knot, once it's usefulness has passed. This knot was originally created by a man named Phil D. Smith during WWII, at which time he dubbed it the "Rigger's Bend". An English physicist, by the name of Edward Hunter, rediscovered the knot in 1978, and popularized it's use, leading to it's current n...

How To: Make little paper birds
This video shows how to make little paper birdies that have paper clips for their feet. Trace your bird onto the paper. Then you need to cut out the birdies. Then you need to make two paper clips into ninety degree angles. After that you must attach the birdie feet to one side of the bird using scotch tape. Then you must attach the two pieces of the little birdie together. To do this you should be using double sided tape. After that you are basically all done creating your little colorful pap...

How To: Use a head pin when jewelry making
Rob shows us how to use a silver one inch long wire head pin to place a bead on. He uses both flat nose and round nose pliers to close the loops he demonstrates how to make. outlining the basics for loop making and the loop connection process. He slowly and clearly shows us how to make two different types of loop closures. On of the loop closures is simple and easily reopened. The other loop closure is made by making the first loop and then using tools to wrap the rest of the wire around the ...
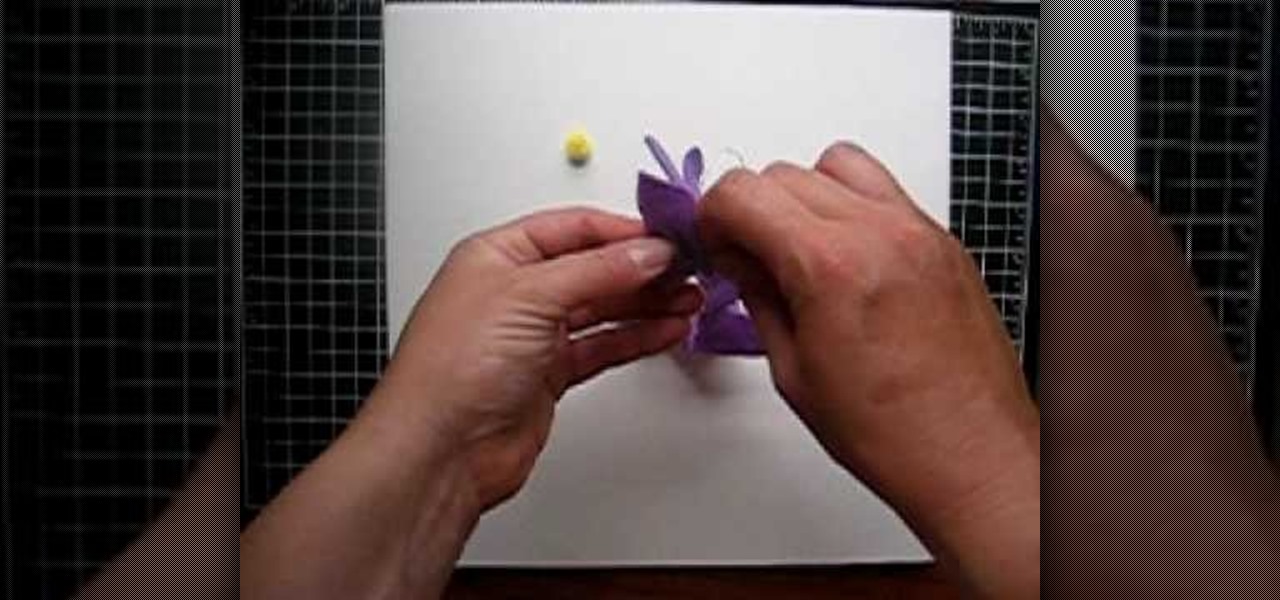
How To: Make a purple felt flower
This video is going to show you how to create purple felt flowers for your children or a nice little gift. The items you will need are an 18in piece of tread doubled knotted at the end, hot glue gun, a needle, a pom pom, and felt cut into the shapes you want to make your flowers out of. You want to begin by take the thread attached to the needle and doing a running stitch through the felt. Pull the thread as much as possible and then take the two ends and do a whip stitch to connect the two e...
How To: Make a kissing ball for Christmas
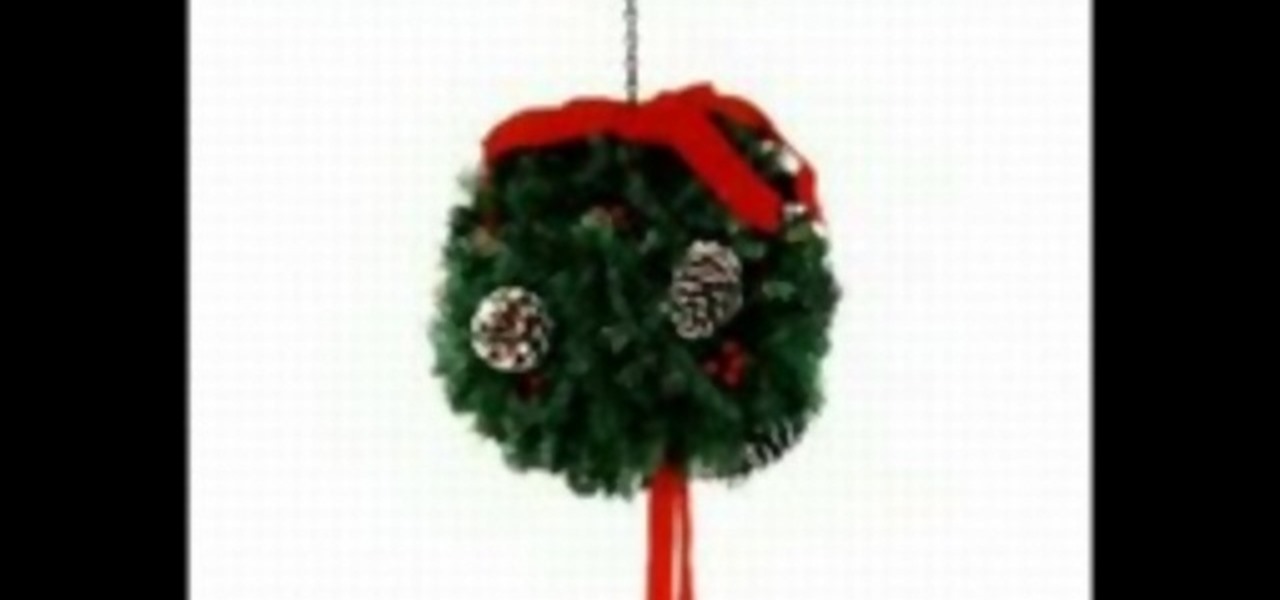
Learn how to make a kissing ball for Christmas with these steps outlined in this video tutorial. A kissing ball is essentially a bunch of pine boughs in the shape of a ball decorated with red ribbon and pine cones that can be used as seasonal decorations. You need to cut the boughs of pine in the desired lengths you want. The longer the boughs, the larger the ball. You will need a florist's Styrofoam ball soaked in water, which will be covered with the pine boughs. Once the ball of pine is fo...
How To: Make a blooming paper flower
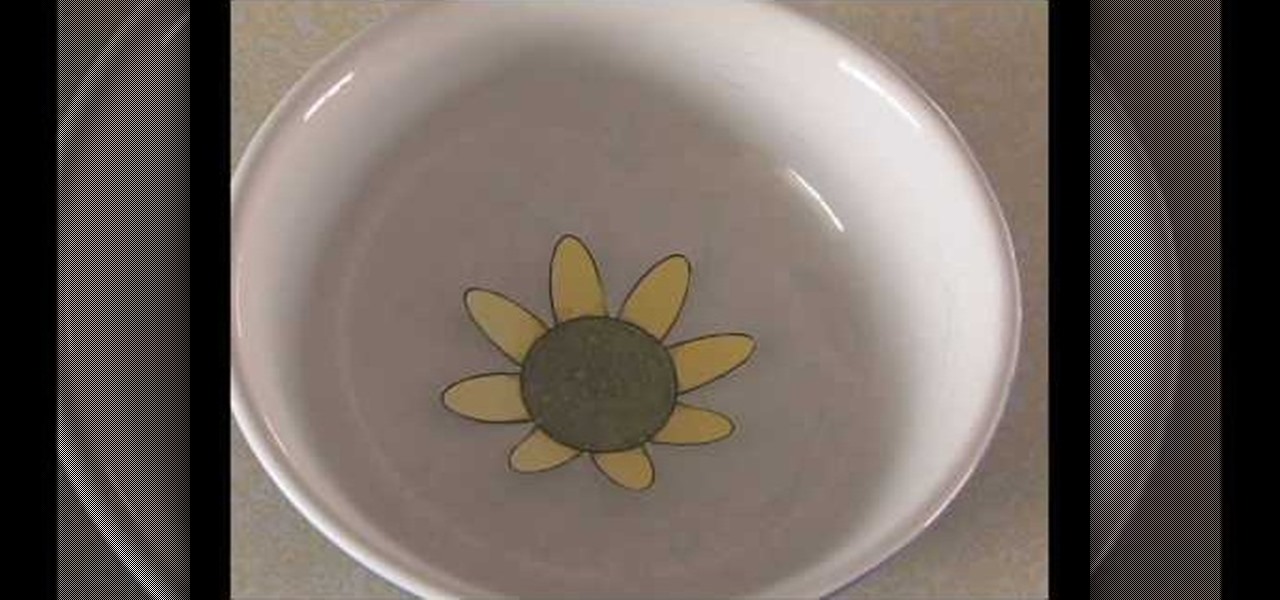
This video shows us how to make a blooming paper flower. To start, you shall first draw a flower on your computer, using paint or other similar program. The flower should be simple, a circle with eight identical pedals arranged around it. Print your drawing and, using a pair of scissors, cut your flower out leaving no excess paper. Take each pedal and fold it inwards towards the center of your circle. Now, get a bowl that will easily accommodate your flower and fill it with enough water to al...
How To: Make a Swarovski crystal necklace for cheap
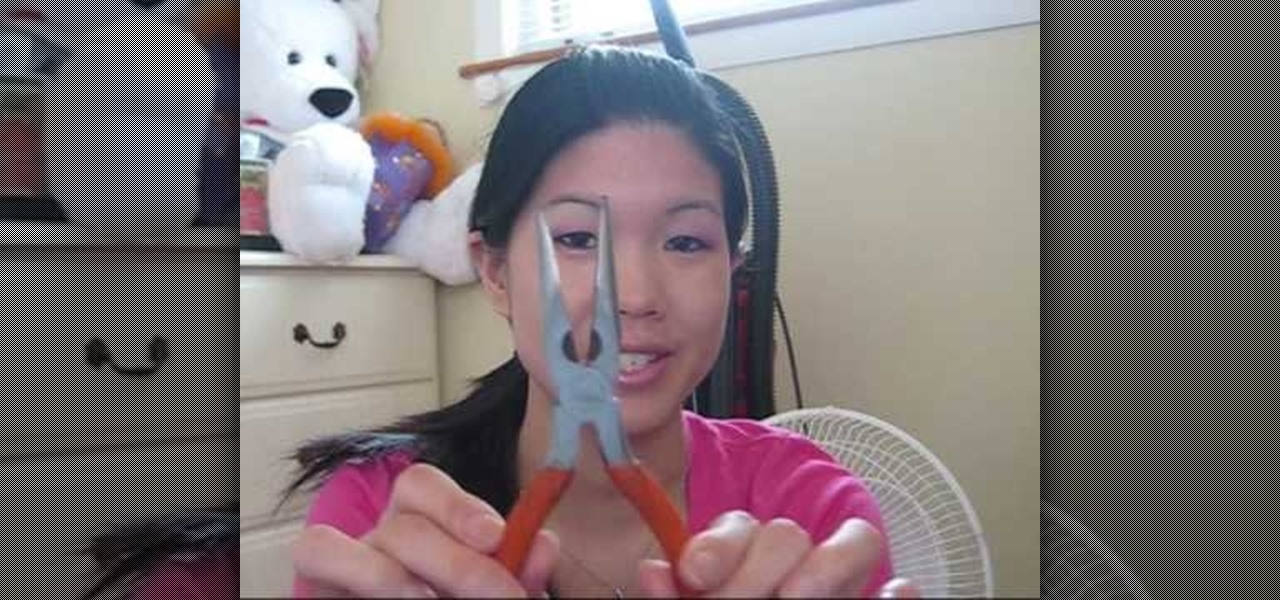
Learn how to make a Swarovski crystal pendants that can be used to make your own necklaces by following the tips in this tutorial. You will need a pair of needlenose pliers, a chain, Swarovski beads, and bails (a pinch bail). You can get the beads from ArtBeads or FusionBeads, which offer shipping promotions and low prices. Once you have these items it is simple to put the pendant together. Simply take the bail and open it with the pliers. Slip the bail through the hole of whatever bead you b...

How To: Make a pair of textured metal earrings
To begin take a 28 gauge copper sheet and cut out a pattern that you wish your earrings to be. Your pattern can be any shape that you wish. Cut out both earrings. Next sand your two earrings so that a texture will begin to arise on the copper sheet. Then you can color the copper with colored pencils to add the colors that you would like. Now with a break machine feed the copper sheet into the break in order to form the texture on the earrings. Then take a pair of pliers and exaggerate your pa...
How To: Make a Peruvian inka necklace
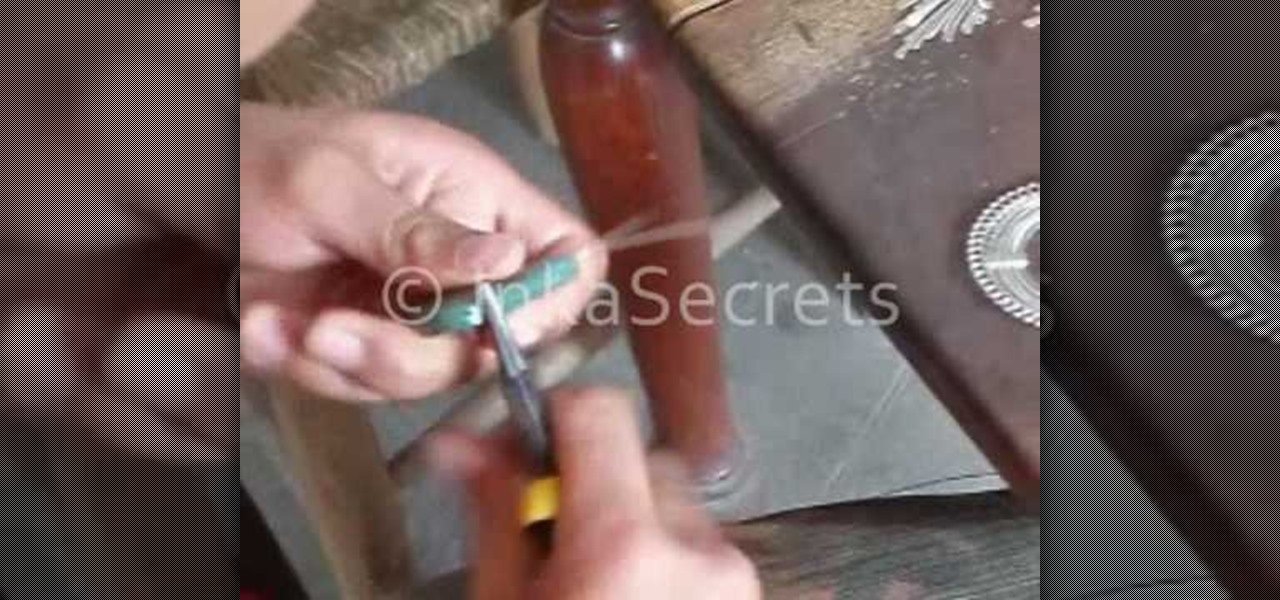
In this video a Peruvian Inka necklace is begun by selecting and washing precious stones. The stones begin as varied sizes and irregular shapes. These stones are then coarsely ground down to the desired size and shape. Finer grinders are used to get the exact shape and make the stones smooth. The polishing of the stones comes next. After much polishing these stones are ready to be placed in handcrafted Peruvian Inka necklaces. Each of these tedious steps are shown in abbreviated video clips o...
How To: Cross stitch leather
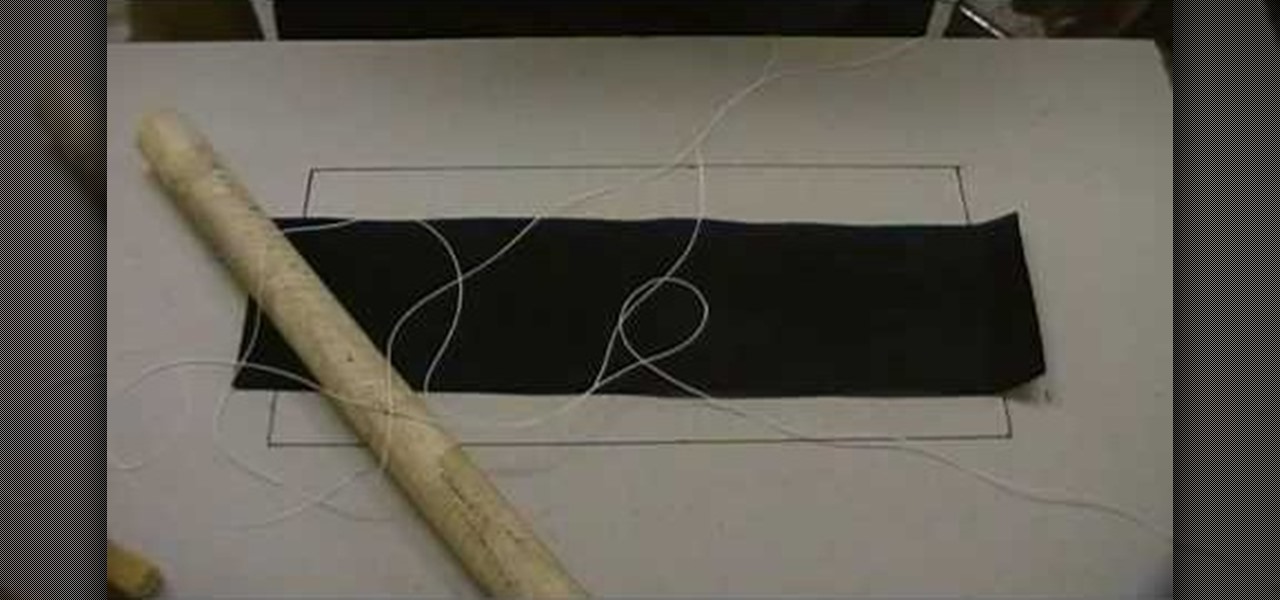
John Hunt demonstrates how to do Cross Stitch that is used on steering wheel covers in this video. He takes a piece of dowel and wraps it with pre-glued leather. Next he threads two needles with cotton thread that has been pulled through bees wax so they stay in the leather better. Next he begins to sew. You have to sew the first half of the cross stitch with one needle and thread, and the other half with the other needle and thread. Sew till you get to the end pull both needles off the threa...

How To: Origami a cool paper dragon
This video origami tutorial series shows how to use the Japanese art of paper folding to make a paper dragon. Follow along with the guide as he folds a dragon, even if he makes some mistakes along the way. Watch this instructional video and learn how to fold and origami dragon.
How To: Make dangle earrings
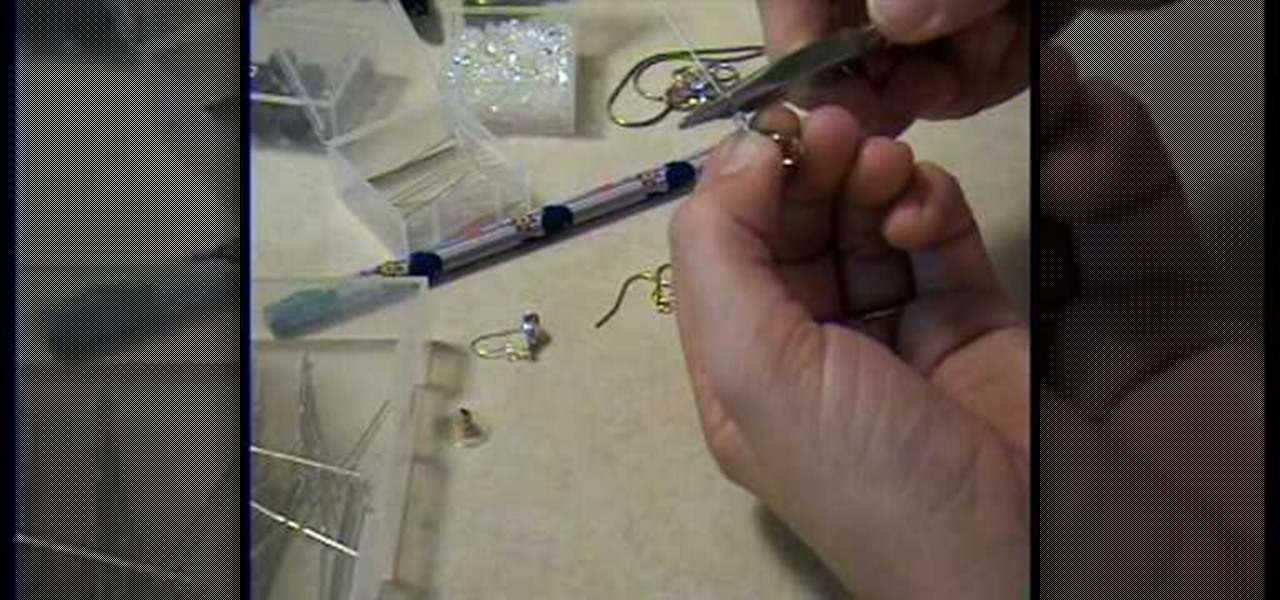
Take an inexpensive earring and use hot pliers to ease it away from the cheap metal fastening. Take a more expensive silver or gold earwire and pull it through the loop at the top of the pendant part. Squeeze the wire closed with the pliers. Using an inexpensive earring part as a model, bend your own wire to the same shape. You then take a 4mm Swarovski crystal and attach it. Bend your earwire round a smooth pencil and make sure the bead cannot slide off from the wire. You can use the same pr...


