Active Arts & Crafts Posts

How To: Use Amaco bead rollers
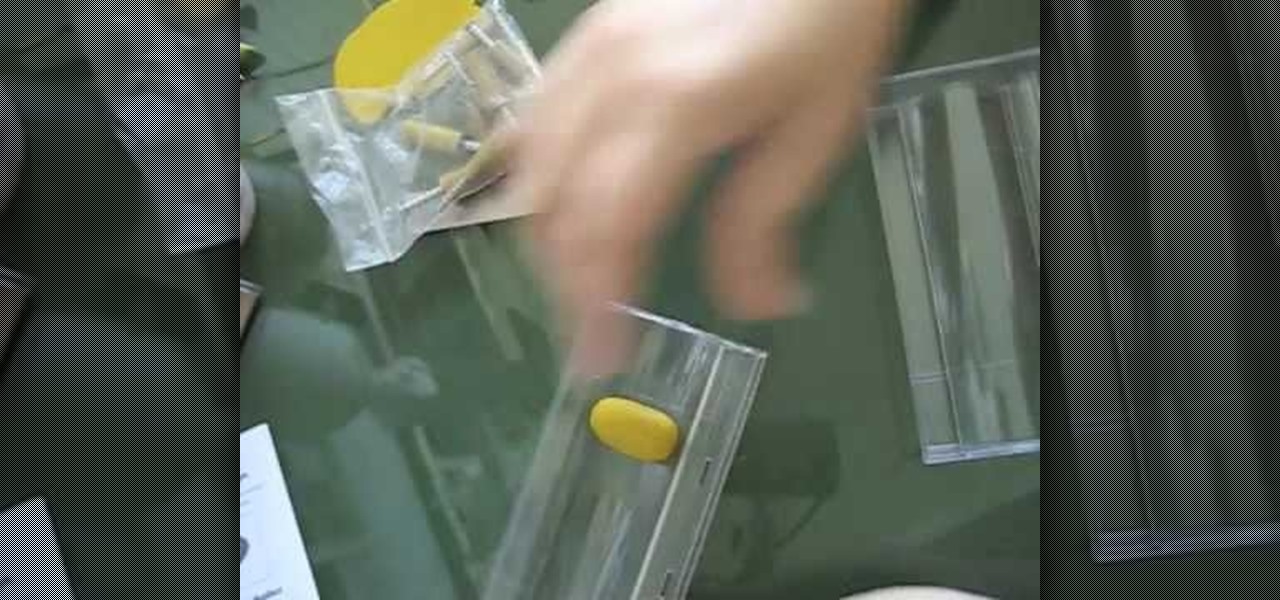
Our instructor will choose set 2, 6 and 8 to show you what the company offers. On the wrappers are pictures of the types of beads possible with each set. She will create from set 2 today, which makes oval beads. Inside of the packages, such as this package which holds set 2 are several items. First is the thin metal pins or rods that can go into the baking oven with the polymer clay molded around them. Next, two pieces for the mold, a bottom and top that fit together with grooves. There are a...
How To: Use liver of sulfur solution to create a patina
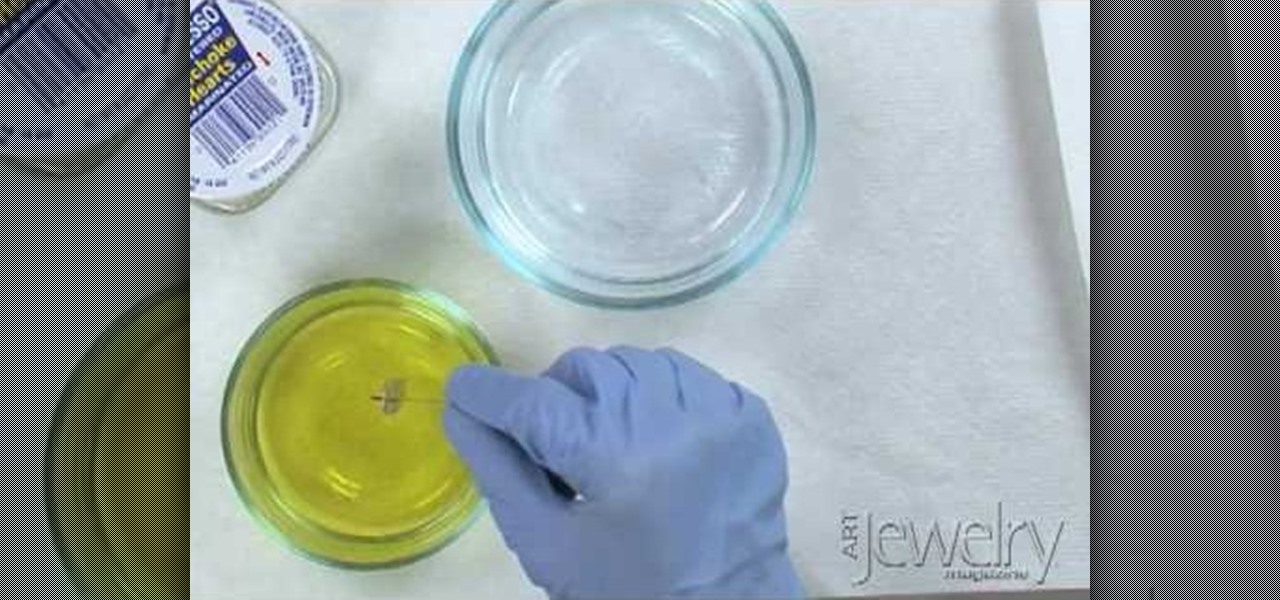
artjewelrymag teaches you how to use a liver of sulfur solution to create a patina. First, be sure to wear protective gloves and eye gear. Be sure to perform this operation in a well-ventilated area because sulfur smells like rotten eggs. To get started, add a few small pieces of liver of sulfur to a small dish of warm water. Use a wooden stick or a small PVC pipe and stir. The temperature and the amount of time you leave the metal in the solution will affect the patina. You can dip the metal...
How To: Make a gift card holder with Stampin' Up!
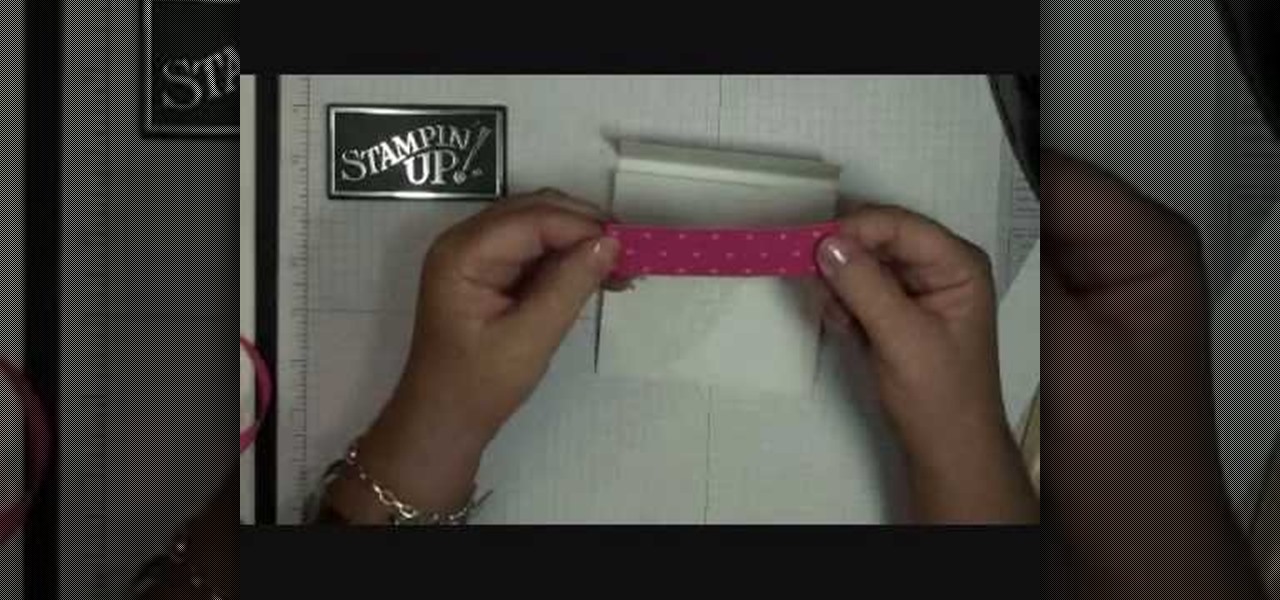
This video shows the method to make a gift card holder with "Stampin' Up." First, we use the Movers and Shapers to cut a heart shape on a paper. We use the add-ons cut by the Movers and Shapers to punch windows. Next, we use the Big Shot machine. Next, put a piece of Whisper White in the machine and cut at four and a quarter to eleven inches. Fold it into half and cut an inch and a half off the front top. Score the back panel at one and quarter inch. Take bags measuring 3 5/8 inch to 6 5/8 in...
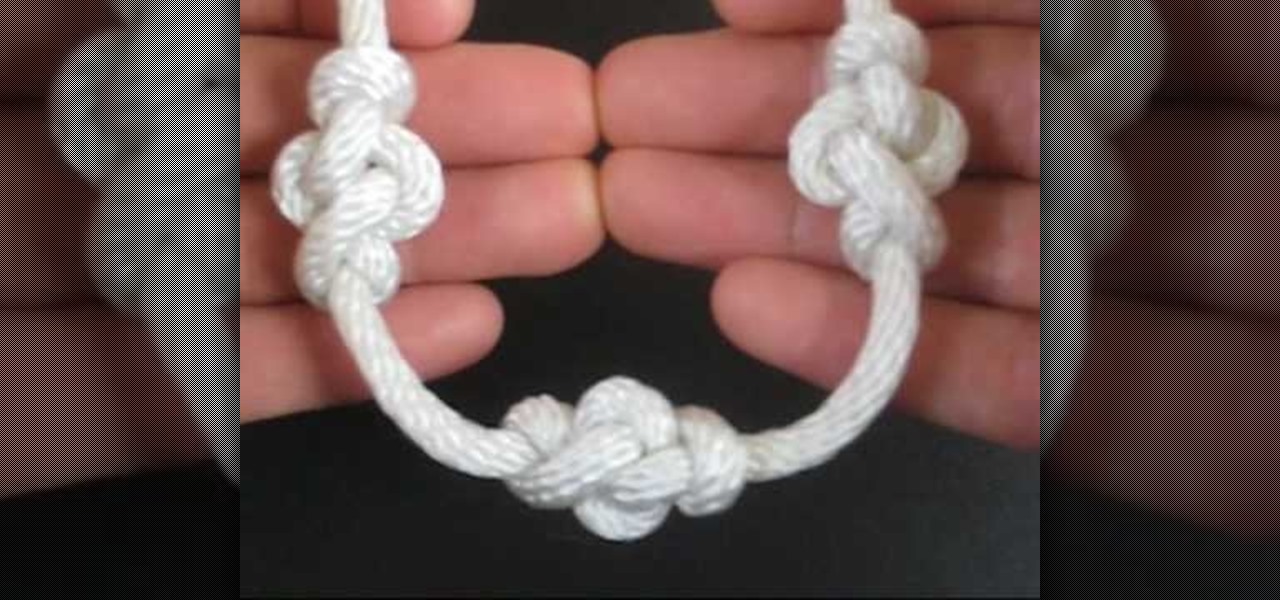
How To: Tie the Eternity knot to decorate a rope or string
In this video the host of "Tying It All Together" demonstrates how to create a "Eternity Knot". This type of knot is an attractive way to decorate a rope or string. Strung along one after another on a rope or string, it creates elongated bead-like knots at intervals of your choosing. The Eternity Knot is named for it's resemblance to the symbol of Buddha's all-knowing wisdom and the uncommon quality of his realizations. In this video the host will lead you through the entire process of creati...

How To: Create a paper box
This video walks you through the process of making a paper box that would be suitable for a gift or any other purpose for which a paper box could be used. This is a very simple paper folding exercise for anyone to approach. The video's presenter is silent and starts with one piece of white paper to demonstrate all of the folding techniques, using pointing and other hand gestures to do so. Follow along yourself, step by step. By the end of the fifth step, the open-faced box is complete and rea...

How To: Make your own book or journal
Why buy a journal or sketch book when you can make your own? You can create a unique and special book for yourself or to give as a present to someone you care about. This is a personalized gift your friends will be sure to remember.
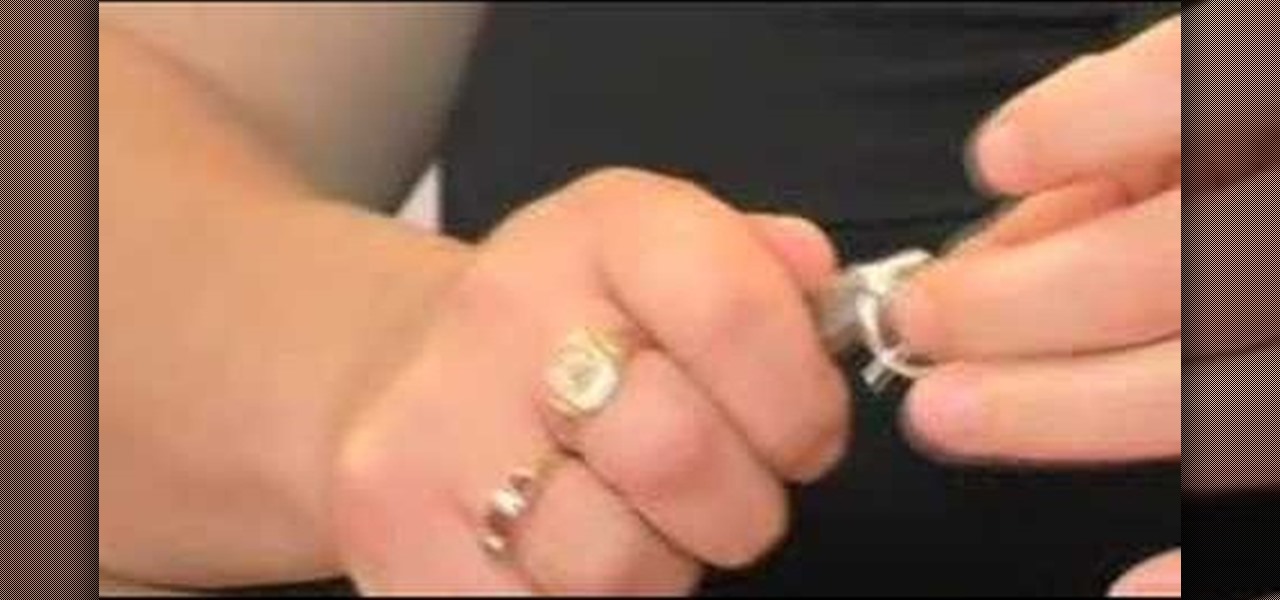
How To: Craft wire and bead rings
Create a gorgeous selection of sparkily accessories with buttons, beads and jewelery wire. The simple technique gives stunning results, you'll be able to make a funky ring to match every outfit.

How To: Make a paper box in 30 seconds
This video from Origami in 30 Seconds demonstrates how to make a paper box in 30 seconds. Start with a square piece of paper and fold it diagonally to make triangles from both corners. Unfold it, and fold each corner into the middle. Unfold two of the sides and fold the edges of the other sides toward the middle. Turn it over and fold the triangular corners back so they touch in the middle. Fold the corners over backwards. Take the two sides and pull them out, and fold the outside corners in ...

How To: Make a simple and easy paper fortune teller
First get a piece of paper and scissors. Now take the left corner of your paper bring it up and the right edge of the paper to create a triangle (or half of a square). Now if you are using a rectangle shaped paper there will be a small rectangle with no paper overlapping it. Cut it off but leave the triangle intact. Open the triangle up and you have a square. Bring each of the four corners into the very center of the square paper. You should now have a smaller square. Flip it over. Fold in th...
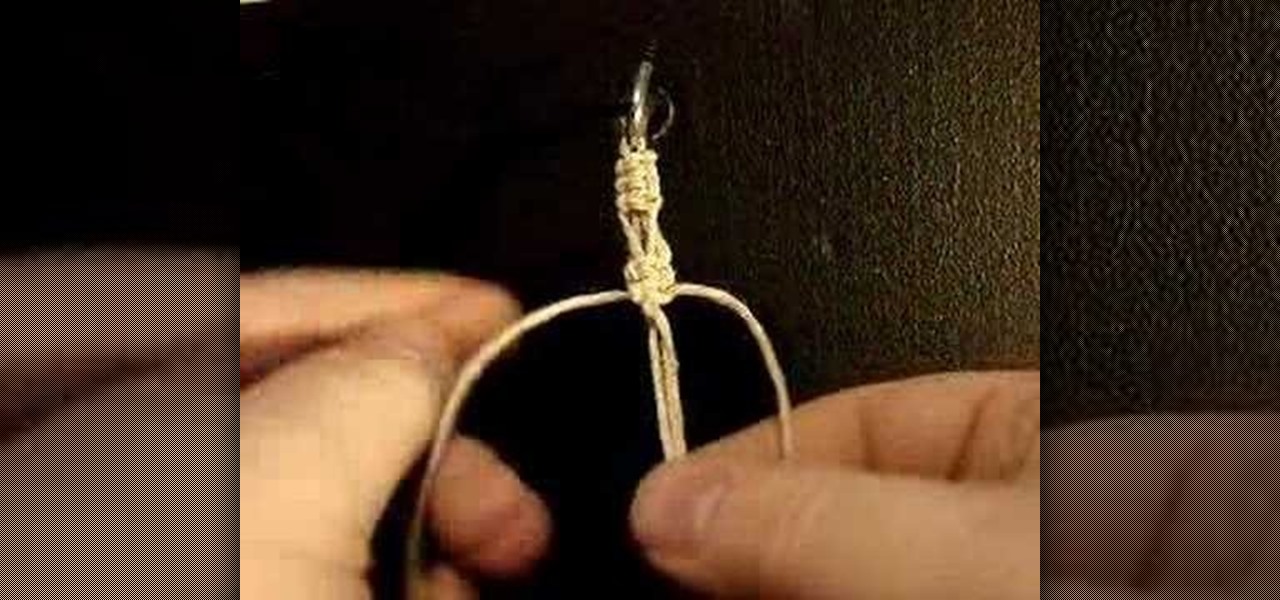
How To: Tie a slide loop clasp for hemp jewelry
Utleyville Hemp teaches us how to tie a slide loop clasp for all your hemp jewelry. First tie three square knots at the top then tie something like a switch knot. First take your knotters and bring them to the inside and tie a square knot or two square knots if you feel like it. Next tie the parts of the bead carrier together. After that tie some more square knots. After you're finished tying your jewelry, finish it by tying an overhead knot, leave a gap, and tie another overhand knot. Stick ...
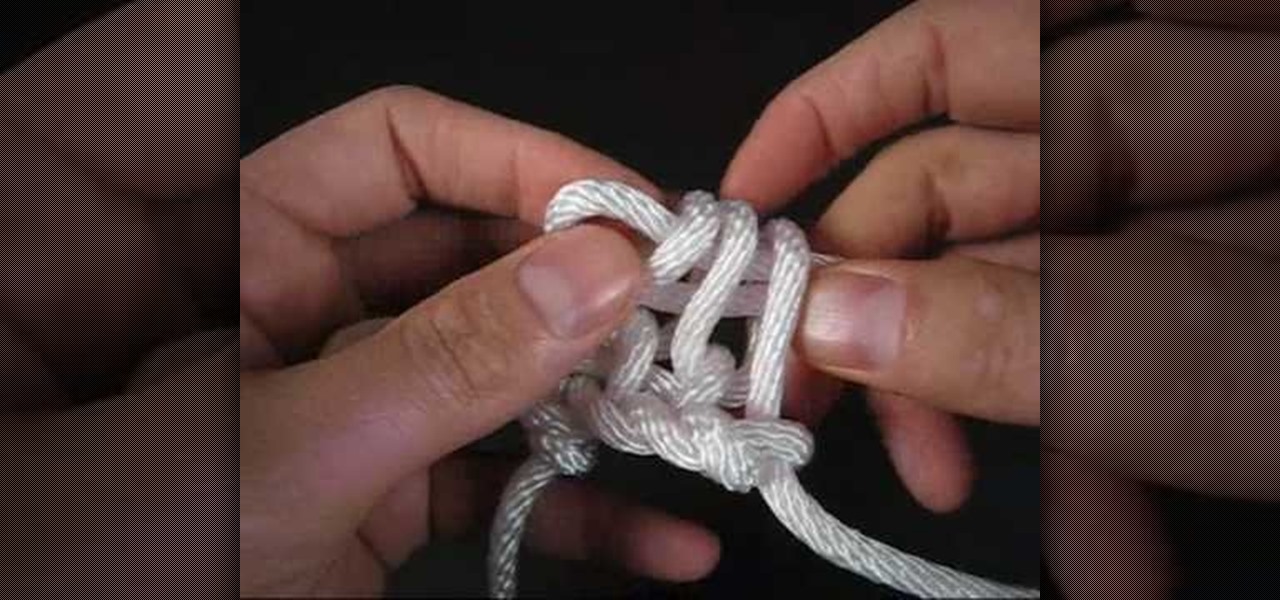
How To: Tie the Slatt's Rescue Belt knot design
In this video TIAT shows you how to make a rescue belt. Begin by making a basic knot in the center, holding that knot on the top of your ring finger and between your thumb begin making loops. To create these loops extend the strand to the right side of the knot straight out parallel to your thumb, with your right hand curl the yarn first up, than forward, than back down forming a circle that you slid over your thumb. Take the tail of the cord and pull it snug. Repeat these circular loops unti...
How To: Make fabric dolls
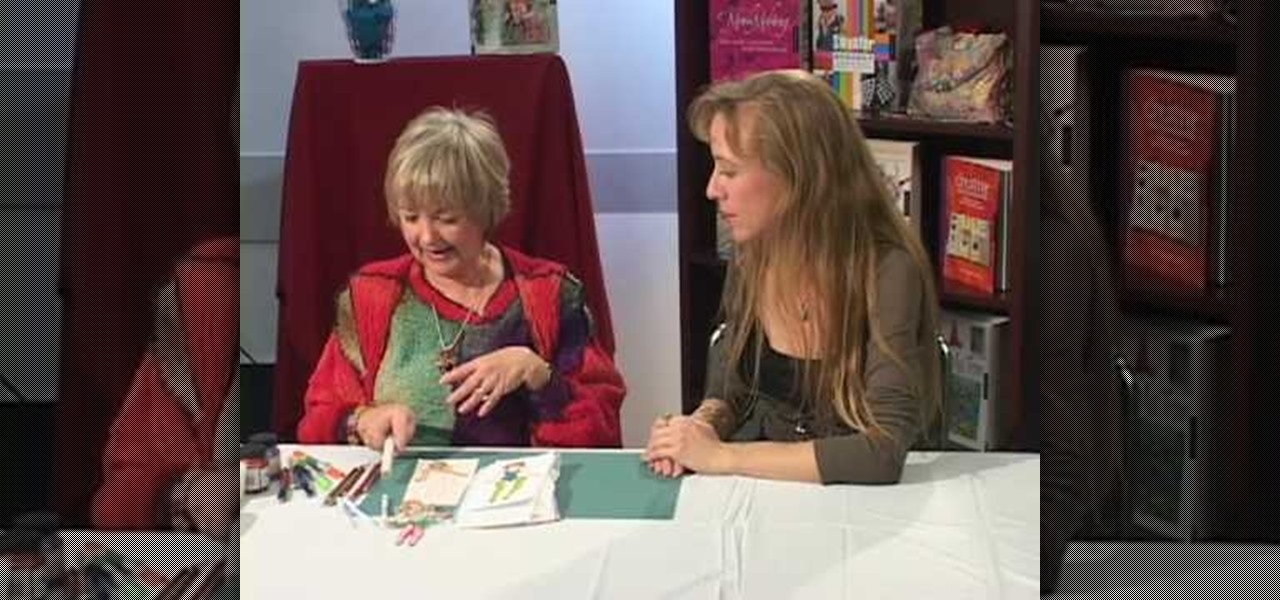
You start off with a printed design on your doll. Use regular paper, but you have to print the doll in individual pieces - body, hands, legs, head. You stick those on the front of hard materials like thick card stock or some thick fabric. Now you can putt the doll together and make adjustments. You put the doll together by using small thumb tacks. It's even better if you have ones that have a rhinestone on them. Once you've done the joints, you can also add a little tutu or some fairy wings. ...
How To: Tie the decorative Basket Knot
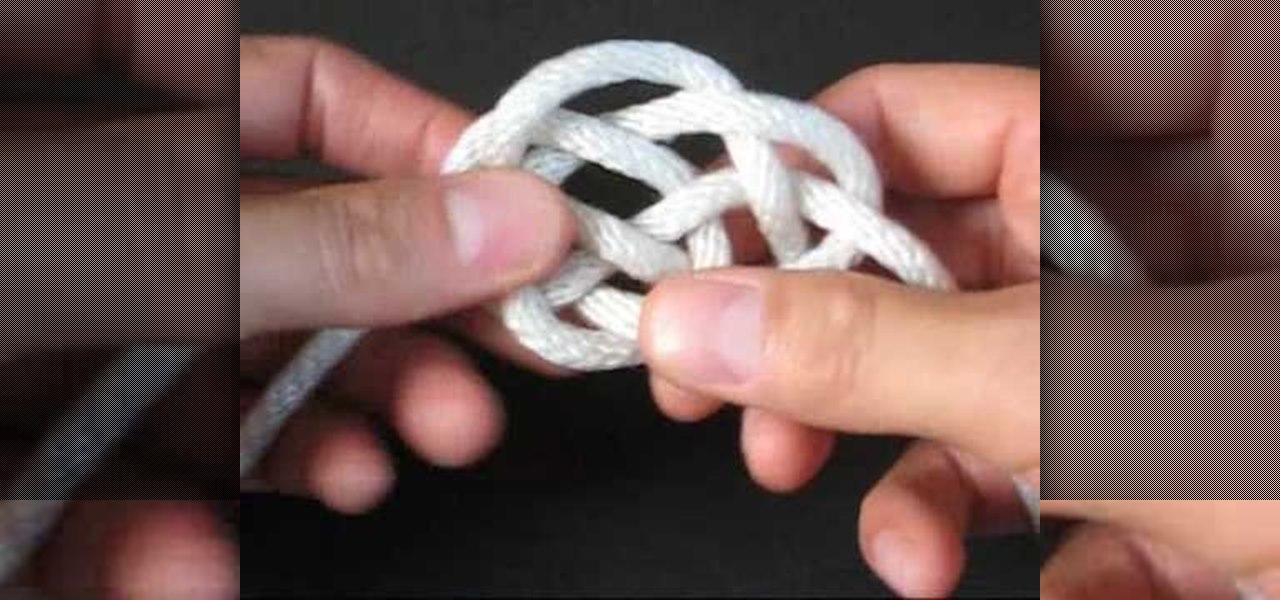
Black Widow Mask In this video, the talented Angie teaches us to apply a Black Widow Mask for Halloween using make-up products that most women will already have in their collection. She uses detailed explanations and shows us exactly what she is doing and why, such as explaining that she's applying black eyeliner to camouflage the false eyelashes she will later be applying. Her application is easy to follow and results in a stunning finishing effect. By following her advice, you too can have ...
How To: Tie the Trilobite decorative knot
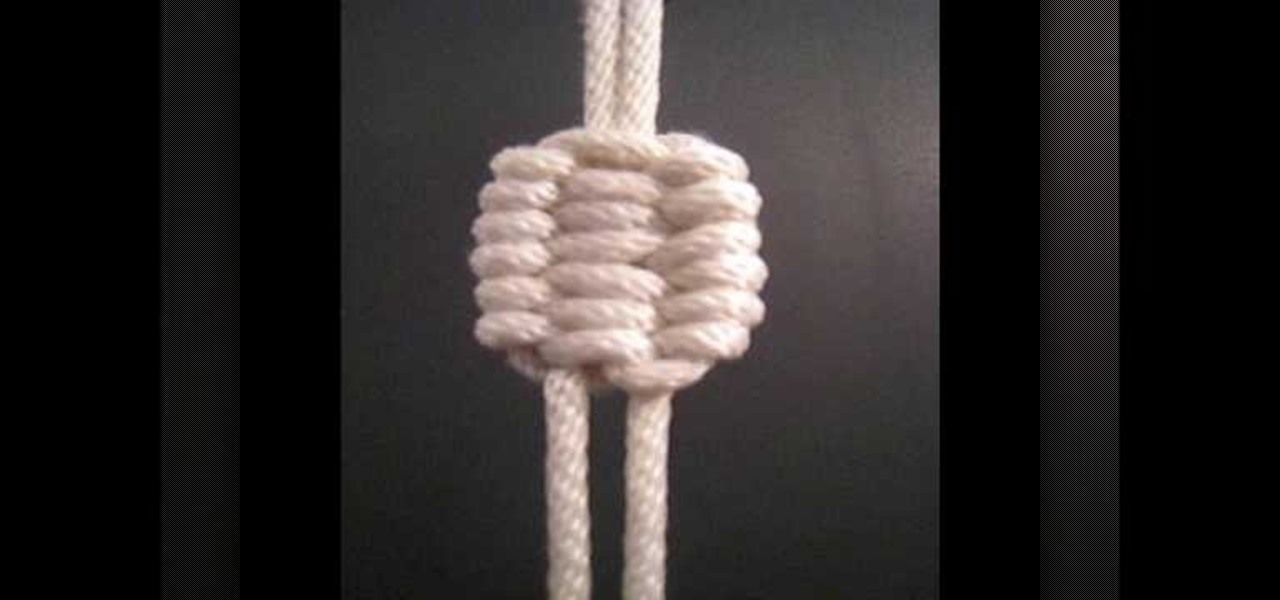
Learn the right way of tying the ‘Decorative Trilobite Knot’, by watching this video. Take a rope and form two bends, as shown. Now pass each bend over a hook to form two loops at the center, resembling number eight. The free end of the rope on the right side is then passed over the lower loop of the eight, to the left. The free end of the rope on the left side is then passed under the rope, just passed from the right. Thereafter, it is passed under the lower loop of the eight, and pulled thr...
How To: Make a polymer clay "screwed up" heart
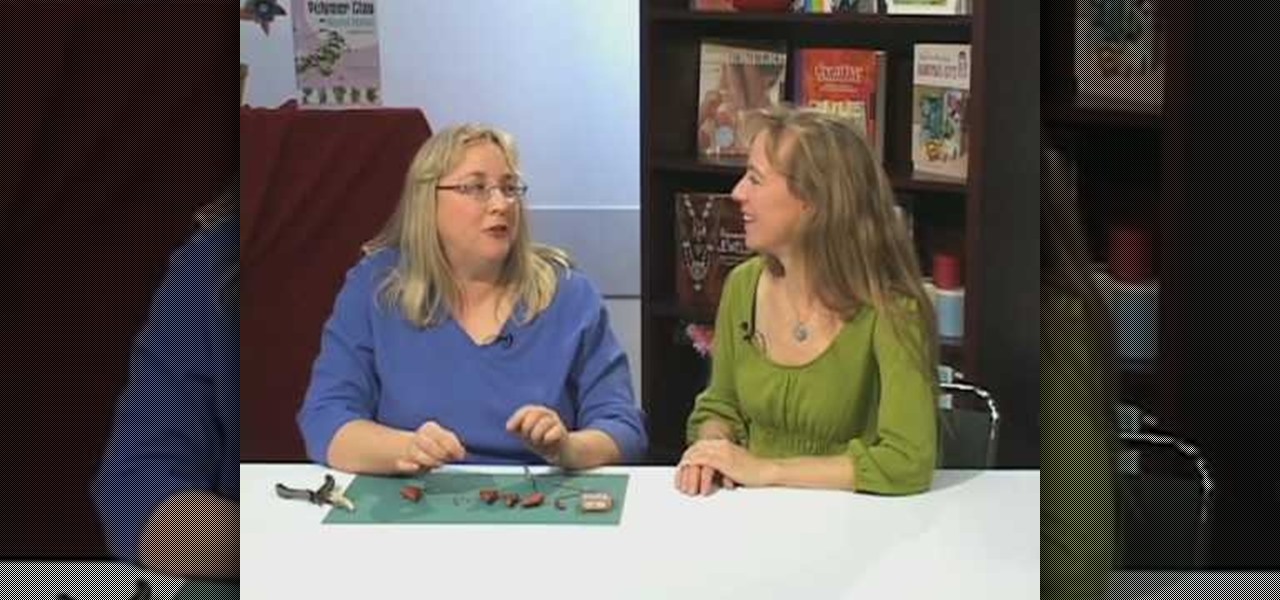
We have all experienced a screwed up heart, and in this episode of "Look Learn & Create" we learn to turn that experience into some cute art!

How To: Make an adorable hair bow for girls
CookiesHugs teaches you how to make an adorable hair bow for girls. For this, you will need a ribbon, scissors, glue gun, a hair clip, and a ruler. Cut 14-15 cm of the ribbon. Put clear nail polish on the ends of the ribbon. Fold the ribbon in half, width wise. Glue one side of the ribbon to the crease in the middle. Do the same on the other side as well. Place glue in the middle and fold the top and the bottom together. Wrap a piece of ribbon in on the outside, in the middle. On the back of ...
How To: Tie the decorative Pipa Knot
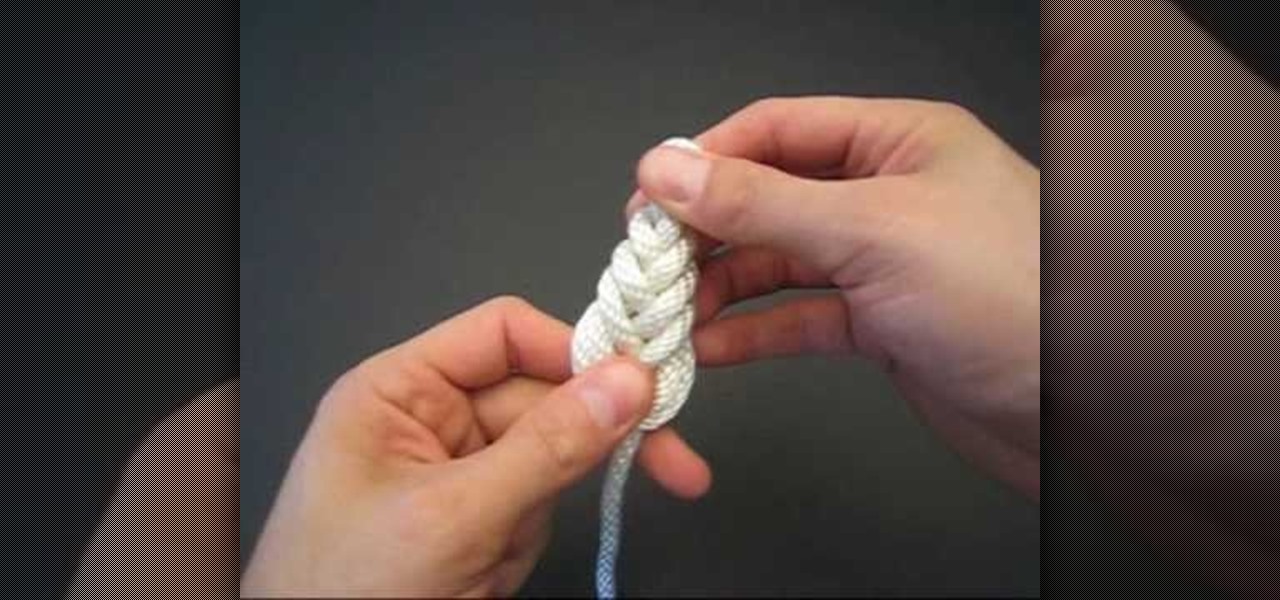
In this Tying It All Together video tutorial, you will learn how to tie a decorative pipa knot. To begin, take a piece of rope and fold so that you have two strands. Create a loop and take the left strand and loop it around the original loop. Continue doing this until you have layers of loop-like structures, gradually getting smaller and folding into one another. The effect is a woven-like structure. To actually secure the knot, fold the end strand into the last loop and then pull this end st...
How To: Make a scene bow
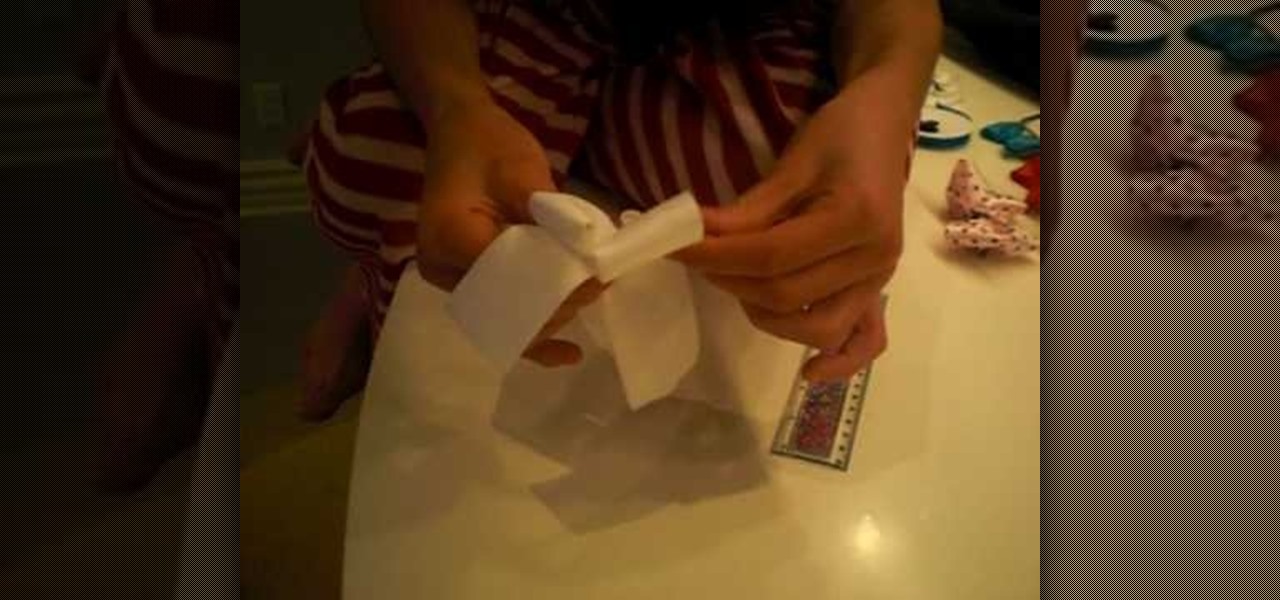
This video teaches the viewer how to make a bow for your hair. You need a few materials to do this including 12 1/2 inches of ribbon that is approximately 1 inch wide, Two to three inches of contrasting ribbon for your center piece, a glue gun, 5 inches of craft wire and a hair clip. You can chose the colors or create several different ones to coordinate them with your wardrobe. They take only about 5 minutes to complete as long as you have all the materials on hand. Make sure to have a pair ...

How To: Make a basic hemp bracelet
In this video, lbedrick shows us how to make an easy hemp bracelet. First get some hemp and two beads. You will need one small bead for the end knot and whatever bead you want for the middle. Cut two pieces of hemp about 40 inches each and bend them in the middle. Where you bend the two pieces, tie a knot. Separate the two end pieces, then fold the right string over the base string, but under the left string. Fold the left string under the base strand, through the right loop, up and over, the...
How To: Make a cool paper box
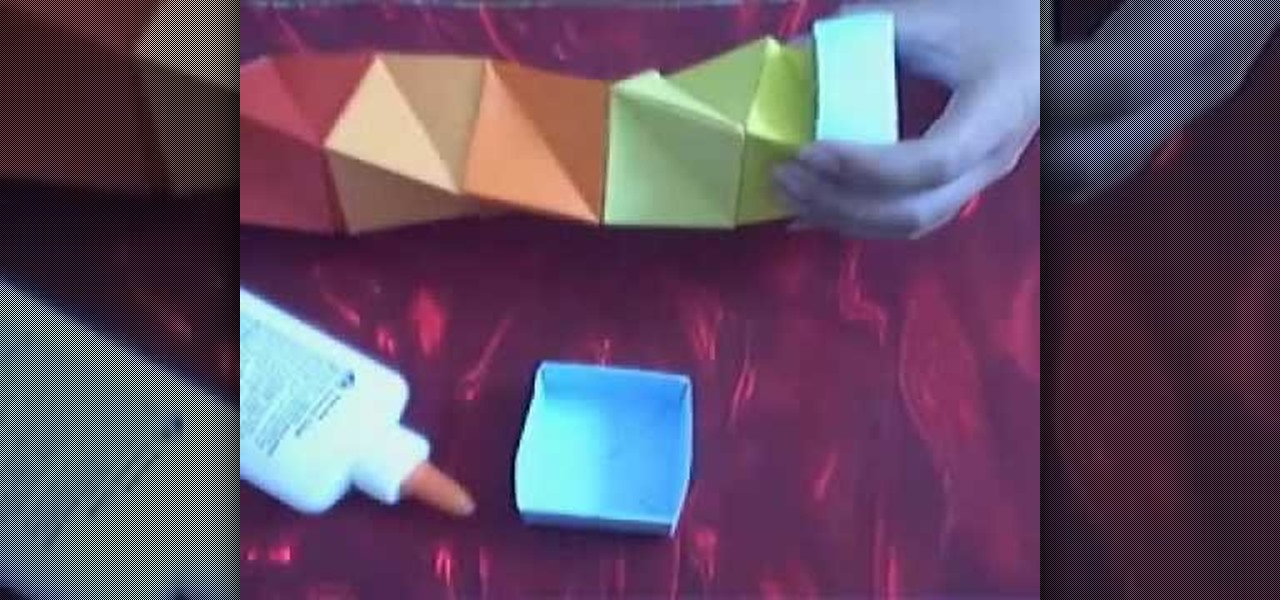
The box requires 2 6"x6" sheets of paper in 12 colors, that is 24 sheets in total, as well as one 6.25"x6.25" and one 6.5"x6.5" piece of paper, both preferably of the same color. Construction will also require some paper glue at certain points. The construction of the box is sectional; there is an outer box, with the inside "concertina" mechanism formed from 12 identical units glued together. The sectional nature of the construction would lend itself well to people working in groups in a clas...
How To: Cast on using a circular loom
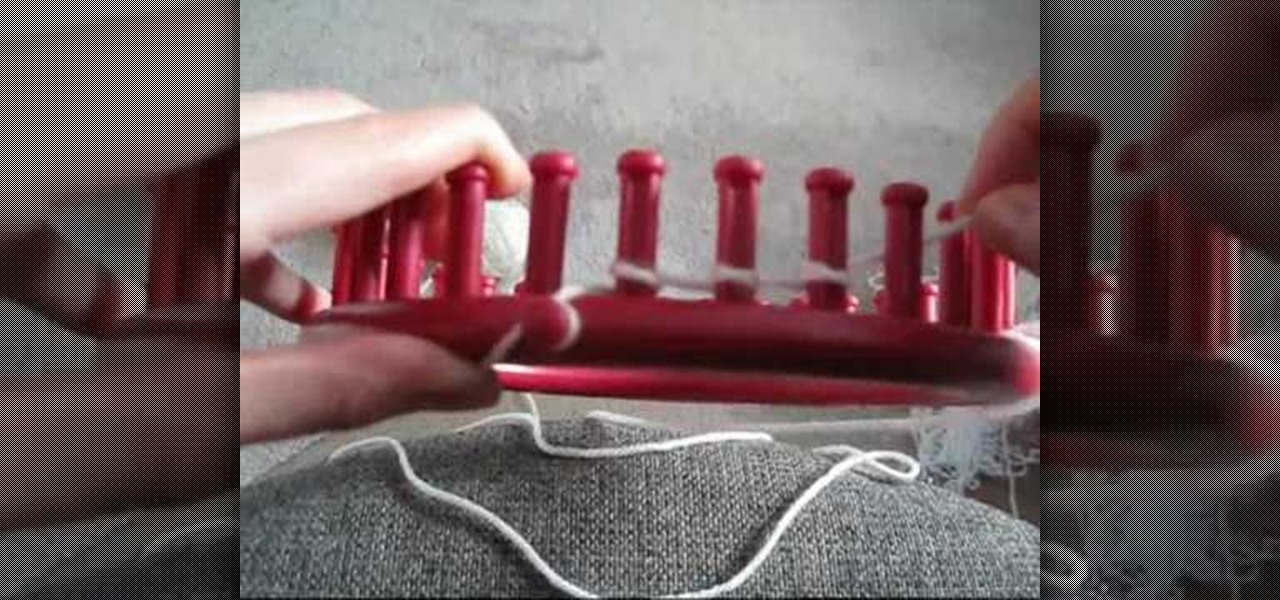
Learn how to cast on to knit using a circular loom. Start at the beginning with an empty loom and wrap your yarn around the beginning peg. Working to the right, wrap the yarn behind each peg, and around in a clockwise fashion. Do the same on the next peg, until you have returned to the beginning again. Repeat this process for the second row. Take your tool, which will come with the loom, and lift the bottom stitch over the top stitch and off the peg. Work all the way around the loom to the be...
How To: Darn socks
We spend all day on our feet and it doesn’t make it any easier having holes in your socks. Next time your sock has a hole you can have a little fun and fix it yourself. Grab your needles and do something nice for your feet today.

How To: Make a cool looking paper box
In this video you will learn how to make a cool looking paper box in a couple of minutes. To make the box you need to follow these steps: 1. You will need to bend the sheet of paper exactly like in the video.
How To: Use molding UV resin to make jewelry
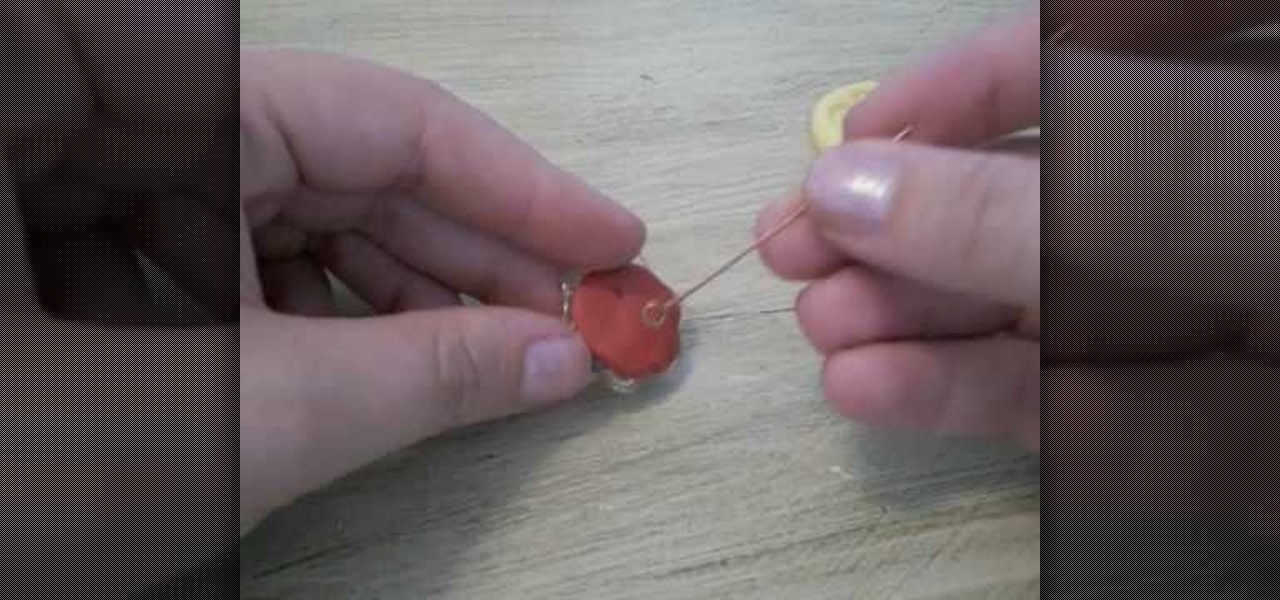
She begins by taking something she has molded with Amazing Mold Putty. She uses Magic Gloss resin which cures with UV light to fill the silicon mold and sprinkles some glitter onto the resin. She emphasizes that she's doing this indoors, because the resin will harden when exposed to light. She takes it outside to cure in the sunshine and says it will take about 15 minutes to cure. When it's done, she rolls a ball of Pardo clay. She pops the molded piece out. She presses the molded resin piece...

How To: Make a great looking paper box
In the video, a boy named George explains how to make a paper box for wrapping gifts in it. For that, first we need two square color papers of any color, and a pair of scissors. In the box making procedure, first place a paper on table, face down. Now fold it diagonally, twice. Unfold it. Then fold the sides twice, to make regular square shapes. Unfold it. Mark the center part using a pen. Cut the paper leaving two folds on four parts, fold it in. Then fold the rest of the part of the paper o...

How To: Make a beautiful paper flower
You need several materials such as florist wire, floral tape, Styrofoam forms, and glue, to name a few. You must 1st obtain a pattern for the petals and leaves. Then you must cut out each individual petal and leaf. Each petal and leaf requires 2 separate cut outs. The video also directs you to the website where you can purchase one of several of their books for 19.95. There are two books to choose from one about the art of paper flowers and the other is a how ...

How To: Make an origami ninja star in 8 steps
Real ninja starts are dangerous. But you can have some much softer and safer paper ninja starts to play with. Making them might just be as fun as playing with them. If you’re not feeling like a ninja, you can make them as decorations or to give to friends.
How To: Make a bookstore quality book at home
The first step is to print 4 full sheets of paper, folded in half to make 8 physical sheets of paper, or 16 possible printed pages. In the video, the lady only prints on half the pages, and puts page numbers on the others. She then draws evenly spaced holes on the binding of each signature, and sews each of the signatures together. You then start sewing signatures to each other starting from the front of the book to the back of the book. You sew the binding of each adjacent signature with a p...
How To: Save money on your scrapbooking
The cost of scrapbooking can really add up. You can still create wonderful scrapbooks to artistically document your memories by shopping smart and cutting costs by being resourceful. You can use things you already have around the house.

How To: Tie a decorative snowflake knot
This video will show you how to tie a thick string or cord into a snowflake-like knot. Be sure to take your time, as there are a lot of loops to make. Also, you'll have to lightly pull the knots into shape a few times to retain the snowflake style. The instructor takes extended pauses to ensure that you can follow along easily. Near the end of the video, there is also a variation on the last few steps to make a slightly different knot. Whether you're a pro or novice at knot tying, you'll be m...
How To: Make a heart shaped window card
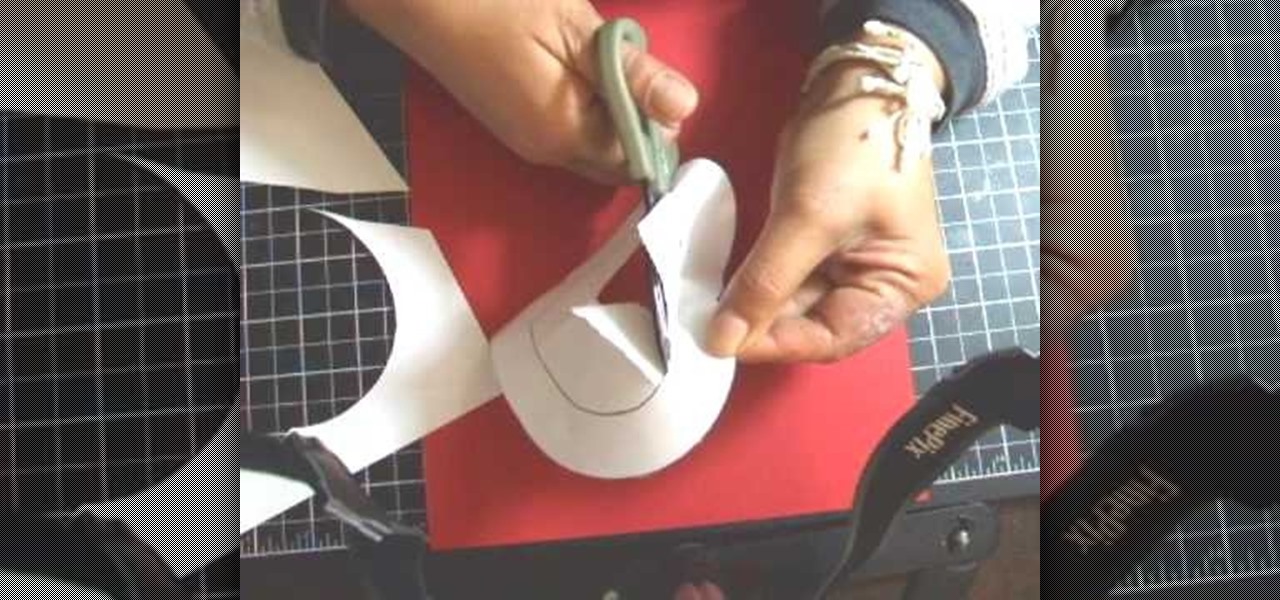
The template for this heart-shaped window card can be found at [www.stampininspirations.blogspot.com stampininspirations.blogspot.com]. You will need the template and cardstock and the other usual materials needed to make a card. You can re-size the template to about 5 1/2 inches across by about 5 1/2 inches high. Cut out the heart and remove the center heart as well. Take an 8 1/2 by 11 inch piece of red card stock and fold it in half, then trace the inside and outside of the heart-shaped te...
How To: Make an American flag out of popsicle sticks
Summer is coming so start saving your popsicle sticks (or more conveniently buy them from a craft store) to make your very own mini American flag. This is a great activity to take into the class room or just to pass the time on a summer’s afternoon.

How To: Craft a duct tape tie
You have paisley ties, you have striped ties, now try a duct tape tie. Duct tape comes in a variety of colors and with the help of one of your boring old ties as and outline, you can have an imaginative new tie that you can be sure no one else has.
How To: Cut a hooded sweatshirt
You love your hooded sweatshirt but starting to feel like a weak person is strangling you all day long? With a quick snip with the scissors you can have a perfectly fitting sweatshirt and never have to worry about unnecessary discomfort again.

How To: Hem a skirt
Most of us aren’t lucky enough to get clothes tailored for our bodies so to get your skirts just the right length you may need to change the hemline yourself. In one evening you can change a mediocre skirt into your favorite piece of clothing.

How To: Make a paper box in under 5 minutes
This origami box looks rather simple to make. You take a piece of paper and fold it into a triangle. Be sure to make the fold visible to see. Take the extra piece from the triangle and fold it up so as to form another crease. This extra piece will be removed in order to create the box. After you remove the extra piece refold the paper along existing fold to reform the triangle. Then fold the triangle in half, making sure that the edges meet perfectly. Then unfold the paper and take the corner...
How To: Do the polished stone technique when scrapbooking
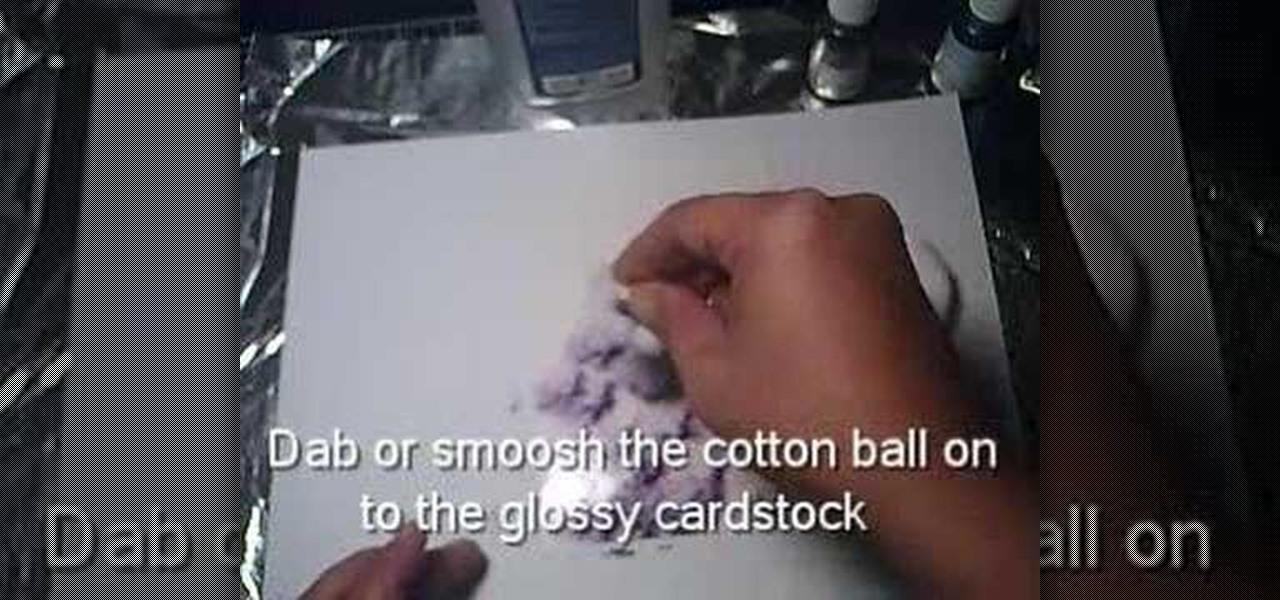
You will need: white glossy card stock, 2 ink refill colors, an optional metallic ink refill, cotton ball and rubbing alcohol.
How To: Fold a paper fortune teller
Predicting the future is always cool.. what if you could do it with just a piece of paper? With this tutorial, learn how to fold an origami fortune teller and at least pretend you can predict what will happen! All you need is a single sheet of paper and some pens or markers to record your fortunes and you are on your way. This is a great little thing to make anytime you are bored with friends - work, school, on the bus, anywhere!

How To: Make homemade shower jellies
If you like Lush Shower Jellies, but don't like the price, then making your own shower jelly products at home is the option for you. Shower jellies make washing exciting and invigorating, so watch this how-to video to learn how to make homemade shower jellies.
How To: Make a paper fortune teller cootie catcher
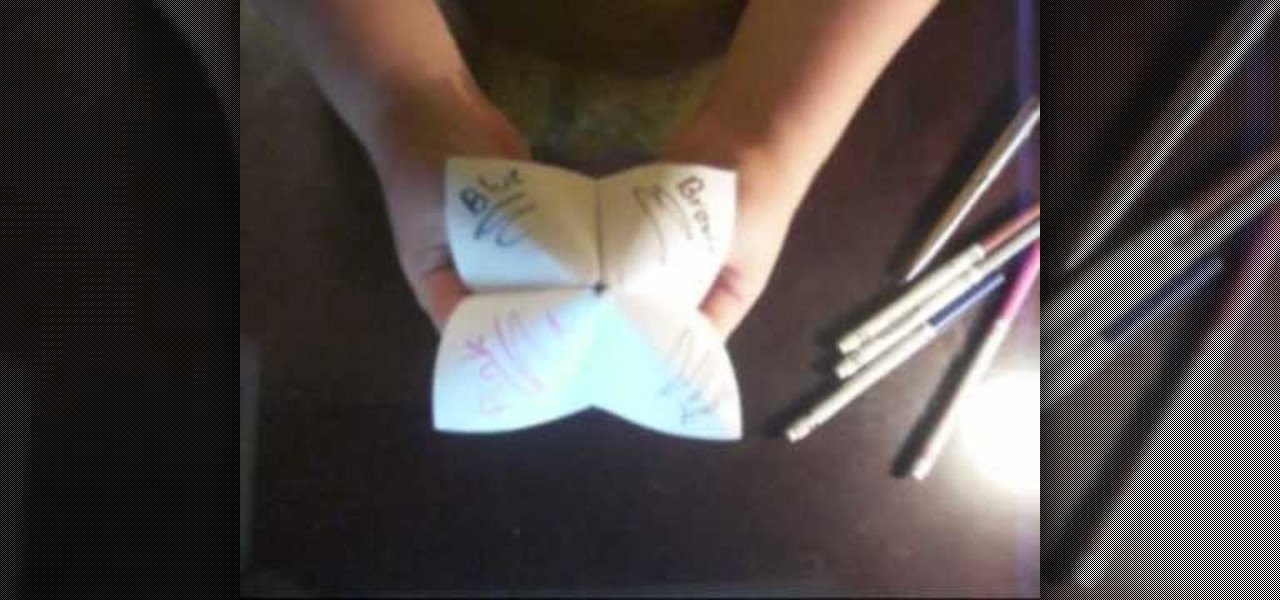
In this video tutorial, viewers learn how to make a paper fortune teller, also known as a cookie catcher. Begin by folding the paper into a right triangle and cutting off the bottom. With the squared paper, fold it horizontally both ways. Now fold the corners of the paper into the center. Flip the paper over and fold the corners of the paper into the center once again. Fold it horizontally in half. Now fold it diagonally and horizontally to make it more flexible. Finish the fortune teller by ...


