Active Arts & Crafts Posts


How To: Origami a square box
If you want to master your skills on origami, you should watch this video. How to make an origami paper box: Find a piece of square paper. Crease the paper in half lengthwise and then again in the other direction. Unfold the paper which should be divided into four sections. Take a corner and fold it up to the center of the paper. Repeat for all four corners. Ensure that the tips all meet in the center for a smaller square. Fold one side of the square up to the center of the box. Unfold and re...
How To: Make a memory-wire bracelet
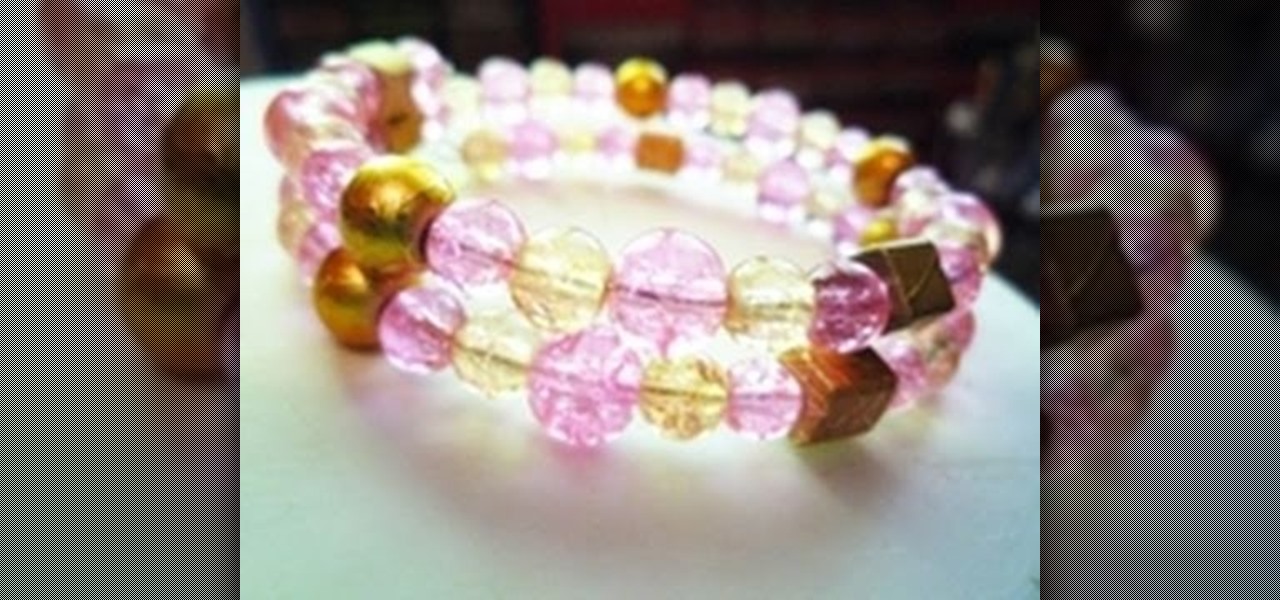
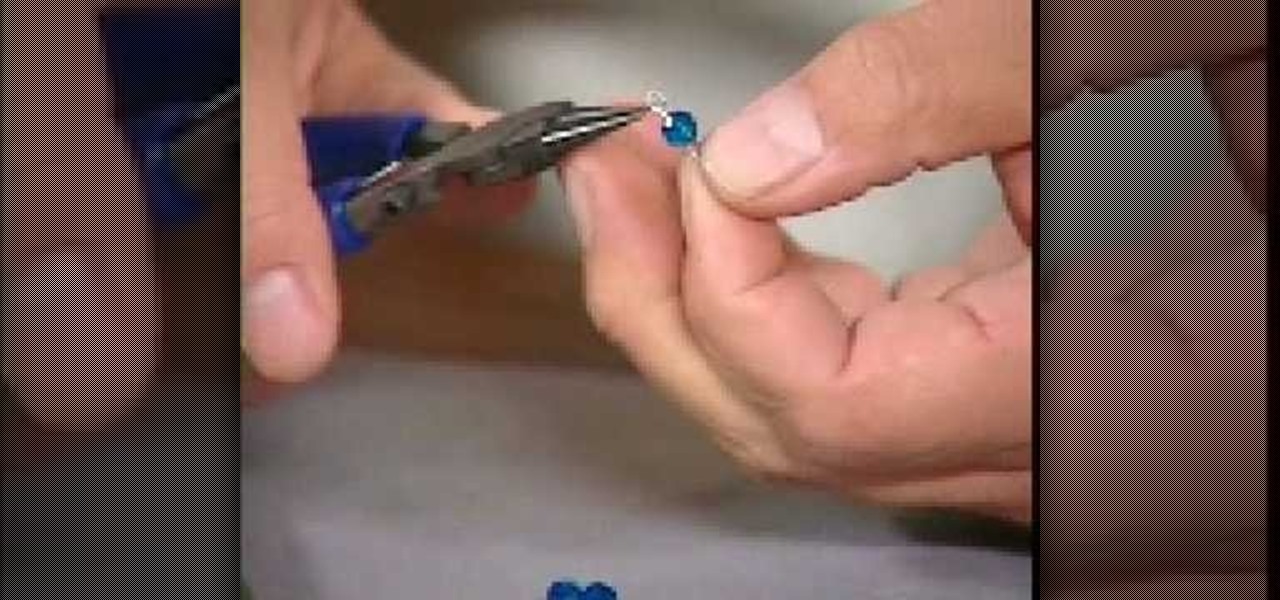
In this video tutorial, viewers will learn how to make a memory wire bracelet. This video provides all the materials required to make the bracelet. The required materials include a memory wire (bracelet size), heavy duty wire cutters (memory wire shears), round-nose pliers and several beads. First, determine how thick you want your bracelet to be and cut the wire according to that size. Now, layout the design of your beads; make a loop on one side of the wire and add the beads on. Once finish...

How To: Make a pop-up snake
Learn how to make a pop-up snake in minutes and surprise your children. 1) Get two pieces of paper of the colors you want. Also get a CD or something similar. 2) Get a paper and fold it in half. 3) Draw a circle on the paper using the CD and a marker or pen. 4) With the help of scissors start cutting the circle in a spiral fashion. 5) Fold the other paper in half. 6) Glue the tail of the snake on one side of the paper and glue the head of the snake on the other side. 7) You can use the other ...
How To: Use printer paper to make a paper airplane
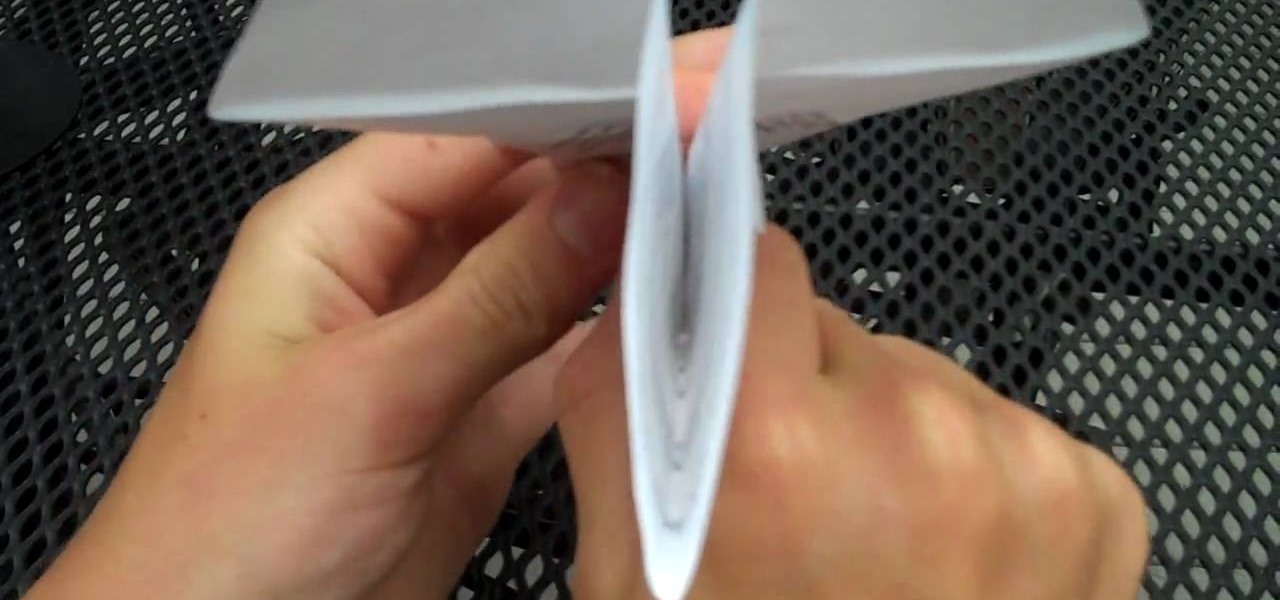
Learn how to use printer paper to make a paper airplane. Find a piece of paper shaped like a rectangle. A sheet of computer printing paper or school notebook paper is a good size and weight. Lay the paper on a table with one of the long edges closest to you. Fold the paper in half lengthwise. When the two edges match up, use your thumbs to make a sharp crease along the fold. Take the upper left corner of the top layer of paper and fold it diagonally down toward the first crease you made. When...

How To: Make a well balanced paper football
This video helps us learn how to make a well-balanced paper football. Get a square paper. Fold the paper in half. Fold it again in the same direction. Fold the paper diagonally to make a triangle. Flip the triangle up so the point lines up with the left edge. Continue folding triangles up the paper until you reach near the top. Fold the top corner down so that the two points meet, making a triangle in the opposite direction. Tuck the extra paper into the pocket. Now you have a paper football.
How To: Thread a sewing machine step by step
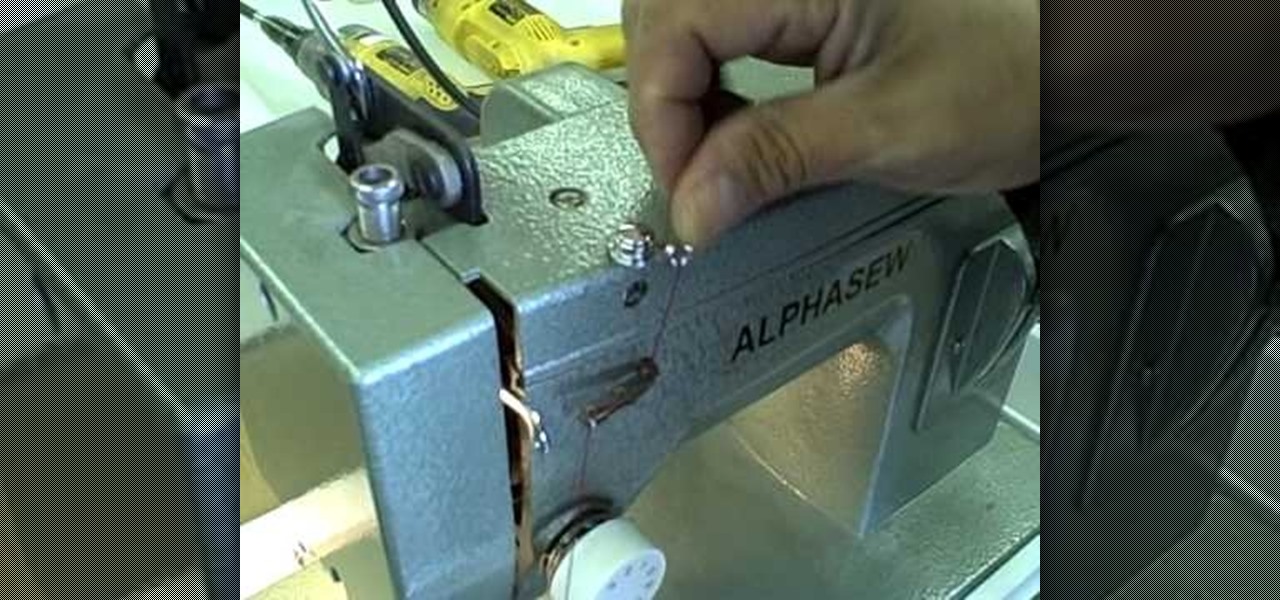
This video shows us how to thread a sewing machine step by step. To thread a sewing machine: Place the presser foot in the upward position. Place a spool of thread on the spool holder. Traveling from the spool holder, across the top of the machine, look for a minimum of one thread guide. Insert the thread in the thread guide(s). Now look for a tension mechanism. Bring the thread downward to the tension mechanism, slip the thread between the metal disks of the tension mechanism, and travel bac...
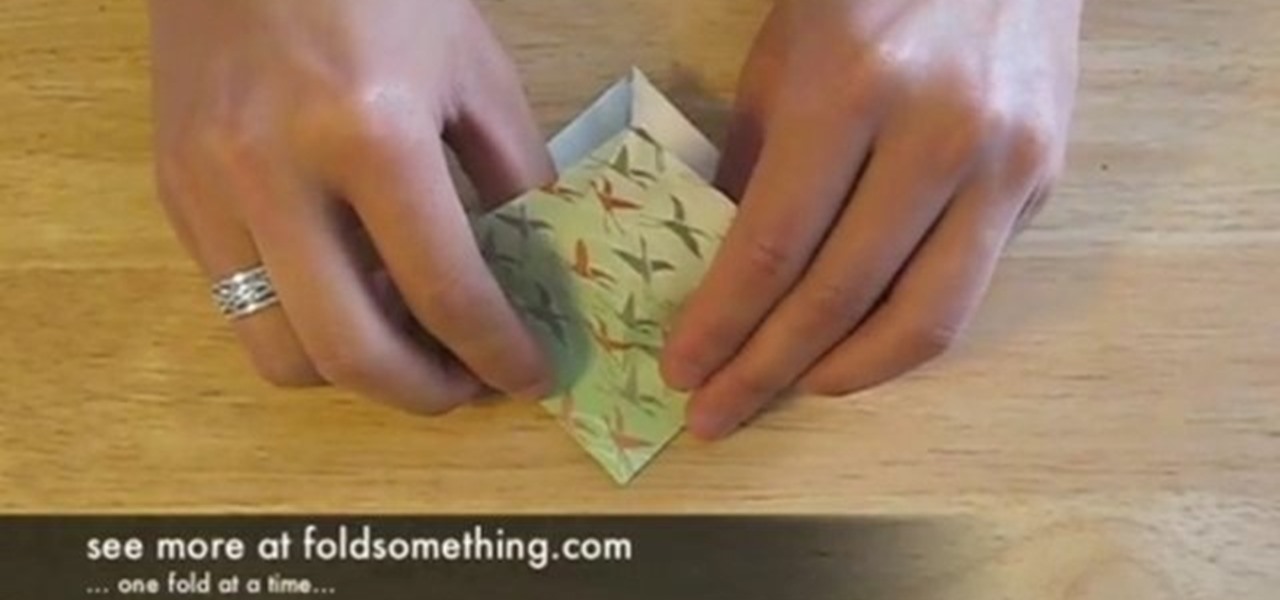
How To: Fold an origami bird base
This tutorial video shows how to make an origami bird base. As you might guess from the name, the bird base is used when making the traditional origami crane; however, it can be used as a starting point for other origami patterns as well, so it's good to learn how to make this fold. Follow these steps to learn how to fold an origami bird base.
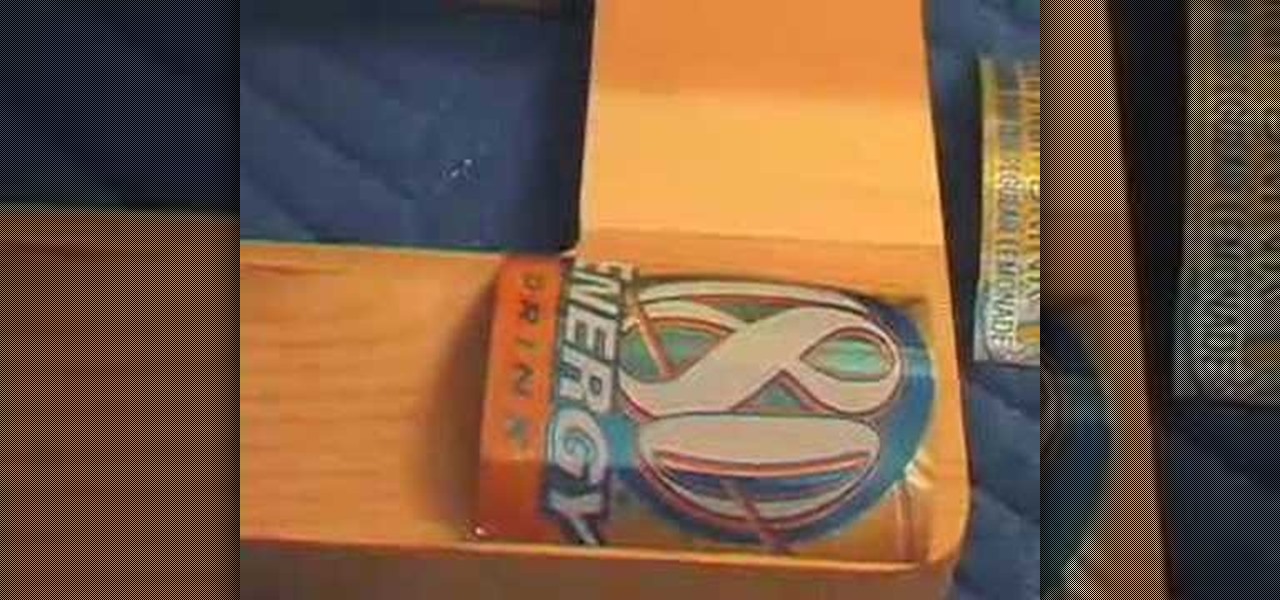
How To: Make a tin frame out of soda cans
How to Make a Tin Frame with Soda Cans You don't have to throw out your old soda cans anymore. Laura and Claiborne show how to recycle old cans into a craft project that creates a frame. You will need a wooden frame, soda cans, 5/8 of an inch nails, tin snipers, and a glue gun. While cutting the cans, make sure to be careful to avoid cutting your hands. Smaller square scissors tend to be more effective at cutting the cans. When cutting, try to cut the can in a rectangular shape. Try to avoid ...
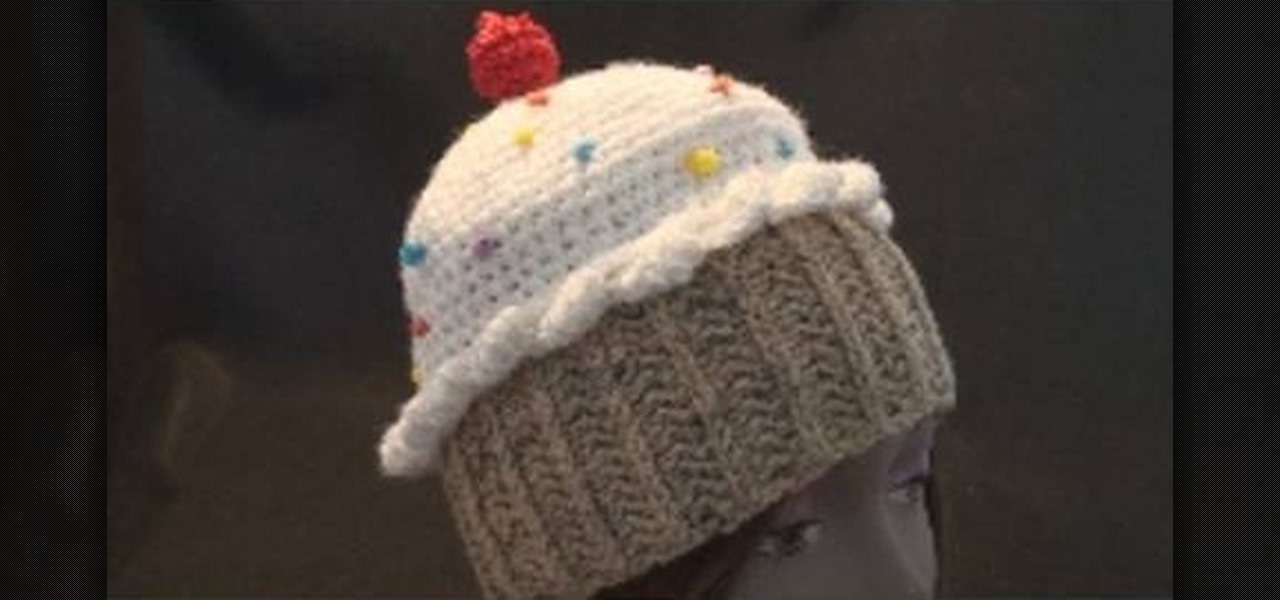
How To: Crochet a cupcake hat
Are you interested in creating your very own crochet hat from scratch? This video tutorial by Teresa is an excellent treasure for anyone that wants to learn how to crochet a cupcake hat. Even those inexperienced crocheters can learn how to make a cupcake hat easily by following her detailed instructions. So get out your favorite colored yarn and wand and turn your attention to Teresa's vital info. You'll learn something new and you'll have something to show off to your best friends in the end!

How To: Wind a center pull ball of yarn
A classic demonstration on how to wind a center pull ball of yarn. take the end of the yarn and wrap it around Your fingers. Keep wrapping over the first loop to shape it like a ball but keep the first loop sticking out. When everything has been winded up, just pull the first loop out and start making a crochet or whatever project You may want to use Your yarn with. Follow these steps and You won't worry a again of tangling Your yarns.
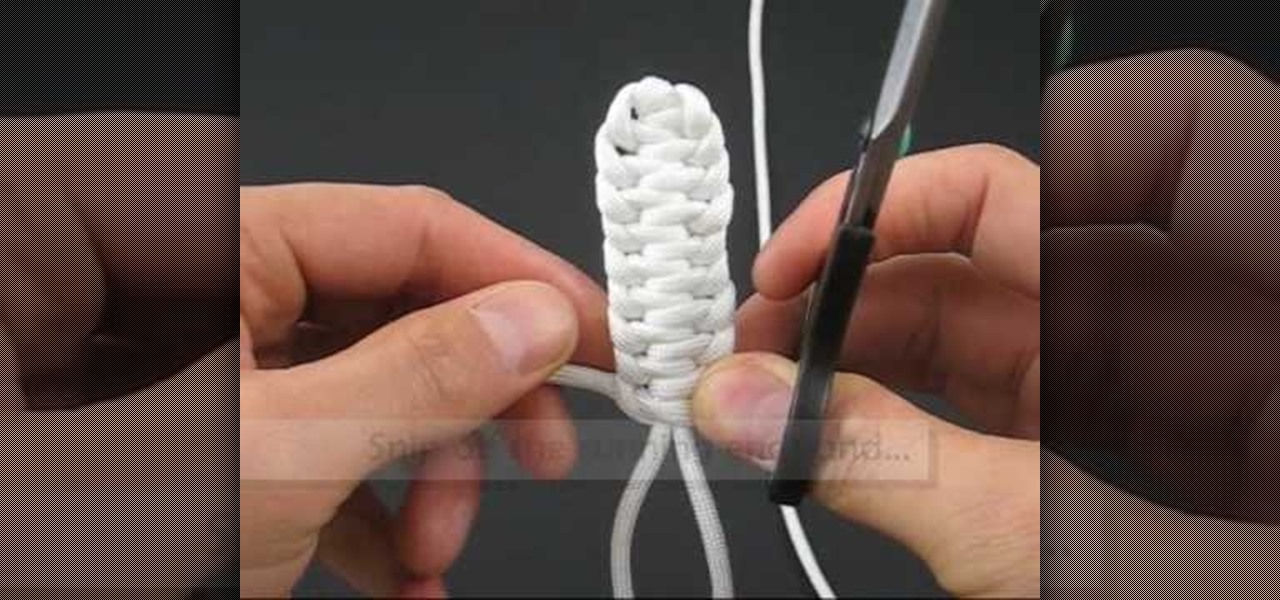
How To: Tie single Genoese knot bars
This video describes the technique used to tie a single Genoese bar knot. The presenter shows what the completed knot looks like, and then shows the technique used to tie the knot. The process for tying this knot is similar to braiding as the ends of the string are looped around and through the previous section. Each segment must be pulled very tight or the knot will fail to reach the correct shape. The hitches continue until the desired length of the knot is reached at which point the excess...
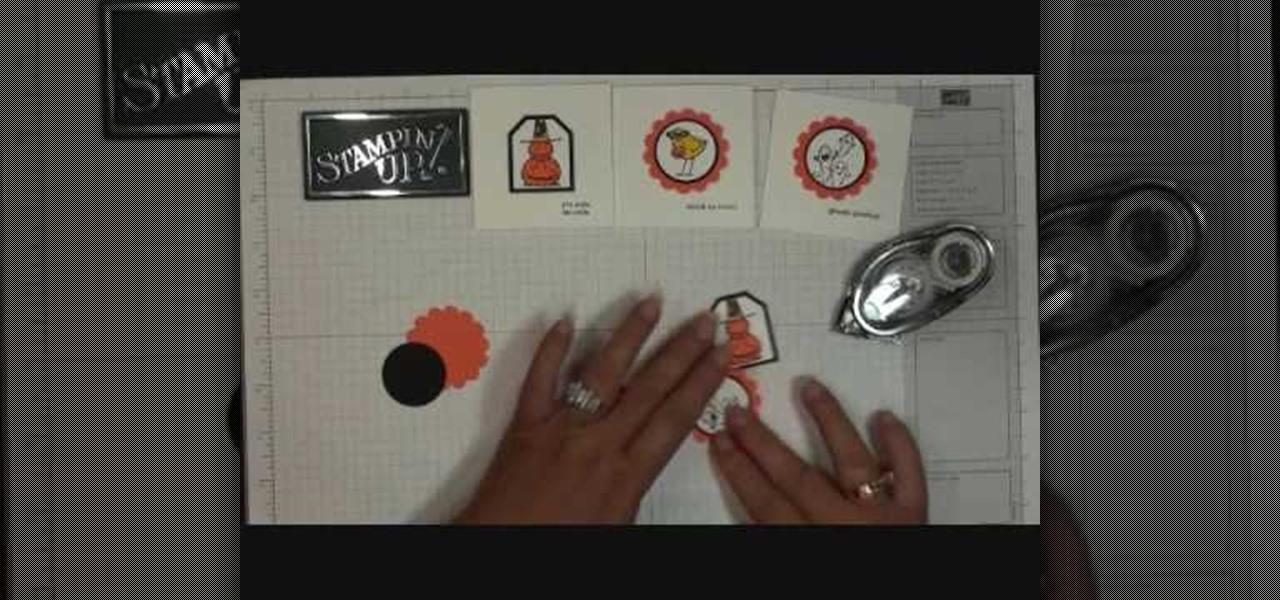
How To: Make fall themed thank you cards with Stampin' Up!
We learn how to make a fall themed thank you card with Stampin' up. The Stampin' up set she used today was the Halloween theme. Firstly cut out your stamps. Then choose the colors of your liking to color your stamps with. Thereafter, cut out your stamps in any design. Continue on with cutting a rectangle that is just a little bigger than your stamp. Glue the stamp to the orange rectangle for a background. Then you are done, but you can add even more to your stamp with glitter and sparkles.

How To: Make a great bow from a ribbon
Butternutsage offers her technique for tying a perfect bow in a ribbon for use with cards or gift wrapping. You will need a length of ribbon four times the area you're going to cover. First, make a loop and pinch it with your fingers. You should "pucker" the ribbon as you pinch it, to achieve a smooth knot. Take the other end of the ribbon around your loop, as if you're tying your shoes. Push the tail end of the ribbon through your ribbon to create another loop, just like tying shoes. Pull on...
How To: Make a paper water lily
1) Make sure the paper used to make the origami water lily is a true square. One can use the paper one happens to have on hand, but anything heavier than lined notebook paper is best. 2) Work on a flat and hard surface so that all creases and folds are precise. 3) Place the paper square on the flat, hard surface so that the edges are facing in every direction. Be sure to have the colored side down if the paper is two sided. 4) Fold the paper in half from top to bottom. Crease the fold then un...

How To: Make the most effective paper airplane
This quick video will teach you how to make the most effective paper airplane. Follow these steps to make a very effective paper airplane: You will need a sheet of computer paper. Fold it in half and open it back up. Fold in the top corners. Fold the top half down. Fold the corners down and fold up the little area in the middle to hold down the flaps. Fold it backwards and fold the edge of the wing to the bottom of the plane. Repeat for the other side. Hold your plane at the triangle, and thr...
How To: Make a spinner card with Stampin' Up!
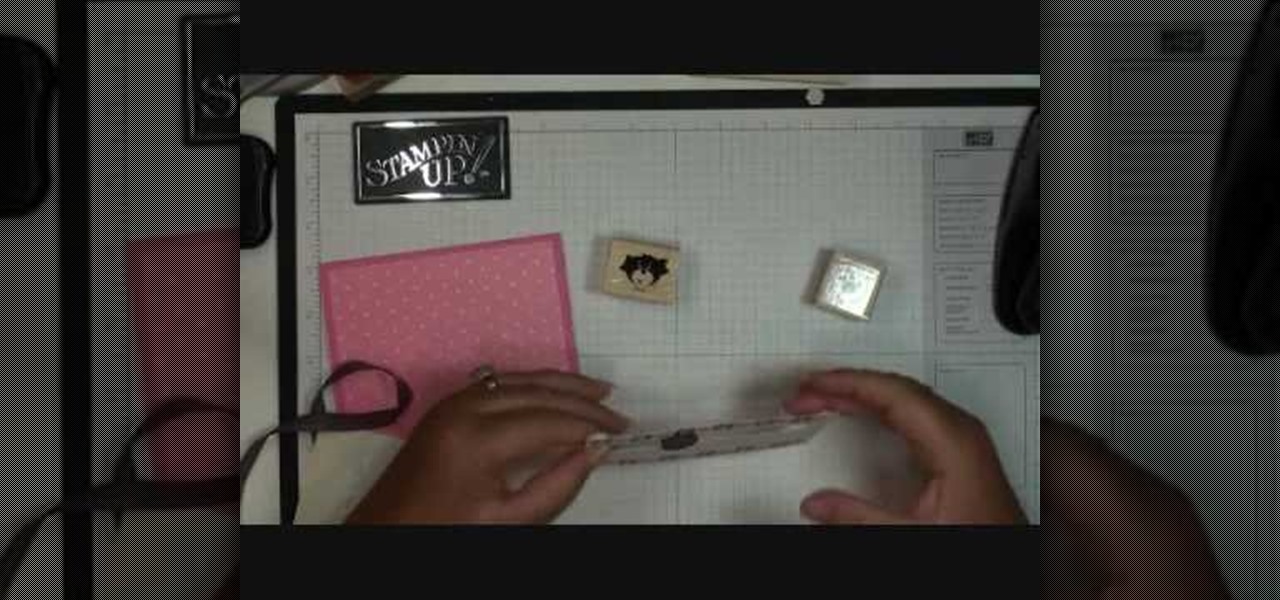
To make a Spinner Card you need some essential tools like, Paper Cutter, Scissors, Stamps, 1/2" Circle Punch, 2 Pennies, a Stamping Dimensional and any embellishments. Have the card stocks one for the card part and the other for the front of the card. In the first step, take the circle punch, flip it over for easy viewing. Push the paper all the way in and to the farthest left without going out of the paper. Punch your 1st hole here. Do the exact thing on the right side of the 1st hole. It wo...

How To: Make a nut cup with the Cricut
Materials you need to make a nut cup: 1) A thick sheet of paper; 2) a mat; 3) a Cricut Machine.

How To: Use proper technique in order to make a paper box
Learn how to make a paper box with the proper technique. -Start with an A4 size paper. -Use folds and a paper cutter to turn it into a square paper. -Fold the square paper in half, make sure the crease is good, then fold in half another time. -Make sure the creases are good and open the paper back to the square shape. -Now fold each corner in towards the middle. -Now take one side and fold it halfway towards the other side. -Now do the same with the other side. -Open the paper back up, so tha...
How To: Make a "Berry Christmas" card with Stampin' Up!
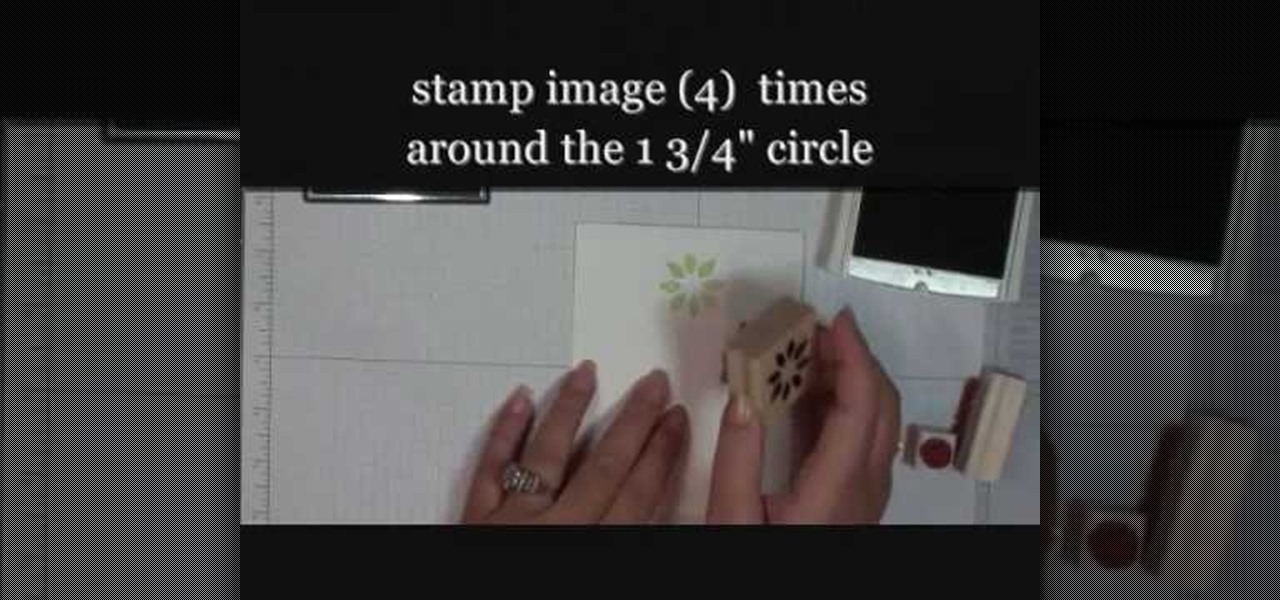
Learn how to make a "Berry Christmas" wreath card with Stampin' Up! Making a wreath card is very easy and simple to make. Use whisper white paper cut at 4 1/4" x 11" and cut a whisper white 1 3/4" circle punch which will be used as the base for the wreath. Place the circle in the center of the card. Use the Berry Christmas stamp set from the Holiday Mini. With the Certainly Celery ink pad, stamp image 4 times around the circle. Then, remove the circle. Fill in the circle space with more image...

How To: Make a paper heart
If you want to know how to make a paper heart to give to your love ones, you should watch this video. To make a paper heart: Fold your paper hotdog style twice. Fold these two sides together, making a rectangle half the length. This will help you avoid a lop-sided heart. Fold one of these sides into the center crease, making a right angle. Make sure the side you fold that toward is the open part of the hotdog. This will help you when tucking it all in at the end. Fold the other side to mirror...
How To: Make a chain mail bracelet
You can learn to make a beautiful chain mail bracelet by watching this video. The bracelet is easy to make and affordable too. Start by sliding two silver jumper rings onto a paper clip. Two copper jumper rings are passed through the silver rings and twisted to complete the loop. Next, two silver rings are passed through the copper rings and twisted to complete the loop. Next, place the silver rings on either side of the copper rings and pull them up from between the copper rings, as shown in...
How To: Make an owl Halloween card using Cricut Storybook
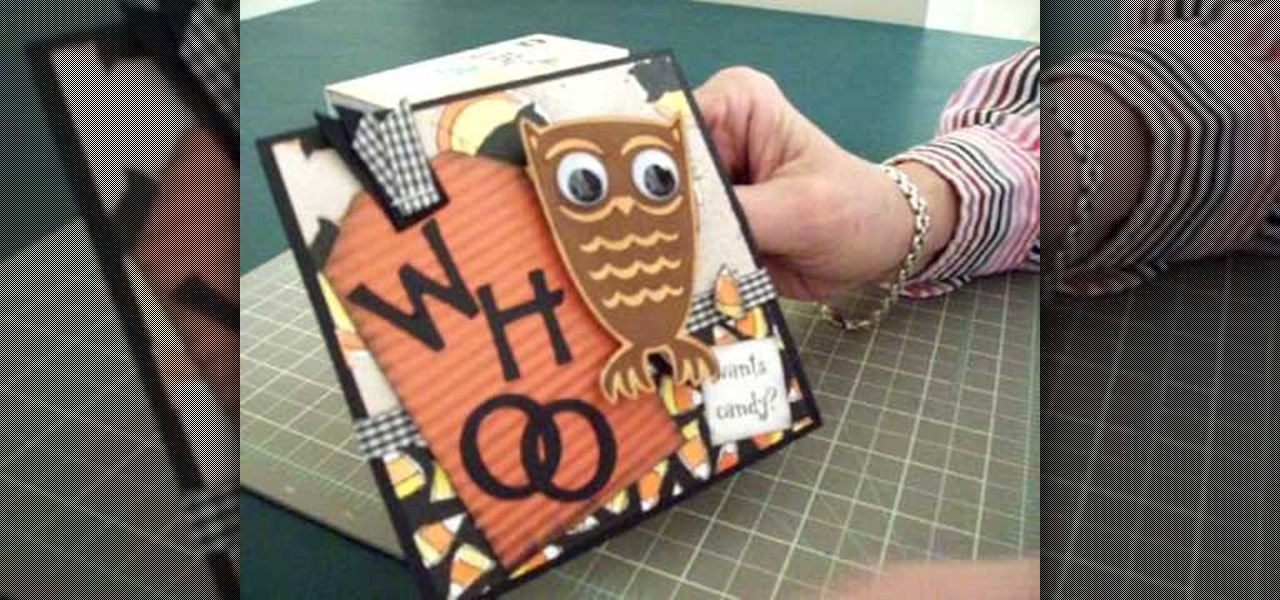
Learn how to make an owl Halloween card using the Cricut Storybook cartridge: Mary explains how to make a 5 x 5 inch square Halloween card in a few simple steps. On page 34 of the Cricut Storybook manual you'll find the owl. Cut the owl at 3 inches out of the darker brown by hitting shift and the owl. Then cut the owl out in the shadow and layer it. Give the owl big google eyes. Cut a tag out of Tags, Bags, Boxes and More at 4 inches. Then run it through the crimper. Then cut the letters W-H-...

How To: Make a Cricut popsicle birthday card
Cardcrazy09 teaches you how to create a popsicle birthday card using Cricut. You'll need the Doodlecharms cartridge for this. Start with a white piece of card stock, then apply an orange piece on top, slightly smaller than the one below. On top of that add a smaller piece of card stock with circles on it. This is the base for the card, you are ready to move on to the next pieces. You cut a small piece of orange card stock and then on top of that glue a smaller piece with the text message. Glu...
How To: Work with paper mache
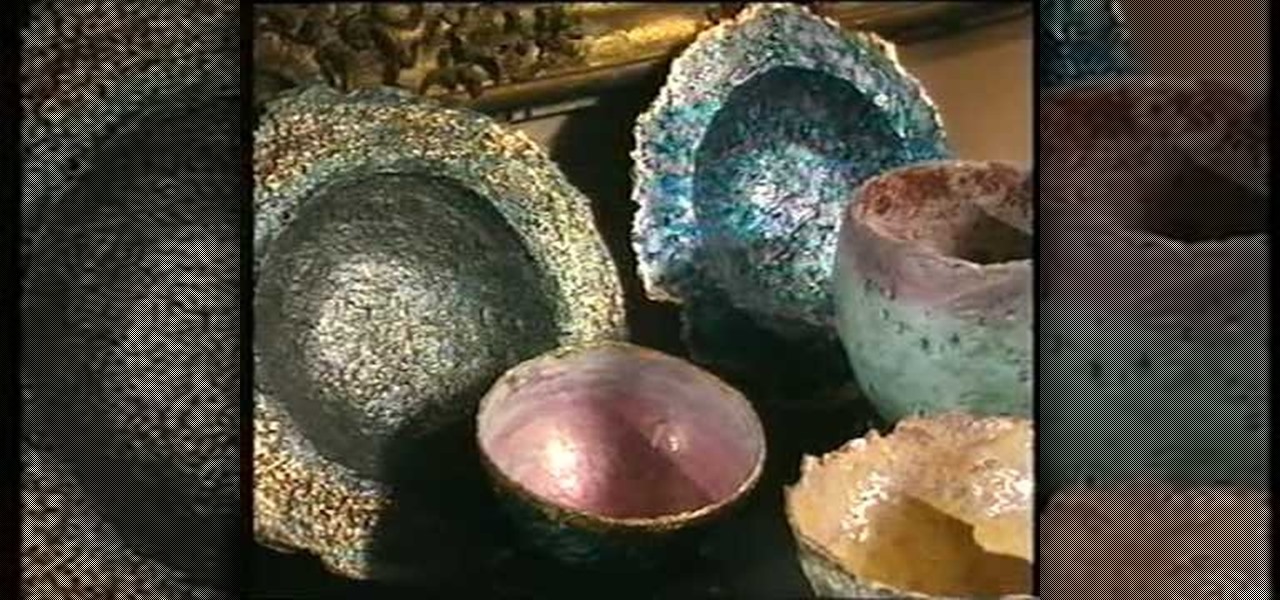
This video will show those who are interested how to make paper mache and how to use it in artwork as well. A quick and simple way to make paper mache starts with nothing but common newspaper. After soaking your newspaper in water for a while, place the newspaper in a blender with some more warm water and blend it into a fine paste. After this, you should strain out the excess water and then mix this solution with some whiting powder, or chalk, in order to get your finished paper mache, which...

How To: Make an inflatable paper box
1: Place paper sideways. Place the paper on the flat surface with the long edges at the top and bottom. 2: Fold long edge to opposite edge and unfold. Fold one long edge to the opposite long edge, crease, then unfold. 3: Fold longs edge to center and unfold. Fold one long edge to meet the center crease you just made. Now do the same with the other long edge, so they both meet in the center. Unfold completely. 4: Fold short edge to opposite edge and unfold Rotate your paper and fold one short ...
How To: Make 3D snowflakes
Steps on how to make 3D paper snowflakes for decorating your home. Things you need: 6 pieces of square paper of equal size. scissors. gum. stapler. Steps: 1. Fold one paper to make a triangle. 2. Make three uniform cuts from both directions towards the center leaving a gap along the center. 5. Unfold the paper, let the edges of the inner cuttings meet to make a tube-like appearance and gum the edges together. 6. Turn over the paper and do the same on the second cutting. 7. Turn back again to ...
How To: Make a frog pop-up card
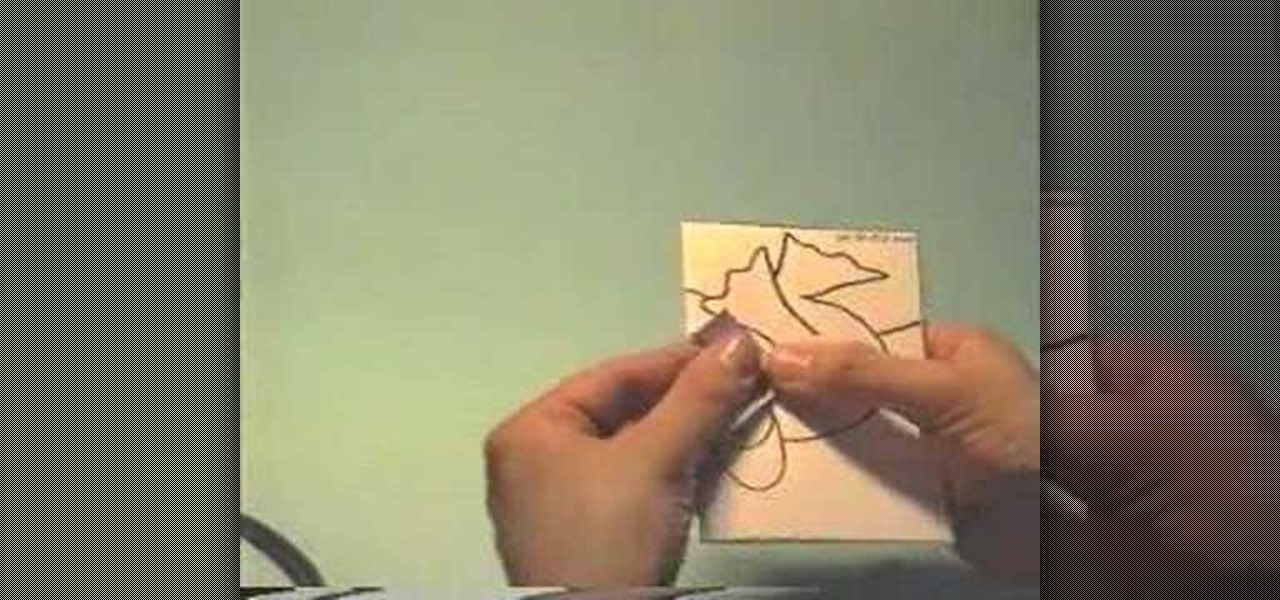
This video teaches the secrets of making a frog pop-up card in simple steps. First draw a frog in a card by outlining its mouth wide open as shown in the video. Now fold the card into half with the frog image on front. Cut the center and fold it to both sides using the outlines as shown. Open the card to check the pop-up. Finally stick a colored card to the back and do some coloring to finish.

How To: Make a paper box step-by-step
Learn how to make a simple paper box with this short video. You will need some strong paper like construction paper or light cardboard, a pair of scissors, and tape. For a neater box you will also need a ruler. First you will draw the shape of the box, which looks like a plus sign. Use a ruler for straighter edges. Then you will need to cut out the shape and fold along the lines. Add decorations to your box if desired. Last, you will be taping it to form a box shape.
How To: Make a tin foil airplane glider
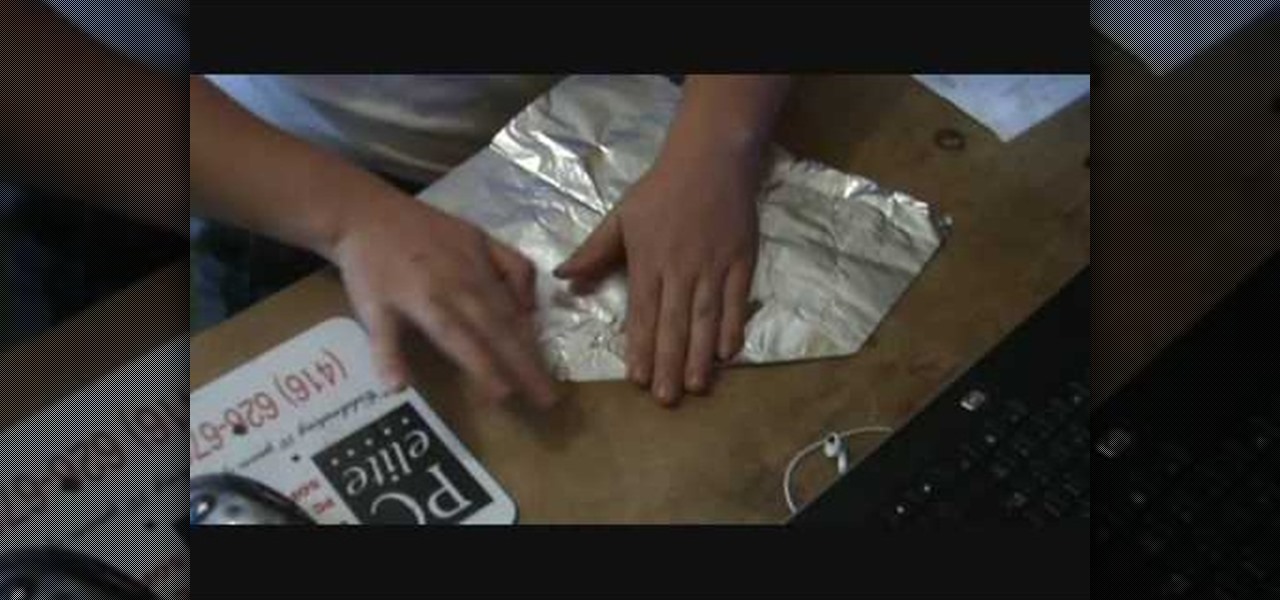
Learn how to make the perfect tinfoil airplane glider, every time. Obtain a rectangular sheet of tinfoil. Fold the shorter side of the rectangle foil in half and make a crease. Unfold the foil. Fold one of the corners into the middle crease. Fold the opposite corner into the middle crease. Fold the side into the middle crease. Fold the foil in half along the middle crease. Fold each side down so that it meets with the bottom crease and creates flaps. Press down on plane to strengthen the crea...
How To: Sew a dress shirt collar
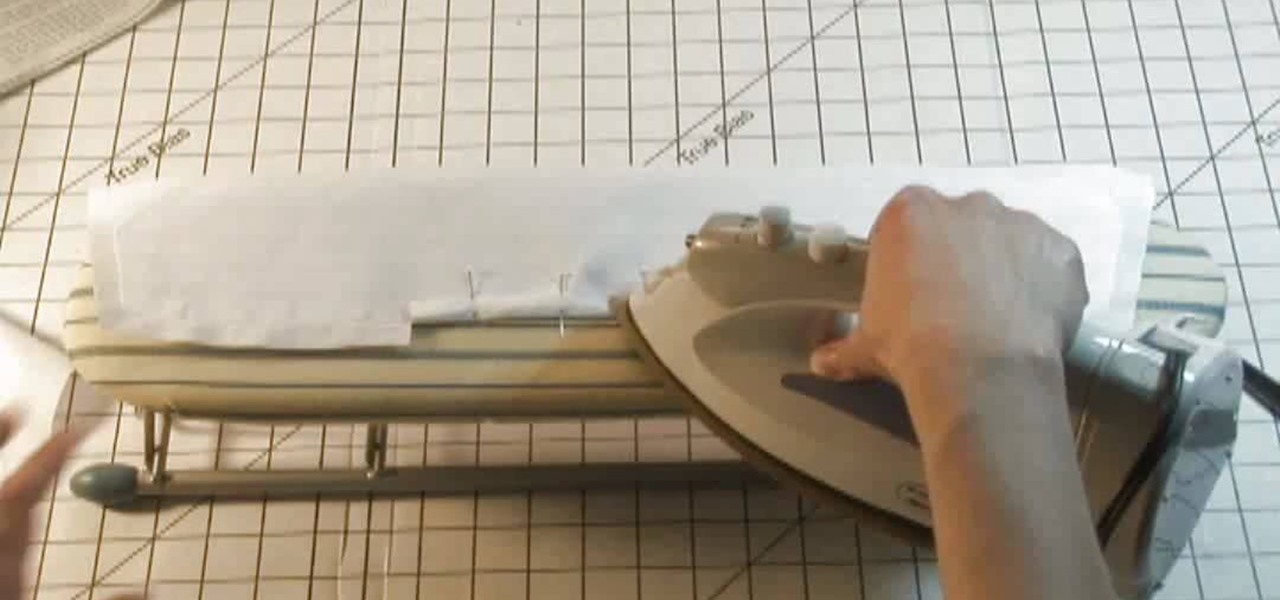
By using sewing pattern Simplicity 4670, the author of this tutorial video takes you through the steps needed to produce a great shirt collar. First you should attach interfacing to one piece of the shirt collar. Here you will be using fusible interfacing and taking the facing to the shirt collar iron the interfacing to the wrong side of the fabric. Sew a guide line that is 5/8ths of an inch wide along the notched edge of the shirt collar's facing piece. At the dot markings of the collar clip...
How To: Thread an industrial sewing machine
This quick tutorial video will show you how to thread an industrial sewing machine. Follow these quick steps to thread an industrial sewing machine: Wind the bobbin thread and pace the bobbin in the bobbin case. Pull out 4" of thread and place the bobbin case in the hook. Now feed the top thread right to left through the eyelet bar and feed through the thread holes around the tension discs and upward through the take up. Go down through the thread guides and through the needle bar thread guid...

How To: Make fish friendship bracelets
A girl is trying to teach us how to make fish friendship bracelets. We need four colors in order to make a bracelet. She shows us on a clipboard the four colors and after tying them we will get a total of 8. She slowly ties up each knot and shows us each step of the way. She does not however provide written explanations for additional information. A background of simple knots is required for this video as she does not explain how to tie the knots.
How To: Make a polymer clay jellyroll cane
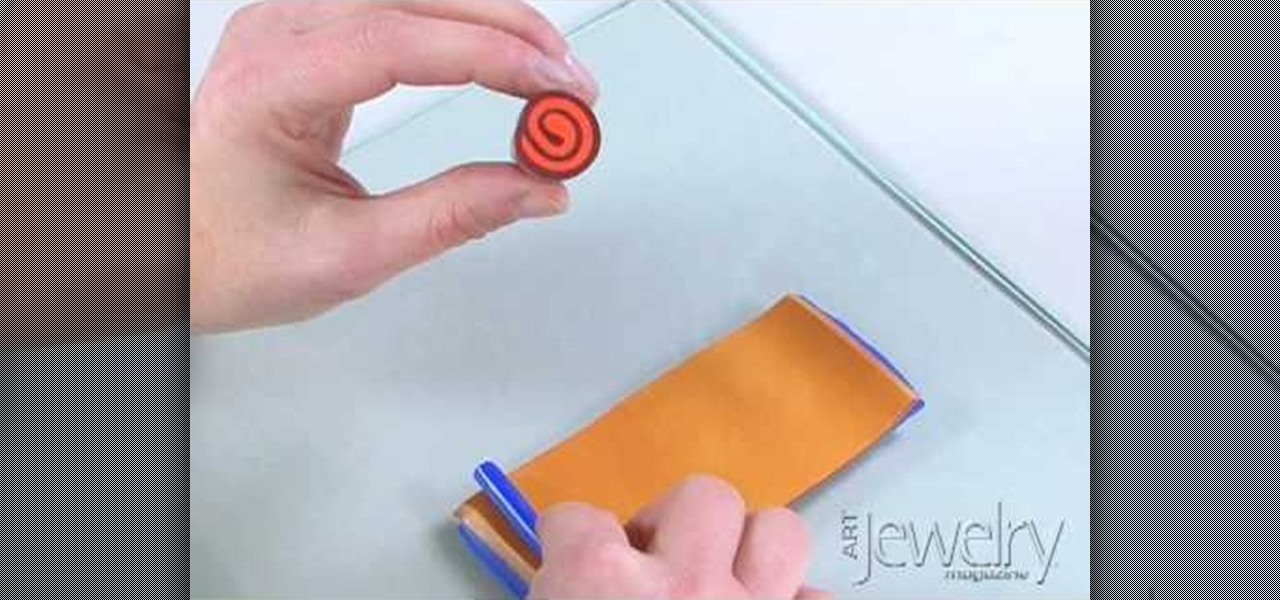
Jill Erickson from Art Jewelry Magazine demonstrates how to make a Jellyroll cane with polymer clay. Condition two different colors of clay by running them through a pasta machine set on medium. Then, trim off any rough edges. Stack the clay on top of each other and place a little bit of pressure on it to confirm the two layers. Using a blade slightly bevel the edges. Slide the blade underneath the two layers of clay for easier handling. Place a think snake of clay in the contrasting color on...
How To: Make a mermaid wave necklace
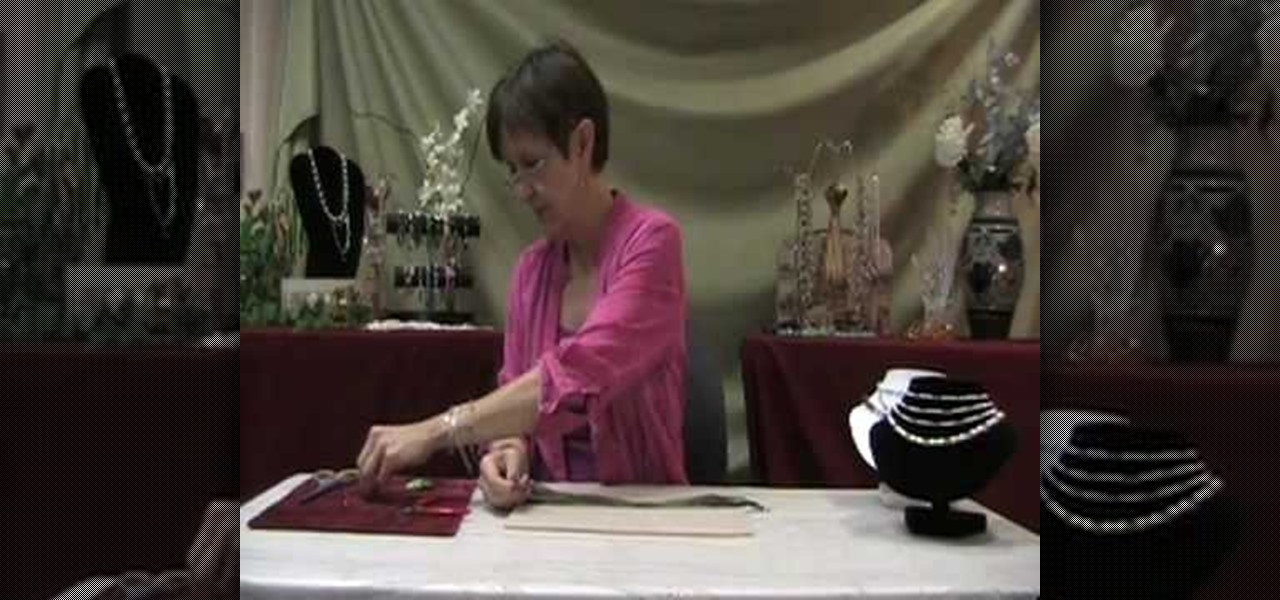
Crafter Brenda from Brightlings shows viewers how to make a mermaid wave necklace at home. This project will include certain tools and supplies which are further explained in the video. Any variation of colors can be used but the ones shown in the video give the necklace more of a mermaid ocean type look. This necklace is great for pairing up with your favorite bathing suit for a stroll along the beach or just to wear around the house while you daydream about swimming with the fish.

How To: Make a flower brooch using the Big Shot
Dawn5377 teaches you how to create a flower brooch using the Big Shot tool. Start with the flower folds bigz die. Apply pieces of material over each flower and cover it all with a piece of acrylic. Pass it through the Big Shot tool and you will have flowers made of that material. Now use the basket and blooms bigz die and cut small circles with the process described above. Fold the flowers in half and create groupings of 3 or 4 flowers with different textures. Use a punch hole to cut pieces o...
How To: Make a simple Birthday card with Stampin' Up!
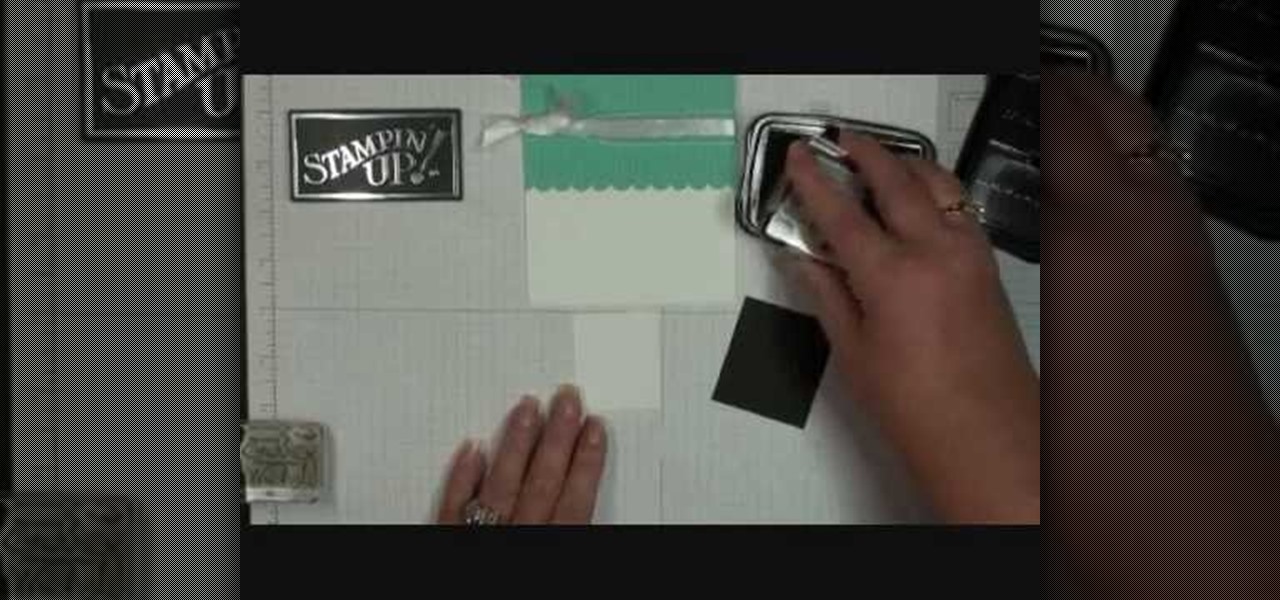
Demonstrator Dawn Griffith offers a short tutorial on how to make a simple and cute birthday card. First you will use white paper to make your base card. Then use a scallop edge punch to scallop some green designer paper, which you will glue to the top of your card. Tie some white ribbon around the top and trim for a clean look. Use a greeting stamp to stamp a message onto the bottom right front of your card. Create a center image by adhering white paper on black card stock, stamp the white p...

How To: Do cast on knitting
How to Do Cast on Knitting for beginning knitters, this video tutorial shows the process of casting on with a tail using a single needle. The trick is to make sure you have a sufficient amount of yarn to make your stitches. You should have approximately half an inch for every stitch. To begin, make a slip knot. Once the knot is created, slip your needle into the looped part of the knot. Hold the needle with your right finger and then pick up the tail end with your thumb and the loose end with...
How To: Make a paper piercing using a stencil
In this arts and crafts video tutorial learn how to make a paper piercing using a paper piercing template with June Campbell. The template comes with pre-made holes in varying designs that you will poke through. You will also need a paper piercing tool to create your holes as well as a craft knife to cut out larger holes. In addition, you will also need a piece of paper. Use a hard surface, such as a plastic tray to protect your table and then place a styrofoam sheet on top of that for furthe...
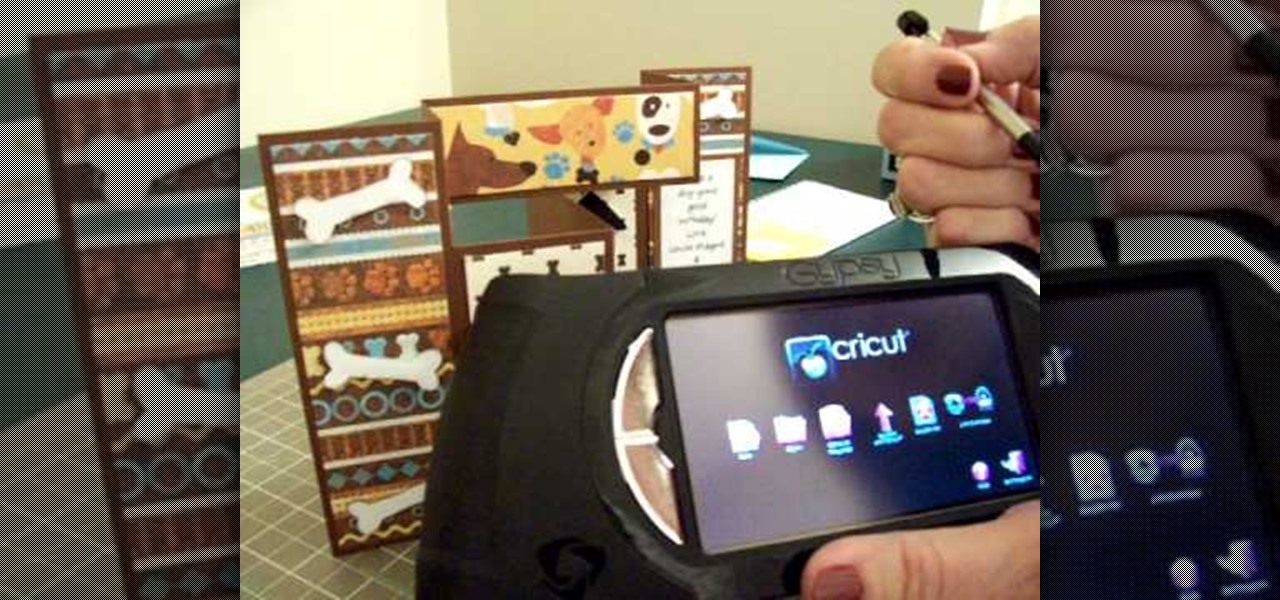
How To: Make a tri-shutter birthday card w/ Cricut Paper Pups
The queen of cute cards CardCrazy09, shows viewers how to make an adorable tri-fold card using products from Die Cuts with a View (Pet Stacks) and products from the Cricut personal die cutting machine and the Gypsy portable design studio. CardCrazy09 demonstrates how she used two cartridges from the Cricut in her design, the Doodle Charms and Paper Pups cartridges. She also shows how using the Gypsy Portable Design Studio allows card making gurus to size their designs to scale. CardCrazy09 sp...
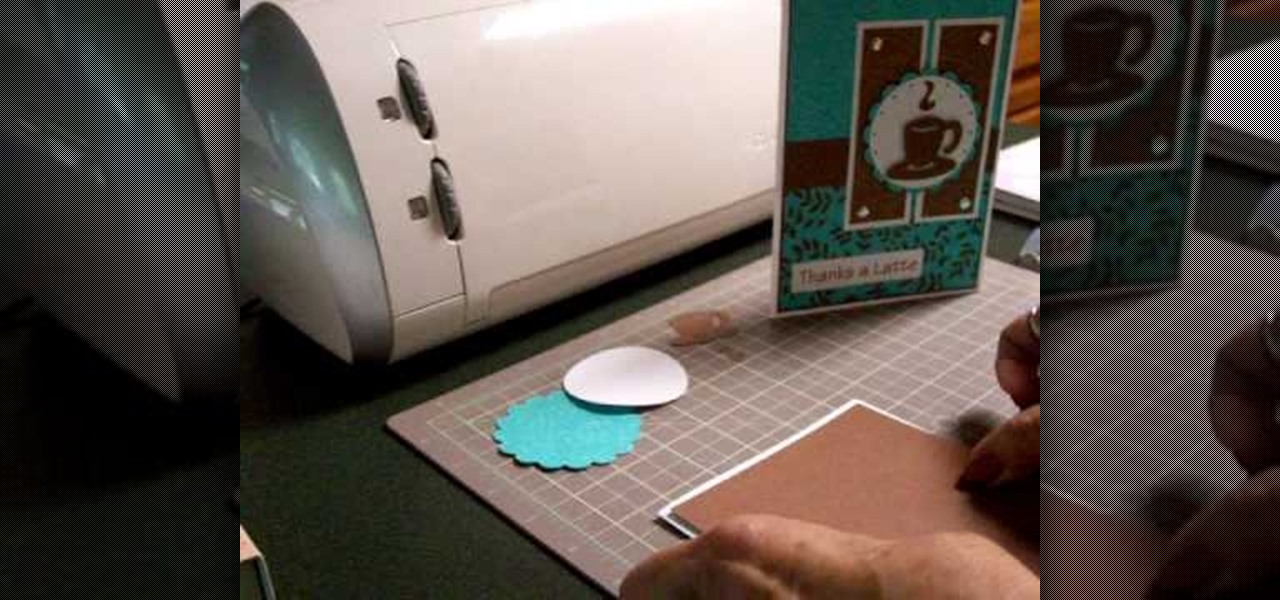
How To: Make a Cricut latte-themed thank you card
cardcrazy09 teaches you how to make a Cricut latte-themed thank you card. You start with a brown piece of cardboard as a bottom. Then add two pieces of blue card stock. Add a small brown card slice in the middle and the background is done. You will print the message on a card stock and cut it out. Stick it in the lower left corner of the card. For the background of the coffee cup you will need two more slices of brown cardboard with thumb tacks at the top and bottom. On top of those stick a b...


