Active Arts & Crafts Posts


How To: Make a paper flower rosette
This video shows a demonstration of how to make crepe paper rosettes. The materials used are four strips of paper, two small paper circles, and double sided tape. First put double sided tape on one of the circles and trim the edges. Put a corner of one strip of paper onto the sticky edge of the circle. Fold and crease the paper as you go around paper circle, forming fan-like folds in the crepe paper. Put a tiny piece of double sided tape to hold the end. Trim the edges with scissor to make a ...

How To: Make a tree of life jewelry pendant
This is part one of two in how to make a beautiful tree of life pendant. It is very easy, and you'll only need a few items. Things you'll need: wire 2-3 mm thick, Round nose pliers, 4 pieces of thin wire, 12 inches long, wire cutters. With your round nose pliers, bend the thick wire about an inch form the end. Make a question mark shape, and twist the end around. Go down about 5mm, and make a 90 degree bend. Go across as far as you want, and make another 90 degree bend. Keep making bends unti...
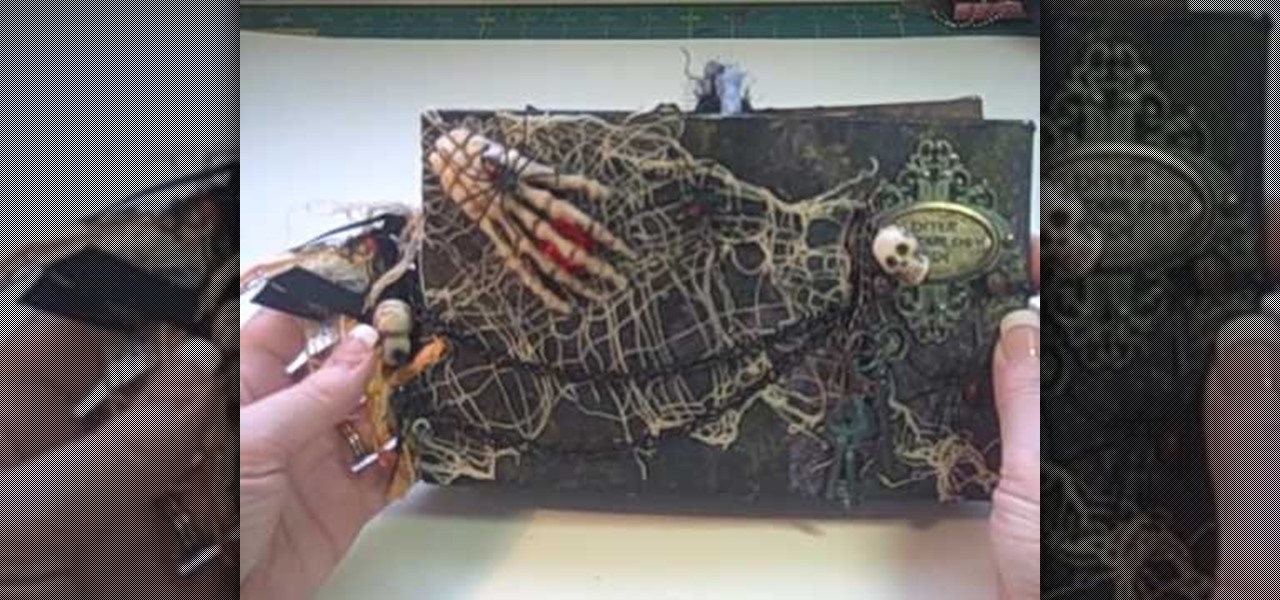
How To: Make a spooky Halloween paper bag mini album
Halloween is just around the corner and this spooky paper bag album you can really create a masterpiece. If you love scrap booking this project would be a blast for you. All items were bought for less than a dollar at the local dollar store and the detailing is quite manageable from intermediate to advanced scrap booking. So if you have time and patience to make this then get ready to create an album ready for any Halloween adventure. In this video you will learn how to make a spooky Hallowee...
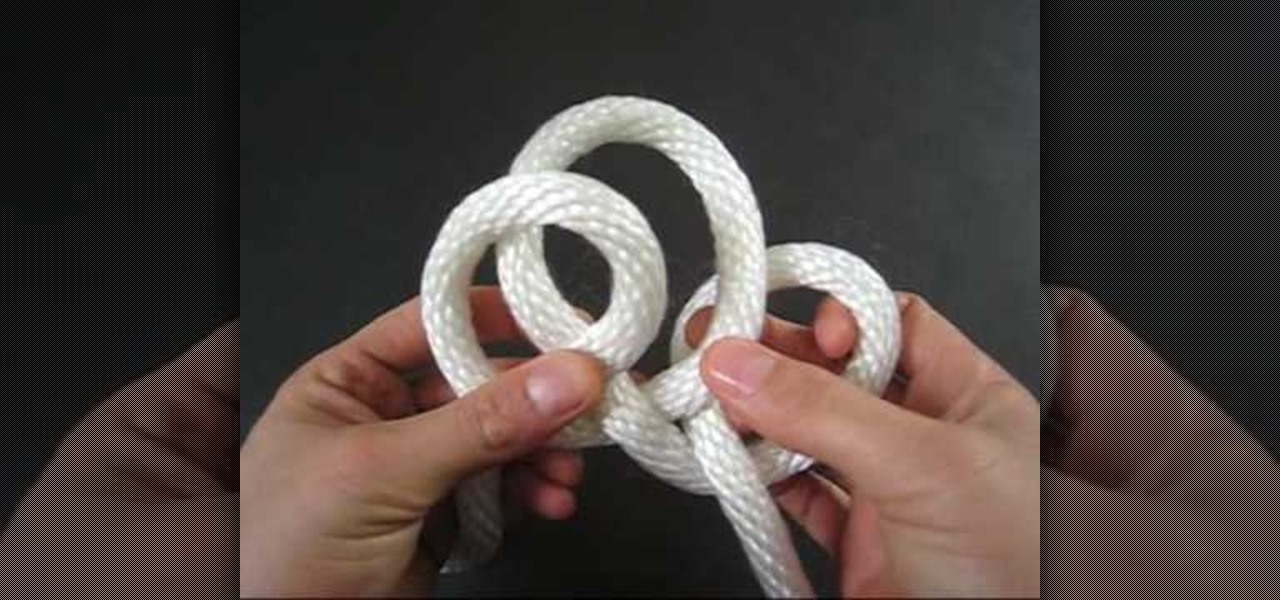
How To: Tie a quick Rope Shackle
To tie a quick rope shackle, take a flat thread to make this knot. Take the thread and hold it in your hand fold it from right to left and hold it at the cross hold it once again catch both the crosses and fold it once again. Insert the send fold into the first hole and the third hole. Now pull the middle of the thread to make a tight. Pull the loose ends of the thread to make it tight. Now hold the two circular holes and insert a round stick or a bamboo stick and pull the loose ends of the t...
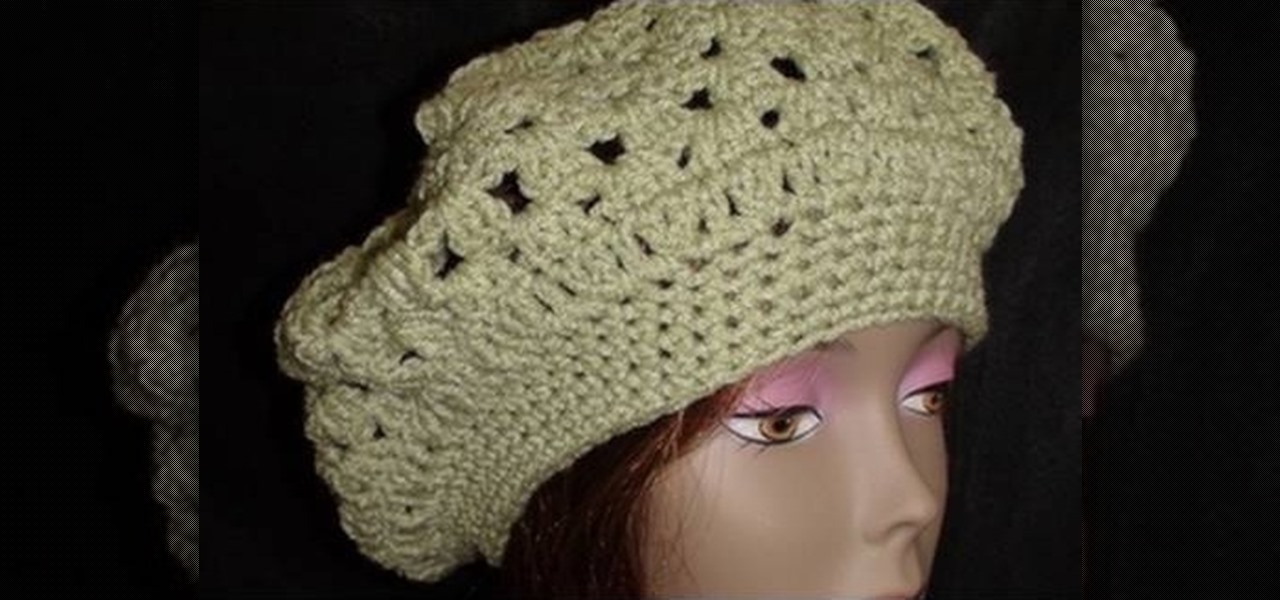
How To: Crochet a kingston cap
You can learn how to crochet a kingston cap! First step is to wrap the yarn over the hook and then slip the hook through the stitch. Next, wrap it over and pull through. After that you want to wrap the yarn over pull through to make two loops. Leave those loops on the hook. Then you want to wrap the yarn over the hook and insert it through the stitch. For more detail and visual demonstration of all of this, watch this how to video.

How To: Perfectly bind a book with two different methods
Demonstrator Andy Hirsch offers a tutorial on how to perfectly bind a book using two different methods. The first method is with binding clips the second with a binding jig. You will need and cutting mat, X-acto knife, paint brush, ruler, binder clips and binding glue. Use use 8 1/2" X 11" paper folded in half for the book pages and 11"x 17" page for the cover. In the 'Binder Clip Method', you make all the pages and cover flush and use the binder clips to keep everything together. Ad glue to ...

How To: Origami a lily iris flower
In this video tutorial, viewers learn how to create an origami lily iris flower. Origami is the traditional Japanese art of paper folding. This video shows all the procedures of folding and cutting the paper. To create a complete origami lily lotus flower, viewers are recommended to produce two paper flowers. The video provides a visual demonstration for viewers to easily follow along and have an example to compare to. This video will benefit those viewers who are interested in origami and wo...

How To: Throw a paper airplane far
This video will teach you the three most important tips which you will need in order to throw a paper airplane far. First, you will need to use your dominant or stronger hand. Next, you will need to throw the airplane as if you were throwing a baseball, taking a slight forwards step as you throw it as well. Finally, you will need to make sure that you release the paper airplane at the proper point of your throw, at the maximum part of the arc and not when your arm starts arcing downwards. By ...
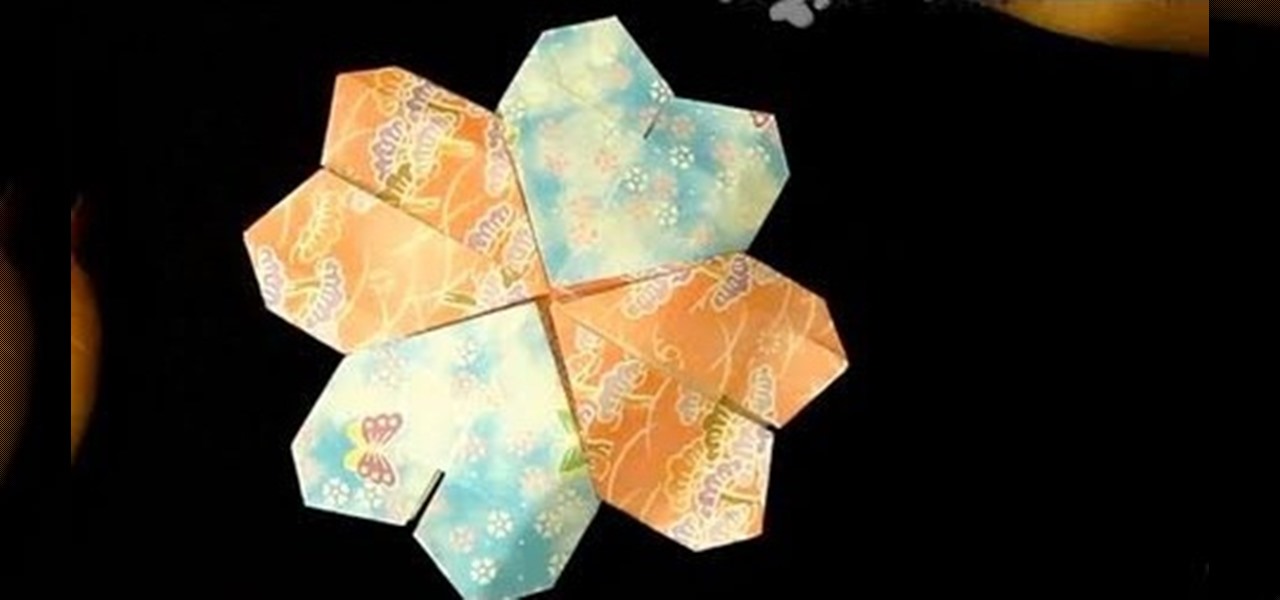
How To: Fold an origami mandala heart
To fold an origami mandala heart you need to follow the steps below. First cut 2 triangles out of the paper you have, fold one of the triangles in half. Then, unfold the folded in half triangle and fold the top of the triangle down about two thirds of the paper. In this stage you will be making folds 3 and 4. Next, fold both of the side corners of the paper up to the top, creating the picture below. Now you will make folds 5 and 6. Then, turn the paper around. Now just fold the top flaps into...

How To: Make your own paper origami rose
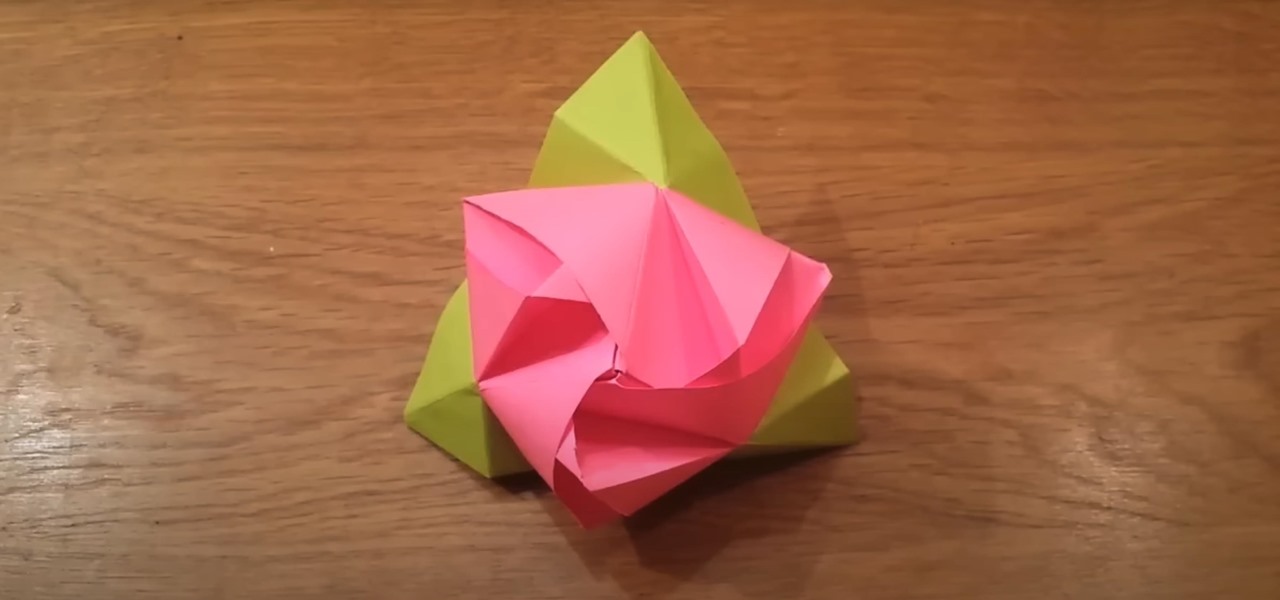
Two cousins teach how to make the perfect origami rose Obtain a square sheet of paper, preferentially origami paper. 6X6 is the best size for the paper, but 15X15 will also be fine. If the paper is not square, measure the sides and cut the paper to make it a square. Fold in the square sheet of paper diagonally, corner to corner and make a crease. Unfold the paper. Fold the paper diagonally the other way and make another crease. Fold in the two flaps of one side in to get a triangle shape. The...
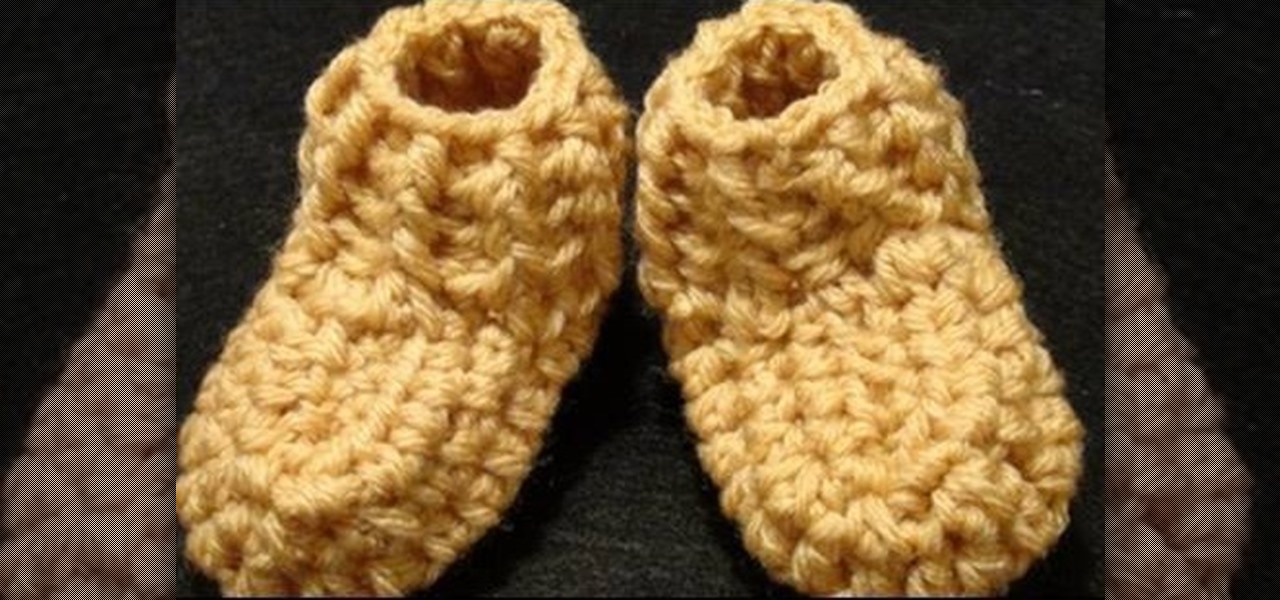
How To: Crochet a rib cuff baby bootie left-handed
Do you find it hard, as a left hander, to convert crochet patterns from right handed directions? Finally, twj1963, has a channel especially for lefthanders. This video shows you how to make baby booties. The closeups make the viewer feel like you are looking directly over their shoulder as they make each and every move. You can rewind and replay any part that you may find difficult. They provide a link to their channel to discover many more wonderful designs and creations catering to the left...
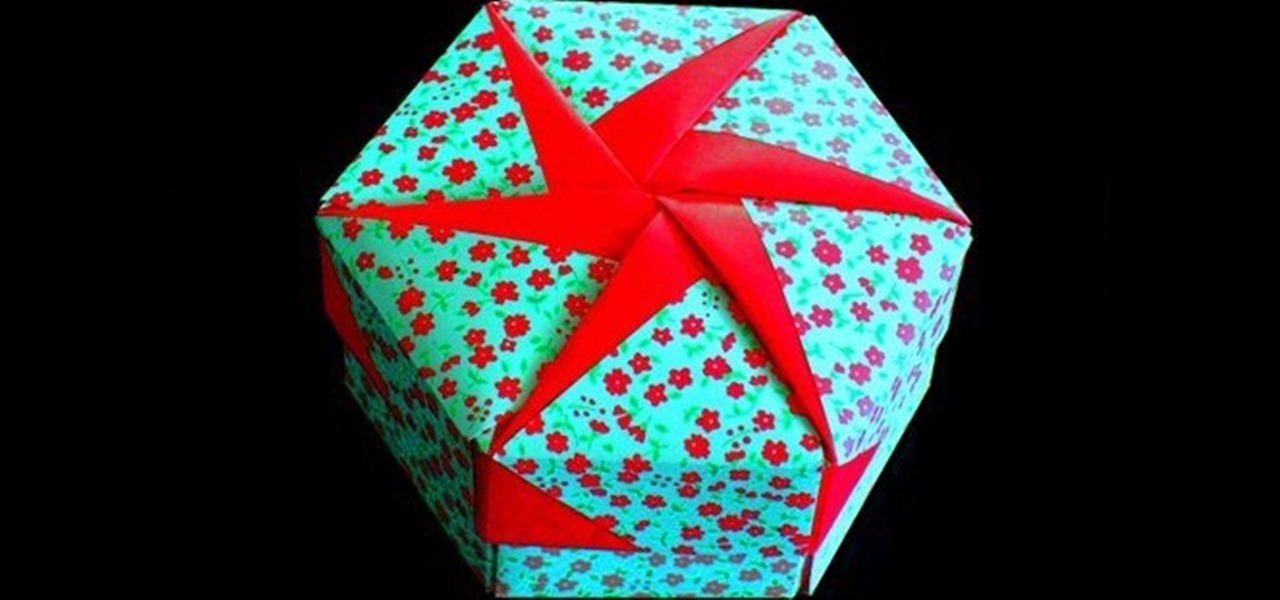
How To: Make an origami gift box lid
Barbabella shows how to make a modular origami hexagonal box lid with star design. Fold a two-sided square sheet of paper to form a triangle, unfold it and fold it in the opposite direction. Using the guidelines fold the paper on three sides forming a small triangle and leave one end as it is. Turn over the sheet and fold the opposite side of the unfolded one as shown. Now mark the points as shown and fold it on one side. Now fold it to mark point below and the crease ends at the point marked...
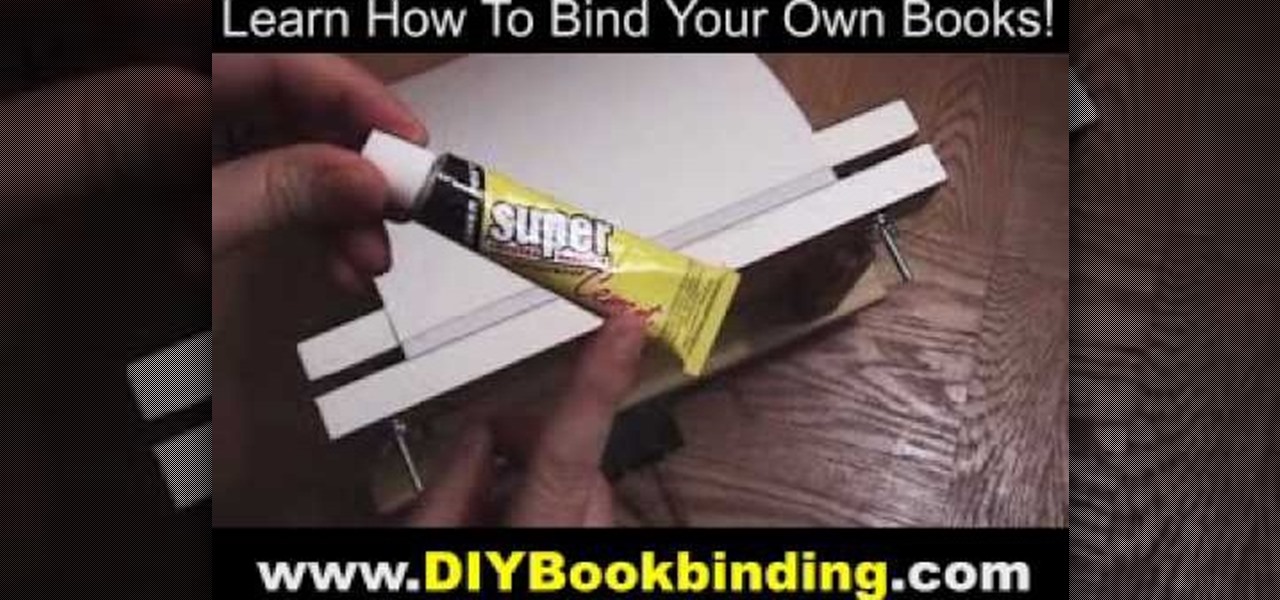
How To: Make a glue bound paperback book
You Tube user go to guy enterprises teach you how to make glue bound paperback book. You will print you book on a4 paper, 2 pages per side, on each side. That means you'll have 4 pages in total on a sheet of a4 paper. Fold the paper in the middle and make stacks of the pages. You will also need an adjustable wood placement for the pages. Make sure you also have a piece of card stock for the black cover. Then align everything up, clamp it down to make the pages staying tight. On the spine of t...

How To: Make an easy origami fortune teller
In this video you can learn how to make an easy origami fortune teller. Fold an 8 1/2 by 11 inch sheet of paper into a triangle shape. There will be a strip of paper left at the bottom of the paper after completing this step. Cut off this strip of paper and discard it. Open the paper, which is now a perfect square, and lie it on a flat surface. Notice the 12 inch crease that you have down the center of the paper. Take a ruler and measure 6 inches down that crease. Place a small dot at the 6-i...
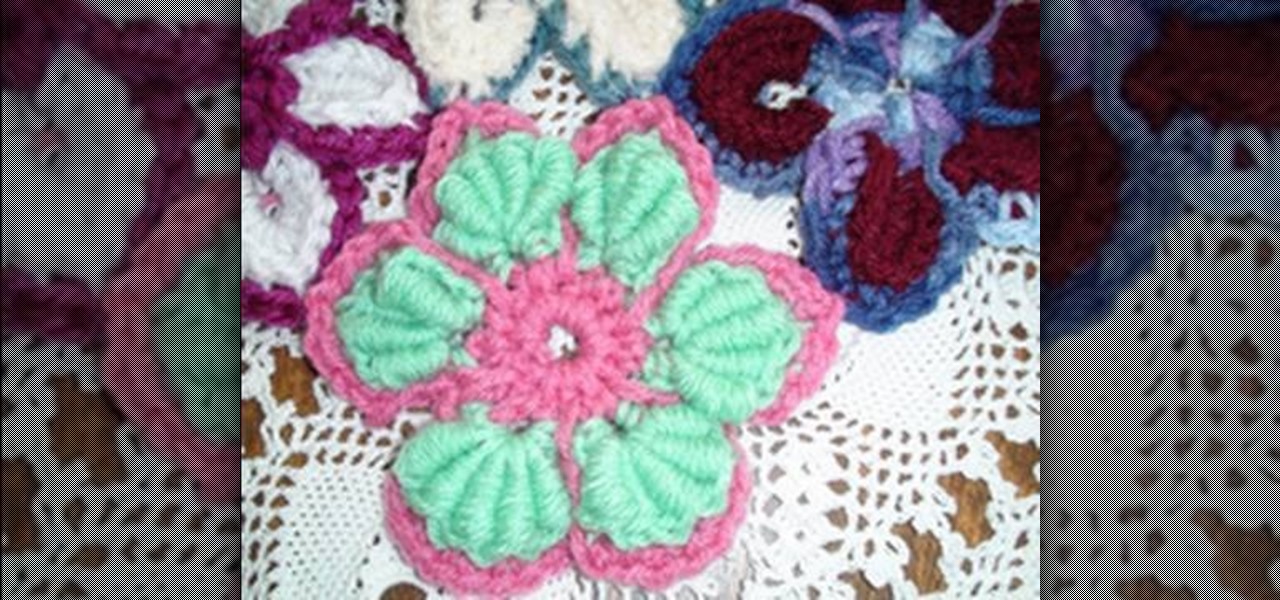
How To: Crochet a majestic flower motif left-handed
It is easy to make Crochet flower motif left-handed method by knowing the following steps. One who is interested how to make crochet motifs on their left hand can do easily by using bullion stitch. The two types of crochet hooks are H Crochet Hook and F Crochet Hook. The starting step is chain 5, join. First round to make crochet flowers is to join Ch 1, SC in loop, CH 5, continue around, 5 times in total, then join in beg SC. See how to do the rest by watching this video!

How To: Make a Cricut friendship card
Cardcrazy09 teaches you how to create a friendship card using Cricut. First cut out the dog, then it's brown shadow. Since the umbrella is not cardboard, make sure to apply less pressure than before. Then simply stick the white dog on top of its brown shadow. The umbrella also has a brown shadow, which again comes under the object itself. It's also a bit larger for the shadow effect to work. You take these elements and stick them on top of a cardboard piece. The friendship card is done.

How To: Make a twist box with Stampin' Up!
Dawn5377 teaches you how to make a twist box. Start with a piece of designer paper and fold it according to video specifications. Once done you will fold all the score lines, which are both horizontal and vertical. For the Xs you will fold in once one way and then the other. You will also crease the tiny line to the edge of the paper, using a sort of pinch motion. You punch three holes on each side - top and bottom. Fold the paper horizontally and glue it. Push the two ends opposite of each o...
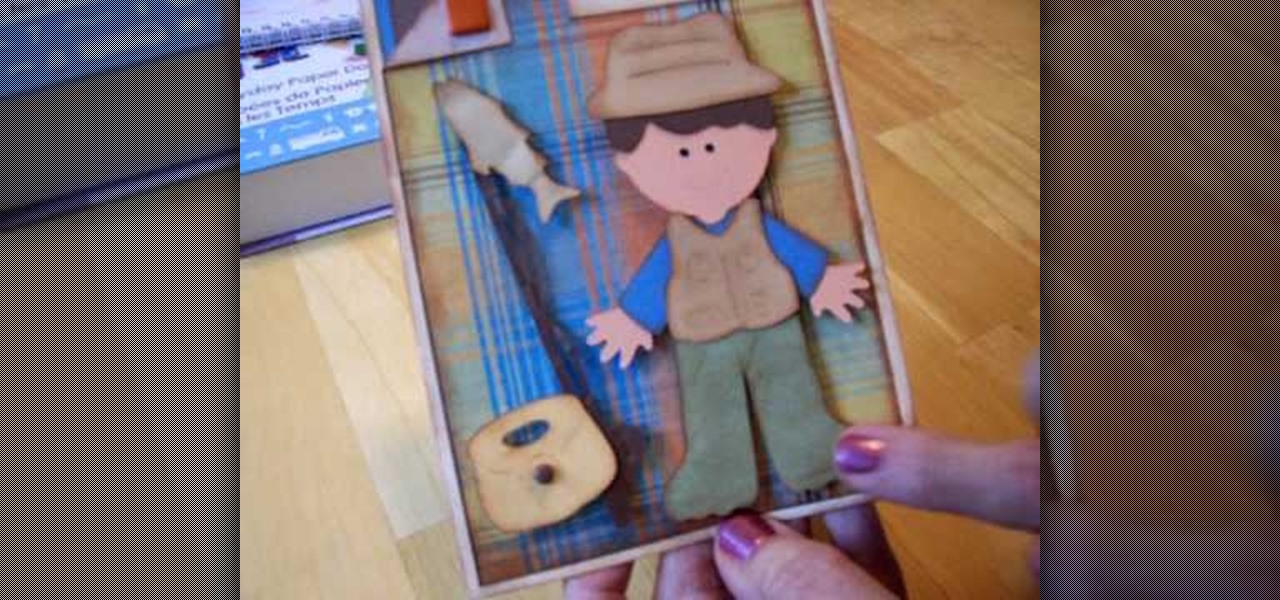
How To: Make a Cricut everday paper dolls birthday card
You can learn to make birthday cards yourself using every day paper dolls cartridge, by watching the detailed instructions given by Mary. In this video, she uses the cutouts of a fisherman to make the card. Firstly, the outline of the body of the fisherman is cut out, followed by his head, dress, and hair, hat, fishing basket, the fishing rod, fish and other accessories, all of 4 inches. These cutouts are then affixed onto the birthday card. Some additional details are outlined, such as creas...
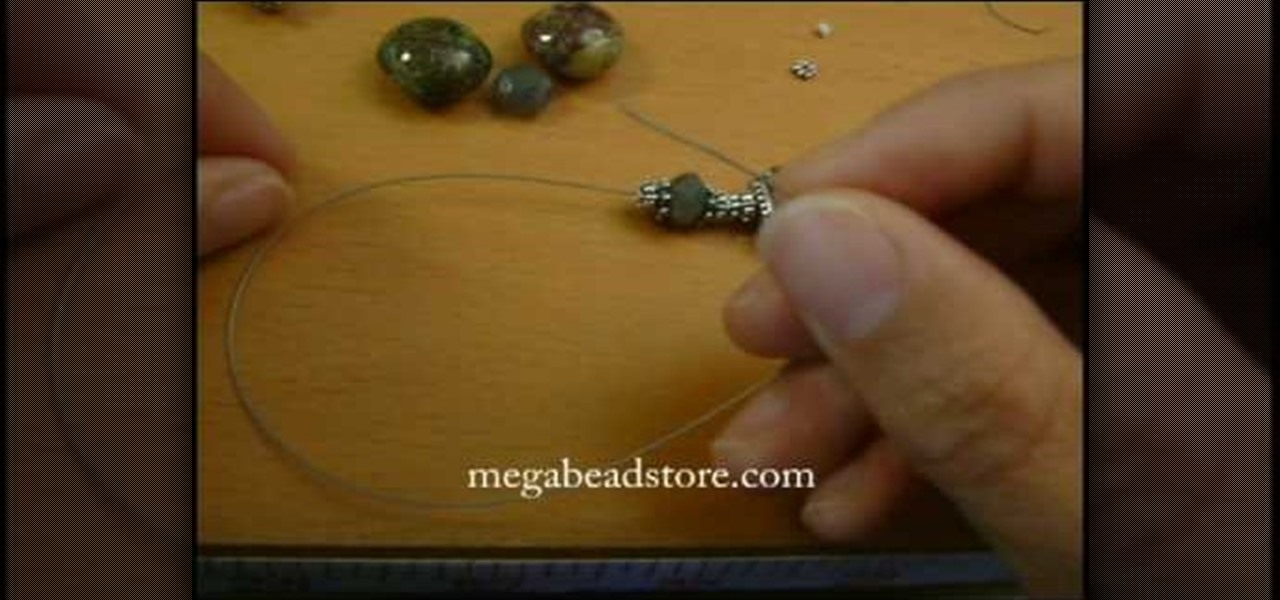
How To: Make a Bali bead and lampwork beaded bracelet
For anyone interested in learning how to make their own jewelry, try the simple steps in this arts and crafts tutorial to make a Bali bead and lampwork bracelet. To make the bracelet, you will need jewelry wire, a sterling silver toggle and clasp, crimp beads, Bali stone beads, lamp beads, silver bead snowflake caps, and silver spacers. The pattern calls for a snowflake cap, two natural stone beads, medium-size spacer, followed by a small spacer. This pattern of sandwiching a stone bead betwe...

How To: Easily make a paper gift box
STORM THE CASTLE Webmaster and Writer Will Kalif offers a short tutorial on how to make a origami gift box for beginners. All you need is eight square pieces of paper all exactly the same size. You can pick between four inch, five inch or six inch size paper depending on what size gift box you want to make. Your sheets of paper can be all the same pattern, of varying patterns, patterned on one side or patterned on both sides; however, please note that four of your sheets will be used for the ...
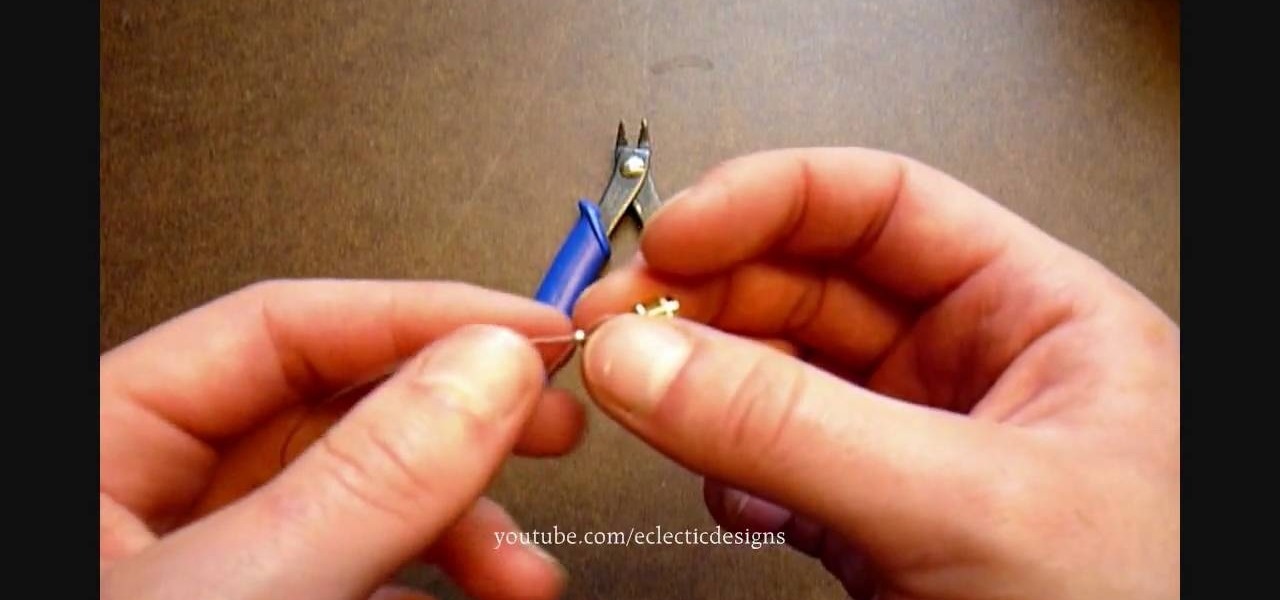
How To: Attach a crimp and cover to jewelry
Crimp can be made easily and covered to the jewelry by using the following instructions. First purchase the proper supplies of crimping tool. This tool acts like pliers and is used by placing the bead in the appropriate slot at the tip and then squeeze the handle together. The multiple slotted tips are the key to the tool, and are needed to create a proper crimp. Then, select the proper crimp bead. The thin metal crimp beads come in a variety of materials and sizes. This will be used to secur...
How To: Make an origami magic ball
What better way to have a ball than to make one? Paper works fine. In this tripartite paper folding video tutorial, you'll learn how to make your very own magic ball from the woody stuff using the ancient Japanese art of paper folding.

How To: Origami a simple butterfly
Butterflies are some of natures most beautiful creatures. How would you like to make one of your very own? Check out this tutorial and learn how to origami your very own paper butterfly and impress your friends. Grab a piece of paper - and some pens or markers if you wish to decorate your unique butterfly - and start folding! Making an origami butterfly is not as difficult as you would think, but you would never know that from the great results. Have fun!

How To: Create an origami phone stand
Origami is an activity which brings life to paper and can be enjoyed by both adults and children alike. In this video, Ngai Chun Cheung demonstrates how to make a mobile phone stand using origami. He begins by folding a rectangular piece of paper at the center lengthwise. Next, he folds the outer open sides to touch the folded edge on one side, which forms a triangle. Then he flips the long rectangular side to form another triangle next to the first one. The paper is opened out and folded alo...

How To: Make a paper box to hold anything
This video describes how to make a paper box.1.First take rectangle shaped paper, Fold the paper in half hot dog style in the long way, 2.and fold each side of the paper to the center crease and the paper should be in quarters. 3. Now fold the paper in half hamburger style that is in the short way. 4. Fold each side into the center crease as like we done in 2nd step and keep it folded. 5. Fold each corner to the crease nearest it and should end up with an uneven octagon. 6. Fold the flaps fro...

How To: Tie a Zigzag braid knot design
The video is about tying a Zigzag braid knot design. At first, make the tag or rope into two by folding it. Take one end and make a small knot at the folded junction. Then take the second and pass it through the first made loop. Then take the other end and pass it through the loop made by second end. Continue the hitches to end the rope. Finish the knot by tightening the rope. Then rearrange the position of the hitches. This is done with care. The knot is made beautiful and prettier by making...
How To: Make simple turquoise hoop earrings
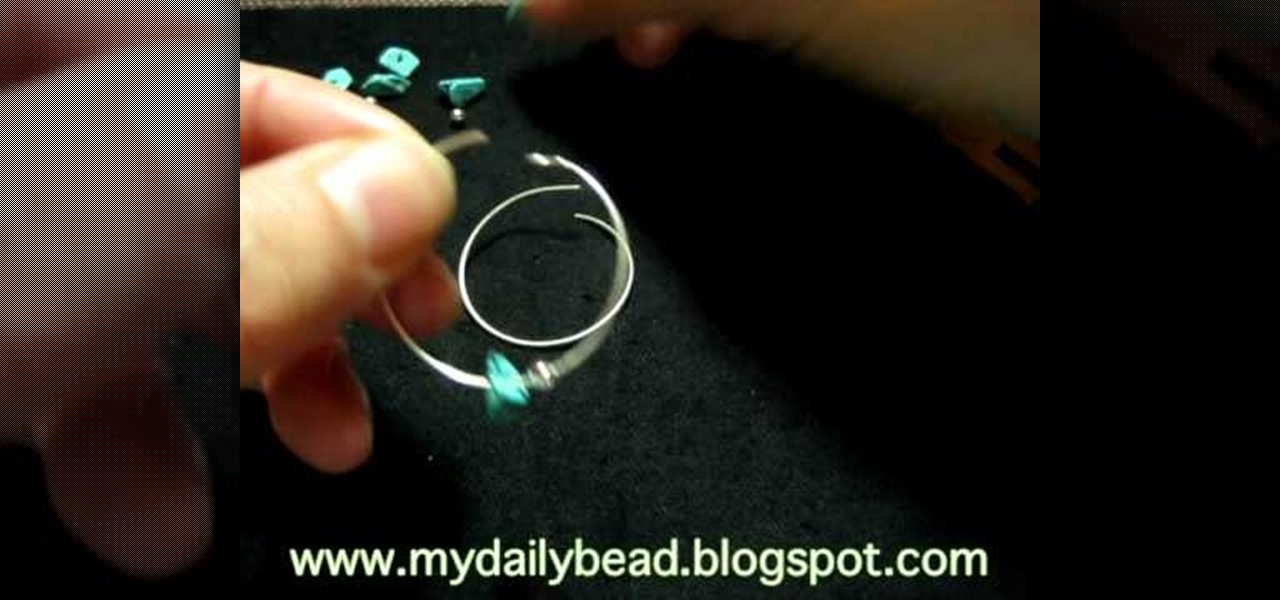
Watch this video to learn how to make simple turquoise hoop earrings. Start by taking some 20-22 gauge wire and wrap it around a soda bottle cap. Overlap the wire a little bit so that it forms a complete circle plus a little extra. Clip the wire off just a little bit past the overlap point. Do this twice so that you can make two earrings. In one end of the wire make a little loop and bend it back just a little. Put the beads that you want on the earring onto the wire loop. Put a slight bend i...
How To: Use the clear mount stamps from Stampin' Up!
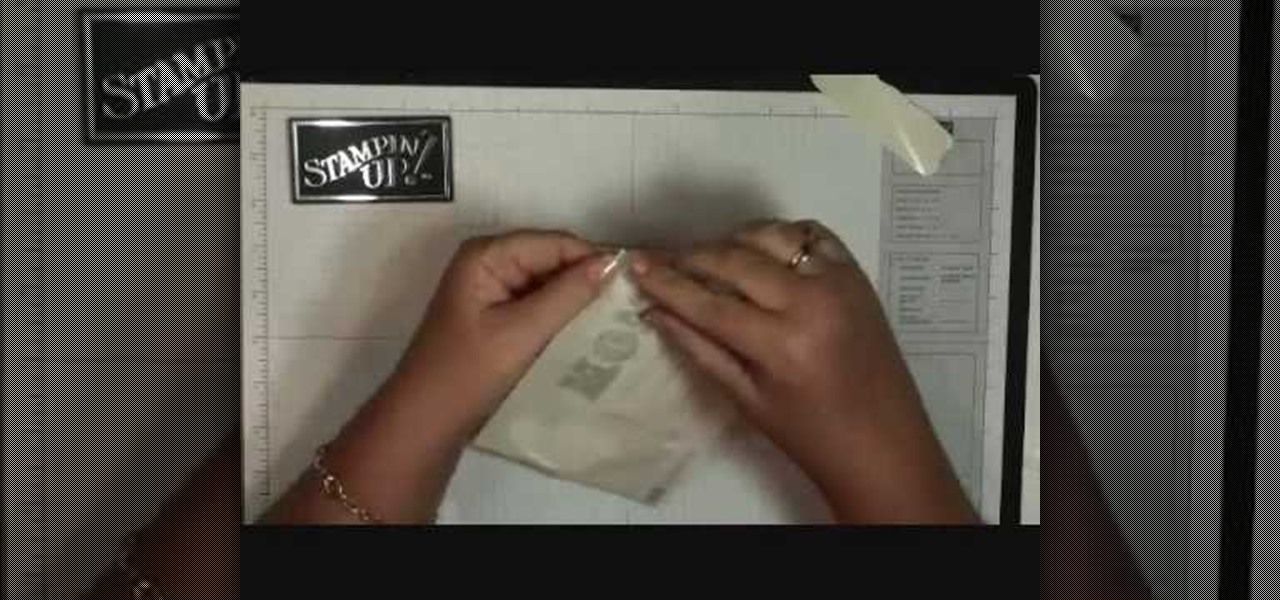
Dawn5377, teaches you how to use the clear mount stamps. These come in sizes from A to I. They are high cut so you don't get ink on your fingers when using them. The stamps come in a DVD case for easy storage, which also comes with instructions on usage. Remove the sticky part of the image, place it on the back of the rubber stamp. Place image face down on the clear block of equal size. Ink the rubber stamp and just stamp on a piece of paper. You clean the rubber stamp with spray mist and scr...

How To: Make a pop-up card for any occassion
To make a pop-up card follow the instructions below. First fold two pieces of the same size heavy card stock or construction paper in half. Use the first one for your outer card, and the other for your inner cutout card. Cut a 1-1/2 inch strip in the inner card's center and make two slits down from the fold to make the strip. Then, fold the strip inward so that the fold is inside the card and the card has a rectangular hole in the middle of the fold when closed. This will be the base to use w...
How To: Make a box using a square piece of paper
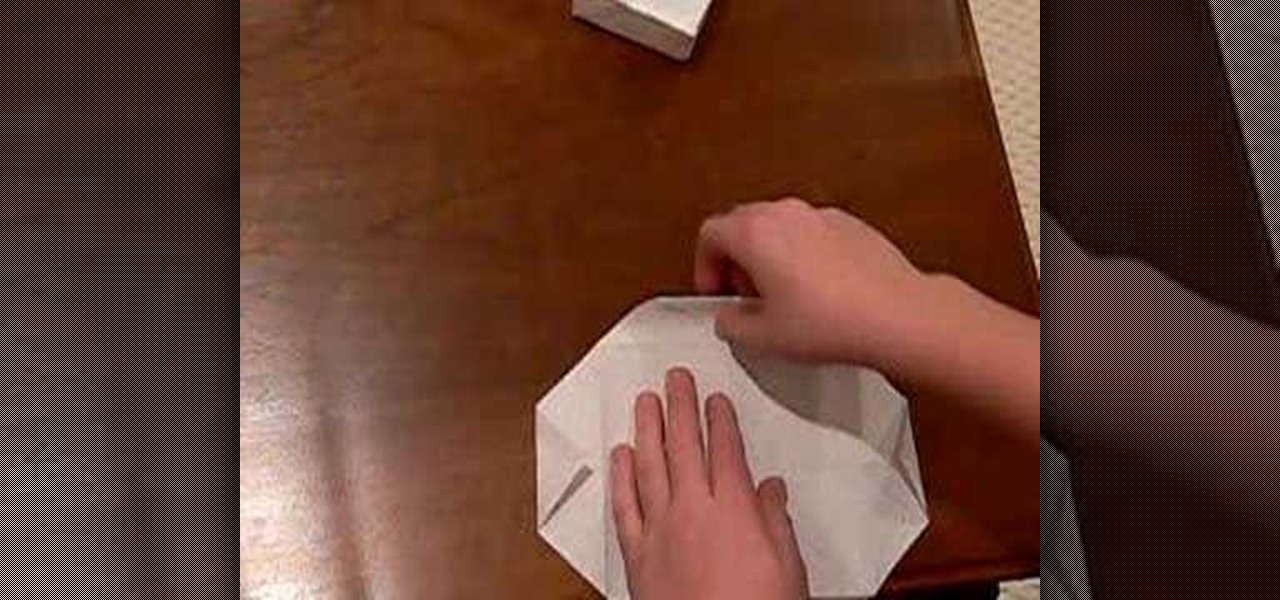
Mind you now, that using a normal rectangular piece will not give you the desired results. You must use a square piece of any size. Start by making two diagonal folds for each corner to corner cross section. Now do two hot dog folds, like wise, then take each corner and fold it into the middle so it resembles triangular tabs. Now take these tabs and once again fold them in half but up to the outside of the paper, resembling another triangle. Fold Over, and do as shown in the video for the bes...
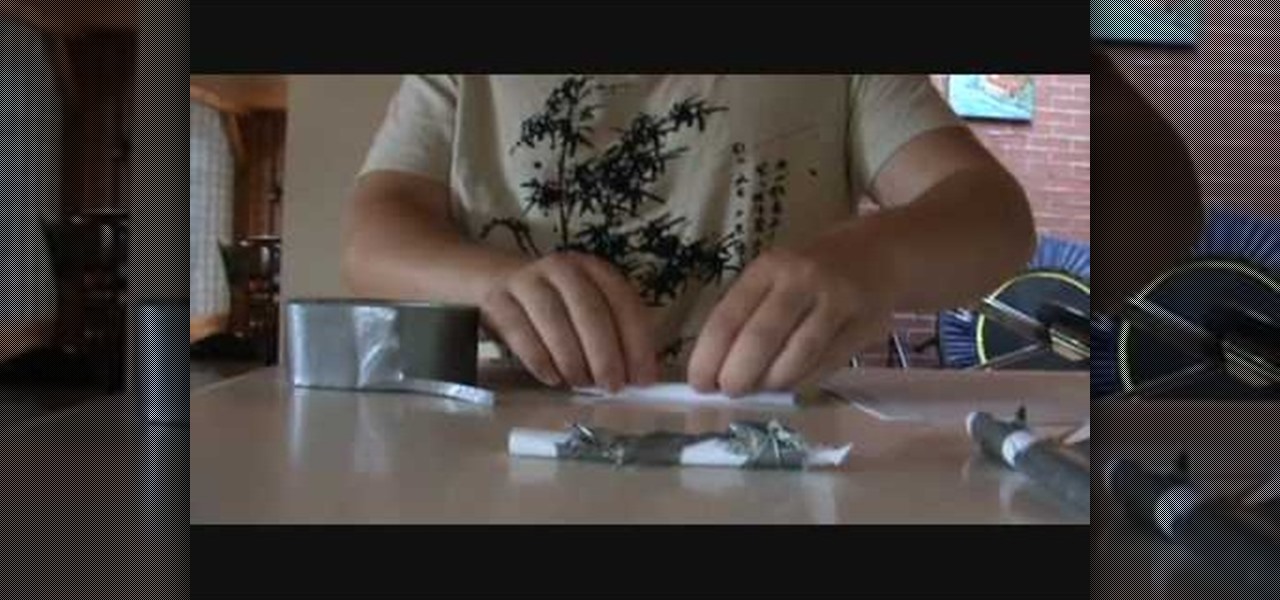
How To: Make a paper slingshot gun that shoots
A tutorial on how to make a paper slingshot gun that shoots. Things you'll need: Bond Paper, Elastic, Scissor and Duct tape. Roll the bond paper half-wise. Secure with duct tape. Get another bond paper and fold it in half. Cut. Roll the cut bond papers length-wise and secure with duct tape. Form a "V" shape using the rolled cut bond papers. Attach to the first rolled bond paper to make a "Y" form. Secure with tape. Attach a rubber band on both ends. secure with tape. Follow these steps and Yo...

How To: Crochet a puffy spike crochet square
The author of this video explains how to combine a puff stitch and a drop stitch while crocheting a six by six inch square. She goes step by step, first showing how to create a slipknot, and then by showing how many slipknots will be needed in each chain across the square, which make the foundations. She then shows how to make a slipknot of a new thread of yarn, and how to insert it on the hook, into the original chain while creating the puff stitch. The chains are repeated, as are the puff s...
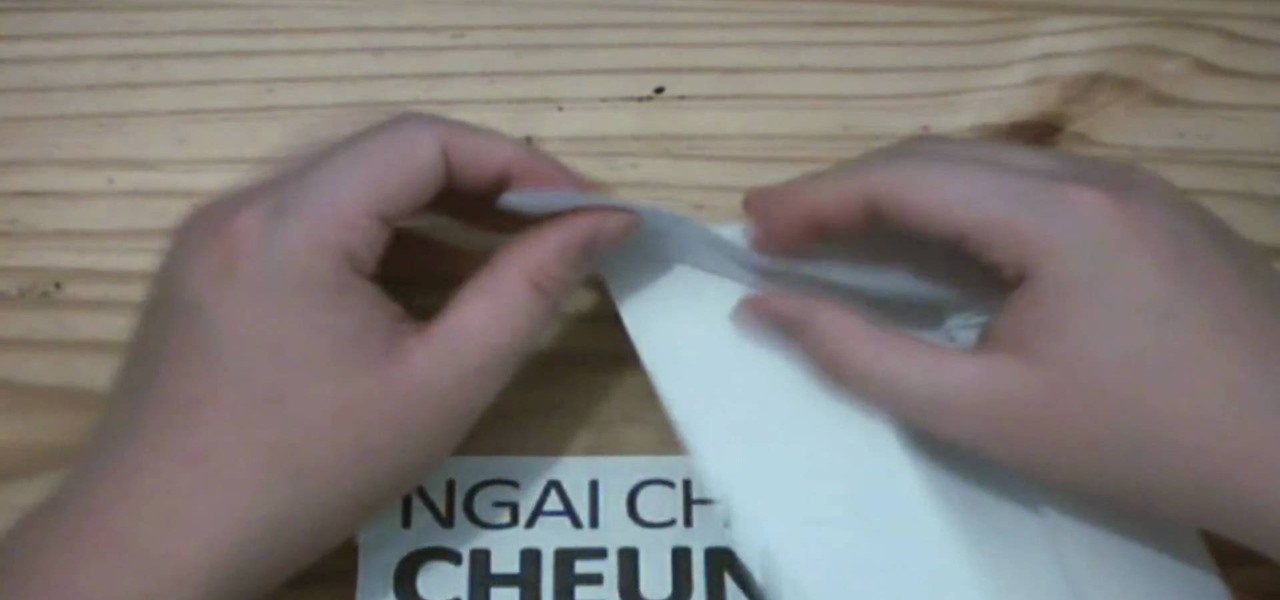
How To: Origami a paper CD case
This video is about creating a CD case by using Origami, the art of folding paper. This video, which lacks any audio, starts by using a CD in the center of a piece of paper. The paper's edges are folded over the CD to get the correct width. Then, the presenter starts on the edges of the case, which are folded similarly to wrapping a present. The presenter finishes one side and places the CD in the case. Then he proceeds to the final side which folds down over the CD and tucks into the first s...

How To: Make a boutique style bow
Learn how to make a boutique style bow: Use 23 inches a ribbon to make a 4 inch bow. First, trim and heat seal the edges. Wrap it around your fingers and stretch it so the ends are not overlapping the bottom. Make sure the end is on the bottom and stick a pin through the center. Flip it over so the needle is sticking straight up and take the end and the bottom of the two layers and twist into an "X" shape. Adjust the loops to the desired position. Use a needle and thread to complete the bow. ...

How To: Make a mermaid tail
This arts and crafts video teaches us how to make a mermaid tail in minutes. Our instructor tells us how she got requests for this after people saw her video, in which she swims in a mermaid tale. To make the mermaid tale, find some stretchy pants. Any pants that are light and are able to stretch will work. Do not use jeans. To make the tale, you put one leg in one hole of the pants, and then you put your other leg in the same hole. Next, take the other leg of your pants, wrap it around your ...
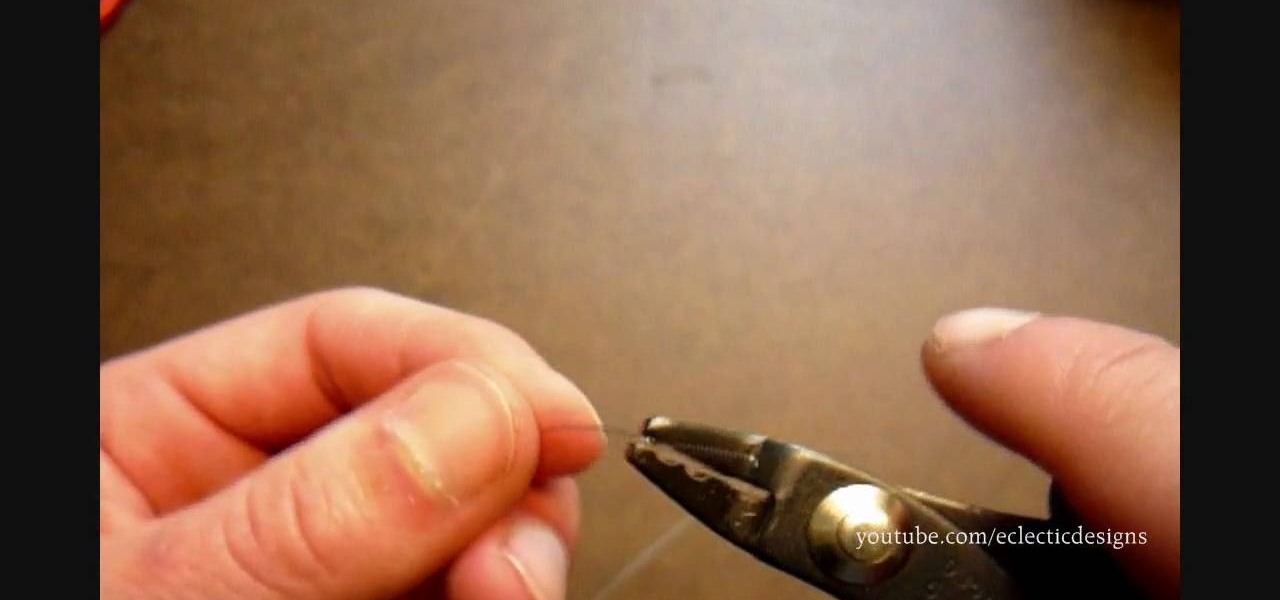
How To: Secure crimp beads using chain-nose pliers
This video shows the viewer how to secure crimp beads using both crimping pliers and chain-nose pliers for the purpose of jewelry making. The video uses two millimeter crimp beads, beading wire, and both sets of pliers to demonstrate the technique. To crimp using the crimping pliers, the viewer will utilize both notches of the pliers to crimp the bead onto the wire. In order to crimp using the chain-nose pliers, one must simply flatten the bead onto the wire. Crimping is a good method to secu...
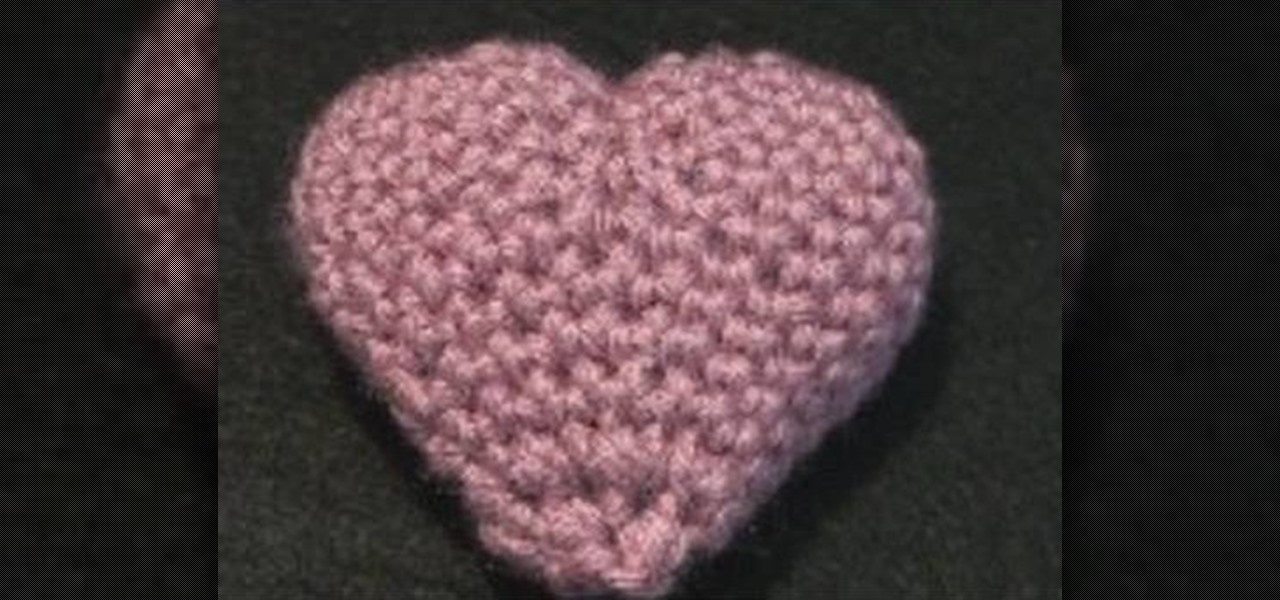
How To: Crochet a puffy Valentine's Day heart
This video shows how to make a small woven puffy heart. It Measures approximately 3 inches of yarn and 8 inches across. Use sufficient yarn and a size G crosha. Make a knot and attach the knot with the crosha. Make a chain of 3. Twin with the beginning chain to form a loop. Now make 9 rings with the center of the loop. This completes round 1. Now round 2 will have 18 rings around round 1. This completes round 2. Likewise work for two more rounds with 12 or 18 rings. Further round 4 will have ...
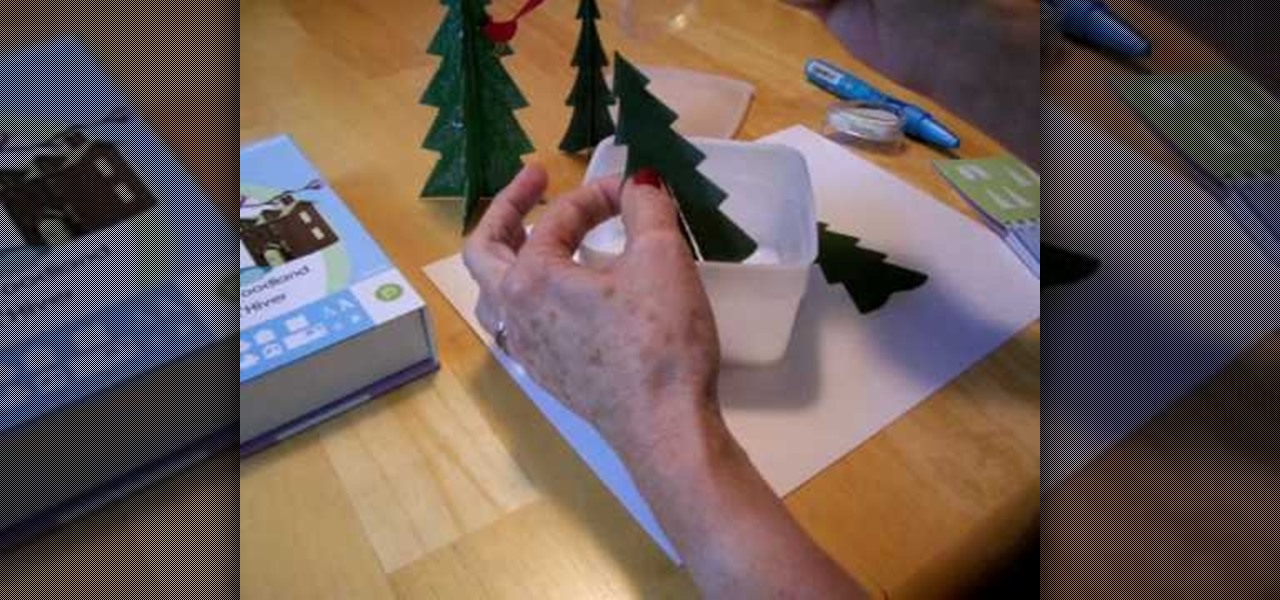
How To: Make Cricut winter woodland trees
Cardcrazy09 teaches you how to create green woodland Cricut trees. You cut two pieces of the tree. Each one has a slid, on the top and bottom and you glue them together. You can also add glitter as snow. What you can do is smear it with a white ink pad to make it look frosted. The cardinal in the tree is made out of three pieces that you cut and stick together. A red body, yellow legs and brown face is all that's needed. After that, you just stick in the tree for the complete look.
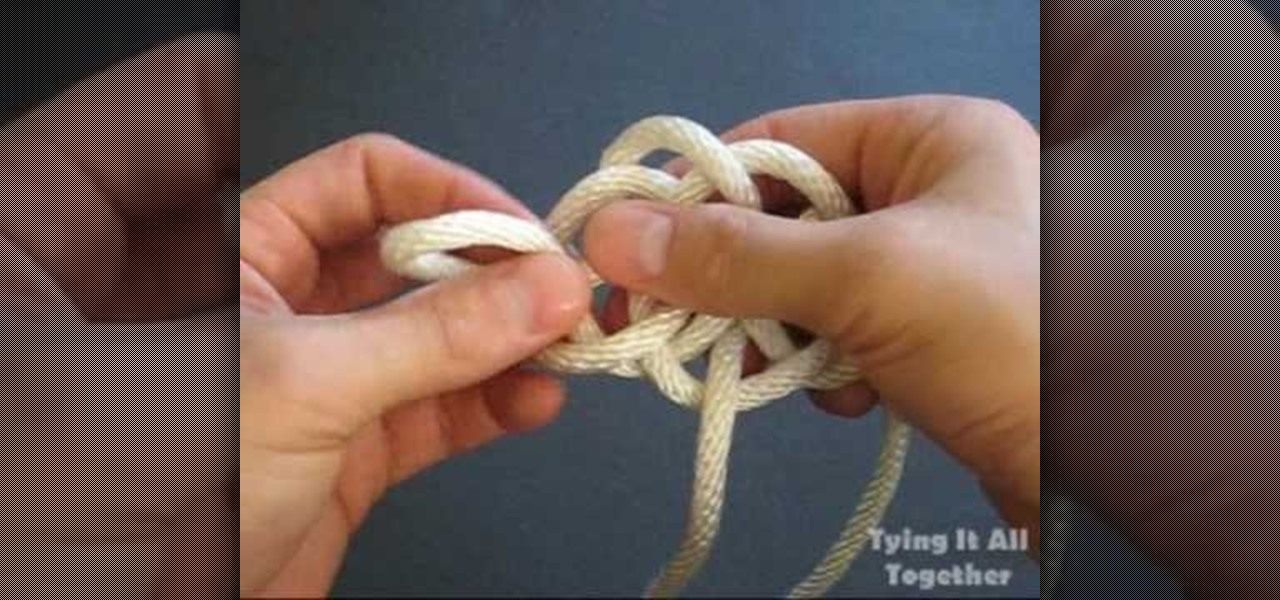
How To: Tie a River knot
This video from Tying It All Together demonstrates how to tie a river knot. Holding the rope in your left hand, make a loop to the right and bring the rope down so it lies over the loop. Bring it up behind and pull it through the loop. This makes a loose knot with three overlapping loops. Make another loop on the right and pull the end through the lower part of the right loop. Then make another loop on the left and pull it through the lower part of the left loop. Take the rope from the left s...
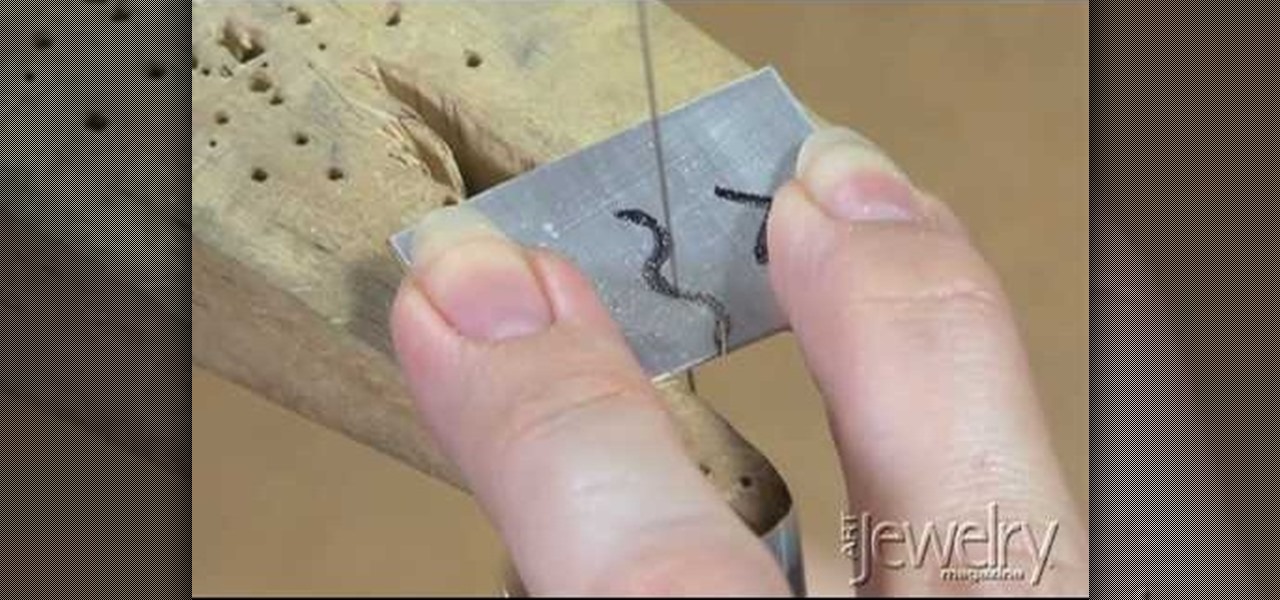
How To: Use a saw for making jewelry
This video tutorial is about basic sawing techniques. Before practicing it you need to wear safety goggles for protecting your eyes. First of all, make a practice sheet. Draw three lines in a metal piece. One line is straight, one is curve and another is zigzag. Lubricate the saw blade and start sawing. Hold the saw straight and move forward. Blow the dusts away. For making curve don't move the saw, rotate the metal piece to cut it. Hold the metal piece tightly when you sawing it. Addie kid h...


