Active Arts & Crafts Posts

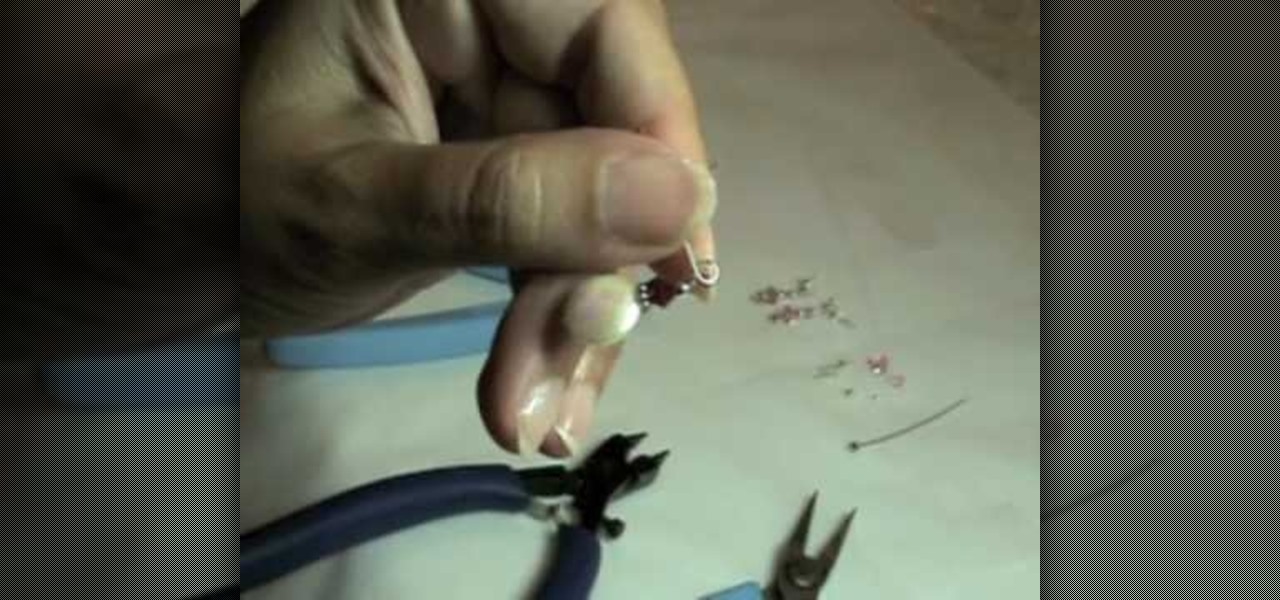
How To: Make a pair of simple drop earrings
In this video tutorial, viewers will learn how to make two pairs of simple earrings. The video provides all the materials required to make the earrings. The materials required include: freshwater pearl disk, 4 mm Swarovski crystal, bally bead accent, 2 mm silver bead, head pin, flat nose pliers, round nose pliers and wire cutter pliers. This video provides step-by-step instructions and a visual demonstration for viewers to easily understand and follow along. This video will benefit those view...
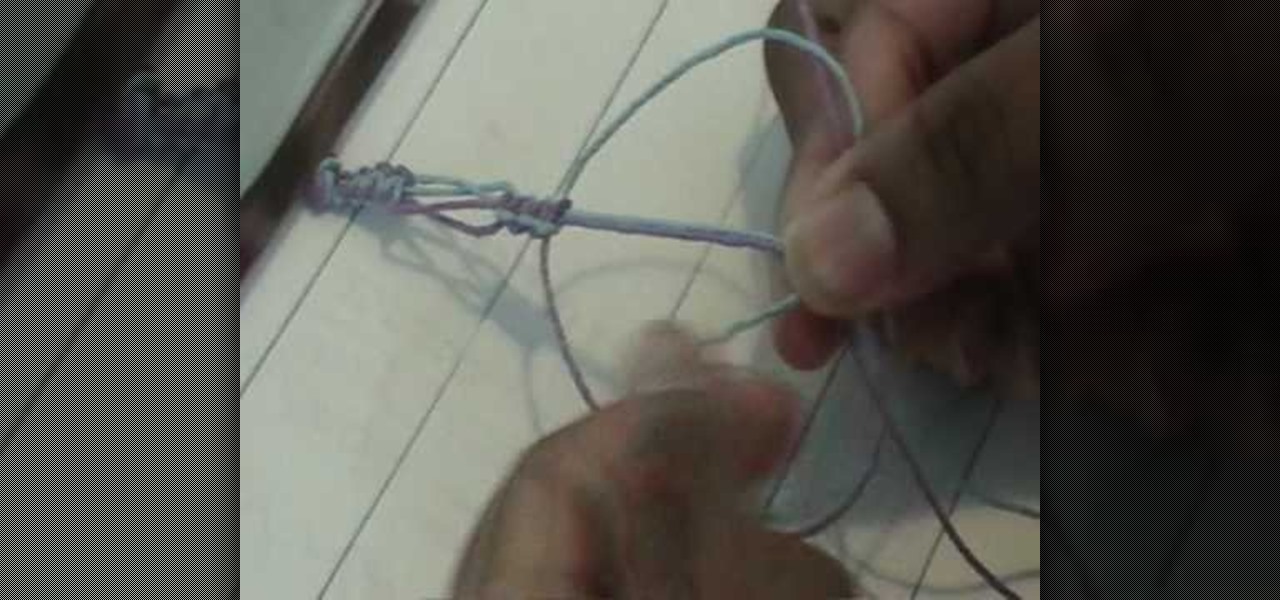
How To: Weave a switchback pattern hemp bracelet
This is the demo of preparing switchback pattern hemp bracelet. Its not a long process. In fact, it takes only 10 minutes to complete. The hardest thing is probably to make sure that each part of it is exactly the same size. Get a long piece of string and fold it into half. Grab the bottom part to make a loop. Before weaving, draw horizontal lines in a paper of 1 inches apart. Keep the paper on a clip board. Keep the loop between the clips. Then, keep one twine on the left side and another on...
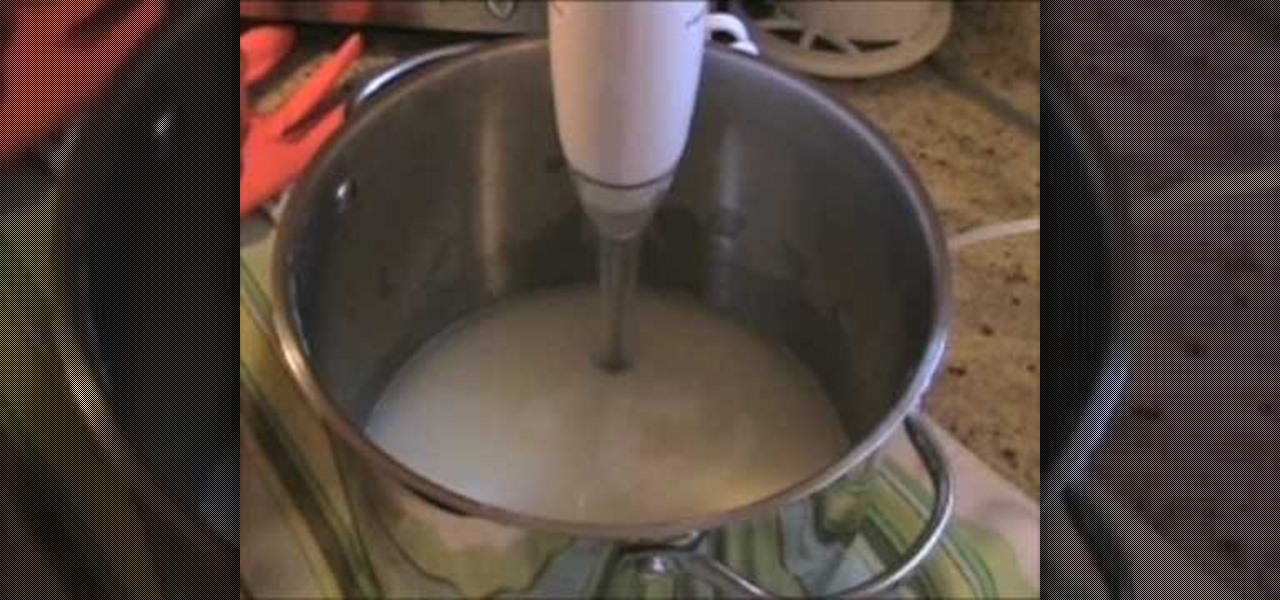
How To: Make your own soap like the pioneers
This is a clever video that teaches you how to make a craft that is both fun to make, and also a useful item to have around the house- soap! This is from Living a Simple Life Blog and details how to make soap, just like the pioneers. To do this, you will need some equipment, a scale, scent, colorant, lard, lye, coconut oil, plastic containers to hold ingredients while you weigh them, a stainless steel pot, safety glasses, rubber gloves, a miter box, scraper, curing racks, a funnel and a plast...
How To: Make a Cricut spinner "dream" card
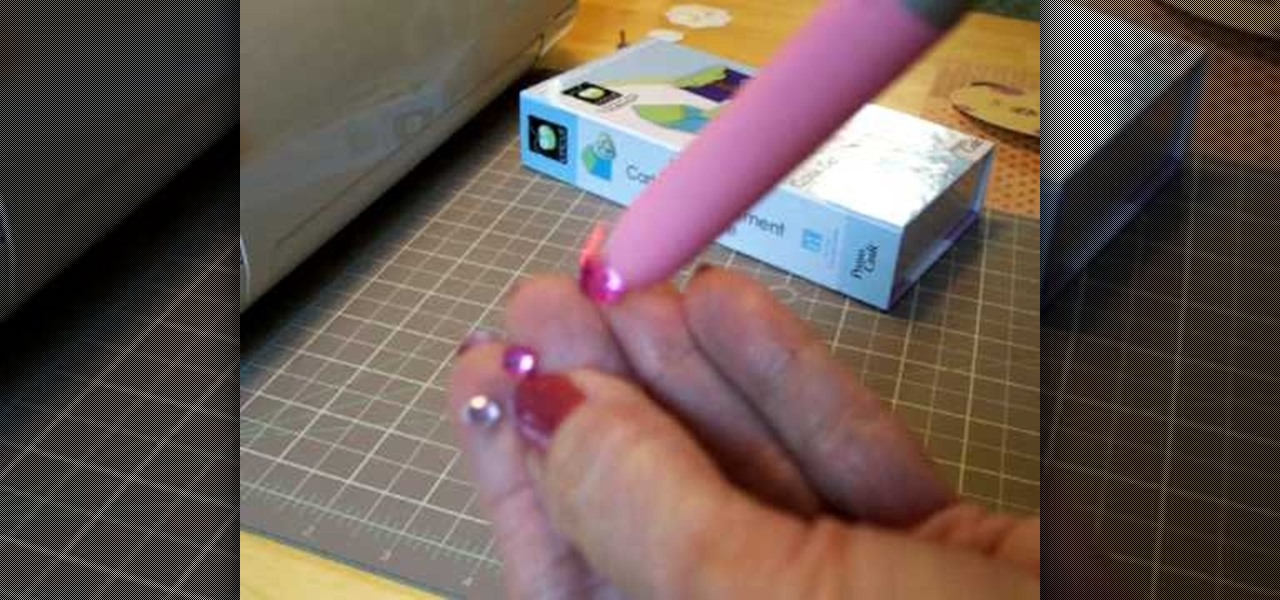
How to make a creative card. You can use different colors of paper and decorative embellishments. This is a great idea for a scrapbooker that has supplies already on hand and wants to give a special gift to a friend or relative. This activity is a great idea for someone who needs a cheer-me-up but if you change the paper and embellishments, you can make any kind of theme card.

How To: Crochet a small green shamrock with a stem
Improve you crocheting skills by creating fun shapes. This how to video is a crocheting tutorial that will show you how to create a small shamrock. Crochet several of them, bind them together and create larger handmade projects.
How To: Make altered paper jewelry
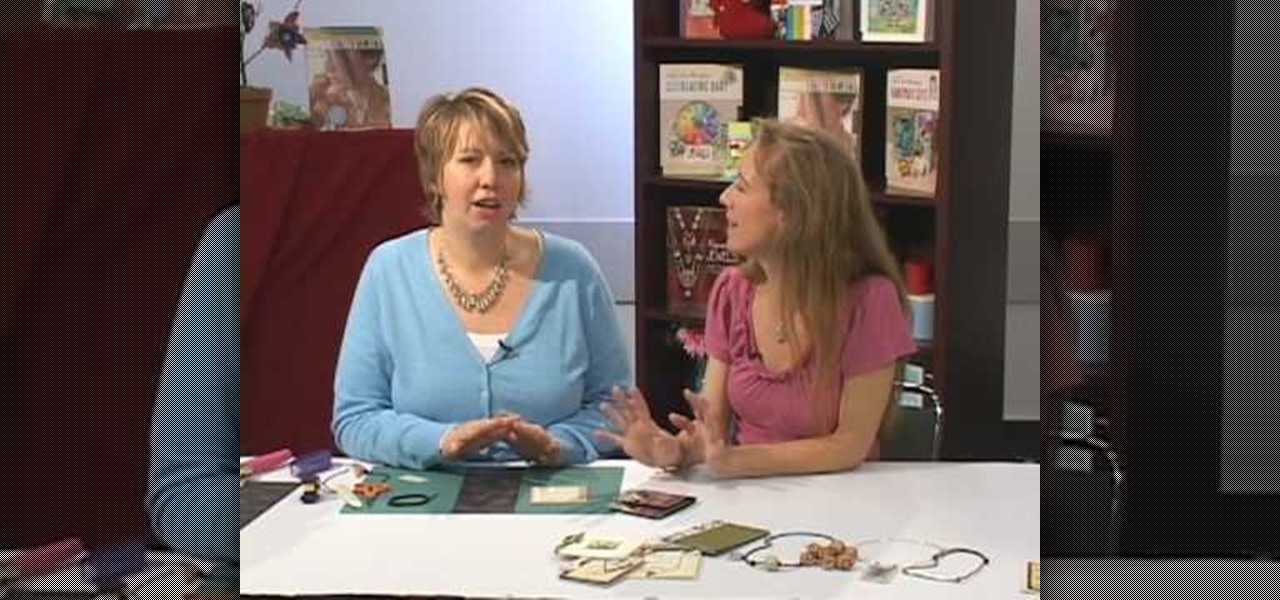
Looking for a stylish new look without the price tag? This video tutorial will teach you how to make jewelry on a budget, with your main material being none other than paper and plastic tubing! This step by step instructional video by craftside shows you how to recycle old card stock, paper, and cardboard to make a holder for a plastic tube necklace. First they show you how to make a "matchbook" holder by just folding the card stock around the cardboard that create a little card that will hol...
How To: Make a gift card holder & sleeve with Stampin' Up!
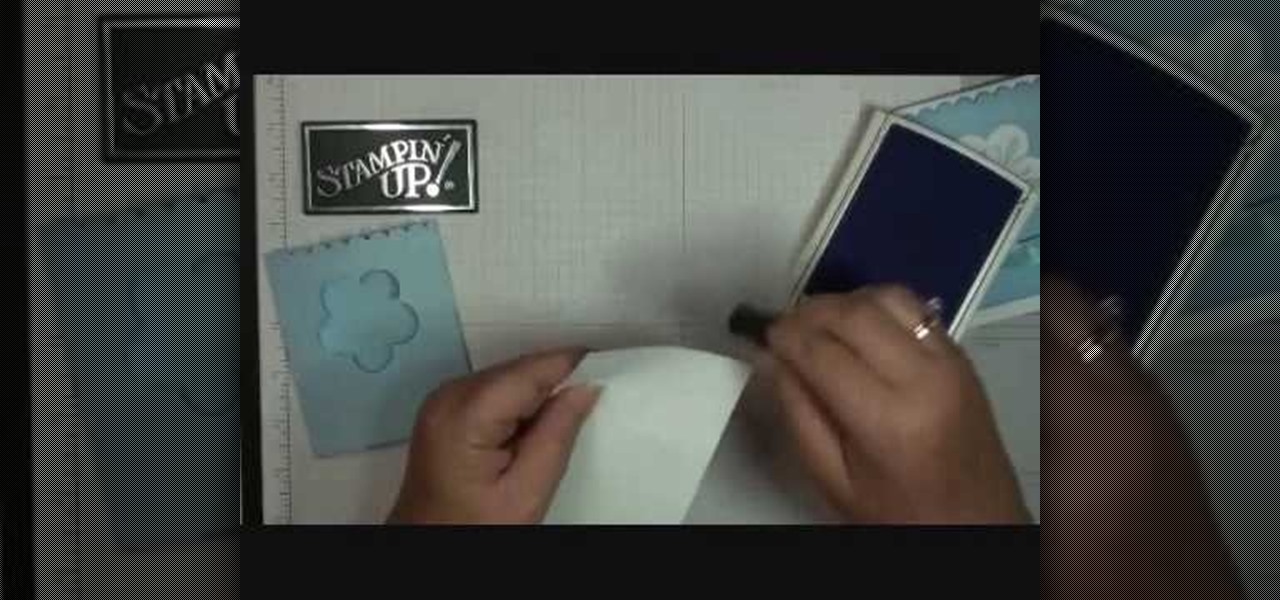
Stampin' Up Dawn shows how to use Stampin Up to create original gift card holders and sleeves in this craft tutorial. The tutorial shows how to create the Bashful Blue gift card holder. However, it should be noted that the Certainly Celery card does not utilize the scalloped edge design. The third style, Elegant Eggplant, uses ink #10510 and card stock #105126. You will need a strip of bashful blue card stock cut 4.5" by 7 3/4" scored at 3/4 and 4 1/4. Fold the score lines to create the sleev...
How To: Make the world's best paper airplane
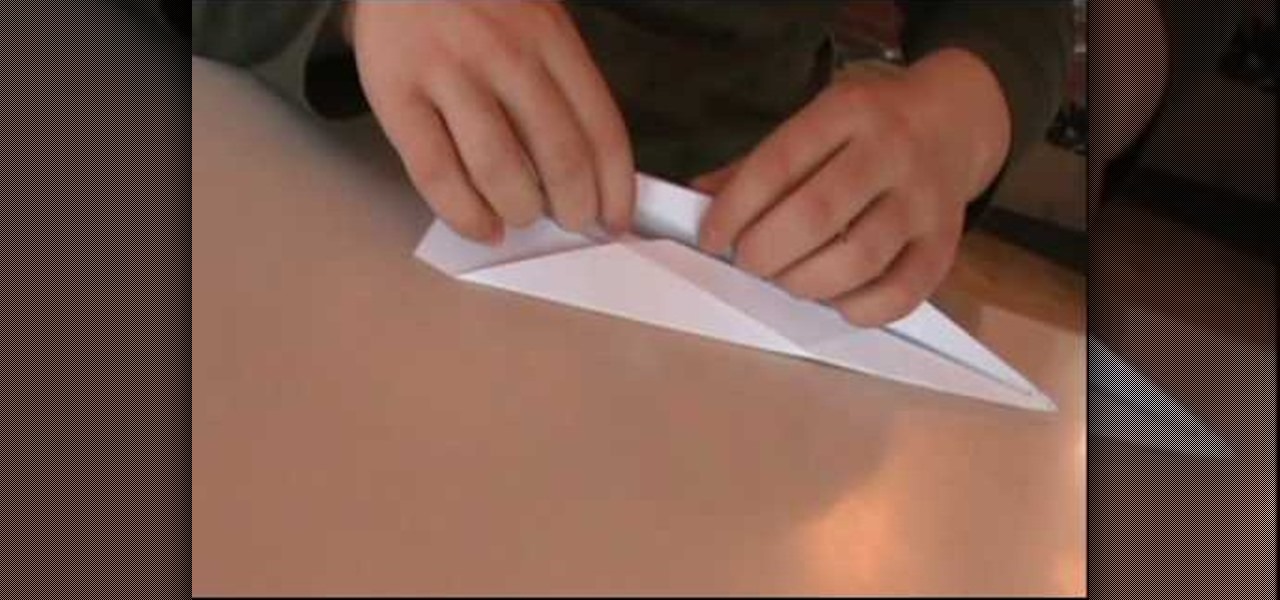
Tired of paper airplanes that glide for a second or two before they ultimately and inevitably crash to the ground? This paper-folding tutorial demonstrates an easy-to-build, easy-to-modify model that may be just what you need.
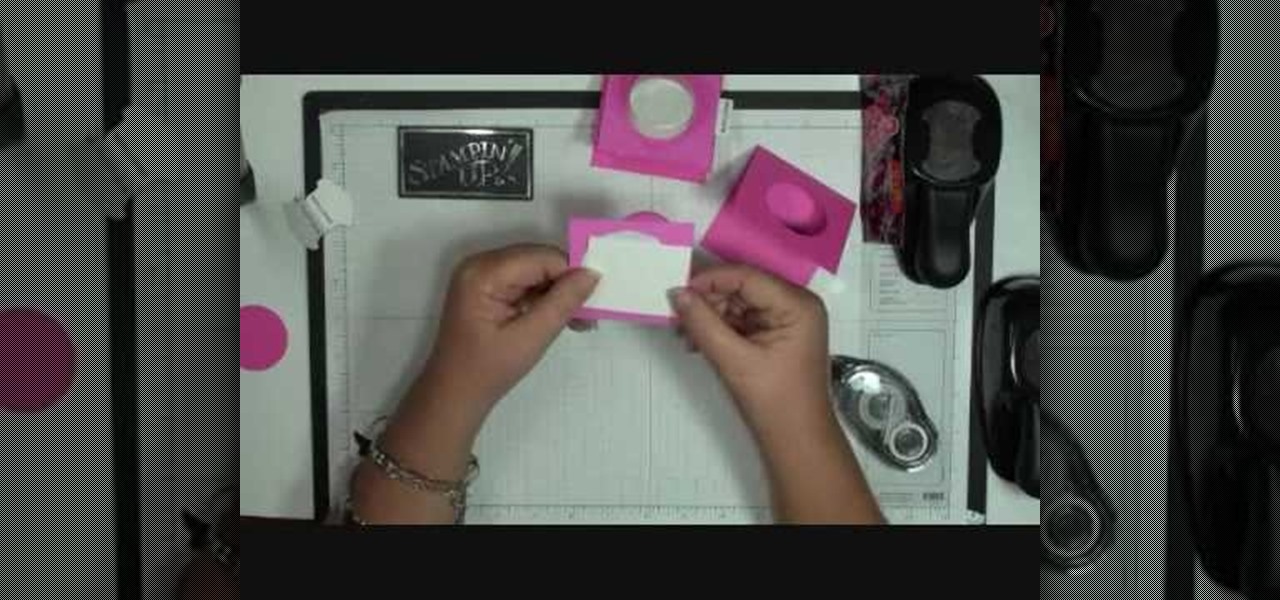
How To: Make a sweet treat cup door with Stampin' Up!
Dawn5377 teaches you how to make a pink sweet treat cup door. You need a stamp from the sweet center set and you use it on a small piece of pink cardboard. You punch the middle out. Also punch the middle of another piece of pink cardboard. Insert the treat cup door and stick it in. You use dimensionals to hold a white piece of paper, which acts like a tray under the plastic dome. You add some sweet treats inside and stick the other pink piece (with the heart) on the other side. Also remember ...

How To: Recycle an old sweater into a bookmark
In this video, Craftside blogger/author/craftster Stephanie Girard shows us how to make bird-like upcycled sweater bookmarks. Joining Stephanie Girard in this video is Jennie Hinchcliff, co-author of Good Mail Day. We're shown how to use a die cutting machine to die cut some sweaters and recycle them into bookmarks. In this example, we use a felted wool sweater and a Hello Kitty die cutting machine. With this tool it is simple to cut out a bird-shaped piece of the sweater. Then you place it o...
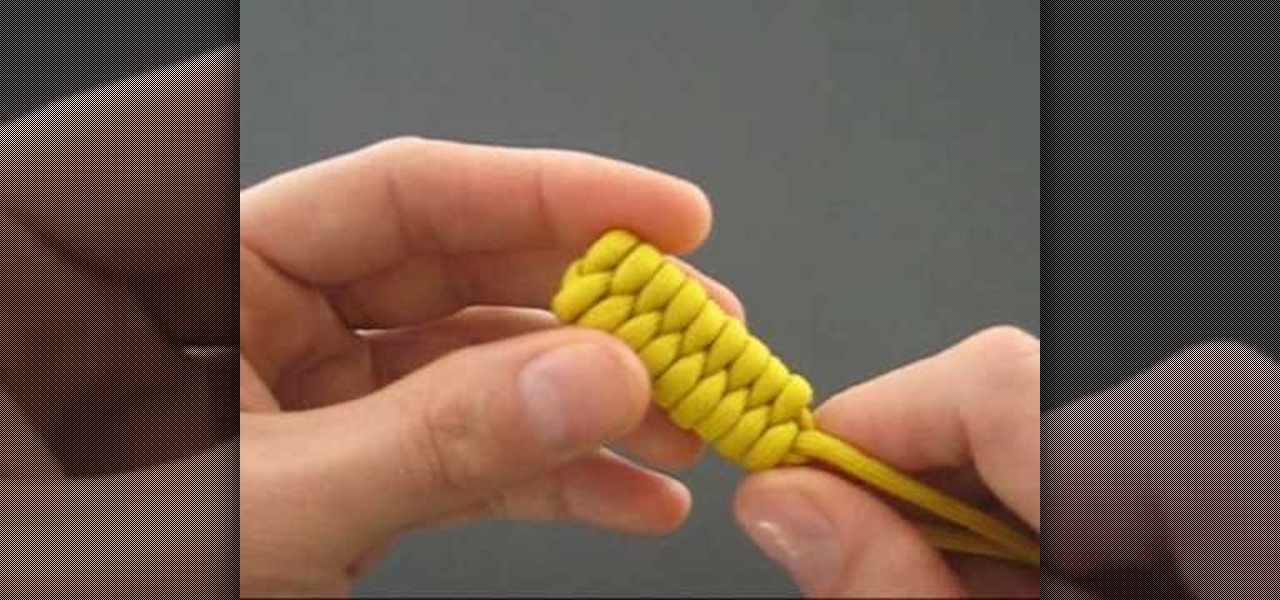
How To: Make a rattlesnake key fob
Looking for a stylish, slightly menacing way to store your keys? The "rattlesnake tie" is in actuality Clifford W. Ashley's Over-And-Under Heaving Line Knot or ABOK #541. That said, the rattlesnake tie is a whole lot easier to say and remember, so that name is used here.
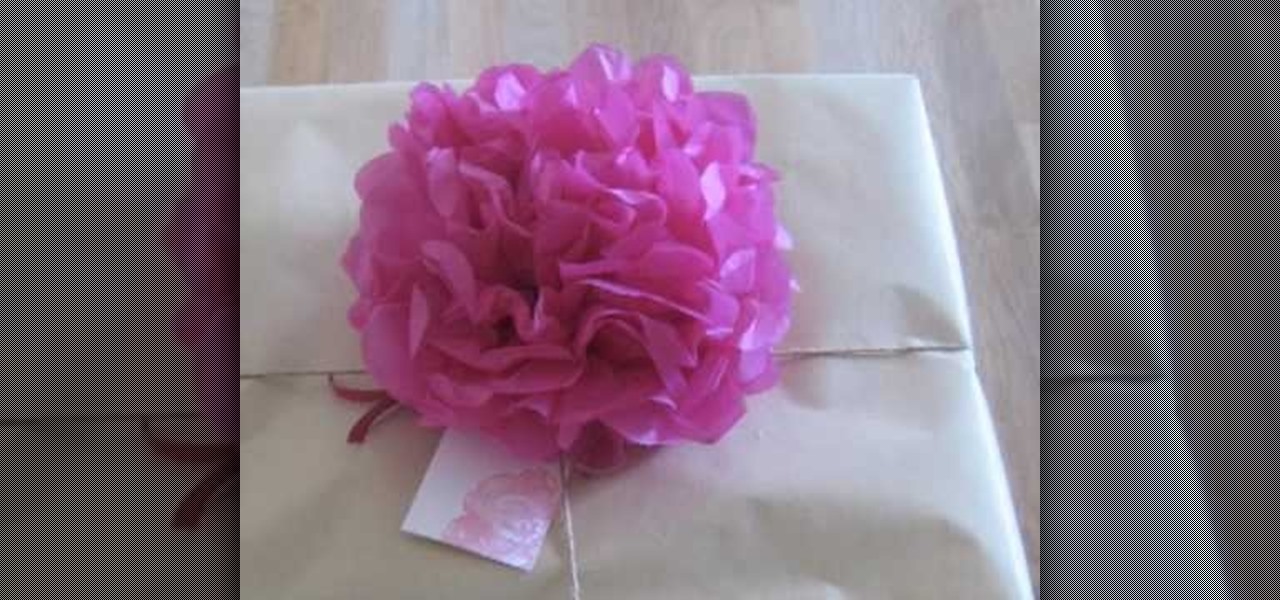
How To: Make a gorgeous paper flower
In this video tutorial, viewers learn how to make a paper flower. This video provides all the materials that are required in order to make the paper flower. The materials required include: colored tissue paper, scissors, and 10 cm of colored string. Begin by cutting the tissue paper to preferred size. Fold 1cm on the tissue paper, flip it over and do the same on the other side. Continue this until you've reached the end. Tie one end of the string onto the middle of the tissue paper and fold t...
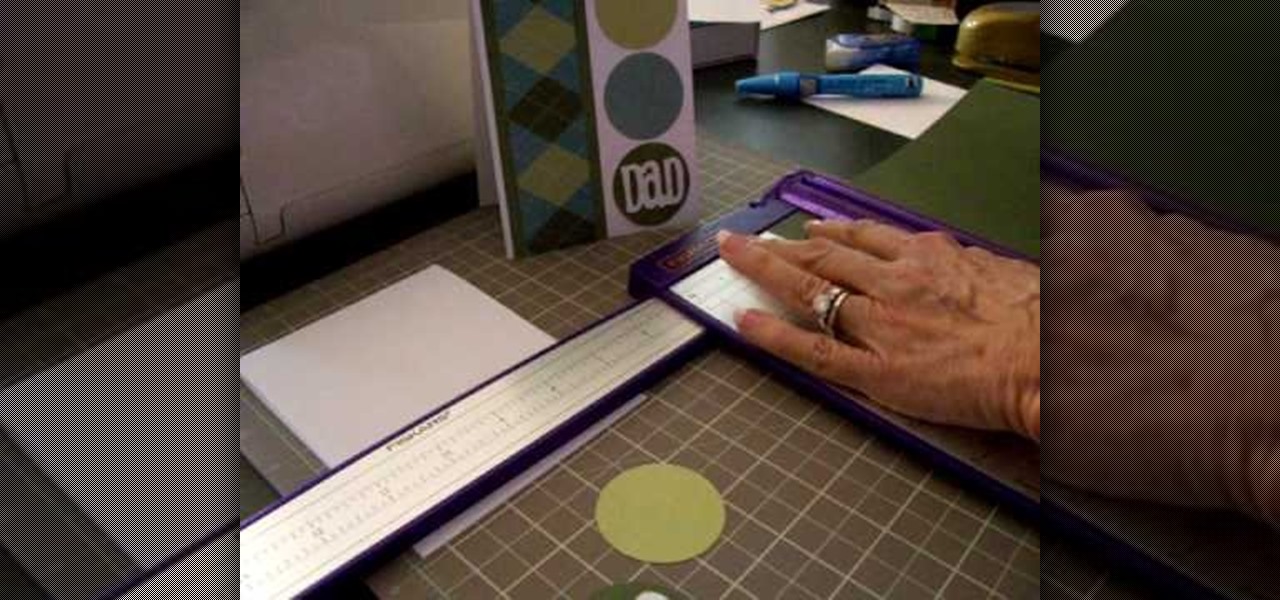
How To: Make a Cricut card for dad
Use your Cricut machine and the cartridge "Beyond Birthdays" to create Dad an original Father's Day card or Birthday card. Making cards on the Cricut machine is great because you can use scrap paper and different shapes and really make it your own while spending almost nothing. And it takes less time to make a professional looking card on the Cricut machine than it does to sit down and draw a homemade card. Dad will love the card and you will love saving money and having the satisfaction of m...

How To: Make a paper orchid
To make a Paper Orchid you need to know the steps as follows: First fold a square sheet of origami stock paper into a triangle, bringing both points together. Use this as your flower base. Fold the paper again bringing both corners together. Rub your finger along the crease of the fold to make sure that it stays put. This step completes the triangle base. Begin making the flower base by taking the triangle base folded over twice and adding a third piece, folding it over as well to meet with t...
How To: Do a Japanese stab stitch binding
In this video tutorial, viewers learn how to use the traditional Japanese stab stitch binding to make books. Stab Stitching is used mainly for office documents and in essence is two or more very strong, long staples that bind together loose sheets up to 25mm thick. The video provides all the materials required to make a book. The materials include: filler paper, two sheets of card stock(must be same size as paper), string, pencil, ruler, ice pick, X-acto knife, needle(must be same thickness a...
How To: Weave a two color solomon bar
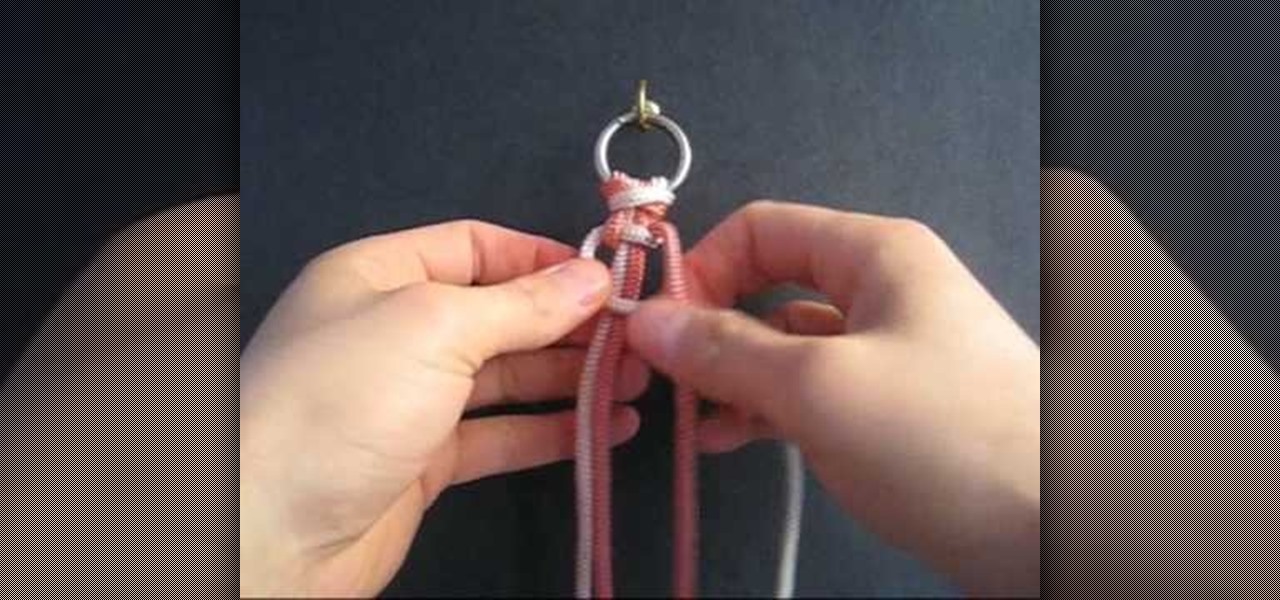
This video is a tutorial on how to weave a solomon bar bracelet with two colors. The author shows how to weave a solomon bar bracelet with two colors where there are vertical loops of one color and horizontal loops of yet another color. Combining this video with the author's previous video on how to weave a solomon bar bracelet (How to Make a Solomon Bar by TIAT) should provide sufficient information on completing a two colored solomon bar bracelet. While this way does work, it is mentioned i...

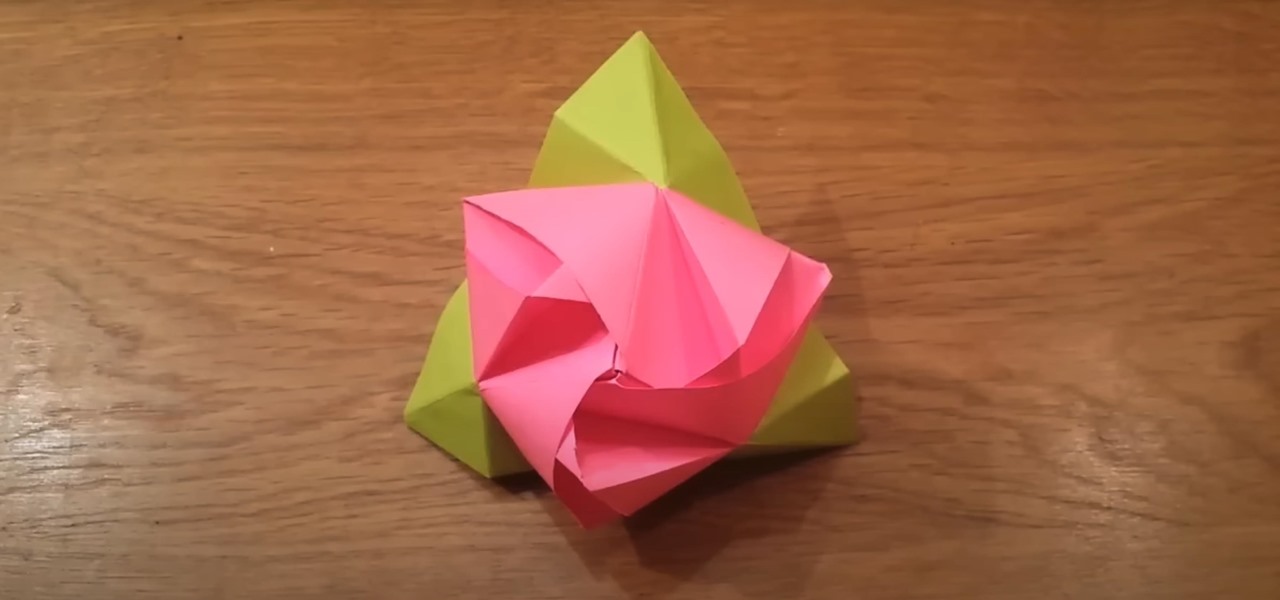
How To: Make a spiral rose
Learn to make a beautiful spiral rose of paper, by watching this video. Things you will need to make this rose are: Red colored paper (or any color of your choice for the rose), a toothpick or small stick, glue, scissors. Begin by drawing a spiral on a square piece of red colored paper. With the help of scissors, cut along the lines of the spiral till the centre. Next, begin winding the spiral strip onto one end of a toothpick, from the outer end. Keep winding till you reach the other end of ...

How To: Make a wrapper chain from candy wrappers
First, cut out 1 x 2.75" pieces of paper. Fold a piece of paper in half, and then in fourths. Fold it in half again to make eights, and keep doing so until you get 32 individual pieces of paper. Now you must fold each paper in half length-wise, and then open it up and fold the flaps so that the ends meet the half way point. Do the same width-wise. You can make an interesting chain if you use different paper colors together. Connect each piece so that the ends of one piece go inside the ends o...

How To: Make an good looking paper flower
This video shows the method to make a good looking paper flower. The basic thing needed for performing this task is a rectangular sheet of paper. The paper is first folded to make a square piece of paper. The rectangular piece left is then cut out. This rectangular piece is folded across its length to make the stick for holding the flower. The square piece of paper is folded across its diagonals and its sides so that various creases are formed on it. Then a series of folds are made on the squ...

How To: Make a paper fortune teller for fun
We can make a paper fortune teller for fun by using the following instructions. First start the process with a square piece of paper approximately 8 inches on each side. Now, fold each corner of the paper into the center and flip it over and then fold each new corner now created into the center. Then, mark each triangle (there will be 8 of them) with a number. On the reverse side of each triangle, write a fortune for every number. Next, fold the numbered side in half and stick both thumbs and...
How To: Make a simple dreamcatcher
Gather your hoop and supplies. Wrap the suede evenly around the entire ring. Wrap it either eight or sixteen times, depending upon your preference. Glue the ends to the hoop. Secure them with a clothespin until the glue dries. Make the web. Tie the nylon string to the suede. Make eight knots evenly dispersed around the ring. Keep the thread taunt between knots. Make a second row. Place each knot "between" the knots of the previous row. Continue in this manner until a small hole remains in the...
How To: Make paper flowers with a paper shaper punch
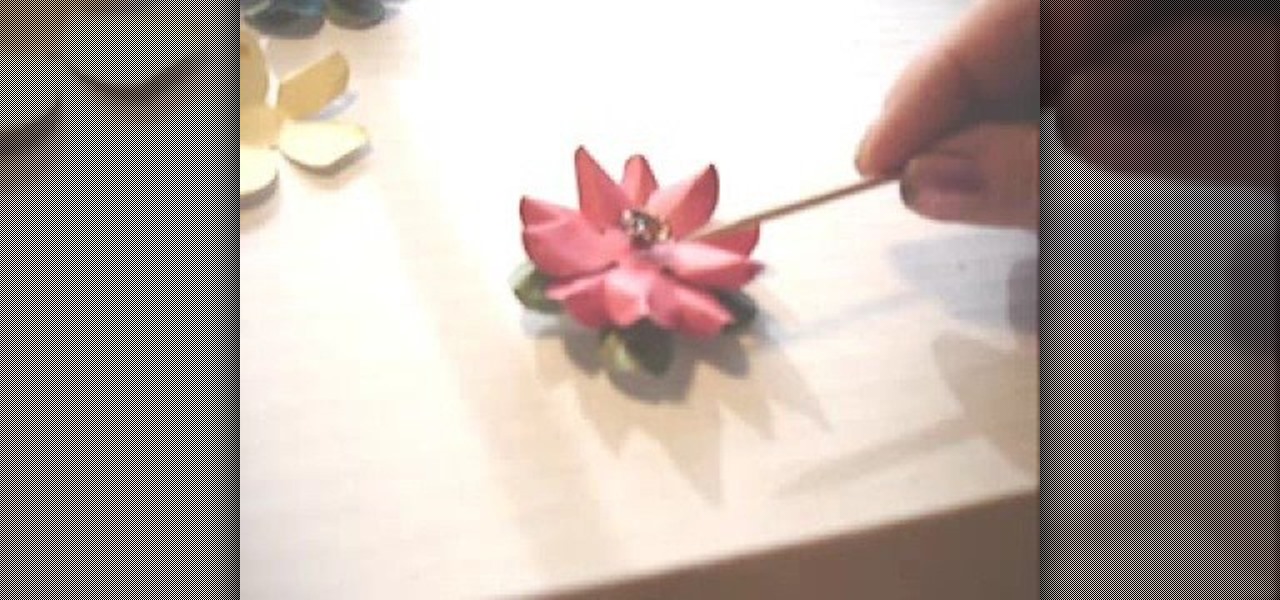
The video shows the viewer how to make 3 paper flowers. The first seconds show the paper flowers (two blue and one pink) and a lady voice says she will show us how to make them using a Paper Shaper Punch. Then she presents the tools: the paper shaper punch (with the large daisy), paper of 2-3 different shades (one of them green), mini bonds, a toothpick and optionally wire cutters and a button, wire. a jewel etc. She shows the blue flower that has a blue jewel in the middle, two layers and a ...
How To: Knit puffed ribs
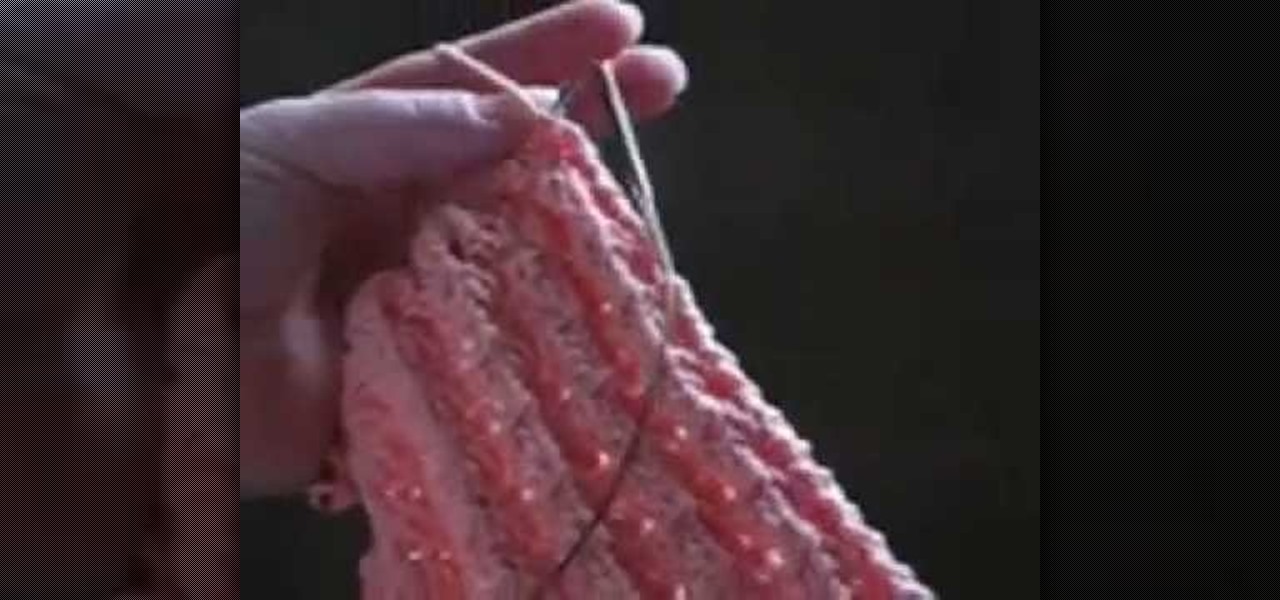
Iknitwithcatfur teaches us how to knit perfect puffed ribs. Cast on a multiple of 3 stitches plus 2 stitches. This means that any number of stitches that you want to cast on for you project must be divisible by 3 plus 2 extra stitches to create the selvage. Purl the first 2 stitches of row 1 then begin the repeating pattern of yarn over, knit 1 stitch, yarn over, purl 2 stitches. Repeat this pattern until the end of the row. This will be the right side of your knitting. In knitting abbreviati...

How To: Crochet a left handed seed stitch scarf
Teresa Richardson from the crochet-mania blog will be teaching us how to crochet a left handed seed stitch scarf. In her video, she is going to be guiding us through the process of crocheting single and double seed stitches as well as providing us with step by step instructions on how to make the scarf. Teresa designed this tutorial with beginners in mind, so newcomers are more than welcome to utilize and learn from it as well. Be sure to have a crochet needle and some yarn handy prior to wat...

How To: Bind a Book
You will need white glue, a paint brush, a ruler, scissors, medicinal gauze, self-adhesive foil, a utility knife and paper. First, using a paint brush, apply the white glue to the edge of a stack of paper that you would like to bind. Press the stack of paper down with a ruler. Let the glue dry. Unfold the gauze to fit the book and cut enough to cover the spine. Coat the spine with glue and paste the gauze to it, overlapping the sides of the book. Coat the gauze with glue and let it dry. Make ...

How To: Make a Cricut graduation card
Cardcrazy09 teaches us how to make a graduation card. You take a piece of black card stock paper and stick thin white paper edges on each side, like a window. You then use the Cricut to make a star and the word Congrats. This will go on the left, on top of some black printed moxie paper. The right side of the card also features a piece of moxie paper, with graduation hats pattern. There are also nail heads stuck on top. The last idea is to also include money to your son/niece.
How To: Get cheap origami paper alternatives
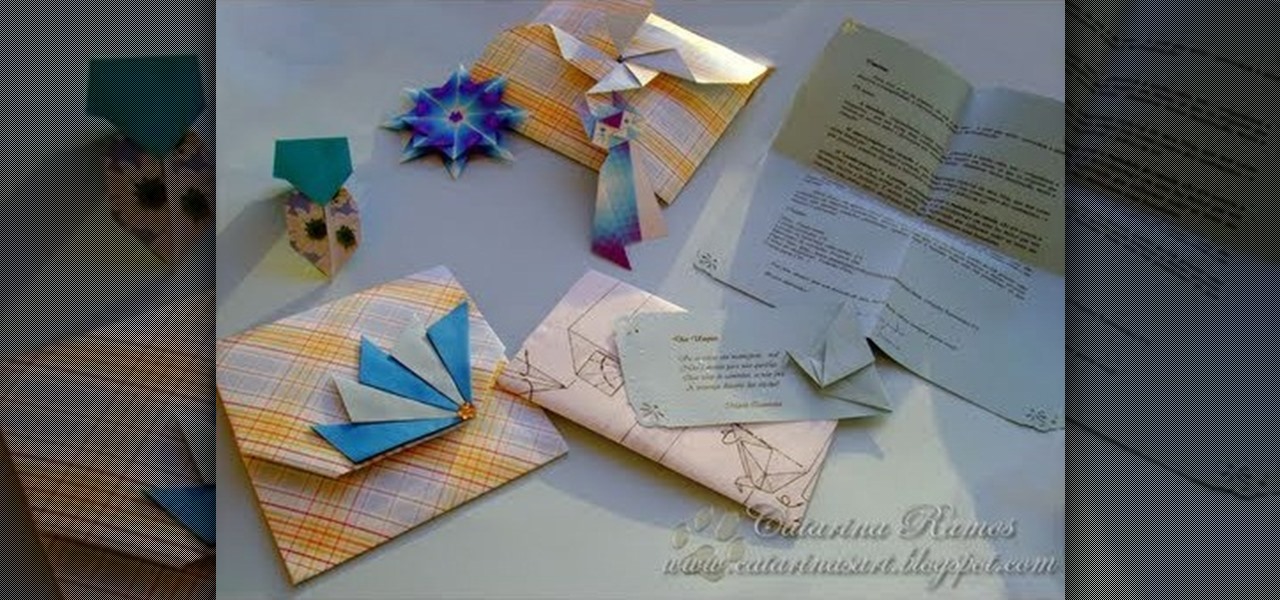
This is demo showing where to get a cheap origami paper. Origami papers are expensive in terms of shaping. It's very cute and nice. While seeing the holographic picture of the paper we may clarify that. Take a big roll and it is cheap. Take off the protective sheets on the walls. Its cheap and its like 3 -4 $ per piece. Its pretty and wonderful. Also we may get wrapping paper which you can buy. This is cheaper and you can get it home. This is a great paper and you may can fold everything. Whe...

How To: Make an easy paper flower with cut paper
In this video you can learn how make an easy paper flower. Cut the card stock into strips of paper that are either 1/8 inch, 3/8 inch or 1/2 inch wide. The width doesn't really matter, but all the strips must be the same size. Use scissors to cut slits 3/4 of the way through the paper strip, creating a fringe along the entire edge of the piece of paper. The smaller the distance between cuts, the more realistic and delicate the flower will appear. Insert the end of the paper fringe 1/4 inch th...

How To: Make a handmade card with rubber stamps
Handmade cards with rubber stamps can be made easily with the following instructions. First, fold a sheet of cardstock in half horizontally or vertically, whichever way you prefer to make your card. Then, trim around the edges with scrapbooking scissors to create a design, or leave the edges straight. You can also find rubber stamps with inspirational messages that you can stamp straight onto the cardstock. Now you can decorate the card front with any rubber stamp you like, but stamp it onto ...
How To: Tie the Spinal Sinnet decorative knot
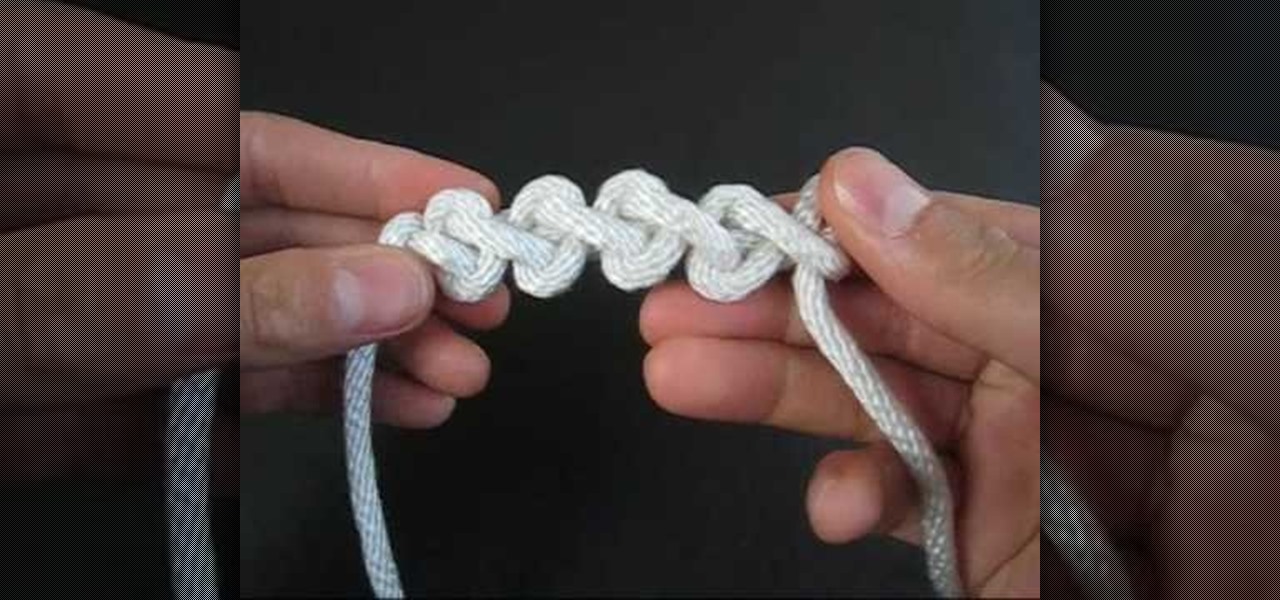
To tie the spinal sinnet, take the thread folded from left to right and hold it at the cross. Now insert the right thread in to the hole and pull the left thread to make it tight. Take the end of the thread and insert it and pull the thread which is close to the knot, you will get another hole. Now cross the hole and then insert the right side of the thread and pull down the thread close to the knot. Repeat the same till the end of the thread. Now the spinal sinnet is ready to use.

How To: Make a paper box
In this video you can learn how to make a paper box. Find a piece of square paper. Use scissors and a ruler to create square paper, all side is the same measurements. Crease the paper in half lengthwise and then again in the other direction. Unfold the paper which should be divided into four sections. Take a corner and fold it up to the center of the paper. Repeat for all four corners. Ensure that the tips all meet in the center for a smaller square. Fold one side of the square up to the cent...
How To: Crochet a fuzzy panda amigurumi
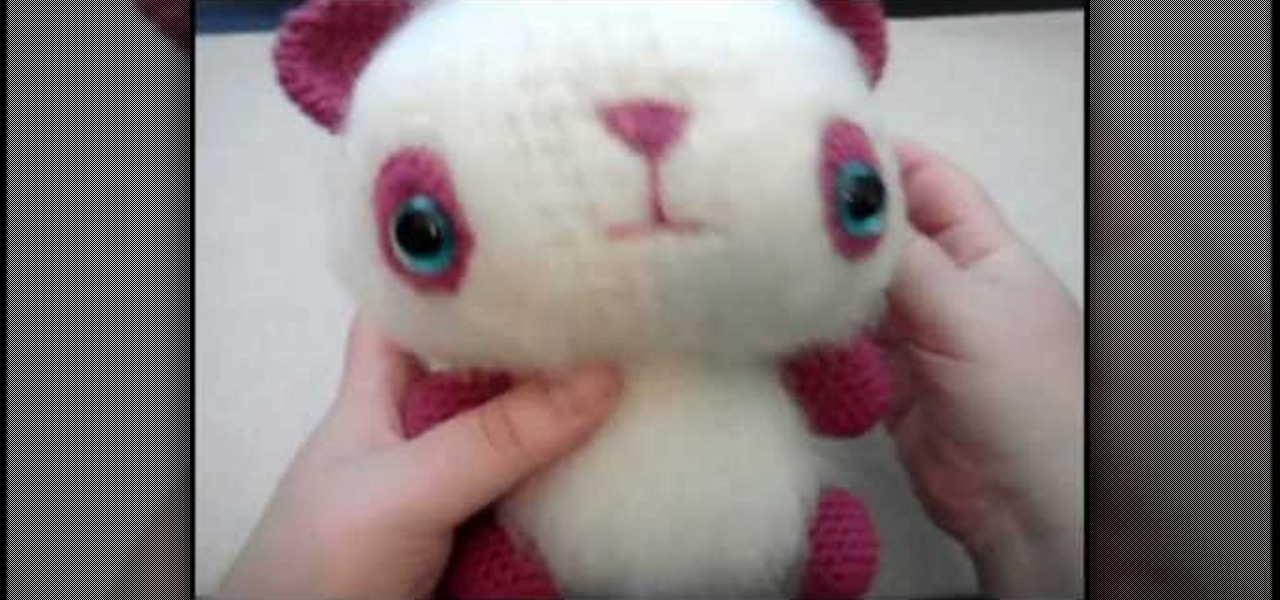
Tammy Snow will teach you how to brush your crochet to make your panda fuzzy. Take your finished crocheted head piece and fold it in half. Brush the head with a pull and lift action with your dog slicker brush. After brushing one way, turn the piece around and repeat brushing the opposite way. Repeat brushing and turning until the definition of your crochet stitches are almost invisible. The brushing could take up to an hour to get your desired appearance. Follow these simple instructions and...
How To: Make a mask
We need a plaster roll, some vaseline,and a hair band. Put some vaseline under the eyes. Plaster the strips to 1/3 of an inch, dip it in the water and place it across the nose. Then take another strip, dip it in the water and place it across the earlier one. Take a larger strip, dip it in the water and put it on the forehead, and two more on the cheeks. Now take a pair of scissors and cut pieces accordingly and place it all on your face after dipping it in water. You need to cover the face, l...

How To: Make a easy paper hat
Take one large newspaper sheet that consists of two pages on each side. Fold in half lengthwise (the way it comes in the newspaper). Fold in half again (bringing the top of the paper to the bottom). Fold corners (on folded side) to middle. This will make a pointed top to paper. Fold one piece of bottom of paper up to the bottom of the pointed fold. Fold bottom again until it overlaps a little of the pointed part. Turn hat over. Fold sides in about 1 1/2 to 2 inches (it will look like a house)...

How To: Make a simple paper fortune teller
In the art of paper crafting, the fortune teller is one of the easiest one that anyone can do it. First you need a sheet of paper, some markers to write over it. Fold one of the corners on an angle to match the other side. Now with the excess paper here, cut along the line. Now open it up and you should have a square. Fold the other corner to the opposite corner and make your fold. Once you have made your creases, fold to the center. Now you should have a smaller square. Now once you've compl...
How To: Make an easy Bali bead & silver chain bracelet
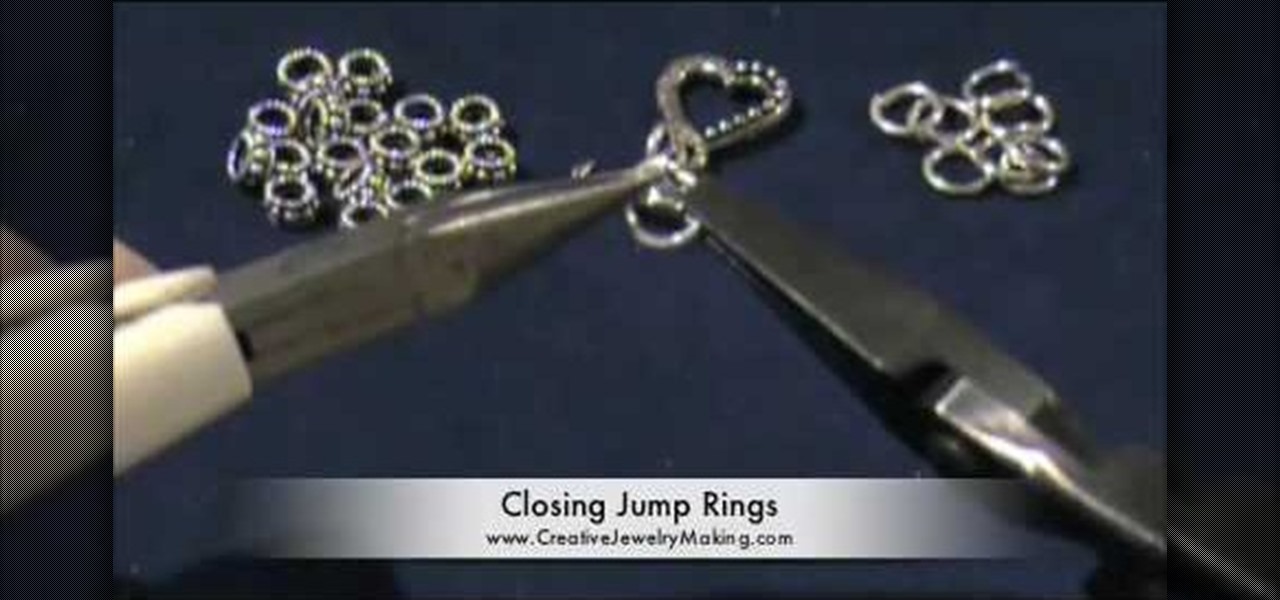
Creative Jewelry Making teaches the at home crafter how to make their own Bali bead and silver charm bracelet. This is not a video for jewelry making pros; it would be simple enough for a novice and can be completed in about half an hour. These are the tools you will need to complete the project: six Bali beads per inch of bracelet you will be making, six jump rings per inch, a Bali style toggle with a large hole for latching, and two pairs of flat nose pliers (make sure to use jewelry pliers...

How To: Make a pair of two teared crystal drop earrings
TheCreativeJeweler teaches you how to create a pair of two teared crystal drop earrings using findings, headpins (can be any type you want, or if you want to make your own) and crystals. You take your headpin and put a 6mm Swarovski crystal bead, a 3mm silver bead, a 4mm Swarovski crystal bead, and a 2mmm silver bead in sequential order. Take your flatnose and flush 90 degrees over the top of it (gives you more space to wrap wire and some more pattern). Using the same technique, make a loop. ...
How To: Make an easy silk screen stencil tee shirt
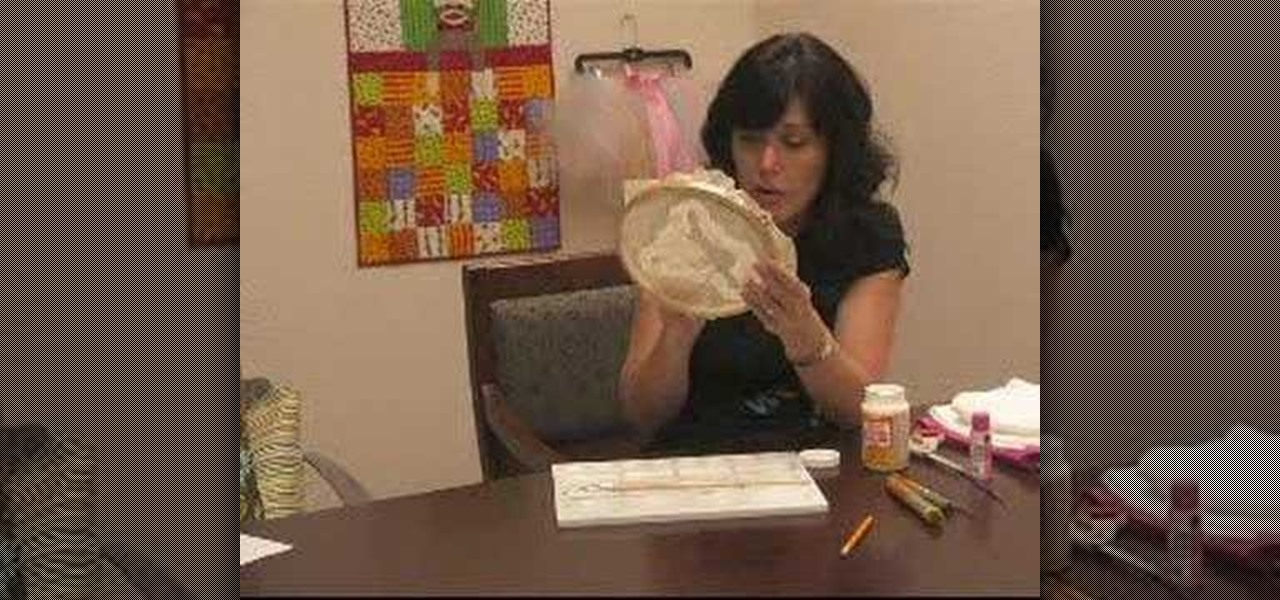
This video by Wowzzydot shows us an easy way to silk screen/stencil a garment. Using either a t-shirt or baby onesie, you can decorate it in the style of our choice. She clearly tells you the supplies you will need, embroidery hoop,sheer fabric, such as a curtain panel, paint and stencil brushes, scissors, Mod Podge or any water solvable glue. Also textile paint or ink and of course, the garment to be decorated. The first step is to cut the sheer fabric about an inch larger around than the ho...
How To: Make a basic macrame hemp bracelet
It is one of the easiest method to make a basic macrame hemp bracelet. First get out your hemp twine, if you do not want to use hemp there is a wide variety of colored cord you can chose from, the thicker the cord the bigger your bracelet. Cut off two long strands and take one strand, fold it in half and loop it over a rounded stick such as a paint brush or pencil. Do the same to the other strand. Now, you have the four strands hanging down. Take the right strand, pull it over the two inner s...
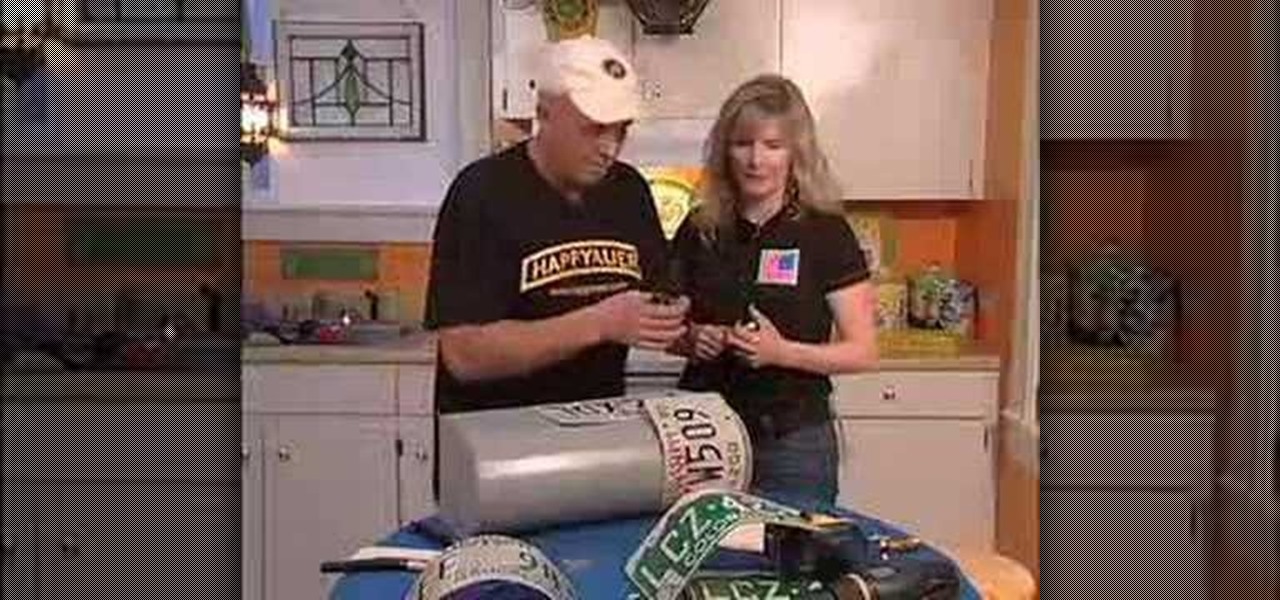
How To: Make a cool recycled license plate mail box
Laura and Charles are a thrifty couple to have around in this time of recession. Using old license plates, some rivets and lots of love, they will teach you how to make a license plate mailbox. A simple and easy craft project that could be fun for the whole family, imagine the look on the mailman's face when he sees your new creation sitting in the front of your house. Your mailbox will be the talk of the neighborhood and who knows you just might start a trend! A friendly video with simple in...


