Active Arts & Crafts Posts

How To: Make beaded jewlery
The author of this video demonstrates how to make beaded jewelry by using simple household items. The materials she uses are assorted beads, crimping beads, string, leather, and earring hooks. First, the author plans her design before she starts creating any jewelry. Once she has decided what she wants to make, the author cuts off a piece of string that is the desired length of the item. Then, she adds a clasp to make sure all the beads she plans to add stay in place. Next, she slides the des...

How To: Crochet a double crochet stitch in a round
ShredBetties shows how to crochet a double crochet stitch in a round. To create the first double crochet in the second round, insert the hook of your needle into the loop at the top of the chain. Yarn over and insert your hook into the hole immediately to your left, below the three strands crossing over the hole. Yarn over and pull the yarn through the hole. You should now have three loops on the hook. Yarn over again and pull the yarn through two of the loops on your hook. You will now have ...
How To: Do the African helix stitch to make a beaded bracelet
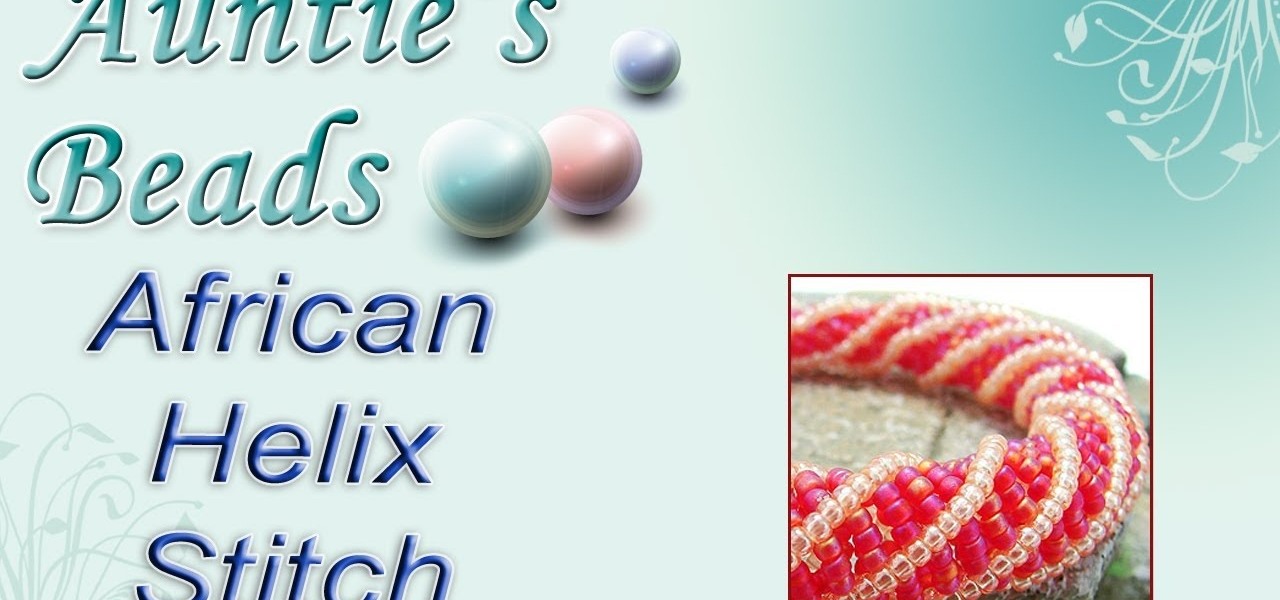
Watch this video to learn how to make a bracelet using seed beads and the African helix stitch. Part 1 of 2 - How to Do the African helix stitch to make a beaded bracelet.

How To: Make a paper flower bouqet
This craft shown in the video is a great craft for children or adults. Materials you will need are: 1. Construction paper (square big enough to trace your hand)
How To: Make an easy dreamcatcher
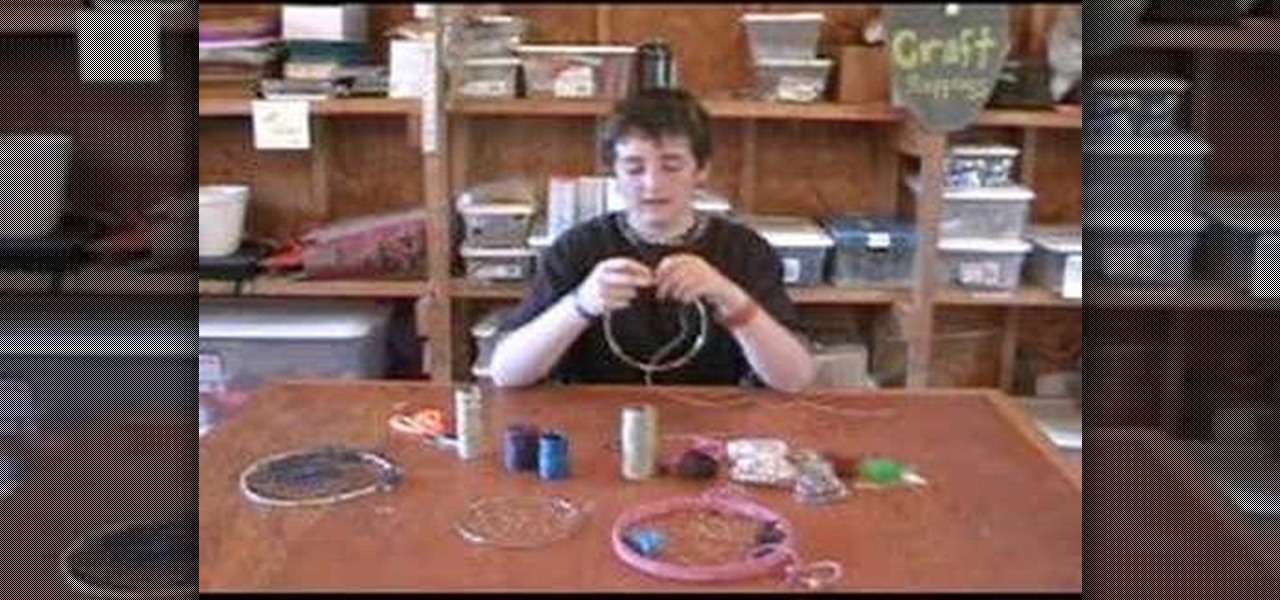
Arts and Crafts at Camp Watonka demonstrates how to make an easy dream catcher. Tools for the dream catcher include a ring, wax string, leather strips, pony beads, feathers, scissors and craft glue. First, cut a medium-sized piece of string. Tie a knot on the ring. Wrap the string around the ring two or three times and pinch it. Then, move to a different part of the ring and repeat the technique a few times. Add pony beads and feathers to the project. Glue the leather strips all the way aroun...

How To: Make a paper ball
Place the paper colored-side down on the table. Fold the piece of paper in half to form a triangle. Match the upper right corner to the bottom left corner. Run your fingers along the edge of the triangle to complete the fold. Shrink the triangles size again and fold it in half once more. Match corner to corner. This fold forms a smaller triangle. Ensure the corners match up evenly. Run your fingers along the edge of the smaller triangle to complete the fold. Open up half of the triangle. Pres...
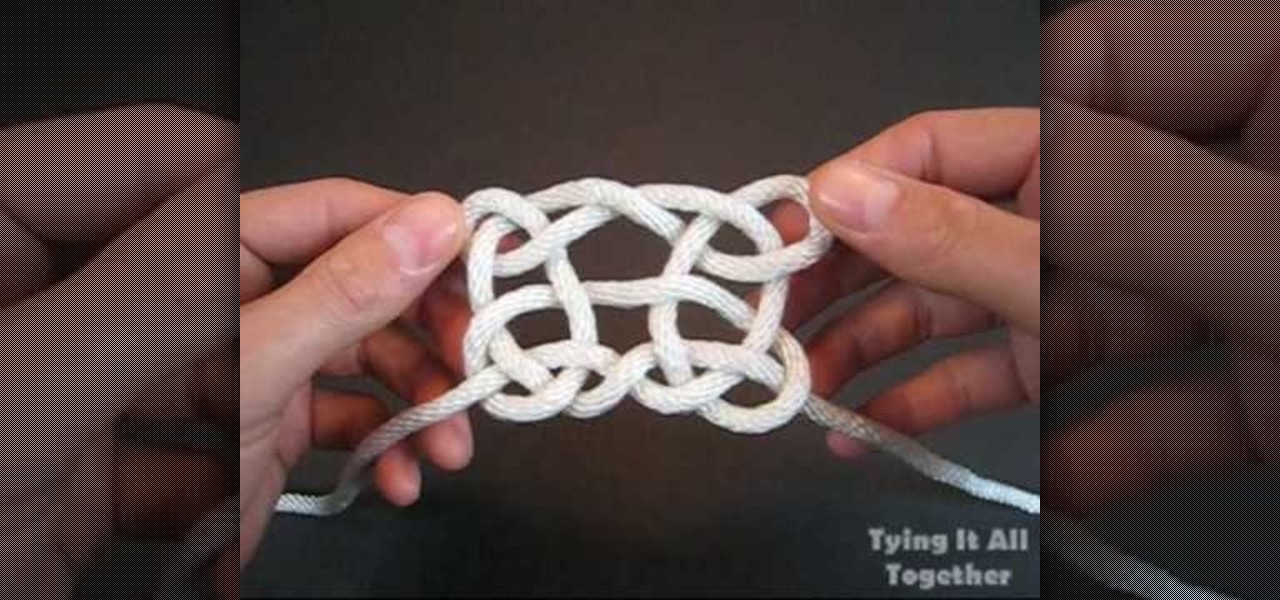
How To: Tie a Pagoda knot
TyingItAllTogether explains that, "Pagoda is the English language term for a tiered tower with multiple eaves. Common throughout eastern Asia, most pagodas were built to serve a religious function. The Pagoda Knot was created in admiration of this sacred architecture." In this video, learn how to tie a decorative pagoda knot. Working with a single piece of string, follow along as the string is transformed into a work of art. Begin by making a series of four loops. Cross the tails, then weave ...
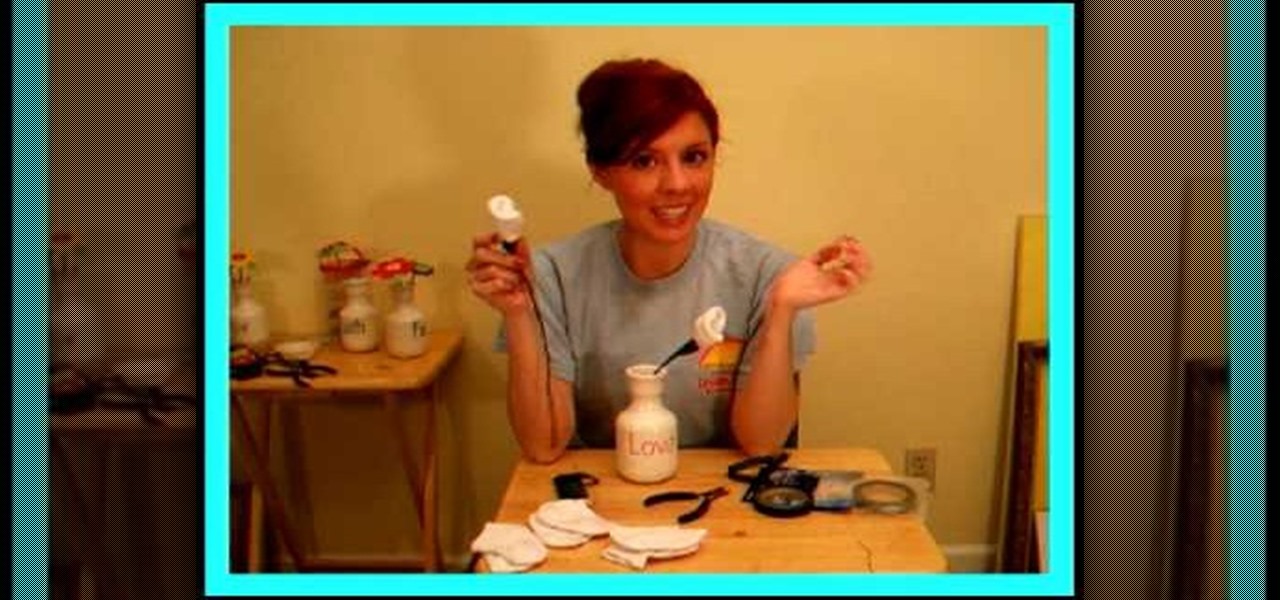
How To: Make baby sock roses
How to make decorative roses out of baby socks. All you need is a baby sock and some floral wire and green floral tape. Watch the video to learn how to wrap the sock to look like a rosebud around a wire stem, and then tape the base of the sock well with the floral tape. Continue to wrap the tape all the way down the wire so it looks like a nice green stem. Makes a great gift for expectant mothers as it's not only cute but they can also unwrap them and use the socks for their new baby boy or g...
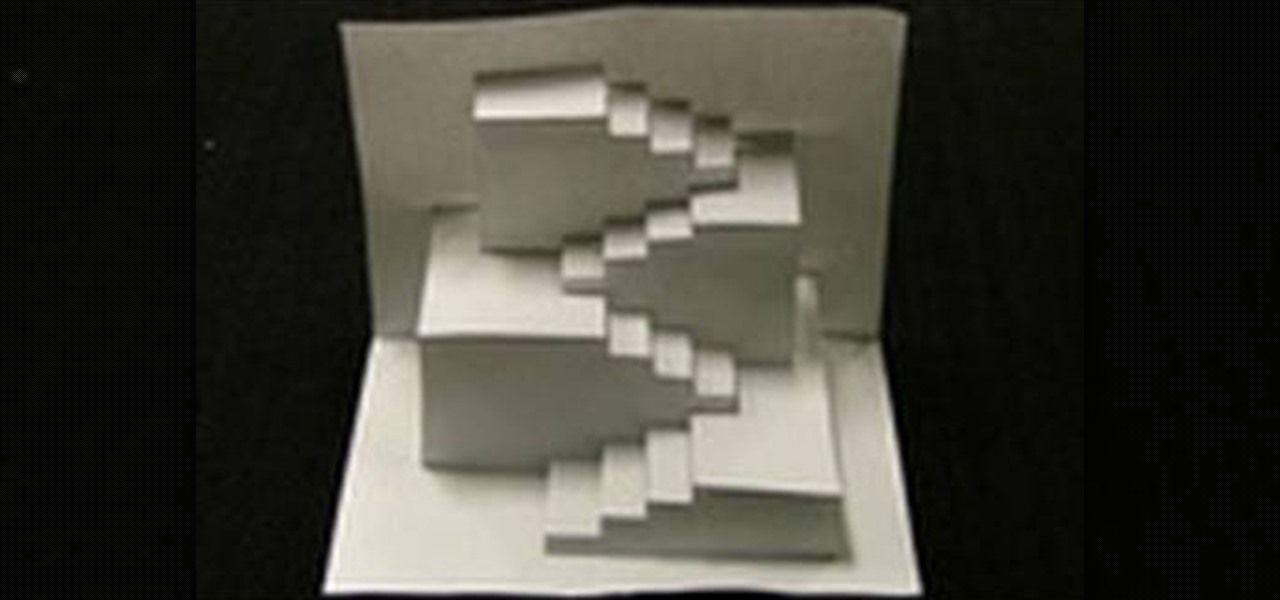
How To: Create an amazing 3D paper design
This video shows us how to create an amazing 3D design using a single sheet of paper. You will need: cutter printed template of the 3D design. Procedure: Download the template using this link. Print the template. Cut all the solid lines on the template. Fold all the broken lines on the template as shown. Arrange the paper in such a way that it looks like the 3D design shown on the video. Follow these steps and you will have your very own amazing 3D paper design!

How To: Thread a blade in a saw frame
In this how-to video you will learn how to thread a saw blade in a saw frame. Some saw frames are static and some are adjustable. The top part of the saw blade will be attached first, followed by the bottom using tension. Take the top of the saw and put it against the bench pin. A notch can be made so that the saw frame does not go anywhere. Place the frame against your shoulder and take the saw blade. Make sure that the teeth of the blade are facing down and out. Open it up and place the edg...
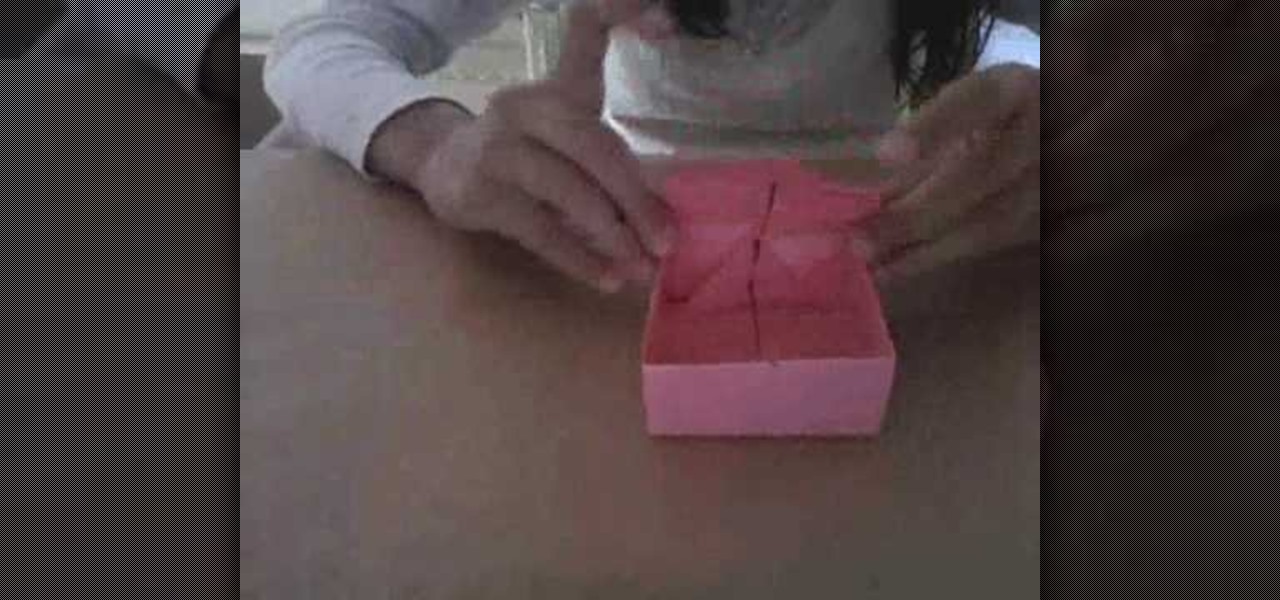
How To: Make a paper box as a gift
Learn how to make a paper gift box by following the steps in this video tutorial. The first series of steps shows you how to make the lid. Take an 11" by 8.5" piece of paper. You can use whatever color you want. Fold one corner toward the opposite end creating a triangular shape. Trim the remaining rectangular shape. Unfold the piece of paper and create another fold in the opposite direction. Take a marker to mark the center and bring all four corner to that dot. You will create an additional...
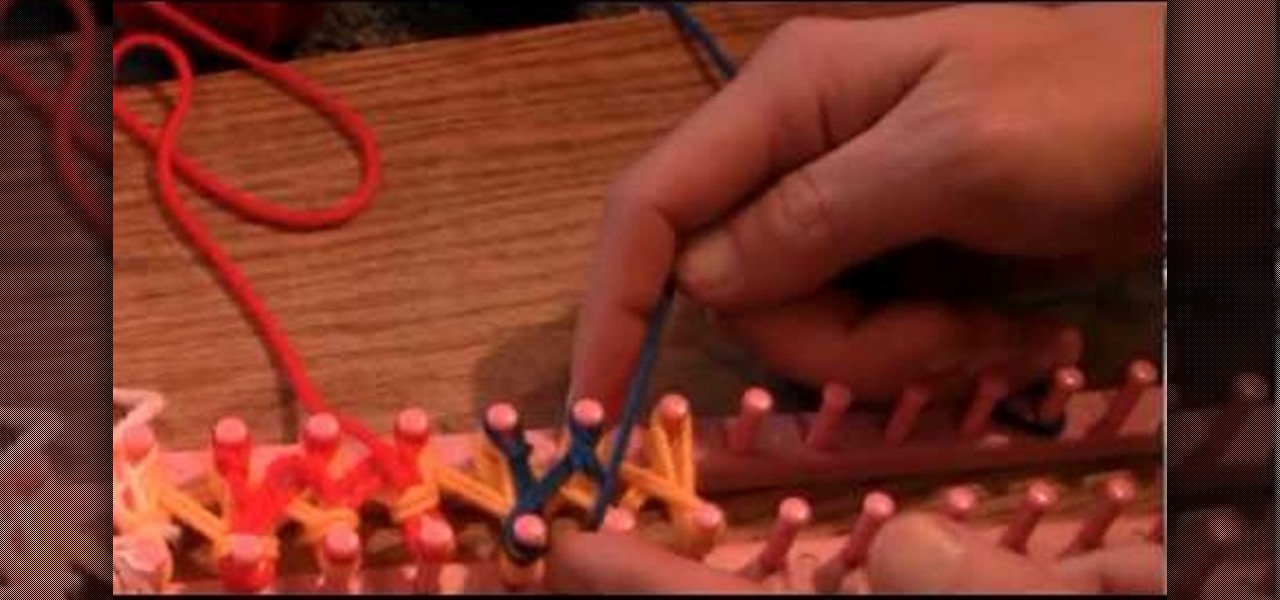
How To: Loom knit a solid-striped scarf
Have a passion for crochet or knitting? This video is perfect for you! The free tutorial offers splendid advice and instructions about making a beautiful solid-striped scarf. Sit down and gather your supplies and prepare to make a cleverly constructed scarf while watching this video. Follow the instructions as precise as you can. Within the hour or so, you can loom knit your own scarf and maybe even a few other items using techniques and skills acquired from this video!
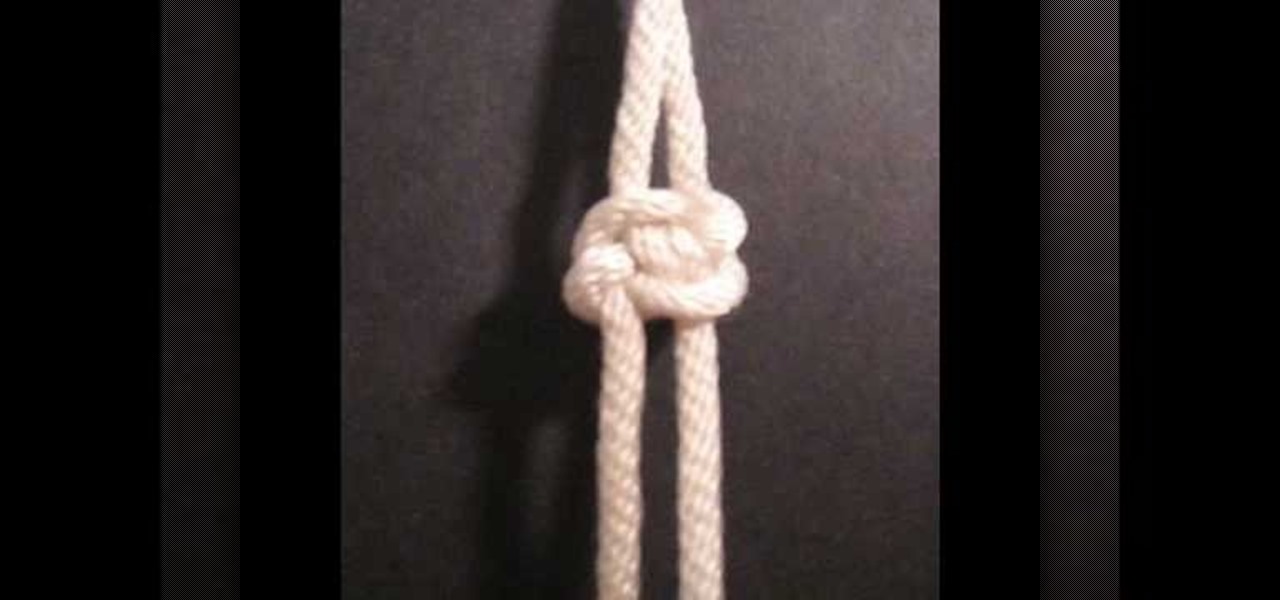
How To: Tie a Kinky Lover's knot
To make a Kinky Lover's knot, first hang or keep the tag on something. Then take the first end. Tie it by keeping a loop. Then take the second end and pass it through the loop by leaving a loop. Then take the second end, which was taken earlier , through the loop made by the first end. Then pass the second end through the loop, which was made by the second end. The knot is ready! All we have to do now is to tighten the knot by pulling the two ends. Make it beautiful by arranging the tag clearly.
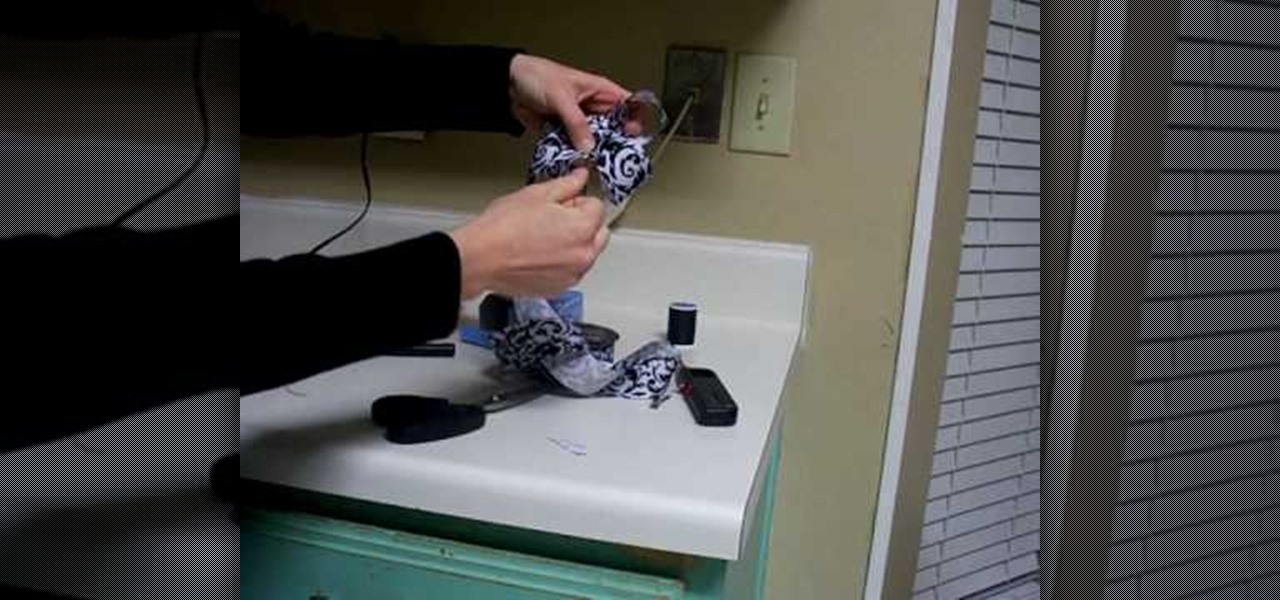
How To: Make bows for your hair
Learn how to tie a perfect bow. To do a basic pony bow, place the gathered hair in the center of the ribbon and tie a single knot to secure it. Making two loops, cross one loop over the other and pull the loop on top through the hole you've created. Straighten out the ends and tighten so the two loops are on top and the two tails on bottom. Make a headband bow. Run the ribbon along the hairline, drawing the ends up on top of your head. Secure a knot and tie a bow. By tweaking the loops out a ...
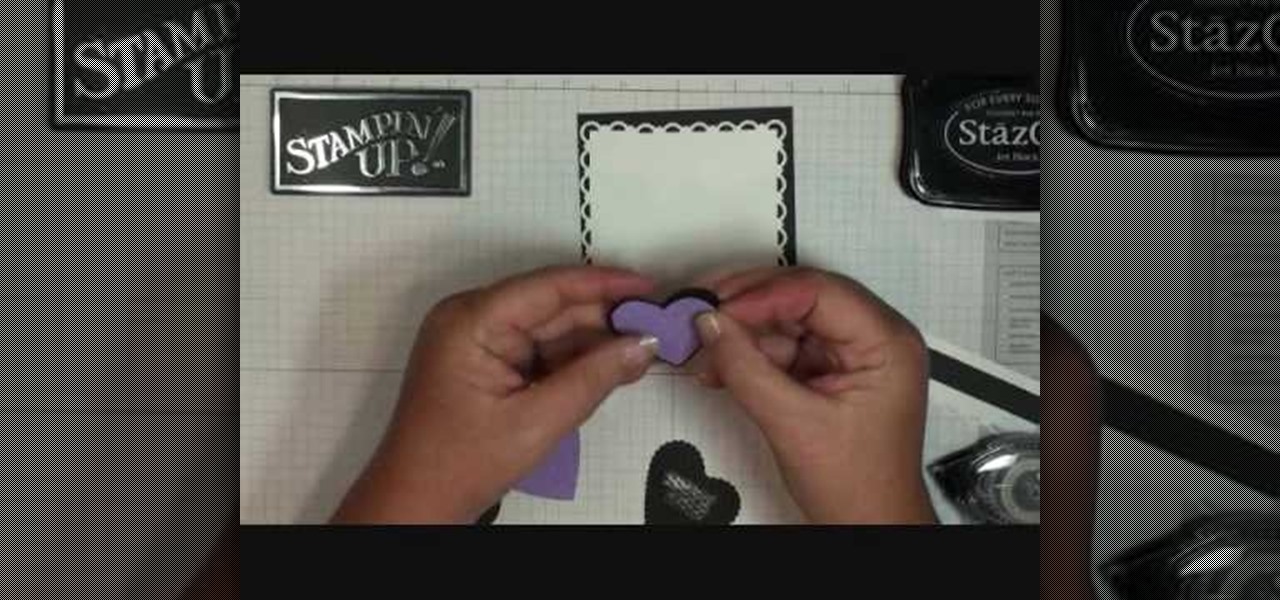
How To: Make an easel card with Stampin' Up!
Using products from Stampin' Up you are able to create this great looking easel card. This quick and easy project uses card stock, stock lace created with a border punch, stock cutter, embossing plates, a few dimensionals, and a few other items that can be bought in the Stampin' Up kits. Each item adds it's own unique look to the creation of this easel card. The process to create these cards are sped and simplified with the kits and a variety of items can be created to add a personal touch to...

How To: Create an origami fortune teller
Remember when you were a kid and you would play fortune teller games in study hall? We all do! Check out this tutorial and learn how to fold an origami fortune teller. Whether you are using it to fool around during class as a teen, or in the office as an adult, people never get bored of this great bit of nostalgia. All you need is a piece of paper and a pen to mark your corners and you are on your way to telling the future!

How To: Crochet a circle to square
Are you old enough to remember crocheted Granny Squares? If not, tjw1963 shows left or right handed crafters how to create a unique square that starts as a circle. The viewer can click the video to change the orientation, from left handed to right handed, to view the presentation piece worked from either hand. The closeups provide the viewer a detailed look at all of the crochet moves necessary to make the piece. She also provides links to many of the wonder pieces and designs that are contai...
How To: Make a cool paper fortune teller
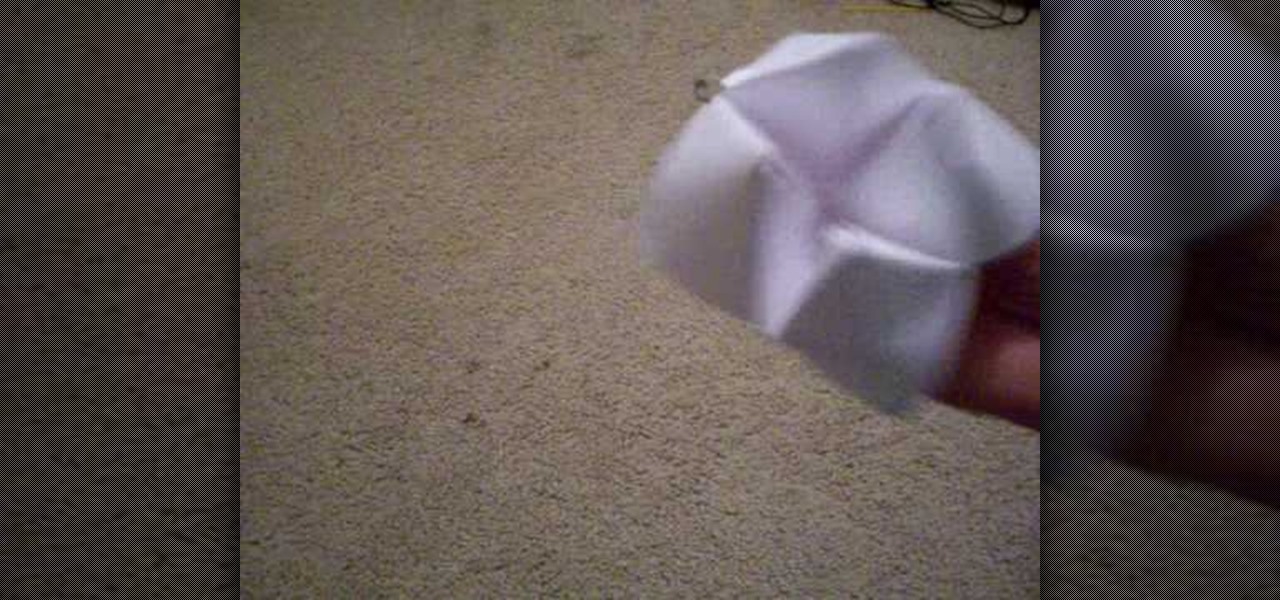
Gamer Dude 5000 Arts and Crafts Demonstrator offers a short tutorial with a single sheet of 8 1/2" X 11" paper and pair of scissors. First you fold the corner of your paper out till the top half of your paper and the side of your paper is flush. You cut off excess paper with a pair of scissors. When you open the paper back up, you will have a square sheet of paper that you can fold. You fold all the corners of your square in to the center. Then you flip it over to the back and repeat. Once do...
How To: Drill into metal to make jewelry
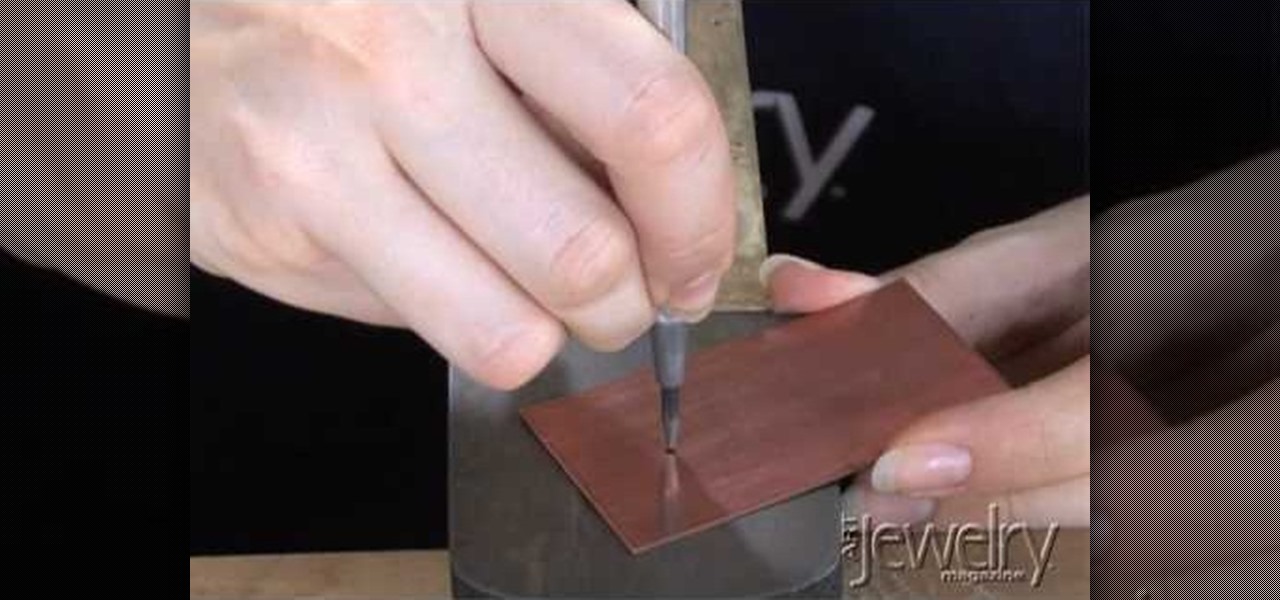
This video by one of the editors of Art Jewelry magazine, Addie Kid, will show you some basics on how to too drill into metal. Though this video does not show you how to make a specific jewelry design, but does teach skills so you can make your own design. First you'll need a piece of metal, a steel plate, and a small drill with a small bit. First you'll mark the place you want to drill, and punch into the metal with a center punch. The final part is to drill the hole with the drill. You'll n...
How To: Use bent handled trimmers
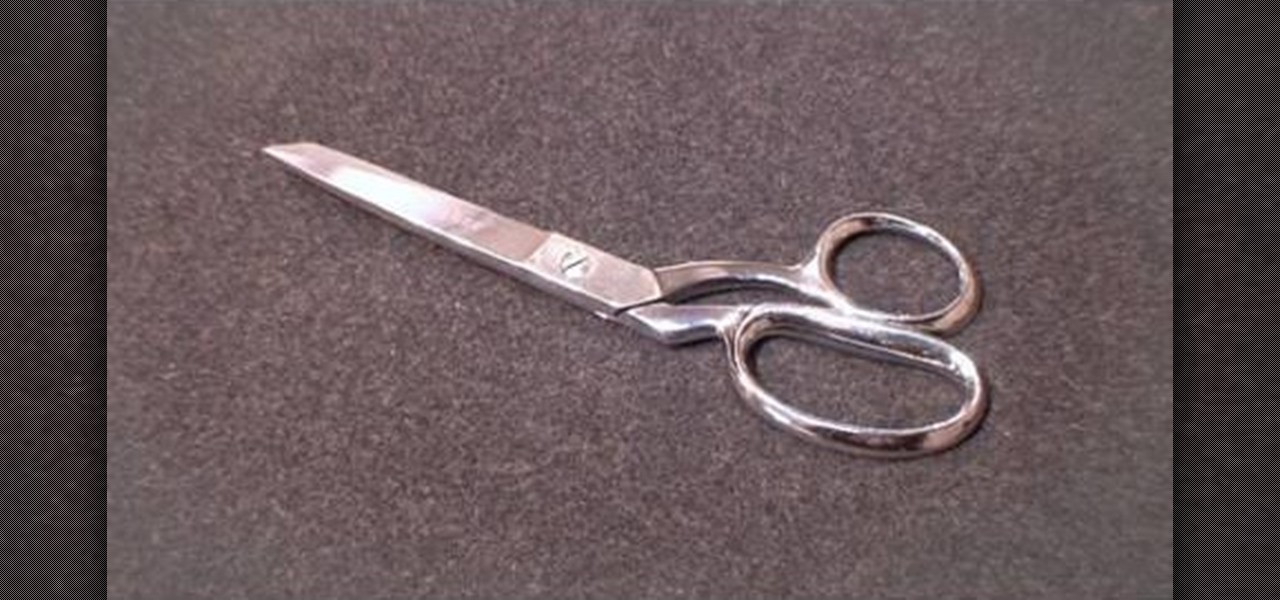
Learn how to use bent handled trimmers: Kenneth D. King of ThreadBanger Quickies and NextNewNetworks explain how to use bent handled trimmers for working with fabric projects. Bent handled trimmers are great for cutting out fabric patterns and designs. The scissor itself slides along the smooth plane of the cutting table and it lifts the fabric just enough to successfully cut the pattern out. Bent handled trimmers make a very accurate cut. Never ever use your fabric scissors for cutting paper.
How To: Make simple tri-fold cards
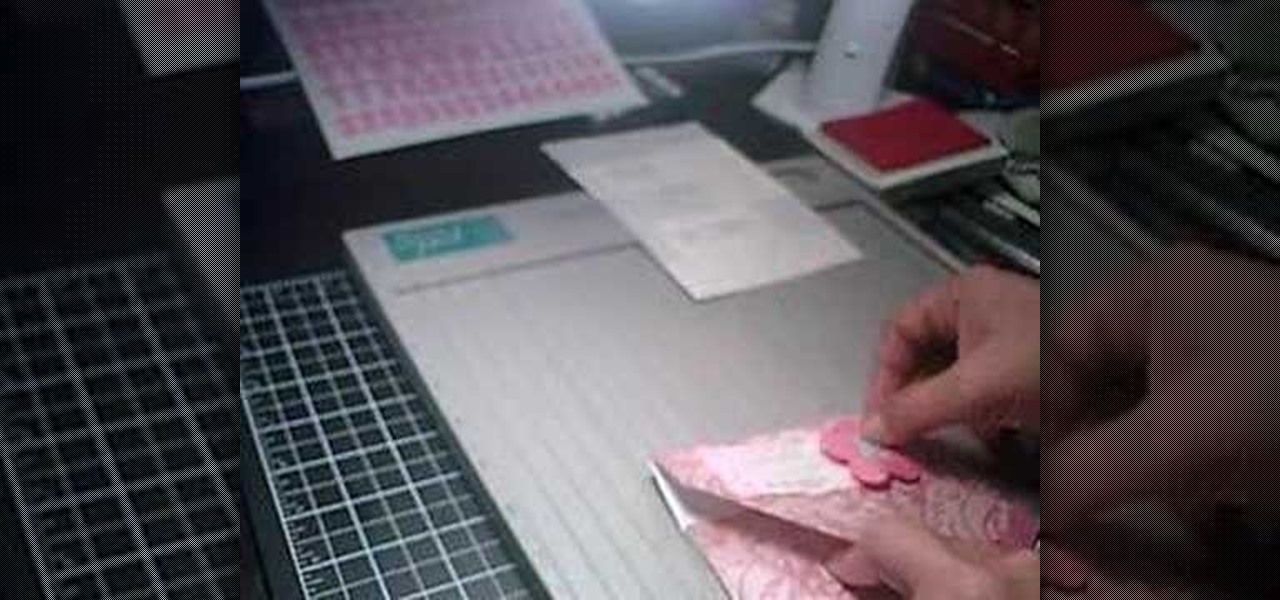
Learn how to make simple tri-fold cards with these instructions. What you will need: -5 1/2" by 11" cardstock paper -Scorer -Scissors and paper cutter -Pencil and Ruler What to do: -Score the cardstock to 3" by 7 1/4" -Using the 3 3/4" flap, from the corner measure 2 1/2" and mark with a pencil. -Repeat on the horizontal side of the cardstock. -Cut the corners using the marks as your guide. -Round the pointed end with your scissors. -Fold the card at the score line. -Embellish your card as de...
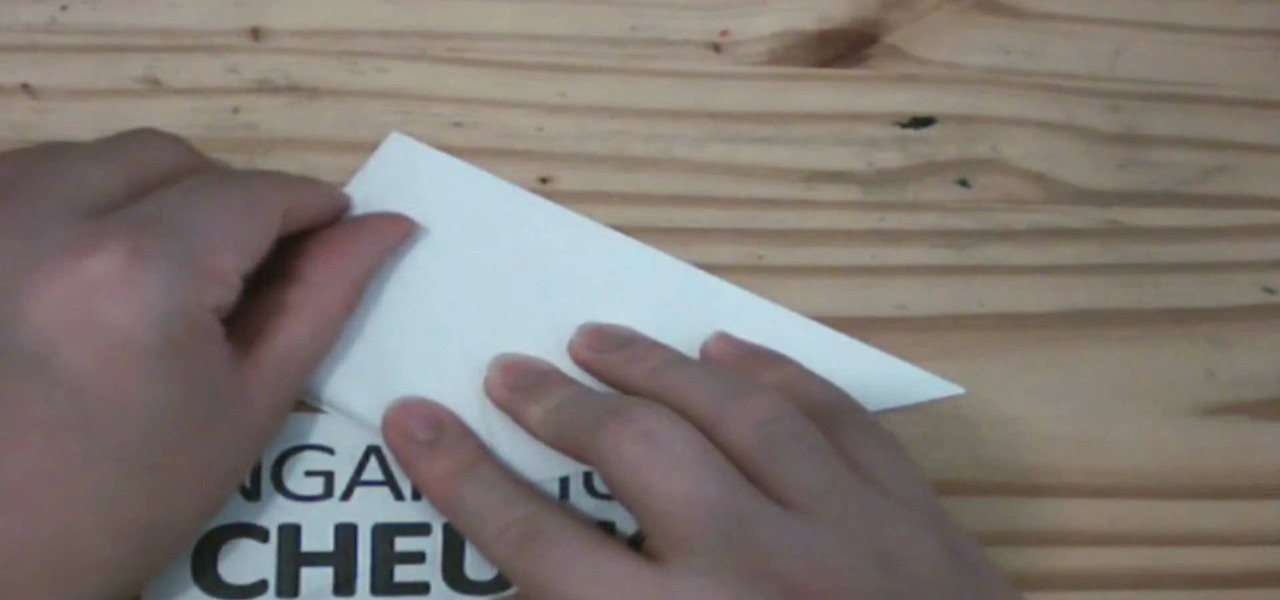
How To: Make an origami water bomb
If you like origami and you like to have water balloon fights then you’ll love making and using this origami water bomb. You can fold a piece of paper into a closed ball that you can fill with water and soak your friends. This is a necessity to learn as the summer nears. Practice up your skills so you’ll be ready with the perfect summer time weapon.

How To: Make a thank you card using Cricut Walk In My Garden
Cardcrazy09 teaches you how to make a thank you card using Cricut. You will need the Walk in my garden cartridge for this. The card itself is a Martha Stewart piece of double sided cardboard. You will need different types of punches to create the white decorative part and the text card. That will be printed with black text. The flowers and the pot are created using Cricut. The pot is placed on top of the flowers and each of them are individually stuck onto the card. Also make sure to add a so...
How To: Make a DIY zine with paper & scissors
If paper art is your forte and you are looking for some new and exciting ideas to do with paper, then your search ends here. Watch this video and teach yourself how to make a do-it-yourself zine. Sam Proof tells you how to make a zine in minutes. You will be needing a sheet of paper, a pair of scissors and a pen. The instructions are all very easy to follow. You can use this idea to create your own comic booklet or anything that needs printing in a zine.
How To: Make a hemp bracelet
The Hempdiaries believes that you too can create a bracelet using hemp and jewelry accessories. The narrator first begins by showing you what the two mandatory materials you will need which are hemp and a dowel rod. To begin he shows you how set the dowel rod between your knees to provide a foundation for the string and then an arms length of two pieces of string folded in half. Tying the string around the dowel rod he shows you how to begin the flat pattern for the hemp bracelet and that thi...
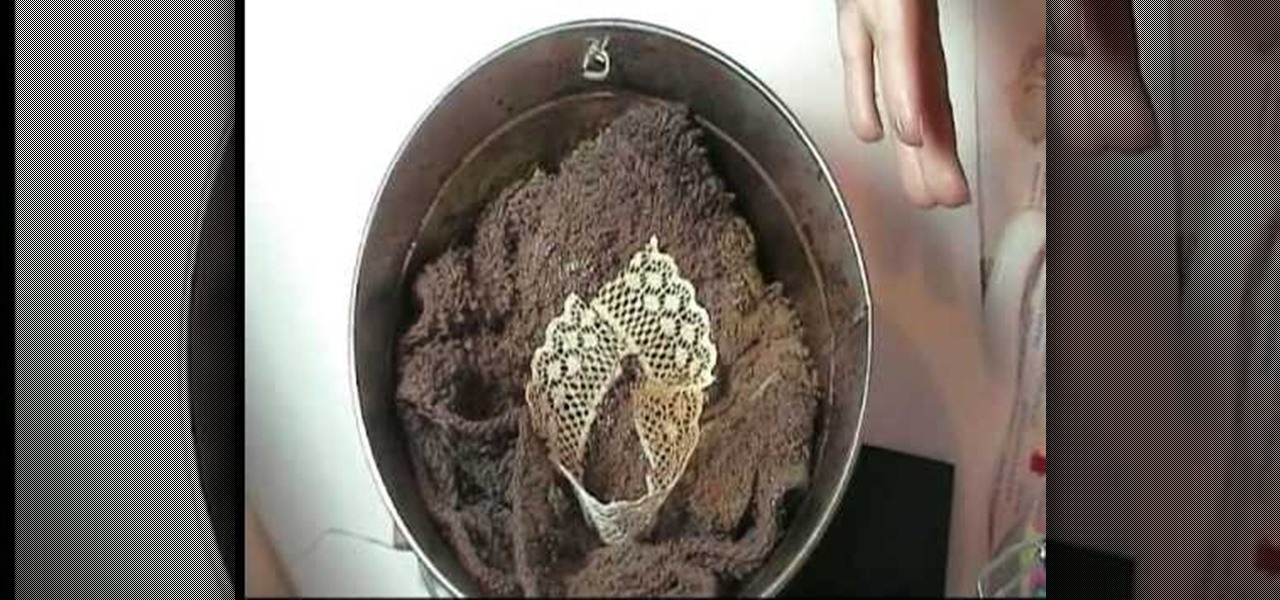
How To: Make new lace look old
Marion teaches us how to use a technique involving lace and glitter mist to make the lace look vintage. The lace can be placed in a bucket to spray the glitter mist from Tattered Angels onto the lace. Doing this in the spray bucket allows you to avoid spraying anything else in your work area. Marion uses the Old Lace Glimmer Mist, Suede, Cream de Coco, and Sherbert spray colors for this technique. This combination of the sprays allows you to create an old and vintage look on lace that can be ...

How To: Make a paper box just for fun
HowToMakeCrap teaches you how to make a paper box out of an ordinary a4 sheet of paper. Make a square out of that by folding from one corner of the page diagonally. The remaining rectangle slice at the bottom will have to be removed. You're left with a perfect square. Fold that horizontally. Then vertically. Then diagonally two times. Unfold it to the original square. Fold to create to triangles on top of each other. Take the lower left side corner and fold it to the top. Flip the paper and d...
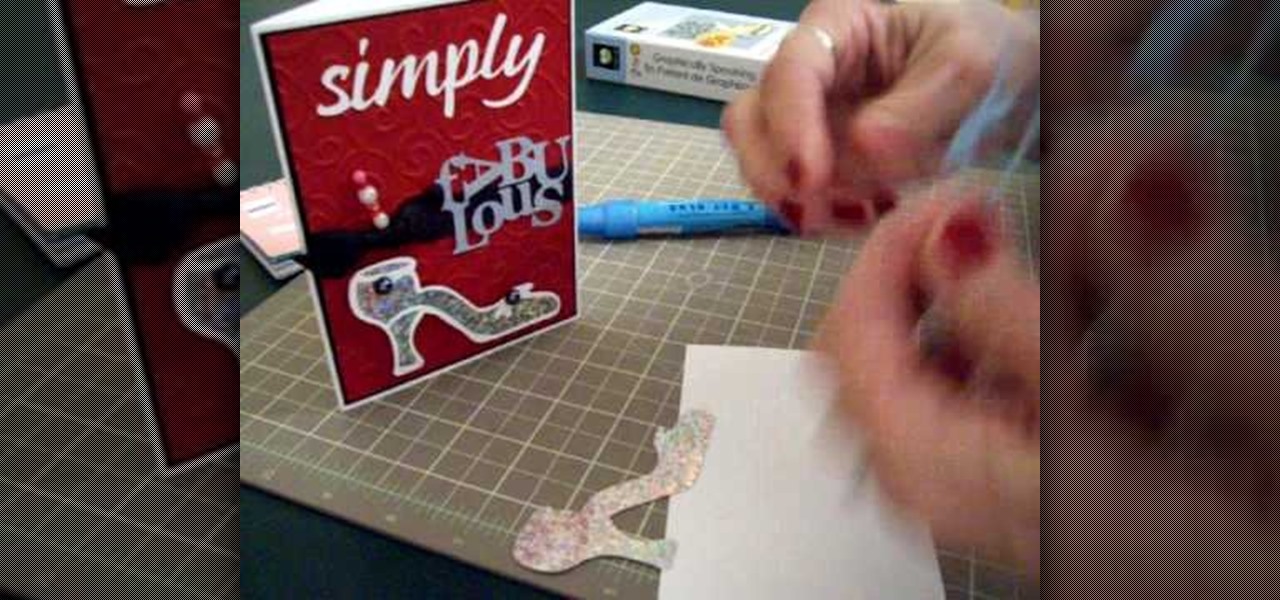
How To: Make a "simply fabulous" card using Cricut G.S.
Mary demonstrates how to make a card using graphically speaking cartridge, in this video. She cuts out the outline of a heeled shoe and the image of the shoe in silver, both measuring 2 inches. Then the words fabulous and simply are cut out, both measuring 1.5 inches. The outline of the shoe is then glued onto the silver cutout of the shoe. The high heeled shoe is then pasted onto the card along with some decoration. A pin studded with beads is affixed onto a black bow with green ribbons and ...
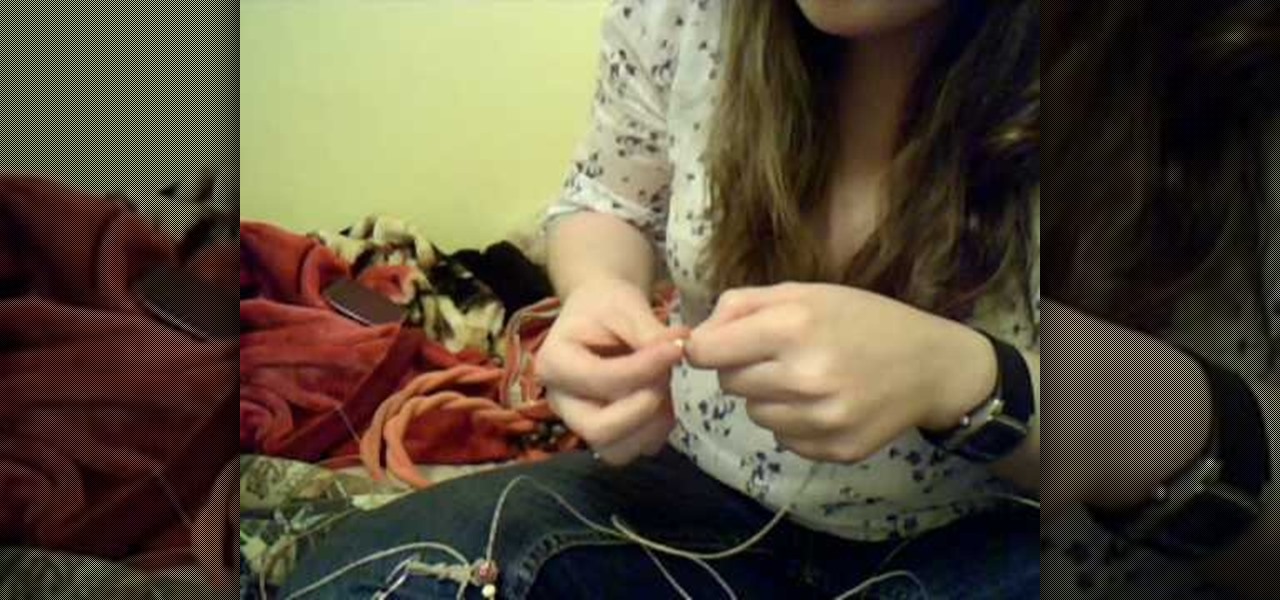
How To: Make a tribal hemp bracelet
To make a tribal hemp bracelet, first you need to prepare the hemp. Buy a natural colored hemp of 1mm thick(20lb twine). Cut one strand of hemp that is around six times the length. Cut a second strand of hemp that is twice the length of the first, or roughly 12 times the length of the bracelet. Fold both strands in the middle, one at a time, making a crease at each midpoint. Knot the creased midpoints together, leaving a loop at the end that is about 1/2 to 3/4 inch long. Your hemp is ready n...

How To: Make polymer clay flowers
Polymer decorations are easy to create and beautiful to exhibit. These amazing polymer clay flowers can be used as a beautiful assortment of decorations or just a little keepsake for yourself or for a friend. They don't take long to make and all you need is some polymer clay, a stencil cutter for your petals, and a tool to round off your petals. This video will demonstrate how to make these amazing polymer clay flowers great for any occasion. Enjoy!

How To: Make paper lollipop flowers to add to your scrapbook
Sarah20az shows you a quick way of making paper lollipop flowers. You cut 4 circles from 2 different colored pieces of paper. You then take each circle and crumple it up in your hand. You then smudge each of them with an ink pad. You have to make sure that you go one color and then on top of that another one, for the lollipop effect. You pierce all of them using a thumb tack. You can bunch them up and place them on another large piece of paper.

How To: Transform a hoodie into a laptop bag
Got a hoodie? Got a laptop? But you're missing a laptop bag? That's okay, get a little resourceful and follow the steps in this quick vid to learn how to transform an everyday hoodie into a rather innovative laptop carrier. Follow along as this demonstrator shows some deft folding skills to protect your most precious piece of equipment - your laptop. Not only is this hoodie soft and flexible, it'll keep your laptop from getting scratched or scarred.
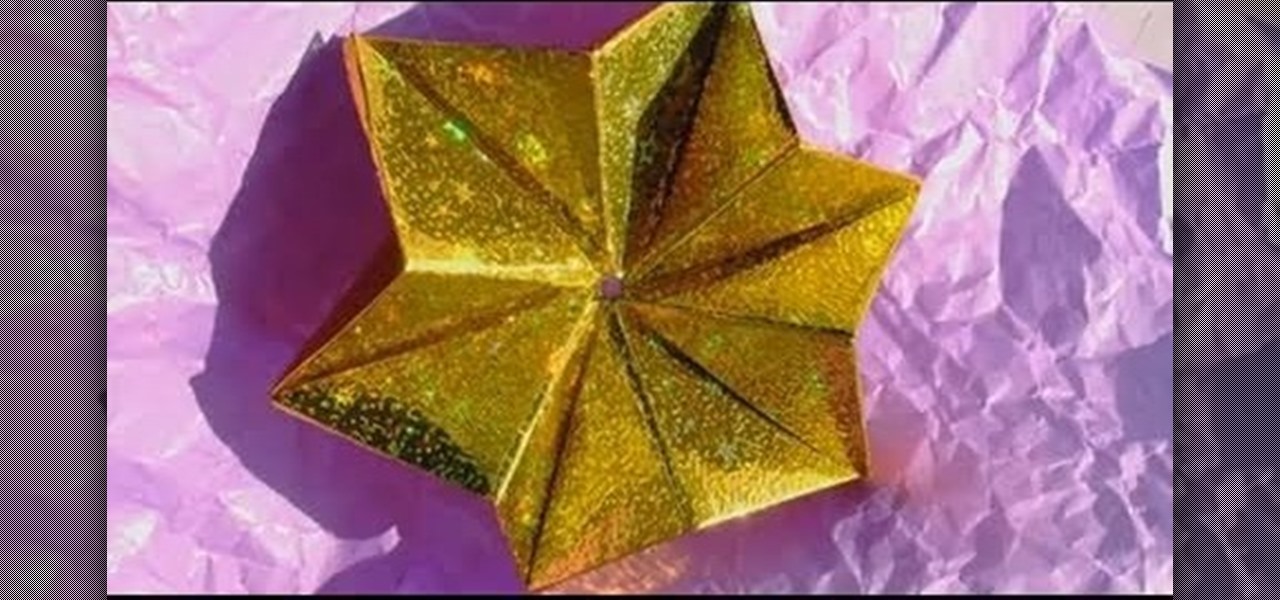
How To: Fold a modular origami star
In this video you can learn how to fold a modular origami star. Create four quadrants of the star point. Crease and unfold the first square origami paper in half both vertically and horizontally, making four equal quarters. Set the creases. Fold precisely each corner of the square in towards the center point. Run a pencil or straight edge over the creases to set. Complete a triangle star point. Hold the paper at an angle to resemble a diamond shape. Take the left center point and fold it to t...
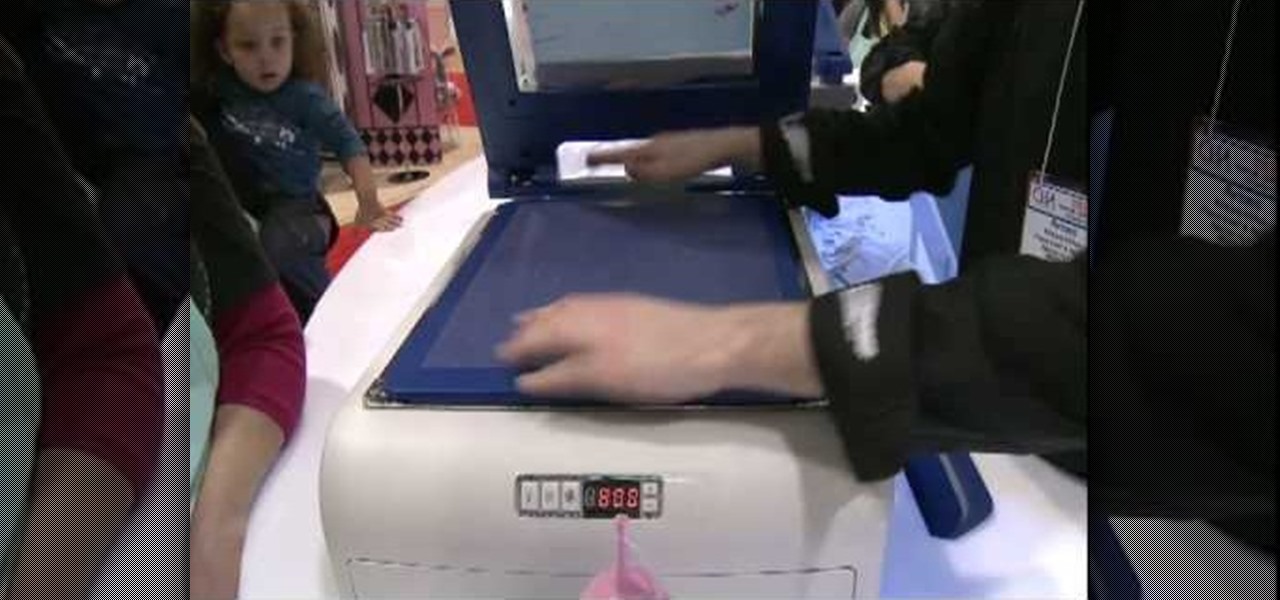
How To: Use the Yudu personal screen printer
CreativeXpress shares a video regarding the usage of the Yudu personal screen printer. Put the plastic foil over the design you want on your t-shirt and turn on the light on the printer. This will cause the design from the page to be transfered onto the foil. Then you simply place the shirt onto the foil and place a good amount of ink on top of the foil. Use the squeegee to spread the ink over the design and onto the shirt. Let it dry for a bit, then iron the shirt using a cloth or piece of p...

How To: Tie the Celtic tree of life decorative knot
TyingItAllTogether presents this interesting video that shows you how to tie the Celtic tree of life decorative knot. To do this, you make a series of intertwining loops, until they form a circle. This wordless video is very easy to follow along. Watch, and master the art of knot-making with this great video. For more great videos on decorative knot-making, search on WonderHowTo.
How To: Weave a pouch for an MP3 player
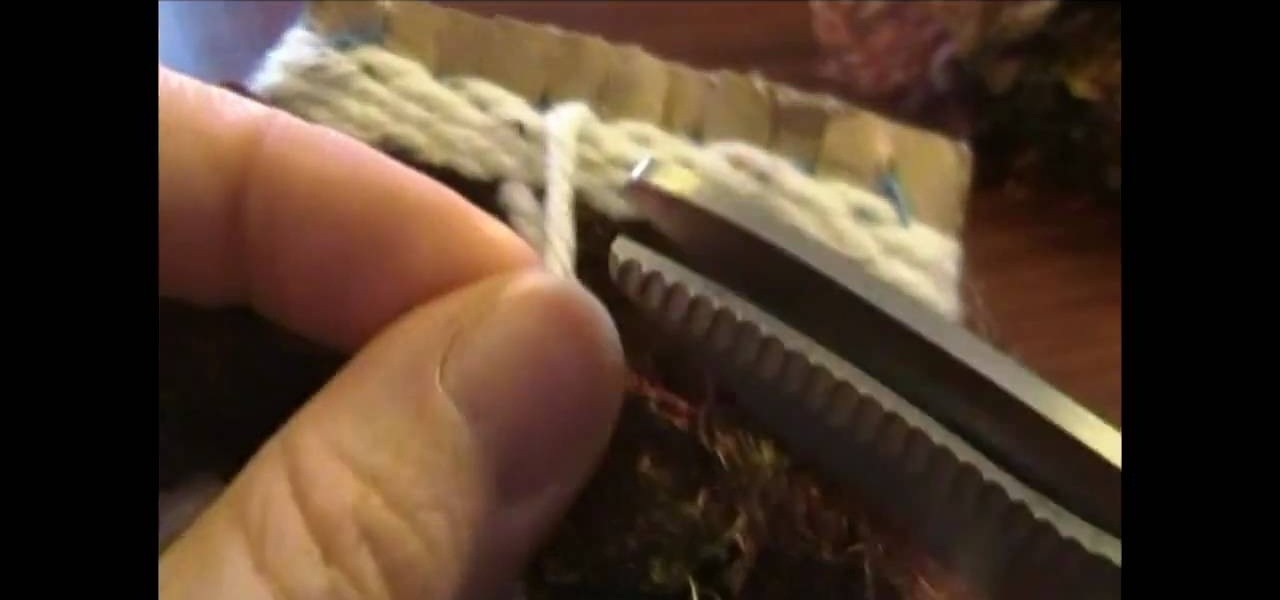
In this video tutorial, viewers learn how to weave a pouch for an MP3 player. The video lists all the materials required to make the pouch. The required materials include: cardboard, a ruler, scissors, yarn needle or bodkin, scraps of yarn or 10 crochet yarn and a marker or pencil. This video provides voice narration and a visual demonstration for viewers to easily understand and follow along. This video will benefit those viewers who enjoy homemade accessories. This is for those who enjoy we...
How To: Tie a right half knot spiral for hemp jewelry
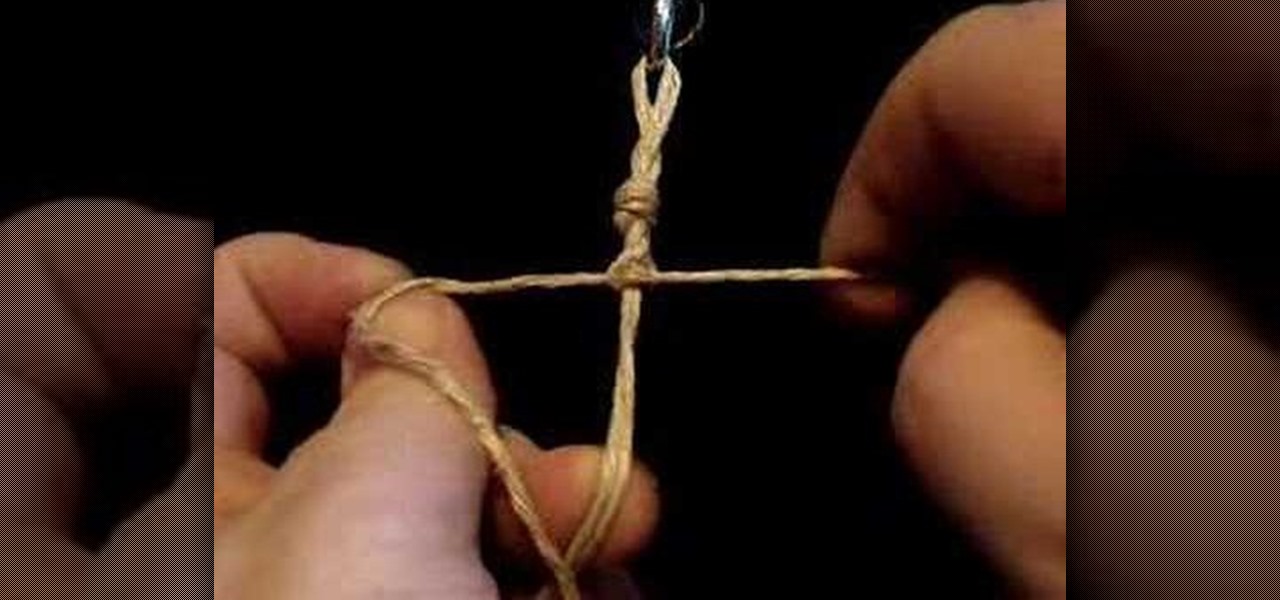
This video is an instructional video on creating and using the right half knot spiral knot tying technique for creating hemp jewelry. The technique creates items like anklets, bracelets, chokers, and necklaces. Also, creator of the video demonstrates every step and procedure for creating the knot spiral. First, tie an overhand knot by crossing the right side of the cord over the left side of the cord. Second, bring the left cording under the right cording to create the second phase of the kno...

How To: Make a customized origami fortune teller
In this video tutorial, viewers learn how to make an origami fortune teller. Fold a sheet of blank paper in half--vertically and horizontally. Fold the four corners of the paper into the middle. Flip the paper over and fold the corners into the middle. Fold it on the horizontals and diagonals. From then on, users can decorate the fortune teller. This video will benefit those viewers who enjoy origami and art.
How To: Make a paper cake
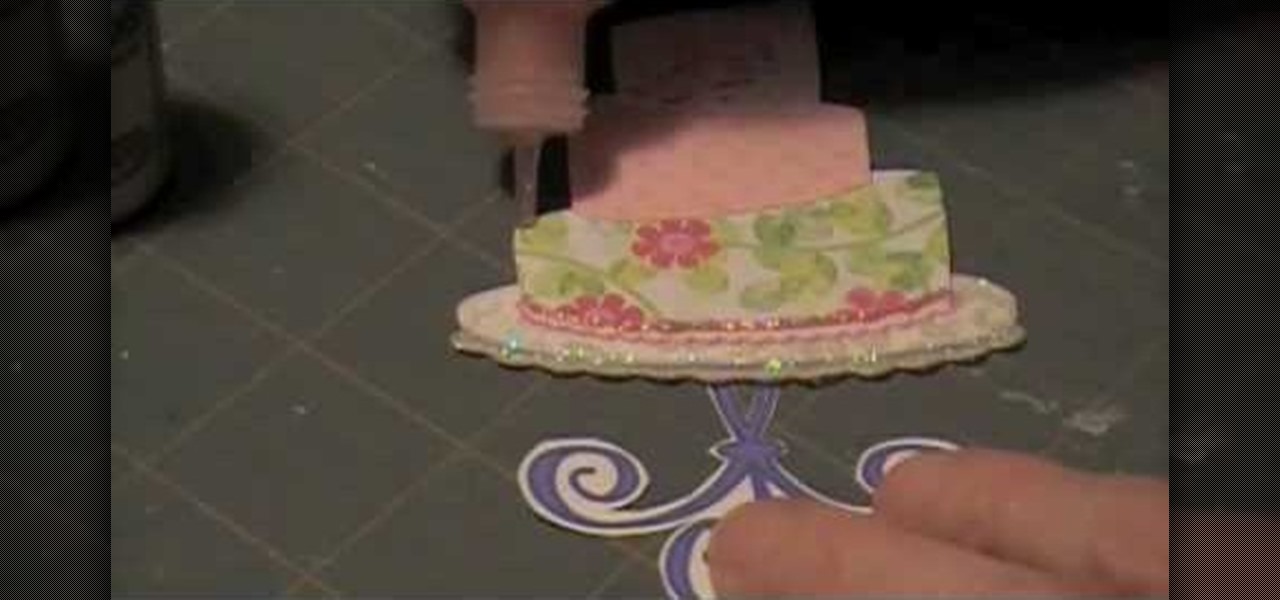
1) Create a rectangular sheet of paper by folding the left side in, like a book, about 1-inch and remove this excess paper. 2) Fold the rectangle in half, bottom to top like a newspaper, and then unfold and lay flat. Now take the bottom edge and fold it up (again like a newspaper) to meet the center crease that you made with your first fold. Unfold again. You will now have two creases in the bottom half of your paper. 3) Lift the bottom fold (bottom forth of the rectangle) up and line it up w...
How To: Make felted flowers
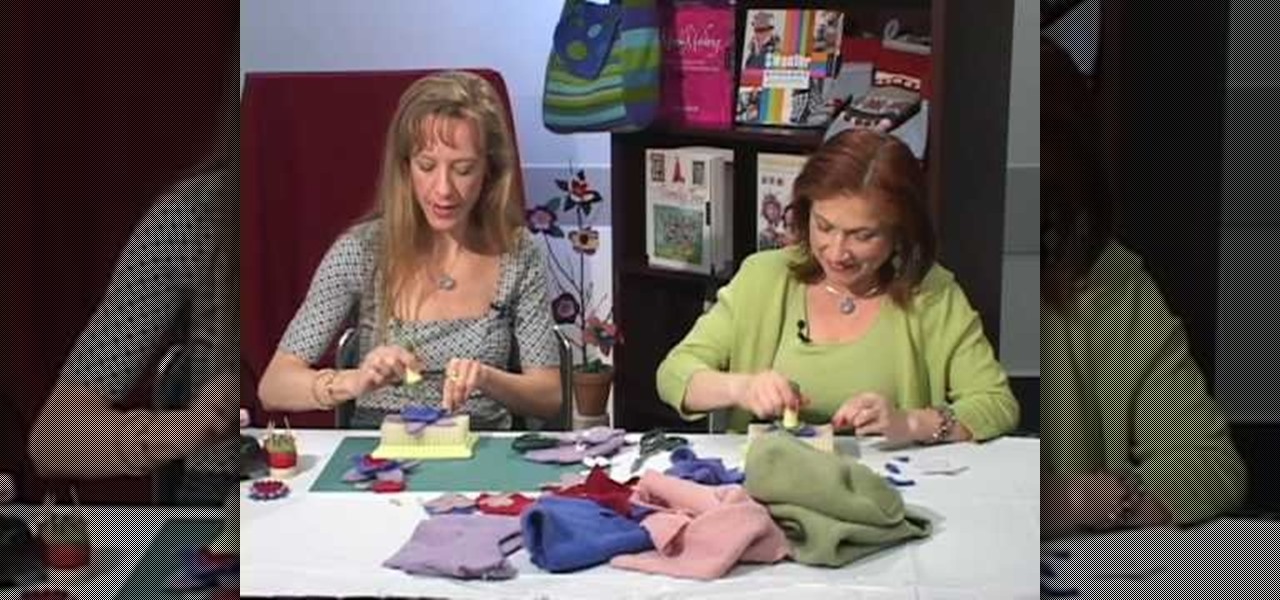
This video is basically about how to make felted flowers with Craftside. For making felted flower things we will need are assorted felt, assorted rhinestones (any size), embroidery floss (any color), a needle, some tacky glue and a pair of scissors. First of all cut out the shape of the flowers from the felt using the scissors. Try experimenting with different shapes and sizes for variety. Then stitch the detail on the petals using the embroidery floss. Use the backstitch for this; then glue ...


