Active Arts & Crafts Posts

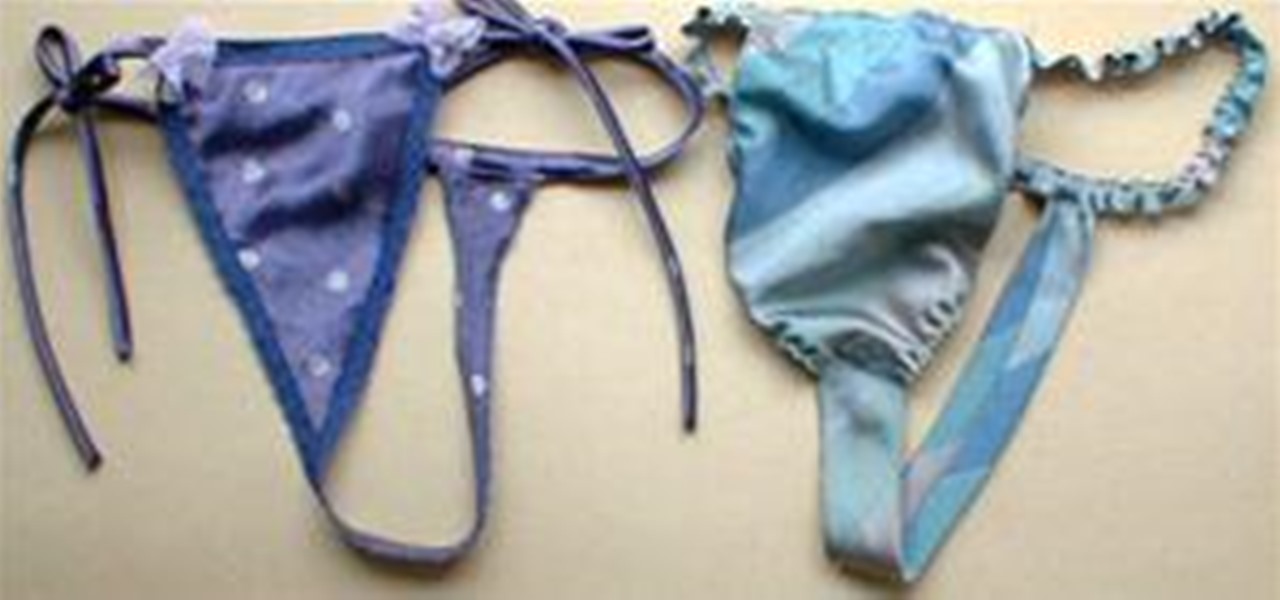
News: Whaddya Know? An Old Tie Makes the Perfect Thong
There's something undeniably naughty about upcycling your boyfriend's old tie into a thong. Japanese site Panty Hanty offers a library of free sewing patterns in the art of underwear-making.
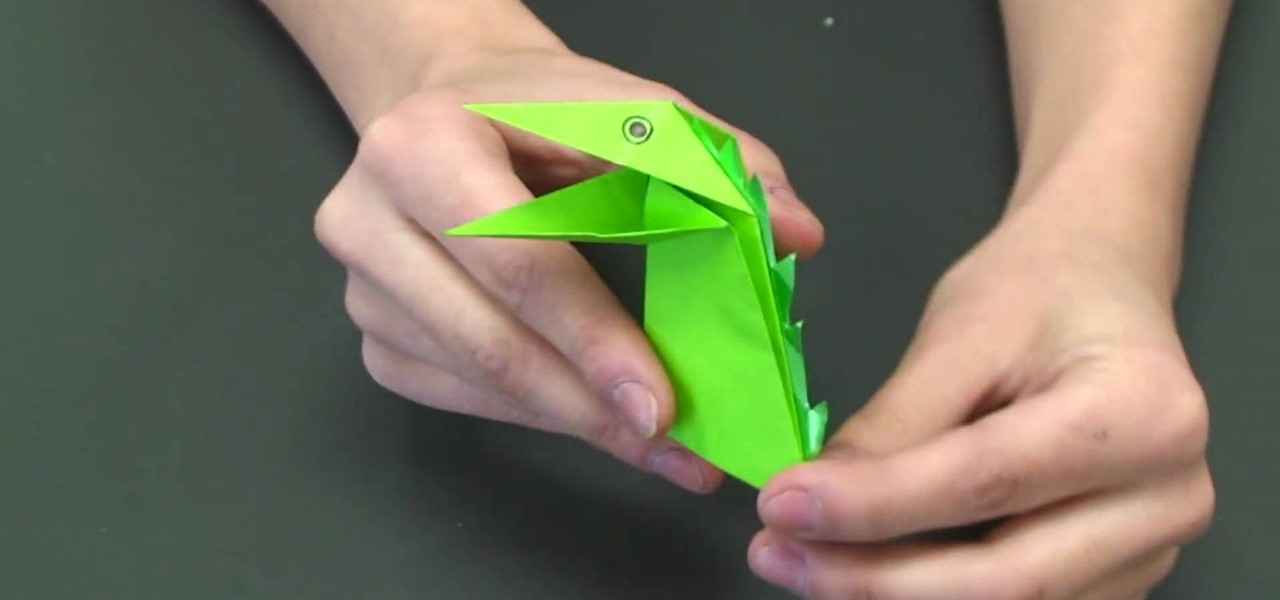
How To: Fold an excellent origami snapping dinosaur
Let the origami expert show you how to do it the right way and create eye-popping work! This video will show you how to create an excellent snapping dinosaur that actually does a biting motion! All you need to pull this off is a square piece of paper, your hands, and a healthy dose of patience. Make sure to follow the exact indications, otherwise you might end up with the wrong origami. Have fun and enjoy creating an snapping dinosaur!
How To: Make a basic paper airplane
Watch this video to learn how to make a basic paper airplane that'll fly far and well. This video will show you, step-by-step, fold-by-fold, the complete process to making a great paper airplane. Watch this video to learn how to make a fun paper distraction. Impress your friends and annoy your siblings with your new battalion of paper airplanes.
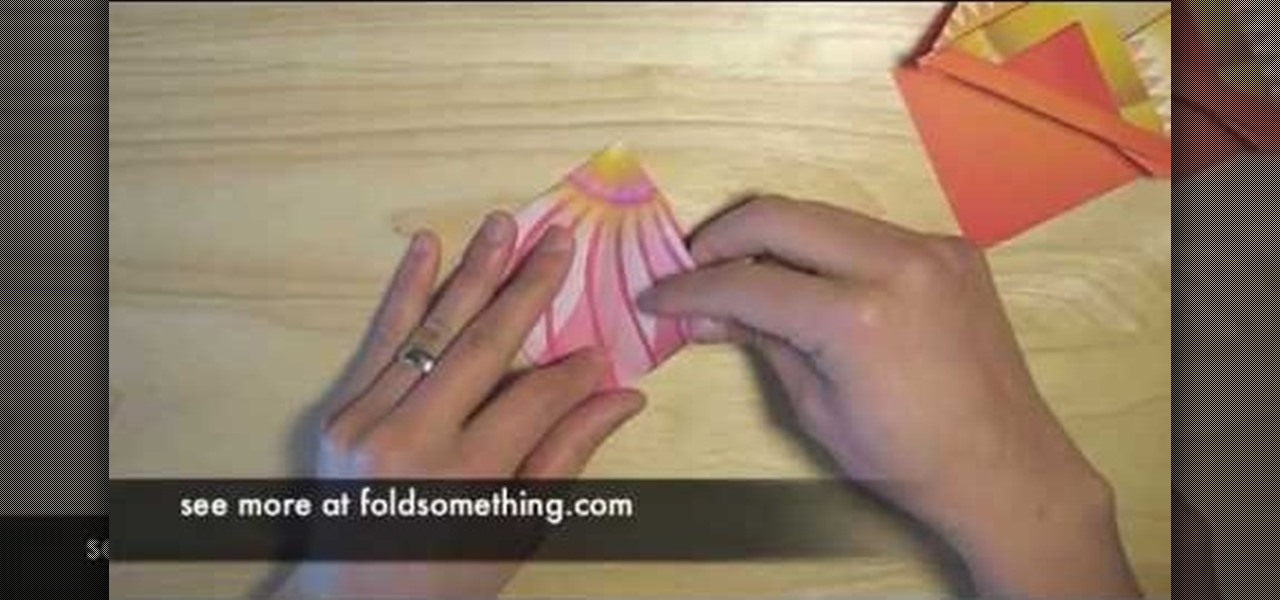
How To: Fold custom origami bookmarks from the square base
The ancient art of Japanese paper folding is broken down and explained clearly in this video. The video teaches how to create a beautiful bookmark of your own design from a simple single sheet of paper. The instructions use the square base as a jumping off point for showing you how to easily make a custom book mark. There are a few simple beginning steps, and after you complete those you will be able to fold and crease your way to a gorgeous custom origami book mark.
How To: Use Stretch your Imagination Cricut for a Xmas card
This video from Cricut Christmas shows how to make a Christmas card. The narrator demonstrates the procedure explaining each step along the way. Using simple materials like paper, gum, ribbon, etc., you can create a simple yet stylish looking Christmas card. The "Stretch your Imagination" booklet by Cricut is the tool of choice. It can help create professional looking card designs easily. Watch the video to learn how to make the card.
How To: Use Cricut Mini Monograms for a simple Christmas card
Card making is a great pastime and a creative hobby. A video by Cricut Christmas that shows how to create Christmas cards using simple circuit monograms. Using simple things like scissors, papers and scales you can create a simple looking yet complex and beautifully decorated card as shown in this video. The narrator who is also the person creating the actual card on video shows the steps in a very detailed manner.

How To: Make cool 3D paper snowflakes
This video is about how to make a cool snowflake using a paper. For this you have to take six equal square of any paper. Cut 4 silts on both the sides. Do not join cuts. Take 1 piece of paper and place tap .Flip over one repeat on all . This will be one side of snowflake. Repeat on all the pieces of paper. Staple together ends. Join all 6 in the middle .The 3d cool snowflake is ready to use it.
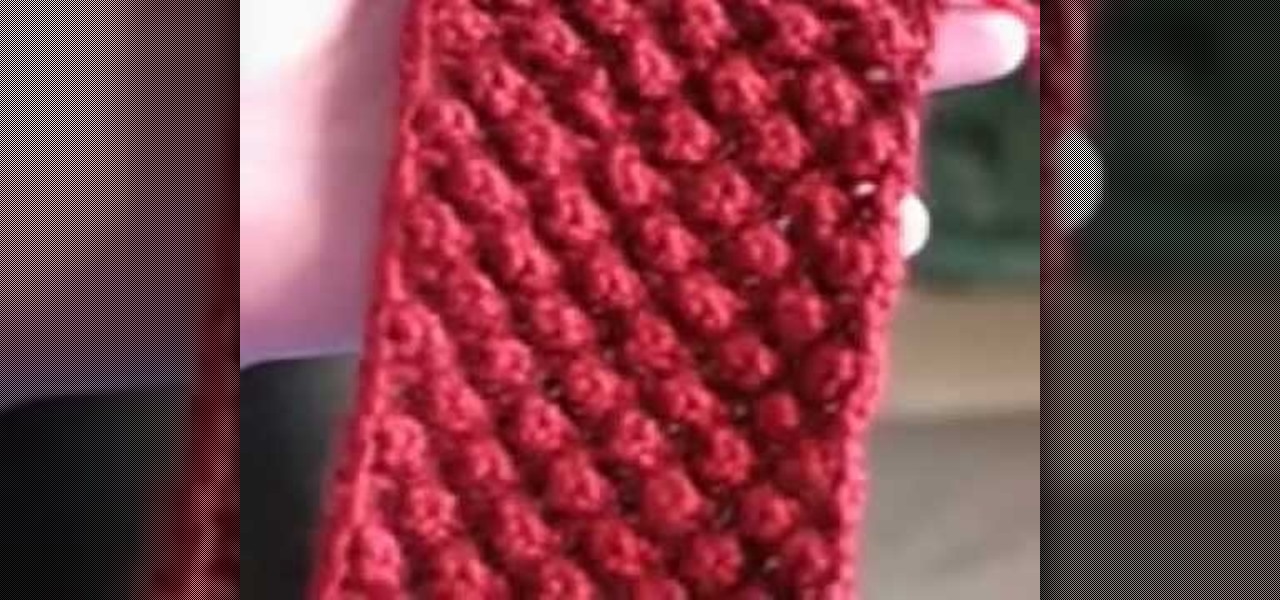
How To: Knit a raspberry stitch
The video demonstrates how to do the two stitches used to make the raspberry stitch, which are purl 3 stitches together, and knit 1 purl 1 knit 1 in the same stitch.
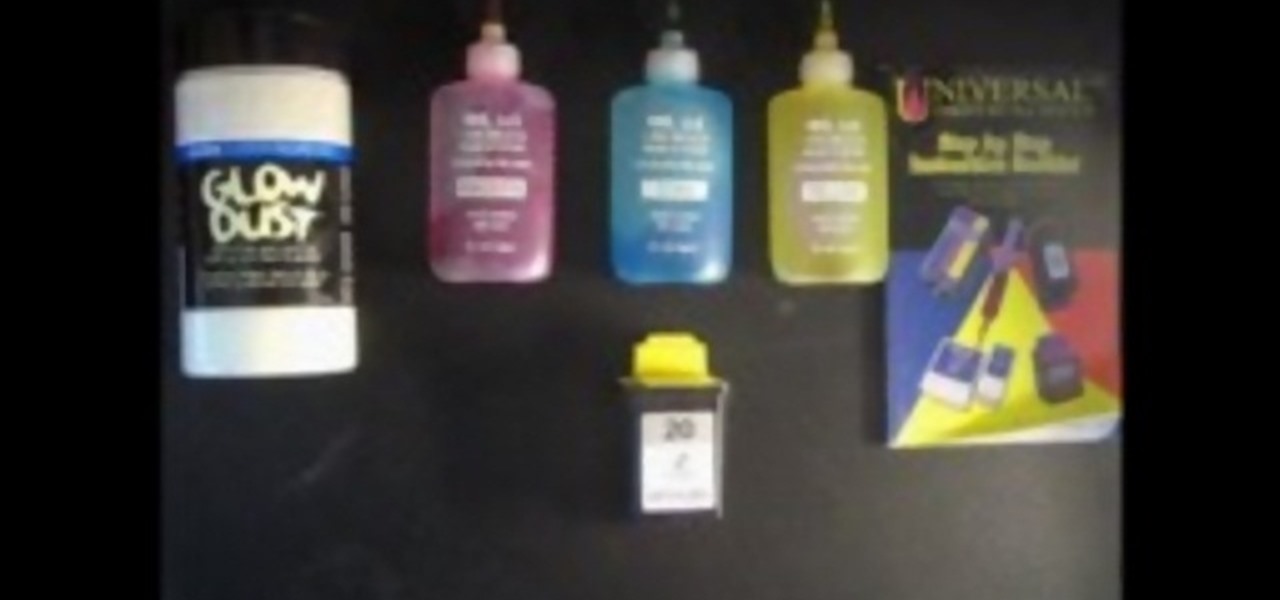
How To: Make glow in the dark printer ink
Use your printer to make glow in the dark ink at home. The ink can be used to make posters, stickers, or even glow in the dark tee-shirts!

How To: Make a get well pedestal card using Cricut Paper Doll
Cardcrazy09 presents a video on how to easily make a get-well pedestal card that's perfect for cheering up an ailing friend or relative. She guides us through the process step by step, detailing the proper measurements and techniques she used to make the perfect card. In order to make the card exactly like she has, you'll need a Cricut, a machine that is used for making stylish cards. By following the instructions in the video, you can make a beautiful card yourself without having to go out a...

How To: Make an awesome 3D paper snowflake
This video will show you how to make an interesting 3D paper snowflake. You will need 6 pieces of paper, some scissors, glue and a stapler. First, make 6 squares which are the same size. After folding the squares across its diagonal axis into a triangle and folding it over again, hold the triangle so that its open ends are facing outwards. Cut diagonal lines along the line of the triangle towards the center, stopping close to the middle line. After opening the paper, take the two ends of each...
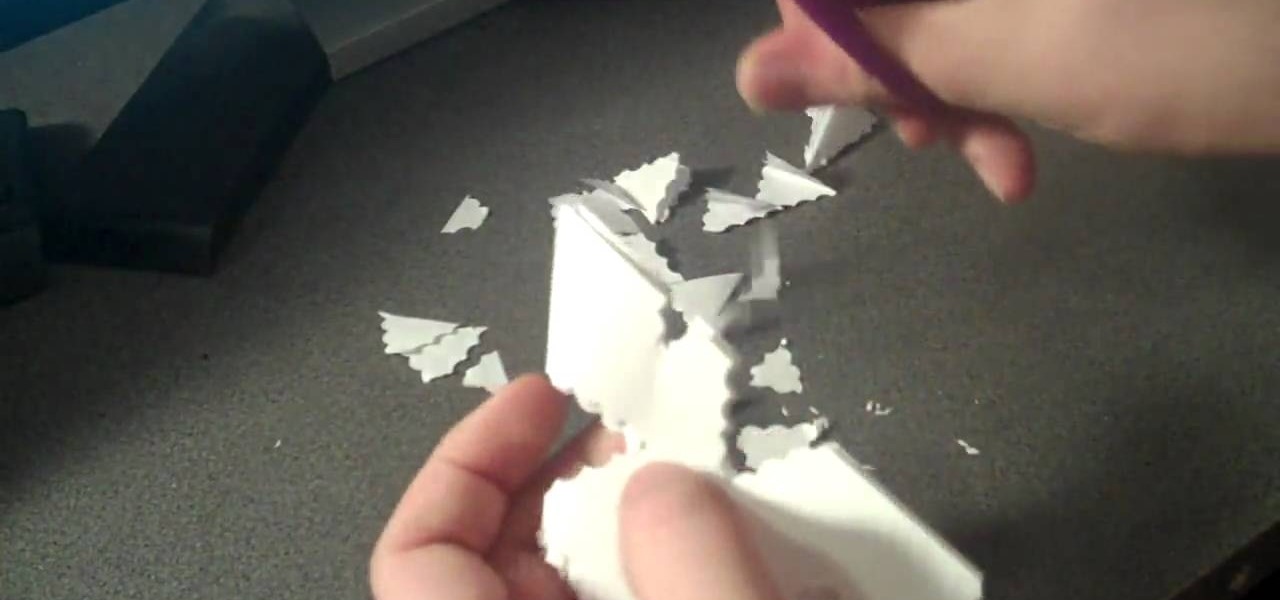
How To: Make a snowflake using only scissors and paper
This video is about how to make a snowflake using only scissors and paper. For this you have to go through a few simple steps: (1) Take two plain sheets of paper. (2)Fold them into the shape of triangle. (3) Fold them again up to three triangles. After making a small fold of triangle (4) cut the triangle using scissors. Make any shape of your choice and cut carefully and neatly. Now just open the shape and the snowflake is ready. You can use colorful paper also.
How To: Do a knitted cast on
A knitted cast on stitch is one of multiple methods for casting on your stitches, and is good for starting a scarf, or the bottom of a sweater. With this tutorial, learn how to do the cast on stitch. Beginning with a loose slip knot, knit a stitch, making sure to replace the original stitch on your left hand needle. This will provide the basis for all the subsequent stitches, making up the amount of necessary stitches you will need to cast off. Keep in mind this is not an elastic stitch, so a...
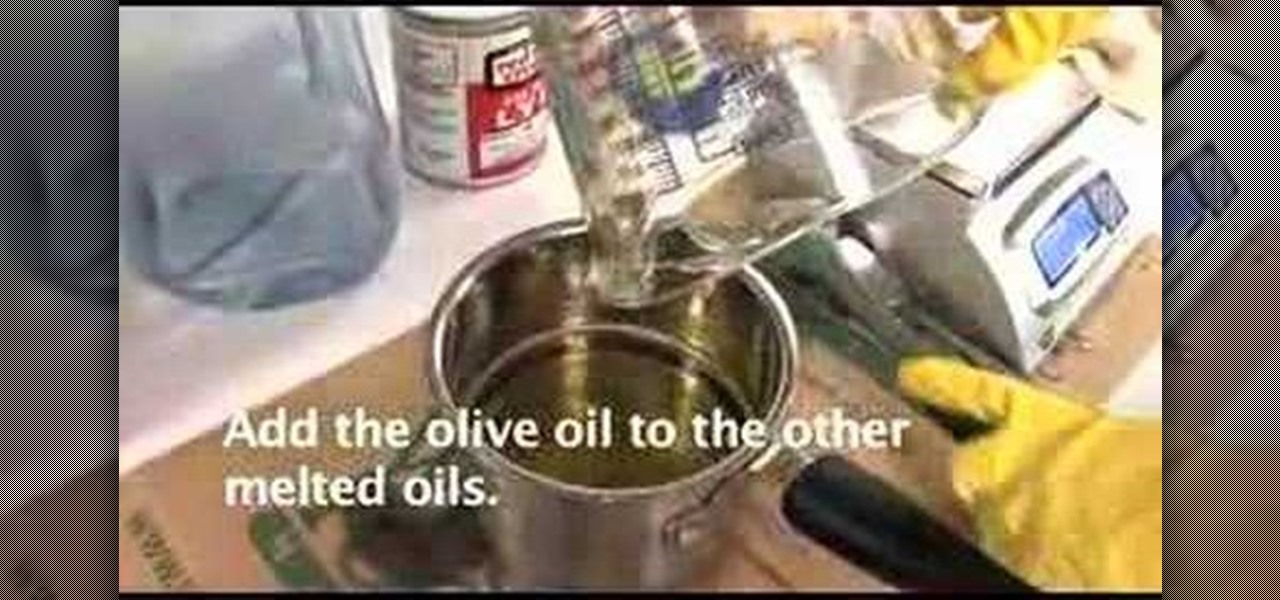
How To: Make cold process soap
Brought to you by www.how2soap.com this video shows you how to make a cold process to make soap. By measuring accurately and using proper equipment such as a container that won't break under more extreme conditions. Lye and other ingredients are used in this so it's important to mix properly and to have a well ventilated area. By following the steps in this video will show you exactly how to make your own soap that can be scented or have an added moisturizer if you choose for it to.

How To: Make paper roses to embellish your mini albums
This is Part 1 in a series from FollowThePaperTrail. In this arts and crafts how to video the host will lead you through the process of preparing the materials necessary to create paper roses, from punched or die cut flower patterns. She teaches you how to soak the materials, once they've been cut, and spray them with starch so that they retain their shape. Following up on that she demonstrates the techniques she uses to form the flower patterns into a more three dimensional shape.
How To: Tie a variety of knots when jewelry making
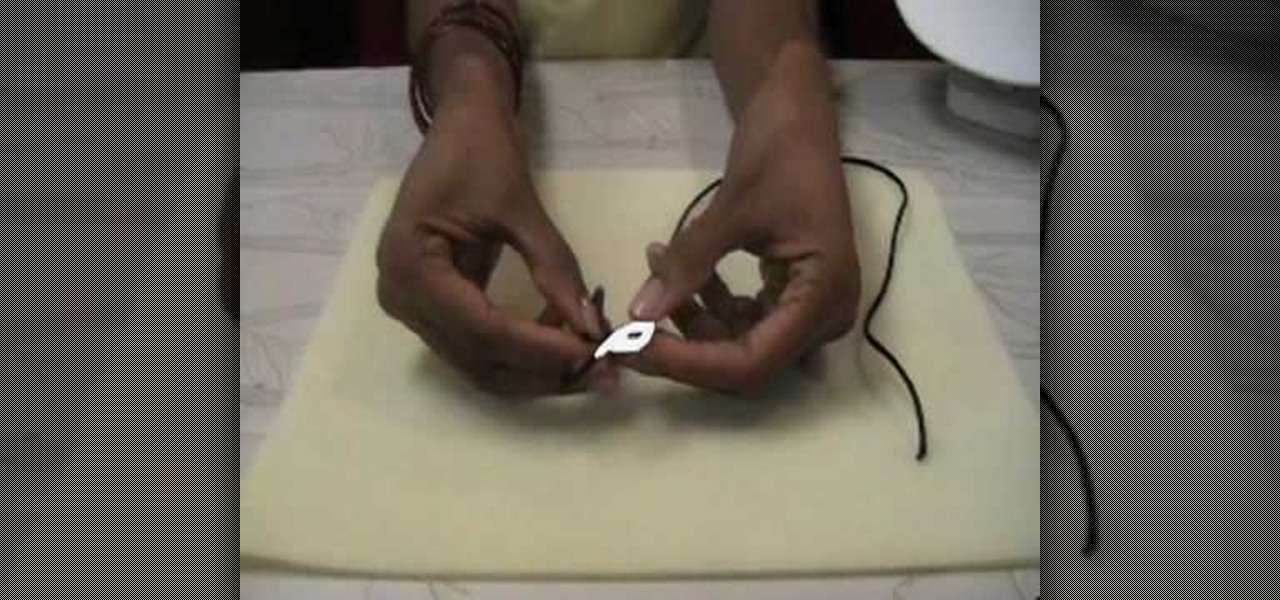
Christina, from Brightling Beads shows you how to tie a variety of knots in this video demonstration. This allows you to make a variety of jewelry, using various forms of knot tying. She will show you how to do an overhand knot, double hand knot, square knot, lariat knot, figure eight knot, sliding knot, and surgeon knot. This video makes it easy to do the knot tying, because it uses demonstrations that highlight the sting, and arrows that point to the area that you're working on.

How To: Fold an origami two-cup pencil holder
This how-to video show you how to make an origami two-cup pencil holder. The narrator explains that you will need one eight and a half inch by 11 inch piece of office paper. This video show everything you need to know from folding every single predrawn line and reversing them, to all the precise folds necessary to create this pencil holder. If you follow the meticulous instructions showed in this video you can create your own two cup pencil holder using origami techniques.
How To: Make a snowflake pendant
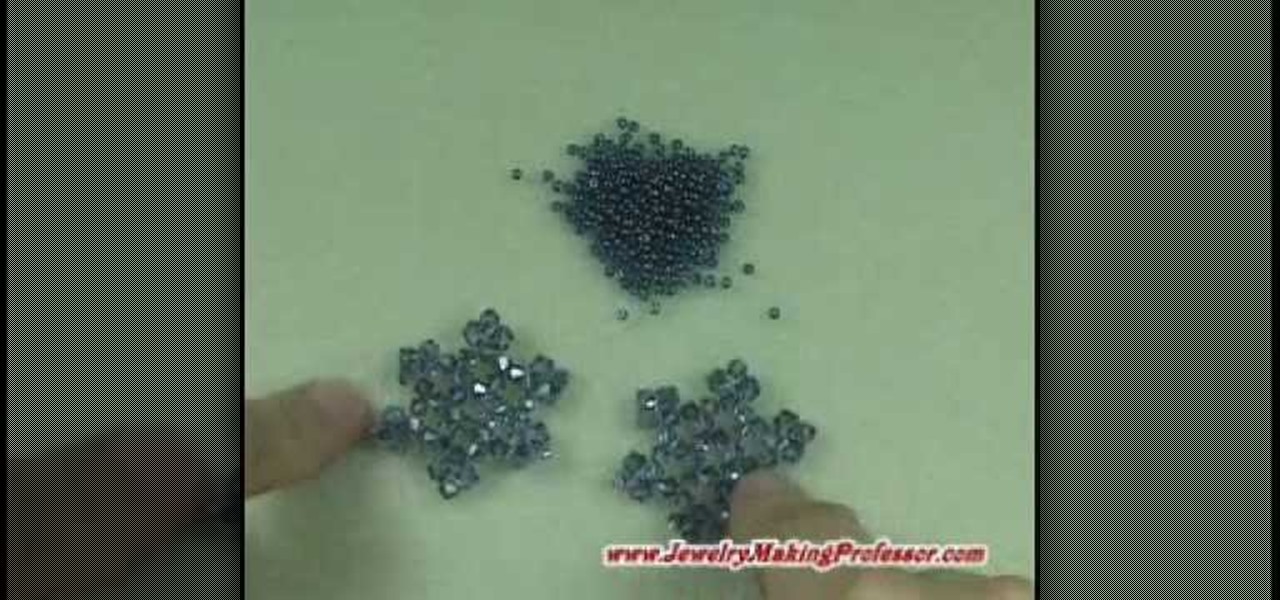
This video is all about how to make a snowflake pendant. This is just an interesting task for women who like wearing jewelry. Now you can make pendants by your own hands at home. You require just few beads of your choice color and take a needle and a strong thread ,you can also have some kind of chains to make it strong and beautiful. Just arrange beads in any pattern and attach with some chain. It takes just few minutes to do it.
How To: Make a colorful paper snowflake
This video will show you how to easily make symmetrical and lovely paper snowflakes. Using a colorful piece of paper, you should first fold the paper over in a triangle and cut off the excess in order to make a square. You will then need to fold the paper over into thirds and cut off the outside portion in order to make the outline for a 6-pointed star. Then, proceed by cutting portions off the side of the paper. By following this tutorial, you will be able to make beautiful and intricate pap...

Make friendship bracelets: The Egyptian
This video is a tutorial on how to create "friendship bracelets". In particular this style is called the "Egyptian" which is a particular style. You need to make two forward knots on your most left strand, you then do it with the next strand only this time you make a backward knot (two of them.) The most inner color you pick (you must pick four different colors, two strands each) will be your most prominent color. You continue this front knot, backward knot pattern etc, and eventually you wil...

How To: Fold origami set of boxes
This video shows you how to fold origami boxes. You will only need a single square piece of paper. The process requires simple folds. This project can be done by people of all ages. The video has both audio and video instructions and is very clear about what needs to be done. The final product is a box with an open top. In order to create the lid, you repeat the process. It is suggested that you use a different color or patterned paper for the second box. The second box just gets tucked over ...
How To: Knit the feather and fan stitch aka Old Shale
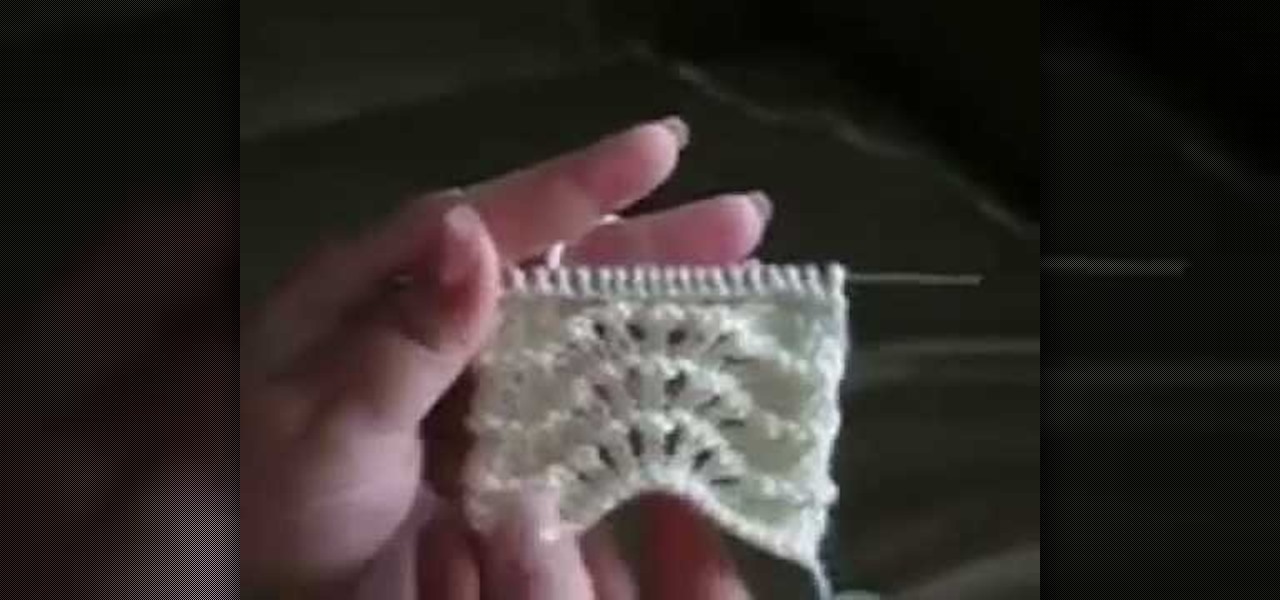
This knitting video walks you through each step to create the feather and fan stitch also known as Old Shale. With knitting needles and yarn this look is created using them movements described in the video. Each step is shown visually through the video to create this pattern and then a word tick of each step is at the end of the video. This definitely allows you to learn how to knit in this style so that you are able to use it with ease.
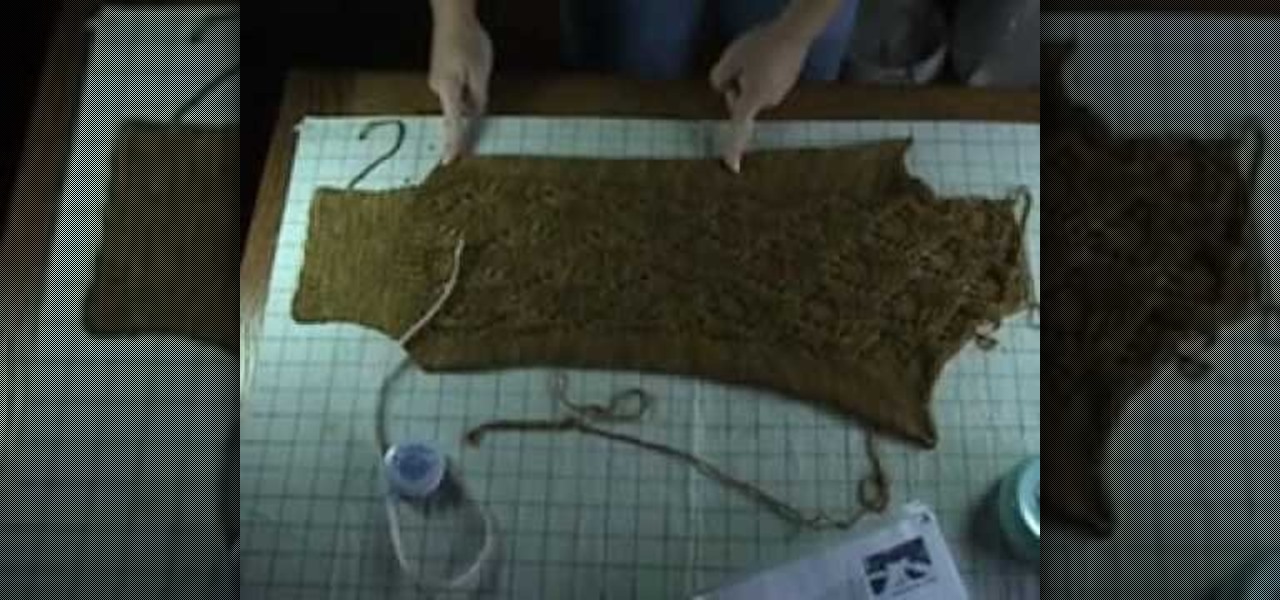
How To: Do wet blocking to a knitted piece
The Knit Witch shows you how to do wet blocking to a knitted piece. With specific tools like a blocking board with a grid, a tape measure, and a few other items. The items used can vary based on what kinds of material you are using so it's important to know what each one needs. Reminders and tips are explained when the pertinent step is reached so that you can keep them in order and apply them when needed. Wet blocking will be a breeze after watching this video and following the steps closely.
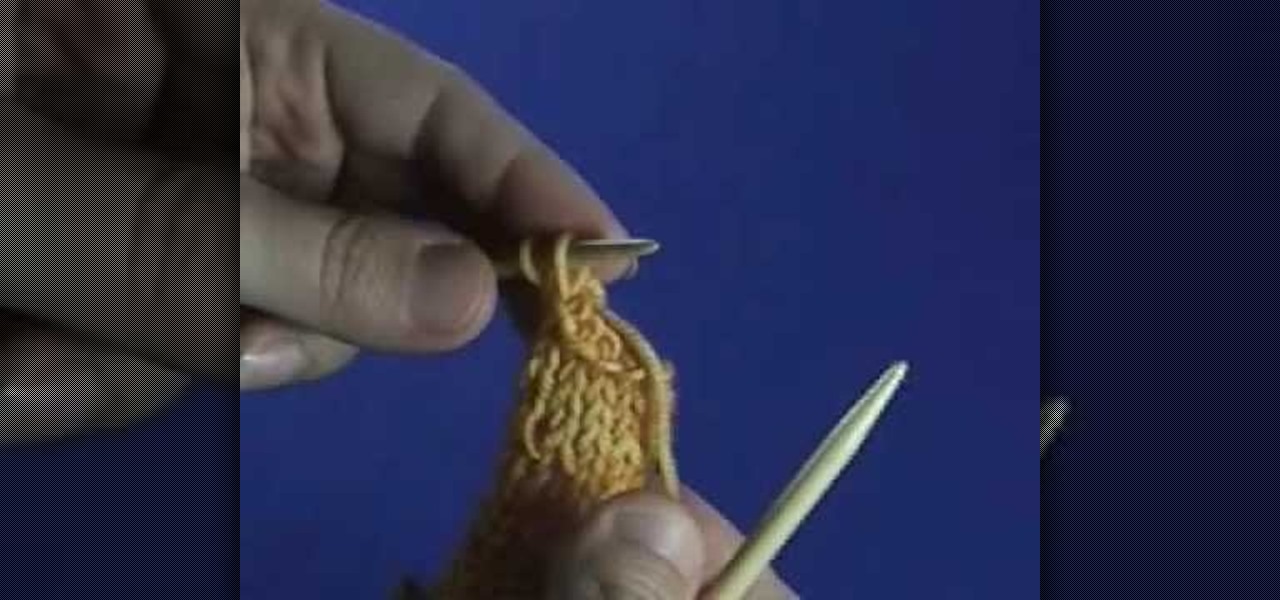
How To: Perform a knitted bind-off on the right of your work
The video shows us how to perform a knitted bind-off on the right side of your work. It is recommended to use a cross hair hook for the right hand needle to make it easier but here is used with the normal needles. Firstly you need to knit the first few stitches and using the left needle take the first stitch and pull it over the second stitch. Then you knit it and again pull the first stitch over it. It is repeated in the same pattern till then end of all the stitches are knit. And after knit...

How To: Design your own awesome magic cube
Design your own awesome magic cube. For the cube printout go to http://www.mychannelworld.com
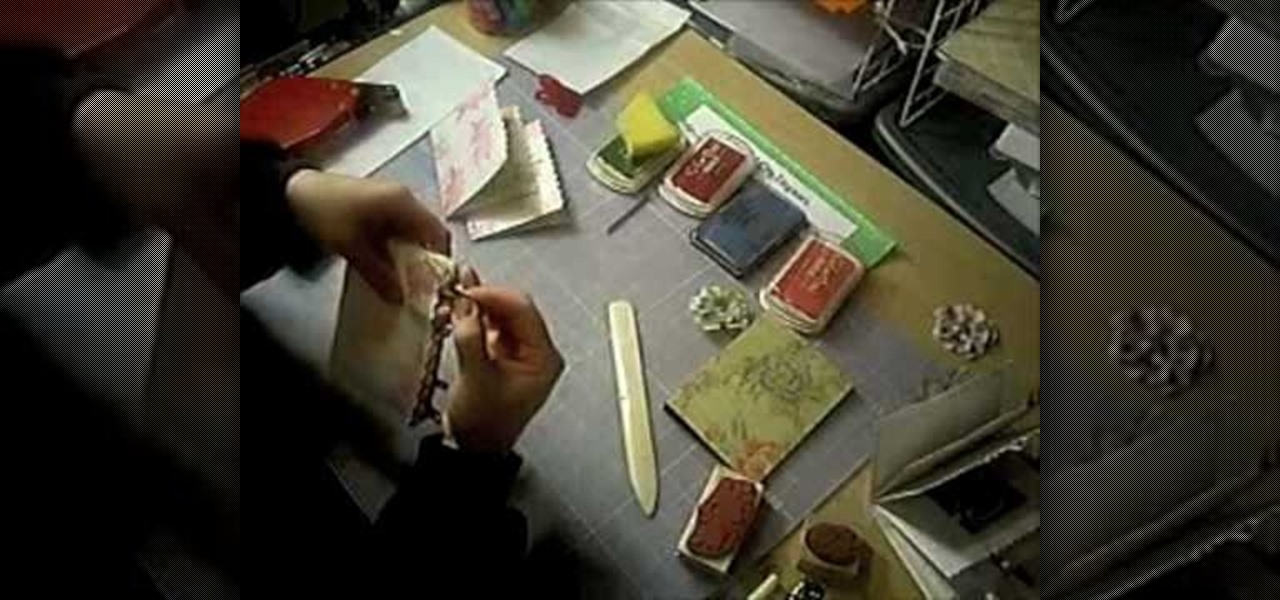
How To: Make a paper bag album for Artist Trading Cards (ATC)
If you have ever thought about making a paper-bag album for artist trading cards, this is the video for you. Ozsomenurse captures this in a simple video saving you money. The required materials are easy to acquire. They are all available at your local craft store. This video provides very descriptive and easy to follow instructions. The finished product is a cute, hand-crafted album for your artist trading cards.
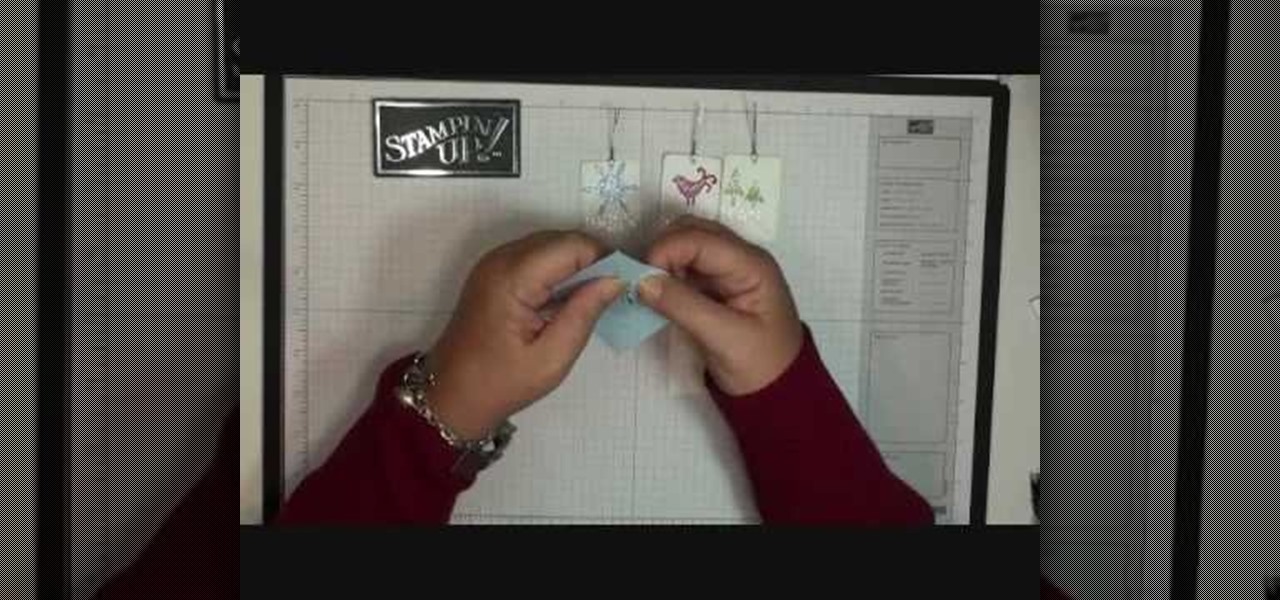
How To: Make holiday thank you cards with Stampin' Up!
The video is very informative about the using of a Stampin' Up. The blogger explains the different parts of the system and how to use them. She first shows the finished product, in this case a label or gift tag. She then explains the process of how to die cut the various parts and how to use the dies and machine to cut out the shapes. She then explains how to put the Tags together. She then shows how to finish the product. All through the process the video also has pop ups with a brief write ...

How To: Create an origami balloon
The art of origami is all about making a flat 2 dimensional piece of paper into something 3D that comes alive.. so why not go all the way and make a balloon? This tutorial will show you how to make a big, round realistic looking balloon out of nothing but paper! Impress your friends with this very cool origami trick.
How To: Fold an origami pencil cup or holder
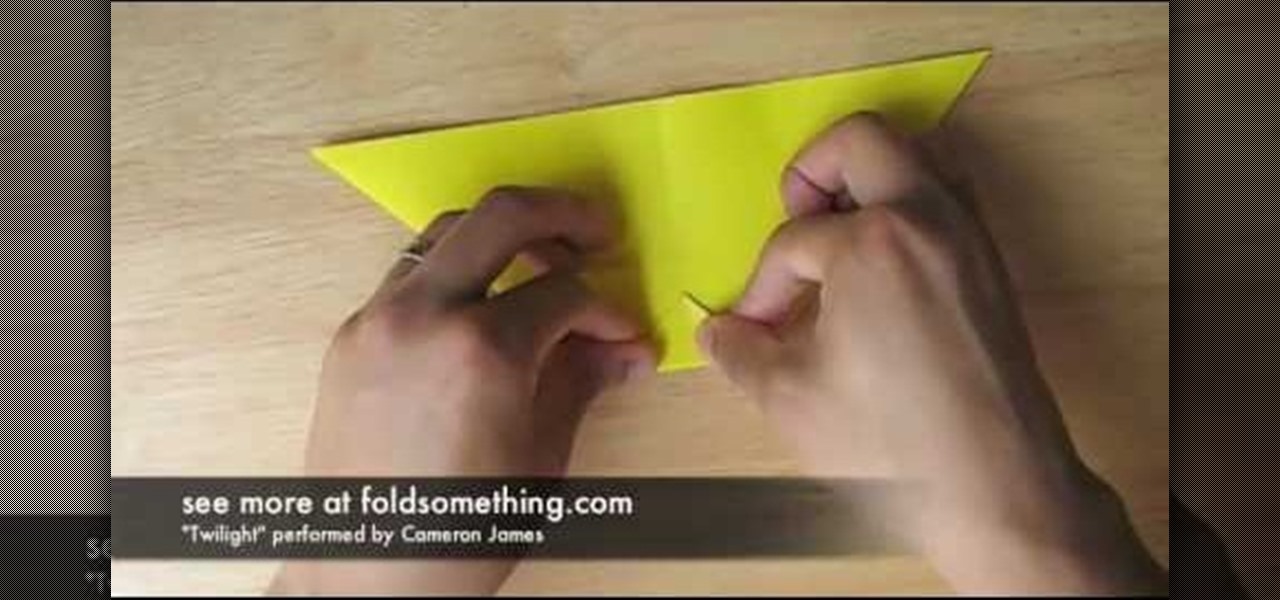
This art and crafts tutorial video shows how to make a pencil cup or holder using origami. Watch this video and learn how to make a pencil, pen holder using just a piece of ordinary paper. This is a great instructional video and the presenter in the shows the procedure in a very detailed and step-wise manner.
How To: Make a wire wrapped crystal cluster ring
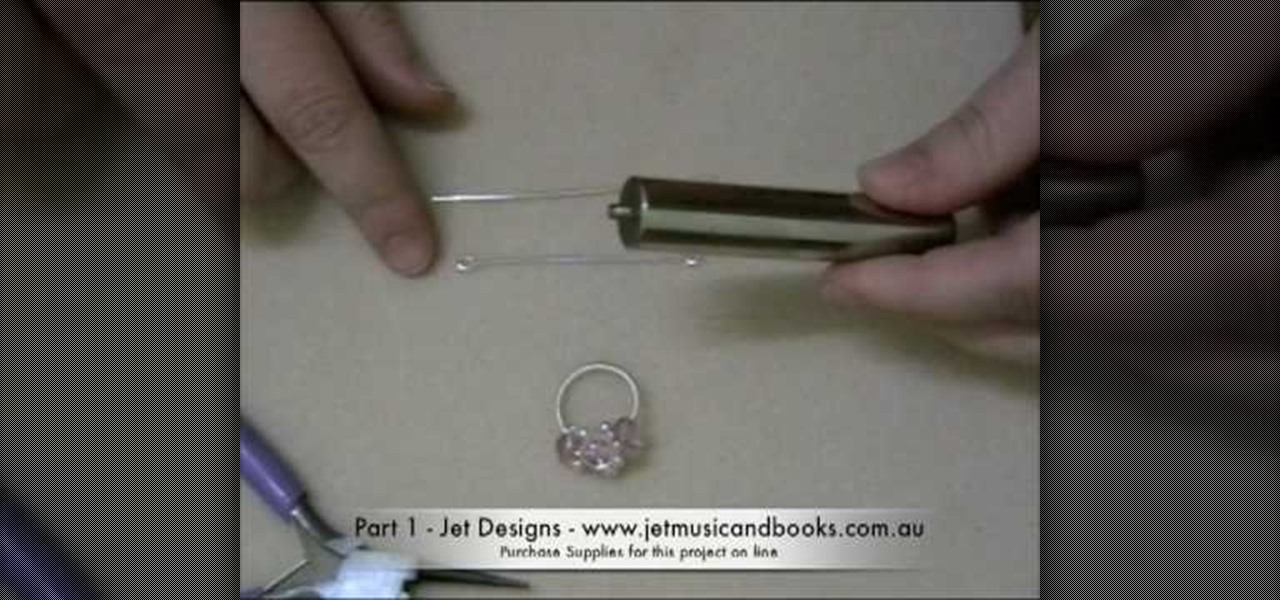
Sick of spending massive amounts of cash on jewelry that's not even your style? Express & accesorize yourself exactly the way you'd like by making your own jewelry! In this three-part jewelry-making tutorial, learn how to make a wire wrapped ring base with a crystal beed accent. You will need: A pair of flash cutters, pliers, a round object to make the ring form, 18 gage copper coated artistic wire, 24 gage artistic wire, and 26 gage artistic wire to secure the crystals & beads on the ring. E...
How To: Make an ice cream cone punch using Stampin' Up!
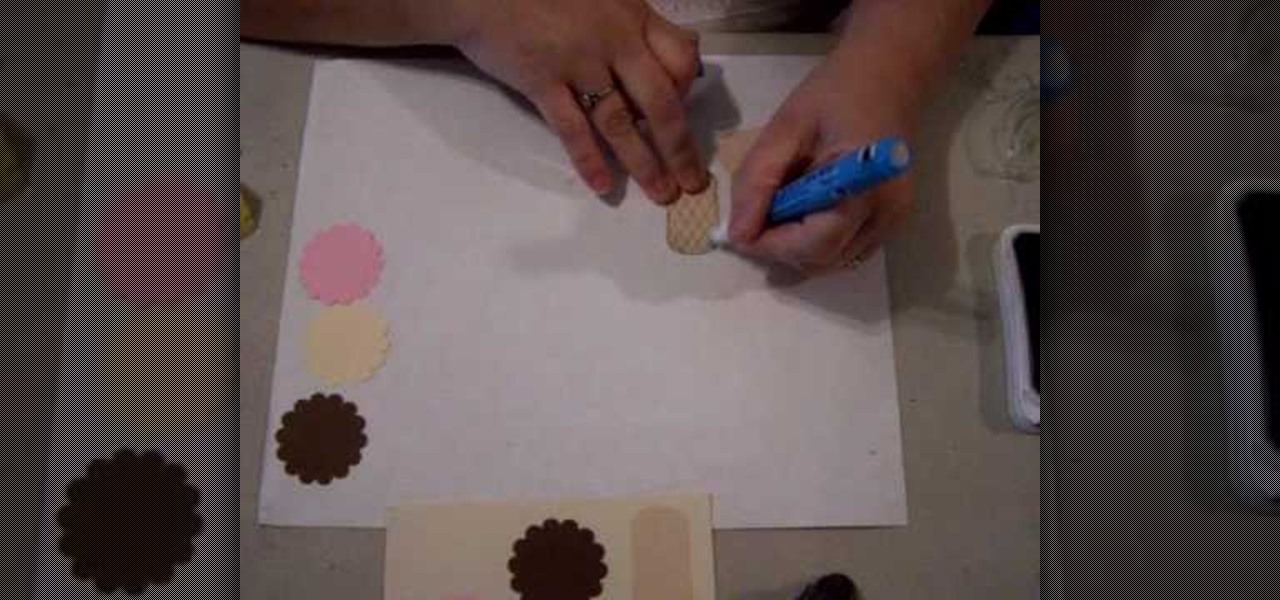
If you like arts and crafts then this video is for you. Watch and learn how to make a simple, creative, and fun paper ice cream cone with strawberry, vanilla, and chocolate ice cream scoops. Great for scrap-booking, covering diaries, keeping children (or anyone who is bored) busy, or anything else you can think of doing with a paper ice cream cone. You may not be able to eat your finished ice cream cone, but you'll definitely enjoy making it.
How To: Use an embossing folder with Stampin' Up!
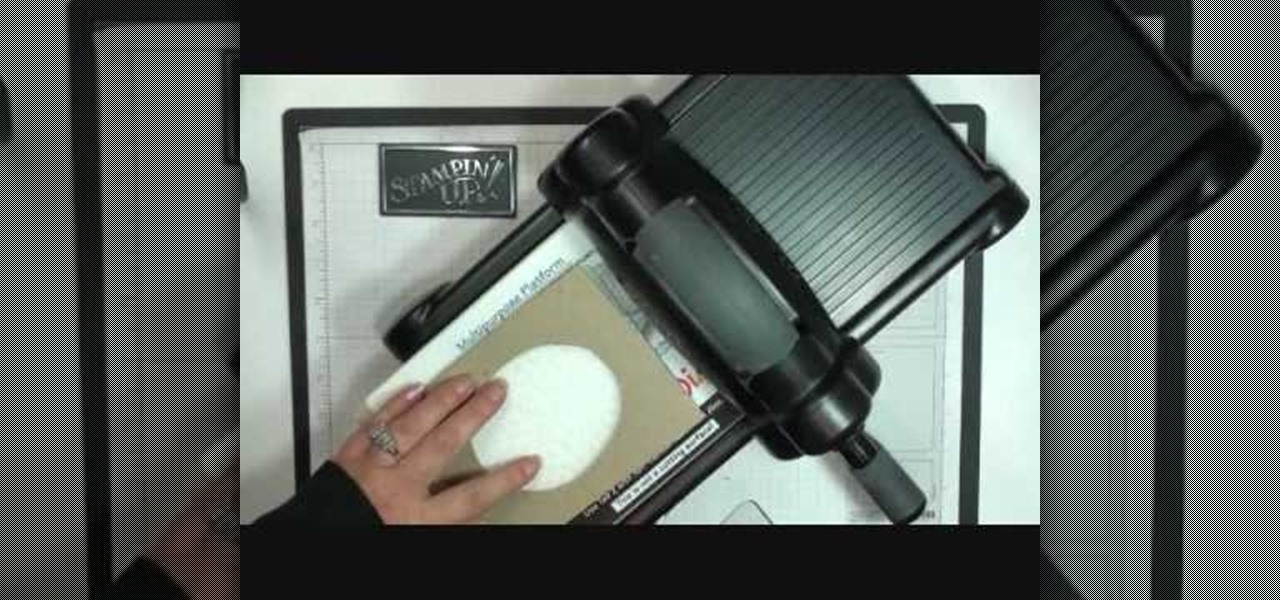
This video is about using an embossing folder. The video begins off by showing how to create a perfect oval for the main emblem in the picture. First you take your whisper white card stalk and attach it to a piece of cardboard. after this process you run it the embossing machine to make the adhesive attaches correctly. The video contains video and audio instructions as well as multiple techniques to complete the task at hand. this video is very informative and help you indefinitely to complet...

Make friendship bracelets: Flip flop zig zag
Short homemade video showing how to make a Friendship Flip Flop Zig Zag bracelet. The bracelet is easy enough to be made by a child and the tutorial easy enough for a child to follow. The bracelet is made of knotted cotton strings. The bracelet can be made from 2 to as much different colors as you want, the more colors you use, the wider the bracelet is. Length of the bracelet can be adjusted by choosing the right length of cotton at the beginning.

How To: Attach a clam shell end tip
Clam Shell end tips, or knot covers, are normally used when you are stringing pearls or other beads on silk or nylon thread. They cover the knots on the ends of the thread so they can't be seen.
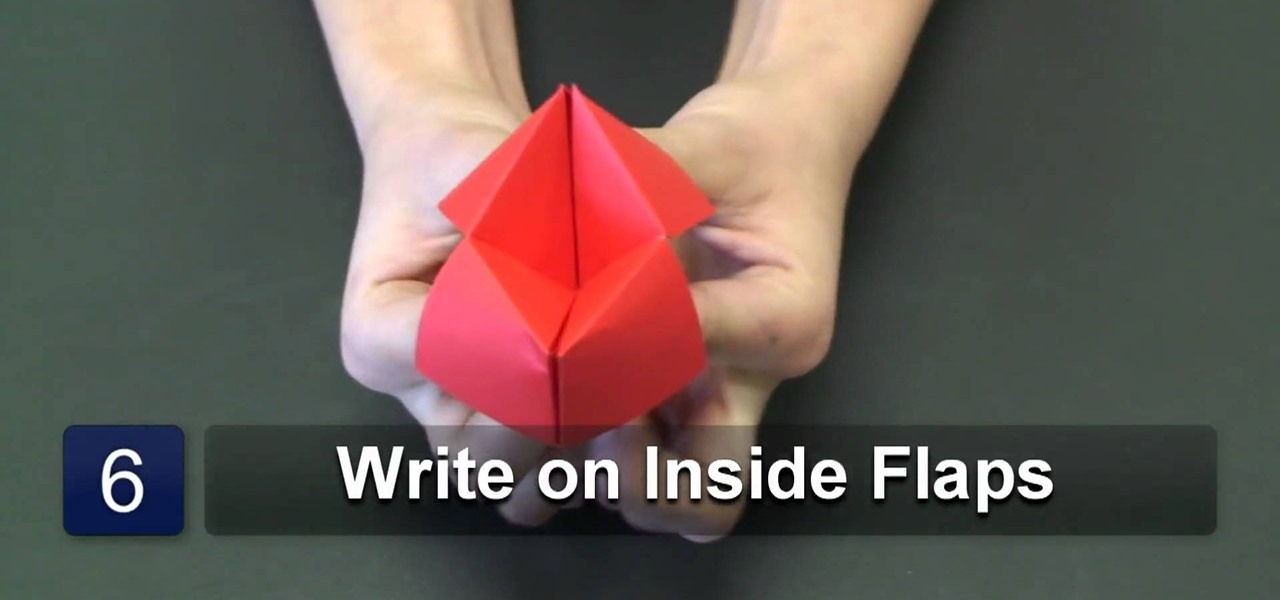
How To: Fold an origami paper game
This video shows how to fold an origami paper game using ordinary paper. The instructor recommends you use double sides and colored paper. The first step instructed is to make four congruent folds. You then bring all four corners to the middle of the paper. The instructor tells you to fold the bottom sheet outwards to make the origami paper game design. The last step is to draw numbers and fortunes on all the different label sides. The instructor has many other video listed text instructions.
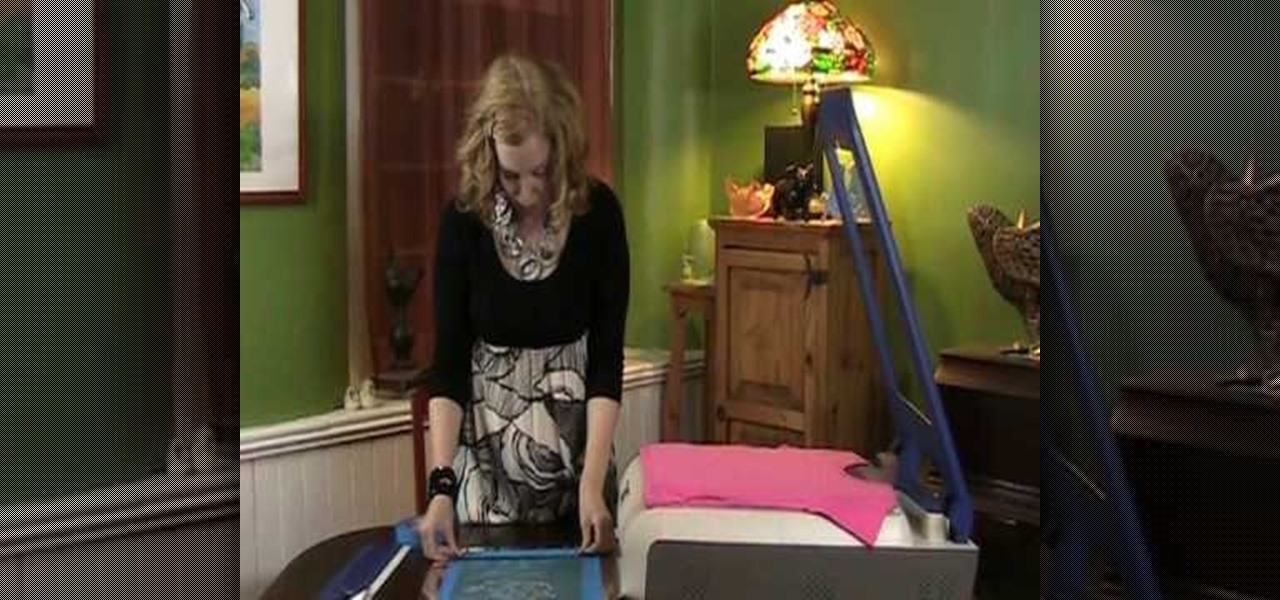
How To: Use the ProvoCraft YuDu home screen printing machine
Margot Potter, otherwise known as The Impatient Crafter, provides a thorough examination and demonstration of the ProvoCraft YuDu home screen printing machine from start to finished product (in this case a screen printed tee-shirt). This video is effective both as an introduction to the product and what comes with your purchase as well as tips and tricks as to how to work with home screen printing. The 6+ minute video is entertaining as well as informative and keeps your attention in an irrev...

How To: Make a "SSMaRT" dodecahedron with illusory sphere
Take a paper: we need 60 rectangles (length-width ratio of 6:1) And fold in 4 equal parts.
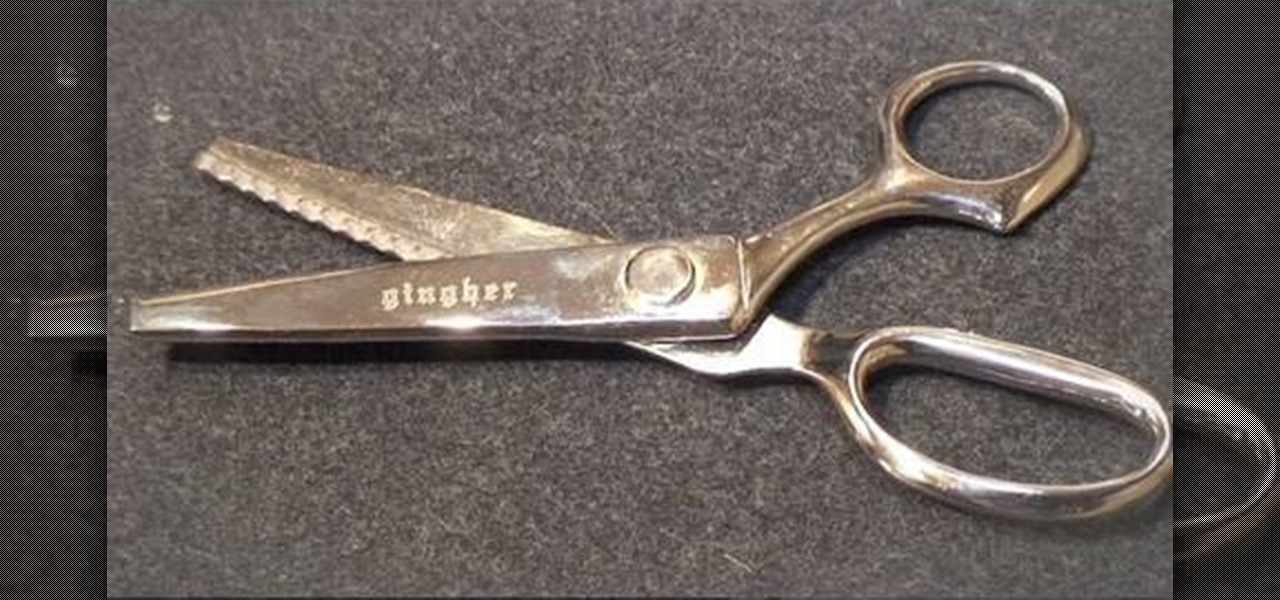
How To: Use pinking shears with Threadbanger
Pinking shears are scissors with an blade that is spiked instead of straight across like a regular pair. Pinking sheers are used to finish off fabric that does not necessarily need a strong hem. They can be used for any type of material that will not unravel - such as silk or charmeuse. This tutorial from Threadbanger will show you how to finish off your fabric by pinking, which is actually incredibly simple to do.
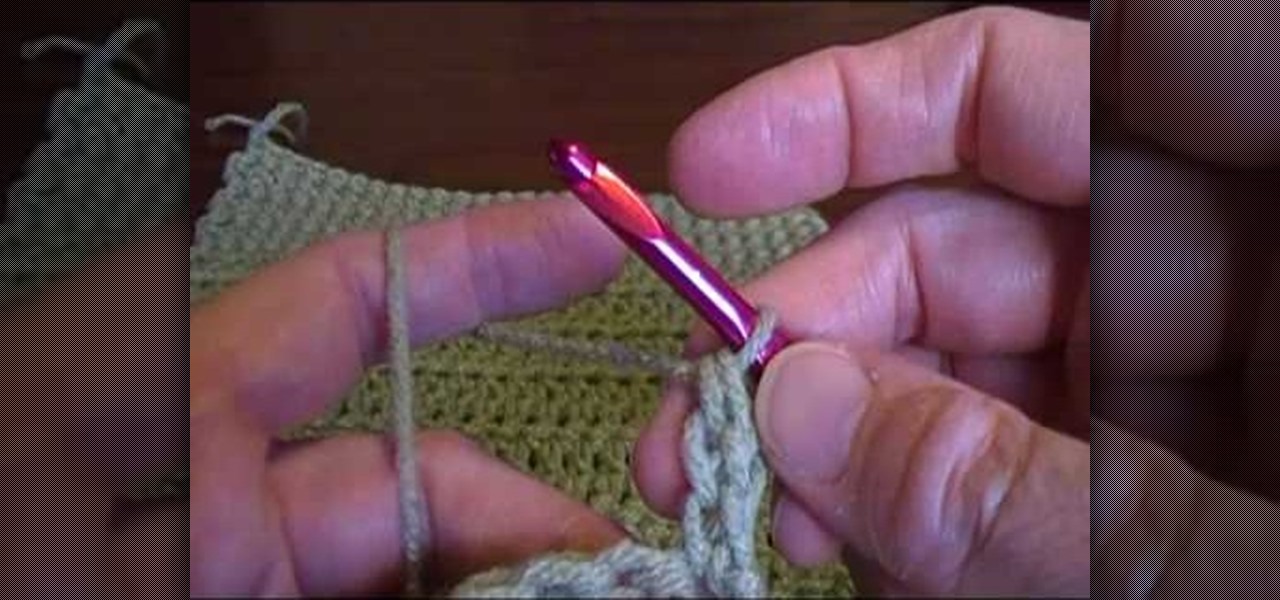
How To: Crochet an alternative double crochet turning chain
This video is for, the more advanced crocheter. The instructor uses terms and demonstrates stitches that will require a basic understanding of crocheting and an intermediate skill level. The instruction given in this video is very easy to understand. The video quality is clear with a close up shot of the needle and yarn. This allows the viewer, to see how each stitch is done. The instructor does the same step many times. This will allow you to practice the same stitch many times without havin...
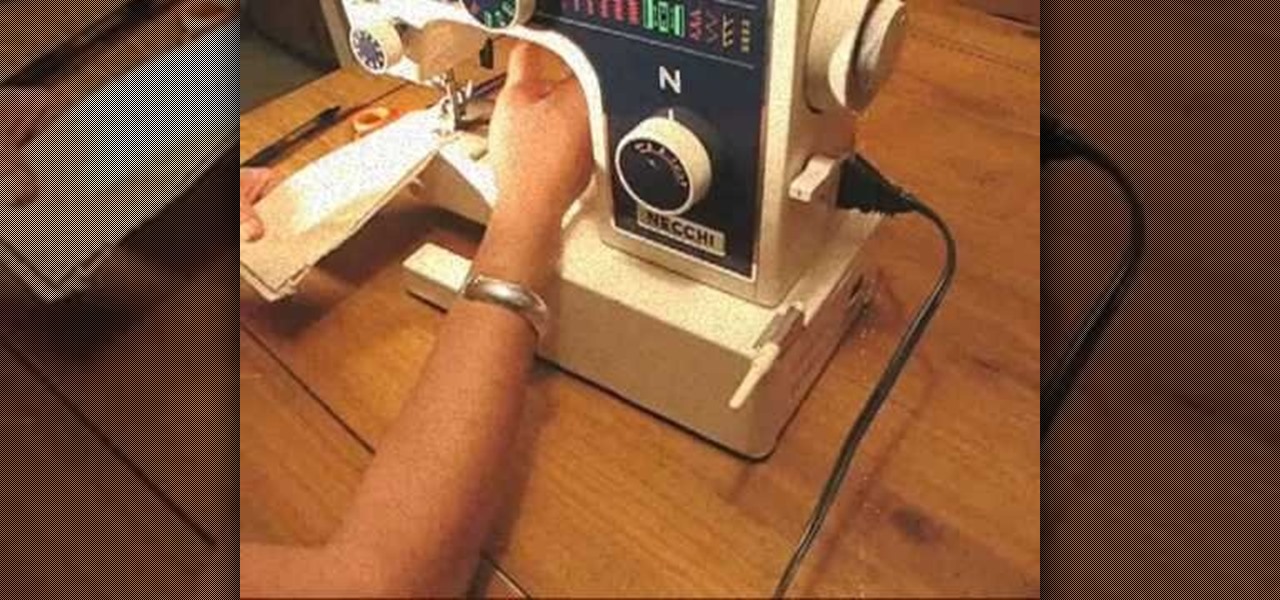
How To: Sew with a sewing machine
Want to learn how to use that sewing machine? This video will teach you the basics on how to use a sewing machine. This video is part of a series and shows the basics of sewing, reversing the machine, and the basic mechanisms of the sewing machine. She will also show you what to do at the end of your fabric and proper hand placement on the machine while using the machine (no sewn fingers here!). A good step-by-step guide for first-time sewers.


