Active Arts & Crafts Posts

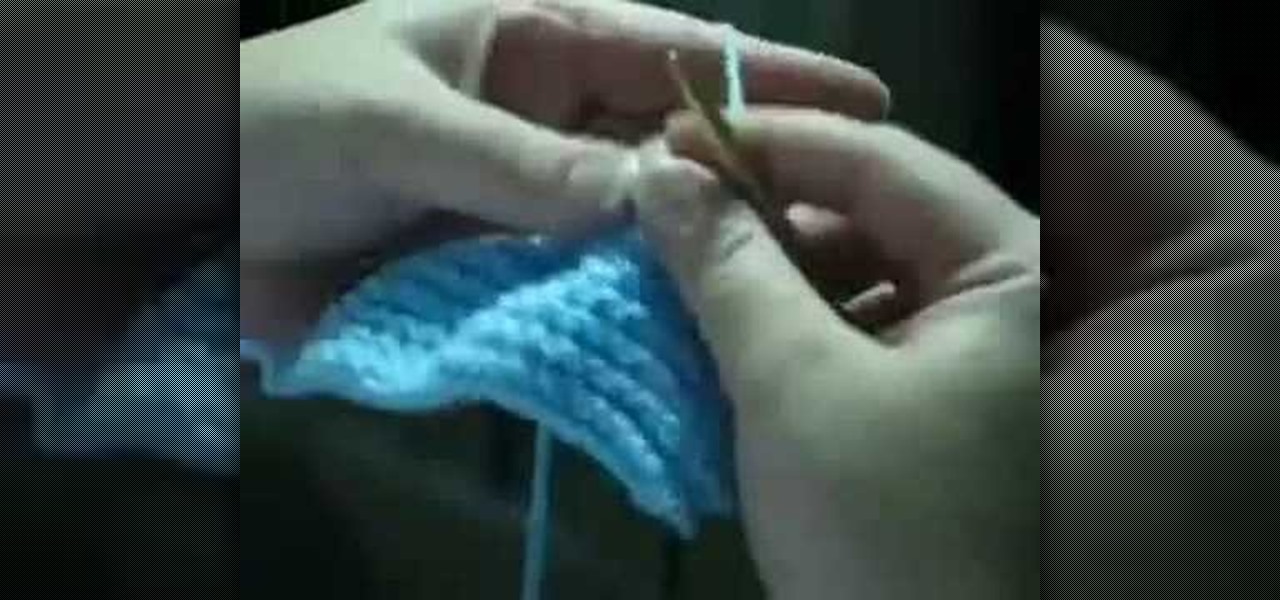
How To: Do a basic knit bind off
How do I stop knitting? This instructional knitting video demonstrates how to do a basic knit bind off. Binding off is the process of taking the stitches off of your needle and securing them so that they don't unravel. The basic bind-off using knit stitches most popular with beginners. This version of the knit bind of is typically used with the stockinette stitch.

How To: Knit a purl stitch
This instructional knitting video demonstrates how to do a purl stitch. The purl stitch usually functions in tandem with the knit stitch. For the purl stitch, always remember to keep the working yarn in front of your needles. When switching from knit to purl stitch, you will move your working yarn from the back of the work to the front of the work to prepare for a purl stitch.
How To: Knit a fabric stitch, or linen stitch
This instructional video demonstrates how to knit a fabric stitch, also known as the linen stitch.The linen stitch is a nice, firm knitting stitch pattern that looks similar to the woven fabric called linen. It's a great reversible pattern perfect for bags, scarves and just about anything else you can think of.

How To: Knit a cable cast on
This instructional knitting video demonstrates how to knit a cable cast on. Start by making a slip knot with a 6" tail and place it on the left-hand needle with the working yarn coming from the back. Knit a stitch in the slip knot loop, but leave the slip knot on the needle. Give the new loop a half-twist and place it on the left-hand needle. You now have the first two stitches. For all subsequent stitches, knit each new loop between the last two stitches on the left-hand needle. Cable cast o...
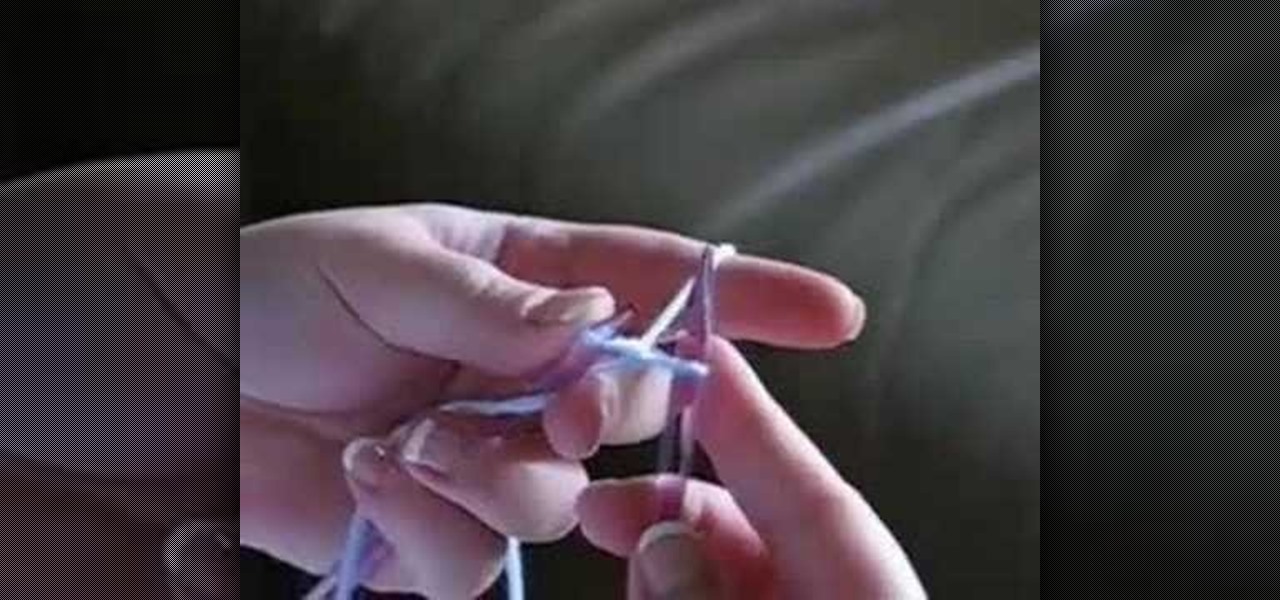
How To: Do a knitted cast on stitch
This instructional knitting video will teach you how to do a knitted cast on. The first step in all knitting projects is casting on. By knitting into each stitch and slipping the stitch from one needle to the other, you can knit a sturdy and even cast on. Knit as many loops as you need to begin knitting your scarf, hat, sock, sweater sleeve, mitten, etc.
How To: Knit a backward loop cast on
Watch this instructional knitting video to knit a backward loop cast on. Your knitting will be as wide as your cast on row if you do not apply any shaping, such as increasing or decreasing. When knitting the backward loop cast on make sure to leave the stitches a little bit loose so it's easy to knit your first row.
How To: Roll pleats in knitting projects
This stitch pattern was featured in the May 2008 issue of Simply Knitting. Here is a brief demonstration of how this stitch pattern is worked. You will be working in multiples of two stitches with one added stitch at the end of each row. Watch this knitting video to learn the secret to knitting a cool rolling pleat pattern.

How To: Knit a spider stitch
Watch this two part instructional knitting video to knit a spider stitch. A spider stitch is a stitch used in lace making to fill in open spaces with threads resembling a cobweb. The knitter's version of this stitch makes an elegant, open weave pattern.The Continental method is used here, meaning the yarn is held with the left hand.

How To: Knit a mock rib stitch
Watch this two part instructional knitting video to knit a mock rib stitch. Mock Rib is a knitting stitch pattern that makes ribs of knit stitches alternated with slipped purls on the wrong side. The Continental method is used here, meaning the yarn is held with the left hand.
How To: Knit an uneven rib stitch
Watch this two part instructional knitting video to knit an uneven rib stitch. You will want to cast on your stitches in multiples of four. The uneven ribbing pattern uses a row of purl two, knit two pattern with an added knit stitch at the end of each row. The Continental method is used here, meaning the yarn is held with the left hand.

How To: Knit a 3x3 rib stitch
Watch this two part instructional knitting video to knit a 3x3 rib stitch using an even number of stitches. You will want to cast on your stitches in multiples of six. Simply knit three and purl three to knit the 3x3 rib stitch. The Continental method is used here, meaning the yarn is held with the left hand.

How To: Knit a 2x2 rib stitch
Watch this two part instructional knitting video to knit a 2x2 rib stitch using an even number of stitches. You will want to cast on your stitches in multiples of four. Simply knit two and purl two to knit the 2x2 rib stitch. The Continental method is used here, meaning the yarn is held with the left hand.

How To: Knit a 1x1 rib stitch
Watch this two part instructional knitting video to knit a 1x1 rib stitch using an even number of stitches. Begin the row with a knit stitch and end the row with a purl stitches. The Continental method is used here, meaning the yarn is held with the left hand.

How To: Knit a triangle shawl
Watch this instructional knitting video to knit a simple triangle shawl. If you aren't starting out using circular needles, you will need to transfer the shawl to circles once the shawl is too large to fit on straight needles. By knitting increases you can make a an elegant shawl for your grandmother and impress her with your knitting skills.

How To: Stockinette stitch for knitting projects
Watch this instructional knitting video knit a stockinette stitch using the Contintental method. This means you will knit on one side of the piece and purl on the other side. Stockinette stitch tends to curl at the edges, which add a nice finishing touch to sweaters or hats. Knitting with the Continental method only means that you hold the yarn with your left hand.
How To: Knit stitch using the Continental method
Watch this instructional knitting video to do the knit stitch using the Continental method of knitting. The knit stitch is the most essential part of learning to knit. Combine the knit stitch with the purl stitch to begin your first knitting projects. Continental style knitting only means that you hold the yarn in your left hand.
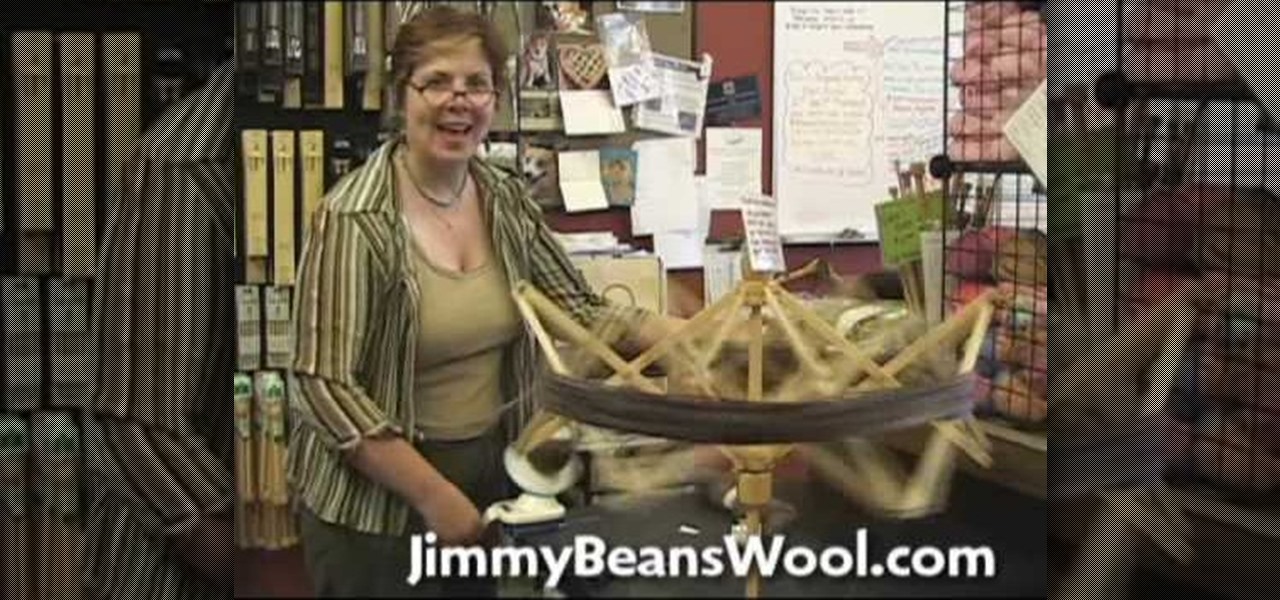
How To: Use a yarn ball winder and and umbrella swift
This instructional knitting video demonstrates how to use a yarn ball winder and umbrella swift. Use the umbrella swift to wind balls of yarn onto a ball winder. Never let a quantity of yarn go to waste from being tangled up. If you are a devout knitter, you will want to have one of these around.
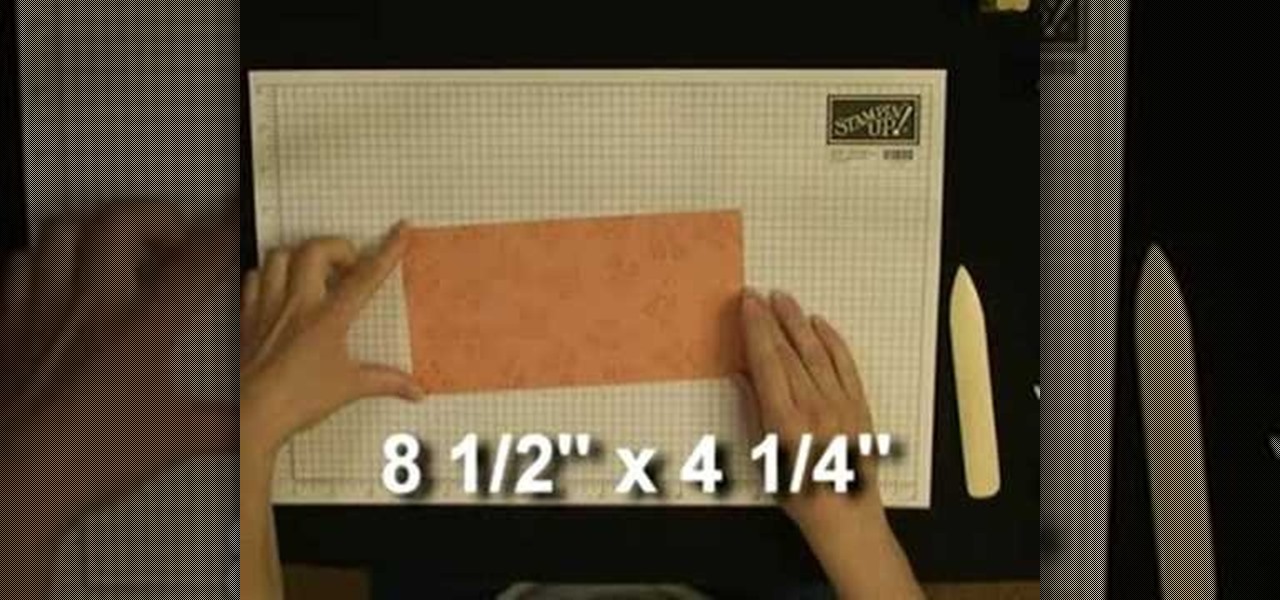
How To: Make a stationery box
This is two part instructional videos demonstrates how to make a stationery box. This box holds standard size cards, 3x3 cards, gift tags, and more. You need to start with a 12" by 12" sqaure of cardstock. Use double stick tape for the key joints. You can decorate your box with store bought cutouts or use recycled paper and ribbons. Good luck!
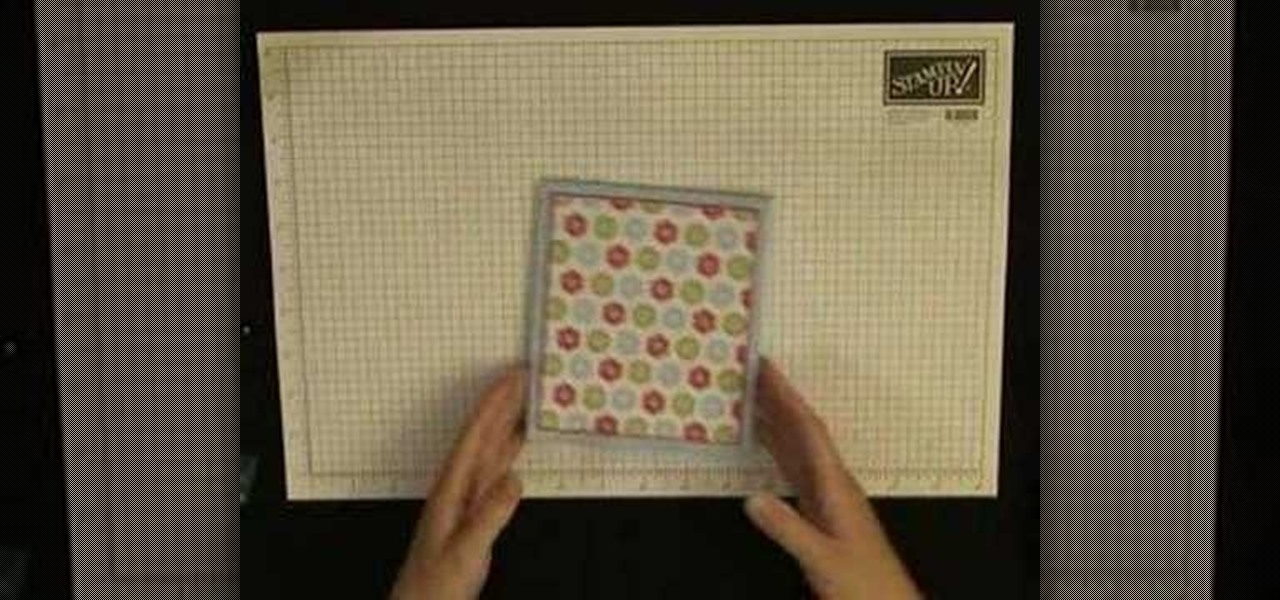
How To: Make a note card holder
Watch this video tutorial on how to make a note card holder that holds four note cards and four envelopes. You will need a large piece of cardstock to complete this box. Use double stick tape to hold the joints together. You can decorate the outside with store bought cut outs or use recycled scraps of paper and ribbon.
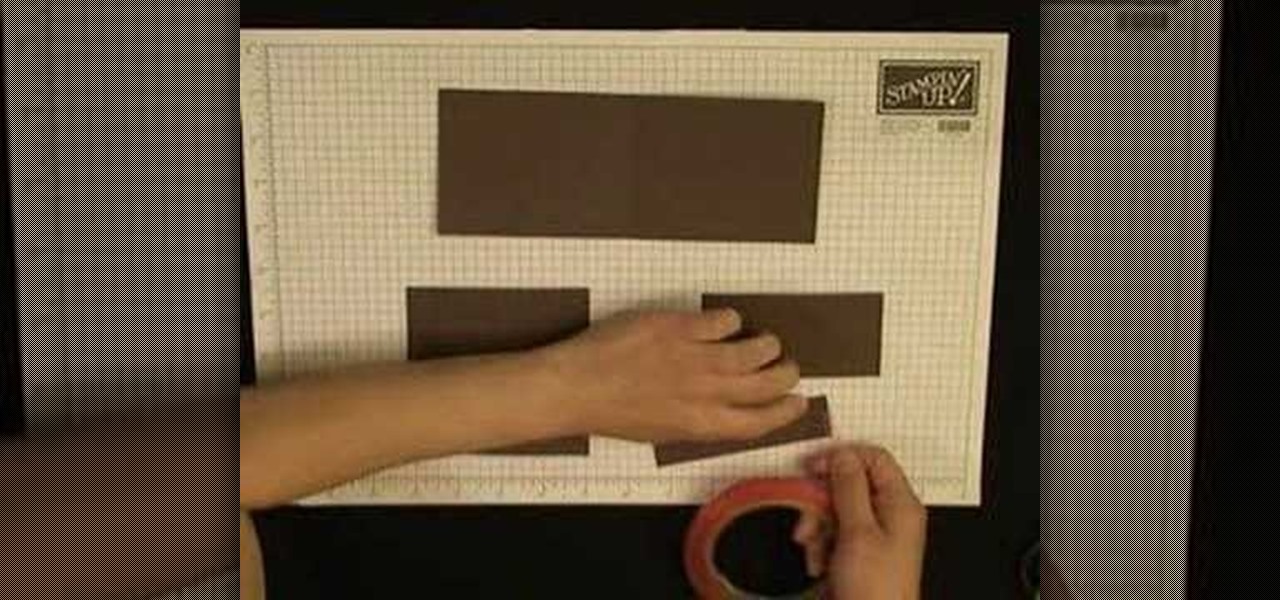
How To: Make a Father's Day wallet out of cardstock
Here is a video tutorial on how to make a wallet out of cardstock. This wallet has four pockets to hold gift cards as well as a place to hold money. This type of card is great for a Father's Day, birthday, or graduation gift.
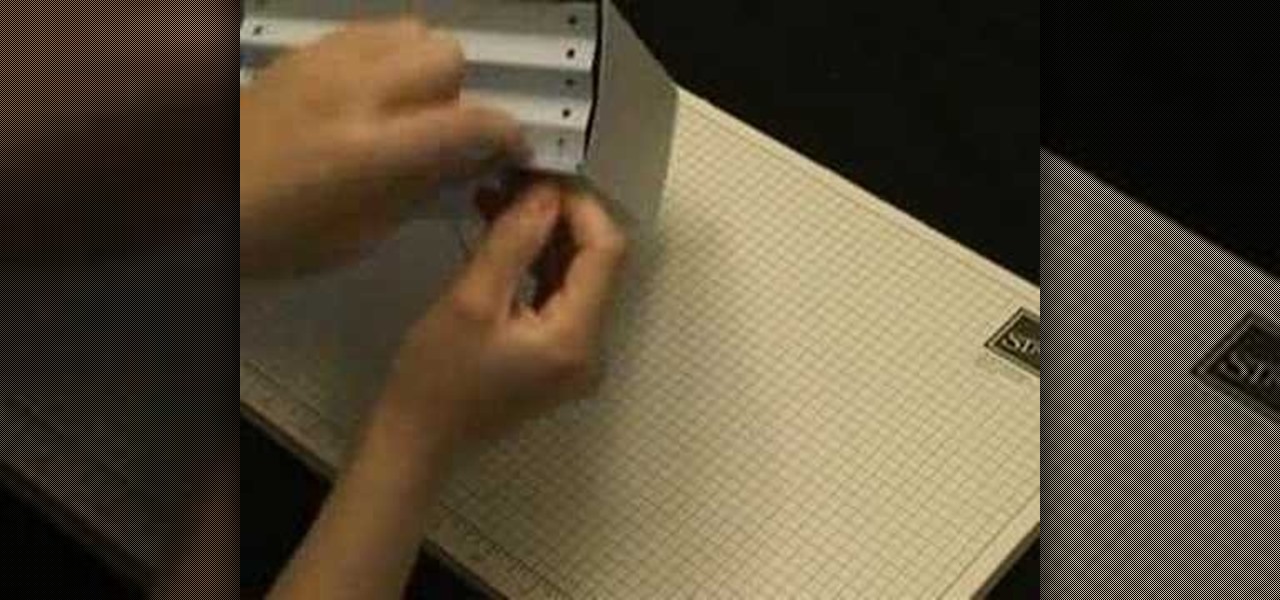
How To: Make a card organizer
Watch this video tutorial on how to make a card organizer. You will need one large pice of cardstock to make this paper box. Use double stick tape to hold the joints together. When finished, you will enjoy having this homemade box to keep your hand crafted greeting cards.
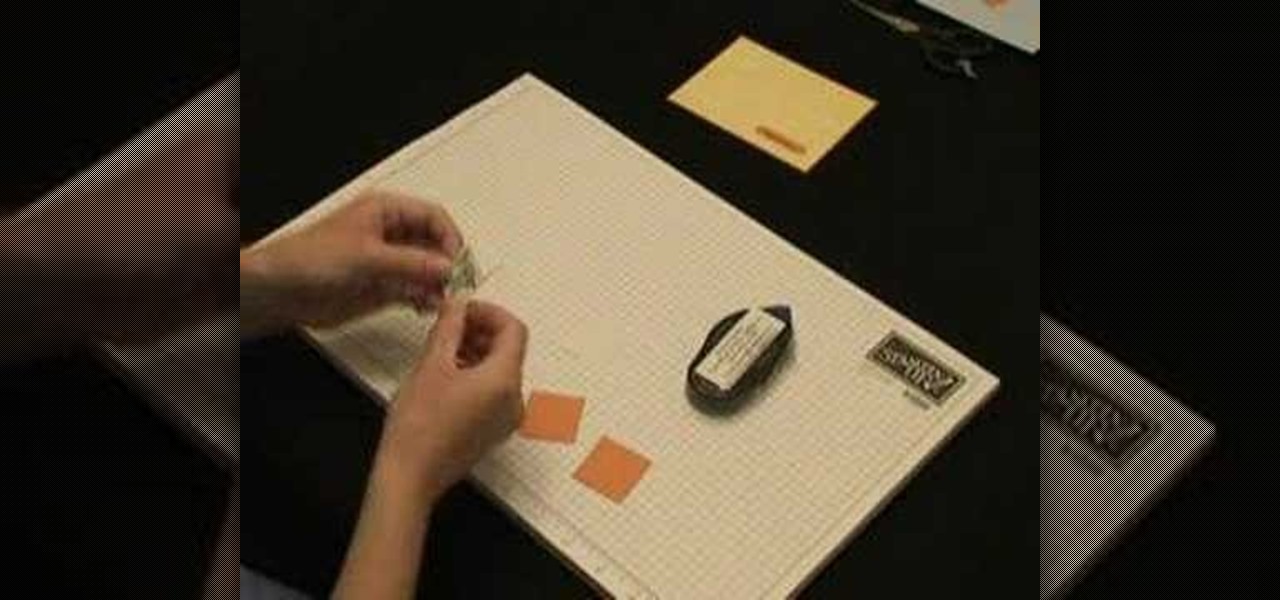
How To: Make a Happy Bird-day card
Is it your pet parakeet's birthday? Here are some tips and techniques on how to make a hand stamped birthday card using Stampin' Up!'s Pun Fun stamp set. You can make up your own puns, or alter this card to suit other pets and other holidays. Make greeting cards for all occasions with stamps and unique hole punches.

How To: Make kanzashi fabric flowers
Kanzashi are hair ornaments used in traditional Japanese hairstyles. One of the hairstyle's main features is the application of intricate little fabric flowers. With a step-by-step video tutiorial will you how to make your own cute kanzashi flowers. These can go on brooches, bags, hairpins, or serve as fridge magnets... oh, how kawaii! Make kanzashi fabric flowers.
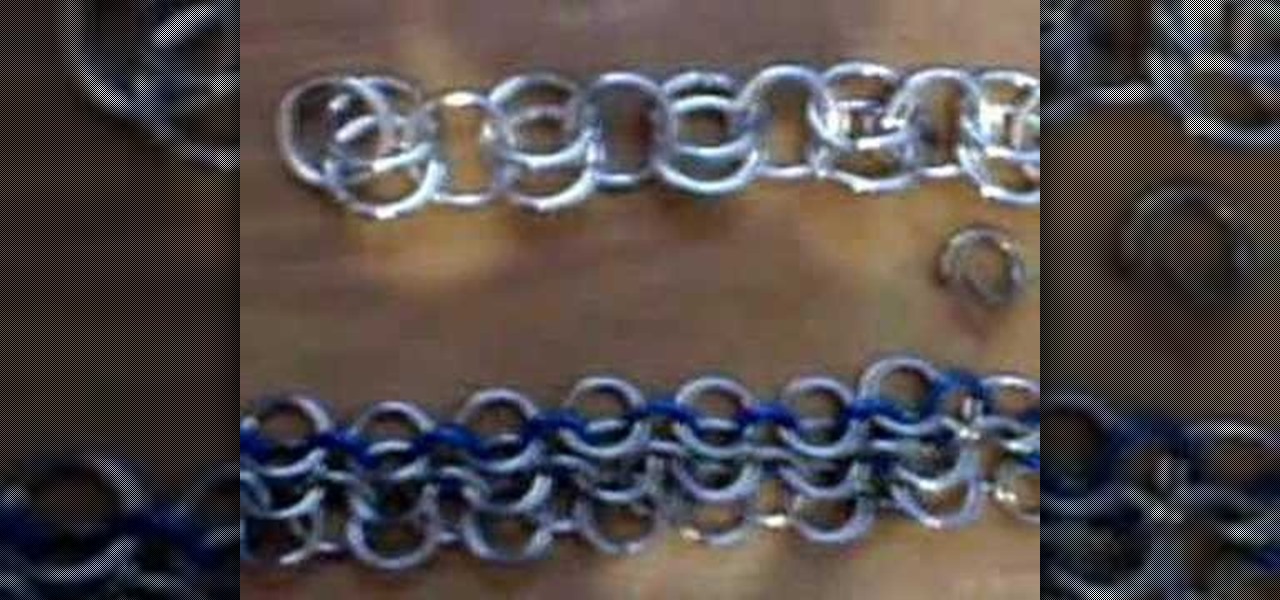
How To: Making European chainmail
Watch this instructional metalsmithing video to weave a European chainmail pattern. You can expand this pattern to make a costume for your local Renaissance festival. This is also known as the four in one chainmail pattern.
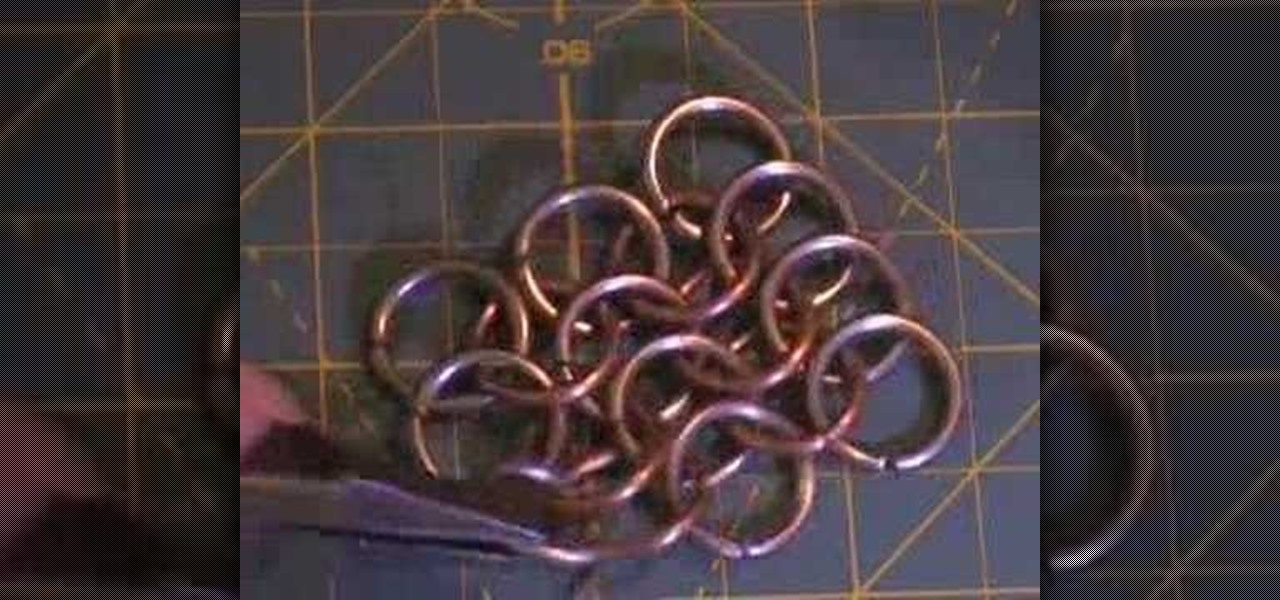
How To: Chainmail a 4 in 1 European pattern
It's as easy as 2,3,4,5,6,7...what happened to step 1? This is Chthonic chainmail at its finest. This instructional metalsmithing video will help you in making your very own chain mail vest using a four in one European chainmail pattern. After going through the basic process of chainmailing a four in one pattern, you can troubleshoot to see how you can improve your metal working process.
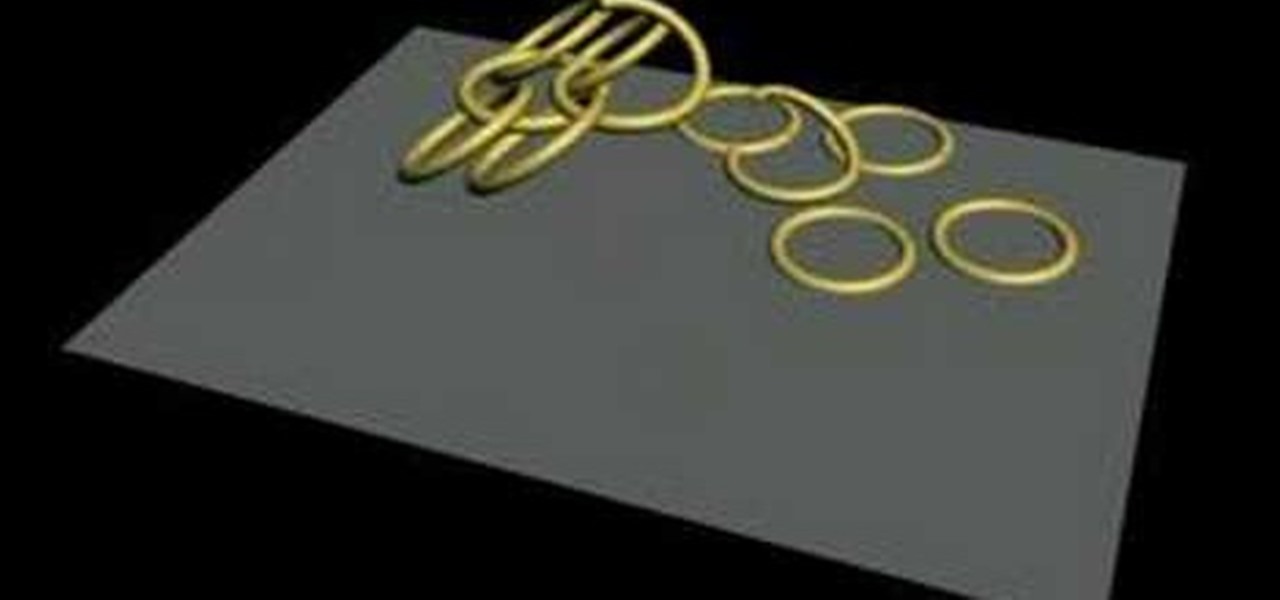
How To: Make European 4 in 1 chainmail
Watch this short 3d animation of rings forming into a chainmail pattern to learn how this chainmail pattern holds together. This four in one metalsmithing pattern seems complex at first, but after thinking it through once or twice, the linking pattern should come quite naturally.

How To: Weave chainmail with a fork
It is possible to weave chainmail with a plastic fork. This instructional metalsmithing video will show you how it's done. This chainmailing technique does work better with a metal fork, though. You still need a pair if needle nose pliers to close the rings and work at a reasonable pace. Do you think it is possible to weave chainmail with a fork an knife? Now that would be truly decadent.
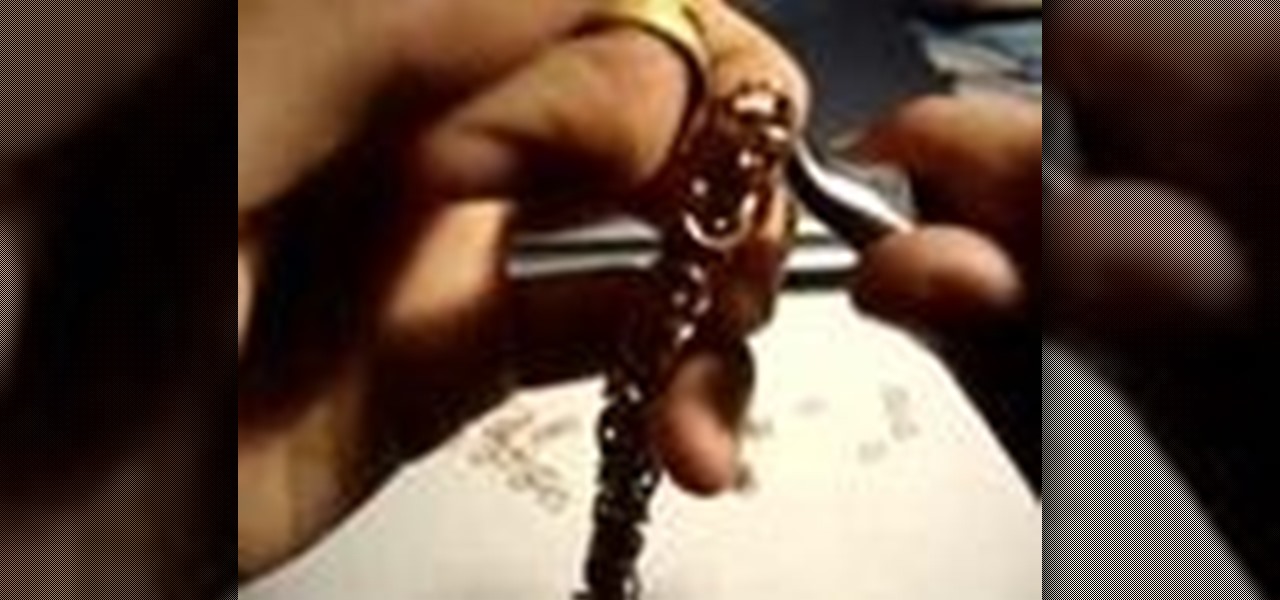
How To: Weave chainmail with a ring tool
This little ring is a frequently used chainmailing tool. The ring tool substitutes for a pair of pliers, and works for about eighty percent of chainmail patterns. Watch this metalsmithing video to see how the ring tool is used.
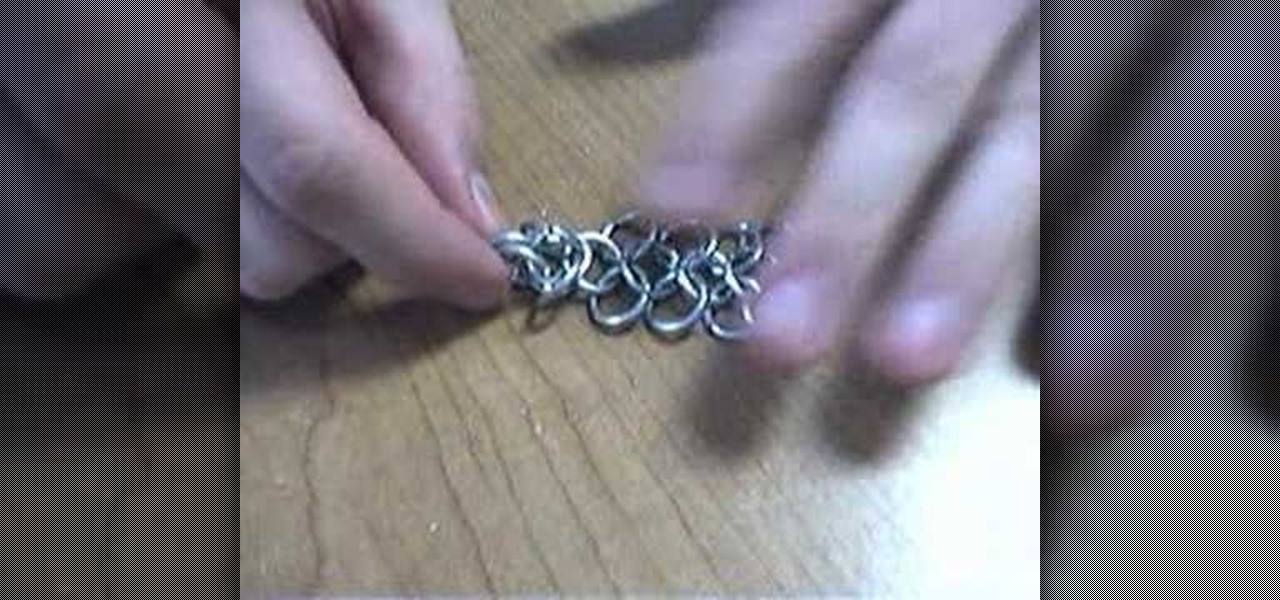
How To: Make a chainmail box pattern
Watch this instructional metalsmithing video to knit the chainmail box pattern. Use a quality set of pliers to knit this chainmail box pattern for complex chains. Use different widths of wire to make smaller or larger box patterns.
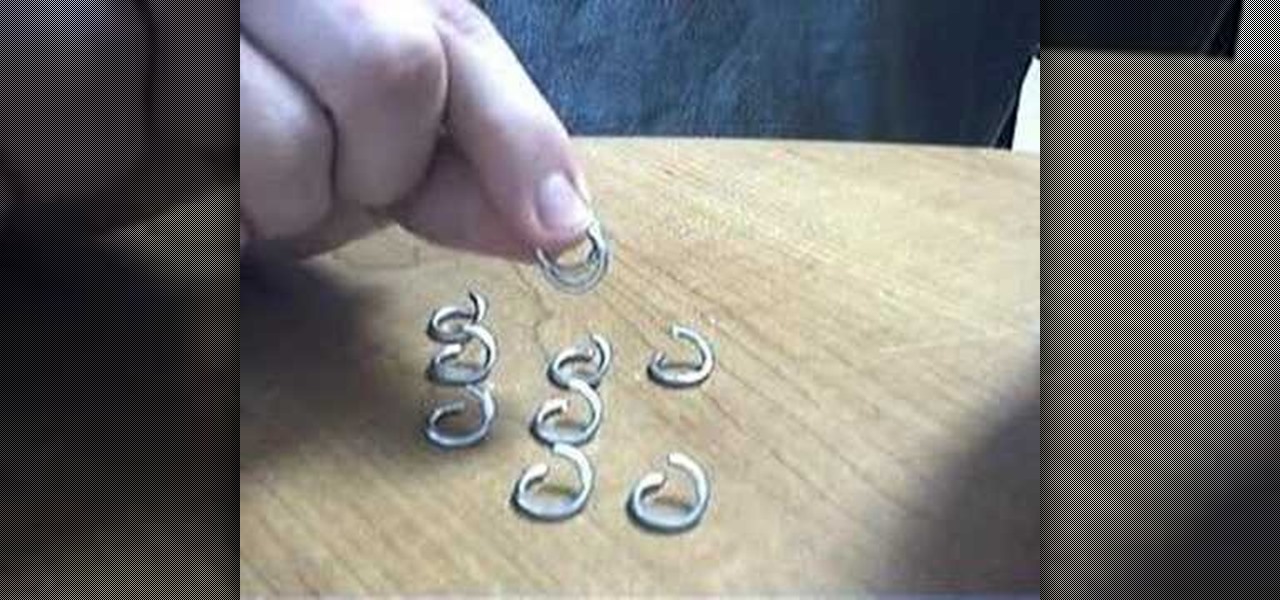
How To: Chainmail a spiral pattern
This instructional metalsmithing video demonstrates how to knit the spiraling chainmail pattern. This spiral pattern is useful for some chain link bracelets and necklace forms. Don't forget to use a quality set of pliers to save your hands some trying metal bending work.
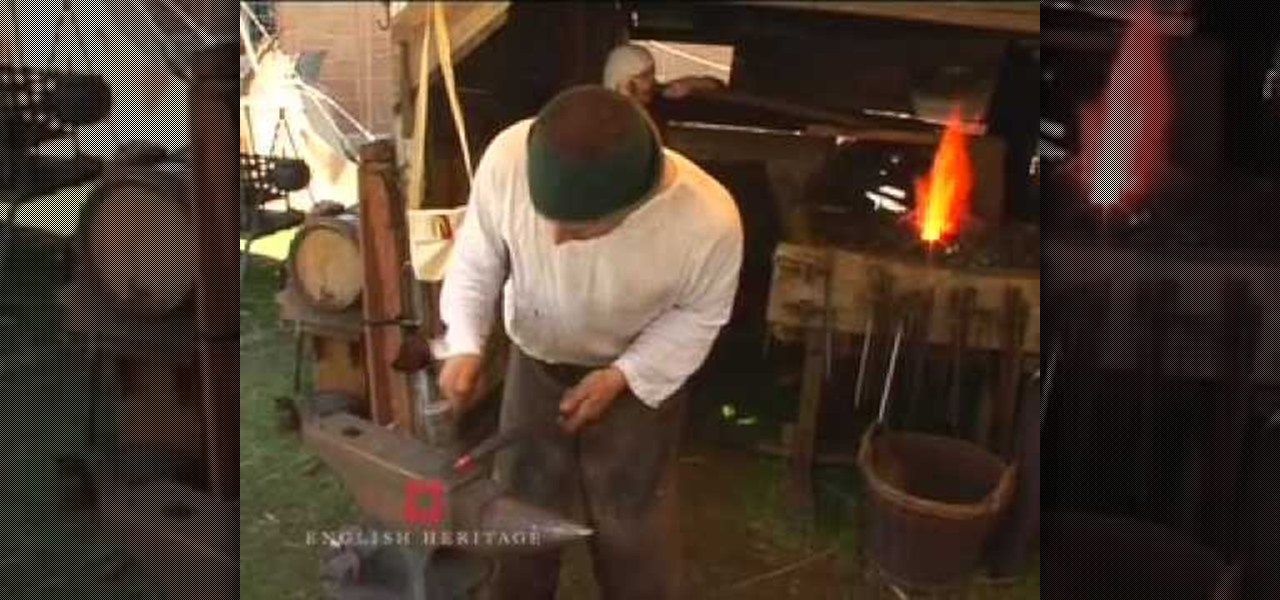
How To: Forge a medieval arrowhead, or long bodkin
Watch this video demonstration on how to forge a medieval arrowhead, or long bodkin, by Paul Selby at an English Heritage Living History event at Kenilworth Castle. This type of arrow head was commonly used during the War of the Roses. This arrow is a professional craft, but a blacksmith in training can also learn how to forge arrows like this. These long thin arrow tips are designed for penetrating chain mail.

How To: Make fabric-covered buttons
Watch this instructional sewing video to make fabric covered buttons. You will need a little kit to put the buttons together. Each kit usually comes with about five buttons. You will also need a fabric marker, some scissors and some special fabric.
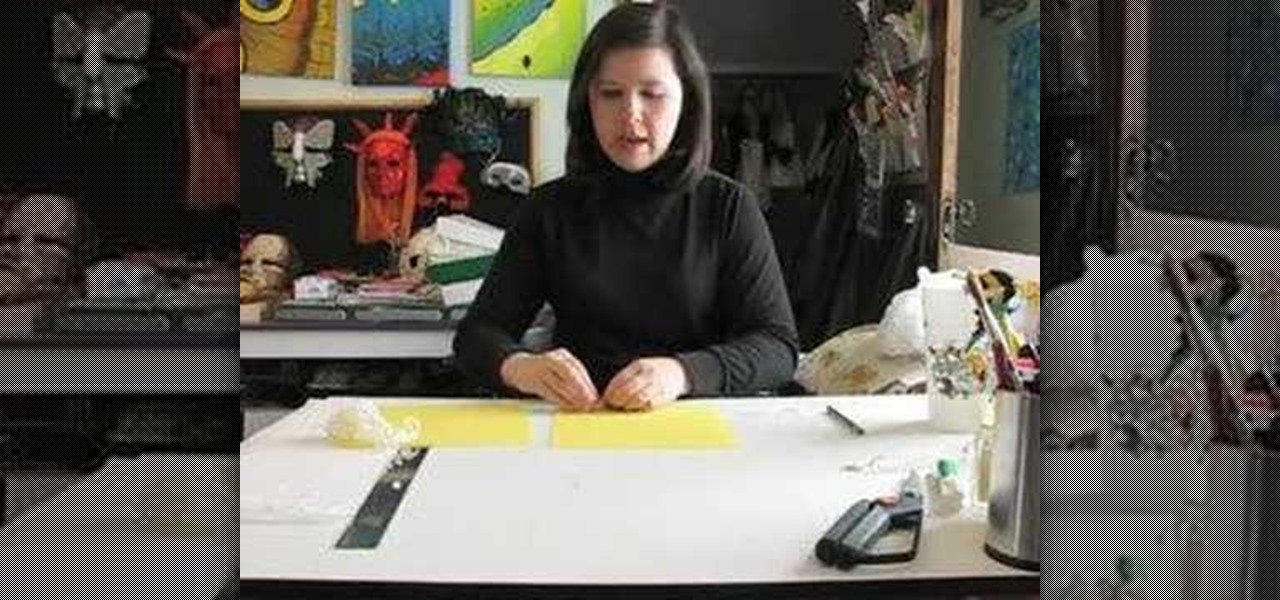
How To: Make rolled beeswax candles
Here are some simple steps for making your own candles out of rolled beeswax! You will need one sheet of bees wax, some candle wicking, a ruler, a craft knife, and a pair of decorative buttons. This how to video demonstrates how to craft candles from recycled material. These bees wax candles make great gifts.
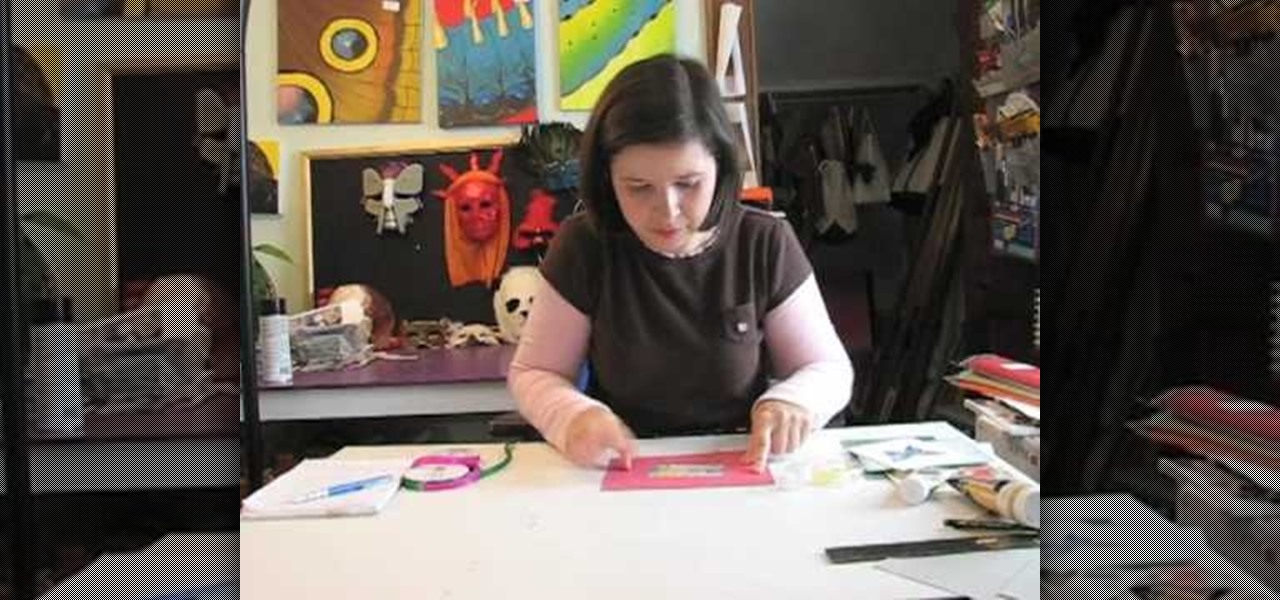
How To: Make framed artwork from greeting cards
Make framed artwork from old greeting cards! You will need a greeting card, paint, cardboard, double stick tape, ruler, a pencil, a craft knife and some ribbon. This video demonstrates how to craft artwork from recycled material. These pieces make great gifts.

How To: Craft a five stitch journal
Learn how to make books! It's easy to construct your own books to use as journals, scrapbooks, notebooks, or sketch books. This is a five stitch method of bookbinding. You will need two pieces of cardboard, writing paper, and old calendar, embroidery floss, a ruler, scissors, rubber bands, double stick tape, Mod Podge and a craft knife.
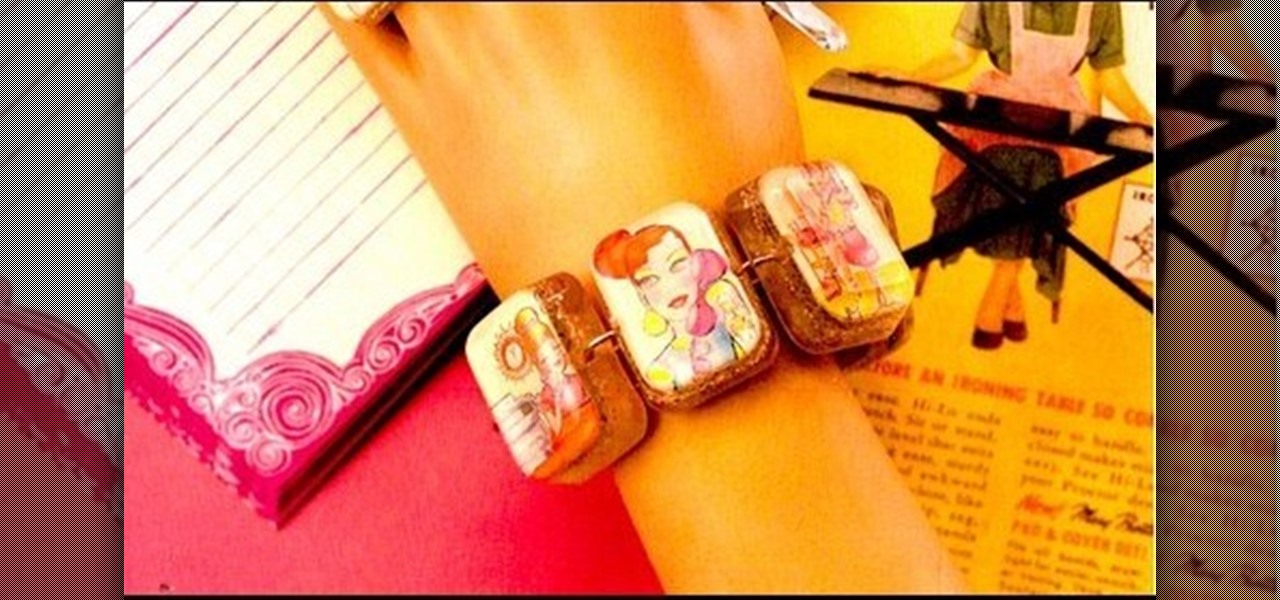
How To: Make a resin bracelet with Threadbanger
Make a resin bracelet with Threadbanger. Resin jewelry is easy and inexpensive to make. You may need to make a few stops at the local craft stores to gather all your resin making supplies. This resin bracelet is a unique piece of jewelry that you will enjoy making.
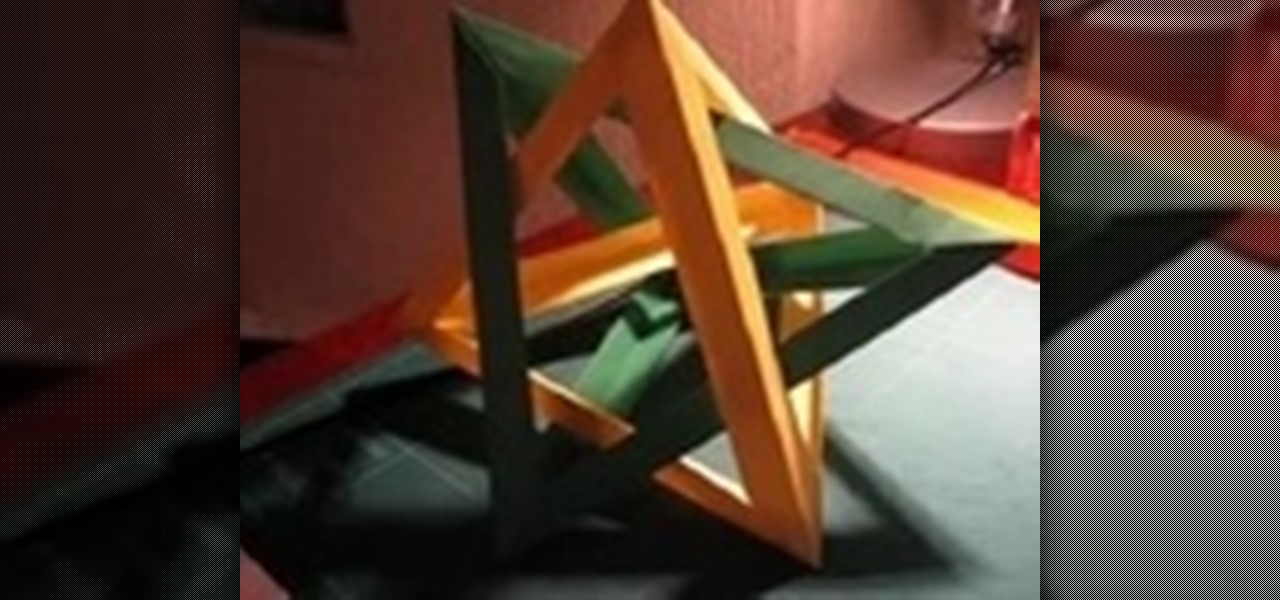
How To: Origami a complex star
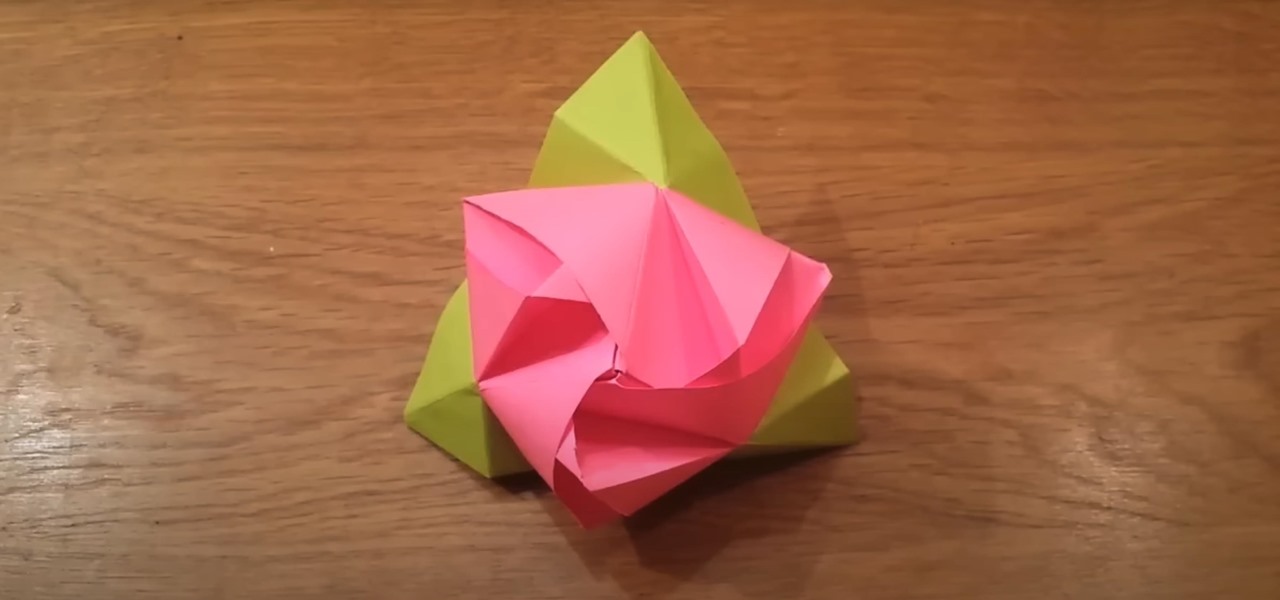
This instructional origami video will show you how to fold a complex origami star. You will need twenty pieces of scrap paper complete this origami project. When you are finished folding this difficult origami star, you can hang it above your bed to remind you of the cosmos.

How To: Origami an easy jumping frog
This step-by-step origami video will show you how to fold an origami jumping frog. You will need one piece of origami paper complete this origami project. This origami frog is an impressive paper craft construction. Don't let your frog jump away! Origami an easy jumping frog.

How To: Origami a paper crane from animated instruction
This animated origami video will show you how to fold an origami paper crane. You will need one piece of origami paper complete this origami project. The origami crane, or tsuru in Japanese, is a symbol of good luck and longevity. Origami a paper crane from animated instruction.
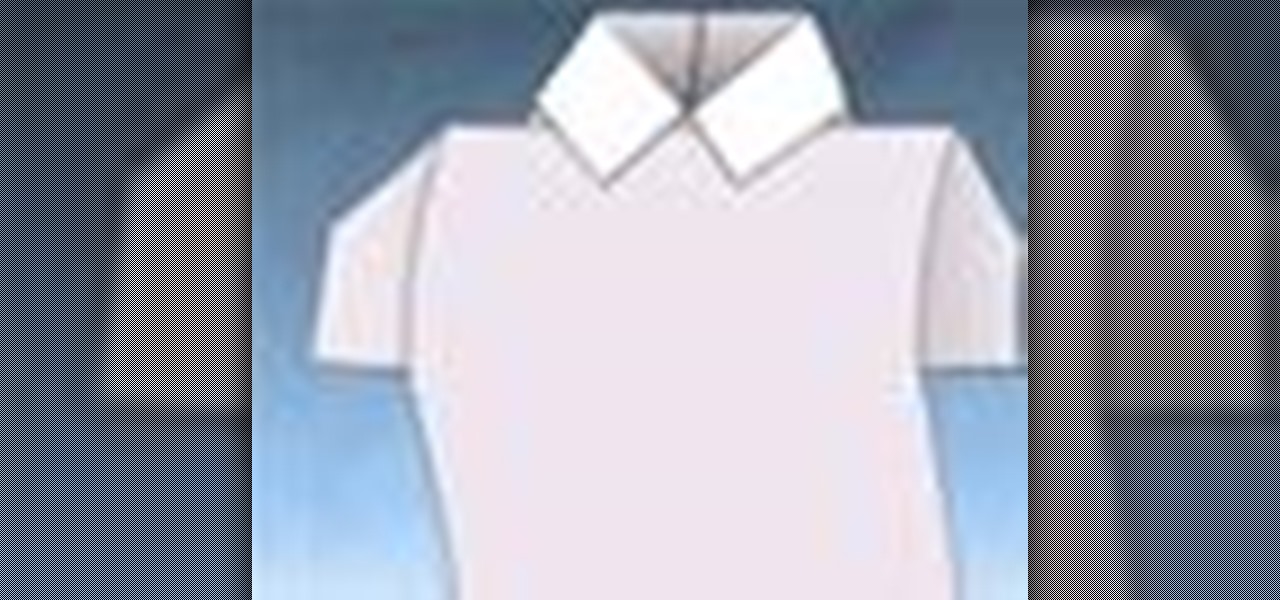
How To: Origami a sports jersey
This animated origami video will show you how to fold an origami shirt. You will need one piece of origami paper complete this origami project. This origami shirt is easy to fold. Decorate the jersey with emblems from your favorite sports team. Origami a sports jersey.


