Active Arts & Crafts Posts


How To: Quilt a wide binding
Watch this instructional quilting video to sew a wide binding on your quilt. A 3" binding is recommended when you're learning to use these tools but after that you can create wider & narrower bindings. Here's info for wider bindings.

How To: Adjust your zip bind tool
Watch this instructional quilting video to adjust the "Zip Bind Tool" by a small amount. The zip bind tool allows you to sew straight binding on your quilt without using a lot of measurements and pinning. Adjust the Zip Bind Tool 'a hair, a smidge, a scant, a skosh, a wee bit' for stitching in the ditch.
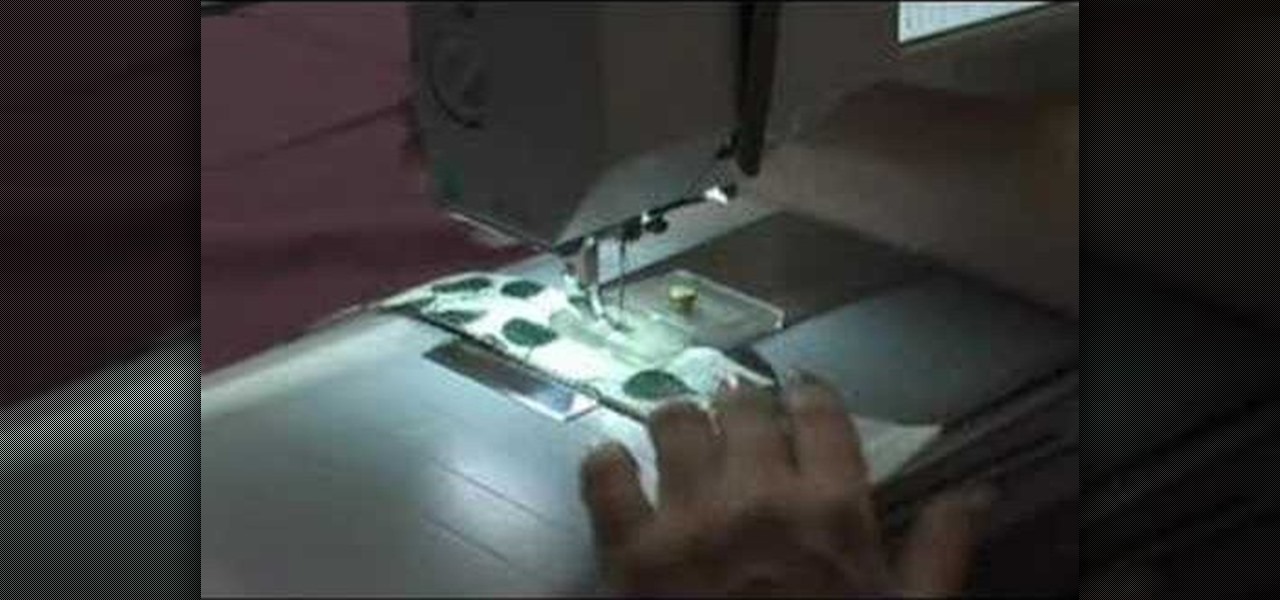
How To: Quilt quarter inch piecing
Watch this instructional quilting video to sew quarter inch piecing on your quilt. Use "Martelli's Stitch in the Ditch Binding Foot" as a 1/4 inch piecing foot. This allows you to sew straight lines on several layers of quilted fabric.

How To: Quilt a narrow binding
Watch this instructional quilting video to sew a narrow binding on your quilt. The "Zip Bind Tool" and the "Stitch in the Ditch Binding Foot" help with sewing narrow bindings. It important to know how to use the zip bind tool properly before beginning this quilting project.

How To: Quilt with different binding widths
Watch this instructional quilting video to quilt different widths of binding. It's recommended that you start with three inches of binding. You can use three zip bind tools to complete this quilting tutorial. You should leave at least a 3/8 inch of extra fabric for seam allowance on quilt binding.

How To: Use a zip bind tool for a quilt
Use these tips to learn how to adjust the "Zip Bind Tool" for your binding width. The zip bind tool will allow you to keep perfectly even bindings from start to finish without using a ruler or doing a lot of measuring. Sewing a neat binding can be one of the most difficult challenges in beginning quilting. Here are two tips for using your zip bind tool correctly.

How To: Avoid square backings on a quilt
Watch this video tutorial to learn how to bypass the cumbersome process of making squaring backings for your quilts. This is an attempt to show you how and why you may never want to make a perfect square backing for your longarm sewing machine again.
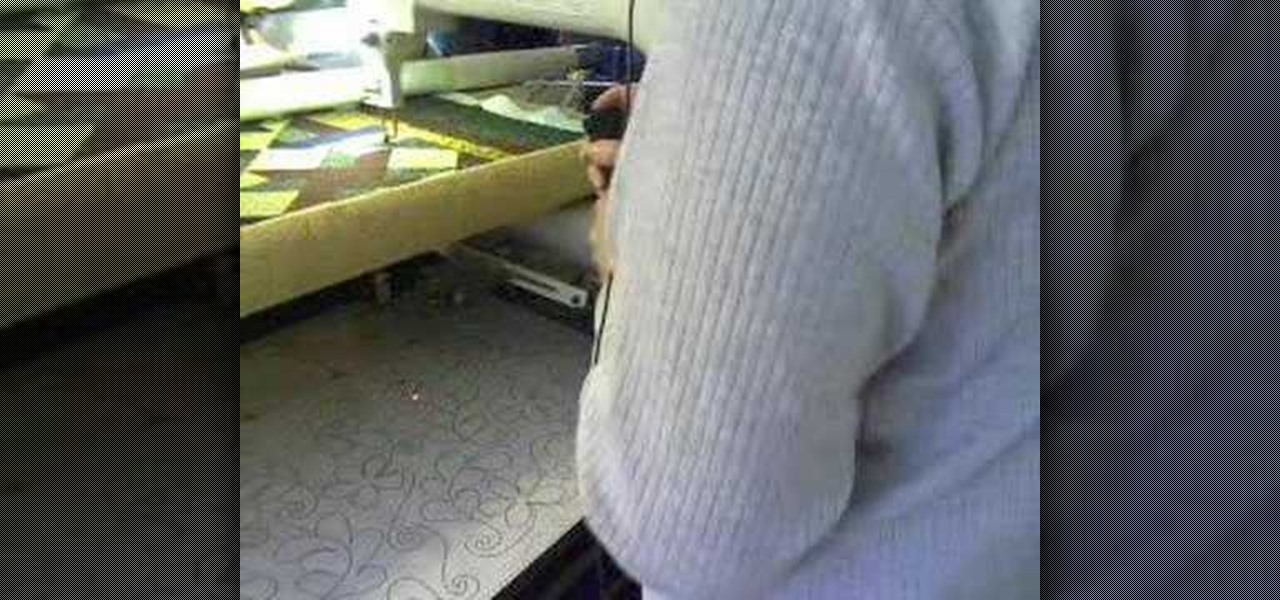
How To: Stitch pantographs with a longarm sewing machine
Watch this instructional quilting video to quilt a pantograph pattern with a longarm sewing machine. A pantograph is a mechanical linkage connected in a special manner so that the movement of one specified point is an amplified version of the movement of another point. If a a line drawing is traced by the first point, an enlarged copy will be drawn by a pen fixed to the other. Take note of the proper way to stand and move one's body when stitching out pantographs. It's best not to move one's ...

How To: Quilt a tendril or "C" background fill on a longarm
Watch this instructional quilting video to quilt a tendril or "C" background fill with a longarm sewing machine. This pattern is a simple and convenient way to create an elegant background fill on many kinds of quilts. It helps to draw the tendril pattern with pen before trying it with the longarm sewing machine. Customers love it.
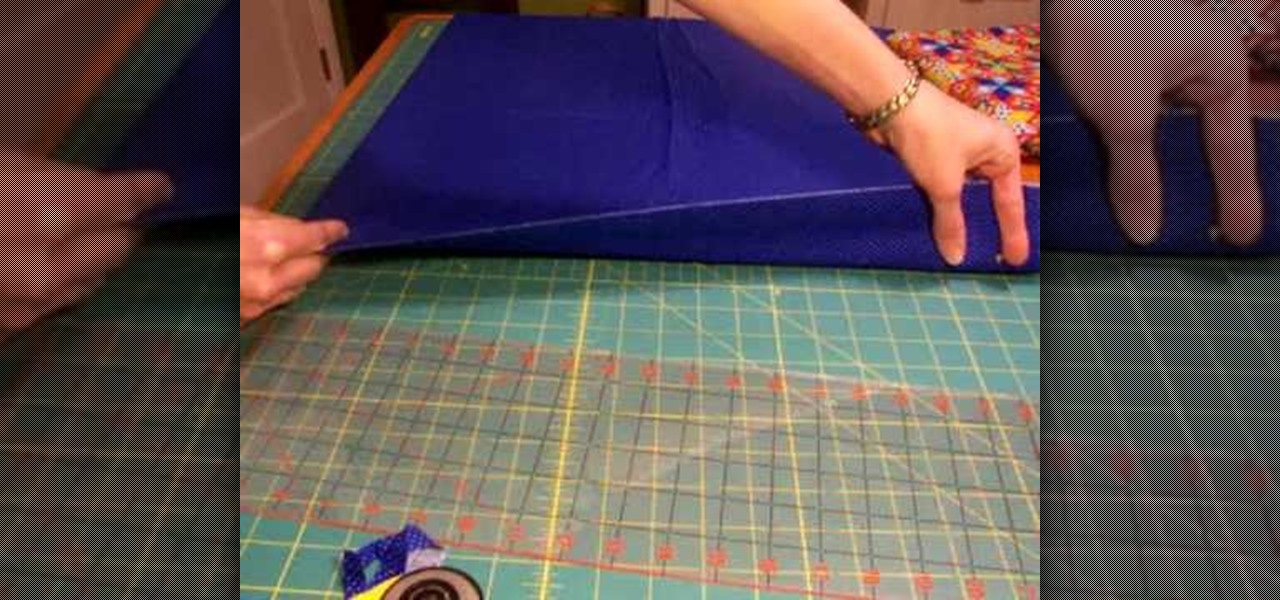
How To: Use a rotary cutter to cut strips for quilting
This instructional quilting video is perfect for those who have never used a rotary cutter. There are two main types of rotary cutters to choose from. You will also need a clear plastic cutting mat and a self healing mat on which to rest the fabric. The clear plastic guide and the mat below allow you to make straight, geometric slices of fabric.

How To: Quilt flying geese blocks
This video tutorial demonstrates how to make flying geese units using the "Quilt-in-a-day Flying Geese" ruler. These visual guidelines make it easy to sew a traditional quilting pattern. Using this quilting ruler, you can make four flying geese every time you align a 7 1/2 inch square with a 9 inch square.

How To: Quilt traditional half square triangles
This is a detailed explanation of the traditional method for making HST blocks, including the 7/8" formula. Half square triangles are simple design, but take some calculating to make precise.

How To: Sew quilting squares
Here is an easy way to make several small half and quarter triangle quilting squares. If you sew a small pillow pattern composed of larger half triangle designs, you can bisect the pillow diagonally in both directions to make four smaller quilting squares.
How To: Quilt with perfect seam allowance
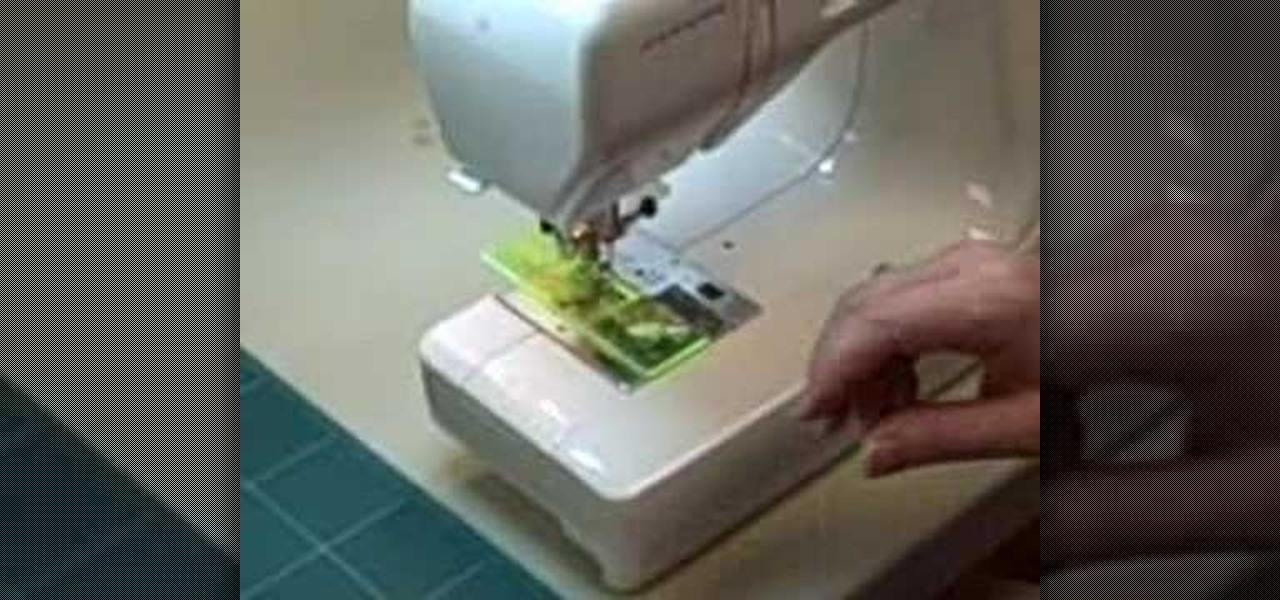
Here is a tutorial on getting a perfect 1/4" seam allowance for quilt piecing. The sewing machine foot will sometimes have a groove to allow you to make a perfect quarter inch seam automatically. If you don't have one of these, there are a few ways to make your own quarter inch seam guide.

How To: Make quilting spools
Watch this instructional quilting video to chain stitch triangles of fabric together. as long as you remember to keep putting the same color of fabric on top as you connect your triangles, you'll be able to form a spool, or wheel pattern when you piece together your quilting square. This is a video clue in a quilt mystery.
How To: Origami a lily to put on origami stems
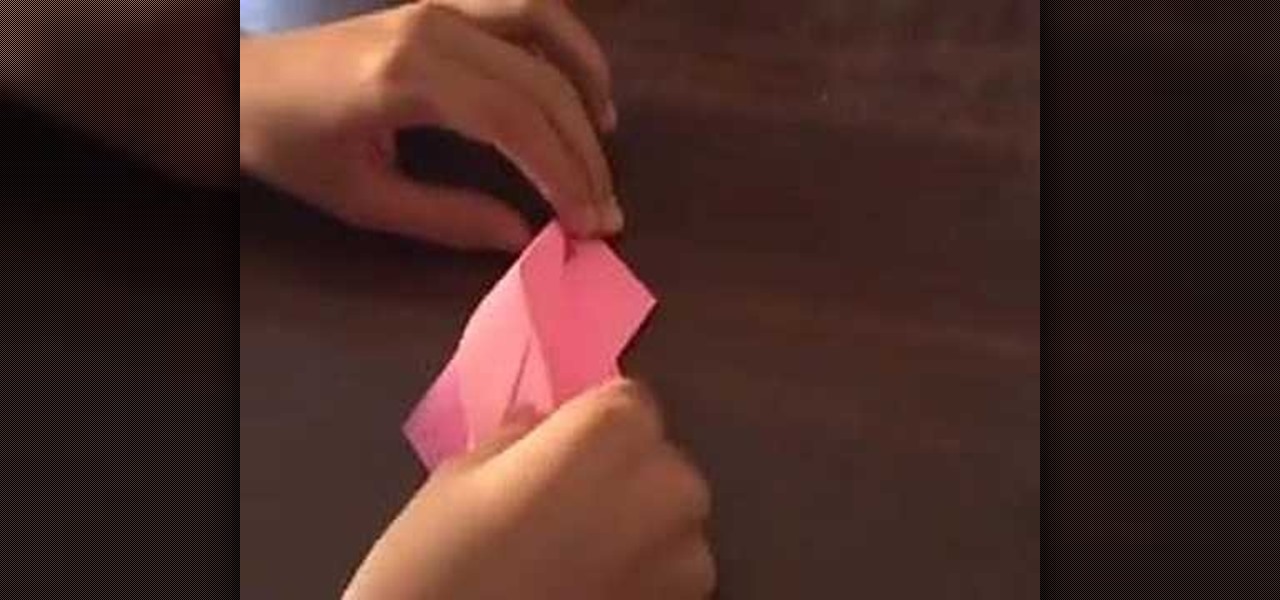
This origami lily fits perfectly atop several models of origami stems. The origami lily is a fairly complex origami endeavor, but these visual guidelines will allow you to complete come of the more difficult folds. Watch this video origami tutorial and learn how to use the Japanese art of paper folding to make a paper lily.

How To: Bend a single jewelry loop for earrings or necklaces
This video jewelry-making tutorial shows a quick and easy way to wrap the end of a pin or wire into a loop. Used this technique to make pendants, earrings, or bracelet ends. Watch this instructional video, learn how to bend a jewelry loop.
How To: Add a flange accent to your quilt
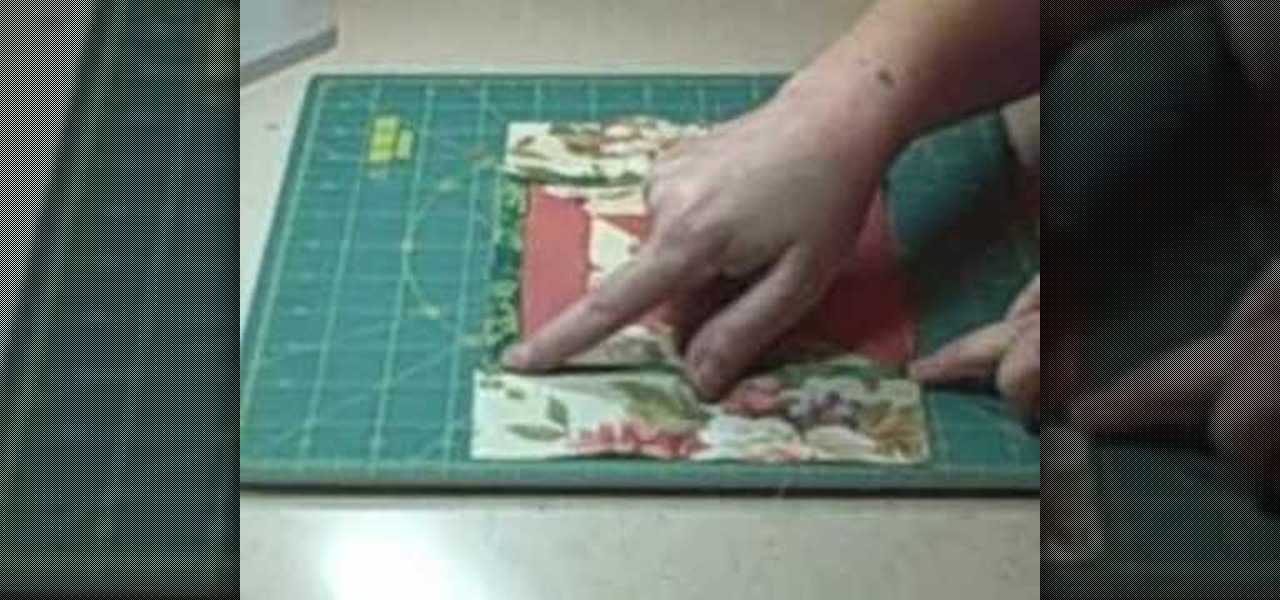
A quick tip on adding a flange accent to piece your quilt. A flange is a one inch strip of fabric that you fold in half and fit into the border to add a delicate accent to your quilt. This layout provides the groundwork for sewing flanges into a quilt.

How To: Quilt perfect borders
This video gives tips on how to add a border to a quilt so that it lays flat. The quilt block in the video is standing in for a full size quilt top to make it easier to see. Sewing borders on your quilt is one of the more difficult processes that go into sewing a traditional quilt.
How To: Quilt squares together to make your own design
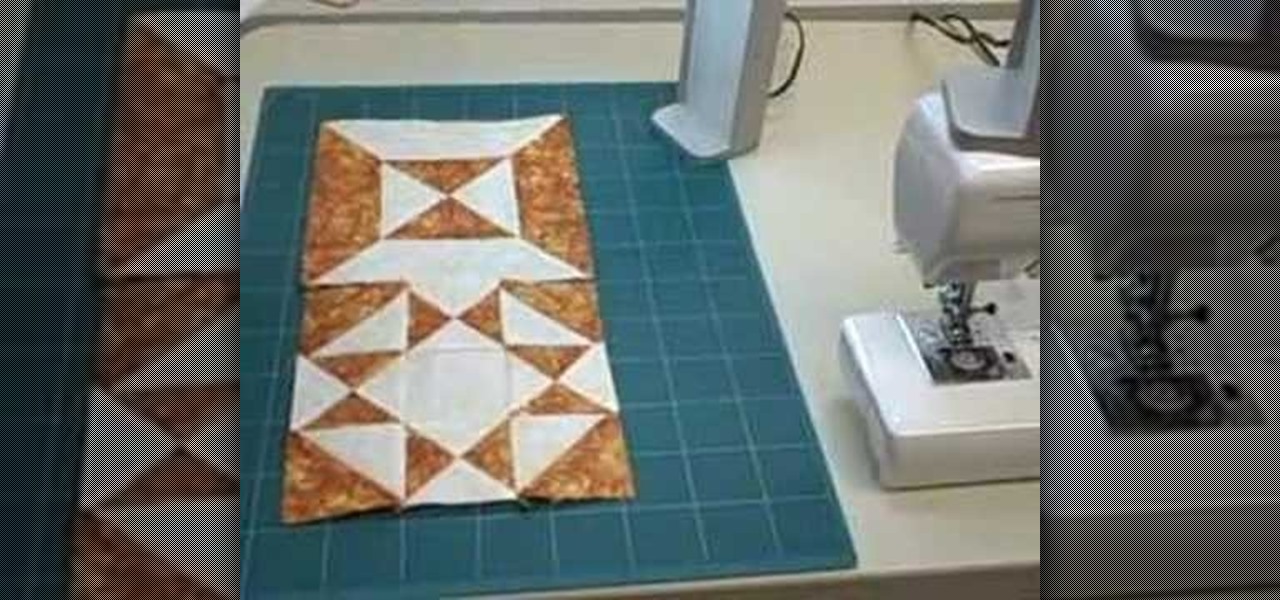
Here's how to play with blocks to make interesting designs with your quilts. One of the most enjoyable parts of quilting is arranging individual blocks to make improvised designs. Try designing some smaller block patterns and sewing them together in an unexpected pattern.
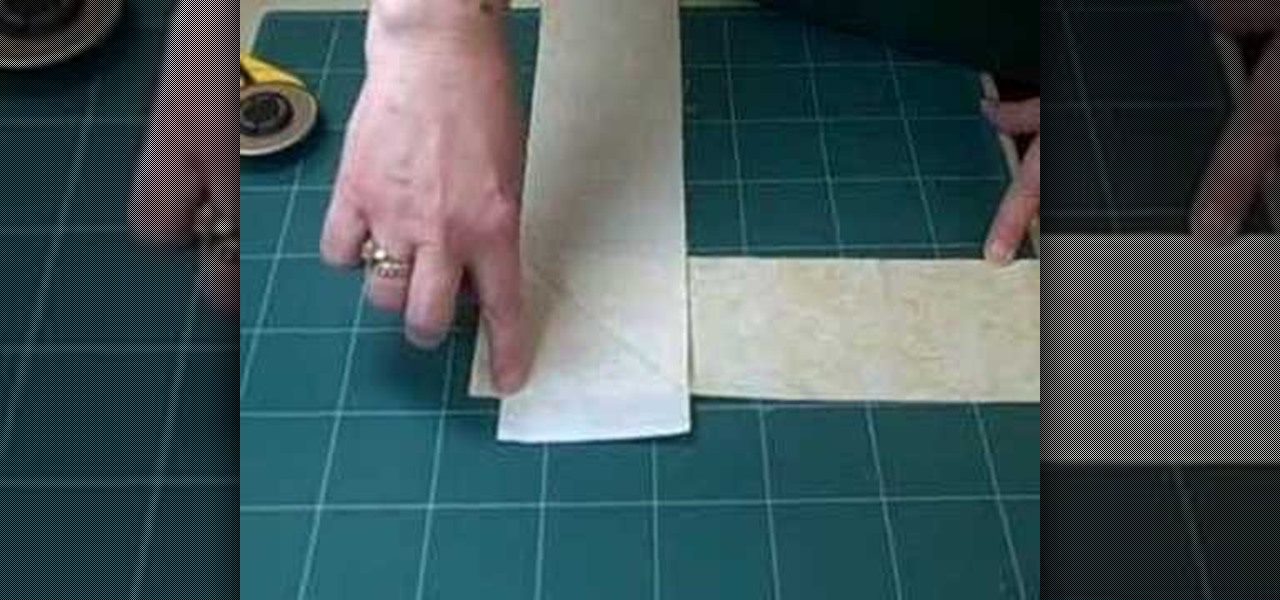
How To: Miter a seam
This is how to miter sew two strips of fabric together for an almost invisible seam. This short instructional video shows how to keep your sewing table neat, and your miter seams precise. Don't forget to iron the seam flat before moving on to make sure your design looks right.

How To: Set a seam
This is a dressmaker's tip called setting the seam, which helps you make crisp seams when sewing strips of fabric into sets. It help to dampen and iron a seam before moving onto the next sewing step. This helps your fabrics stay neat and regular.
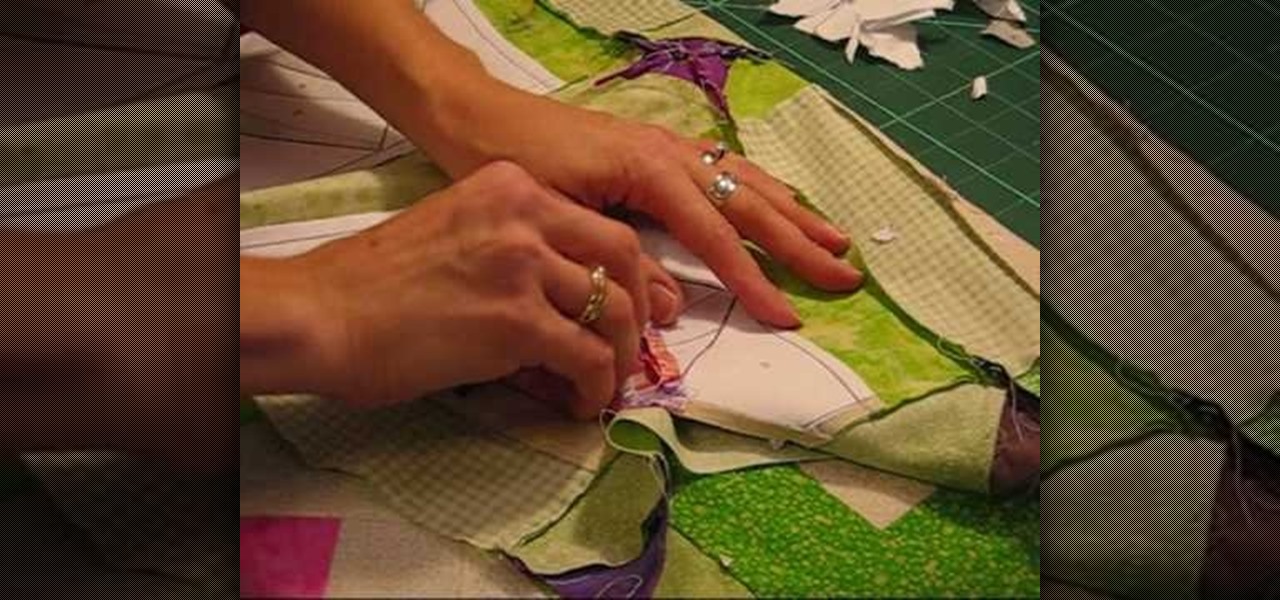
How To: Remove the paper from a paper piece quilt
This tutorial demonstrates how to remove the paper from the back of a paper (foundation) pieced quilt block. Paper piecing is a type of sewing that involves quilting onto a paper base. It is possible to remove the paper after completing the quilt.
How To: Paper piece at triple speed
Watch this high speed instructional video to experience the art of paper piecing. Paper piecing is essentially quilting with scraps of fabric and paper. This video tutorial demonstrates paper piecing from a pattern. Design your own patterns and enjoy this crafty combination of quilting, sculpture and collage.
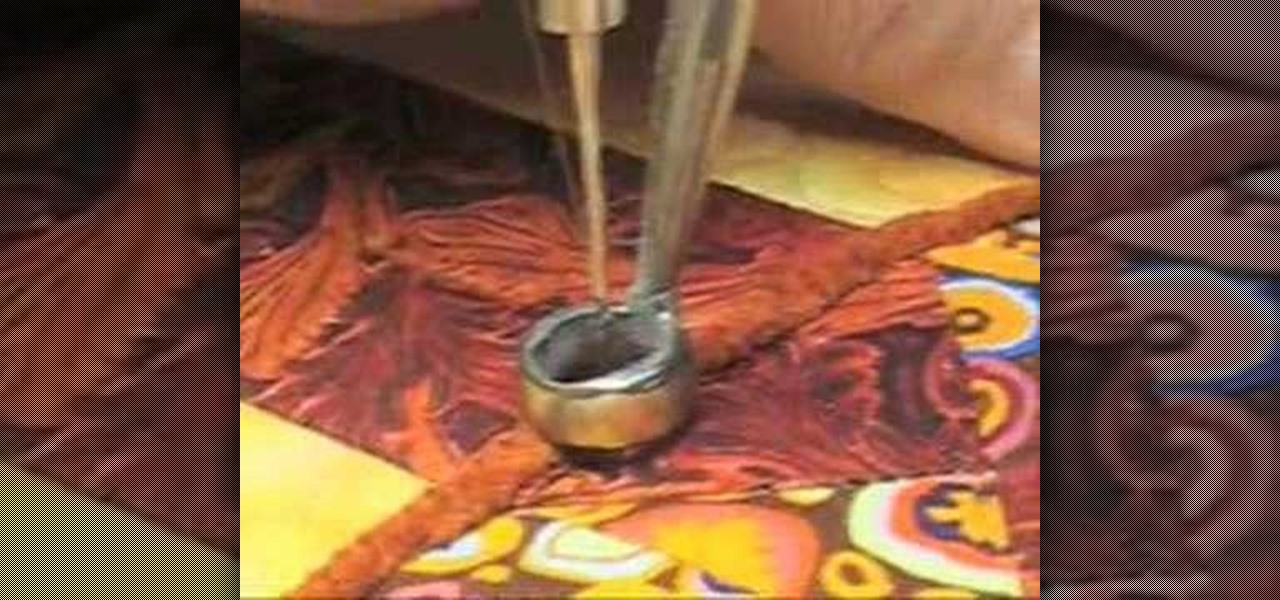
How To: Begin couching with a longarm quilting machine
Learn how to use the couching technique to create depth and dimension to your quilts. Add borders and trim to intricate quilted patterns. You'll need a large eye needle and various couching material, such as yarn, ribbon and scraps of fabric. Couching adds texture and finish to quilted fabrics.
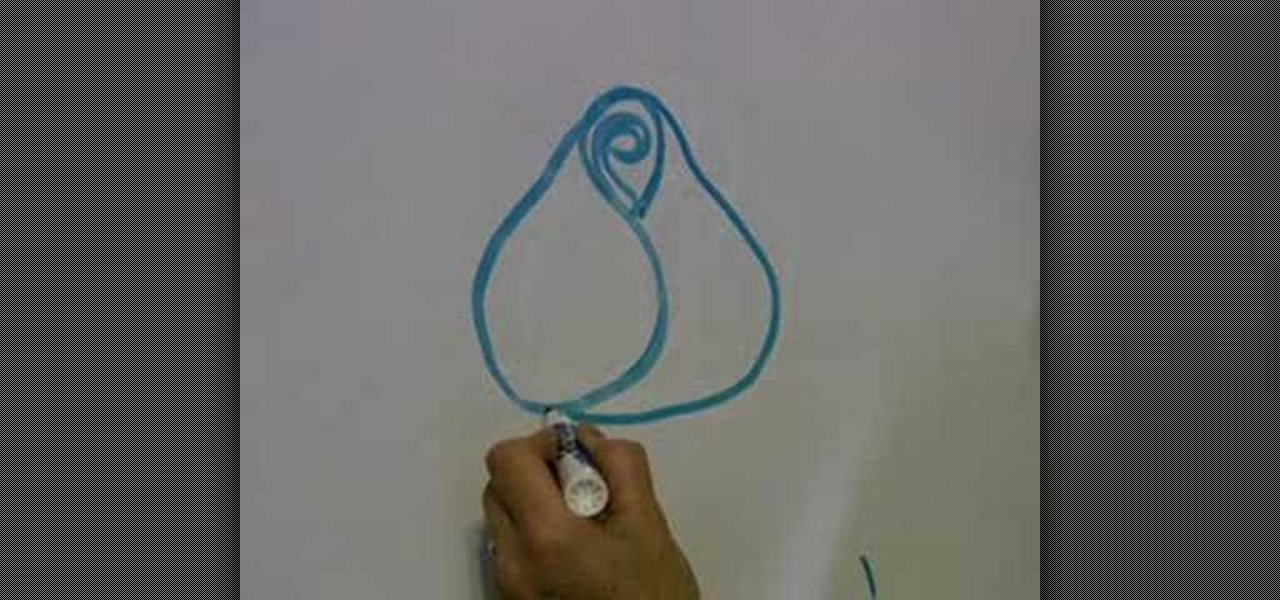
How To: Quilt a rosebud pattern
Use your longarm or sewing machine to quilt pretty rosebuds. These detailed instructions show how you can draw rosebud patterns on quilting fabric. It helps to draw out the pattern several times with a pen before you begin quilting with a sewing machine.
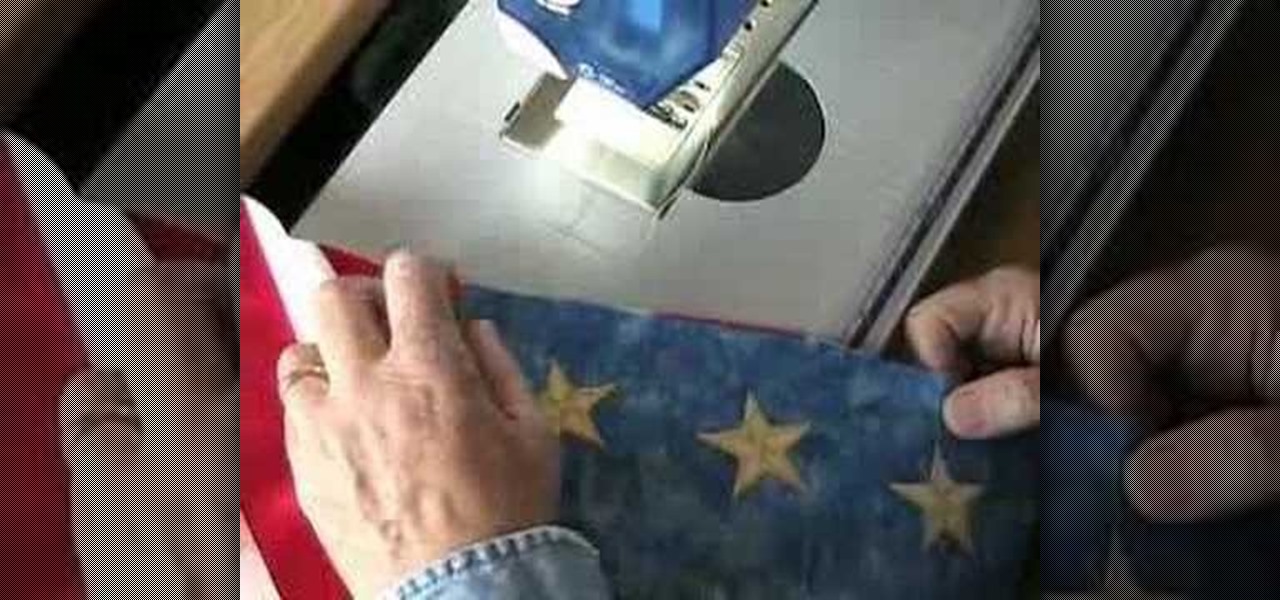
How To: Quilt an American flag table runner
Here an instructional video to go along with the free American flag quilted table runner pattern on MoonlightQuilts.com. Follow these step by step instructions to piece together this patriotic table runner. Quilting can be easy if you can borrow a few tricks of the trade.

How To: Origami a jumping frog with inflatable body
This video shows you how to make an origami jumping frog whose body can be inflated. You will need one piece of origami paper to complete this project. Follow these simple instructions to fold your own cute jumping frog.
How To: Origami a bookcase
Follow these step-by-step instructions to fold an easy origami bookcase. You need one large piece of origami paper to complete this project. The visual guidelines are accompanied by written instructions. You can use this origami bookcase to store to store origami books.

How To: Make a palm cross for Palm Sunday
Let's face it: Church is one of the most boring activities a kid attends during the week, so try to make the drudgery at least bearable by getting your kids to do some hands-on religious crafts. This video teaches you how to weave a palm cross out of palm leaves. You must soak the leaves in water overnight, then tear them into 1/2 inch X 18 inch strips for easy, pliable weaving the next day.

How To: Crochet a left hand ripple double crochet
This is a tutorial on how to crochet a left handed double ripple crochet. You may want to look at the written instructions in addition to watching this crochet video to complete the ripple stitch. You can find written instructions at http://crochet-mania.blogspot.com/200.

How To: Crochet a baby dress with Solomon's knot
This is a tutorial on how to crochet a baby dress using Solomon's knot. You may want to look at the written instructions in addition to watching this instructional video. You'll want to use a smaller hook for this crochet project. You can find the baby dress Written instructions at http://crochet-mania.blogspot.com/200.
How To: Crochet a small buttonhole
Watch this instructional crochet video to crochet a small button hole. The visual guidelines are accompanied with written instructions. In this delicate piece of work, it helps to test out the buttonhole to avoid backtracking. You can sew the button on to your crochet work with a regular sewing needle and a piece of yarn.

How To: Crochet a crescent moon
Watch this instructional video to crochet a crescent moon. These visual guidelines will walk you through each step in creating this crochet ornament. This is a small crochet project, but the crescent moon may take a few tries to master.

How To: Crochet a pen holder
This is a tutorial on how to crochet a pen holder. This is a project that beginners should be able to follow. You will need a tin can, two colors of yarn, and a crochet needle. Follow the visual guidelines, accompanied by written instructions.This method works with all kinds of pen holders, baskets and containers. Have fun crocheting your own variations.
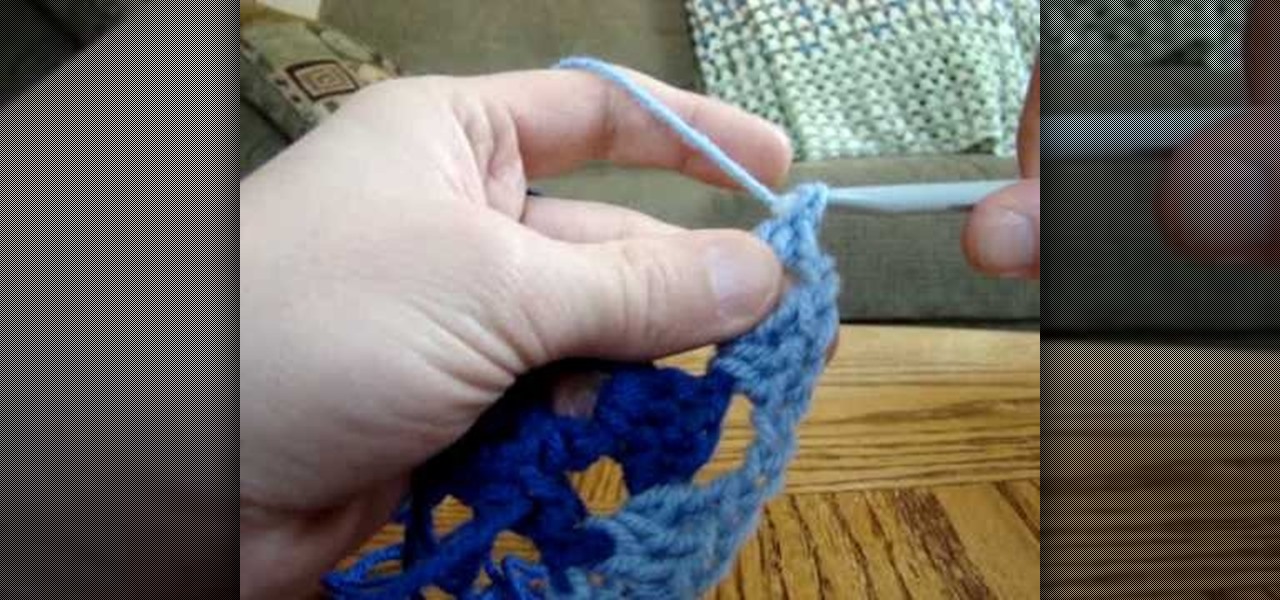
How To: Crochet a granny square color change
Watch this instructional crochet video to crochet a color change within a granny square pattern. These visuals make crocheting easy to understand. The granny square is more complex than the open work stitch, but once you can crochet around a corner and switch colors within a pattern, all of your projects can take on a new complexity.
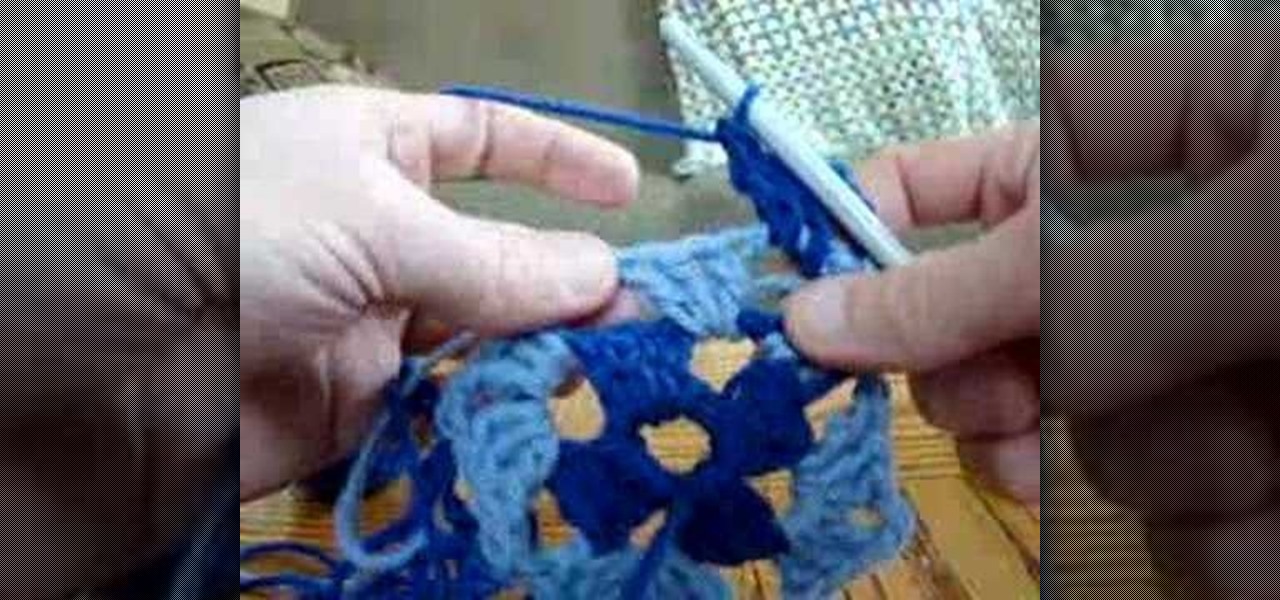
How To: Crochet the ends of a granny square
Watch this instructional crochet video to finish off the basics of a granny square. Once mastered, this process moves fairly quickly. A granny square blanket is popular because this crochet method is both engaging and fast paced. Once you can crochet around a corner, many of your projects can take on a new decorative complexity.
How To: Crochet a cross stitching
Watch this instructional crochet video to witness the basics of cross stitching. This is a slow process, but the cross stich creates a much more three dimensional pattern that appears on both sides of the blanket. This example uses two colors to point out the crochet steps. After completing one row, turn the piece over and begin again.

How To: Crochet simple open work stitches
Open work makes a project go really fast. You might not be the warmest on a cold winter night, but it still looks nice. An open work stitch is basically a three to two configuration. This is the perfect beginner's project. These crochet blankets will keep you warm but won't stifle you.
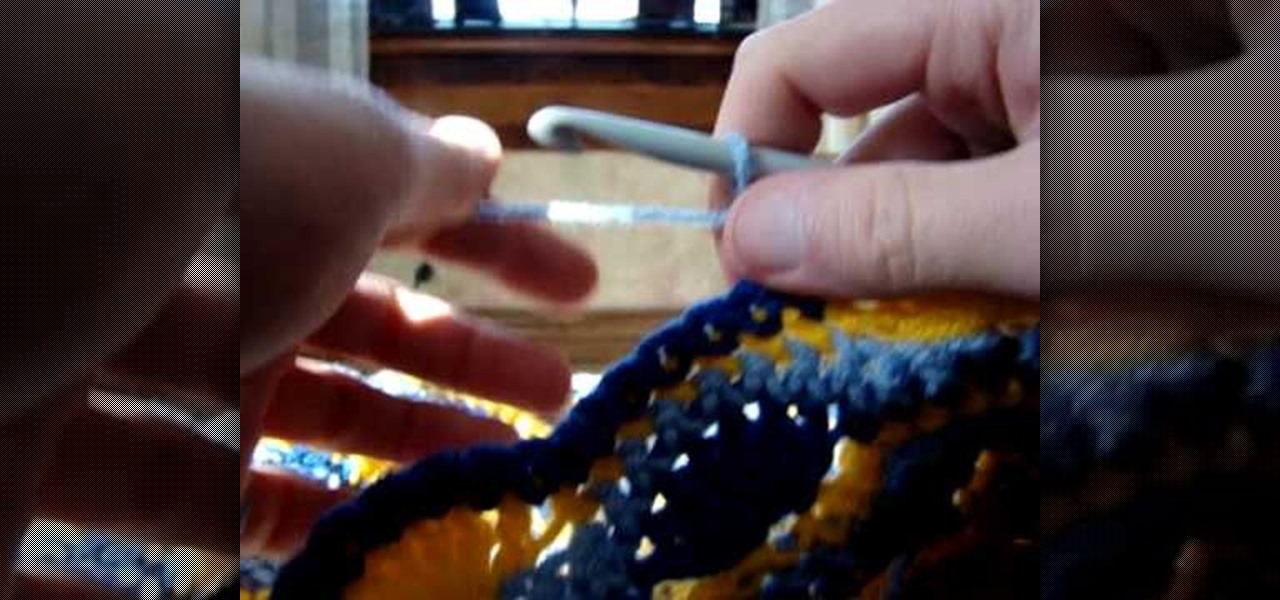
How To: Crochet patterns
Changing patterns is easy once you get the simple basic stitch idea in your mind. With consistency, you can complete a large blanket without trouble. Watch this instructional crochet video for some advice on how to count out stitches with a complex crochet pattern.


