

Active Arts & Crafts Posts


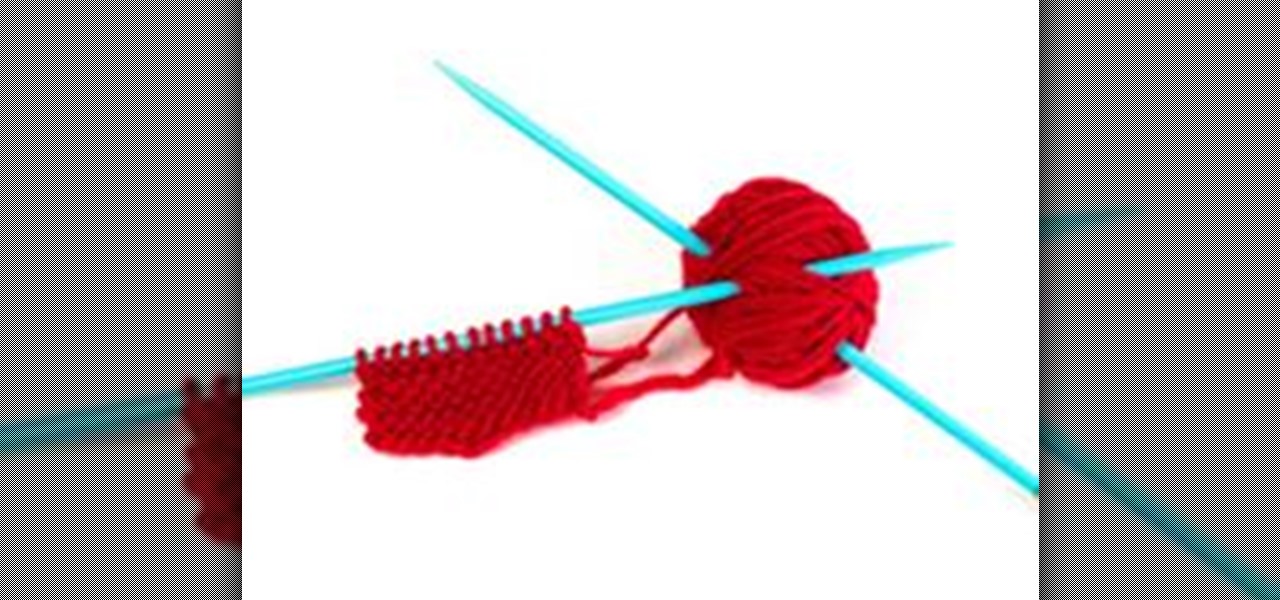
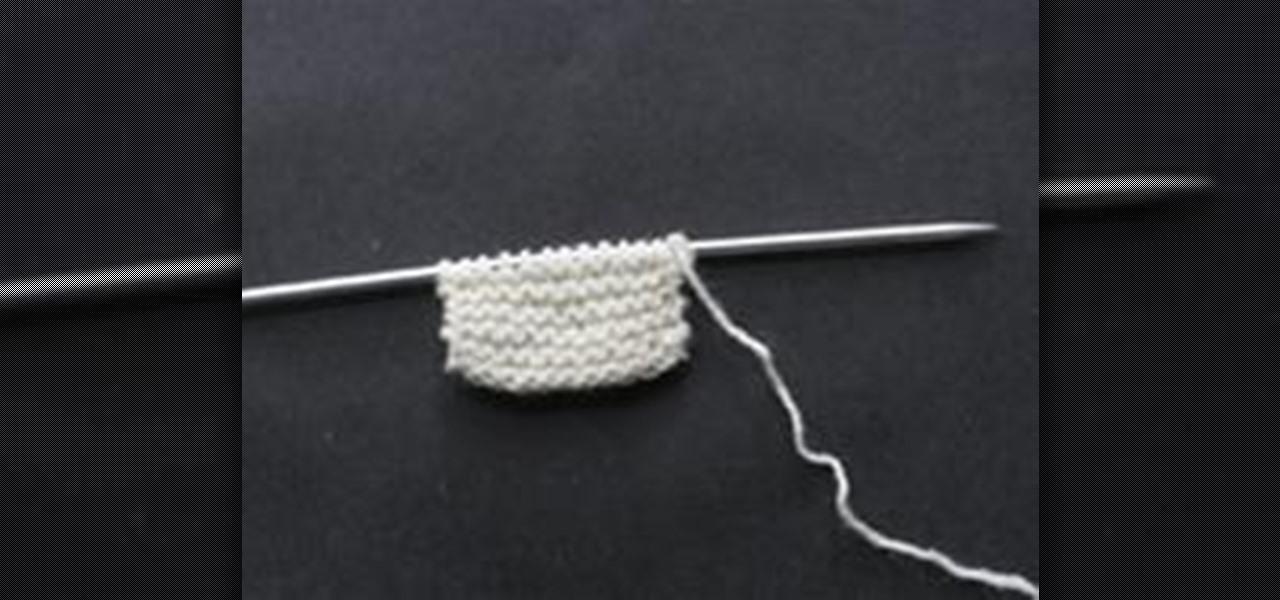
How To: Purl in the Back of the Stitch
Normally when you PURL you insert the needle into the FRONT of the stitch. Purling in the BACK of the stitch twists it and makes it tighter. There will be times when you will want to do this. When you do here's how:

How To: Make an incredible chocolate filled bouquet for your mother
Make your mom a special bouquet that she will always remember, using these beautiful origami lilies and her favorite chocolates. This video will show you how to put together this wonderfully thoughtful gift, perfect for your beloved mom this mother's day.
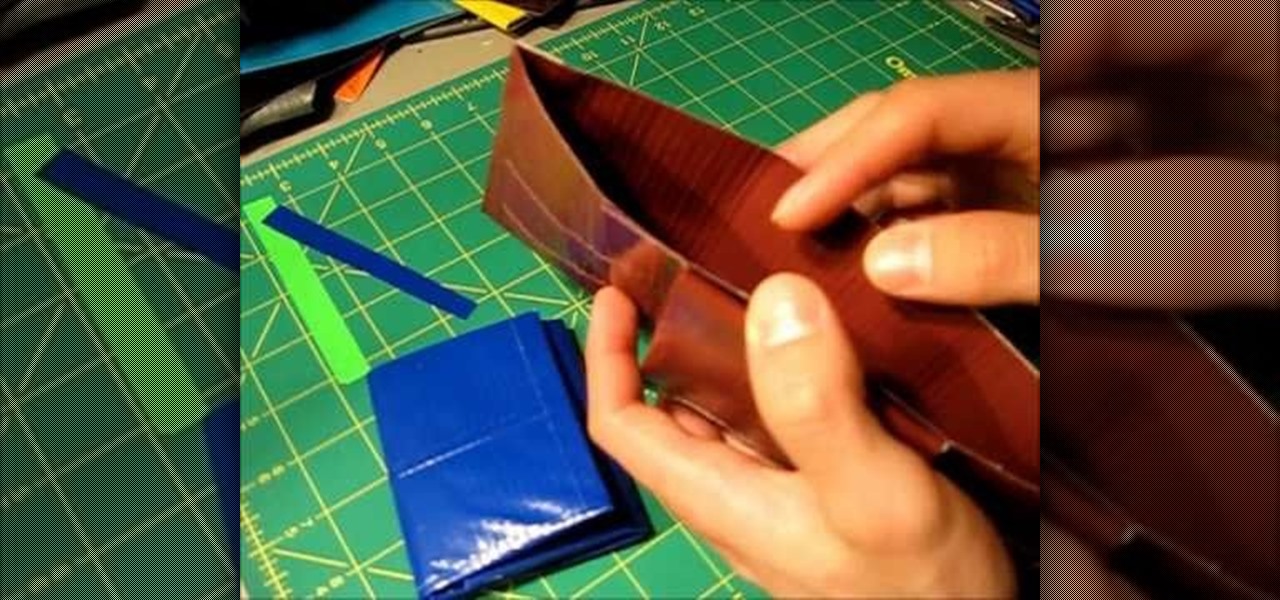
How To: Make a two-in-one Tri-Bifold wallet out of duct tape
A wallet is meant to keep your money safe, so it doesn't really make sense to spend a whole lot on one. Get creative and make your own wallet out of duct tape! This video will show you how to make a stylish Tri-Bifold (that's right- both!) out of duct tape that you can decorate however you like.
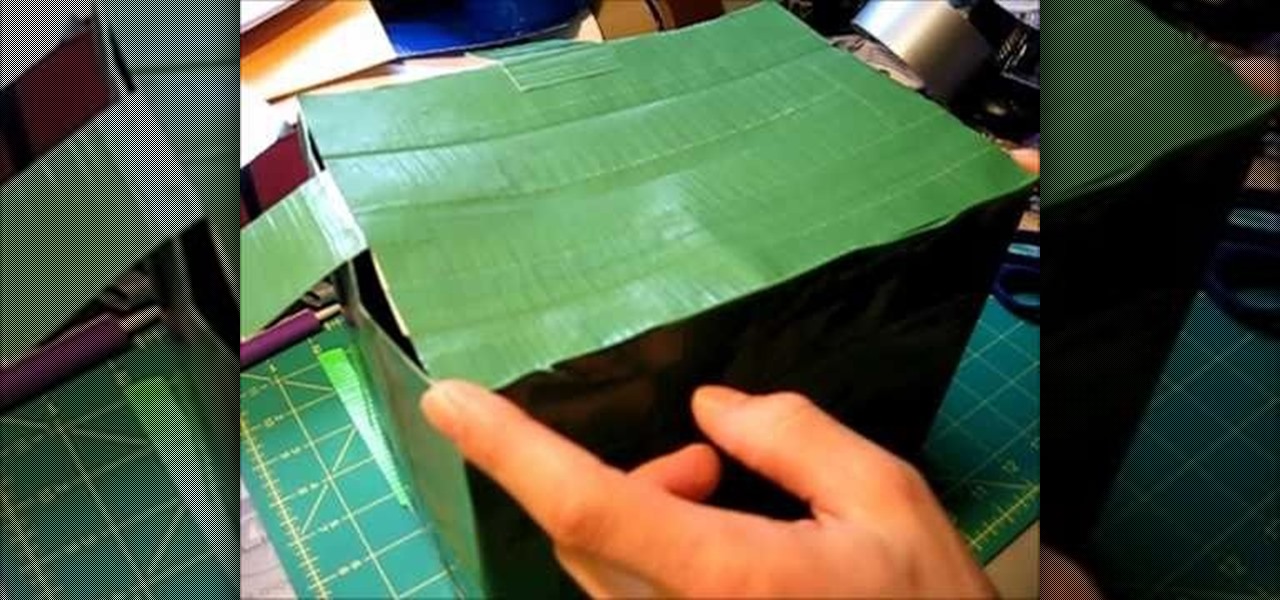
How To: Make an awesome lunchbox out of duct tape
Looking for a cool way to get your lunch to school or the office? Want to stand out from the rest of the lunchroom crowd? Make yourself a lunch box out of duct tape! The duct tape lunchbox is completely customizable and will keep your food nice and cold.
How To: Make a fun crown to wear while watching Royal Wedding
Have you got royal wedding fever? Are you ready to get up at four in the morning to watch the ceremony? You should be wearing a crown of your own! Learn how to make a fun and easy crown out of paper.
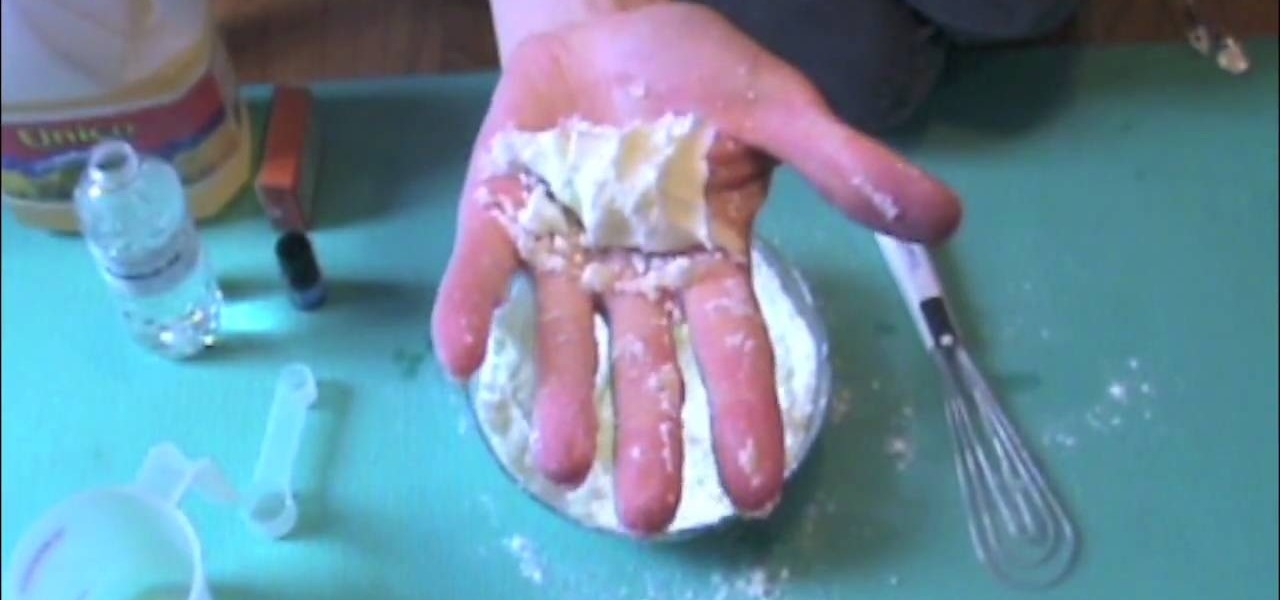
How To: Make bath bombs for your mom on Mother's Day
Give your mom a Mother's Day gift she will really enjoy with these homemade bath bombs. Not only will she be happy to get a gift you've made yourself, but she'll love using them... (try not to think about it too much.)
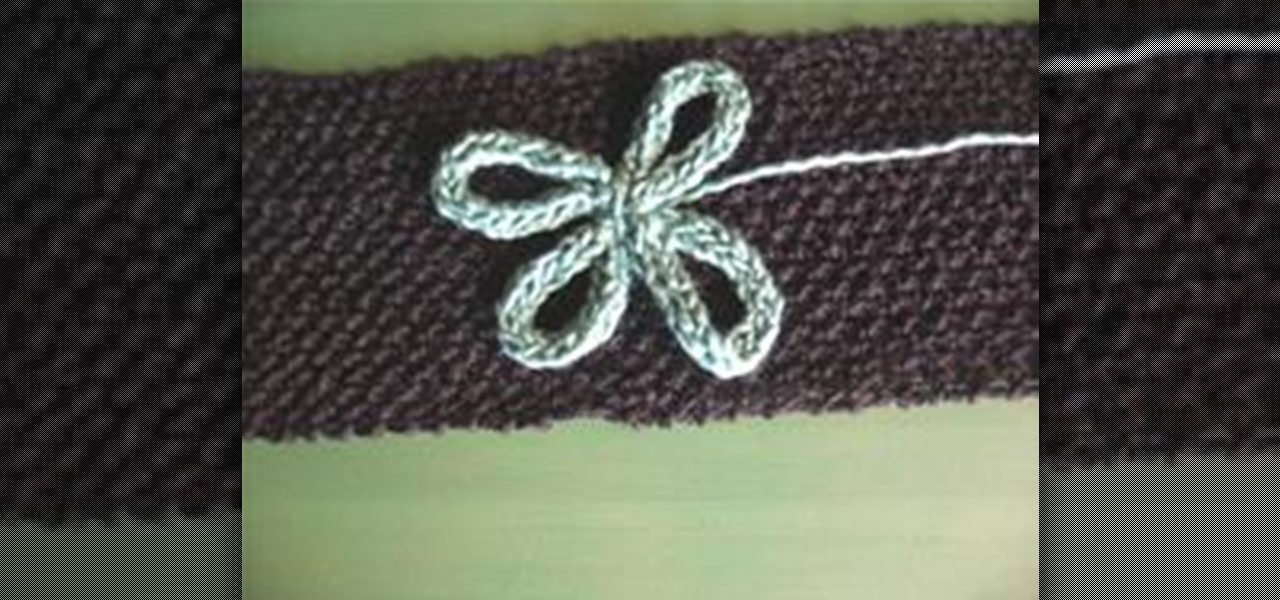
How To: Make a Flower From a Knitted I-Cord
Once you learn how to knit an I-CORD you will find many different applications in which to use them. One thing I like to do is to make a FLOWER from an I-Cord. The flower can then be applied to a sweater, a blanket, a scarf, a purse. There are limitless possibilities.
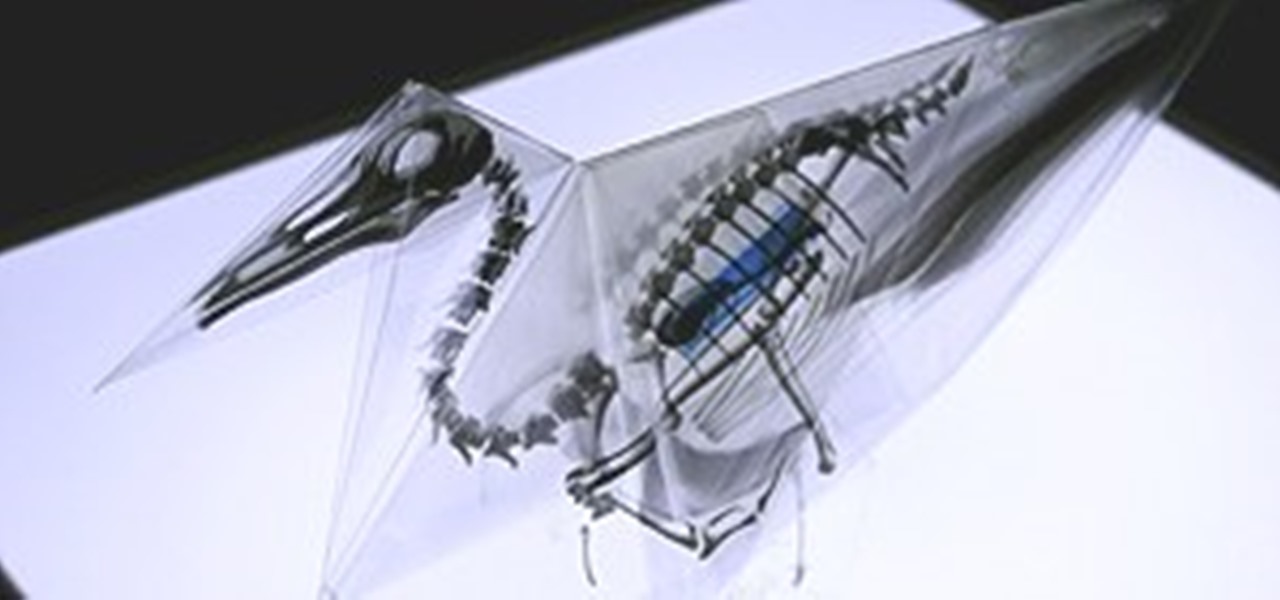
News: Origami X-Ray Skeletons of Endangered Animals
The ancient craft of origami gets an update in Oritsunagumono, where environmentalism meets photoelectricity for the first time. Its name translates into "things folded and connected," and its agenda aims to bring awareness of the environmental impact of pollution to native marine wildlife in Japan's coastal waterways.
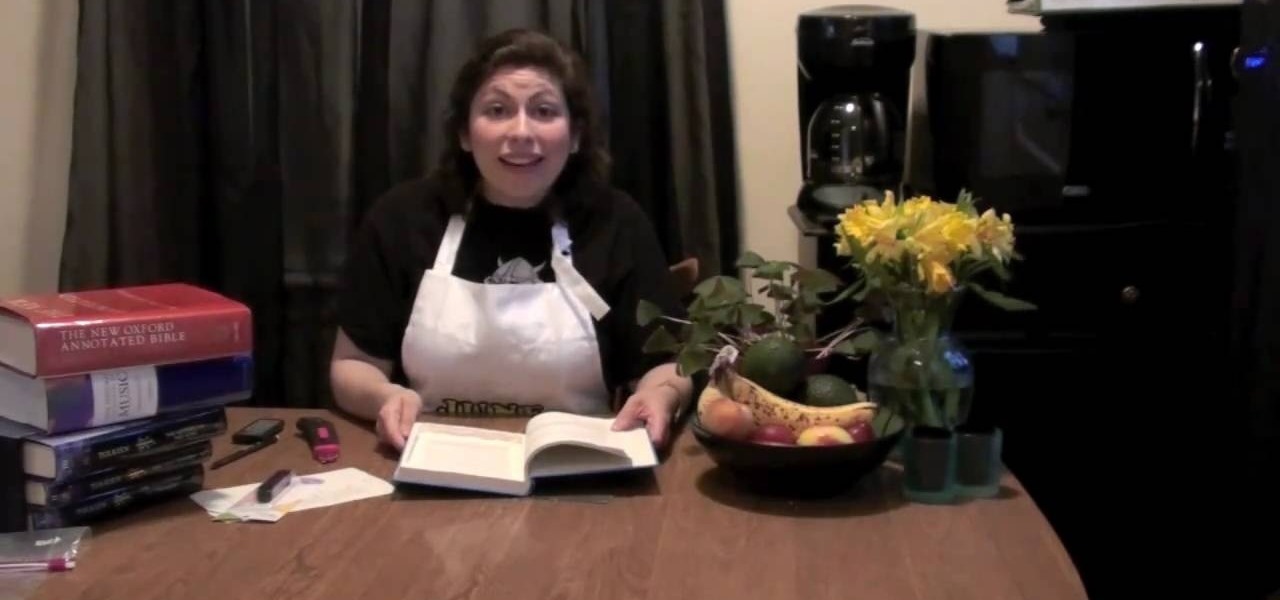
How To: Hollow out a book for an eReader cover
If you're looking for a clever, stylish, way to disguise your Kindle or Nook, then you've found the right video. This video will show you how to hollow out a book to make an excellent cover for your eReader. The hollowed out book can make a great hiding place for anything.

How To: Fold an origami flower blossom napkin design
Origami napkins are a great way to pretty up and table setting! This short video tutorial shows how to fold an origami flower blossom napkin design. Decorative origami napkins are perfect for any table and any occasion. Folding napkins into 3D objects is not only beautiful on the table, but fascinating. Origami napkin folding should be a trick up every table decorator's sleeve. Celina Table Linens shows you the simple steps involved in the napkin origami flower blossom.
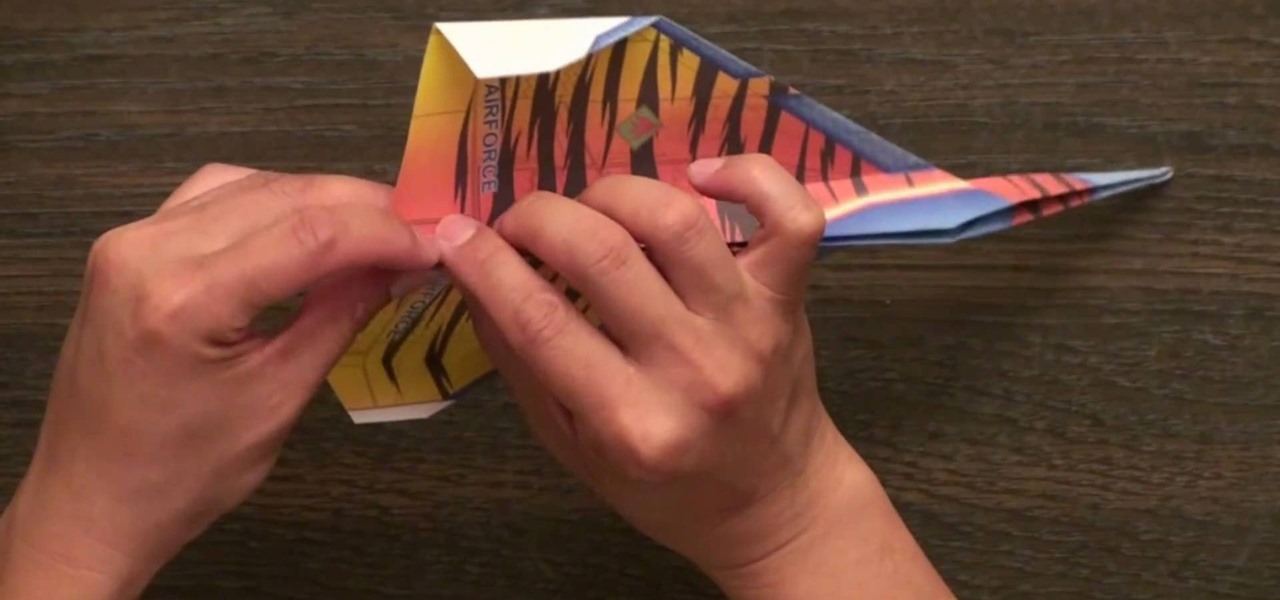
How To: Fold the Ty Legend fighter jet paper airplane
Take to the skies with this incredible realistic paper jet. With just a sheet of paper you can create an awesome flying machine. Fly it indoors or out, and enjoy an aerodynamic wonder after you've learned how to fold the most realistic paper jet ever.
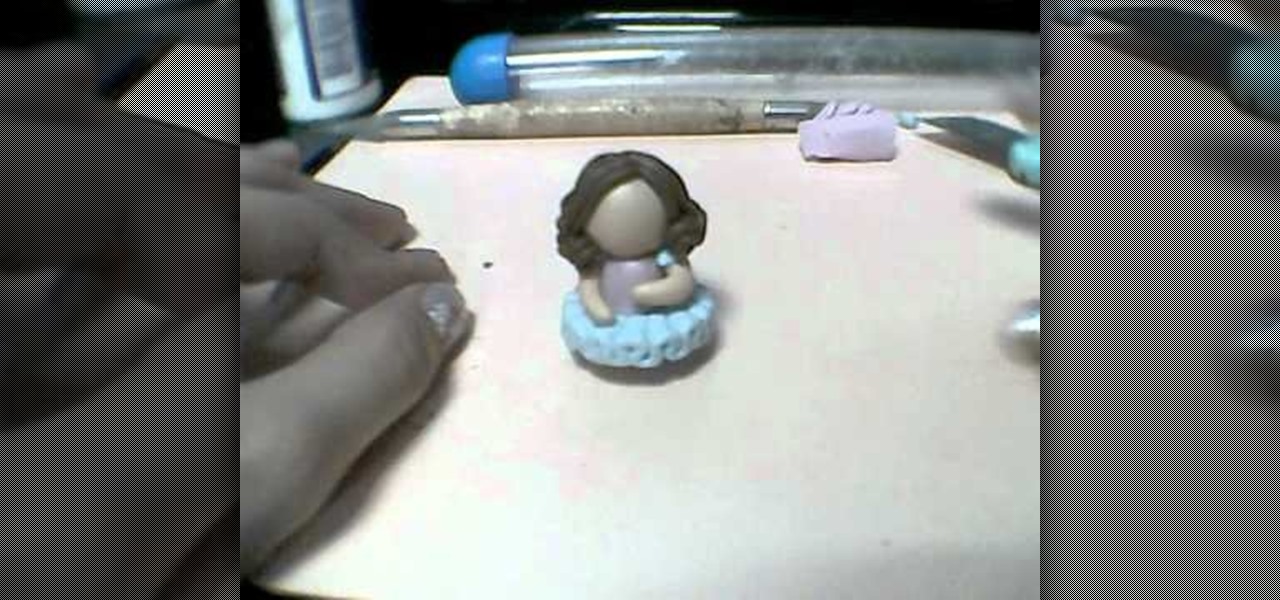
How To: Make a little ballerina figure out of polymer clay
Make a cute keepsake that you can give as a gift or keep for yourself by watching this video that shows you how to make a ballerina figurine our of polymer clay. Your adorable little ballerina is easy and fun to make, a perfect way to spend an afternoon.
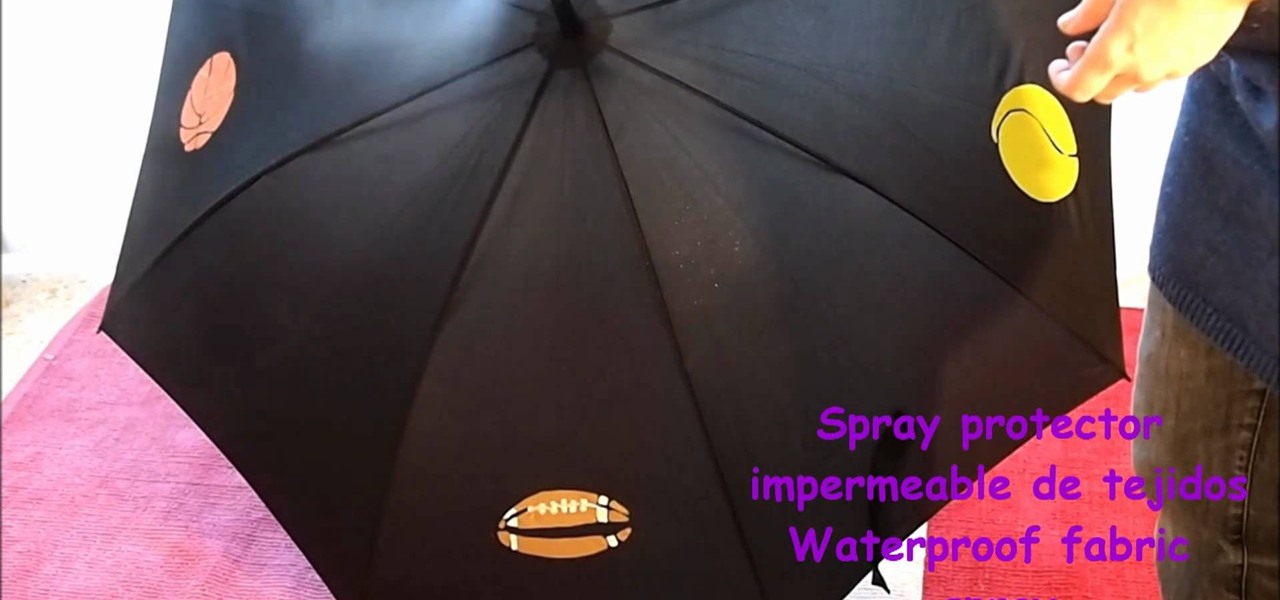
How To: Craft a colorful painted umbrella
Brighten up a rainy day with a beautiful painted umbrella. You'll stand out from the crowd, even in a downpour, if you follow this video's instructions on making stencils to decorate an umbrella. Heads will turn when you show off your fun design!
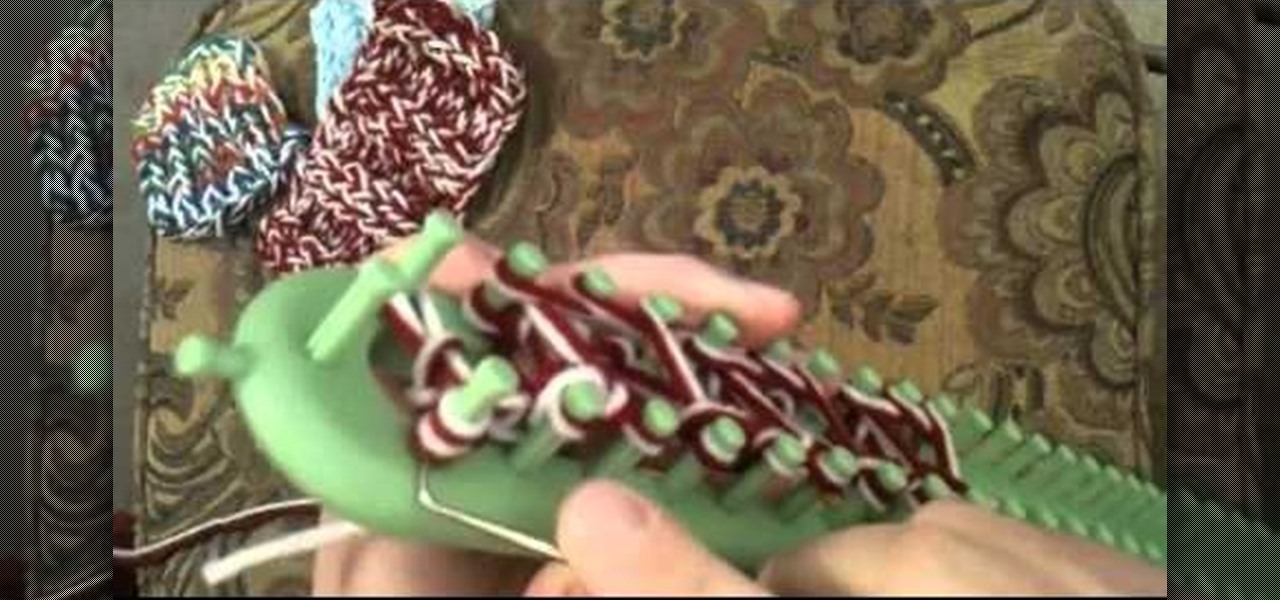
How To: Loom knit the triple knit stitch
Conquer a brand new loom stitch! This video is the first to demonstrate the the triple knit stitch on a loom. Create beuatiful works of woolen art by following the instructions in this video. Learn how to knit the triple knit stitch on a loom and take your knitting to a whole new level.

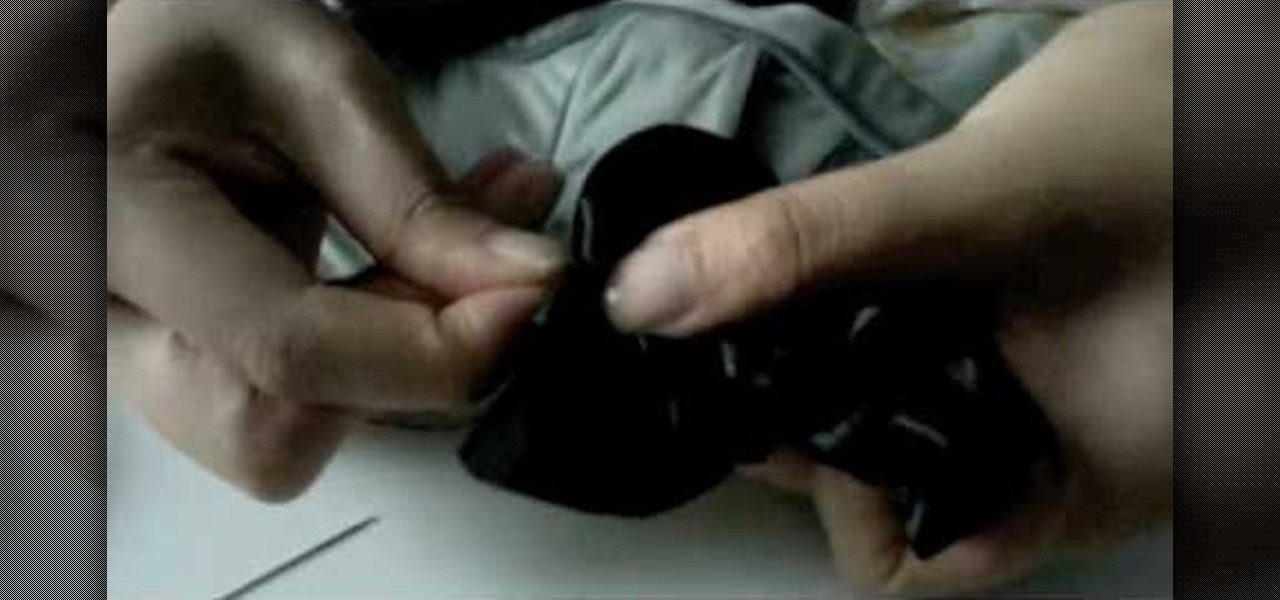
How To: Make a no-sew fabric-covered button with old fabric scraps
Let's face it: Most of the buttons we have on clothing are utilitarian: They hold our peacoat together and our pants on (generally), and thus aren't particularly pretty in and of themselves.
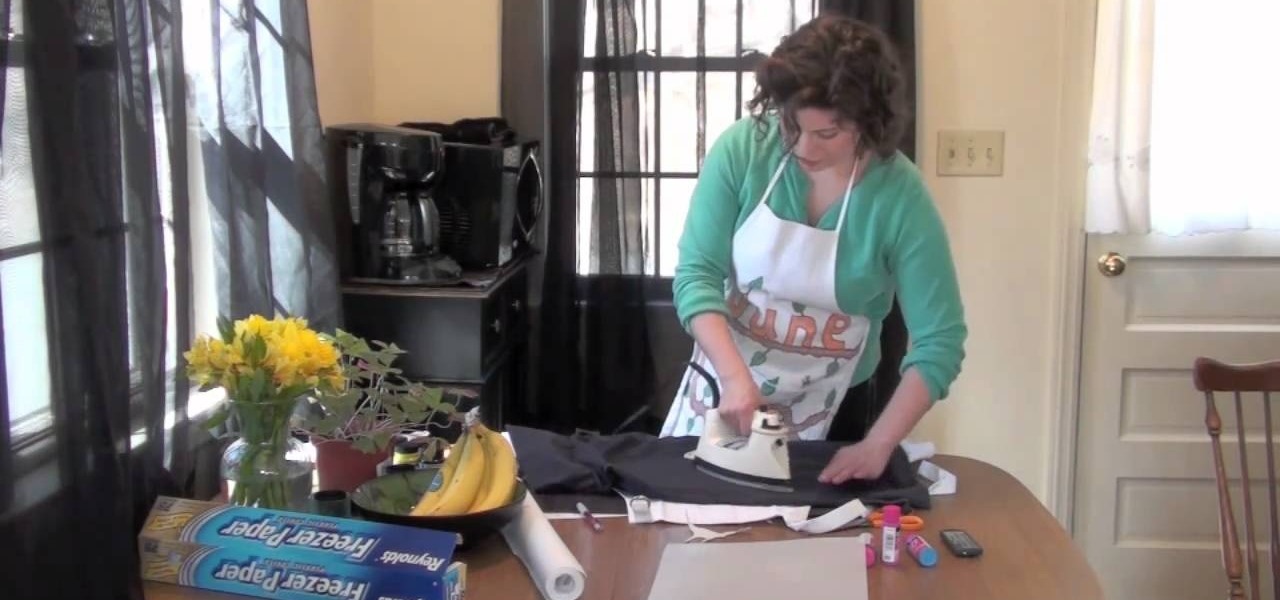
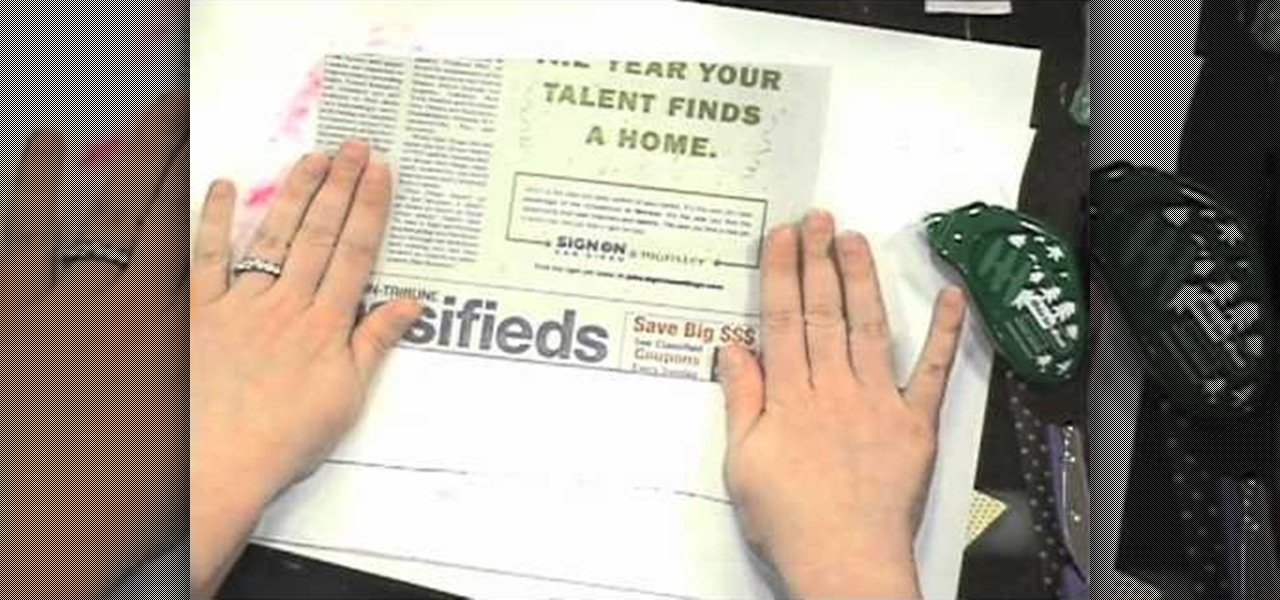
How To: Make iron-on freezer paper stencils to decorate clothing
Learn a fun and easy way to decorate your clothes with these iron-on freezer paper stencils. This video will show you how to create stencils perfect for personalizing aprons, tote bags, or t-shirts. With these stencils you can make thoughtful gifts for all of your loved ones.
How To: Sew a DIY ribbon flower embellishment
Never sewed before? Not a problem. This DIY ribbon flower, which can be made in any color of your choosing, is incredibly easy and only requires a few basic stitches to complete.
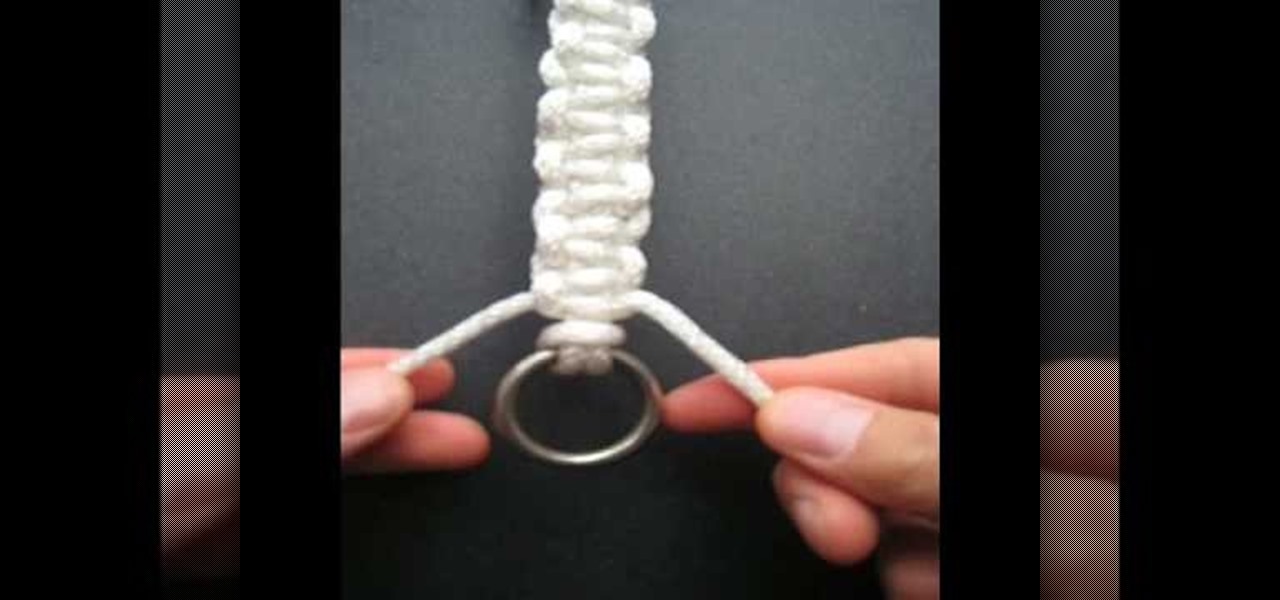
How To: Make a Solomon Bar decorative knot
In this tutorial, we learn how to make a Solomon bar decorative knot. You will start by grabbing the ring at the end of the string, then tie it to an opposite ring. Fold the left side of the string to the right and bring the right over to the left. Pull the left into the loop to create a knot. Now, you will have two string that are more up and two that are more down. Next, tie the top strings into a knot, then bring the right knot behind the bottom two, and thread the left knot into the right...

How To: Fold a two color origami Valentine's Day heart
Tell your sweetheart he or she has stolen your heart by giving them this adorable two color Valentine's Day heart. Made from white a red paper, it metaphorically symbolizes two parts of a whole coming together.

How To: Create reusable bags from t-shirts and recycled stuff
Storing your groceries or recent purchases from Target in the provided plastic bags may be convenient, but think of how many people use these non-biodegradable plastic bags and then toss them every day and every year. Help clean up the environment by making reusuable tote bags from t-shirts!

How To: Knit Fingerless Mitts
Fingerless mitts are all the rage. They can be fancy or simple, long or short. This article will show you how to make a simple pair of fingerless mitts—for men or women. By adding more colors in stripes or other patterns, you can make them more interesting. You can also add to the length to make them longer.

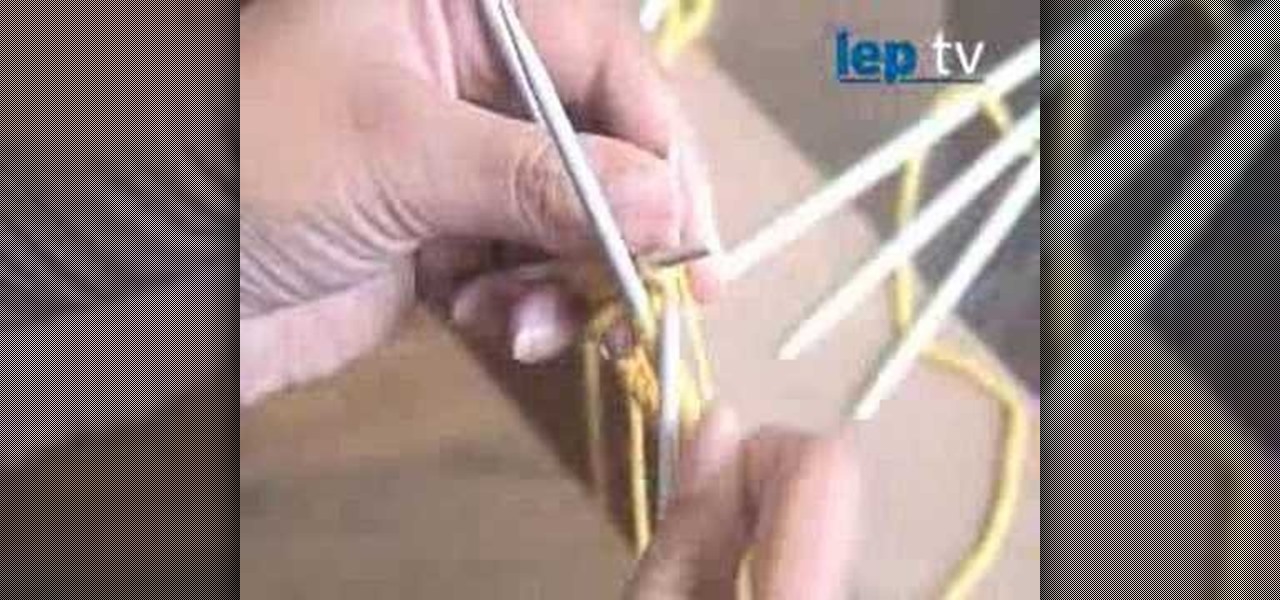
How To: Crochet a beanie hat as a beginner
In this video, we learn how to crochet a beanie hat as a beginner. Start out with a slipknot then chain 50 chains. For row 1, you will single crochet in the second chain from the hook. Then, chain one and skin the next chain. Repeat this 24 times total. After this, single crochet in the 2nd chain from the hook and then chain one and skip the next chain. Continue this until you reach all the way around and make a beanie that is your desired size. Bind the knot off at the end, then you can wear...

How To: Origami a heart out of a dollar bill
Fold up those spare dollars into an adorable little heart. This video origami tutorial shows how to fold a money bill of any denomination into a heart. Follow along and fold your own.
How To: Knit socks with just knit and purl stitches
Dorret Conway shows how to knit a pair of socks in this video knitting tutorial series. To knit this project, you'll need to be able to knit a knit and purl stitch. A sock is basically just a tube with some shaping for the heel and toe. This knitting project may look complicated, requiring multiple needles, but it's a great project for beginning knitters. Watch this instructional video and learn how to knit socks.
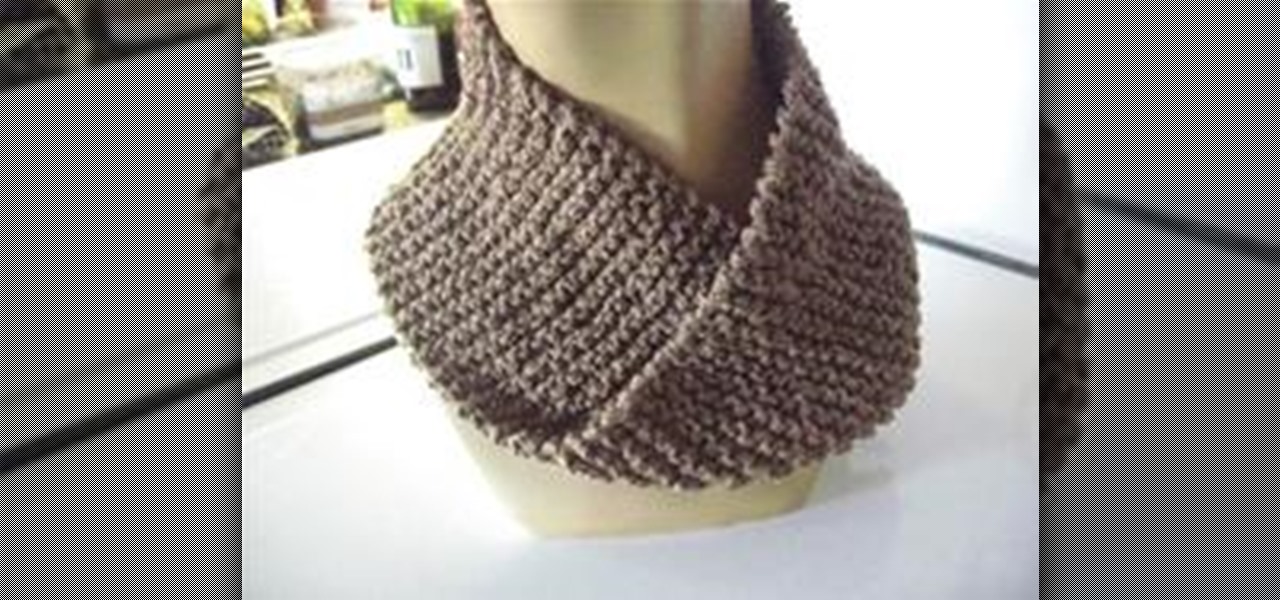
How To: Knit a Fake Mobius Scarf
There are different ways to knit a Mobius scarf. I call this one the Fake Mobius. Check out the video demonstration below, then proceed to the written tips and pictures.
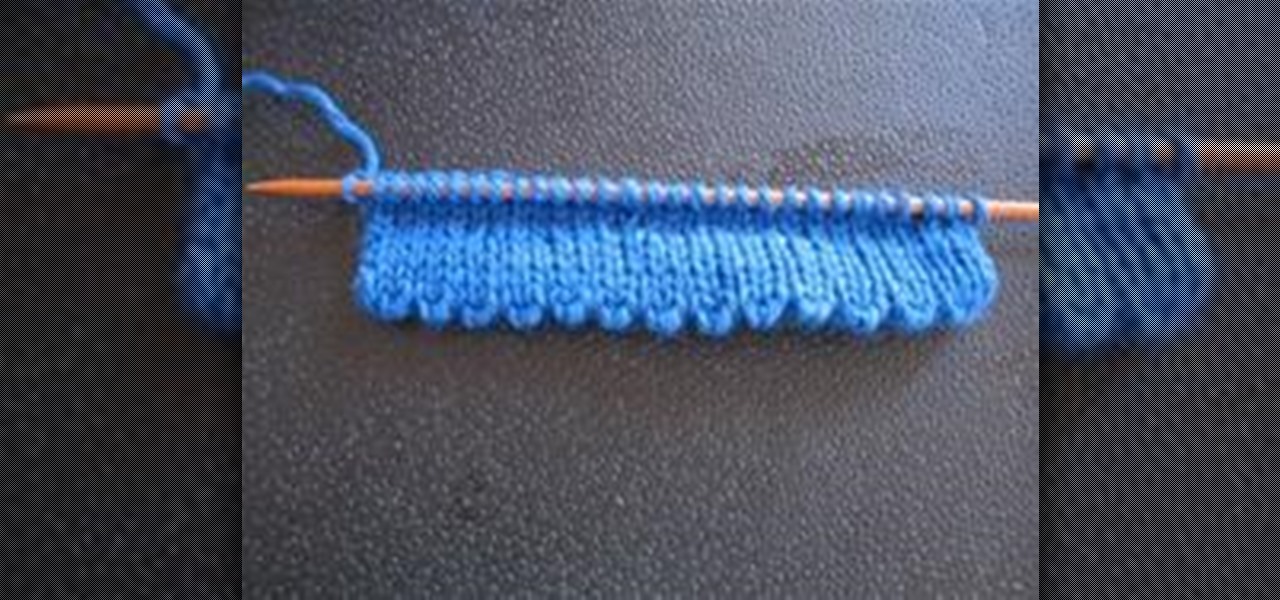
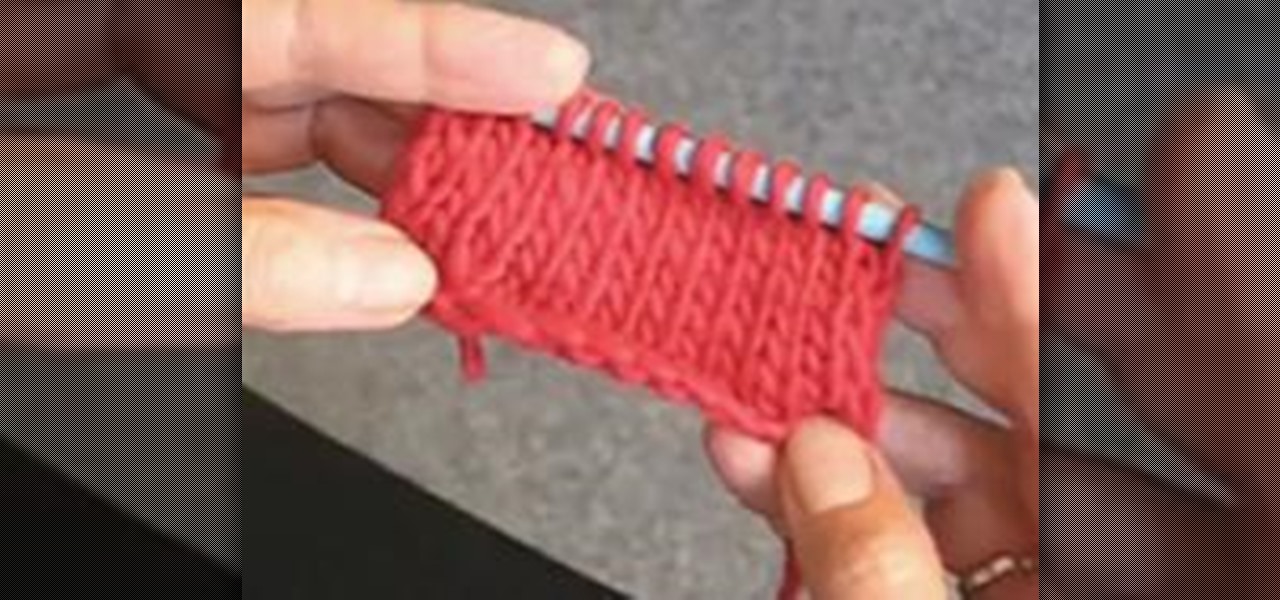
How To: Knit a Picot Hem
Knowing how to knit a picot hem is a good technique to learn. Usually, at the bottom of a garment you will have a ribbed edge. A picot hem, as pictured below, is a nice alternative. It's quite easy and here's how to do it.
How To: Add a decorative keyhole to a knitted scarf
A keyhole is a great way of adding decorative effect to your knitting projects, and master knitter Judy Topaz is going to show you how it's done on a striped scarf. Adding a keyhole is more complicated than just knitting a basic scarf, but follow along to the video and you shouldn't have any problems.
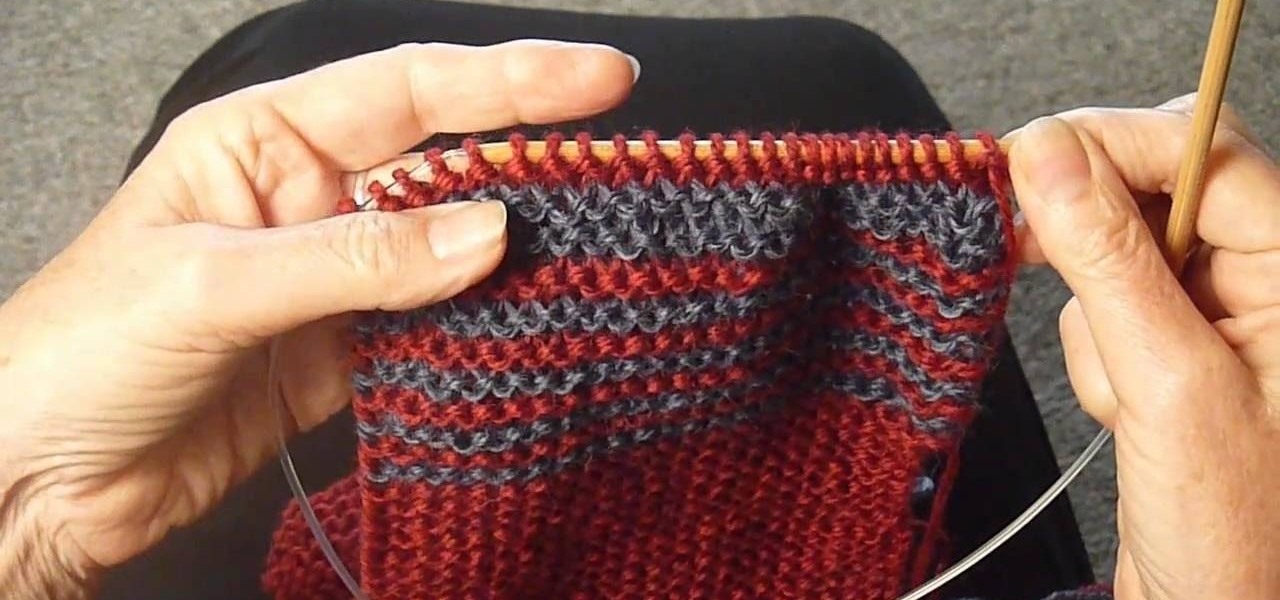
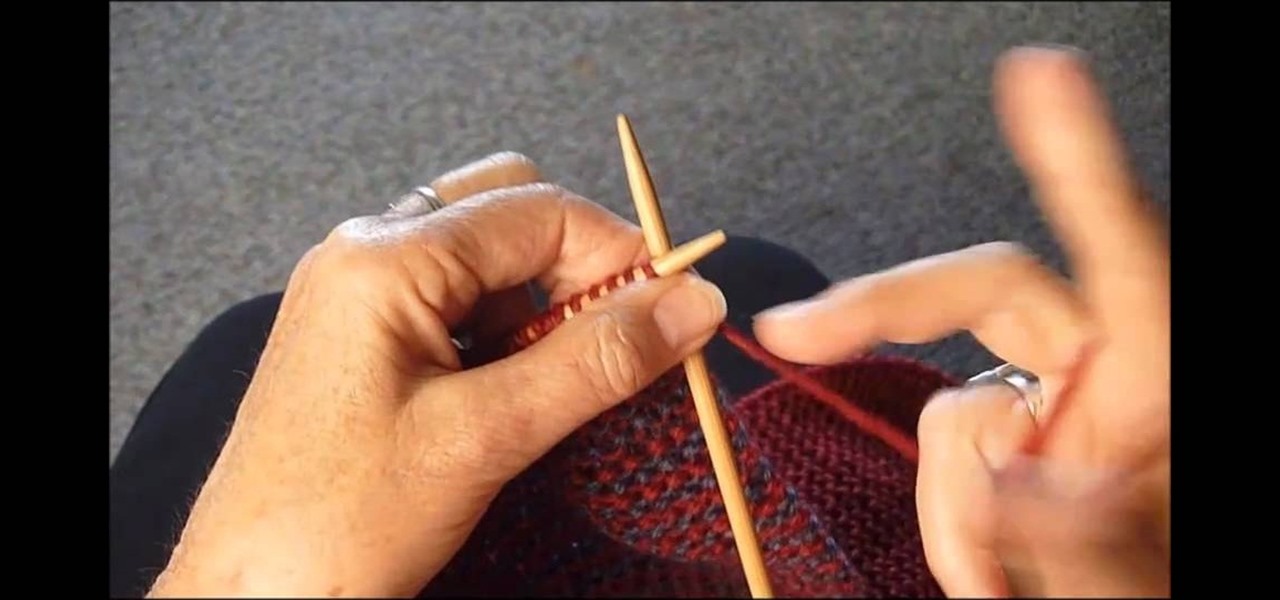
How To: Knit a four-row stripe with alternating colors
This video will show the lowdown on knitting four-row stripes. Actually, this works with any knitting task requiring over 2 rows, where you want to change the colors of your yarn. Master knitter Judy Topaz walks you through the whole process.

How To: Do the Two Needle Cast On Knitting
There are so many different ways to cast on knitting. I have my own favorite. It's the way I learned when I first started knitting. My way is called TWO NEEDLE CAST ON. I like this 2 needle method because you don't have to guess how much you need to measure out a length of yarn at the beginning. I also think it makes a tighter and straighter edge.

How To: Understand the Differences Between Knitting Needles
There are different kinds of knitting needles to choose from for different projects. You will find wooden, plastic or aluminum in different lengths and shapes. There are straight, circular or double pointed.

How To: Knit the Knit Stitch
Once you have learned to Cast On, you will need to learn the Knit Stitch. Once you have learned the Knit Stitch, you will be able to start a project!
How To: Knit the Garter Stitch
There are two basic stitches in knitting. One is the KNIT STITCH, the other is the PURL STITCH. The GARTER STITCH itself is quite simple. You knit every stitch on every row of your knitting. It's the first stitch one learns in knitting. It's the easiest of all the knitting stitches and one that you can use for many projects. It's an especially good stitch for knitting something when you want both sides of the work to look the same.

How To: Knit the Purl Stitch
There are two basic stitches in knitting. One is the Knit Stitch. The other is the Purl Stitch. All knitting patterns are based on these stitches, so you'll want to know how to do both of them. The Knit side of your work is generally called the Front or Right side, whereas the Purl side is generally called the Back or Wrong side. This is important to remember when you're following a pattern.

How To: Bind Off or Cast Off Knitting
You have learned to Cast On, you know how to do the Knit Stitch and the Purl Stitch. Now you've come to the end of your first project and you don't know what to do next. You will need to know how to Bind Off. Binding off, sometimes called Casting off, is how you end your work. Follow these instructions to learn how to bind off on a Knit Row. Binding off on a Purl row is different.

How To: Bind Off on a Purl Stitch
You've come to the end of your work and are ready to BIND OFF, but you're on a PURL row. What to do? You've learned how to BIND OFF on a knit stitch, but this is something new. Usually you will do the BIND OFF stitch on a knit row, but now your pattern is telling you to BIND OFF on a Purl row. Sometimes, like in ribbing, you will need to do both. If you've never bound off purling here are the instructions to follow.
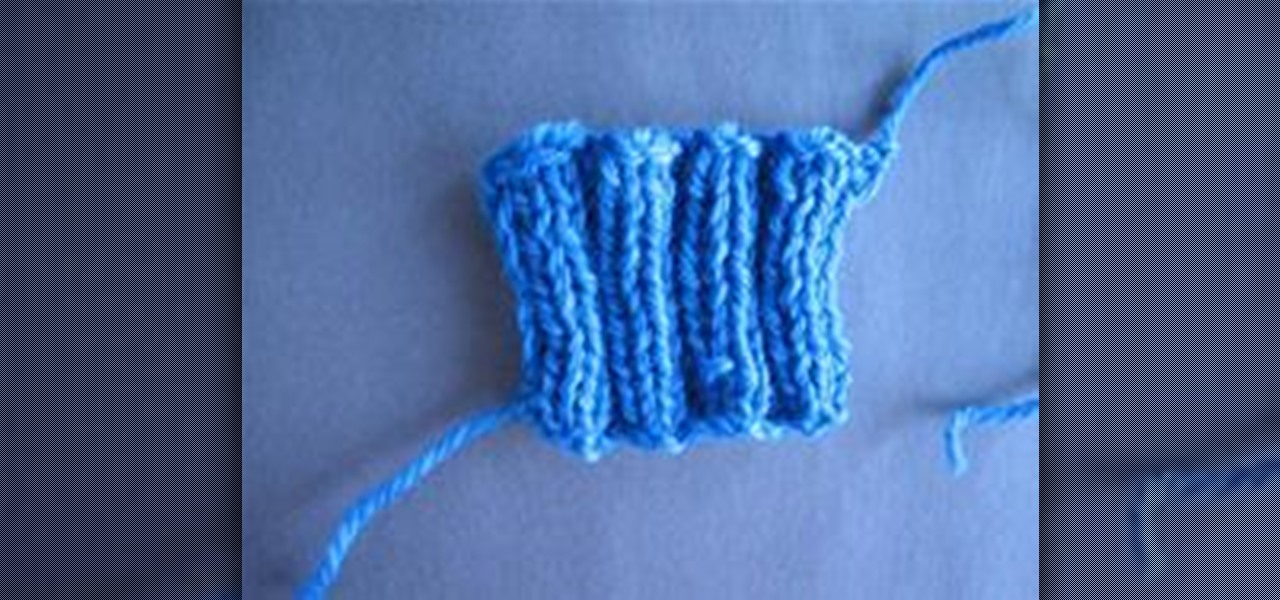
How To: Knit Ribbing
The two basic stitches in knitting are the Knit Stitch and the Purl Stitch. Once you know how to do both of them you can put them together to make RIBBING. RIBBING is usually, but not always, used at the bottom of a garment, as well as at the cuffs and at the neck. It's also a good stitch to use when you want both sides of the fabric to look the same like for a scarf or a blanket. RIBBING is usually K2 P2 (knit 2 stitches, purl 2 stitches) but it could be K1 K1 (knit 1 stitch, purl 1 stitch) ...

How To: Decrease Stitches In Knitting
When you make an actual garment you will have to know how to decrease and increase stitches. For this article we'll deal with just the decrease.
How To: Knit the Stockinette Stitch
Some people think that knitting is difficult, but it really isn't. All knitting is actually based on only two simple stitches, the knit stitch and the purl stitch. The Stockinette Stitch is the most common of all the Knitting Stitches. It's very simple.

How To: Knit the Like Lace Stitch
The Like Lace Stitch

How To: Do the Kitchener Stitch (Grafting)
Here is how to join two sets of stitches without leaving a seam. This method is good for the toes of socks, the top of hoods, baby garments, or anywhere else you don't want a bulky seam.. It's NOT recommended for shoulder seams on heavy sweaters or other places where you need the stability of a bound-off edge to hold the shape of the garment.