

Active Arts & Crafts Posts


How To: Cut a pentagon from a square piece of paper
Cut a perfectly balanced pentagon from a square piece of paper! You can do this without measuring or drawing. Fold your square of paper as outlined in this tutorial, and then cut along several of the fold lines to end up with a pentagon!
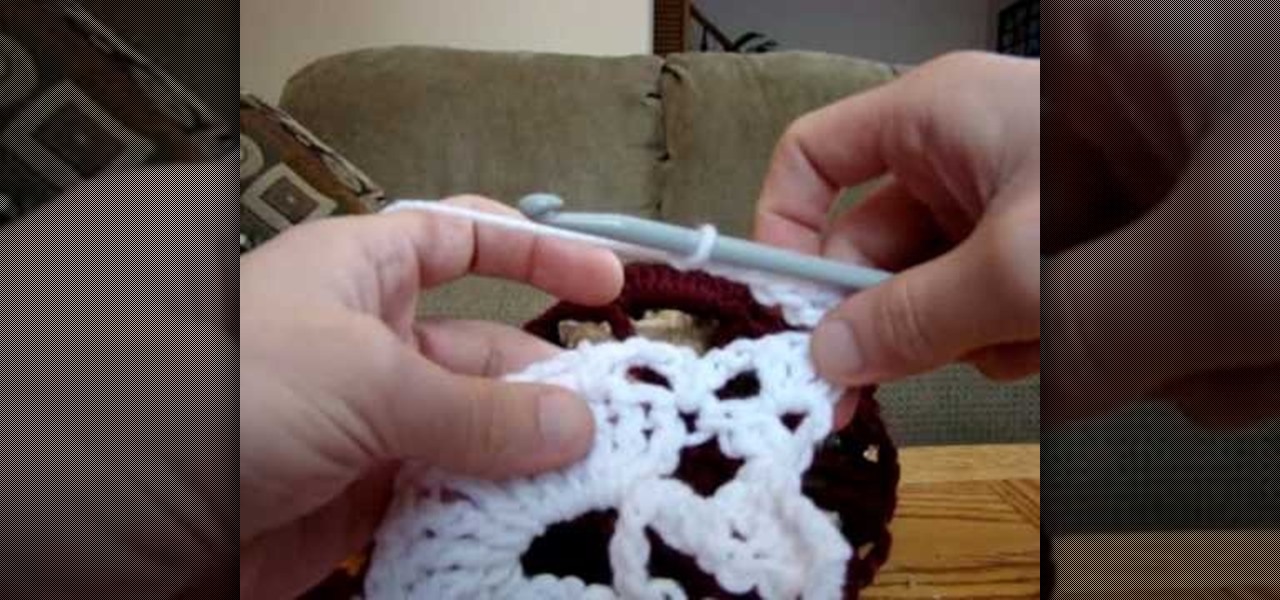
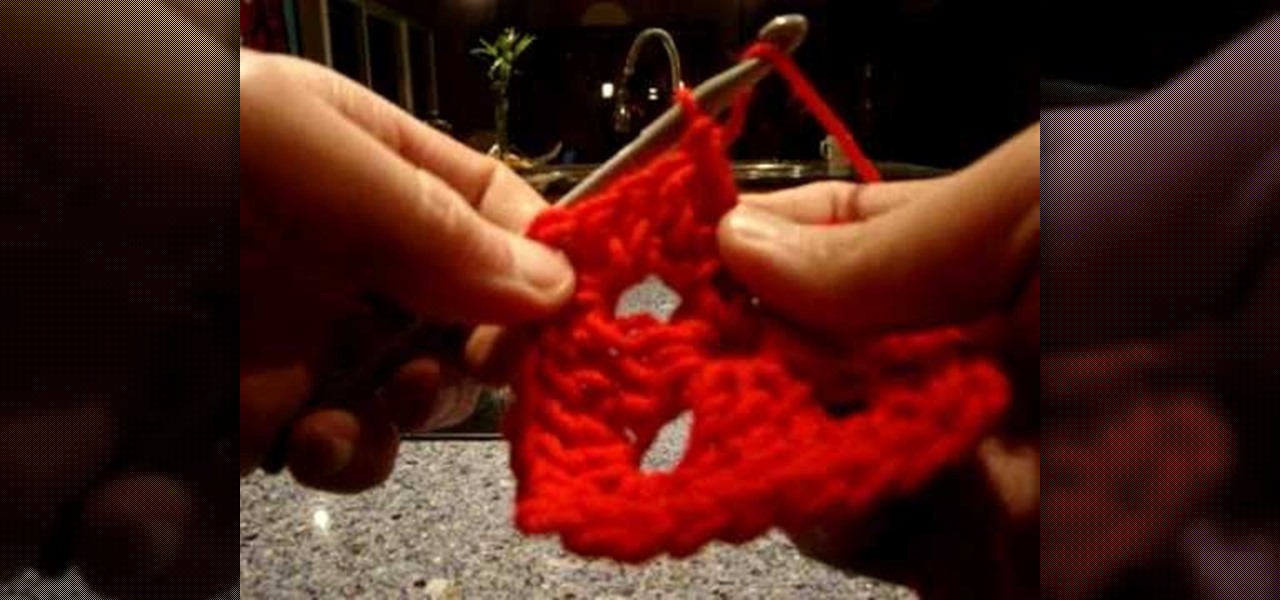
How To: Crochet the stained glass window square
This is a more advanced version of the granny square - the stained glass square, which usually is made with several separate colors of yarn. This tutorial is aimed at people who have already mastered crochet techniques to at least the intermediate level.
How To: Make an embossed thank you card
Embossing can add an extra touch of beauty and elegance to any card. This tutorial shows you how to make a lovely thank you card (useful for the upcoming holidays!) and how you can use embossing to add an extra detail to it.

How To: Make the Afghan stitch with a small crochet hook
Do you prefer working with smaller crochet hooks, but like the way the Afghan stitch works? This tutorial shows you how you can take a small hook and how you can still use it to crochet the Afghan stitch for your projects.
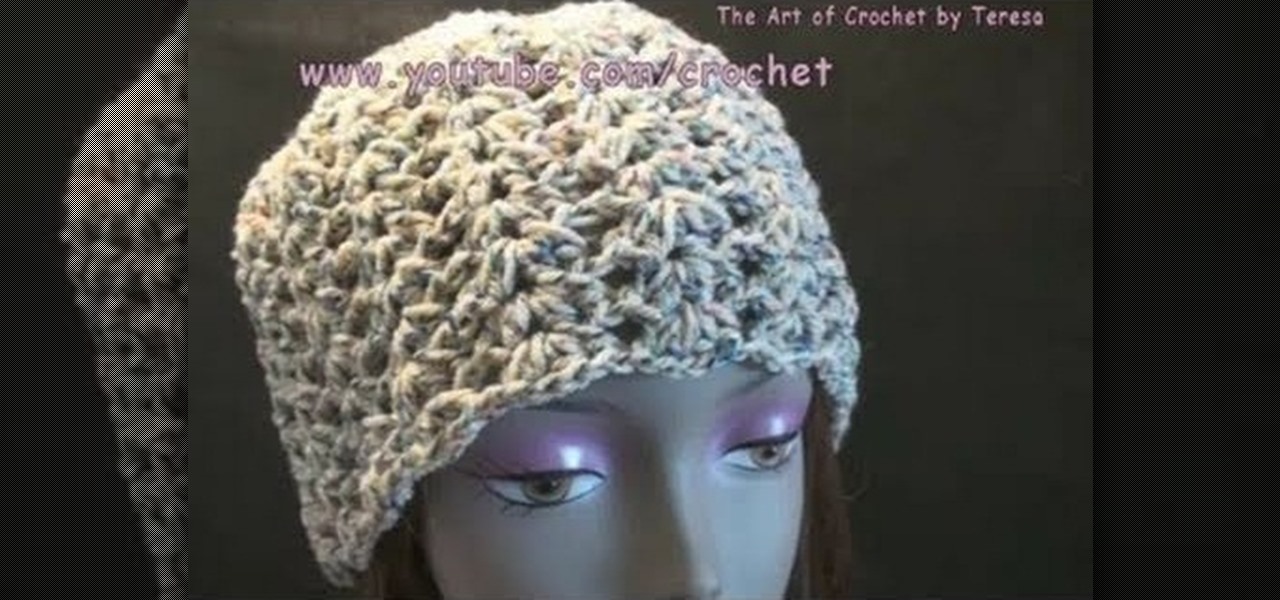
How To: Crochet the darling shell cap for left handers
It's winter time, and Christmas is coming up. What better gift than a warm, handmade hat? This tutorial shows you how to crochet the darling shell cap, an easy and attractive hat. It has been specially designed for left handed crocheters.
How To: Crochet a lace pineapple pattern
In this video, you'll be learning how to crochet a very beautiful lace pineapple pattern. Use this pattern as the base for an afghan blanket, a scarf, or anything your heart desires. Mikey takes you through the process step by step, so just watch the video!
How To: Make a left handed granny square using double crochet
Calling all left-handers! In this video, you'll learn how to crochet a granny square with your left hands using the double crochet method. So for left-handers needing help with crochet, this video is for you. A granny square is a great way to practice and enhance your crocheting skills.
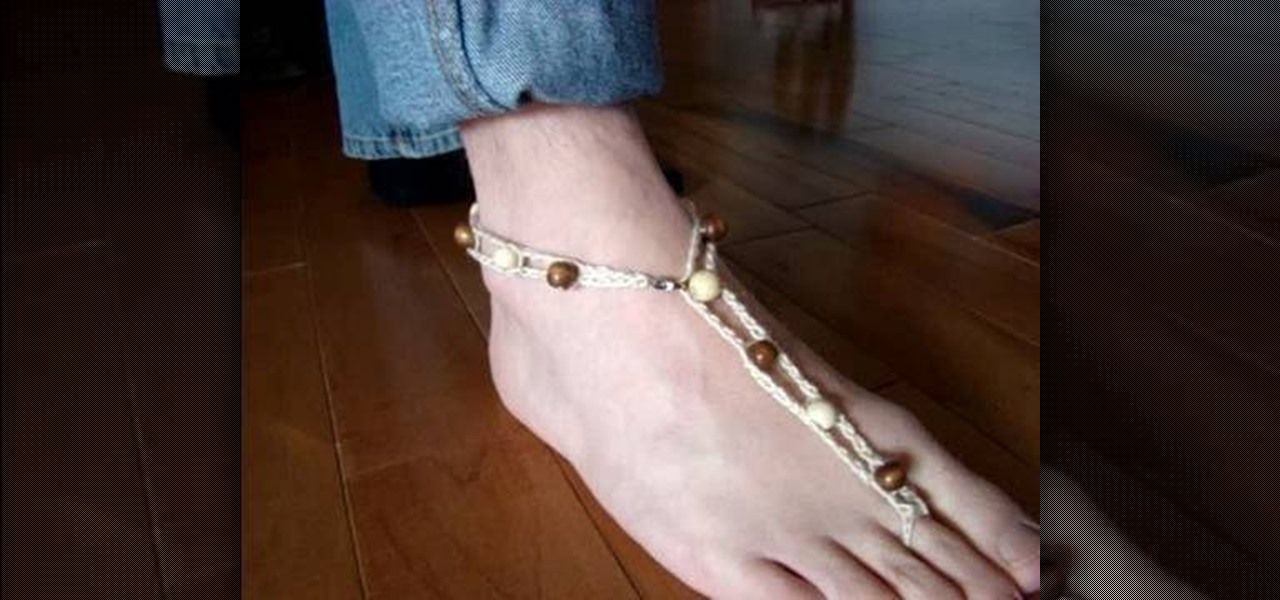
How To: Crochet barefoot sandals for the beach
Looking for a hot new look for the beach? Why not tray these crocheted "barefoot sandals"? It'll cost you less than a dollar. These sandals are simple and easy to make. Watch this video, and follow it step by step to create a great new look you can take with you to any sandy shore.
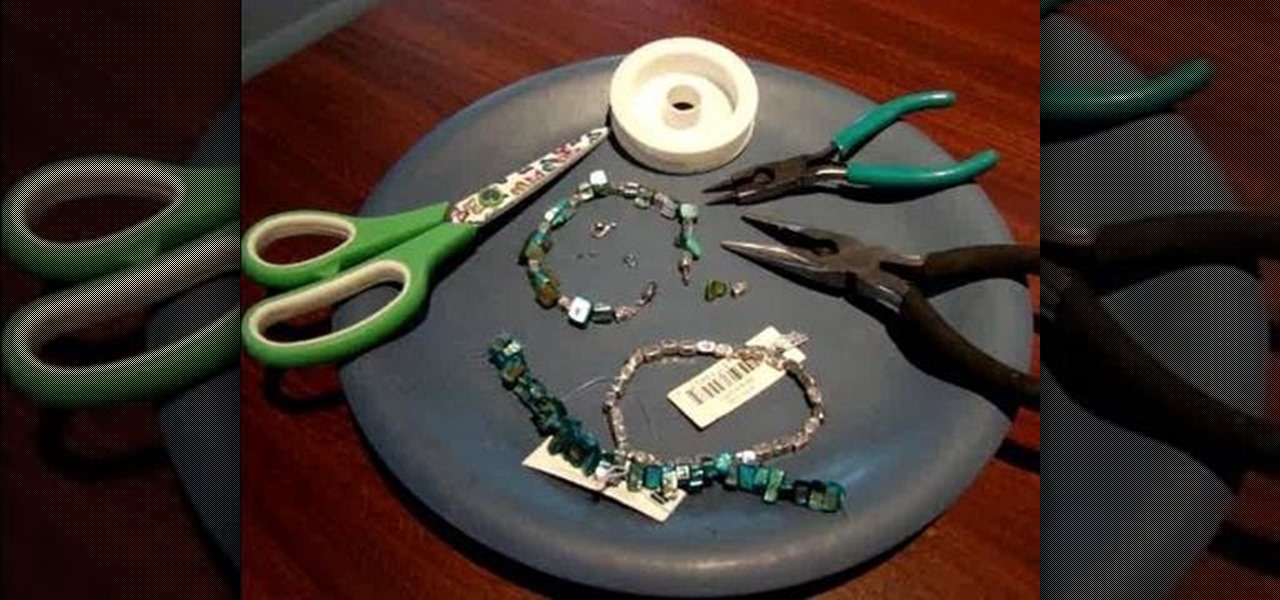
How To: Make your own glass bead bracelet
In this video, you'll learn how to make a simple bracelet out of glass beads. Use this video to put your own unique spin on glass jewelry. You don't need expensive tools or lots of expertise - all you have to do is follow along with this video to make your own glass bead bracelet. It makes a great gift!
How To: Sew a chic and elegant holiday chair cover with ribbons
What do you look forward to most during the holiday season? Sugar cookies sprinkled and iced into a cute snowman shape are always enjoyable, but for us it's all about the decorating. There's nothing quite like putting on Bing Crosby and affixing ornaments onto the tree while sipping hot cocoa.

How To: Making a Triangle Box Part I
This video origami tutorial shows how to make a triangular box from one piece of paper. It can hold small gifts and goodies, and can easily be decorated and embellished to suit the purpose. Follow along with the step-by-step instructions in these video origami lessons, and fold an easy gift or storage box. All you'll need is paper, ribbon, a piercing tool, scissors, a brad, a paper clip, and a scoring tool.

How To: Make a wave shaped ring
Watch this video to lean how to make a cool wave ring. Follow every step of measuring, sawing, annealing, soldering, sanding and buffing.
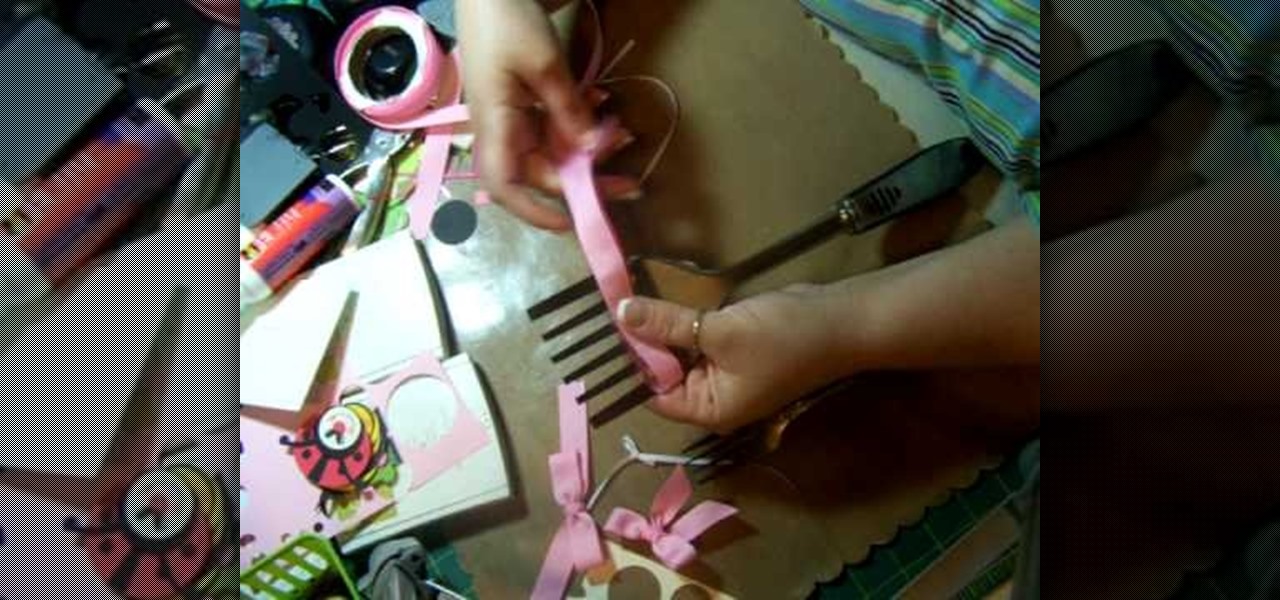
How To: Make a bow using a fork
Need to wrap a present for an upcoming celebration but have no extra money to blow on pre-made ribbons and bows? Then check out this super quick tutorial on how to make a bow using a fork.

How To: Make a boomerang paper airplane
The first step to create a boomerang paper airplane is to take a square piece of paper and measure to make sure it is a perfect square. You must then fold all of the corners of the cut of paper into the middle and then fold in half. The wings must then be folded down on the two chosen side. The final step is to fold the wings up to give the crease and cut of paper it's boomerang like shape. The video ends with examples of the type of flight that can be expected from a boomerang shaped paper a...
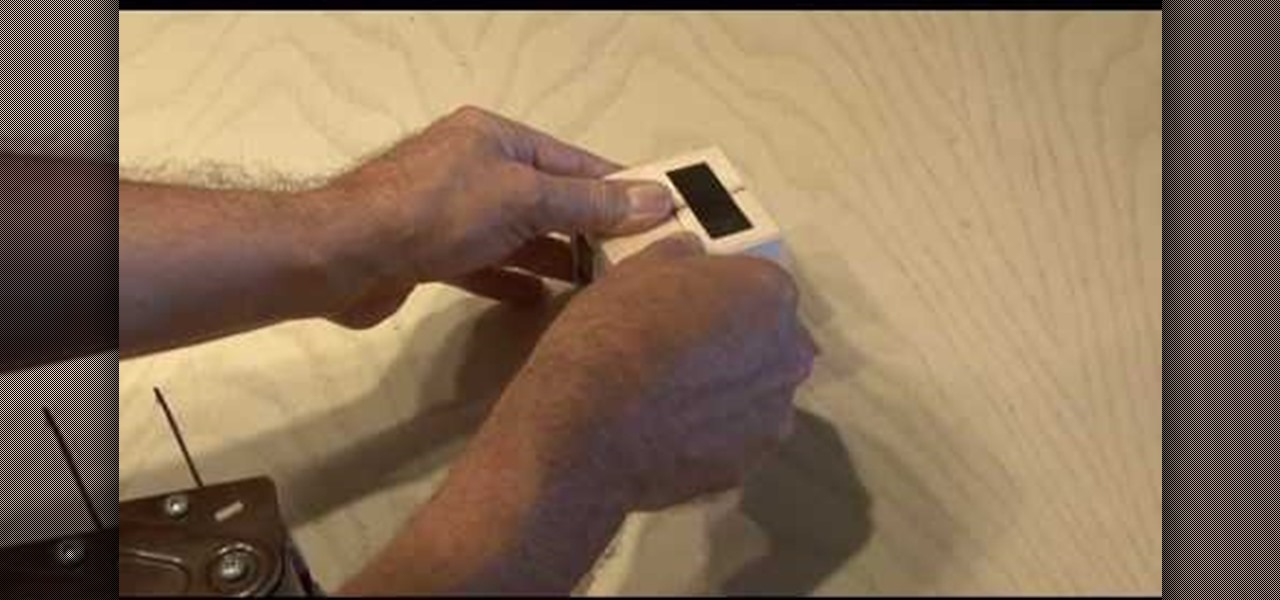
How To: Make a photo cube
In this tutorial, we learn how to make a photo cube. This project can be done in a couple of hours and only costs a couple of dollars! To start, you will first get an exact measurement of the width of your wood. After marking these, you will cut the wood using a band saw. After the eight blocks are finished, line them up in a cube and use clear packing tape to secure them together. Use a sharp blade to trip the tape. You can then open up the cube to show six different sides and tape your phot...

How To: Make a faux suede looking card with Stampin' Up!
This video tutorial is in the Arts & Crafts category which will show you how to make a faux suede looking card with Stampin' Up! Take the creamy caramel card stock and punch out a large star using the large star punch. Now use the bone folder to curl the star you punched out. Flip the star over and repeat on the other side as well. You will see the edges coming apart. Then peel the star apart and what you will get is a piece of card stock that looks like suede and is really soft. Now you can ...

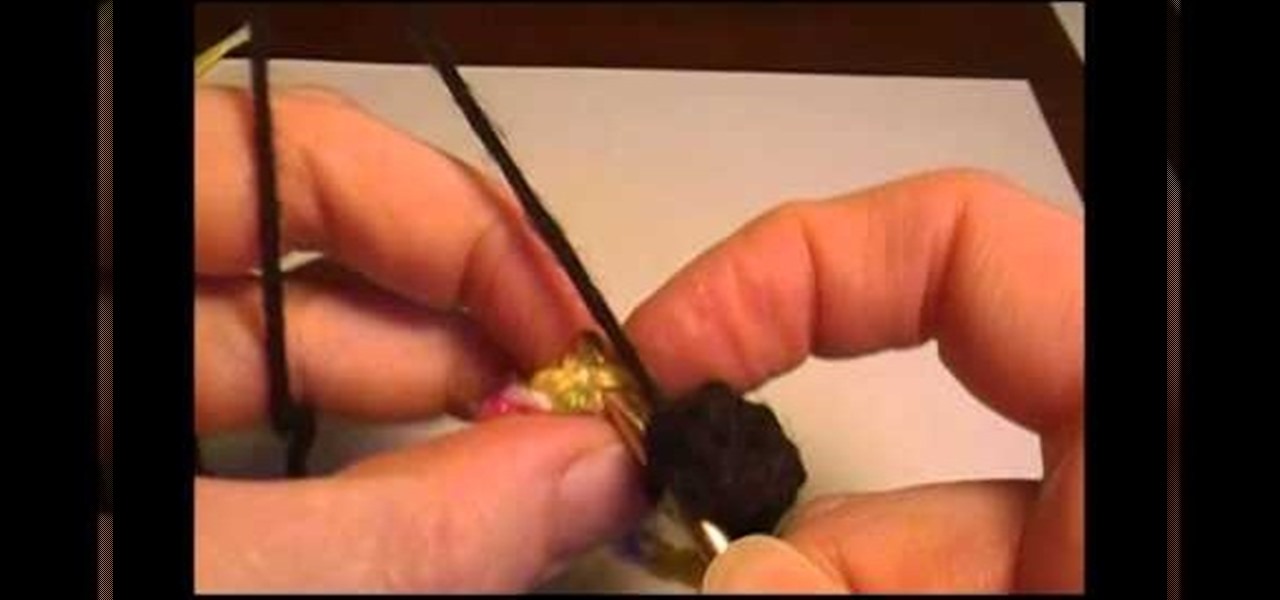
How To: Make Vincent Valentine's arm guard
This video explains how to make Vincent Valentine's arm guards in under 20mins. The supplies needed to complete this task include card paper, tape, gold spray, pencil and scissors. A ruler must be used to measure the length of your hand and fingers so you can correctly size the arm guards. Card paper is the cut into many small circles and placed around all of the fingers and then painted with gold spray. The hand portion is created by wrapping your hand with card paper and pulling tight befor...
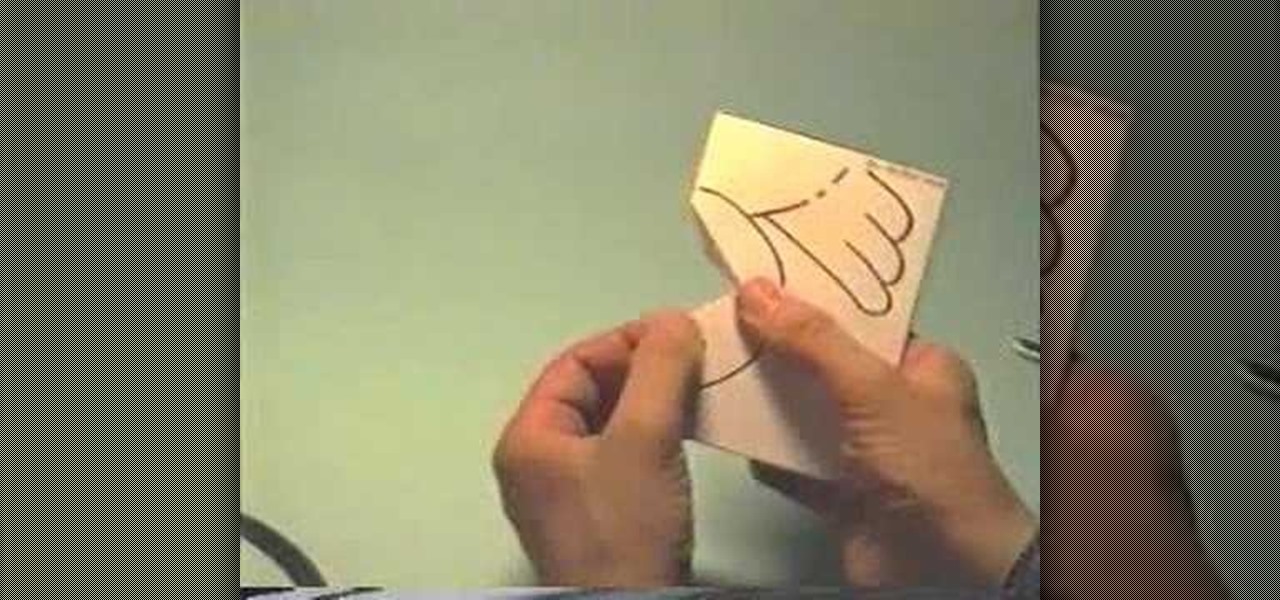
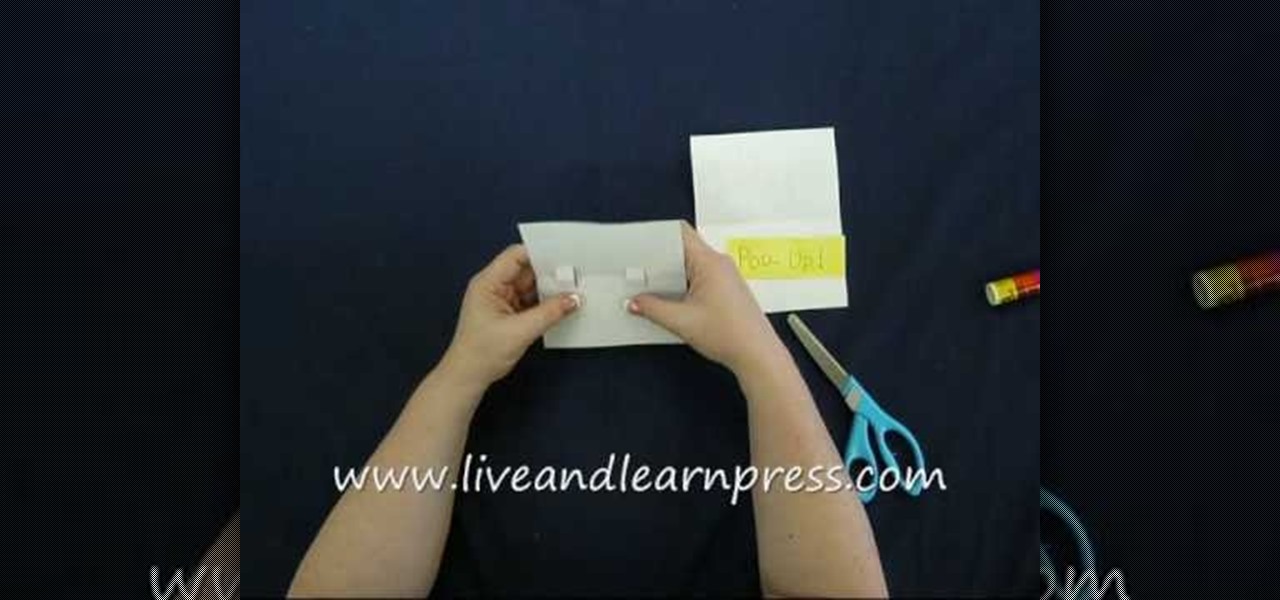
How To: Make a chicks pop-up card
In this tutorial, we learn how to make a chicks pop-up card. First, draw a chick on the front of the card, with the beak in the very middle. After this, use your scissors to cut the beak in the middle around the top and bottom but not the sides. After this, bend the beak from side to side to make it pop out from the card. Then, open the card back up and fold it the opposite way. From here, color in the chick and then glue it to the inside of the card you're going to use and give to someone!
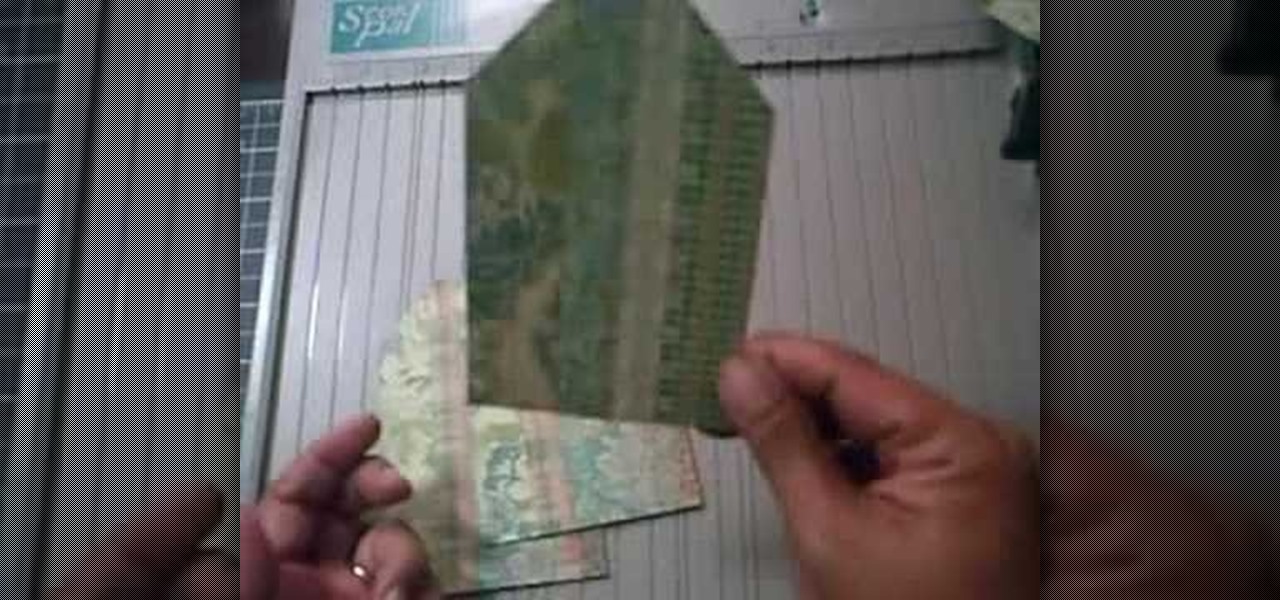
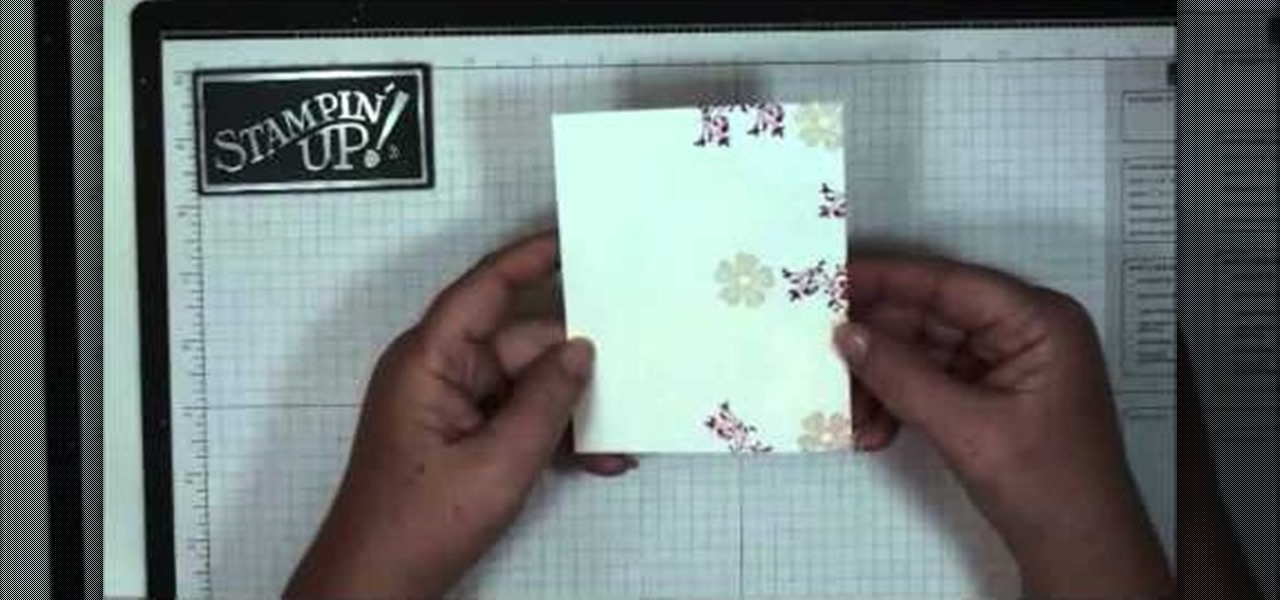
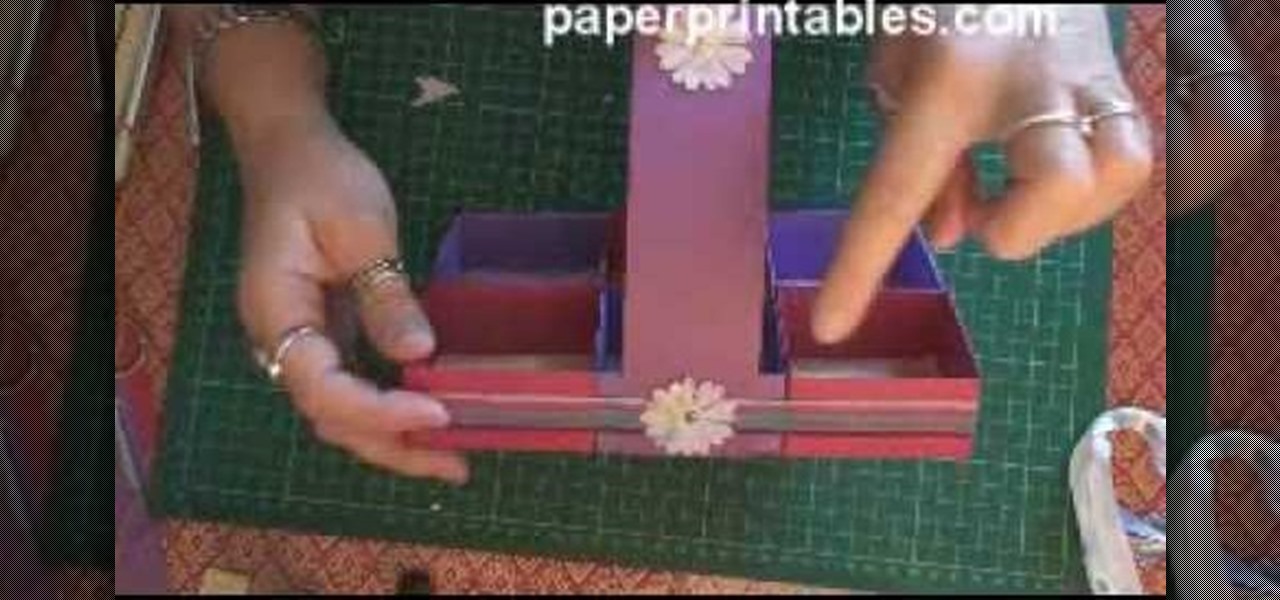
How To: Create a 4x4 tri-fold mini album
This video explains how to create a 4z4 tri-fold mini album. The first step is to score your designer paper at four inches and then fold along the score mark. The previous step is completed three more times until you have four score marks along your paper. Three separate pieces of paper are then cut measured at three and half inches. Your chosen picture is then glued into the center of your original twelve inch panel. using the three individual pieces of paper you must glue them around the pi...
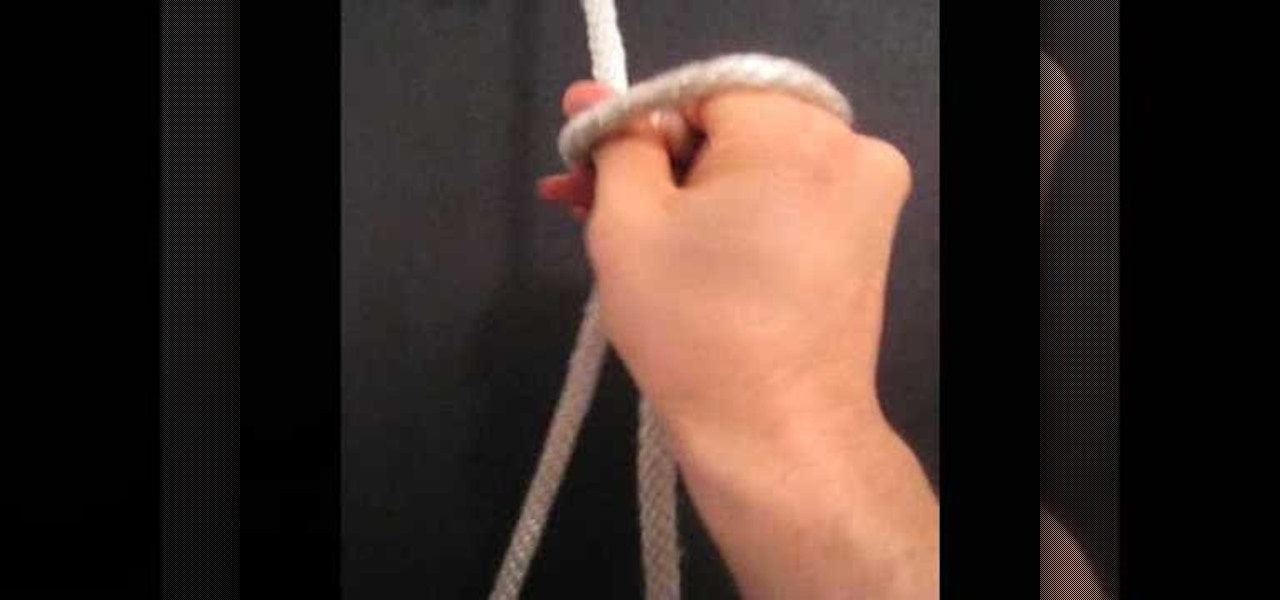
How To: Tie a Bowline knot with one hand
This is a video tutorial in the Arts & Crafts category where you are going to learn how to tie a Bowline knot with one hand. Doing this is really simple and easy and doesn't take any time at all. Hang a line from any support. Take the lower end, that is the running end in one hand and pass it around the standing end. Then take it out through the loop and pass the running end around the standing end and pull it out through the loop. Tighten the knot and it's done. It's really that simple and e...

How To: Make the fastest paper airplane
This video explains how to make a paper airplane for effectively. The first step is to fold your basic piece of paper into a triangle shape. After the creases in the paper have been created you must unfold the paper again. The second step is to fold the paper in another triangle shape starting from the opposite corner. After the shape has been formed you must refold the original triangle shape of the adjacent fold. The narrator then makes the plane into a smaller triangle shape by again foldi...
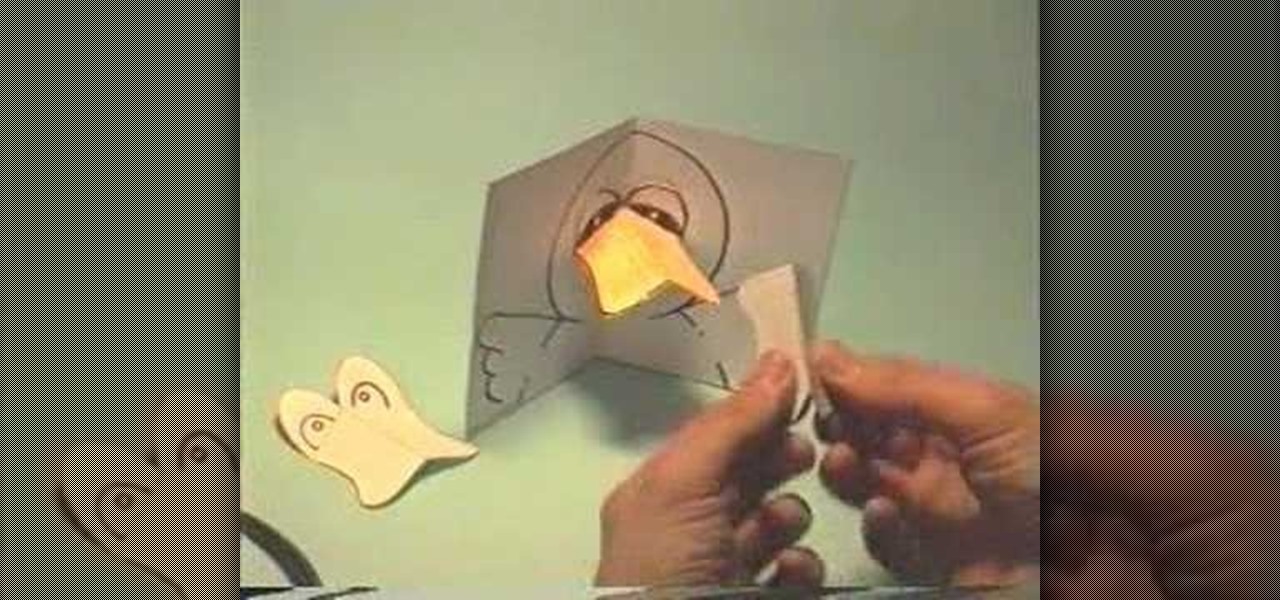
How To: Make a little duck pop-up card
In this tutorial, we learn how to make a little duck pop-up card. First, draw a duck on a 4x6 piece of paper. Simply draw the big head with the wings coming out at both sides. From here, fold it in half so it closes together. Then, make another small piece of paper that has the eyes drawn onto it and the beak colored in. Place this on the duck to get it in the right spot. Then, adhere it with glue on the top part and fold it in again. Now, when it opens up in the card, the beak will pop up, e...
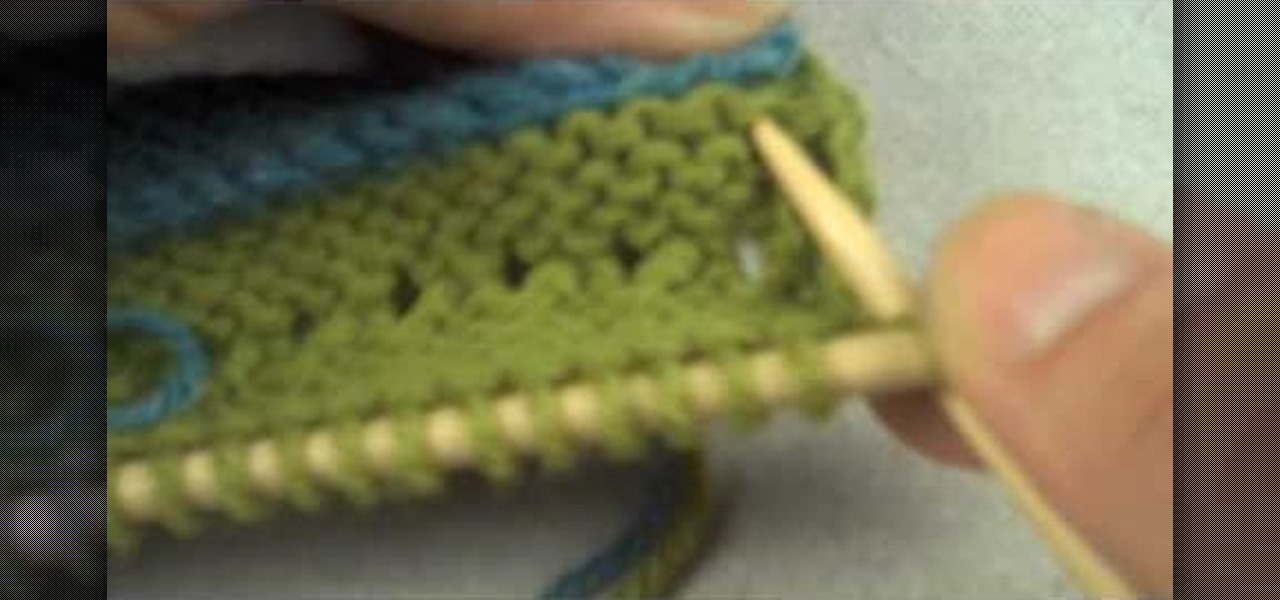
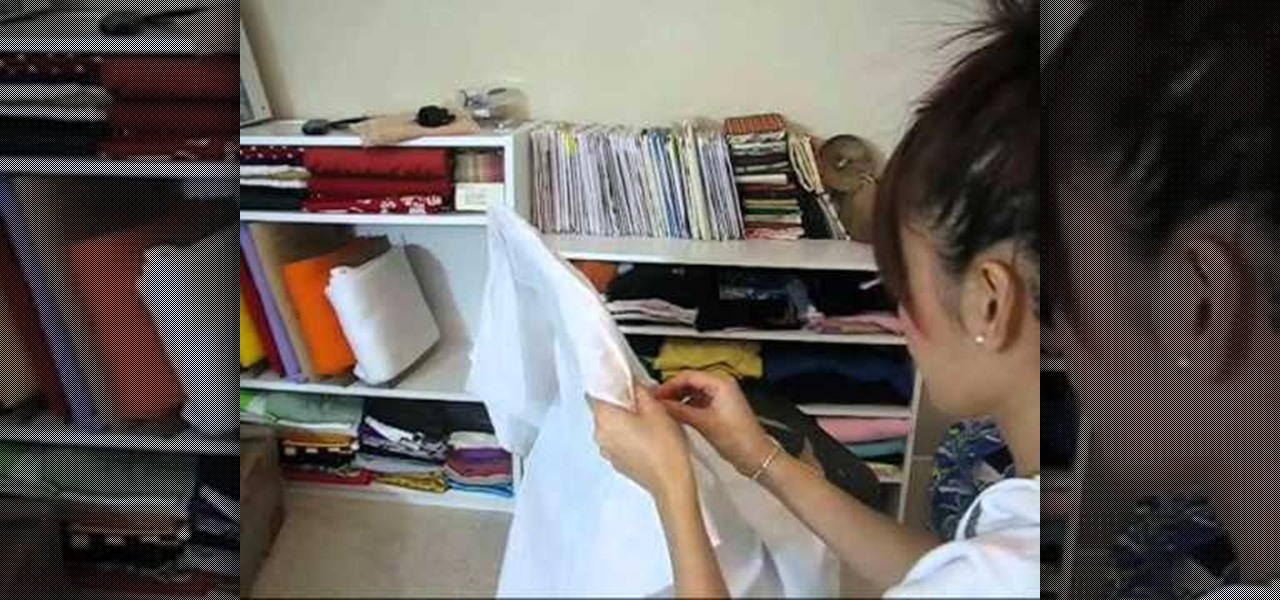
How To: Knit using the welt technique
This video begins with examples of different finished welt techniques being shown. A piece of finished cloth is then folded over twice and then held in place before stitching. The first knit is started on the left side of the cloth and continued until reaching the opposite side of the fabric. A wooden needle is then used to weave from right to left until the wooden needle is pushed all the way across the fabric for support. This step is repeated three times until the welt is visible and stabl...
How To: Make a pop-up book
In this tutorial, we learn how to make a pop-up book. First, take a piece of paper and fold it in half. From here, take another piece of paper that is the same size and fold it in half. Then, cut small slits in the middle where you folded it. Then, fold these slits into the middle and pop them out from it. Then, fold the paper again and it will be a stand for the middle. Add glue to the middle and then place what you want to pop up onto this. Let it dry and then fold it down. Then, glue the m...
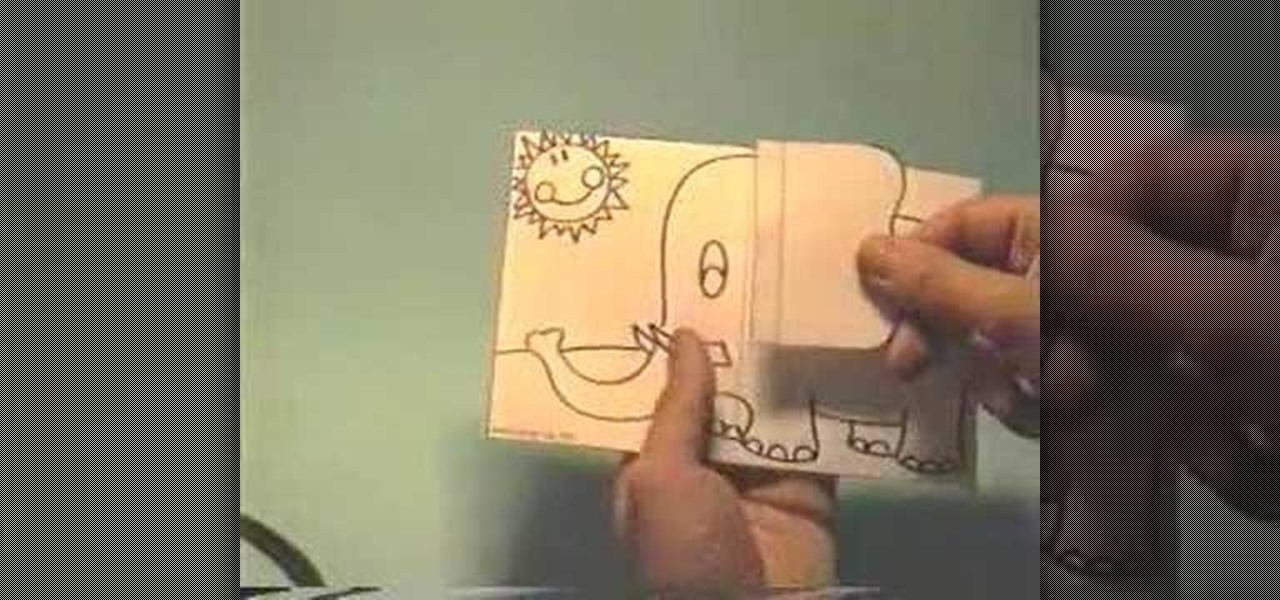
How To: Make an elephant pop-up card
In this video we learn how to make an elephant pop-up card. First, draw a picture of an elephant on a 4x6 card. You can make this anyway that you want and put whatever other characters on it as well! After this, clip a small piece of paper into the shape of an ear. Then, glue the side of it and place it onto the elephant. The other half shouldn't be glued so it will flap up! Then, put this on the inside of a card and color it. When the person receives it, it will be a pop up card, enjoy!

How To: Make a bear pop-up card
In this tutorial, we learn how to make a bear pop-up card. First, draw a big bear face on a 4x6 card. After this, fold the card in half so the face is in half. From here, use scissors to cut along the mouth line up until you reach the nose. After this, bend that flap up and down so it's creased and will flip both ways easily. After this, open the card back up and push the nose of the bear into the top. Then, close the card again and the nose will pop up from the page, enjoy!

How To: Make paper flowers for fun
This video explains how to make paper flowers in just a few simple steps. The first step to make a paper flower is to take a simple piece of white printer paper and draw any design you find suitable on the blank paper. The next step is to fold the paper over two times to create a smaller square. The second step requires the paper be folded from it's edges into a triangle shape. The last step involved opening the paper from below to give the flower a three dimensional shape. It is shown that m...
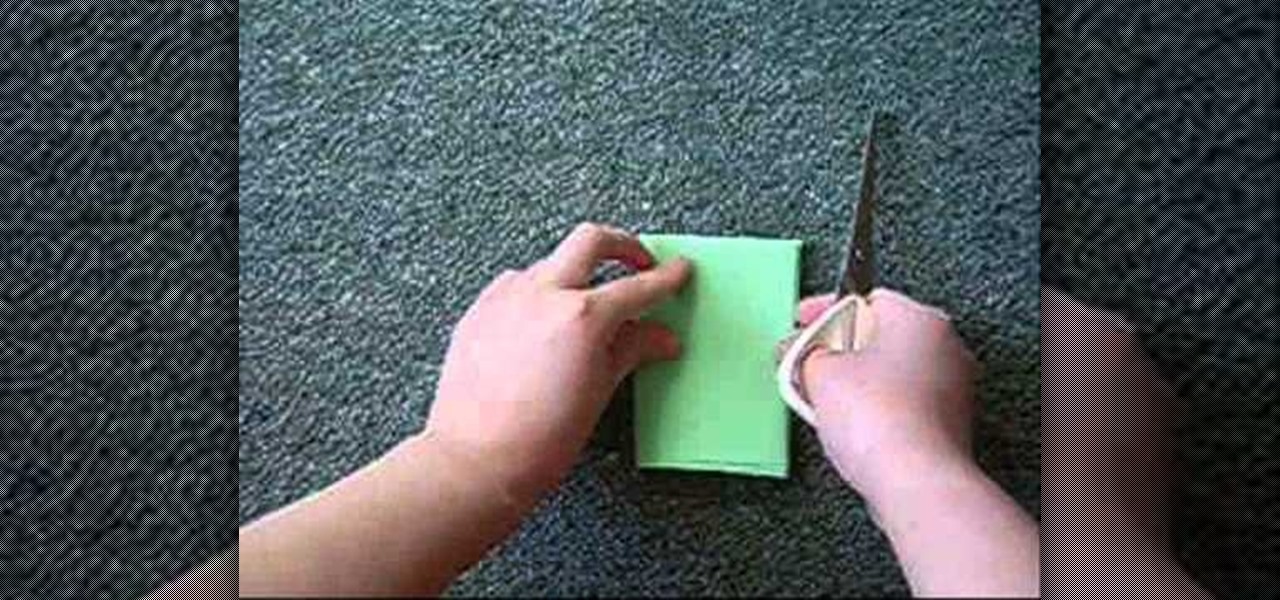
How To: Make a paper cup cake/muffin basket
In this tutorial, we learn how to make a paper cup cake/muffin basket. First, take a piece of paper and fold it in half. After this, curl the edges up from each of the corners until you end up with a small square in the middle of the paper. Use scissors to create slits where you will make the tabs to construct the box. After all the tabs are cut, push them together so you have a small basket with a neat line. To finish this up, add a handle to the top and push into the sides. Then, draw on an...

How To: Make an Easter pop-up card
In this video, we learn how to make an Easter pop-up card. First, draw a duck with a little baby duck on a 4x6 piece of paper. From here, fold it in half so you can see the image on the outside. After this, use scissors to cut the middle, where the little baby chick is at. Cut the top and bottom around it, but avoid cutting the sides. From here, bend that piece left and right. Then, open up the card and bend it into the middle. From here, take a piece of paper with eggs cut out of it and bend...
How To: Install a new battery into a watch
When your treasured watch no longer goes "tick tock," or does so now very slowly, you know it has one foot in the grave. Or does it?
How To: Fold a simple origami paper football
You don't need a real football in your hand to have fun. In fact, all you need is a piece of paper, some instructions, and a good imagination to play a rough and tumble game.
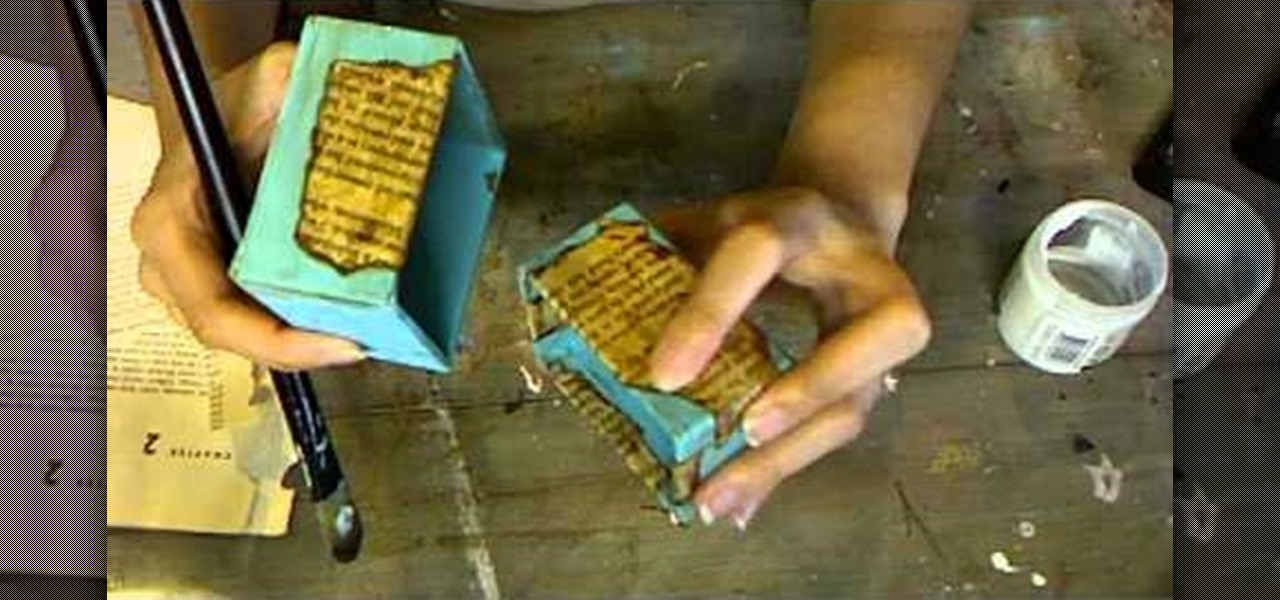
How To: Make a decoupage antique book page as an accent
Add a literary accent to your boxes or other arts and crafts project. This tutorial shows you how to take a page from a book and artificially distress it to make it look antique. Then decoupage it onto the side of your box or anywhere else you want a little antique flair!
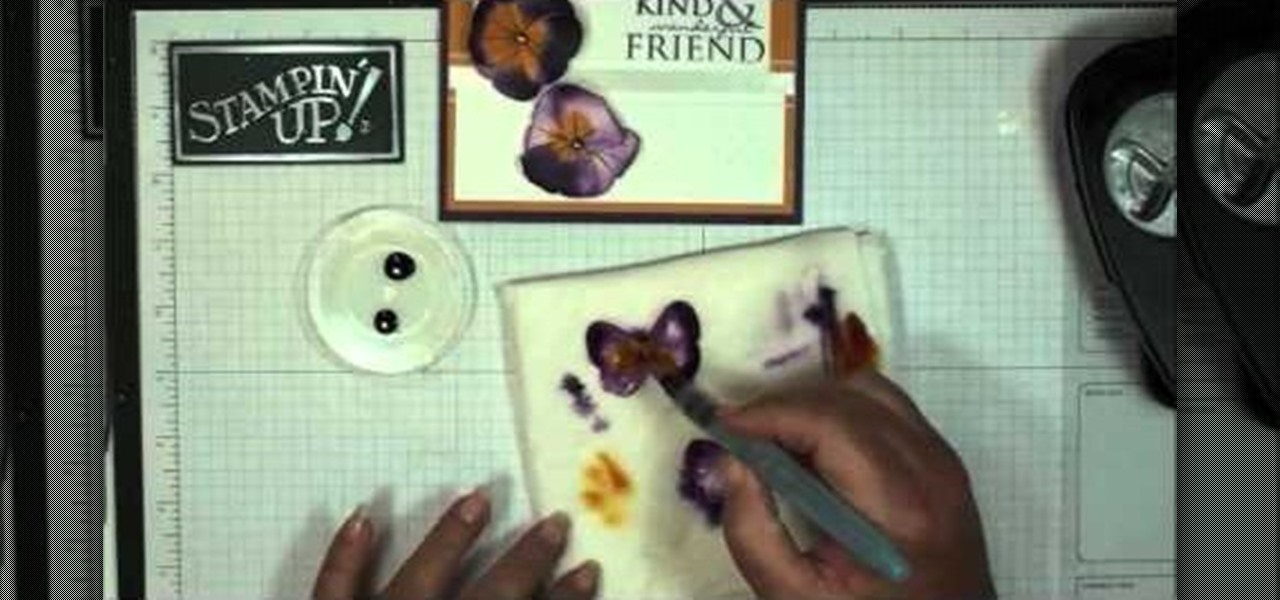
How To: Make a friendship card with butterflies and pansies
This is a unique idea you can use to make a card for a dear friend - or anyone you want to express your admiration for. Make a handmade card which features beautiful butterflies and pansies. All you need is some basic crafting supplies.
How To: Master the art of folding 3-D origami triangles and figures
Love the look of 3-D origami, and looking for a way you can replicate it for yourself? This tutorial shows you how to start with cutting your own rectangles, and then demonstrated how you can fold the interlaced triangles easily.
How To: Fold a transforming eight pointed ninja star out of origami paper
Fold your own eight pointed transforming ninja star! This is a modular origami model, where you will join eight identical modular pieces together to form the star. You can even make this out of Post-It notes, or any square paper!
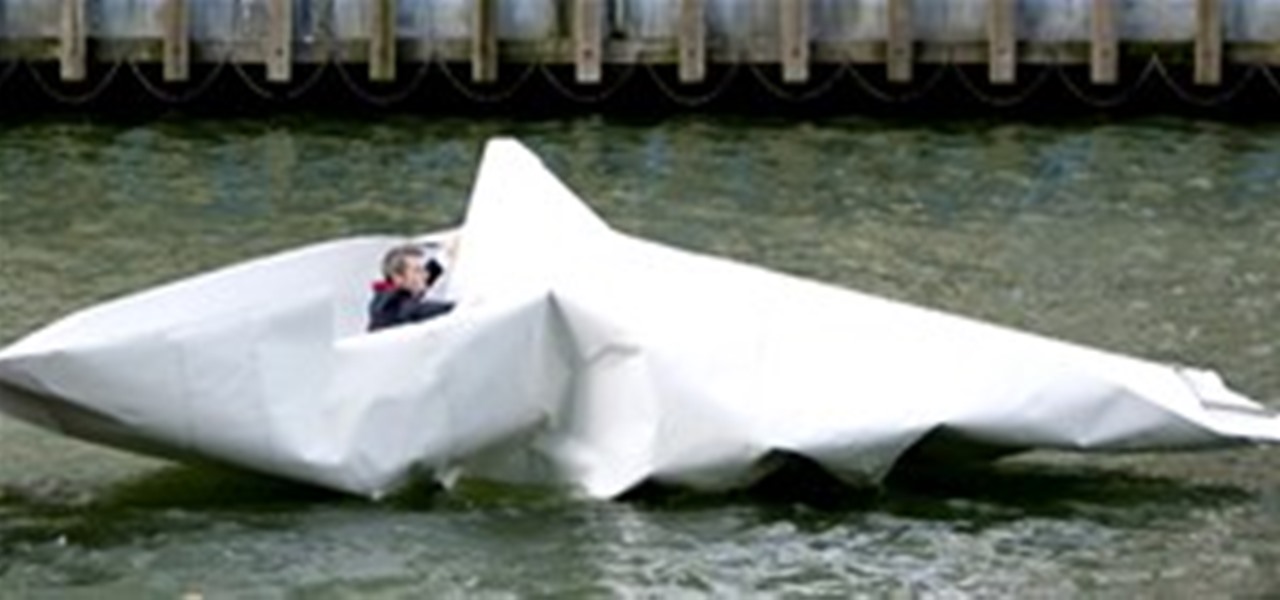
News: Massive Origami Boat Floats Down the Thames
Everybody has some kind of calling in life and it looks like artist Frank Bölter's is the construction of life-sized origami boats. He's done it before, and he's at it again. His latest creation recently set sail on the Thames as a part of London's Drift10 art exhibition.
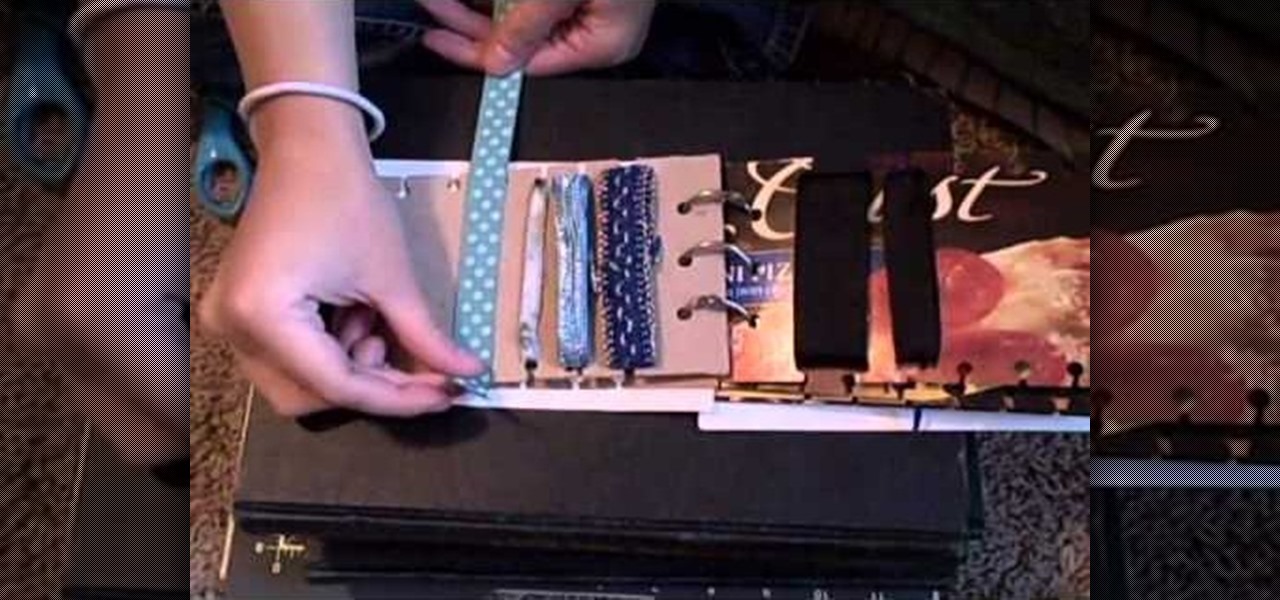
How To: Assemble a handy book to organize ribbon
If you're an arts and crafts fanatic then you probably have more than your fair share of ribbons lying all around the house. You snip off one long piece from the roll and then you have to go and tape it to itself again to keep everything in place, and then eventually you give up and the remaining ribbon ends up in an odds-and-ends jar.
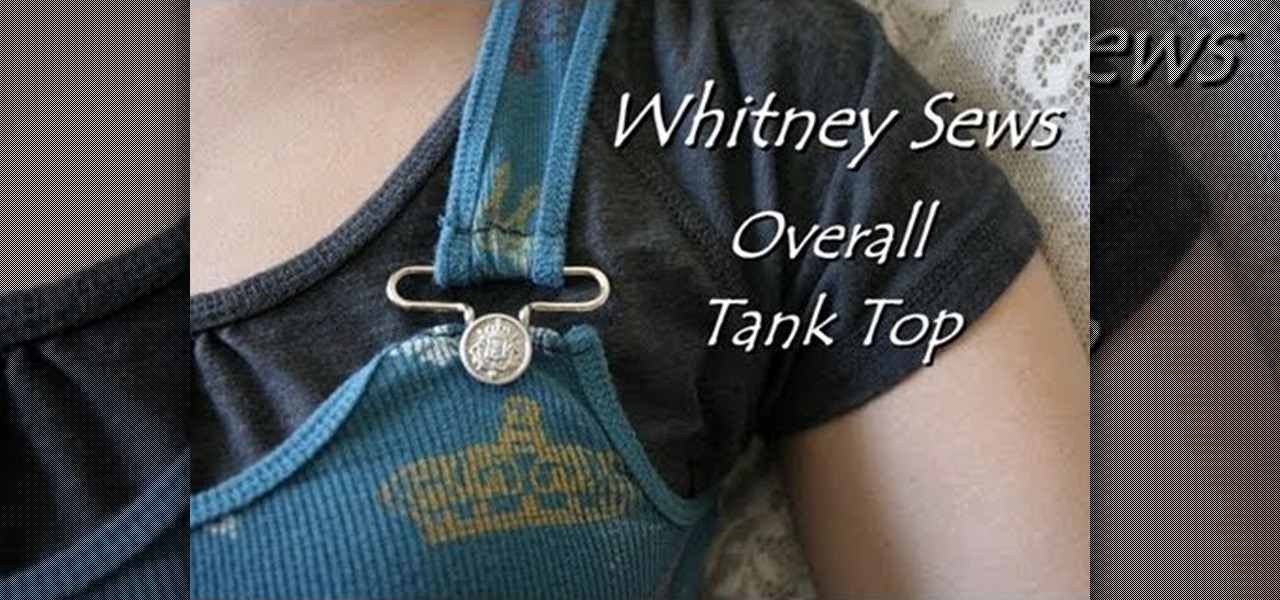
How To: Upcycle an old tank into an overall tank top
Got an old tank top that has a beautiful print but whose shape is a little out of fashion? Don't just let it collect dust in your closet or toss it over to Goodwill! Check out this DIY video to learn how to sew together an overall tank top.
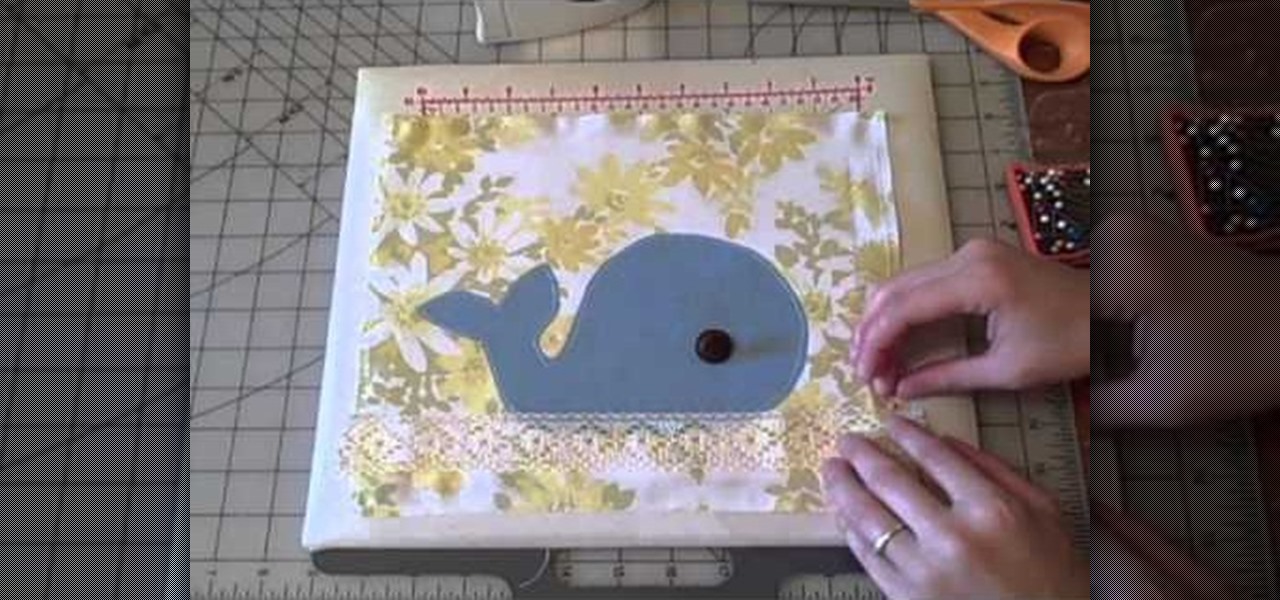
How To: Add personal embellishments to a tote bag
You're probably more than aware by now of the recyclable, reusable tote trend at most stores. Rather than waste a plastic bag, which is non-renewable, you tug along a few cloth tote bags to the store to put your purchases in.
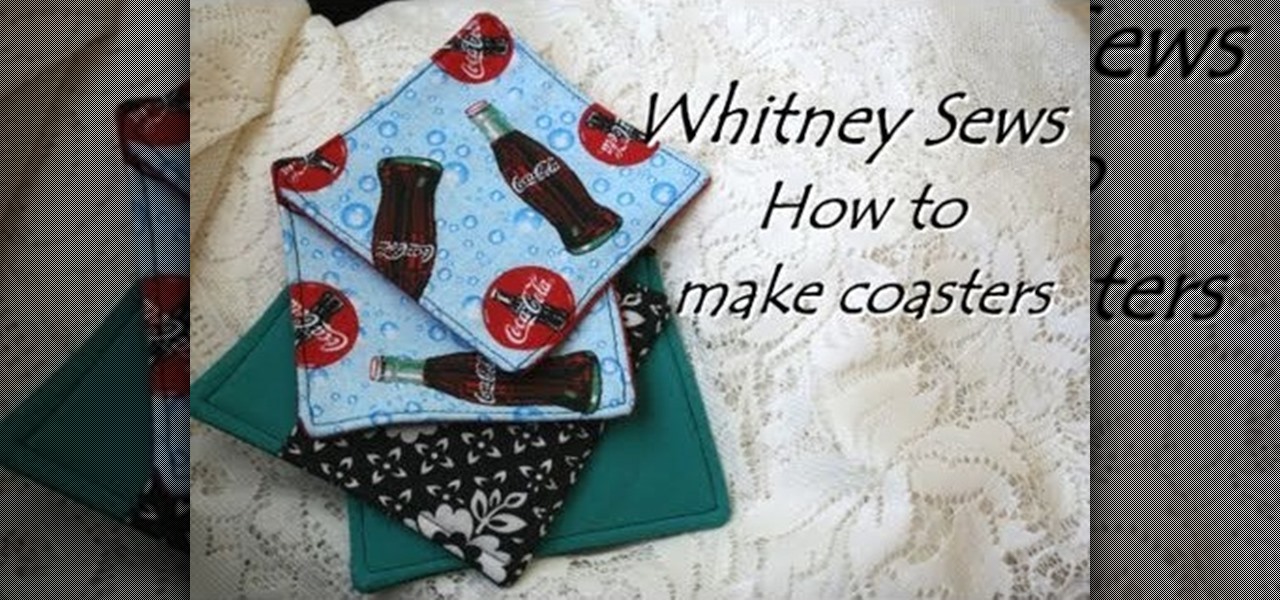
How To: Make eccentric fabric coasters with Whitney Sews
Still using those boring plastic coasters that you got at a sale at Ralph's? Add some personal style to the mix the next time you serve your friends some soda by making your own coasters!