

Active Arts & Crafts Posts


How To: Crochet preemie baby hats
Crochet a complete preemie hat from scratch using this tutorial. This tutorial is for the advanced student in crochet. It will take you about one hour to complete this hat and you will love it. Simple yet fabulous, for your dolls or for any preemie baby.
How To: Cast on from the Clover Wonder Knitter (6-pegged head)
If you've already tried the 3-pegged head on the Clover Wonder Knitter, it's time to try out the 6-pegged one. The Crochet Crowd shows you how to cast on from the 6-knobbed head with ease. This tool is a great way to experiment with your knitting skills!
How To: Cast on from the Clover Wonder Knitter (3-pegged head)
Clover's Wonder Knitter is a nifty little device that comes with a 3- and 6-pegged head. This is a great little device to experiment with and The Crochet Crowd is going to show you how to cast on from the 3-knobbed head. Also, check out the 6-pegged head tutorial.
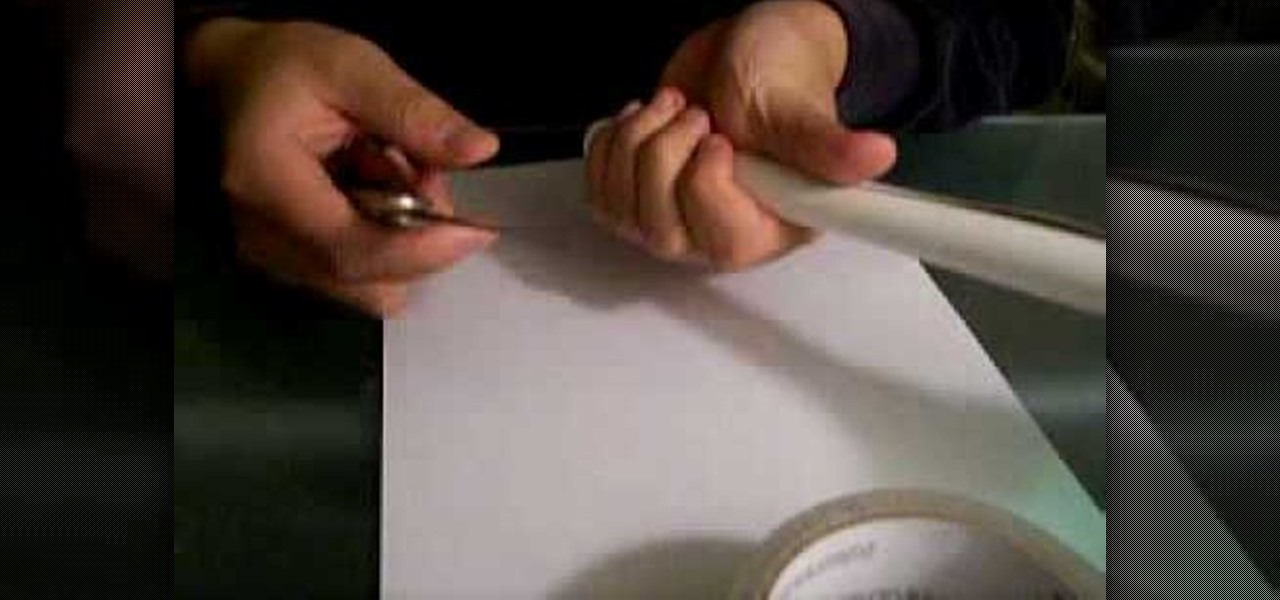
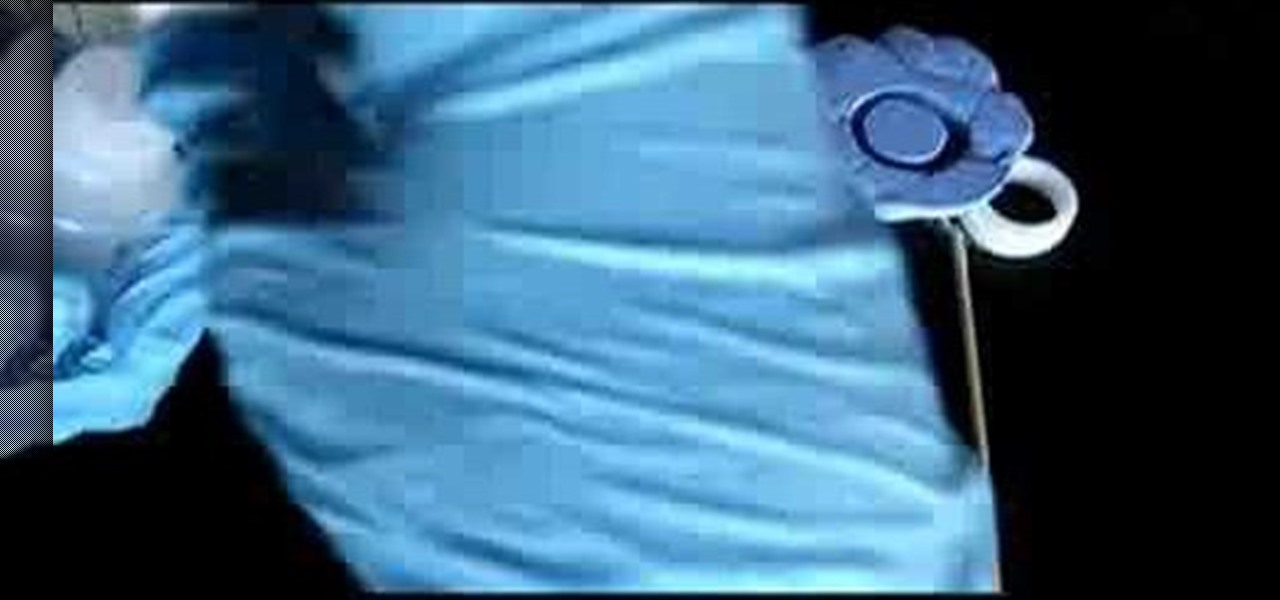
How To: Make a paper blowgun with a 50 foot range
Training to be a deadly assassin? Why not practice on something a little less dangerous, and make a homemade paper blowgun to begin with? In this two-part video tutorial, learn how to make a sturdy paper blowgun that shoots steel-top darts, and can shoot up to fifty feet. To make this paper weaponry, you will need: An old school notebook, scissors, tape, a hot glue gun, a soda bottle, and 2 paper clips.
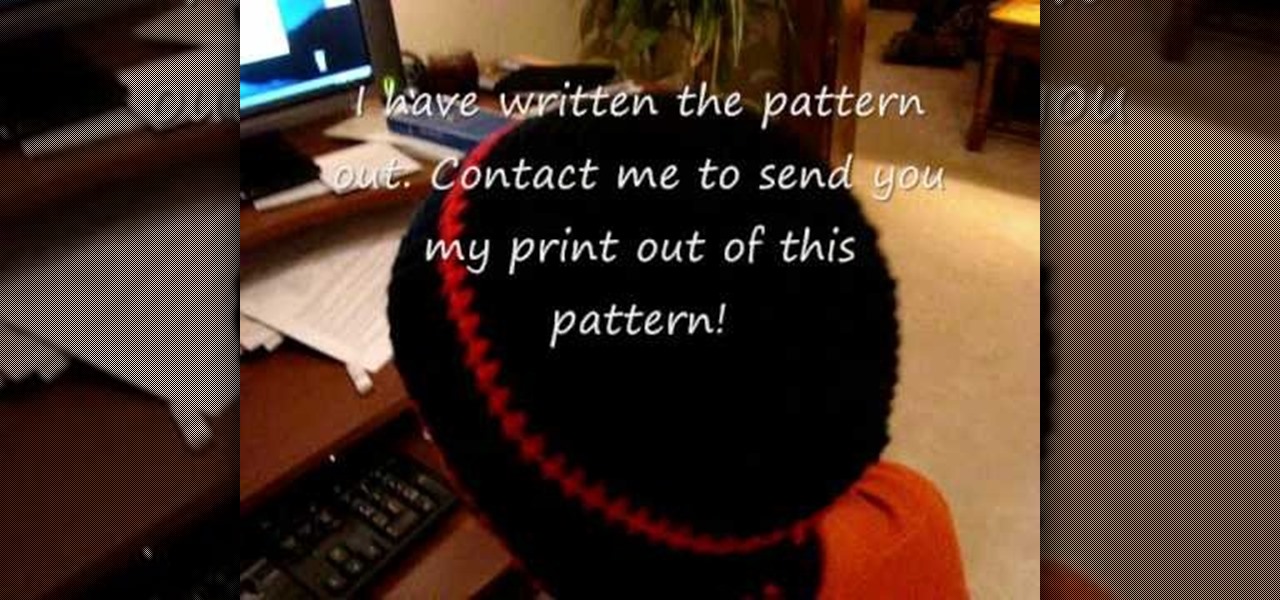
How To: Crochet a teen/adult beany hat
Mikeyssmail, the crochet instructor helps us how to crochet a binnie hat for an adult/teen. The hat is made for around 22-23 inches which has the same size as his as an add-out. He has incorporated two colors in it.

News: Larger Than Life Origami Boat
Artist Frank Bölter created a life-sized origami boat to sail up the Elbe. The boat cost £110 to construct back in '97 (today's conversion rate would put that at $175). The boat is 30 feet long, and weighs 55 pounds. It took 2 hours to construct, using a 170 square meter sheet of paper.

How To: Make quilled Christmas bells for a card
Are you really into making your own greeting cards? Then you should definitely introduce quilling into your craft oeuvre. Quilling creates a rococo 3D effect that makes every design you adhere to a card more interesting.

How To: Craft quilled wreaths and candles for a Christmas card
When it comes to presents, take it from us: Homemade and coming from the heart is nice, but there's very little that can beat a brand new iPad sitting beneath the Christmas tree. While we do prefer our presents nice and shiny, homemade cards are another matter.

How To: Make a Mexican friendship bracelet with an "S" spiral
Friendship bracelets are the most personal testaments to a good friend that you can make. Celebrate your friendship while creating a work of art that will last a very long time by weaving together this friendship bracelet with an "S" spiral.
How To: Sew leggings using the M6173 Pattern by McCalls
Leggings have the unique ability of covering you up (as long as we're not talking sub zero temperatures here) and keeping you warm and fashionable at the same time. They allow you to continue wearing certain fall dresses into fall. and look great in a pair of boots.
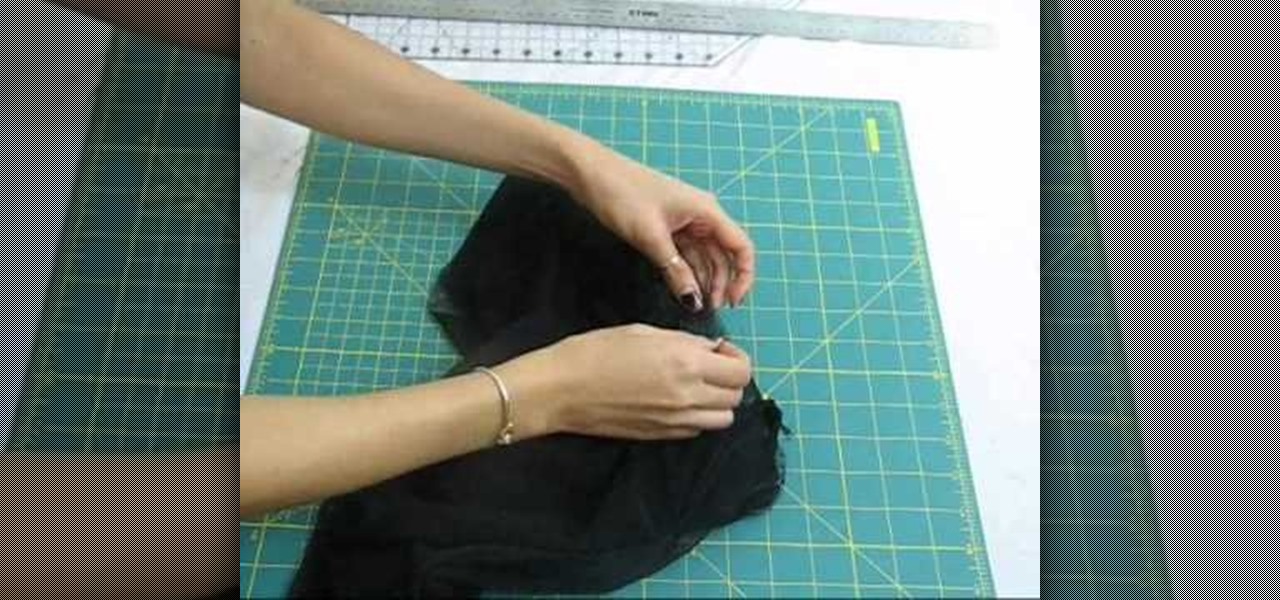
How To: Transform your old jeans into fashionable shorts
Got a pair of old blue jeans that fit you like a glove but you recently spilled a can of paint all over the bottom and now it just makes you look like a contractor every time you wear it? Don't toss your jeans out!

How To: Customize your jeans six different ways with DIY tips
Just because when you bought your jeans it said that it was just one type of jean - bootcut or skinny - doesn't mean you can't wear it in different ways by either rolling them up or by slashing in holes to make them look worn.

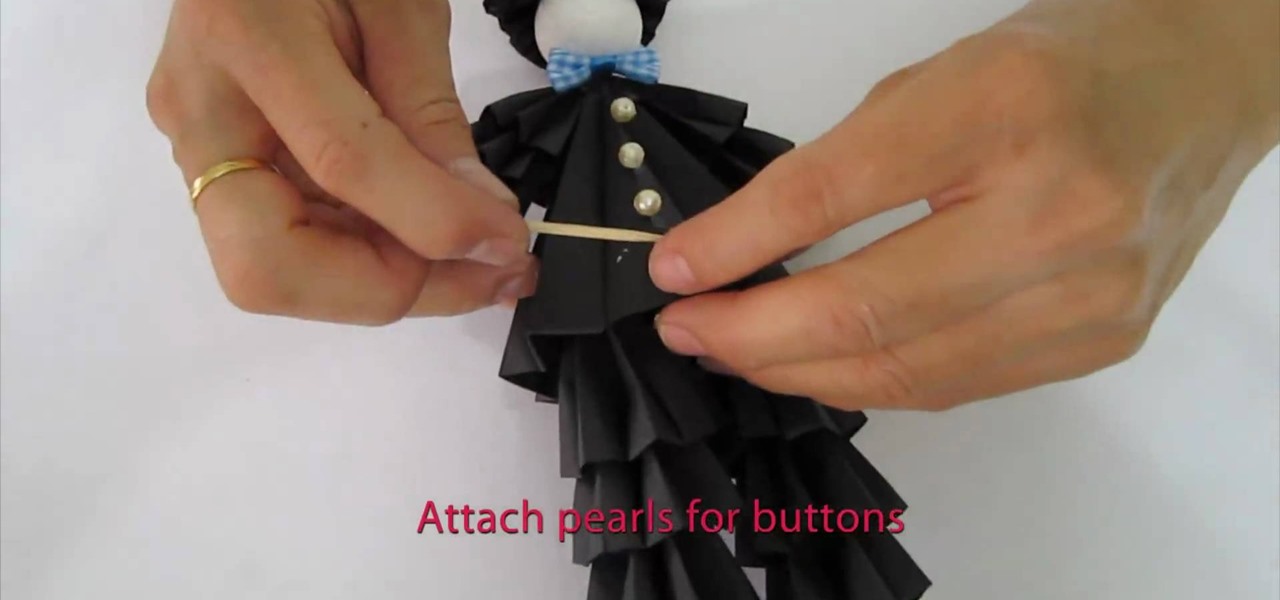
How To: Fold a beautiful Marie Antoinette paper doll
Queen Marie Antoinette was both loved and despised by her people, but there was one thing that was undisputed: Her exquisite (though often over-the-top style). Big poufy gowns with lots of underwire, towering white wigs, and frilly lace and ruffles made her look like a sparkly birthday cake.
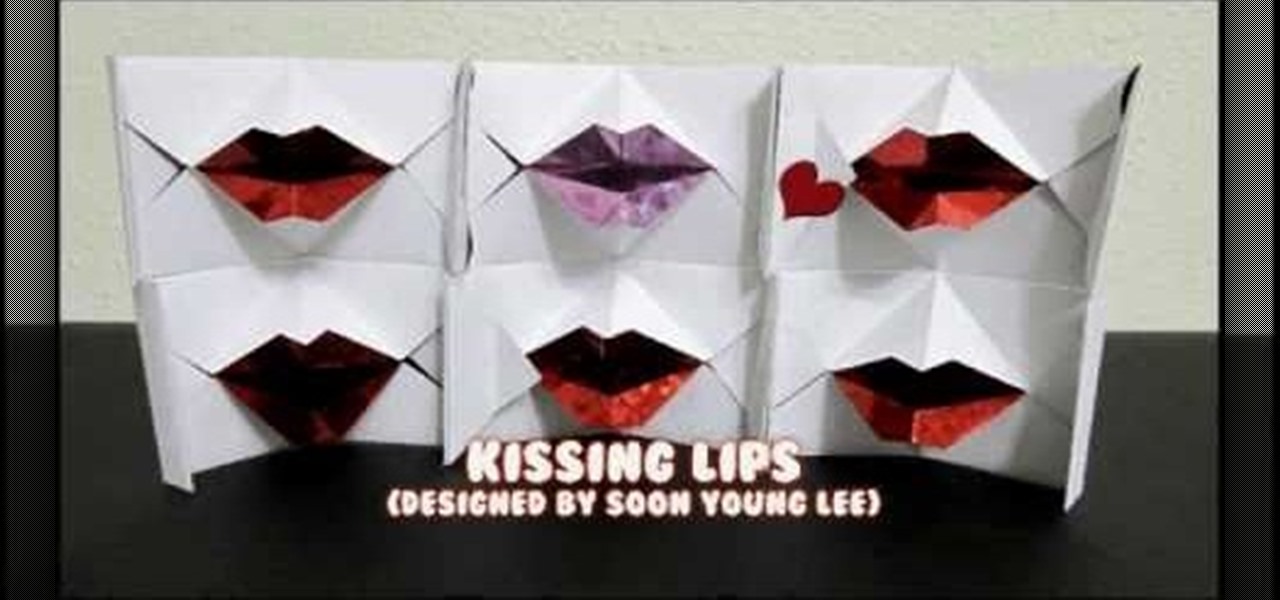
How To: Fold funny origami kissing lips
Kissing lips are probably not the first thing you'd think of folding using the origami method, but trust us, after you've tucked and molded that 1,000th crane you'll be dying for something new.
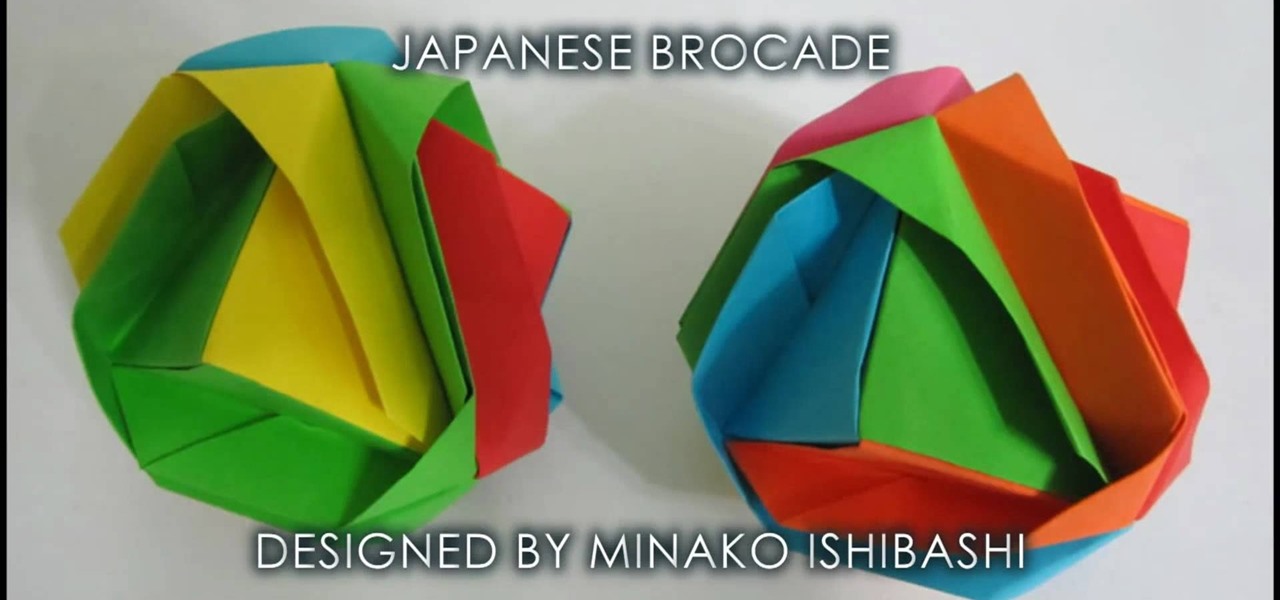
How To: Fold a beautiful origami Japanese brocade
When you hear the word "brocade," you're probably thinking more about richly woven fabric than folded paper. Well, this origami Japanese "brocade" is based on the brocade look - an embossed, studded cloth.
How To: Fold a 3D "Starlight Princess" origami woman
If you've folded more origami cranes and frogs than you can count and you've exercised your fingers to the point that they can do handstands when you're not looking, then you are ready to embark on a truly glorious origami folding mission.
How To: Fold an origami 3D man wearing a tuxedo
Okay, so you can probably tell by the picture of this project alone that it isn't for origami beginners. That being said, if you feel you are a true origami folding, finger aerobatic champion, then check out this video to learn how to fold a complex 3D man wearing a ruffled tuxedo.
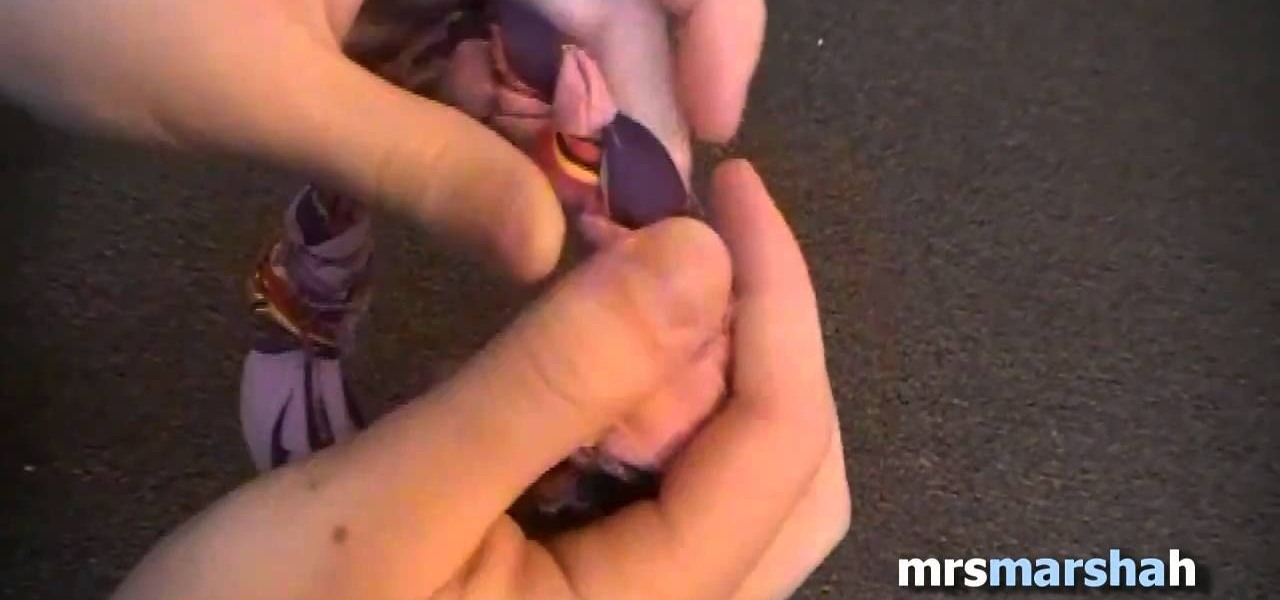
How To: Make a handwoven cloth bohemian bracelet
Bohemian jewelry is all the rage in Hollywood. Stars pay literally hundreds of dollars to get their bohemian jewelry fix, but you don't need to spend more than a few bucks - if any - to tote around a beautiful piece.
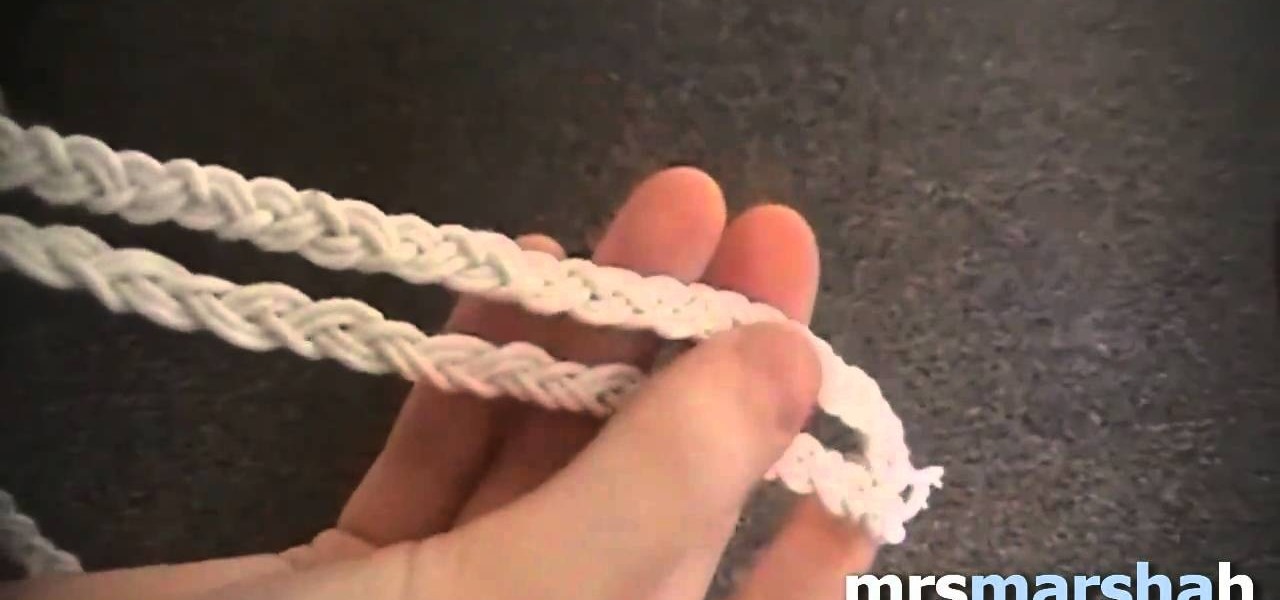
How To: Make a DIY double braided elastic headband
Bohemian headbands are everywhere in Hollywood. Fashion designer and waif Nicole Richie is frequently spotted wearing them around town as well as on the red carpet (showing just how versatile they are), and Mischa Barton doesn't leave the house without one.

How To: Upcycle old jewelry into a fashionable bracelet
Got a bunch of old mismatched (or just plain fugly) necklaces and bracelets lying around? If you're like us, your first thought is "ew" and your second thought is to toss them, fast. But there's more fashionable potential in these jewelry pieces than you think.

How To: Create your own Native American bone flute
The Native Americans were reknown for their ability to make use of every part of the animals they hunted for food. In this tutorial, you're shown how to make a traditional tribal flute from the leg bone of a deer.

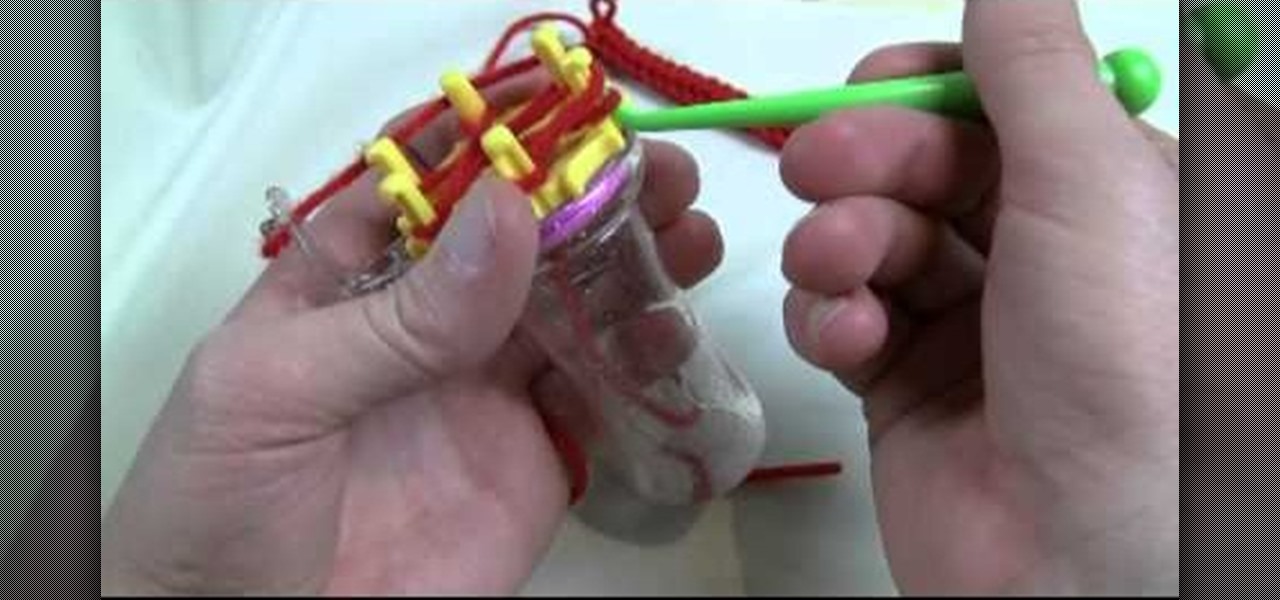
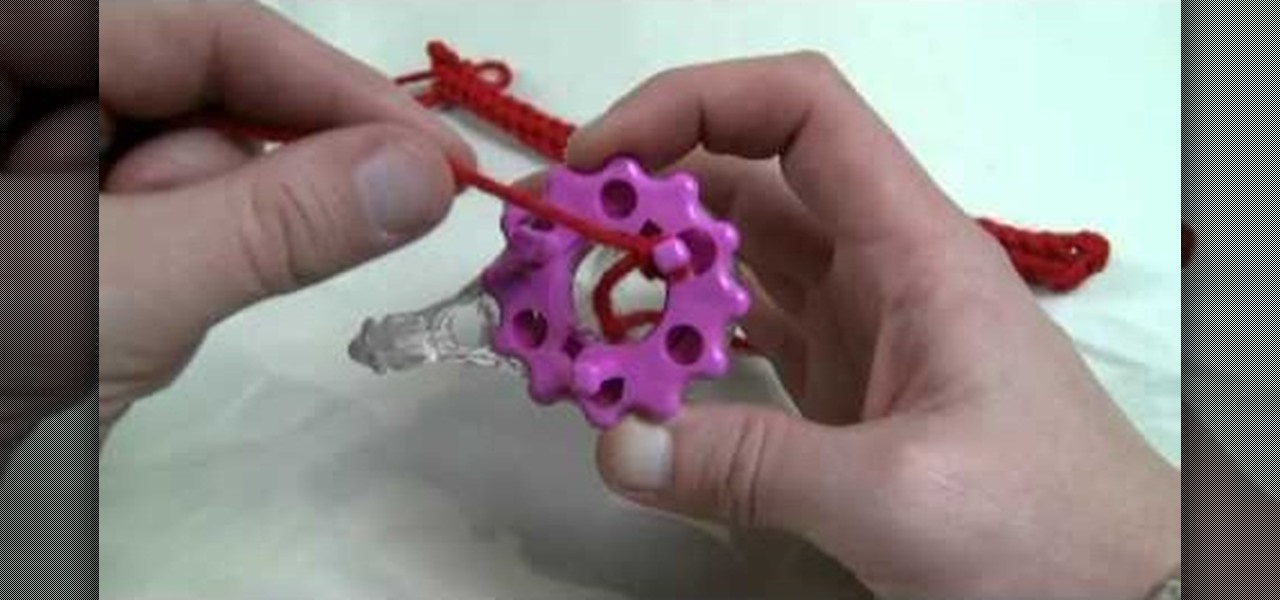
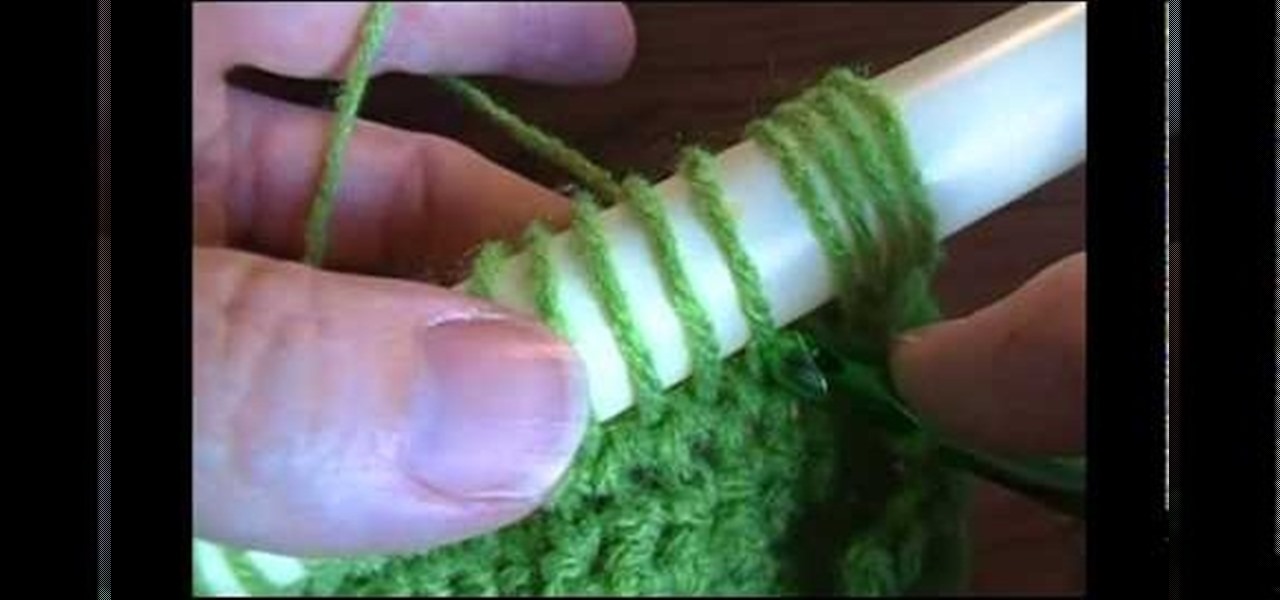
How To: Wrap a small knitting loom for crochet
A knitting loom is a small tool you can use to expand your repertoire of crochet stitches. It's not difficult to master the trick. Watch this video and learn how to string your own knitting loom with a styler pen.

How To: Fix frays when knitting with homespun yarn
Fix your frays! This home knitting video tutorial will teach you how to solve fraying problems when knitting with homespun yarn. For more information, including detailed, step-by-step instructions, and to get rid of frays in your own homespun yarn, watch this helpful video tutorial.

How To: Make a festive paper box with Dawn of Dawn's Stamping Thoughts
Looking for your next craft project? Why not a bright and festive paper box? This video guide from Dawn of Dawn's Stamping Thoughts will teach you everything you need to know. For all of the details, and step-by-step instructions, take a look.

How To: Crochet a scarf with a left-handed Afghan or Tunisian stich & a crochet shell
Learn how to use a left-handed Afghan (or Tunisian) crochet stitch with a crochet shell when crocheting a scarf. You can easily modify the size to make a baby or a full-sized afghan. For step-by-step instructions, take a look.

How To: Make a homemade Diwali greeting card
For this Diwali, try making your own homemade greeting card for family members and friends. You don't need much to make your own card for Diwali (aka Divali, Deepavali or the festival of lights). Even children can make DIY cards with some raw or unused materials. Diwali is a five-day festival, celebrated by Hindus, Sikhs and Jains, and usually occurs from mid-October to mid-November.
How To: Crochet a looped fringe using the broomstick technique
Learn how to to make a light, non-chain-stitched loop fringe using broomstick crochet. Though called the broomstick technique, you needn't use an actual broomstick, just something that recalls the shape of one—like, for example, a cardboard paper towel tube. For detailed instructions, watch this free video crochet lesson.
How To: Create a chain loop fringe when crocheting
This video presents an overview of how to do a loopy fringe when crocheting. It's easy; all you'll need are loops of twelve chain stiches and then single crochet. For a complete overview, and to get started incorporating loopy fringes into your own garments, watch this video tutorial.

How To: Create a twisted Solomon Bar paracord bracelet
In this clip, we learn how to make a twisted Solomon Bar bracelet with paracord. Once you get the hang of it, you'll find it's quite easy. For more information, including detailed, step-by-step instructions, and to get started making your own paracord bracelets, watch this video tutorial.

How To: Make a cute Thanksgiving turkey hair clip
This is a great seasonal arts and crafts project that you can do to turn a basic barette into a Thanksgiving themed hair clip. By using just a little bit of fall colored ribbon and some brown felt, you can make a cute turkey barette!
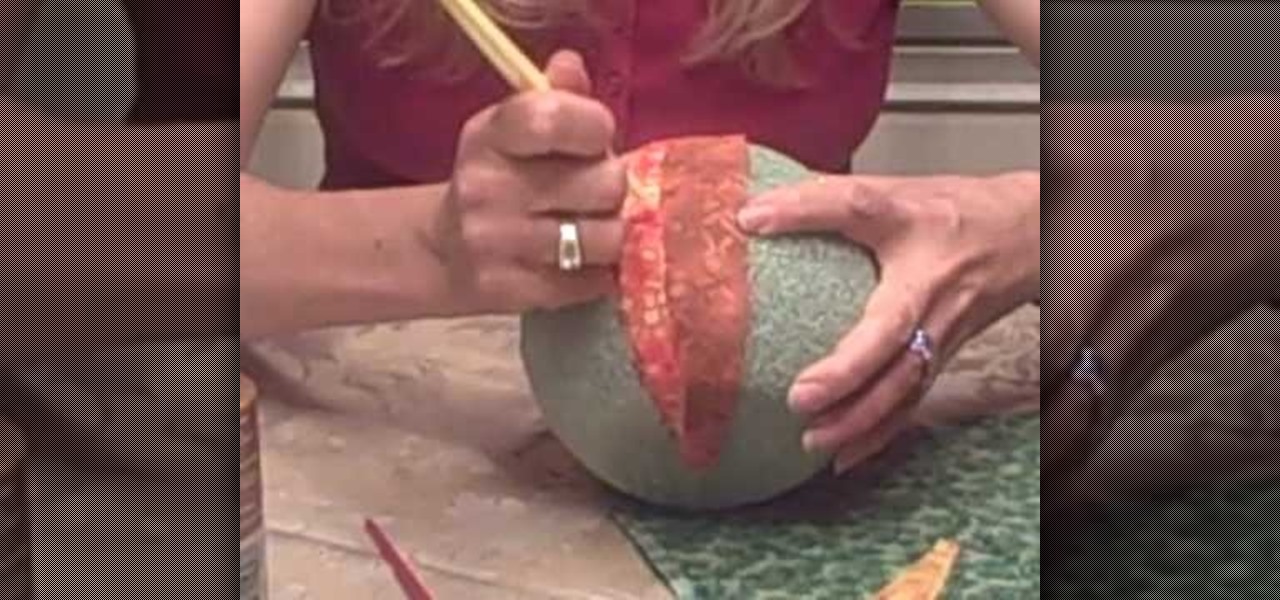
How To: Create a faux quilted pumpkin for a fall decoration
Add a little fall feeling to your home with this lovely craft - create faux quilted pumpkins. You will need a styrofoam ball, fat quarters of fabric in various fall colors, crafting glue, a paint brush and a small piece of wood to use as the stem.
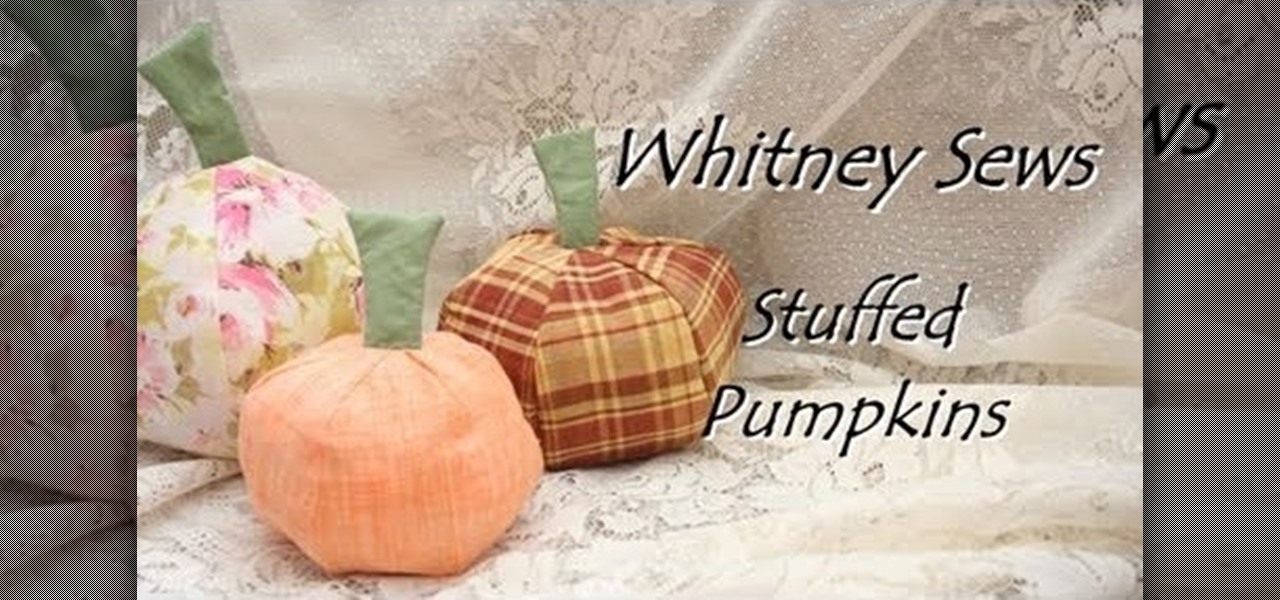
How To: Sew stuffed pumpkins as an autumn decoration
Here's an adorable and fun decorating idea that you can use all through the autumn! Make a patch full of adorable stuffed fabric pumpkins. You'll need some orange and green fabric scraps, straight pins, a hand sewing needle, scissors and stuffing or batting.
How To: Cast polyester resin rings
In this instructional jewelry making video, learn the process of making rings out of clear polyester resin, a type of moldable plastic. This tutorial shows you everything from mold-making to embedments. Use this same technique to make RFID rings, which are clear plastic containing unique microchips useful for electronics projects where you want to identify a specific person wearing one. Thanks to Townsend Atelier for the sample of Knead-a-Mold, a welcomed (and much easier to work with) altern...
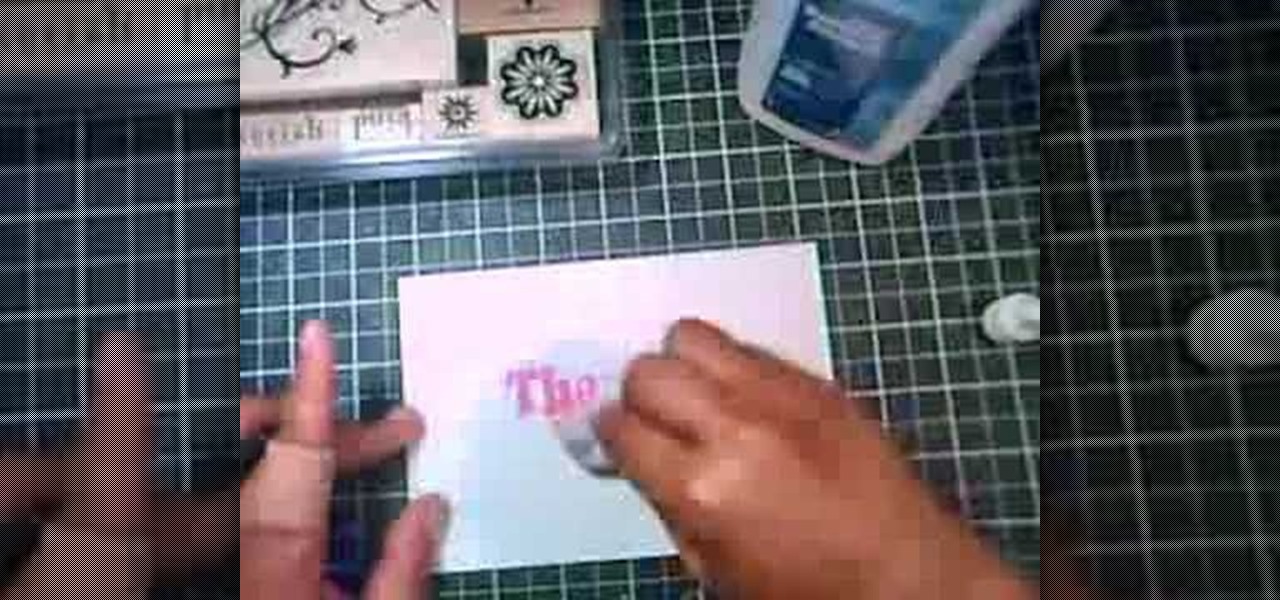
How To: Create a marble effect for paper design
In this tutorial, we learn how to create a marble effect for paper design. You will need: rubbing alcohol, ink, stamps, and a cotton ball to get this effect. To start, you will Need to first dip the cotton ball in some rubbing alcohol and then add it to the ink. Dab this onto the paper all over. From here, you will color your stamps with dye ink and stamp it over the paper where you made the marbled effect. When finished, you will have a cute image over the marble design and then you can add ...
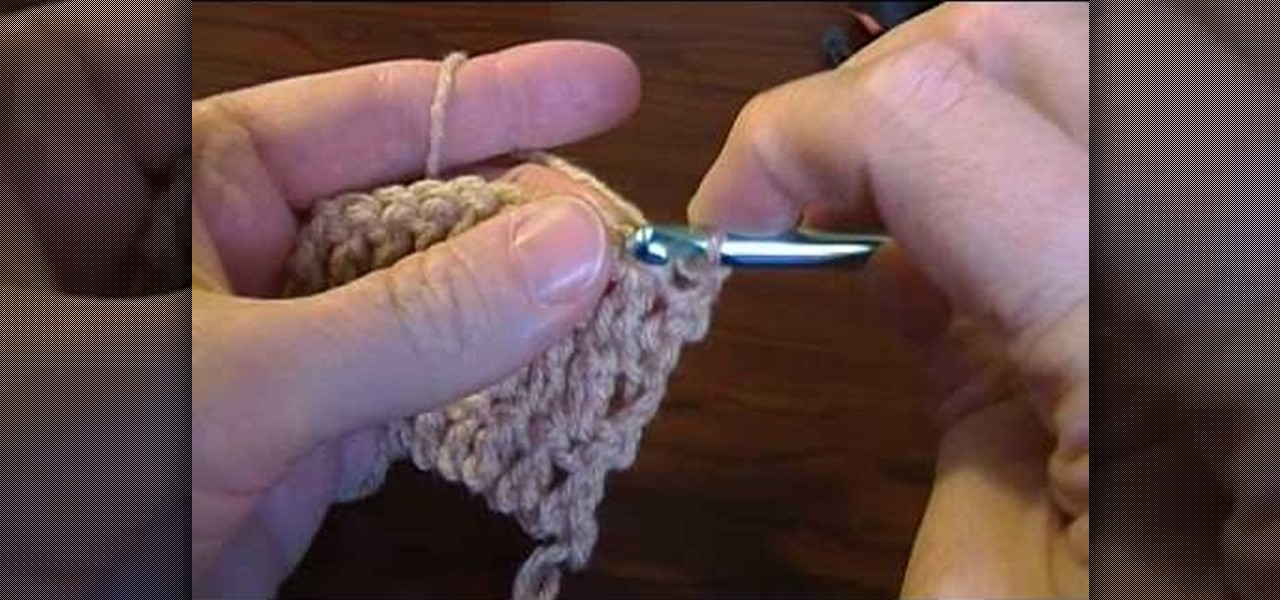
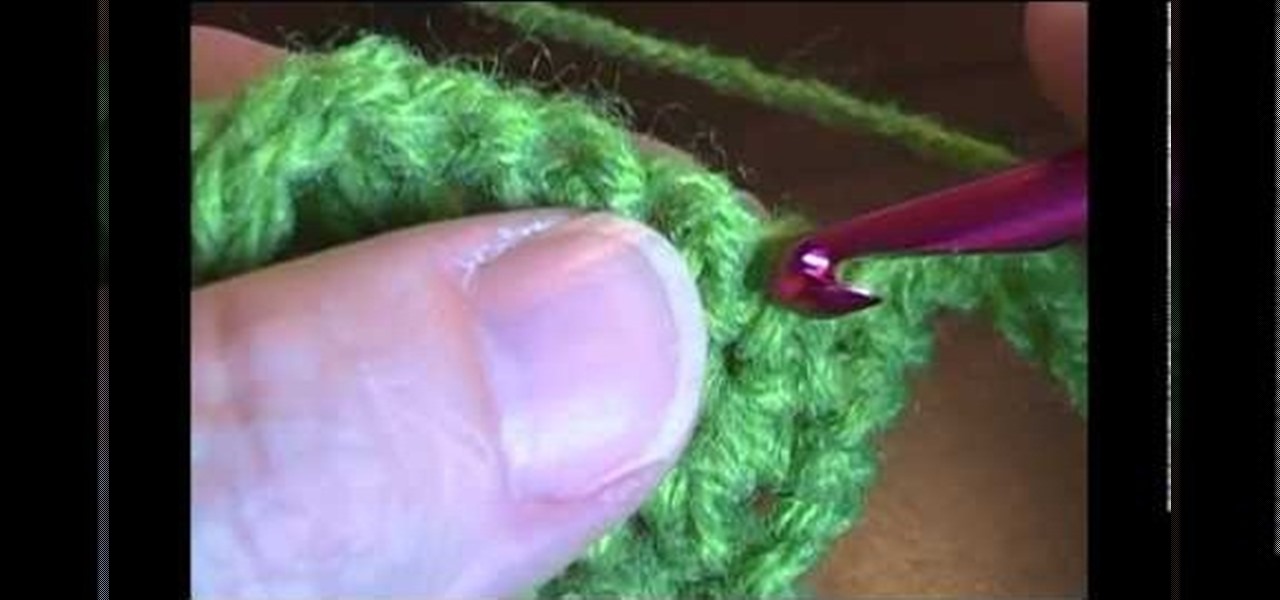
How To: Increase and decrease double crochet
In this tutorial, we learn how to increase and decrease double crochet. To practice this, first make a chain of nine and then double crochet in the fourth chain from the hook. Increase by one crochet as you continue to go, this will make your item larger and larger. If you find yourself going from an increase to a decrease, this can easily be done. You will simply decrease the crochet as you go, do not skip one or it will create a hole. Practice doing this to get the proper crochet you want t...

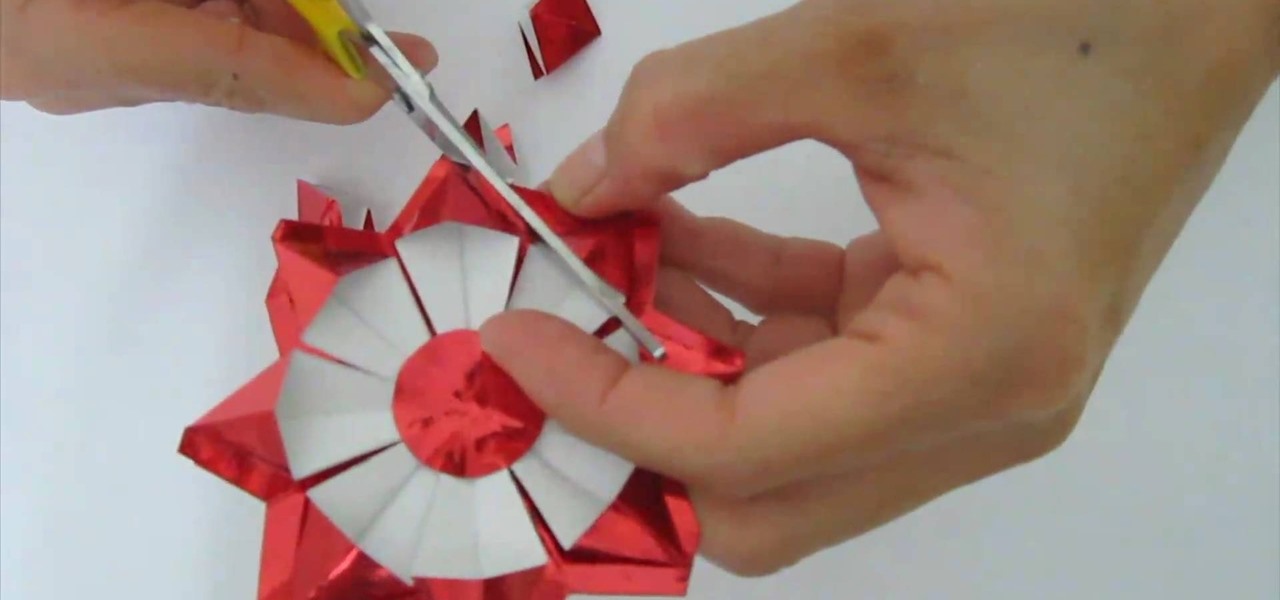
How To: Make an array of paper roses
In this tutorial, we learn how to make an array of paper roses. Use any colors of paper you want with this to add a special touch to them! Now, you will take the pattern or color of your choice and fold it up into a square. after this, fold it into a triangle and then cut the edges of this off. After this, cut the bottom off and open it up, it should be a flower shape with a hole in the center. After this, repeat with several other papers and then cut the flowers up into halves. From here, yo...
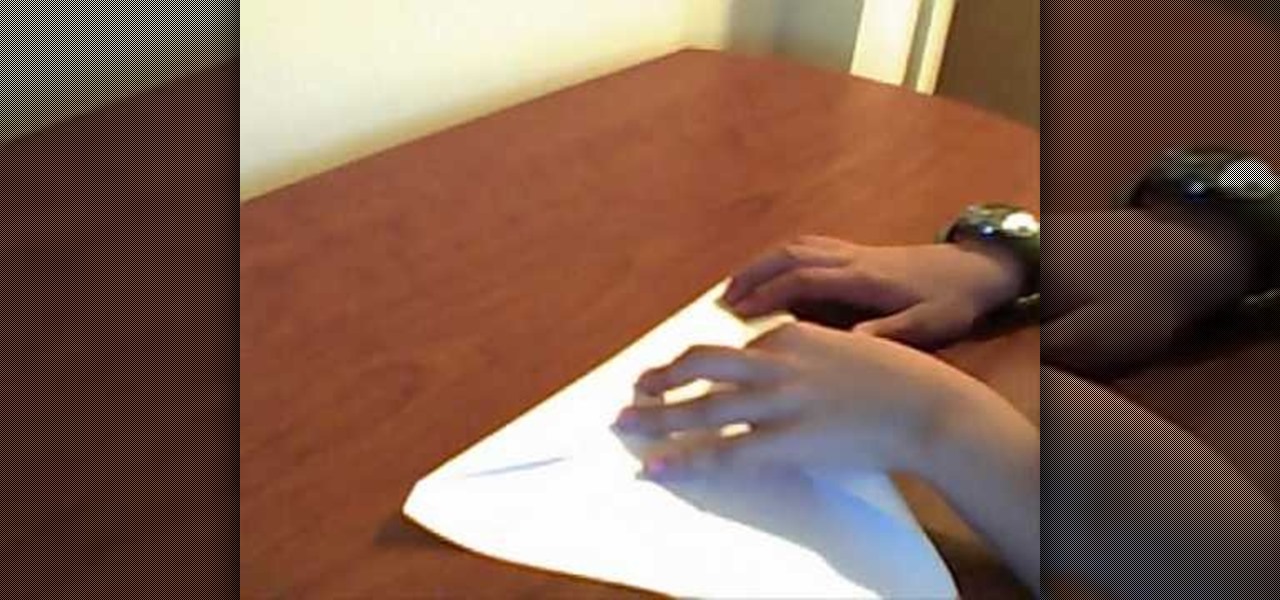
How To: Make a tight paper airplane
In this tutorial, we learn how to make a tight paper airplane. First, fold the paper in half horizontally then open it back up. Then, grab the top of the paper and fold each edge into the middle to create a triangle. After this, open it back up and fold triangles down on each of the sides. Continue to fold in the triangle shape in the middle of the paper until you have a large triangle shape. Fold in half again and then push the edges down so you can hold onto the bottom. From here, you can t...

How To: Make a hair bow with and without a tail
In this tutorial, we learn how to make a hair bow with and without a tail. First, take a long and thick ribbon in your choice of color and a thin ribbon in your choice of color. After this, grab a needle and thread and set it aside once it's threaded. Then, take your thick ribbon and fold it into a bow shape. From here, take the needle and sew the ribbon down the middle of the bow. After this, take the smaller ribbon and tie this in the center of the bow. When finished, you will glue this to ...

How To: Solder jump rings
In this tutorial, we learn how to solder jump rings. This will give the rings more strength if you are doing a chain or a bracelet, and it won't break on thread. You will need a flame, wick candle with a number four tip, and something to light the torch. Start out by closing the gap in your jump ring until it's aligned and there is no gap left. Then light the fire for your solder and use it to cover over the jump ring. Once a few seconds have passed, you will be finished with the soldering of...
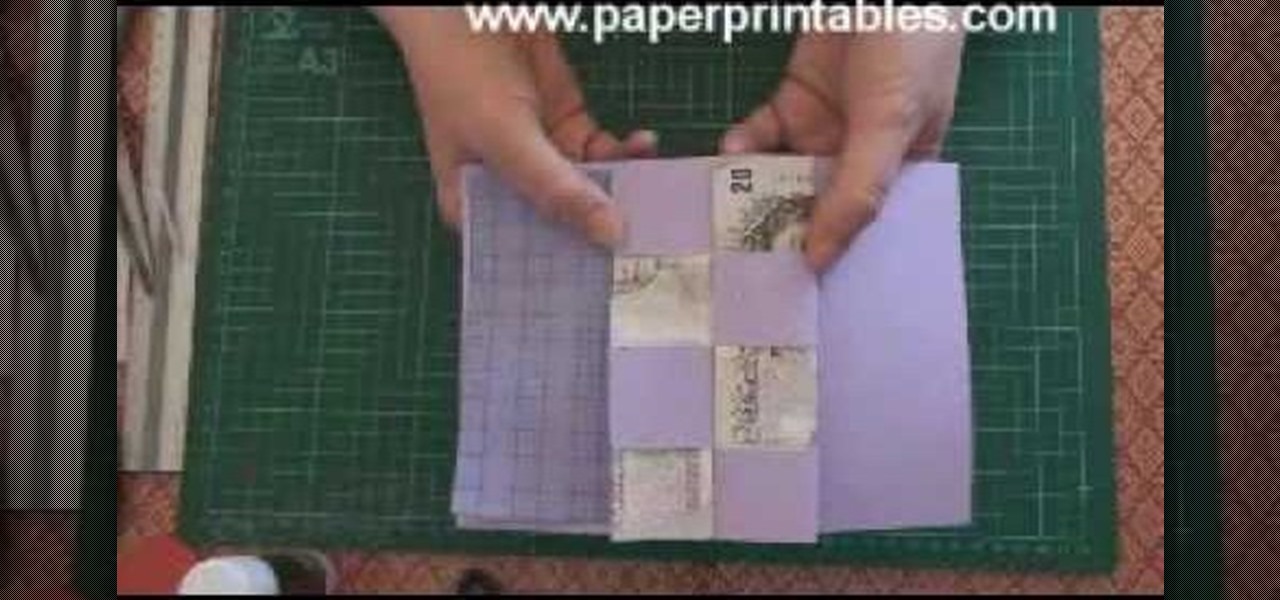
How To: Make a pop-up concertina money card
In this video, we learn how to make a pop-up concertina money card. To start, you will first need to take a piece of paper and measure your money on the inside of the paper. Then, cut this out in a strip and cold your money in half lengthwise. After this, measure the depth out from the center using a ruler. Then, fold the paper in half and on the sides where you marked. Then, you will cut three holes in the middle of the paper and these will hold the money in. Stick the bill in the middle of ...