

Active Arts & Crafts Posts


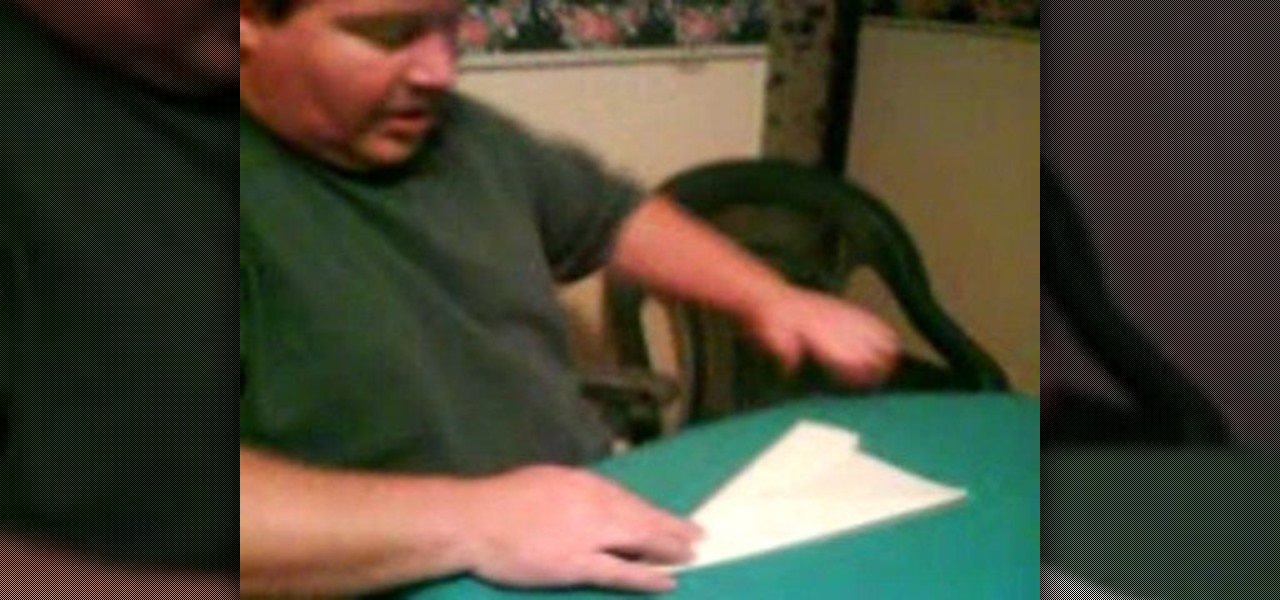
How To: Make a simple paper airplane that flies far
In this video, we learn how to make a simple paper airplane that flies far. First, fold the paper in half and make sure it's perfectly even. From here, unfold the paper and fold the edges into where the crease is. After this, do the same on the other side and make it perfectly even. Then, fold the side over to the middle again and do the same on the other side. Next, make sure the creases are solid and then fold it in half. Now, to make the wings you will fold one side down, putting the tip d...
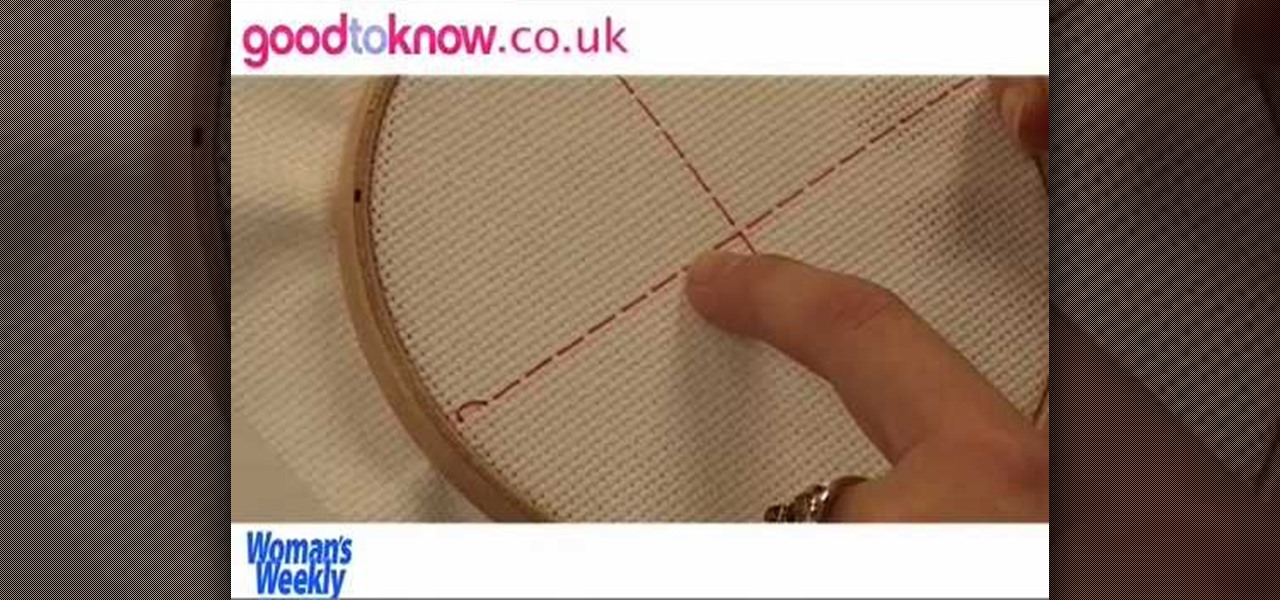
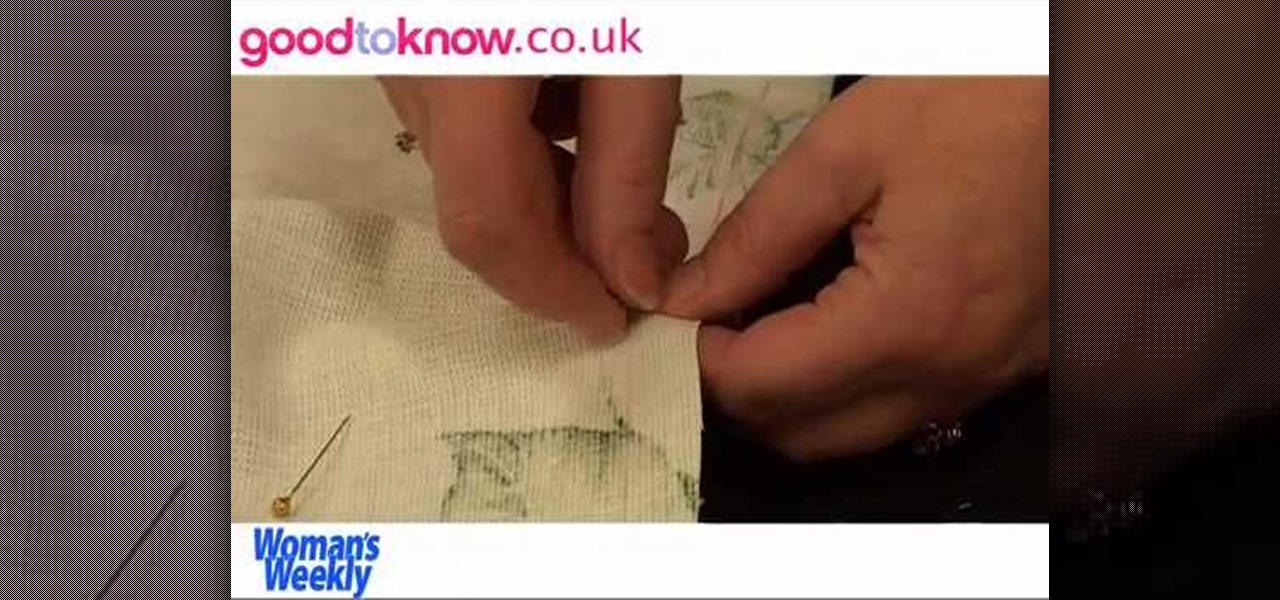
How To: Cross stitch
In this tutorial, we learn how to cross stitch. This is easy to master and just involves using one stitch. To start, you will first need to line your fabric up with the needle and mark the center. From here, secure it to the back with a small knot. Next, you will put this around an embroidery circle and then tie the thread to the needle. From here, start with the center point and count out how many spots you need to go on the design. After this, create a diagonal stitch across one block of th...

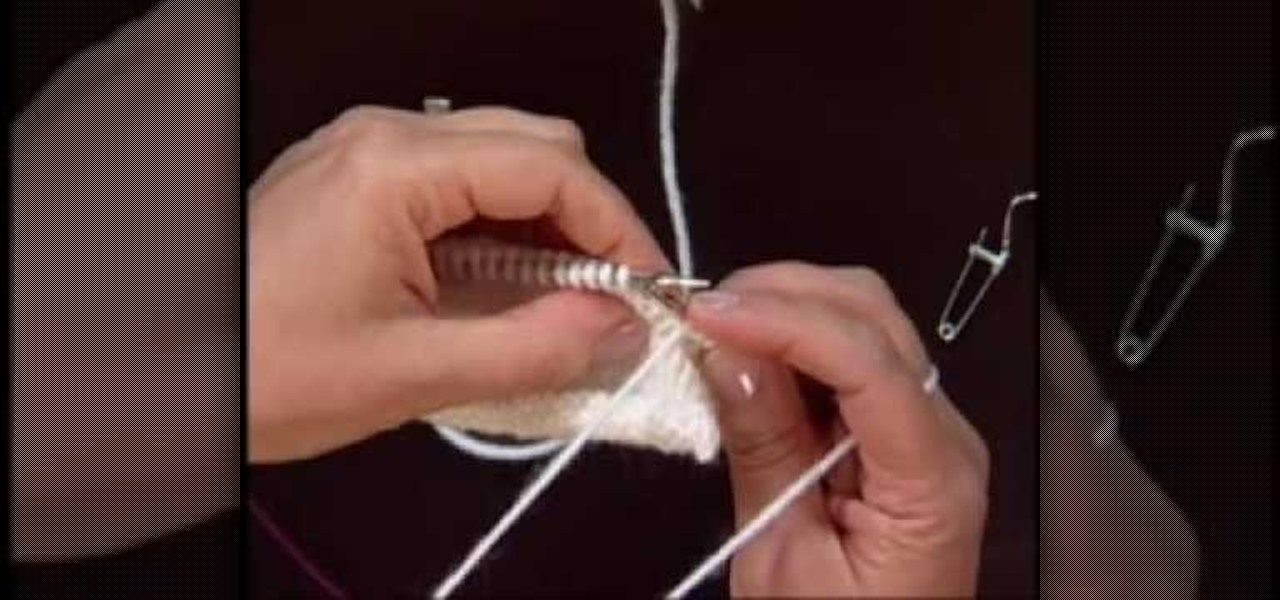
How To: Edge a knitted piece with a single crochet
In this tutorial we learn how to edge a knitted piece with a single crochet. Start to attach the yarn to the right side, working in a forward direction. Now, work a slip stitch at the edge. From here, stick the hook in the fabric and pull through one loop. The, yarn over again and pull through both loops with the hook. After you do this, do it over again! You will repeat this process until you reach the end of the row. Once you're finished with the row, you will be finished with the edge and ...
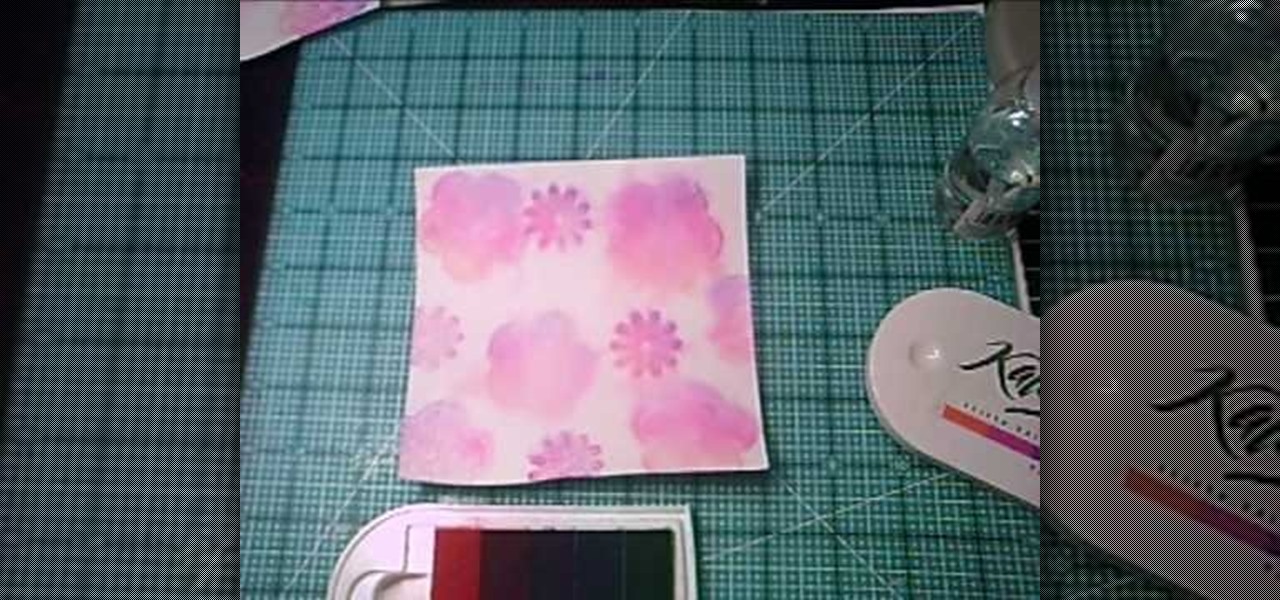
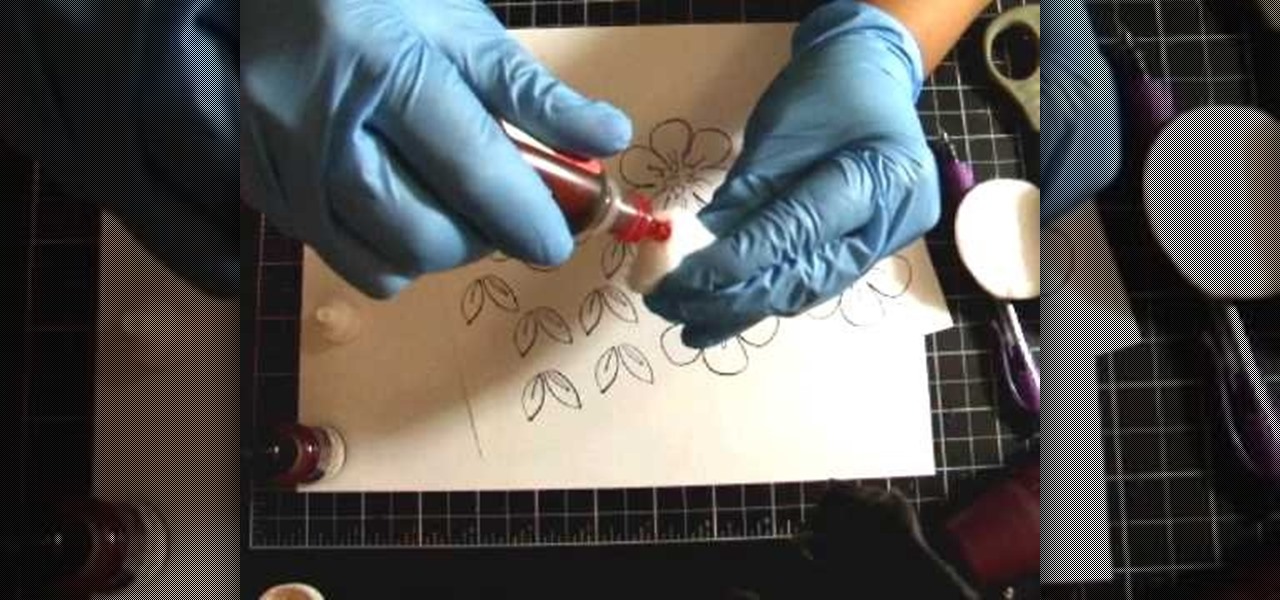
How To: Use the rubber stamp technique wet paper watercoloring
In this tutorial, we learn how to use the rubber stamp technique wet paper watercoloring. This is easy and fast and it will create a water colored background on your cards! First, dip your stamps into the watercolor and then stamp them onto your paper. Either wait for these to dry or dry them with a blow dryer. Once it's dry, go over the image again with the stamps and the watercolor. From here, it will appear more bold and decorative. Then, let this dry and start to decorate with ribbon, gli...
How To: Create the farthest flying paper airplane
In this video, we learn how to make the farthest flying paper airplane. First, you will lay the paper flat and fold in two sides on the top. Then, fold it in half and keep folding the plane in. After this, you will see the wings become smaller and smaller. Once you fold this up until you cannot fold it in anymore, you will be able to throw this and make it fly! This will be really thin so it will go further and further. This will fly across the room easily and make everyone jealous they don't...
How To: Use your inkjet to print on a shrinkle
IN this video, we learn how to use your inkjet to print on a shrinkle. To start, you will grab the paper for the shrinkle. Then, you will print the outline out on a normal piece of paper. From here, stick the shrinkle over, frosted side up, on the paper. Then, feel the piece of paper back through the printer and print exactly the same image over again. Don't print anything too dark, or it will bleed out on the back. From here, you can peel off the shrinkle and then cut it out. This will finis...
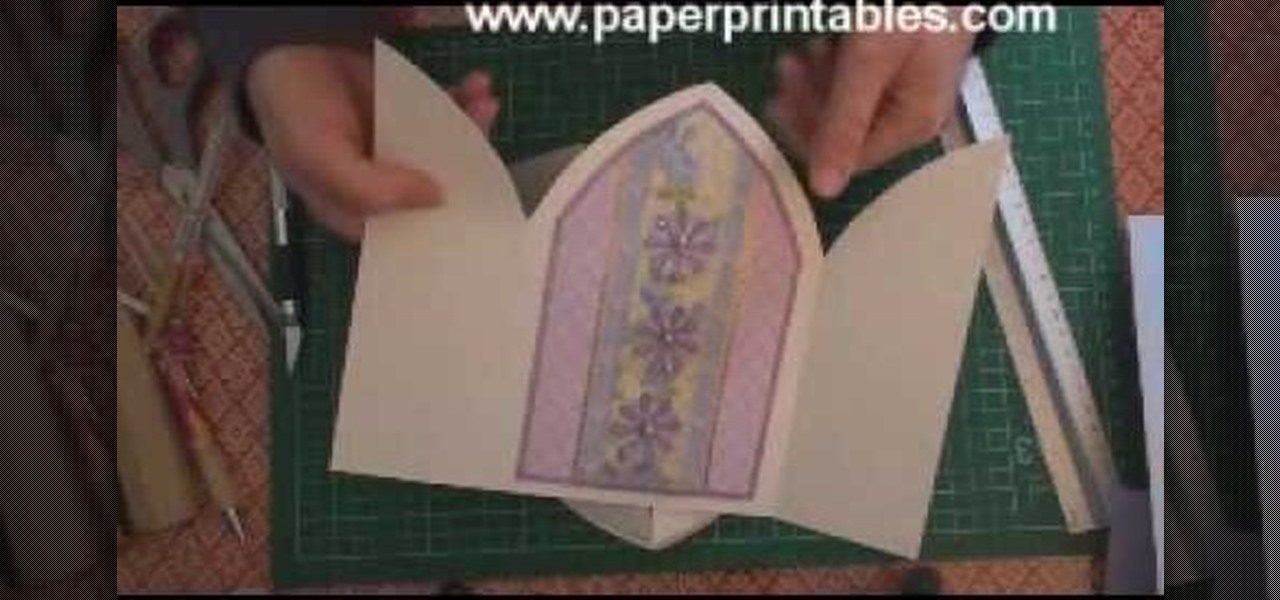
How To: Make a church door card
In this tutorial, we learn how to make a church door card. To start, you will need to take a piece of card stock and the template for the church door. After this, you will fold the template up using the paper, then cut it out. After this, write the message you want on the inside of the card. From here, you will decorate the front of the card and then tie a ribbon on the front. This will close the two doors and then when you upwind it, the person can see the inside. Make this unique and have f...
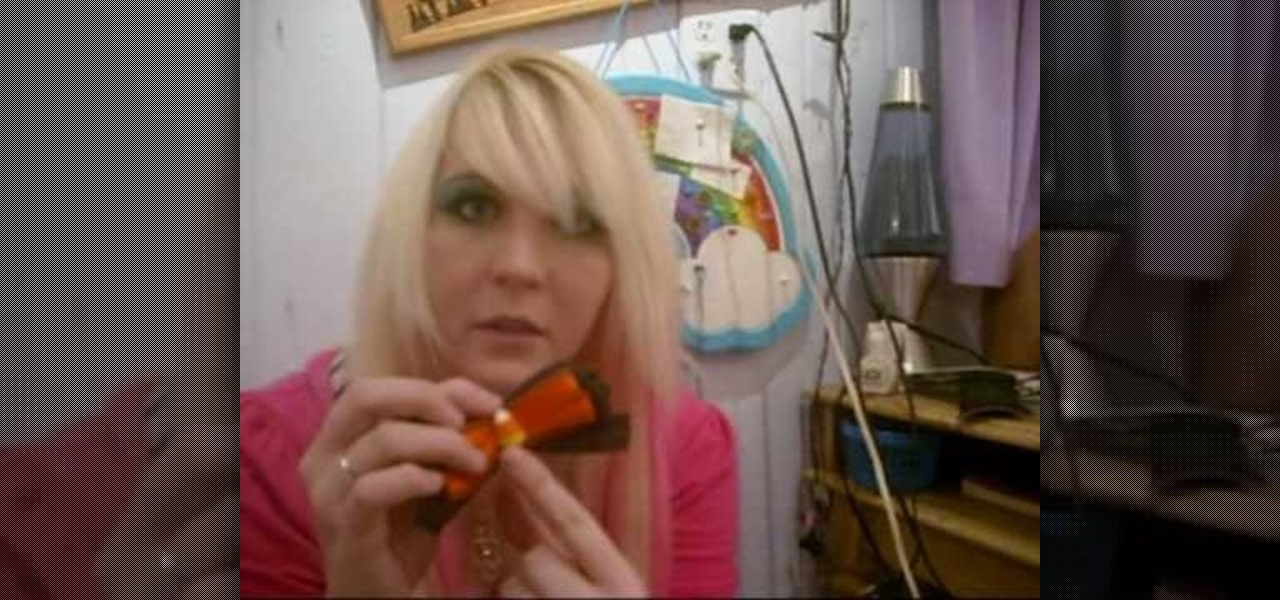
How To: Make cute little hair clips
In this tutorial, we learn how to make cute little hair clips. These will add a fashion statement to any hair style and they are easy to create! To start, you will take some thin ribbon and bend it all together until it creates a large ribbon. After this, you will wrap it together in the center until it's a bow shape. From here, add in more colors or accessories. Then, use a hot glue gun to attach a clip to the base of it. Let this dry and then you can clip it into your hair! Make a lot of th...
How To: Add texture to stamped images using rubbing alcohol
In this tutorial, we learn how to add texture to stamped images using rubbing alcohol. First, stamp on your image with a regular stamp to a piece of paper. After you do this, you will take a cotton ball and dip it into ink, then dab this on the images. From here, you will dip that into rubbing alcohol and then dab on top of the images as well. Allow this to dry and if you don't have time, blow dry it evenly. Then, use embossed ink to raise the images up from the page. When finished, you will ...
How To: Make a standard blanket from crocheting
In this tutorial, we learn how to make a standard blanket from crocheting. First, you will start your crochet by positioning the material into your hand. Then, you will need to tuck in between your ring and middle finger and around the others. The fingers will control the tension in the string. Now, start the first stitch by rotating the string around the finger. Then, grab the back one and pull it over the front. Use your finger to pus up and then you have your first stitch. put it on your h...
How To: Recycle an old t-shirt into a no-sew head scarf
In this tutorial, we learn how to recycle an old t-shirt into a no-sew head scarf. First, lay your shirt out flat on a table and download the paper pattern from the video. From here, measure sixteen inches from side to side on the t-shirt that you are using. After this, follow the paper pattern on the shirt and cut out the pattern with scissors. Once you have finished this, use a fabric bonding agent to make the edges less frayed and fold them into each other. This is great for the environmen...
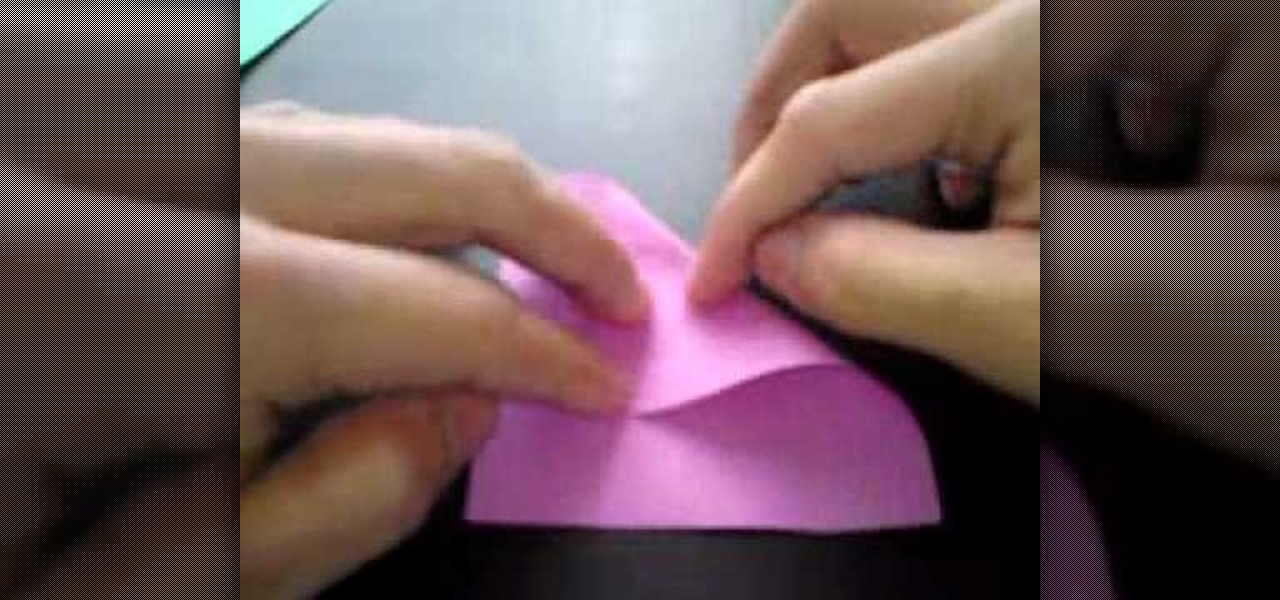
How To: Fold an origami magic rose cube
As the procedure is lengthy and a bit complicated, this is the first in the two part series that explains the method of creating a paper rose cube.

How To: Make Naruto gloves
In this video, we learn how to make Naruto gloves. First, you will need to take an old black sock, thread, needle, and scissors. After this, you will cut the top off the sock and then put it on your hand. After this, you will need to use the needle and thread to sew in between the fingers on the sock. When all of these are patched, up you will add a fake metal plate to the top of it. You can glue this on with a hot glue gun. When finished drying, you will be able to wear this out, enjoy!
How To: Make a half/quarter easel card
In this tutorial, we learn how to make a half/quarter easel card. First, grab several pieces of colors of card stock that you like. After this, fold the main one up into a square. After you have folded this, fold the edges into the middle and push the creases down. From here, you will glue the bottoms of the other pieces and glue them onto each other so they are backgrounds. After this, you will create a border around the front main picture. When finished, fold this up and then you will have ...

How To: Knit with color
In this video, we learn how to knit with color with Brandon Mably. Get inspiration from the world around you to get different colors and make out different patterns. Carry your colors around the item that you are knitting to make a nice pallet that you love. You can use inspiration from the outside, different states, stores, plants, and anything else that you love! Once you find something you want, get started knitting and find a way to knit that works for you. Use the color range that you ar...
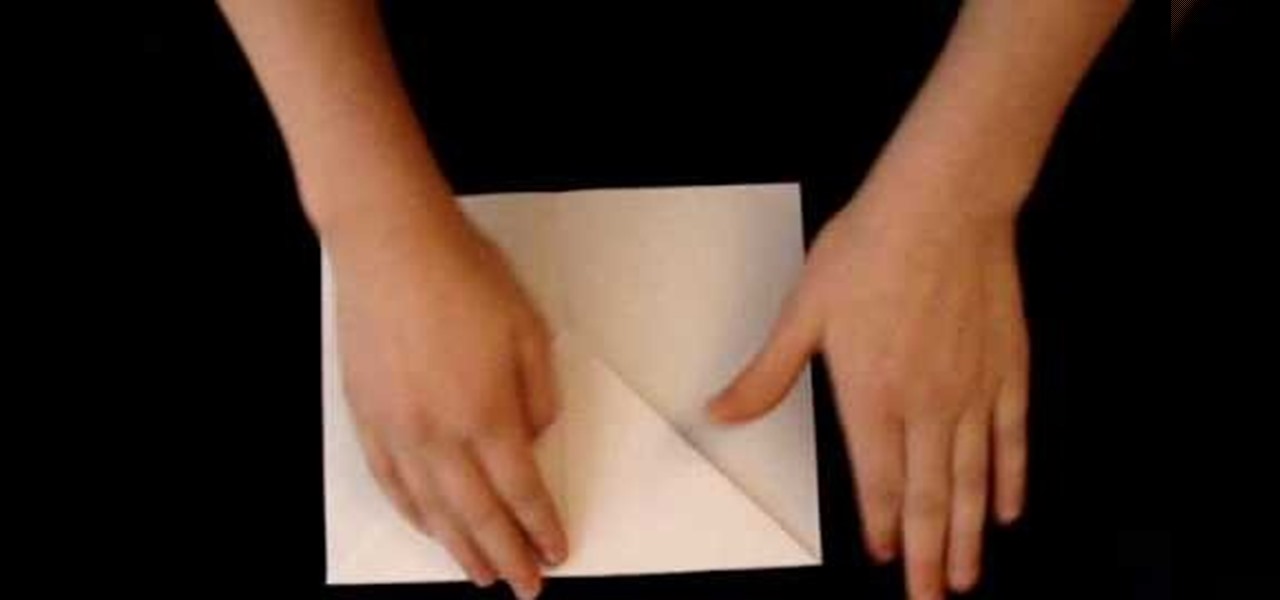
How To: Fold a basic paper airplane
In this tutorial, we learn how to fold a basic paper airplane. First, fold the paper in half and make a crease. Next, unfold it and then line the corners with the middle line you just made on one side of the paper. From here, you will fold the paper down until you reach as long as the crease can go. Next, take the point on the side and fold it an inch over next to the point. Then, repeat this on the other side, touching the other point in the middle. Now, take the tip and fold it over. From h...

How To: Make a Rivulet scarf or reversible cable scarf
In this video, we learn how to make a Rivulet scarf or reversible cable scarf. There are a couple ways to make reversible cables to look the same on the front and on the back. First, make sure you print out the scarf pattern and then learn where you want to cross to achieve a different look. First make your firs two cable crossings, doing forty stitches. Then, you can add in more stitches to make it thicker if you would like to. Continue to follow the pattern that you printed out, using both ...
How To: Make a cushion cover
With a little practice a cushion cover can be made at home easily. The materials/equipments required are as follows: fabric of your choice (having appropriate dimensions) to make the cover, scissors, measuring tape and ruler, needles, threads, sewing machine and an iron.

How To: Make a paper flower using napkins
In this tutorial, we learn how to make a paper flower using napkins. First, roll the paper over to one side and then start to roll it up with the other side as well. As you do this, the napkin will start to roll into the shape of a rose. When finished, you will pull out the edges to create different lengths with the petals. After this, use a green napkin to create the stem of the flower, making a small leaf in the stem by ripping it. When finished, continue to make these to create a beautiful...
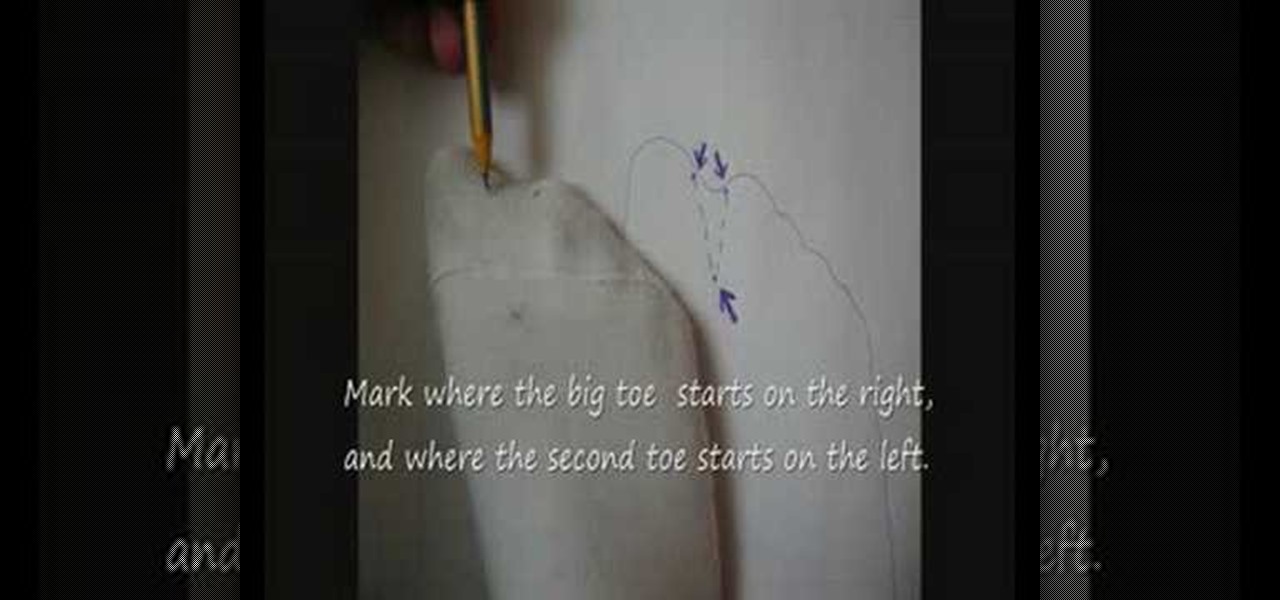
How To: Make Tabi socks
In this video, we learn how to make Tabi socks. You will need: pair of socks, thread, a needle, and scissors. First, you will turn the right sock inside out and put on your foot. Then, you will spread your big toe and second toe out as much as possible. From here, you will use a pencil to mark on the foot where you want to cut. Then, take the sock off and cut it out where you marked it. Take the needle and thread and sew along the shape that you cut out, to create separation between the toes....

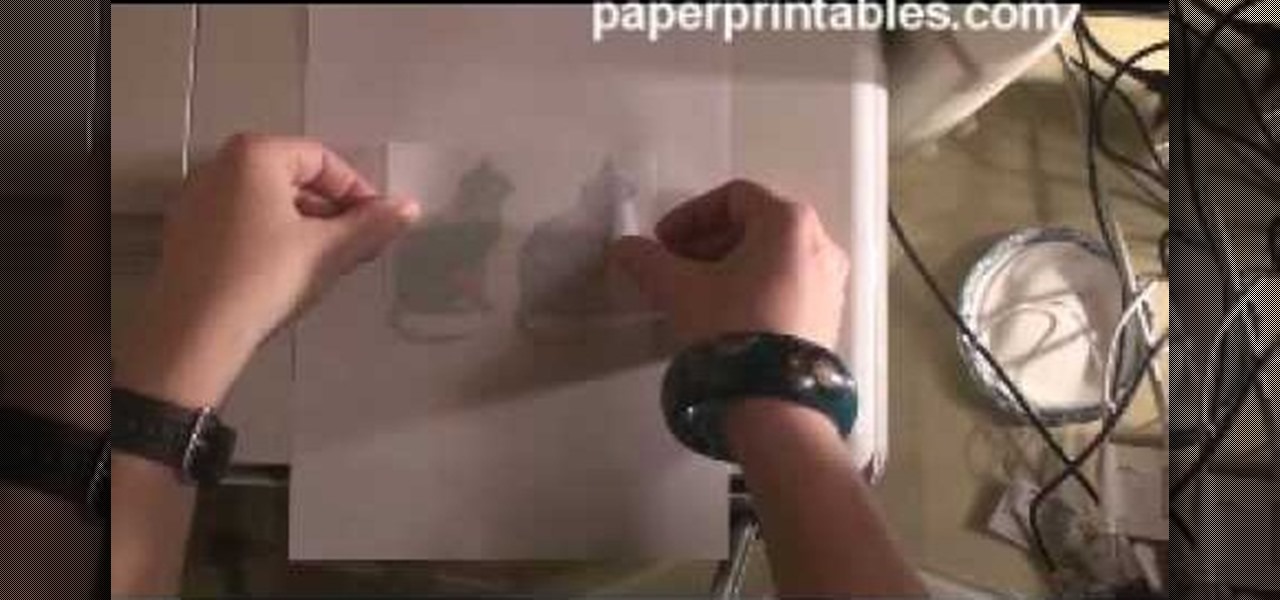
How To: Make an origami decorated card
In this tutorial, we learn how to make an origami decorated card. First, you will take your card, make sure it's a busy pattern in colors that you like. After this, you will score the top of the card in the middle to create a small square. After this, cut the square out of the card. Then, close it and stick the piece of origami that you have into the inside of the card where the window opens up. Once this is stuck on, you will be able to close the card but still see the origami in the window,...
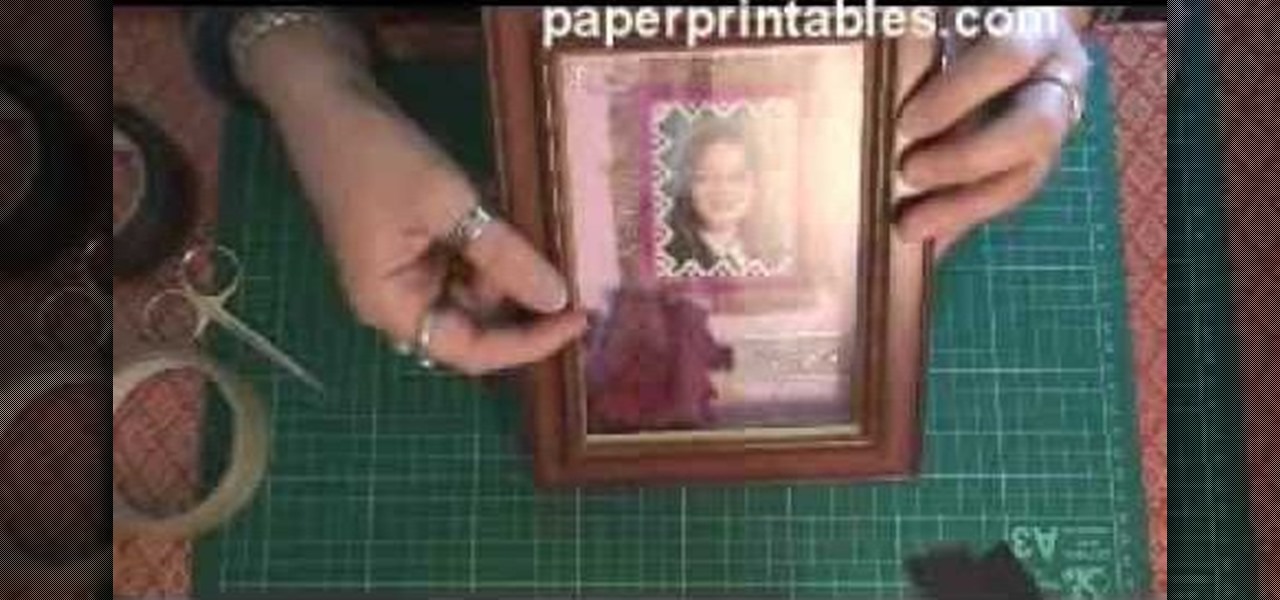
How To: Make a shadow box frame
In this tutorial, we learn how to make a shadow box frame. First, grab a regular picture frame and remove everything from the frame. Next, remove the metal pegs that are around the sides. From here, grab a piece of card stock and draw the outline of the glass onto it with a pencil. Then, extend the edges of the box out on the paper. From here, you will cut it out and then bend it into a box. From here, add the picture and anything else you want inside of the box. Stick double sided tape insid...

How To: Make a slit flower frame card
In this tutorial, we learn how to make a slit flower frame card. First, gather all your cardstock together in the colors that you would like. Then, take the first one and cut a circle window in it using a blade and a template. Then, punch slits on the outer frame of the window. From here, shade the petals and pull them out from the card to stick out. Then, place a rubber stamp with hearts on the other place of card stock. Then, turn the flower frame over and apply foam tape to the back. From ...

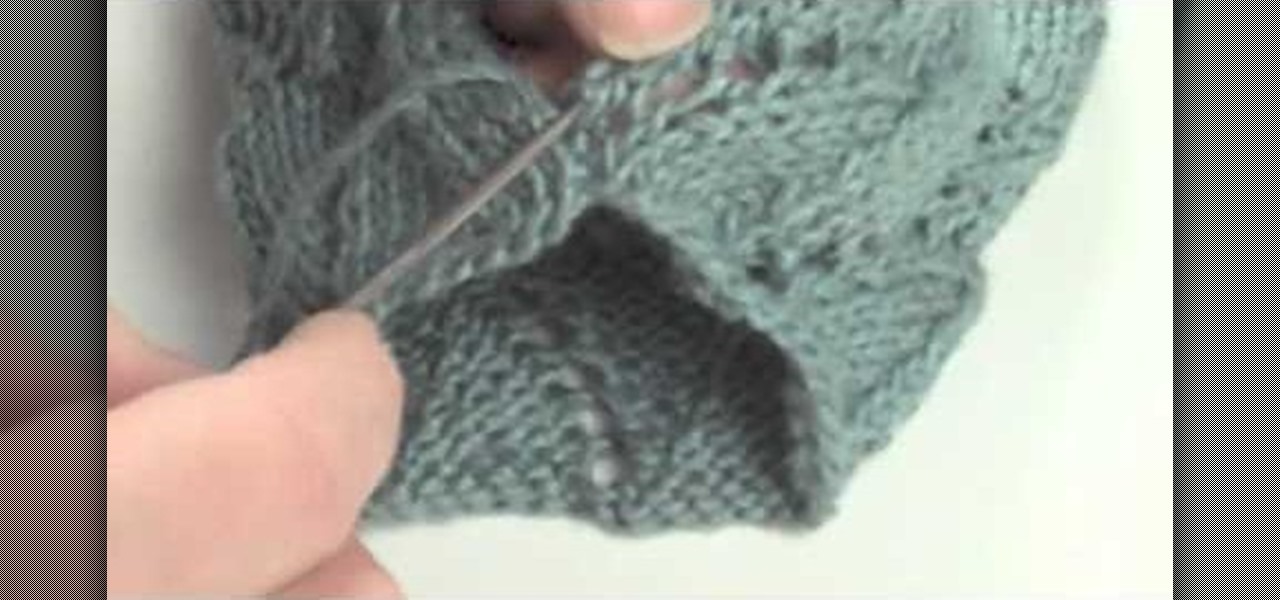
How To: Pick up stitches along a curved edge
In this tutorial, we learn how to pick up stitches along a curved edge. You can see the slope on your fabric that you can work with. If you slip the first stitch you can avoid this. First, slip the first stitch and then bind off the next stitch as usual. This will create a nice curve. To pick up stitches, you will use a circular needle and then poke it through the area in the last row. Find a 'v' shape and then push the needle through this. Pull through just like you are normally knitting and...
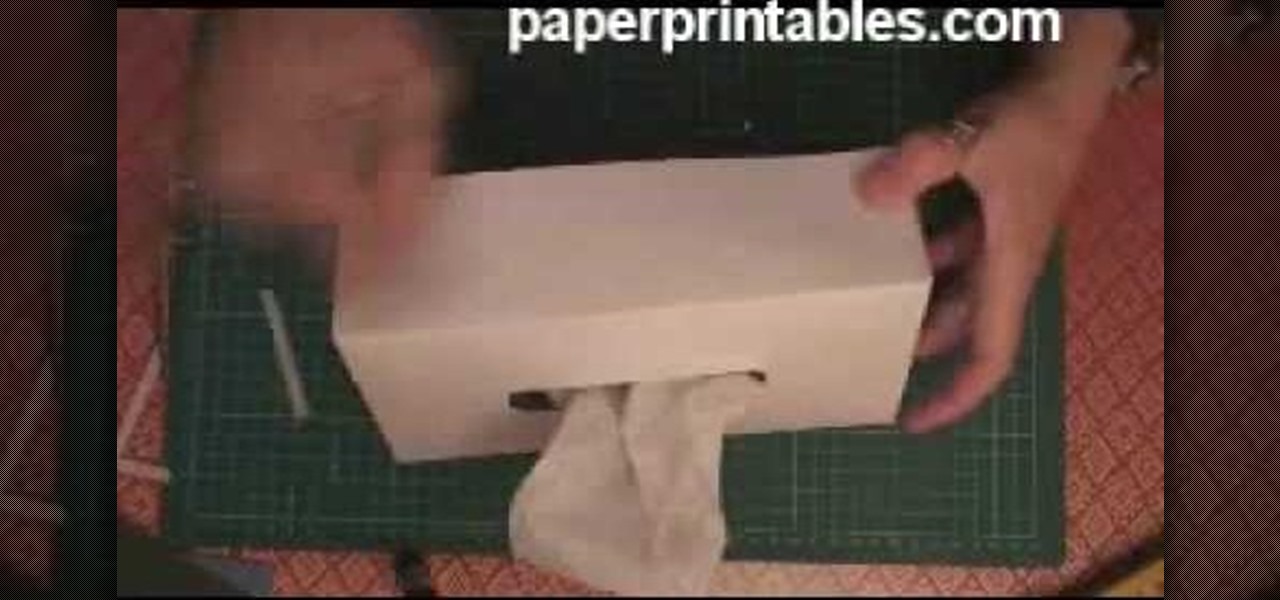
How To: Make a decorative tissue box cover
In this video, we learn how to make a decorative tissue box cover. First, you will need to get a piece of paper in your choice of color and set your tissue box on top of it. Use different colors of paper to trace out the edges of the box and then you will tape them all together. Make edges off the paper when you trace them so they fold over. When finished, you will put this onto the tissue box. You can also decorate this with any accessories that you would like to add a personal touch to the ...
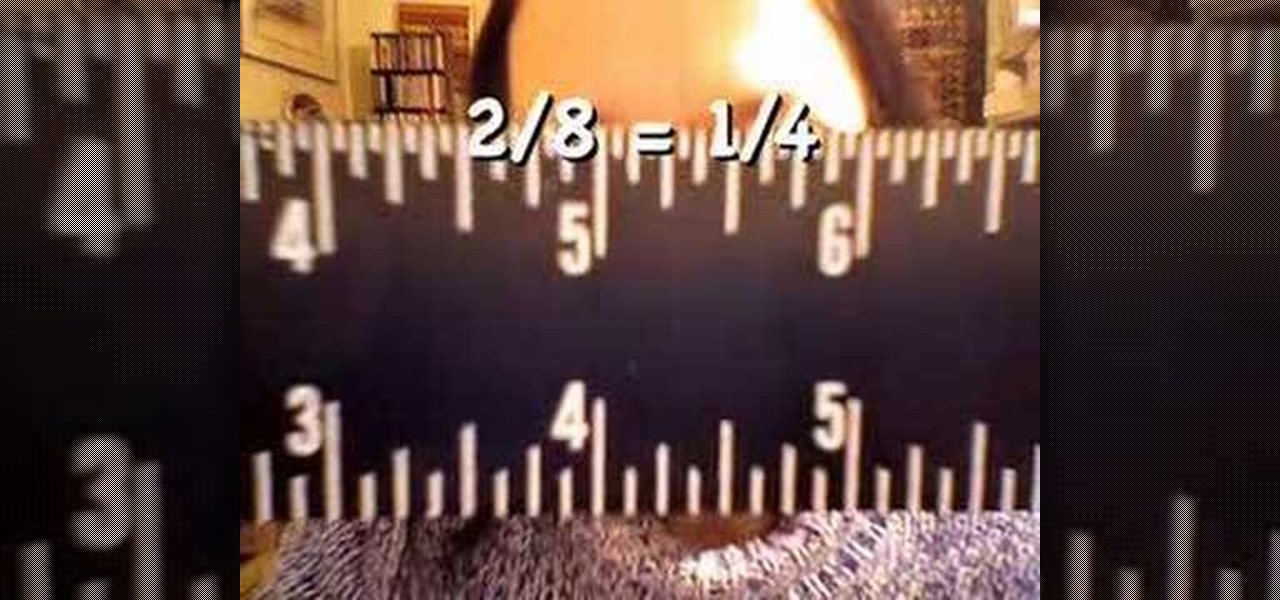
How To: Read a ruler
In this video, we learn how to read a ruler. First, grab you ruler and look on the top and the bottom of it. The top is divided into different marks that shows inches, half inches, and quarter inches. If you aren't familiar with reading this, just use the markers at the top to help you count between 1/4, 1/2, 1/8, etc. The other side of the ruler is used for centimeters, which you usually will not use in the United States very often. Learning how to read a ruler can help you get better with f...
How To: Seam a set-in sleeve into your knit
In this tutorial, we learn how to seam a set-in sleeve into your knit. First, you will need to lay out your piece in front of you and fold the sleeve cap in half. Find the middle point in the sleeve and put a marker in it. After this, attach it to the sweater from three different points. Then, take your needle and hook and start to work it into the middle of the two pieces. Grab the first stitch from the side and then go under to the other side. Grab two 'z' bars to do this and it will come o...

How To: Heat emboss a stamped image for a handmade card
In this tutorial, we learn how to heat emboss a stamped image for a handmade card. First, use the stamp to grab ink and then lay it down on a piece of card stock. After this, cover it in ink and start to add heat to it. You will see the image start to change color when you do this. It will turn to a metallic sort of color when you add the heat to it. Once you have added heat to the entire thing, you will be finished with the embossed stamp effect! Do this for any type of stamp you want and ha...

How To: Crochet a jumbo pinwheel swirl stitch
In this tutorial, we learn how to crochet a jumbo pinwheel swirl stitch. This has the same line count as the smaller, but it will have larger lines that the normal. You will be creating a larger distance between the two colors. Start off at the bottom wrapping it twice around your finger, then pulling it over and pushing it up. From here, you will do sets of eight to create the pinwheels along the design. After this, you will start to create the next level, which will be with a different colo...
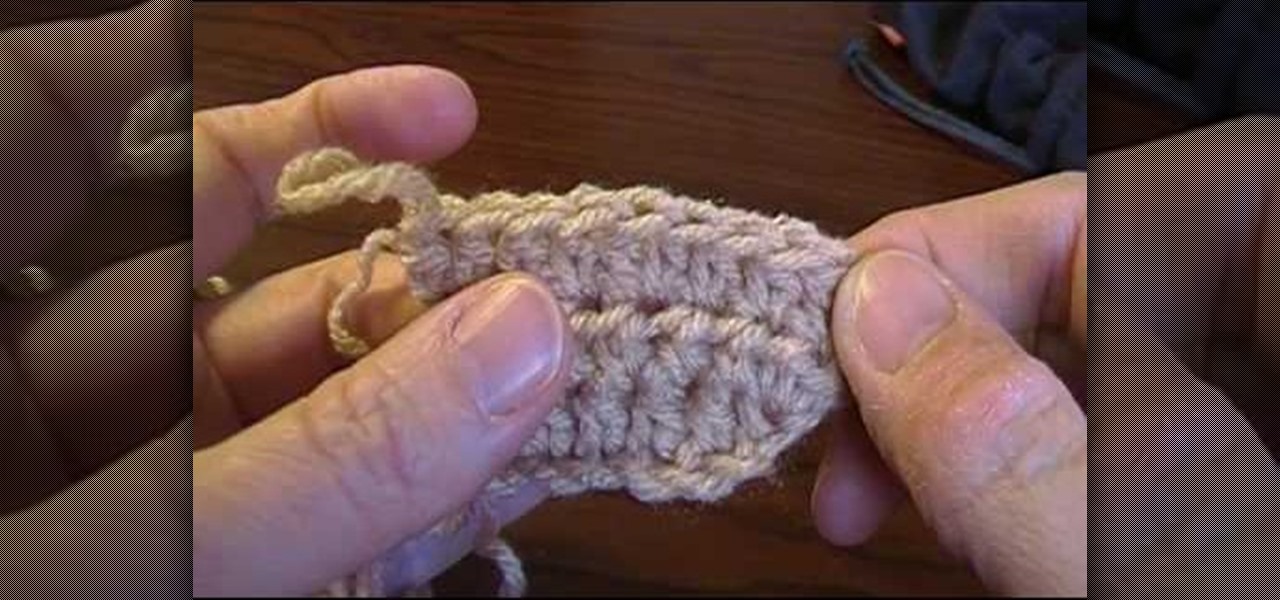
How To: Increase and decrease half double crochet
In this tutorial, we learn how to increase and decrease half double crochet. First, work a half double crochet in your stitches. Do this to create the first row, drawing through the loops and inside the first row. To increase a half double crochet, you will do the same thing as a single crochet, except you will skip on loop. Double crochet to the other end and then you will be ready to decrease. To do this, you will simply remove one of the crochet loops while you are crocheting and you are d...

How To: Manage two different colors of yarn
In this video, we learn how to manage two different colors of yarn with Eunny Jang. You can do this all on your left hand, right hand, or with both of your hands. It's all about what is most comfortable for your, even if it's something different. Start out with all your yarn in your right hand then knit with one yard at a time. This means to just knit as usual by dropping the yarn and picking up the next color. This can be a bit tedious because you will be constantly stopping and starting. Yo...
How To: Stencil your own t-shirt
In this tutorial we learn how to stencil your own t-shirt. Start off by grabbing your plain shirt and placing paper inside of it so it doesn't bleed to the back. After this, paint your background on the shirt in your desired color. From here, place what stencil you want on the top of the shirt and then paint inside of it. When you are finished painting it, carefully remove the stencil from the shirt. After this, you will need to let the shirt dry completely so it doesn't bleed at all. You can...
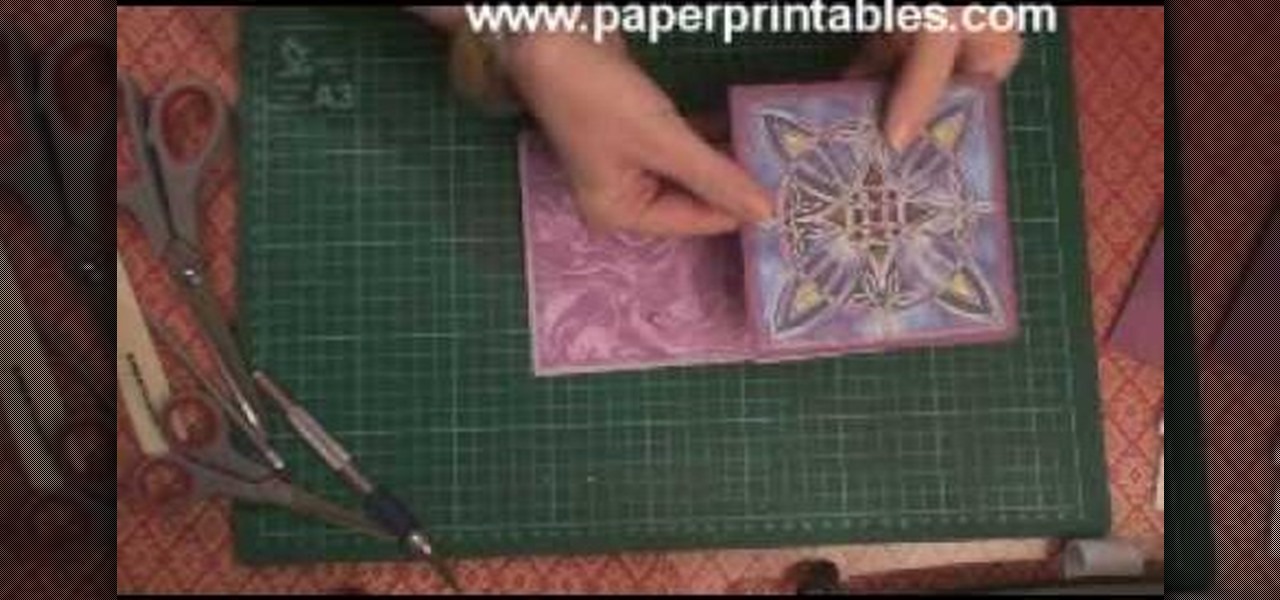
How To: Cover a heart shaped or round box with designer paper
Cover a heart shaped or round box with designer paper

How To: Make a pair of great looking earrings
In this tutorial, we learn how to make a pair of great looking earrings. To start, you will take the base of your earring that has the hook on it and then take the wire for your beads. Pick out any beads that you want to attach to the wire, then string them onto it. You can add different colors and any type of bead you want to make these unique. From here, use wire cutters to bend and cut the excess wire from the bead. From here, you will bend the extra piece into a loop that you will hook to...
How To: Knit Portuguese style
In this tutorial, Andrea Wong teaches us how to knit Portuguese style. This is one of the oldest ways of knitting that started in the Middle East. The holding of the needles are the same but the working yarn should come from the left needle. The yarn should be placed around the neck for your tension or through a pin on the shirt. Next, the yarn should go through the middle finger on the left hand. Then, sit in a comfortable position while you insert the right hand needle under the yarn. Then,...

How To: Install a zipper into your knit
In this tutorial, we learn how to install a zipper into your knit. The first way you can do this is to take it to a tailor and they will do it for around $15. To do this by hand, grab your piece that needs a zipper and then steam the edges. After this, take a sewing needle and start to sew the zipper underneath both sides of the edges of the piece. You can also use pins to place into these so it stays in place. Do a backstitch also, to help make the zipper more sturdy and stay on longer.

How To: Make a sewing optional Greek goddess costume for Halloween
Would you believe us if we said you could put together a last minute Halloween costume in less than two minutes? The very idea sounds preposterous, but we're not bluffing.
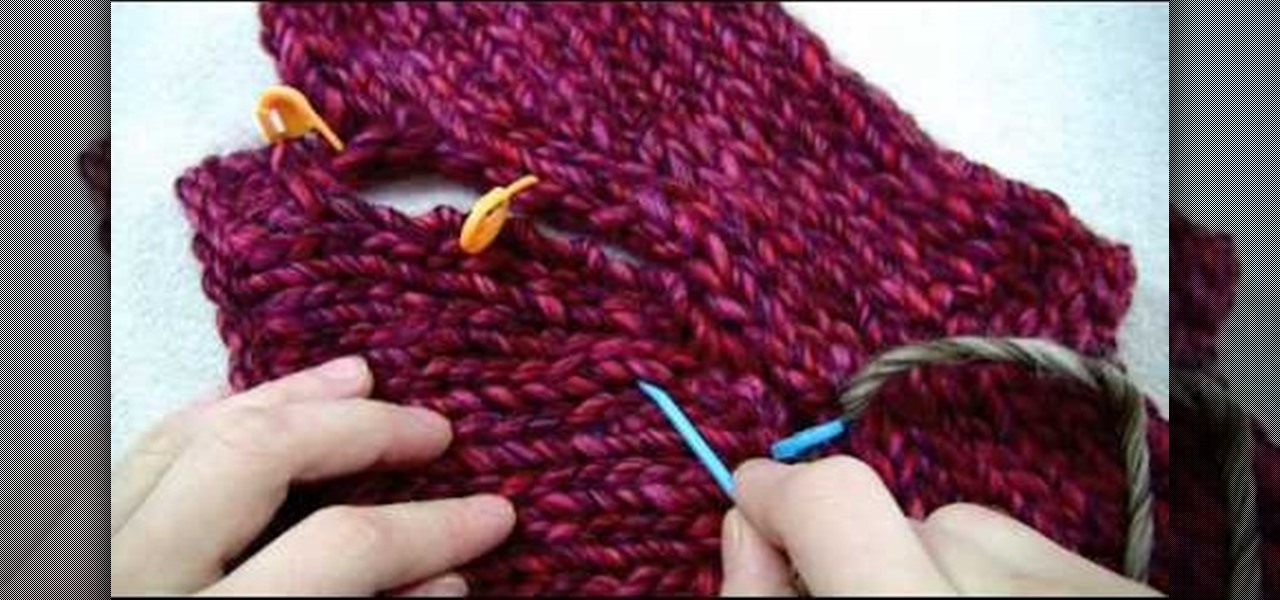
How To: Do the mattress stitch
In this tutorial, we learn how to do the mattress stitch. First, lay the pieces flat and thread yarn tail onto the needle. Next, you will anchor the yarn to the bottom edge of the opposite piece. Then, go back through the side and find the tunnel of horizontal bars, one stitch in from the edge. Continue to do this around the stitches to combine them together. Keep alternating sides and just do one bar at a time to get the best results. You can do two bars at a time if you are comfortable with...

How To: Create a simple deconstructed sweater using only scissors
You don't need to be a Martha Stewart with the needle and thread to create cool, impressive clothing. In fact, you often don't need a needle and thread at all to upcycle your old, tired clothes.
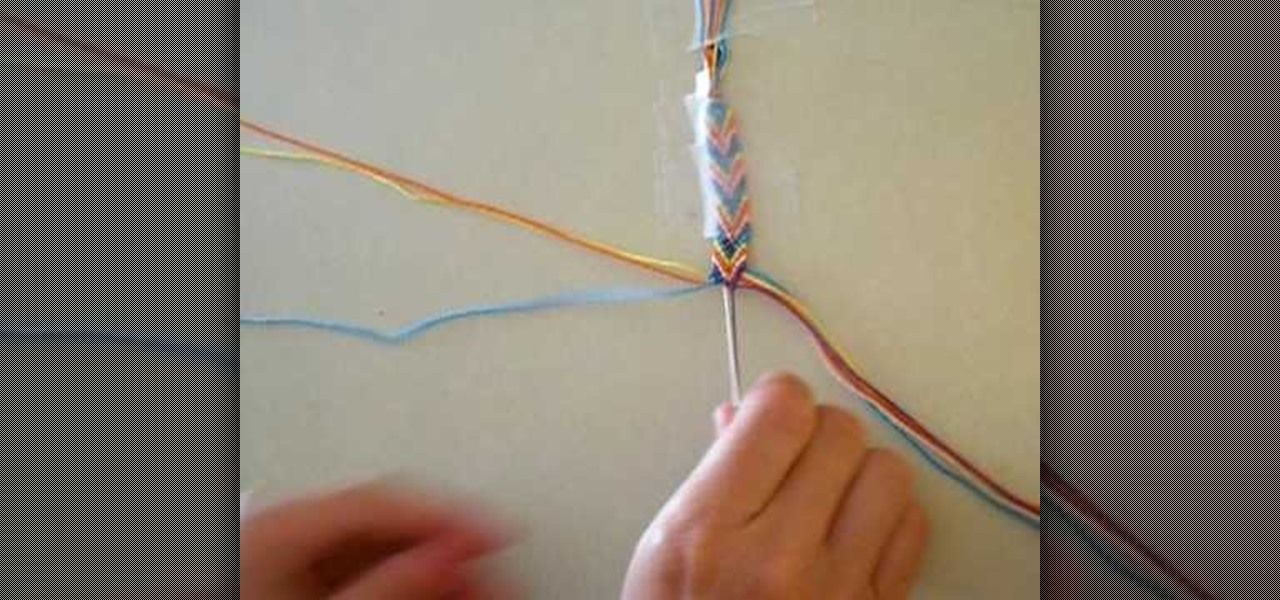
How To: Make the traditional arrowhead friendship bracelet
This video teaches you how to make an arrowhead friendship bracelet. The first step is to pick five colors of string. Then cut 2 pieces of string of each color. All 10 strings should be of the same length. Lay out strings adjacent to each other on the table in this color 1, color 2, color 3, color 4, color 5 and then repeat in the same order. Then knot the strings evenly. Now tape the knot onto a hard surface. Separate the strings into two sections, each section should contain 1 of each color...