

Active Arts & Crafts Posts


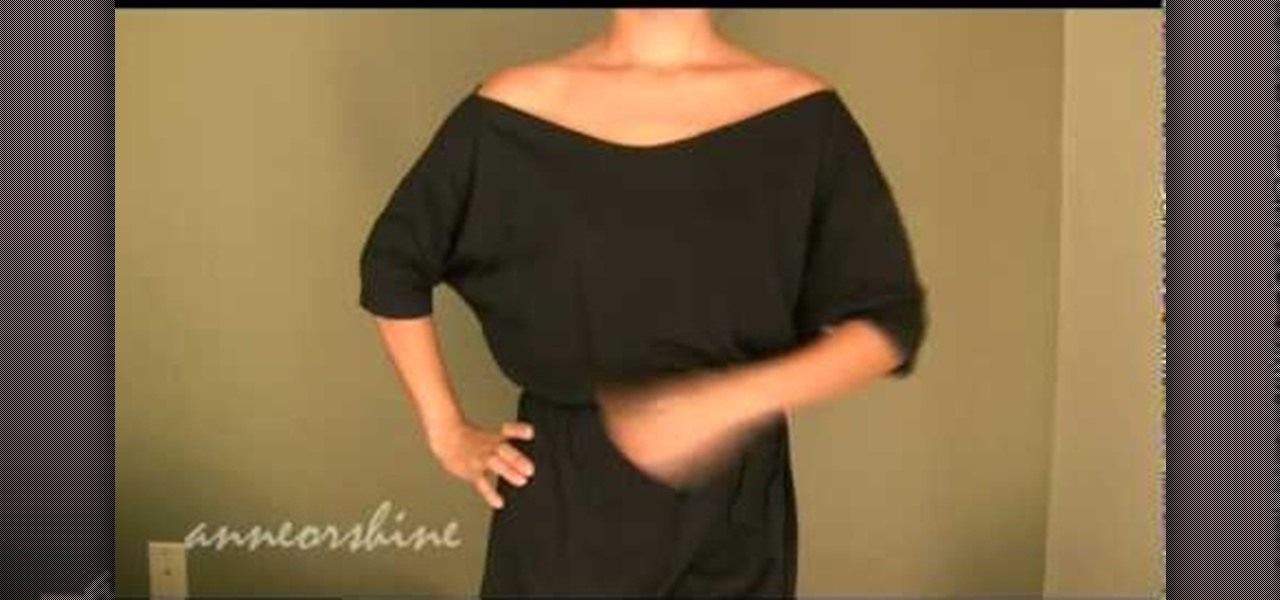
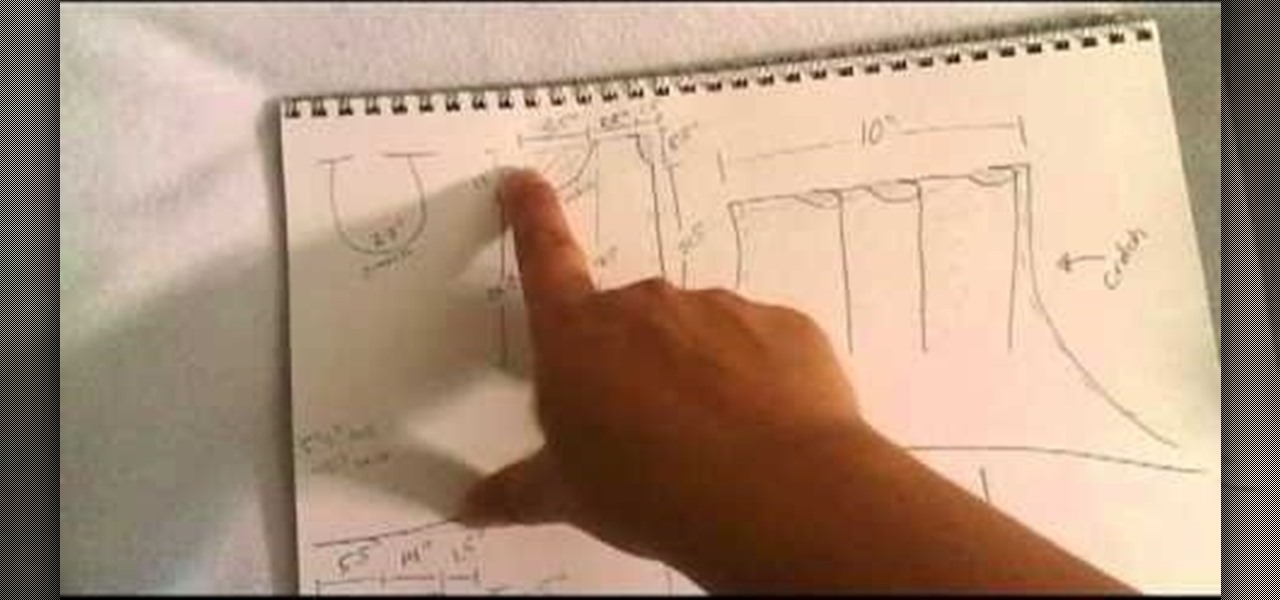
How To: Create a black off the shoulder batwing top in less than five minutes
Dressing up like Batman is way not cool. But dressing up in a Batman-inspired batwing sleeve top? Totally hot. Check out this fashion DIY tutorial to learn how to create an easy batwing top that's easy and breezy for fall.
How To: Sew cosplay costume pants for Hakama from Bleach
Bleach is one of the most popular manga and anime series of recent years, and the cast of teenage characters make great cosplay fodder. Watch this video to learn how to sew DIY Hakama pants for your next cosplay convention.

How To: Take your old photos and convert them into cross-stitch designs
If you're looking to do some cross-stitching to customize your current furniture bed sheets, or what have you, then you might be thinking about taking a design straight out of a family photo! In this video you'll get tips on how to take a photo, crop it down and turn it into a cross-stitch picture that you can print out to use as a guide.
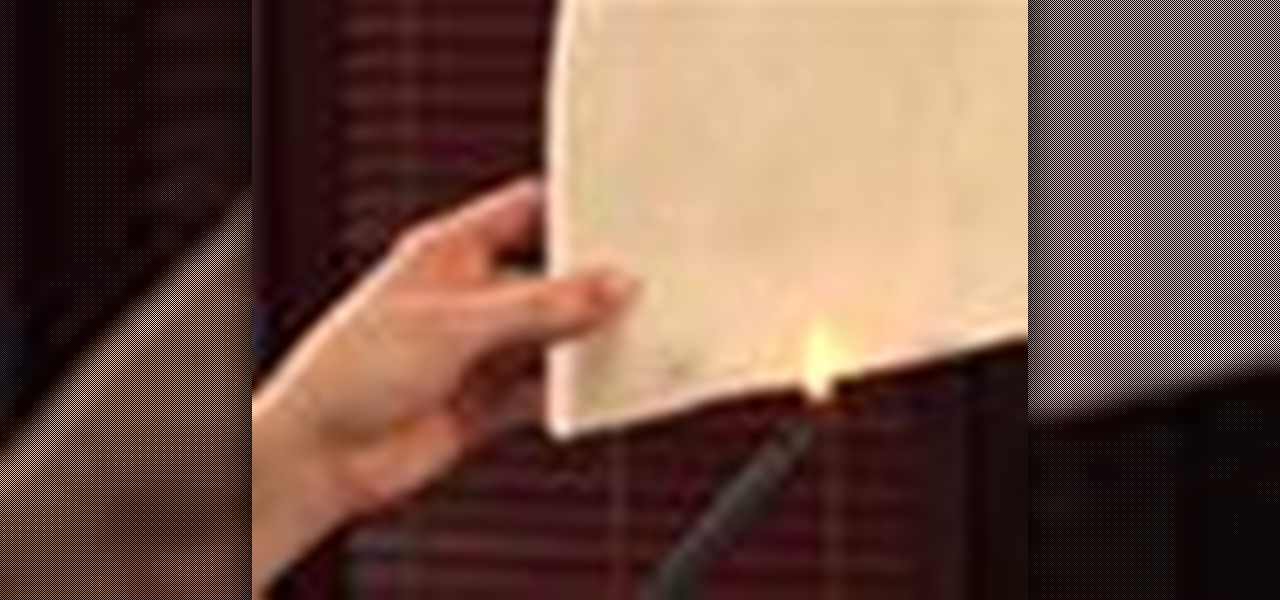
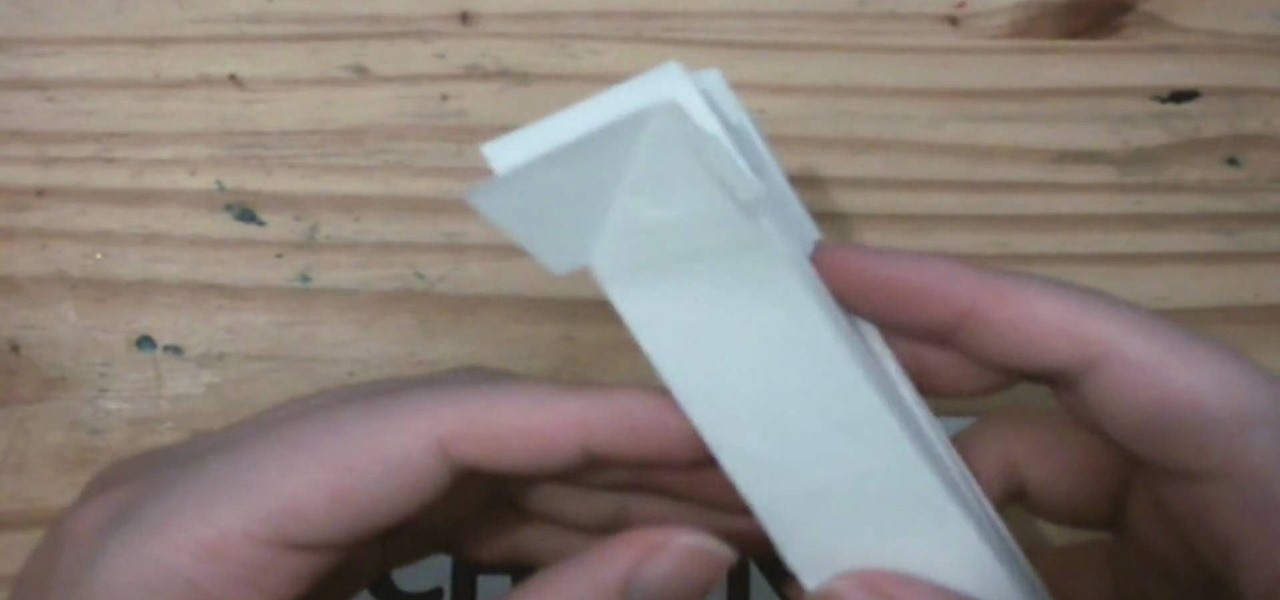
How To: Make white card stock look old and stressed for scrapbooking
If you makes serious scrapbooks, you've probably known the desire to make them look older and more antique. Fortunately for you, there's an easy way to age / stress white card stock in order to make it look antique, and this video will teach you how to do it.
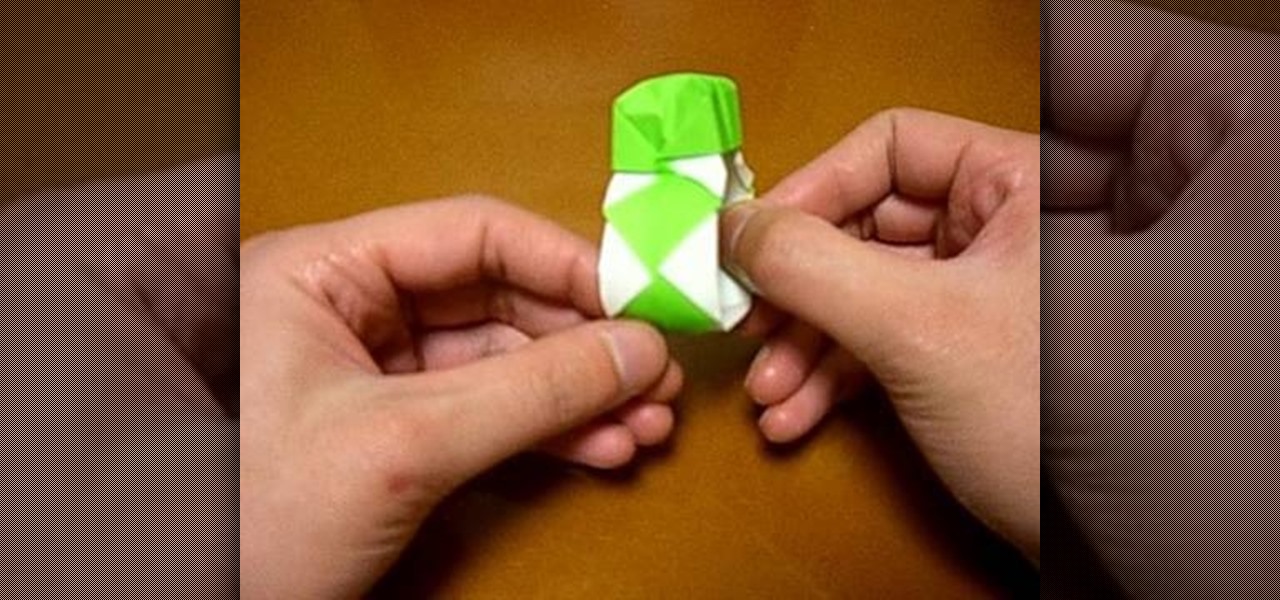
How To: Origami a gorgeous ring
This instructional origami video demonstrates how to fold an origami ring. An origami ring makes a fun gift & easy to fold! Follow this step by step demonstration on folding an origami ring.

How To: Origami a paper bra
This is an instructional video on how to fold an origami bra. Origami is the traditional Japanese art of paper folding to make just about any shape imaginable. All you need is a single square of paper towel. Watch this video origami tutorial and learn how to fold a paper bra. Just don't try to use it.
How To: Knit a seed stitch texture stitch, also called a British or Irish moss stitch
Knitting and purling are two of the most important parts of crochet, and once your get them down you should be able to do the texture stitch in this video, called alternatively a seed, British, or Irish moss stitch. Watch the video for instructions.

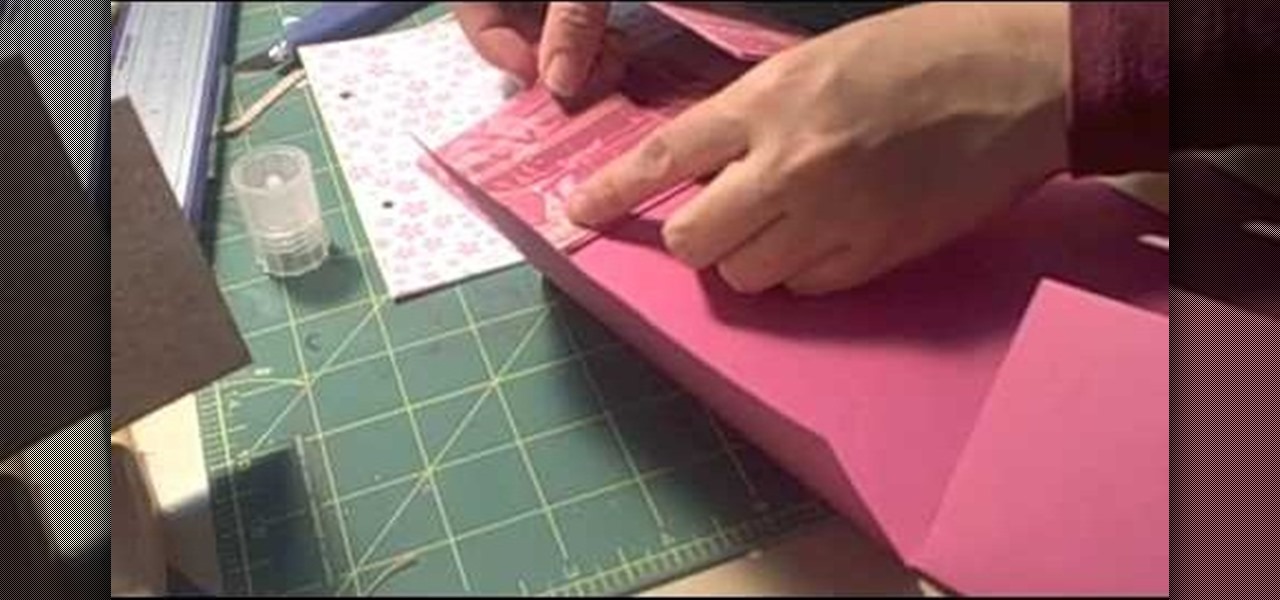
How To: Make a small recipe card box
In this tutorial, we learn how to make a small recipe card box. First, you will need to grab any color of card stock that is 8.5" by 11". You will also need a scoring tool, scissors and adhesive. After this, you will need to score your card stock in all the different areas to make the correct measurements. When finished, fold up the box using the score lines to fold along the sides. Then, take another piece of card stock and score it to use and folds inside of the box to separate different se...
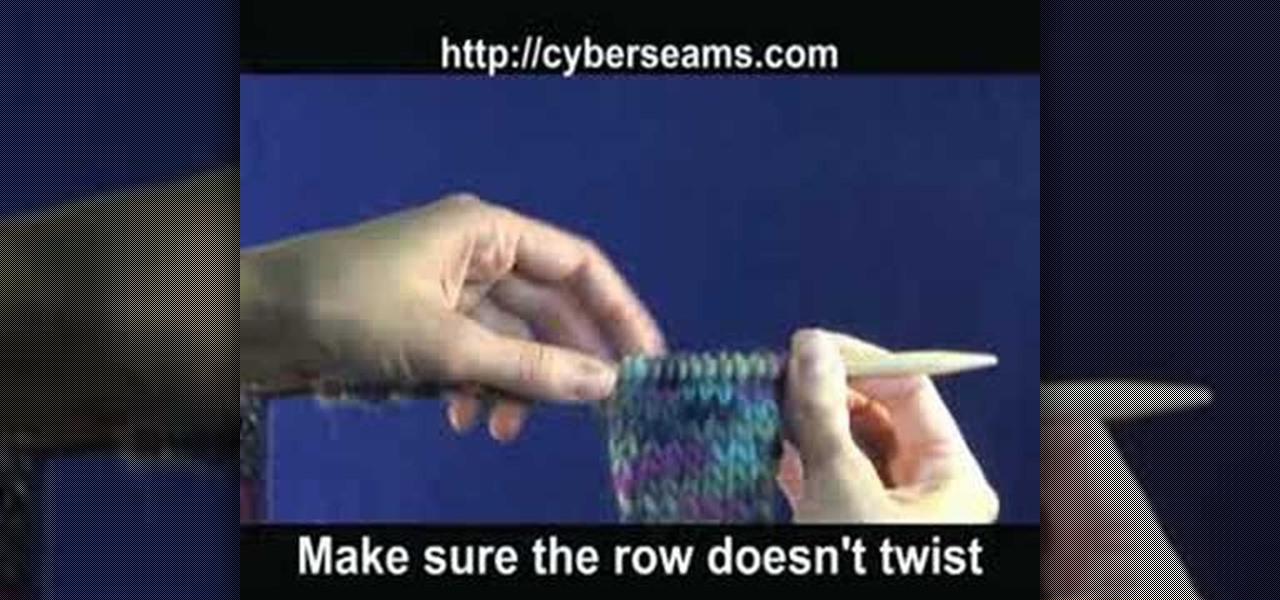
How To: Use the I-cord bind off technique
In this tutorial, we learn how to use the I-cord bind off technique. First, you will need to cast on three additional stitches using the cable cast on. Once you have these cast on, you are going to knit two and then knit two together through the back loop. Then, take your three stitches from the right needle and put them back onto the left needle. Then, knit two, then knit two together through the back loop. Slide the stitches back onto the left needle and that's all you have to do. Repeat th...
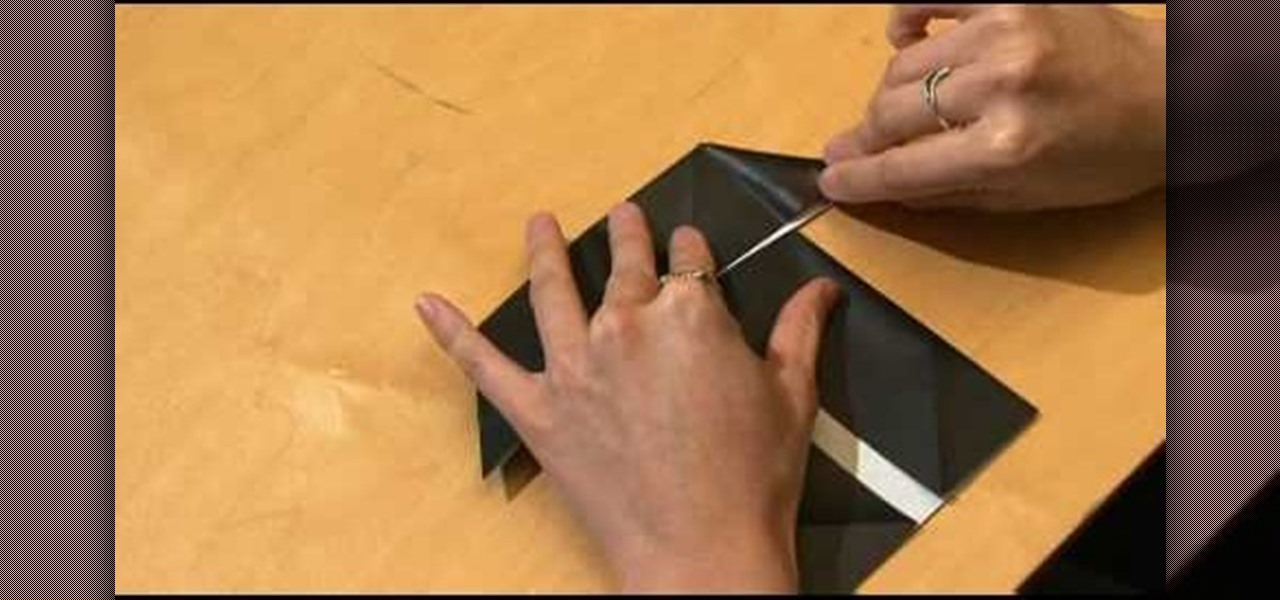
How To: Make a flip square album
This video tutorial is in the Arts & Crafts category which will show you how to make a flip square album. Take a 12 x 12 inches square cardstock and make a score line at 3 inches on all 4 sides of the paper. Now cut along the score line at the top and bottom of the paper up to the 3 inch line. Next you fold along all the score lines inwards and you have all the flaps ready. Then mark along the edge of the center part of the sheet and punch two holes for tying the album as shown in the video. ...

How To: Left-hand crochet a wide headband
In this tutorial, we learn how to make a left handed crochet wide headband. First, make a slip knot on the crochet hook and then make a chain of two. Next, wrap the yarn over and pull through once. Repeat this and then wrap the yarn over the hook, then wrap over and pull through once. Repeat this fourteen times to make the entire foundation for your headband. Once you have made this, you will need to repeat this on top of the first foundation several times until you have made several rows so ...

How To: Knit a scarf for an American Girl doll
In this tutorial, we learn how to knit a scarf for an American Girl doll. First, make a slip knot on one knitting needle. Next, case on the stitches. You may do this as many times as you want to create a thicker scarf. Do this by grabbing the loose yarn, wrapping it around your finger and needling through it once. Then, pull one on your finger and then up and over the needle. Repeat casting on the stitches as much as you need to. Do this for each of the stitches, then when you are finished ti...

How To: Do the glitter windows technique when card making
In this tutorial, we learn how to do the glitter windows technique when card making. First, you will need to pick an area in the card where you want the window to be at. Then, grab a piece of card stock and stamp the areas out where you want the empty space for the window to be. Next, set this aside and grab another piece of paper in a different color. Apply glitter to this, then let it dry before attaching the cut out piece onto this. Now you can use this for the rest of your card and have a...
How To: Attach the strap to a knitted felt tote bag
In this tutorial, we learn how to attach the strap to a knitted felt tote bag. Using a knitted cast on, cast on 35 stitches to where you want the strap to be. After this, use a crochet or knitting needle to pick up working yarn through the sts. Continue to work on your strap until you have reached the desired length that you would like it to be. Once you are finished with the last row, you will need to cast on four more stitches to finish it off. Tie it off at the end, then you will have a st...
How To: Make an origami book
Another video in which the presenter Ngai Chen Cheung demonstrates his Origami skills. Again all you need is a blank sheet of paper. The first step is to create pre-creases which makes the later folding maneuvers a bit easier.

How To: Make the best paper snowflakes
In this video, we learn how to make the best paper snowflakes. First, take a dark blue and white piece of paper and fold it up into a square, then fold into a triangle. Next, grab a pair of scissors and start to cut along all of the sides of the paper. You may have to do this a couple of times to get the shape right, it will be helpful to use a diagram to show you where to place the scissors. When you are finished, open up the piece of paper to see your snowflake! String this with other snowf...

How To: Crochet a fringe on a scarf
In this tutorial, we learn how to crochet a fringe on a scarf. Start be going to the end of your last row with your hook. Then, chain one and pull it tight. Next, decide how long you want your fringes to be and pull your thread that long. After this, cut it on the bottom and pull the loop out of the chain. Now, take your hook under the first stitch and fold three twelve inch strands in half. Then, hook these onto the crochet hook and catch the tail with the strands. Continue to crochet the fr...

How To: Make a paper snowflake from scratch
In this tutorial, we learn how to make a paper snowflake from scratch. First, take a CD and trace around it on a piece of paper so you have a perfect circle shape. After this, take your scissors and cut out the circle. Next, take the circle and fold it in half, then fold it from the right to the left in half again. Then, take it and flip it so the "v" is pointing towards you, then take it from the right to the left and fold it again. After this, face the point away from you, then use your pen...

How To: Perform a simple crochet
In this tutorial, we learn how to perform a simple crochet. Using the double crochet and single crochet opposite to each other gets rid of the same look when you are creating a pattern. The concept is simple and can make a big difference in your creation. First, take your size K hook, then wrap the yarn around your finger. Go back and forward, then push up and you will have knotted your hook with the yarn. Now, chain one and then two, then chain one and two again. Continue to do this until yo...

How To: Mix and make paper mache
In this tutorial, we learn how to mix and make paper mache. To do this, you will need: flour, water, and a large mixing bowl. Start off by pouring the flour into the mixing bowl, then adding in warm water in the same amount as the flour. After this, mix it together until you have a thick consistency. It should not be like water, more like a thick soup. Add more of the ingredients until you have this consistency. After this, dip your strips of paper into the mixture. Use them to place on your ...
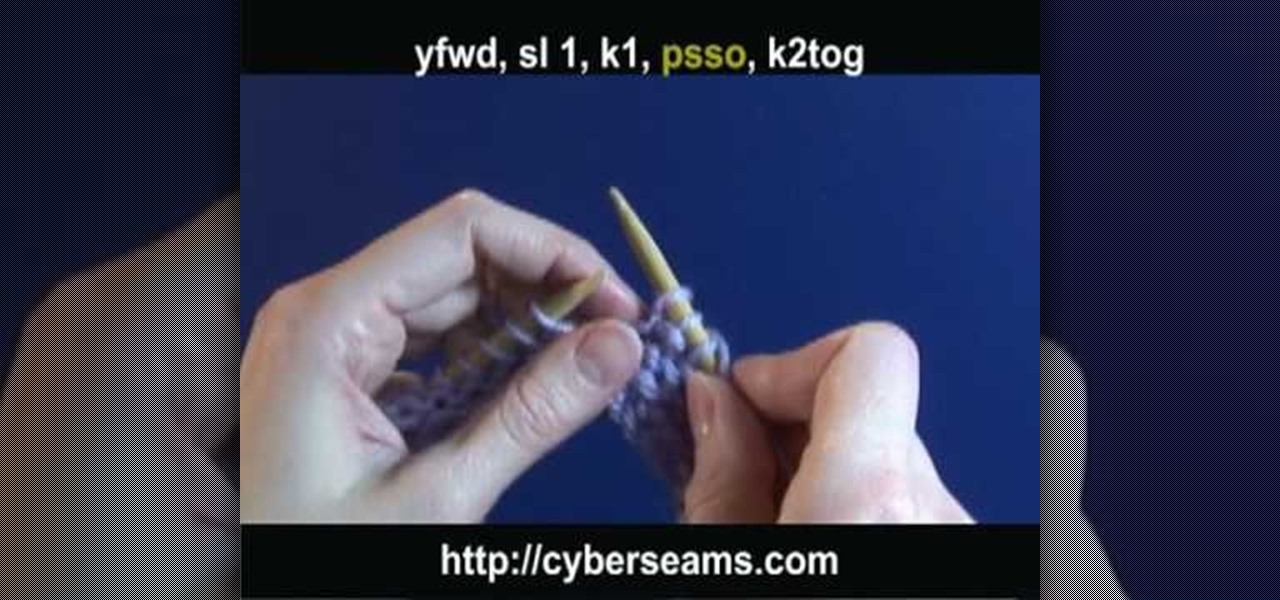
How To: Identify common knitting abbreviations
In this tutorial, we learn how to identify common knitting abbreviations. A yfwd is also known as a yarn forward. An sl 1 is also known as a slip 1 and a k1 is also known as a knit 1. A psso is a pass slipped stitch over and a k2tog is known as a knit 2 together. These are common abbreviations in knitting patterns, when you learn these you will be able to knit more quickly when you are reading a pattern that is written on text. After this, you can make any creation you want and read the direc...
How To: Fold an origami Millennium Falcon from Star Wars
For those who have no idea what a Millennium Falcon is, watch the Star Wars movie franchise. It is the name of the spacecraft piloted by Harrison Ford in the original movie.

How To: Make zebra and tiger prints with Ranger's alcohol inks
In this video, we learn how to make zebra and tiger prints with Ranger's alcohol inks. First, you will need some alcohol ink in black, gloss paper, a stamp, and felt. Now, take your felt and cut it into small strips. Make lines like a zebra or tiger would have. Next, push these strips onto the stamp bottom, arranging them to look like a zebra. After these are stuck on securely, trim off any edges and make some pointed. After this, you will squirt the black ink onto the bottom of the stamp on ...
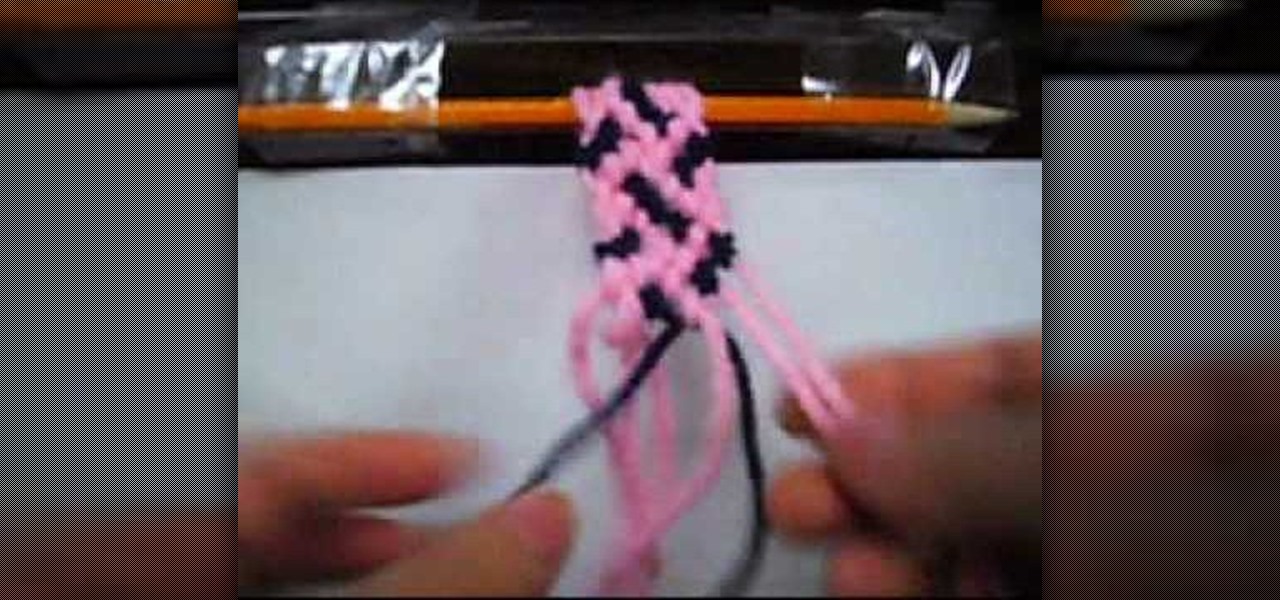
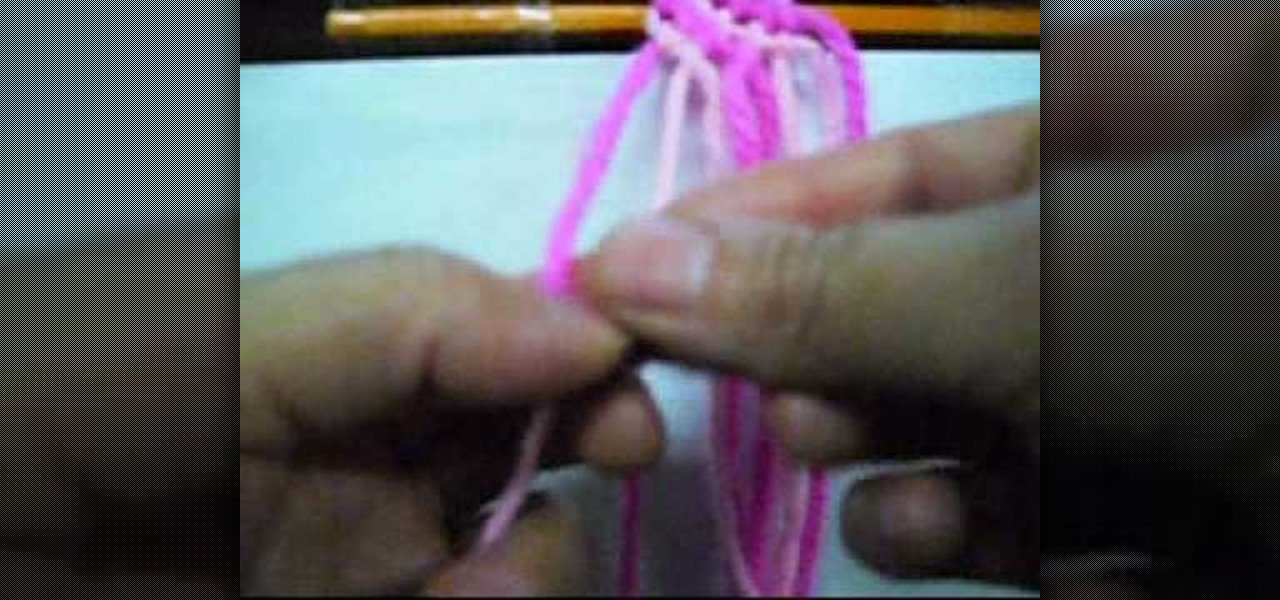
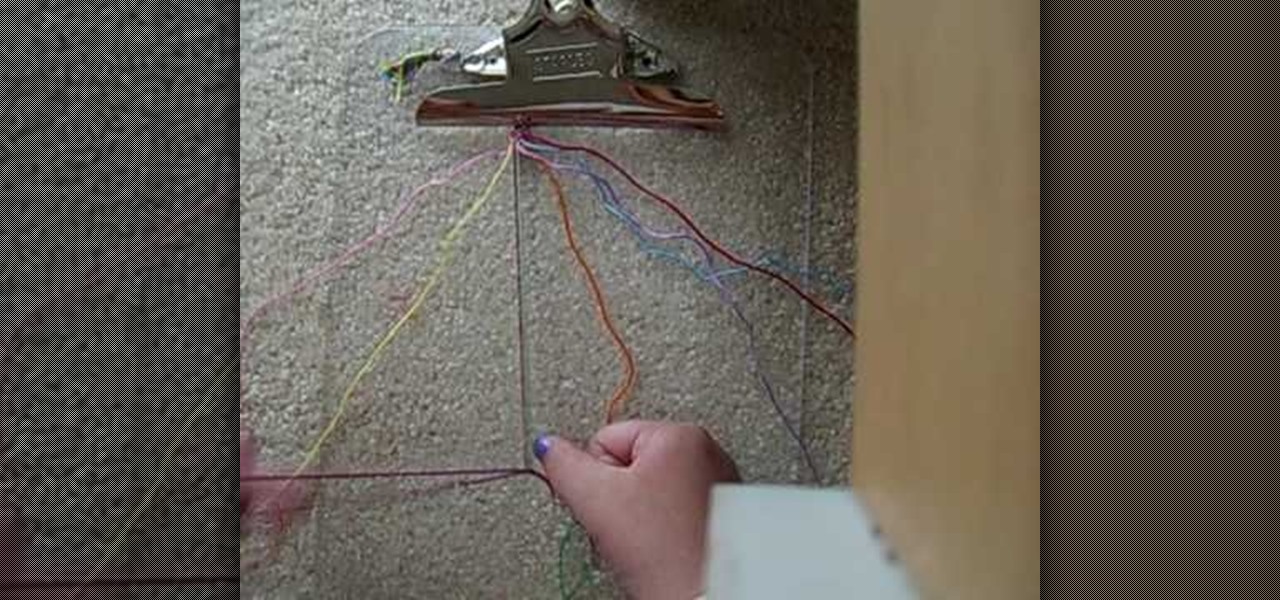
How To: Make a confused-style friendship bracelet
In this tutorial, we learn how to make a confused-style friendship bracelet. First, you will need to clip down your thread on the top and then start to braid the thread together. You will need to have two different colors, white and blue. Then, you will tie the right and left side together and start to braid the middle of it. Then, you will start to braid the bracelet together until you reach the bottom. When you are finished, you can tie this around your wrist and wear it whenever you would ...

How To: Crochet a left handed air freshener angel cover
In this tutorial, we learn how to crochet a left handed air freshener angel cover. Start out with a chain one, then pull the loop up. After this, work 16 half double crochet through the loop and then join with the beginning half double crochet. Next, do a chain one and pull the loop up. Work in two half double crochets in each stitch around, then join with the first half double crochet. Next, chain one and single crochet in the same stitch. Then, single crochet in the next stitch and continue...

How To: Make a duct tape flower pen
In this tutorial, we learn how to make a duct tape flower pen. First, make three triangles the same size out of pieces of duct tape. Leave a sticky part at the bottom and color the rest of it red. You can also purchase red duct tape if you find it available. Now, wrap the pieces of tape around the bottom of the pen where there is no ink. As you wrap this, you will see a flower start to shape with the more tape you add. Continue to do this until you have no tape left, then you will end with a ...
How To: Make a dual-colored line friendship bracelet
In this tutorial, we learn how to make a dual-colored line friendship bracelet. Start by creating knots in the strings going from left to right. After you have covered all of the strings on the bracelet, you can start to braid. Make sure the strings are clipped at the top to keep them in place. When you start to braid, take the two to strings on the left, and braid them in with the others going from left to right. Then you can continue to do this process until you reach the end of the strings...
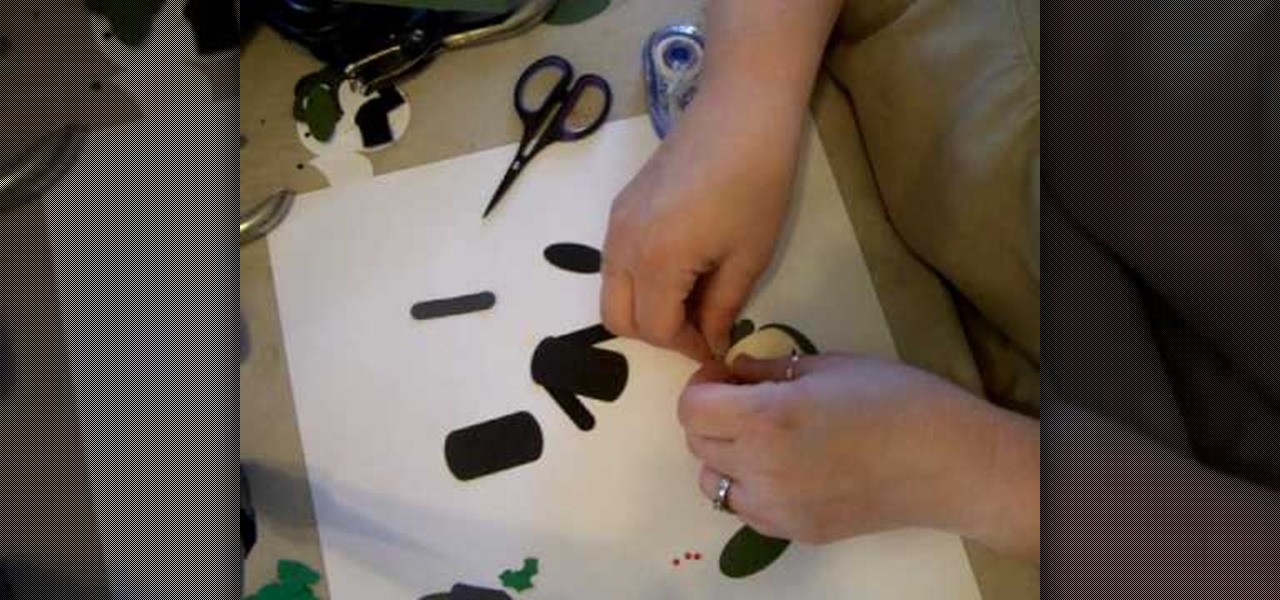
How To: Make Ebenezer Scrooge using Stampin' Up punches
In this tutorial, we learn how to make Ebenezer Scrooge using Stampin' Up punches. First, you will need to grab the guide that tells you which punches to punch out to make the character. Once you have all the colors and shapes punched out, then you will be able to put them together. The hat should be tall with a holly leaf and berries on it. Around his face should be a beard and a scarf around the neck. He should be wearing long sleeves with two buttons down the middle. Use a black gel pen to...
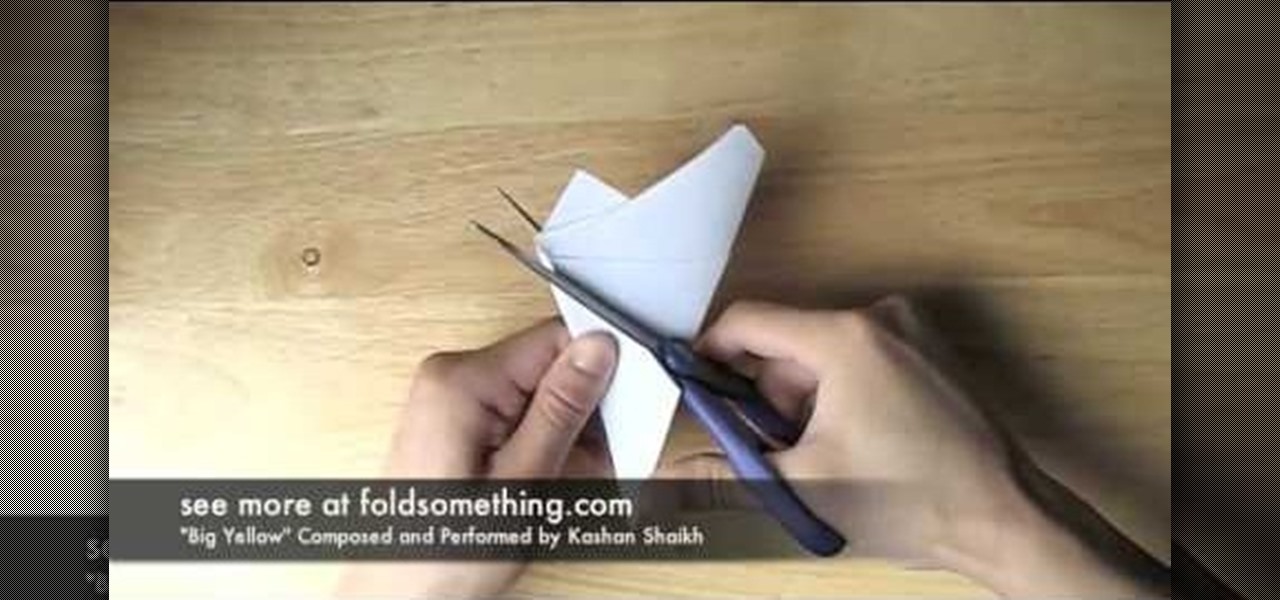
How To: Fold a five-point paper barn star
This is a video tutorial in the Arts & Crafts category where you are going to learn how to fold a five-point paper barn star. You will need a square sheet of paper. Fold it in half to make a rectangle. Take the right folded corner and fold it up to the left edge of the rectangle. Place the corner about 1/3 from the top edge and fold the sheet. Next take the left corner and fold it over the edge you just folded. Finally take the flap on the right and fold it over to the opposite side. Now cut ...
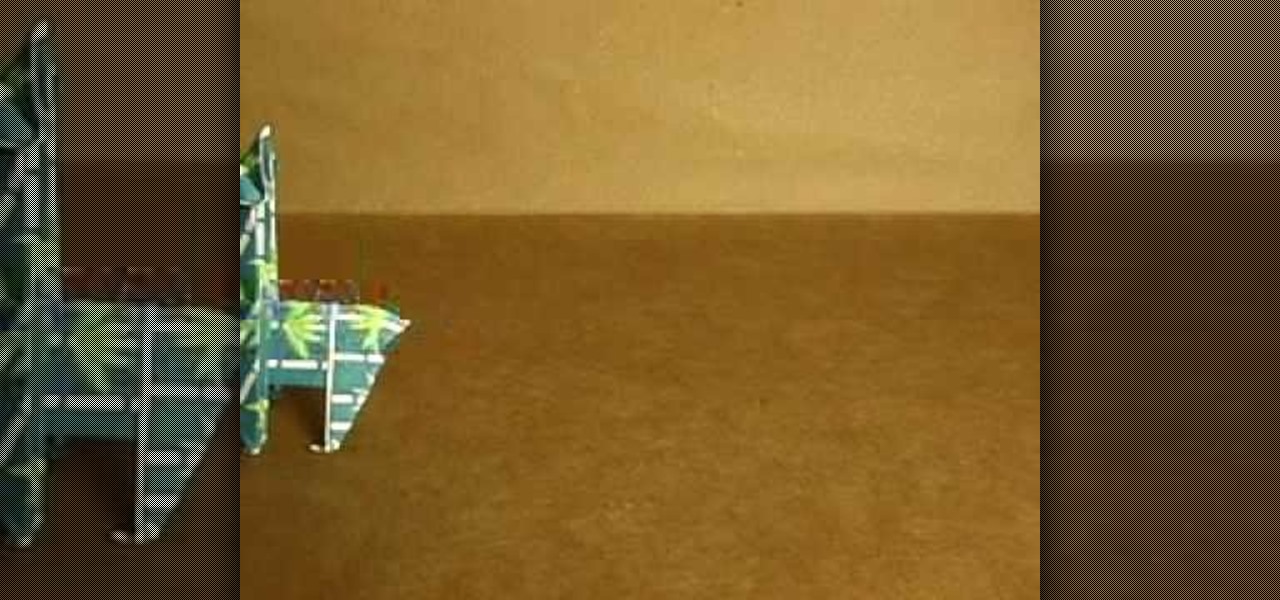
How To: Make origami llamas
This is a video tutorial in the Arts & Crafts category where you are going to learn how to make origami llamas. Take a square sheet of paper and fold it in half. Open the fold and then fold each half further in halves. The sheet is now divided in to 4 parts. Next fold the outer flaps inwards so that they meet at the center. Flip the folded sheet and fold it in half to make it a square size. Next you fold the top back over itself in a triangular shape. Open up the last fold and watch the video...
How To: Make a double arrowhead friendship bracelet
In this tutorial, we learn how to make a double arrowhead friendship bracelet. First, you will need two strings of the color you want that are 70 inches long. Then, tie these into a knot and put it underneath a clipboard. Now, separate these into four groups, then start to separate into colors. After this, find the color in the middle and start to braid and pull twice. Then, you will start to braid the other pieces of string in together so you are making to arrowheads right next to each other...

How To: Finish a crochet never ending granny square
In this video, we learn how to finish a crochet never ending granny square. There is a spiral effect happening in this, because there is no place that is stopping, it's going in a continual circle. To finish one of these, you will see that the corners should be perfect. But, you will need to choose one corner to finish it off at. Go across, then choose a side to stop at. Then, chain over and double crochet in. When you come across with another color, you can weave in the end so that you can't...
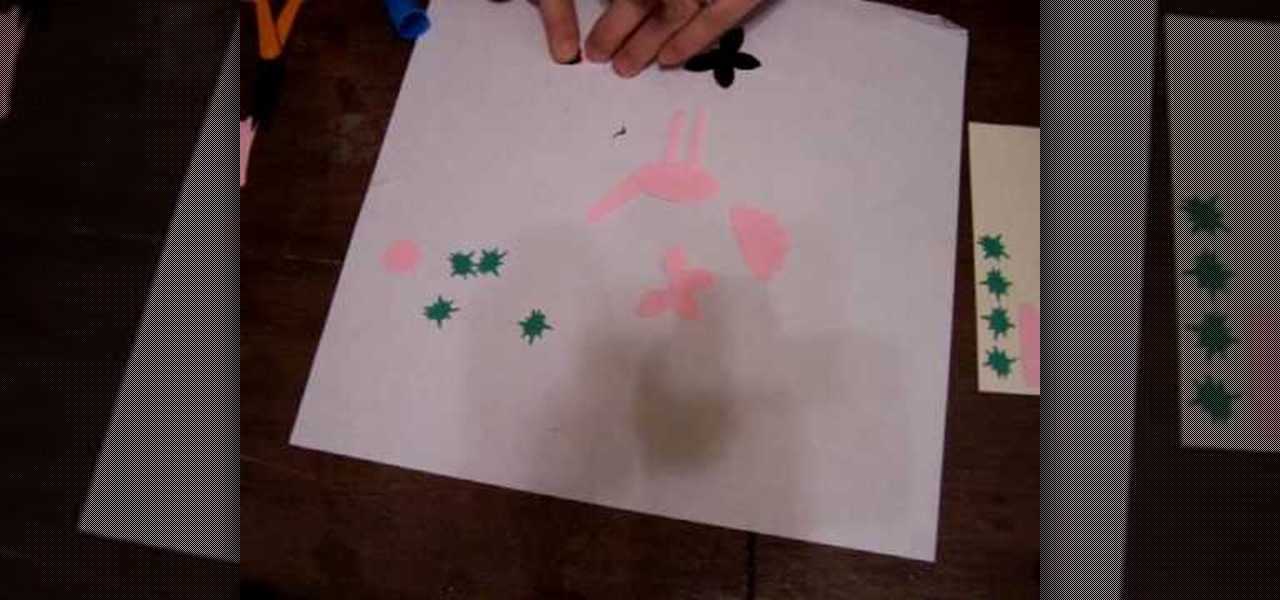
How To: Make a flamingo using Stampin' Up punches
In this tutorial, we learn how to make a flamingo using Stampin' Up punches. First, you will need to punch out two five petal punches (black and pink), pink scalloped punch, large oval pink punch, 1/2" circle punch, and 2 long window punches in pink. Also, four green star punches. First, put the long lines together to make the legs, then attach to the oval shape and another long one to make the neck. After this, make the beak, head, and wings of the flamingo as well. To finish this, draw on e...
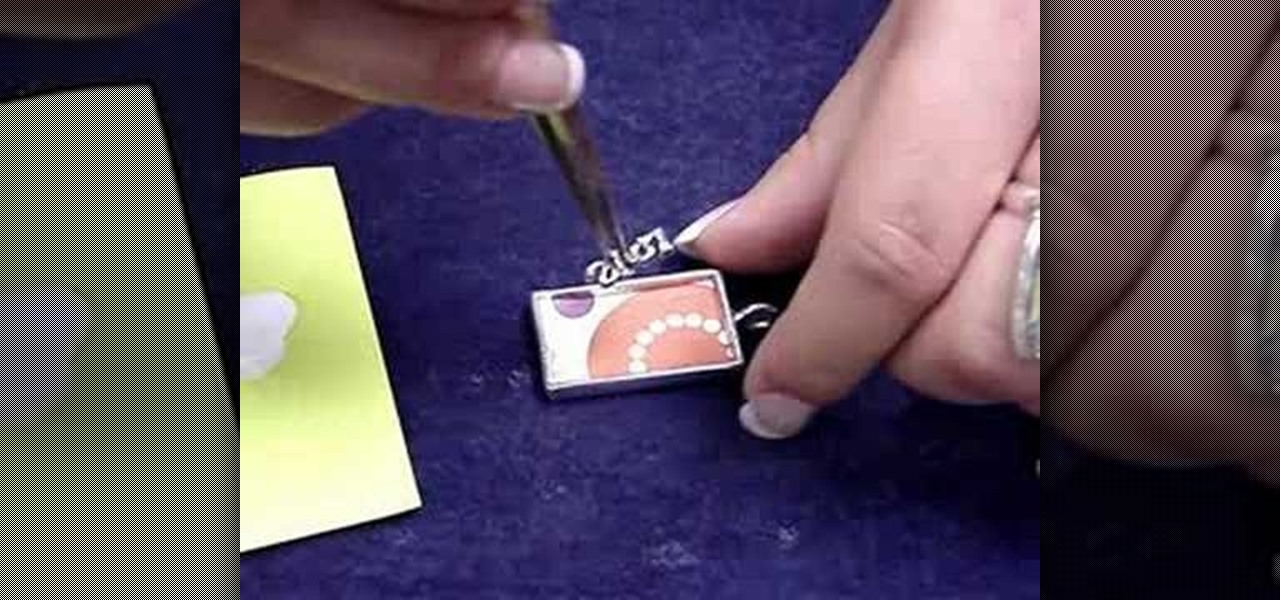
How To: Make a DG3 art gel collage jewelry pendant
In this tutorial, we learn how to make a DG3 art gel collage jewelry pendant. After you have all your tools together, you will need to trim the scrapbooking paper to fit into the frame for your pendant. Once this fits inside, then grab a charm and glue it into the frame where you would like. Then, squirt the clear craft glue into this and let it set. Brush the paint brush over the pendant, then go over it again with the glue when it dries. To wear, attach a chain to your pendant when it's dry...
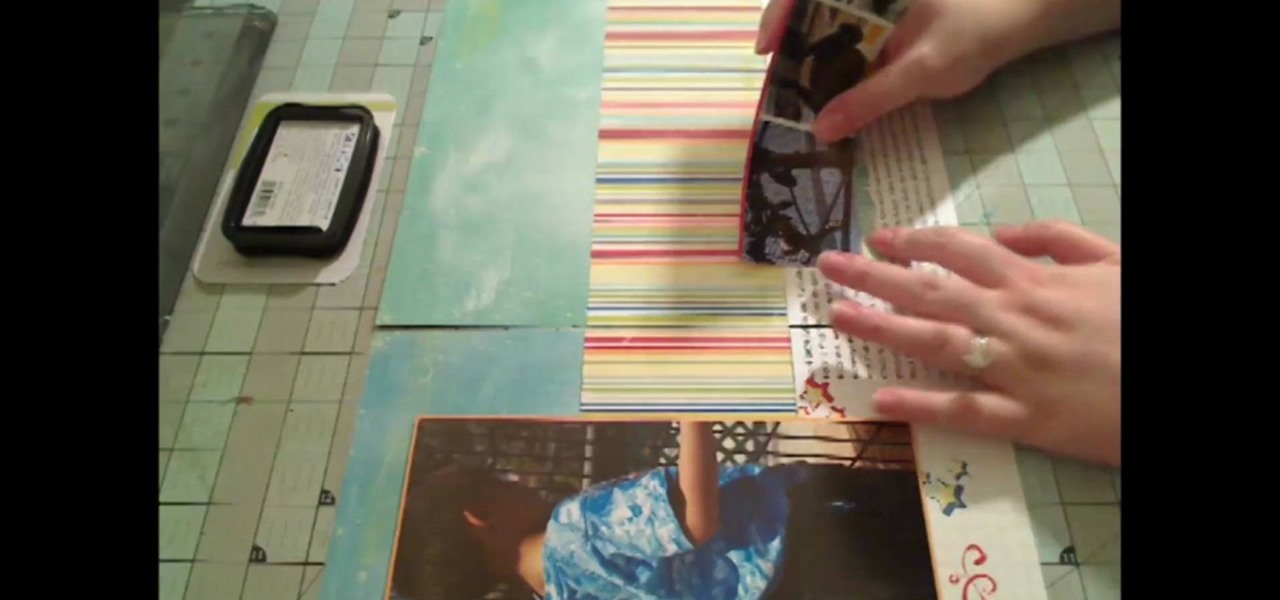
How To: Make a 12" by 24" two-page scrapbook layout
In this tutorial, we learn how to make a 12" by 24" two-page scrapbook layout. First, you will need to gather all of your papers and stickers that you want on your pages. Also, grab your pictures you want to use. Next, figure out where you want to place your photo, then glue it down. After you do this, add on an additional photo in another space of the paper. Place a background underneath the picture first if you want to give it a matted look. Also make sure to place in any stickers that you ...
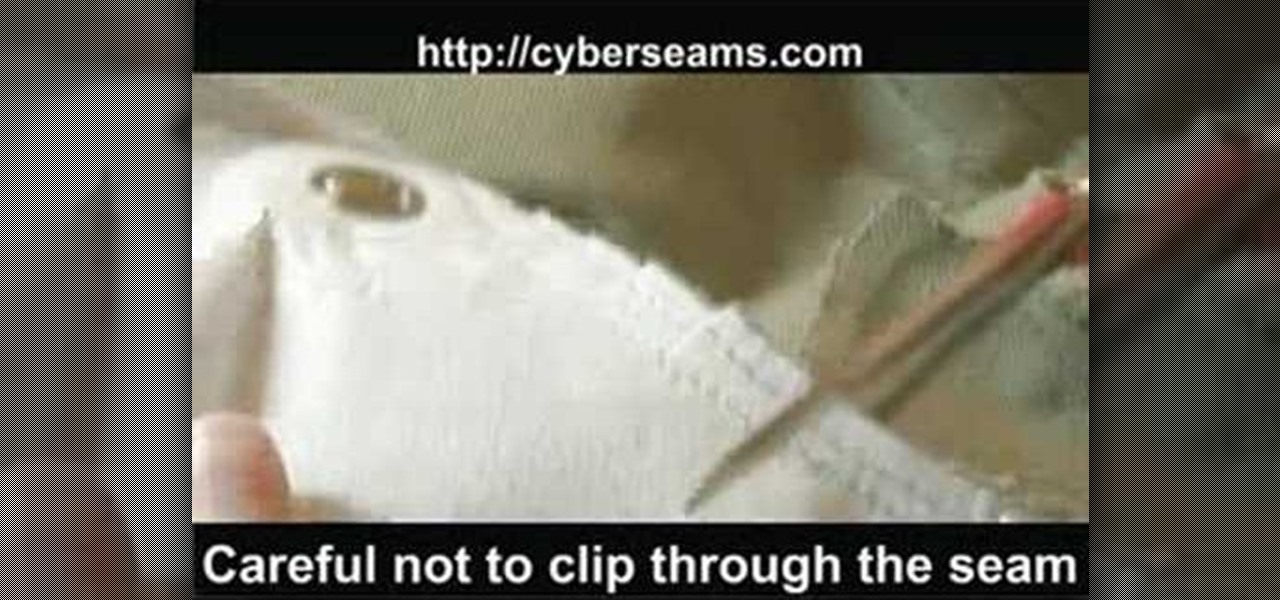
How To: Clip curves when sewing with rounded seams or edges
In this tutorial, we learn how to clip curves when sewing with rounded seams or edges. First, you will take your piece of clothing, then grab your scissors. Put the edge of the clothing (with the seam) and lay it flat. Then, put the scissors onto the seams with the very back of the scissors over the fabric. Clip close to the seam, but do not clip through the seam as you are cutting. Once you are finished, you will be able to sew in curves and will be able to easily get around the seams withou...
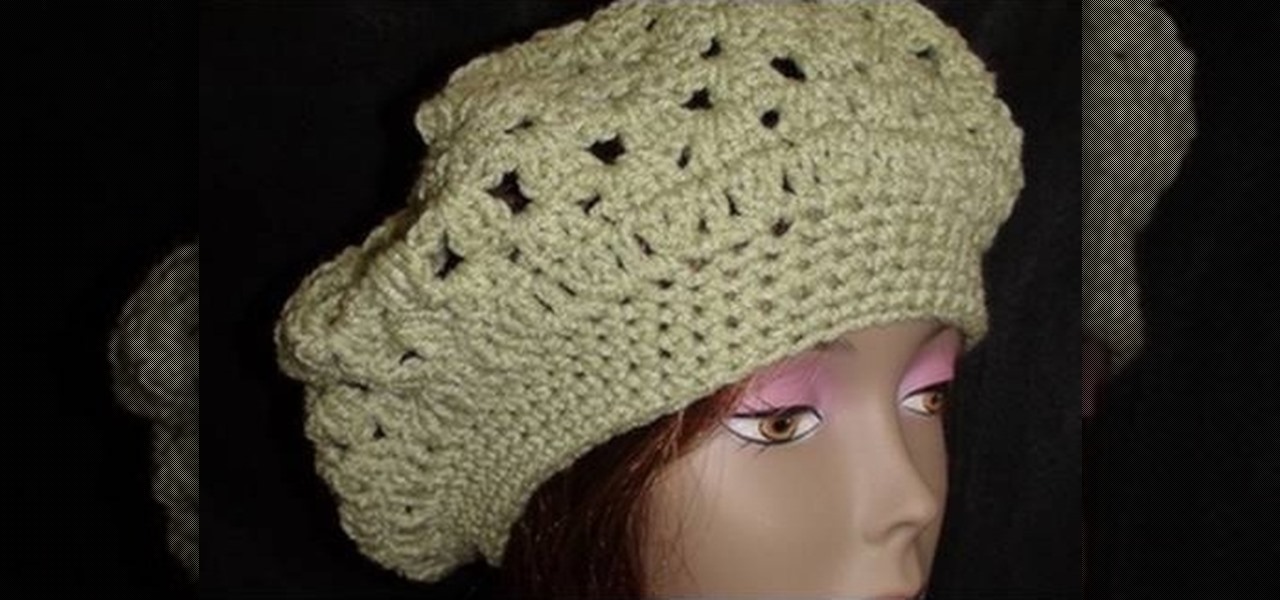
How To: Crochet a kingston cap left-handed
In this tutorial, we learn how to crochet a Kingston cap left-handed. Start round one by doing a chain one, then doing three double crochets and a chain one. Then, work a single crochet and then use a chain 1 to join. After this, do another chain one and pull up, then do 3 double crochets followed by chain one in the same space. After this, work a single crochet to join. For round 4, do a chain one, then work 3 double crochets again and chain 1 in the same space. Continue to do this process u...
How To: Make a monkey with Stampin' Up punches
In this tutorial, we learn how to make a monkey with Stampin' Up punches. First, you will need to punch out all the appropriate punches that you need to make this. Once you have them, start to assemble by starting with the head. Place the eyes and the mouth on the appropriate spots, then use a black pen to add in further details on the face. As you continue, make sure to glue the different pieces together until you reach the bottom. Once you are done, add any additional details with the black...
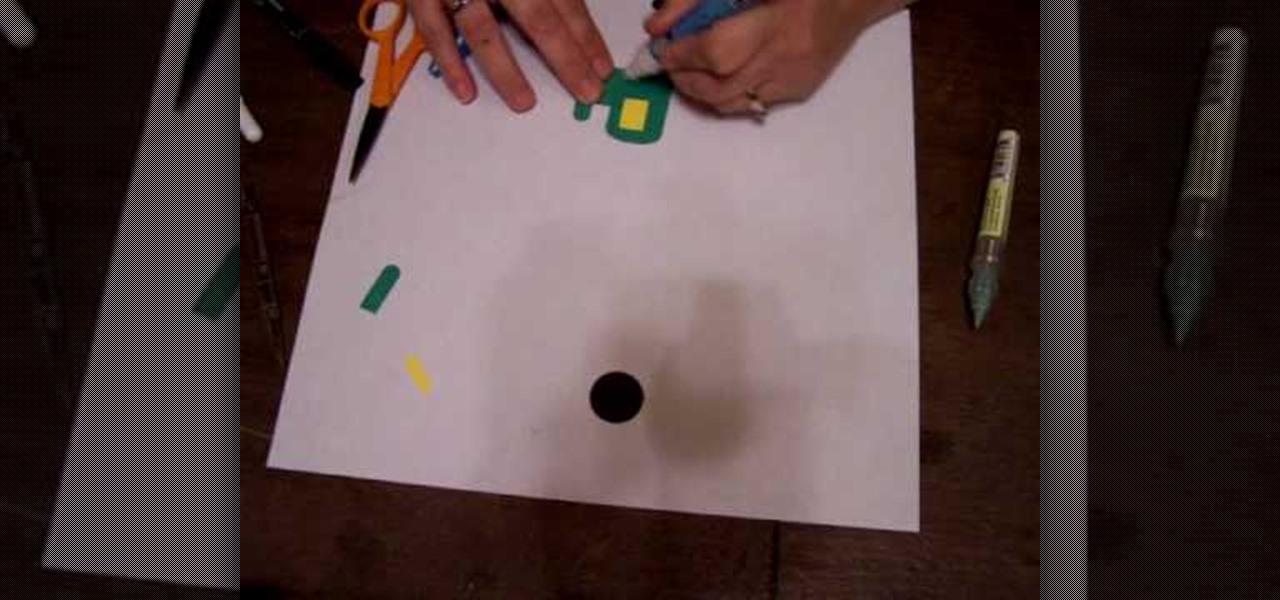
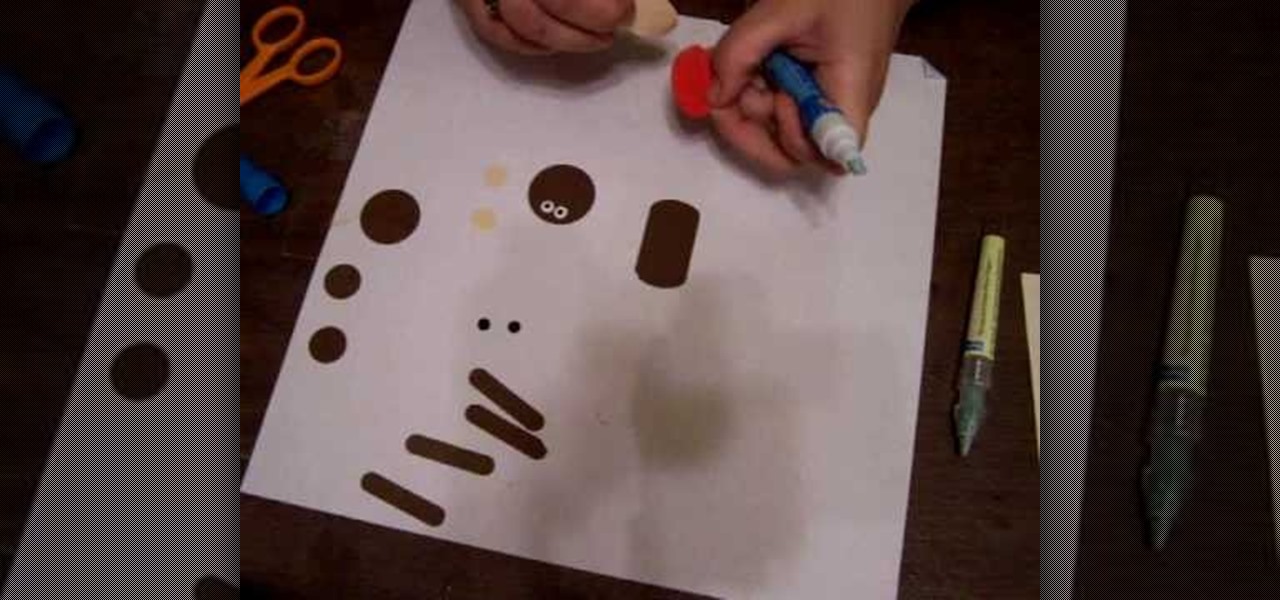
How To: Make a Tractor using Stampin' Up punches
In this tutorial, we learn how to make a Tractor using Stampin' Up punches. First, you will need to punch out a black scallop circle, another black circle, two yellow circles, a yellow square, and four green square shapes. After you have these cut out, you will glue the black scallop circle to the yellow circle so it's underneath. Then, take the green piece and glue it with the other yellows to create the shape of the tractor. Glue the circles at the bottom to make the wheels, then save this ...
How To: Make a rag rug style friendship bracelet
In this tutorial, we learn how to make friendship bracelets: the rag rug. First, grab eight different colors and arrange them all spaced out. Clip them to a clipboard at the top, then take your first strand and make a knot around your second strand twice. From here, you will take your third strand and tie it around your fourth strand. Continue to do this until you reach the rest of the colors that you have twice. Next, take the seventh and sixth strand and make a backwards knot. Then, do the ...