

Active Arts & Crafts Posts


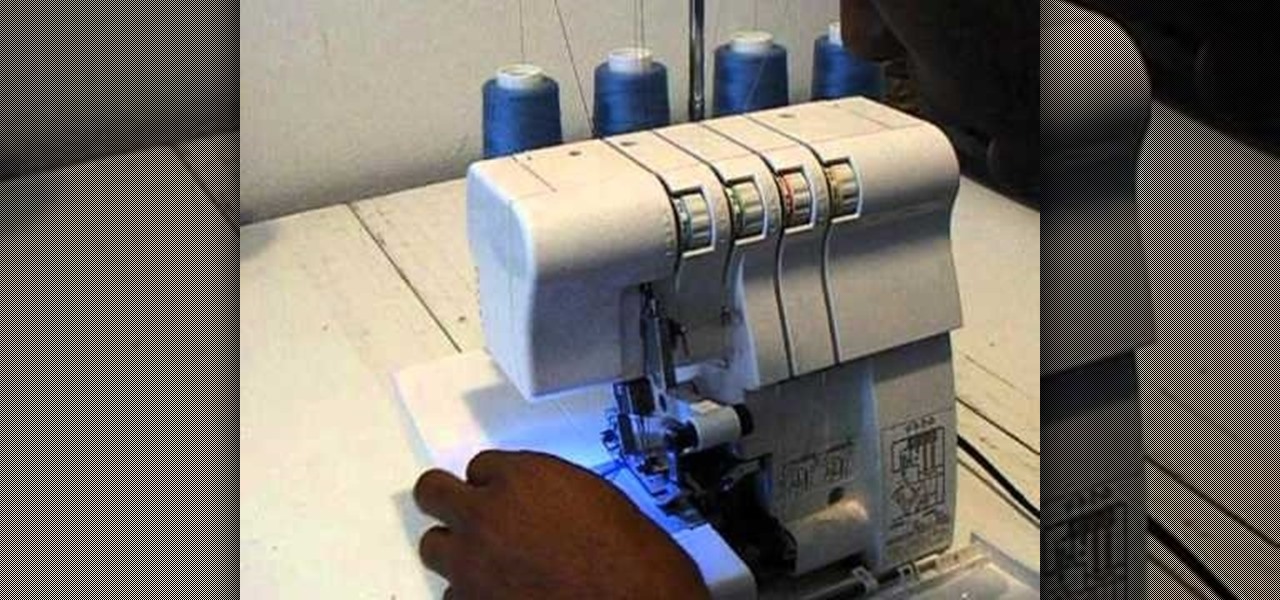
How To: Change thread colors in a Singer Finishing Touch serger sewing machine
If you have yourself a serger sewing machine, and you've already learned how to thread a Singer Finishing Touch serger sewing machine with differential feed, then you're eventually going to have to change the thread colors. This tutorial will show you how easy it is to rethread (without unthreading) the Singer serger (14SH654), which has 4/3 thread capability. Singer also has a PDF available with detailed threading instructions.

How To: Make a blind hem stitch using a sewing machine
In this sewing tutorial, you'll need a sewing machine to make a blind hem stitch. The sewing machine used is a Brother LX-1325 compact and lightweight model, but you can use a similar brand and model. To make a blind stitch, you'll need to fold the fabric the way you normally would when sewing a hem stitch, then you'll pin it in place on the inside. Watch and see how it's done! Then you start sewing. This stitch will be hardly noticeable.

How To: Sew a lapped zipper with a sewing machine
These are some easy-to-follow directions on a sewing technique fore sewing lapped zippers on garments and clothing. You'll use a basting stitch to close the zipper seam from the hip to the waist, then you'll serge the center back seam edges separately. To see the rest of the sewing process, watch the video!
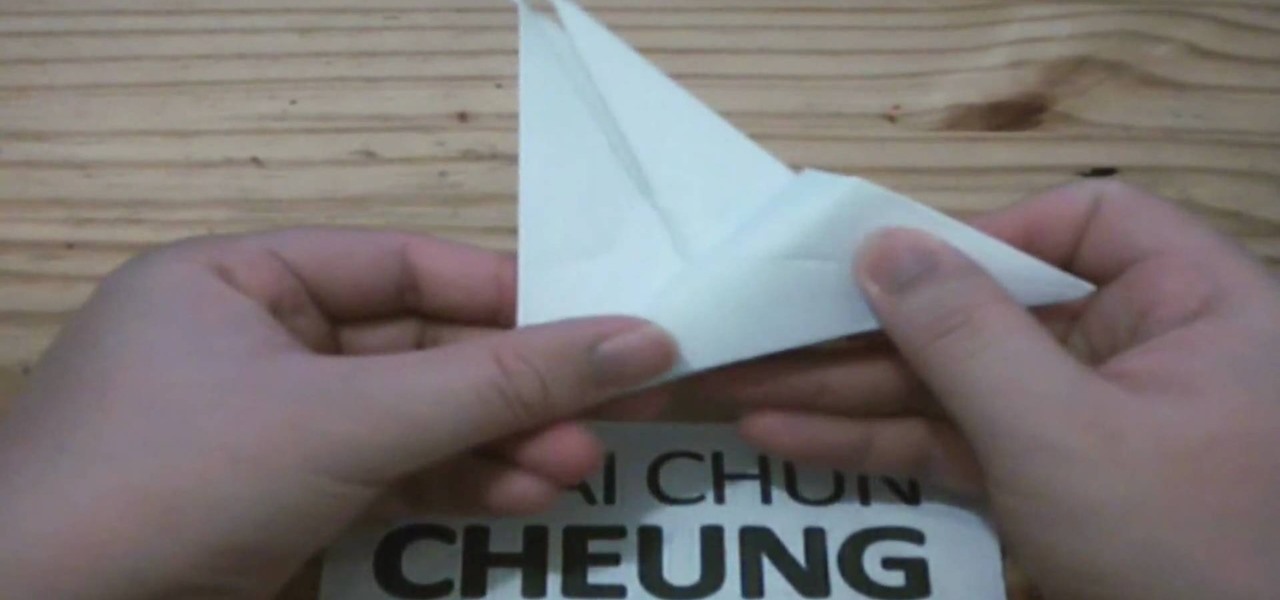
How To: Create an origami place card holder crane
Everybody has place card holders that can be bought from various stores. However, this video by Ngai Chen Cheung shows how you can make your own place card holder using only a square piece of paper and a bit of origami skills.
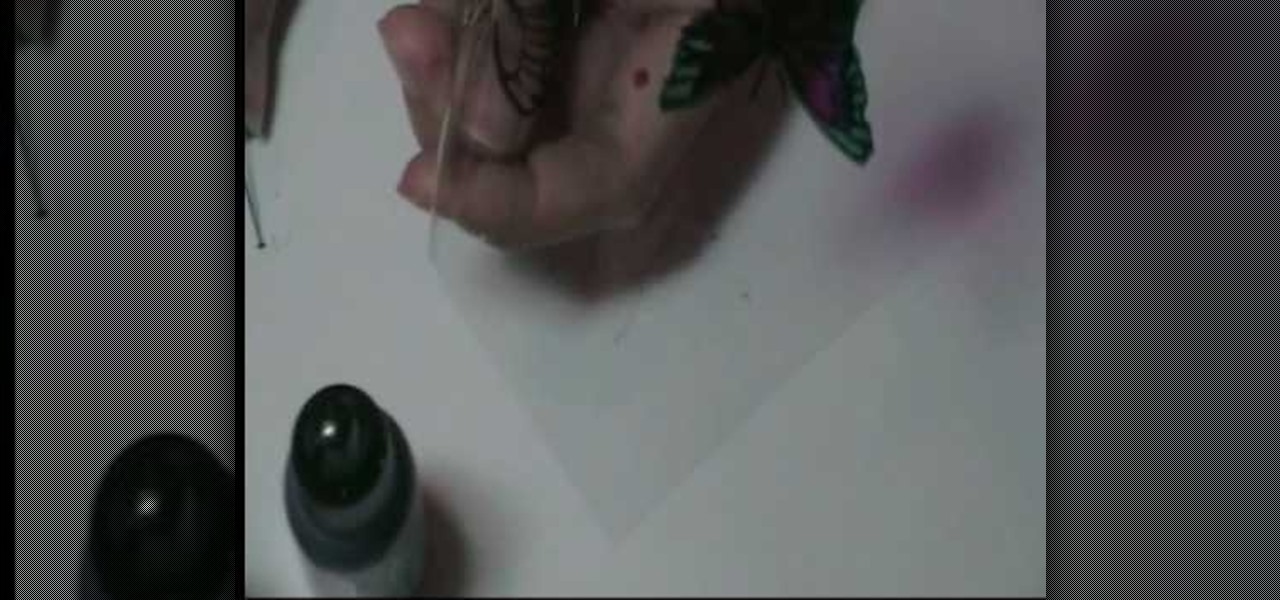
How To: Make beautiful acetate butterflies
In this video, we learn how to make beautiful acetate butterflies. First you will need to make sure you have alcohol inks on hand for the colors you want to make. To start out, stamp the butterfly with black ink onto a piece of plastic acetate. After you have done this, use different colors to fill in the butterfly how you prefer it to look. After you do this, cut out the butterflies and then you will be able to use them for what kind of craft you want to do. These are cheap and easy to make ...
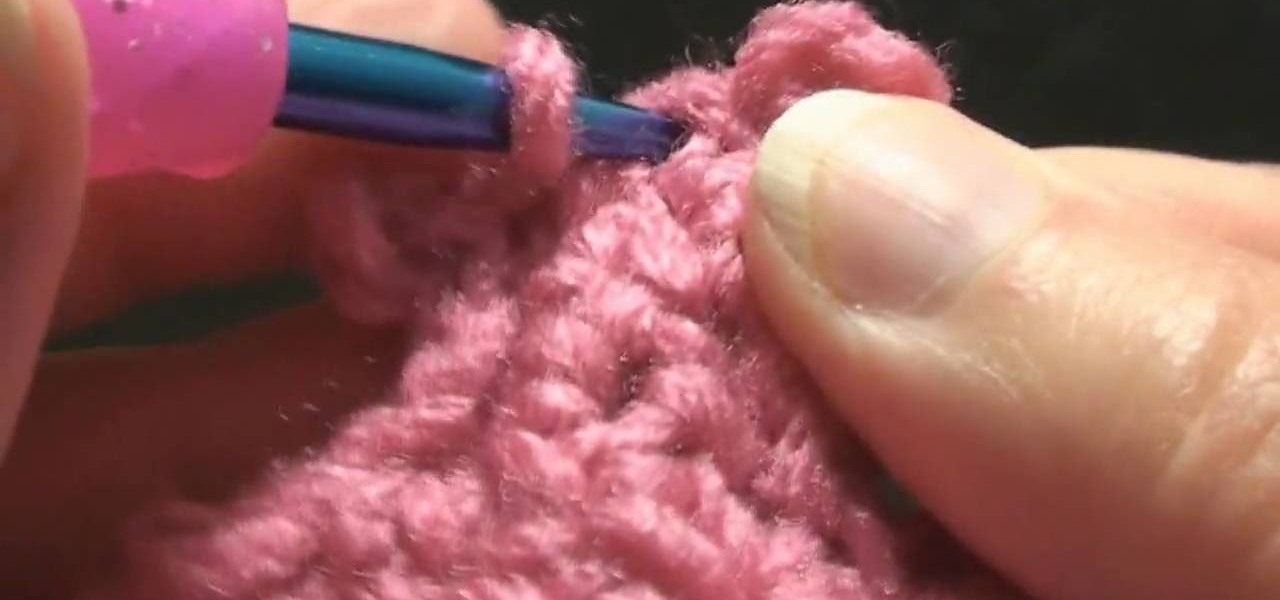
How To: Join a crochet round left-handed
In this video, we learn how to join a crochet round left-handed. First, join with the top level of the crochet. After this, half double crochet of the shell and join with the beginning of the shell. Now, join with the beginning of the double crochet. Go around to the beginning and join with the beginning of the single crochet using a slip stitch. Then, slip stitch between the joining. Now you will want to join with the slip stitch in the beginning of the double crochet. To finish, join with t...

How To: Crochet a left handed knobby granny square
In this video, we learn how to crochet a left handed knobby granny square. First, work a chain four, then join and make a chain one. Do three half double crochets, and then chain two and repeat the process twice more. Chain one, then end with a single crochet in the beginning to put you back in the corner. For round two, work in the same space you just ended. Chain one and pull up, then do a half double crochet. Do a quadruple crochet next, then pull your yarn through two, doing this four tim...

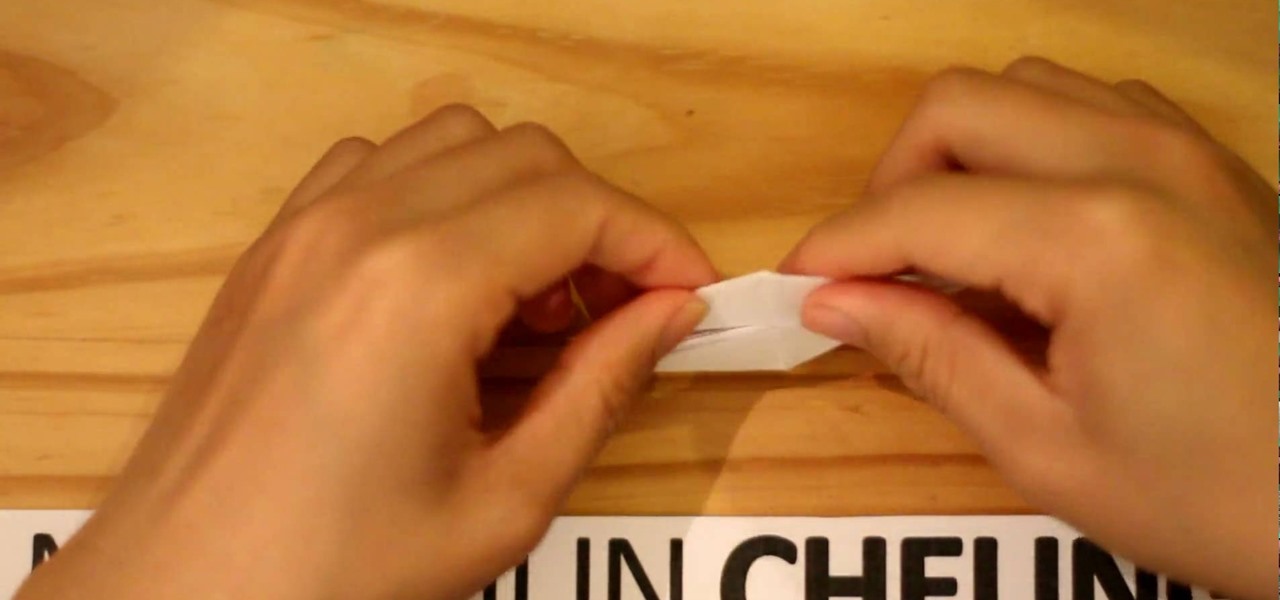
How To: Make an origami dollar heart
This video shows viewers how to create a heart out of a simple dollar bill. First, you should take the dollar bill and fold a triangle from one corner to the bottom edge of the bill, repeating this step on the next closest edge. Then, create a pyramid-like fold to make a smaller triangle in the paper. This is repeated on the other corners of the bill as well. Next, fold the bill in half and take the small pieces of the bill which are not part of the triangle and fold it over to create a squar...
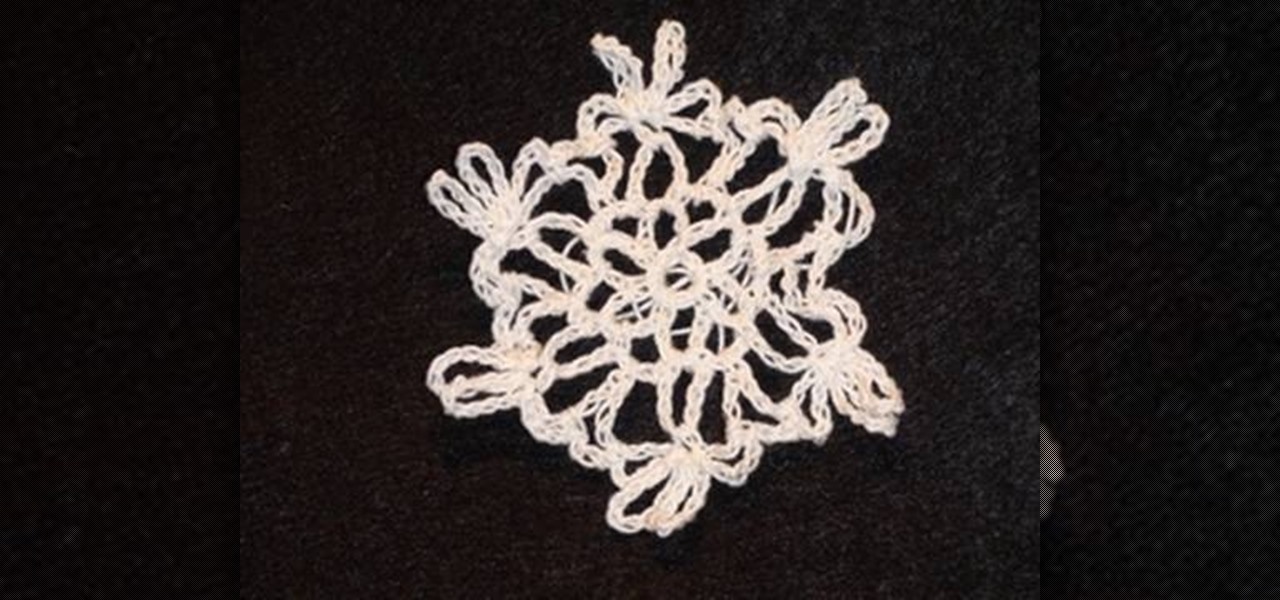
How To: Crochet a left hand snowflake
In this tutorial, we learn how to crochet a left handed snowflake. Start out with a chain 7, then join. For round 1, you will do a chain 6, then single crochet in the loop five times. Then, chain 3 and join at the beginning of the chain. For round 2, chain 3 in the next loop, then chain 8 and single crochet in the same loop, five times total. After this, chain 3 a single crochet and then triple crochet at the base of the beginning loop to join. For round 3, single crochet in the same loop, th...
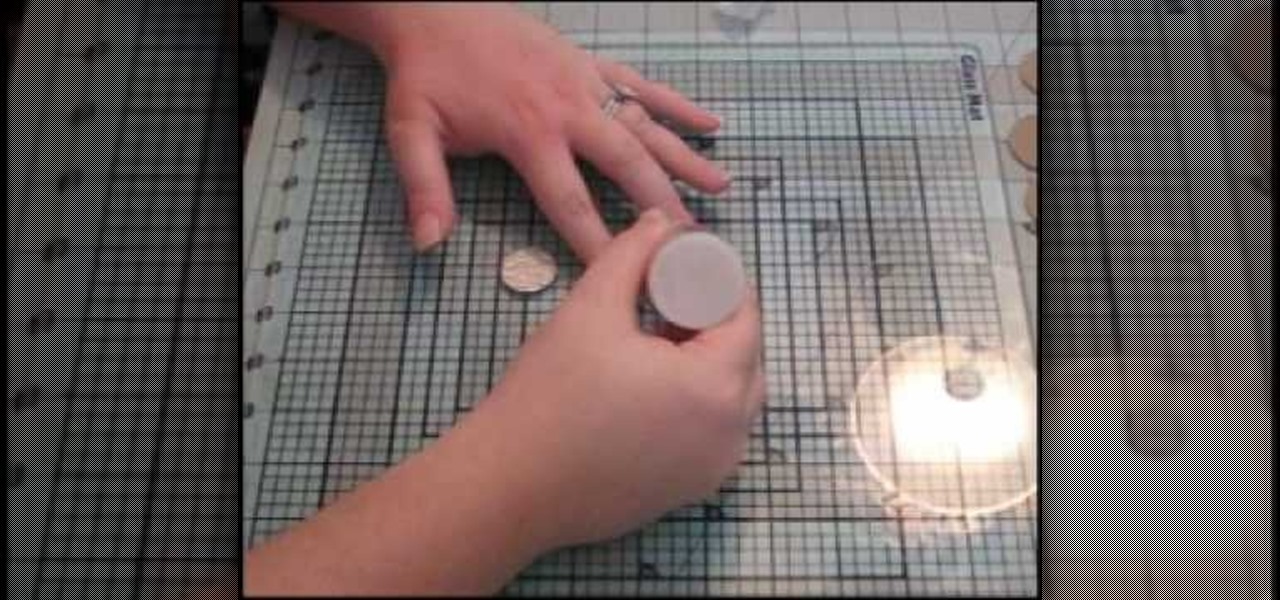
How To: Make custom chipboard buttons for scrapbooking
In this video, we learn how to make custom chipboard buttons for scrapbooking. First, take a scrap of chipboard and use a circle trimmer to cut circles out. Cut circles out of patterned paper in different sizes using many different patterns. Now, apply glossy finish onto the papers and wipe off the excess liquid. Ink the edges after this, then put adhesive onto the back of each of the different circles. Now, you can punch holes into the center of the circle to make it look like a button. Now,...
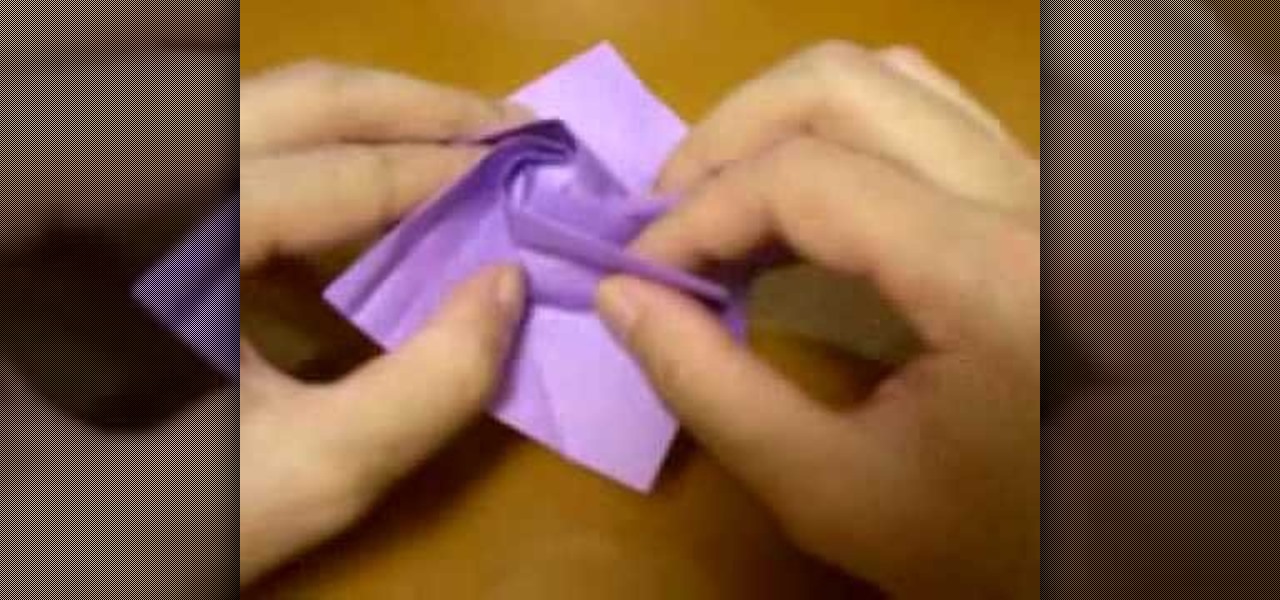
How To: Create an easy origami paper rose
In this video, we learn how to create an easy origami paper rose. First, take a piece of paper and fold it into a square. After this, unfold it and then reverse the fold the opposite way. Now, take the middle of the paper as you are folding and make a square out of it. Fold down the flaps from the middle down in the front and the back. Next, flip the paper over and push down all the creases. Then, fold the paper into a triangle on all sides and push the creases down. After this, pop up the mi...
How To: Make a "purt" or a "shirse"
In this video, we learn how to make a "purt" or a "shirse". To start, grab an old shirt with buttons and measure out an area from the top to cut down. After this, cut the area out cutting the top and the back of the shirt. Then, take a sewing machine and sew the sides together. After this, grab a tie that you have and wrap it around the front of the shirt that you have just sewed. Now, when you want to look like you are wearing a shirt and tie without actually wearing one, you can slip this o...
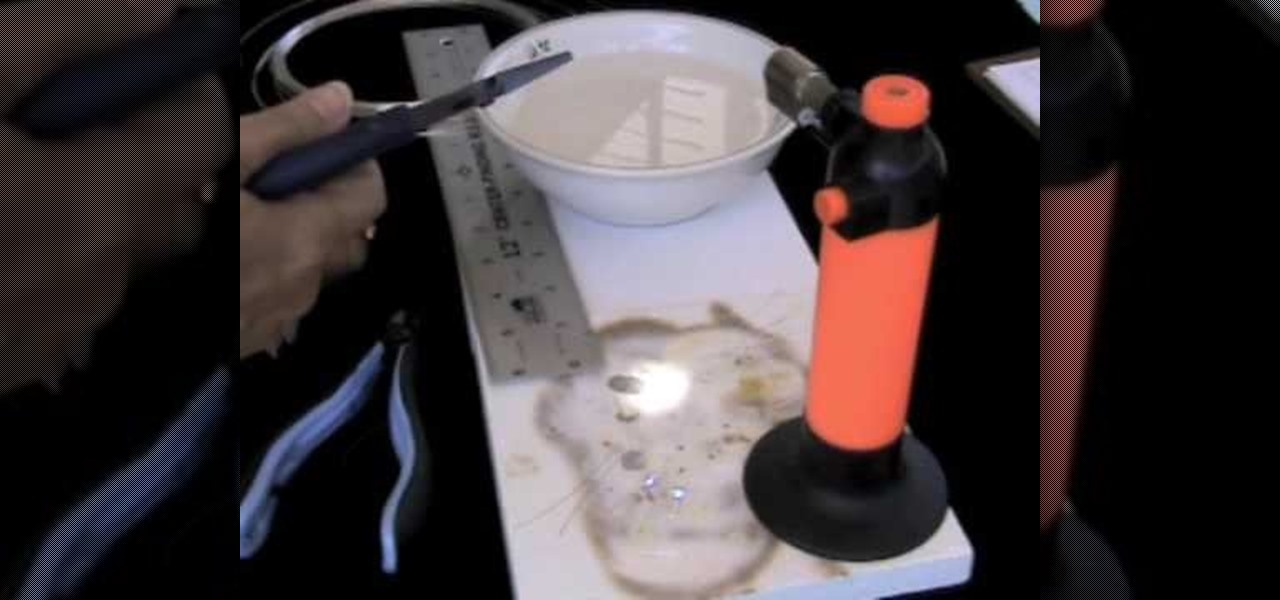
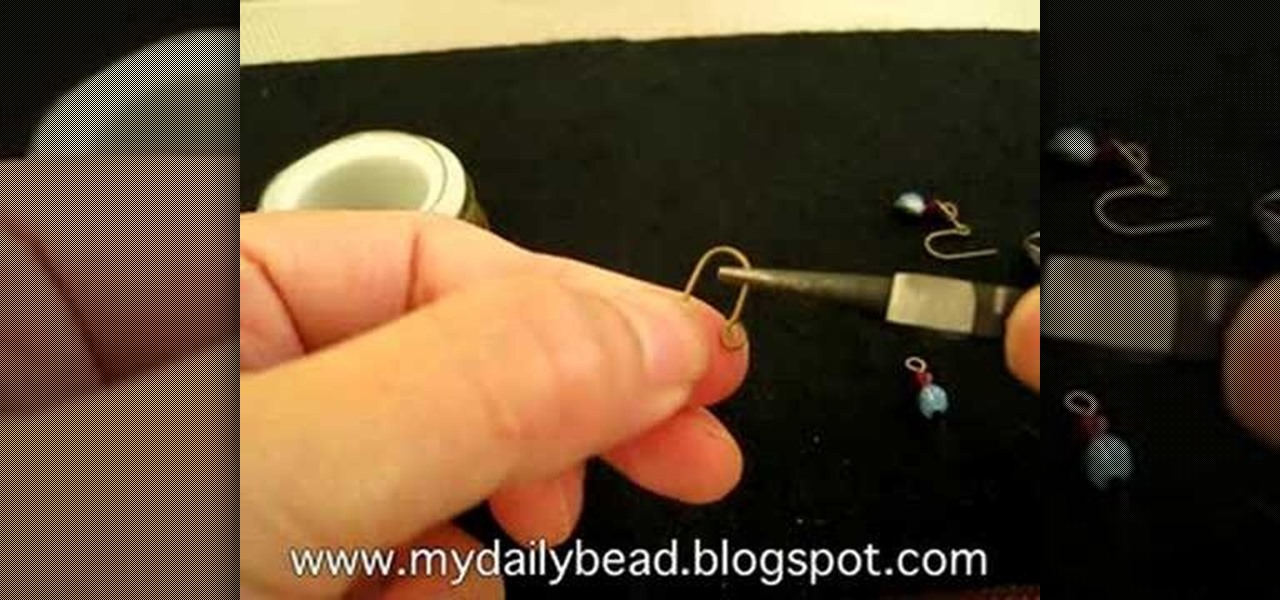
How To: Make your own sterling silver headpins
In this video, we learn how to make your own sterling silver headpins. You will first need a torch (one from your kitchen will work fine), a heat protected surface, bowl of cold water, and fine silver. Next, cut out two inch pieces (or longer if that suits you best). Put on safety glasses and turn on your torch. Now, pick up one of the piece you cut and put it into the tip of the flame. Quickly, the silver will ball up at the end of the pin. When it has balled up, place it on the cooled surfa...
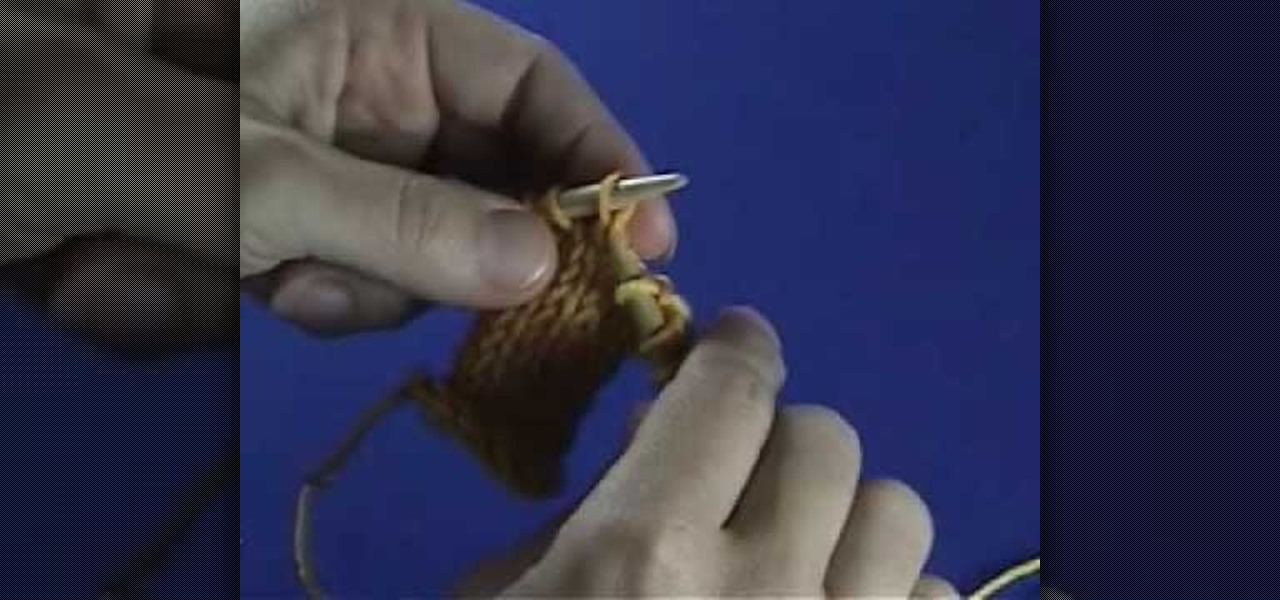
How To: Recognize a backwards knitting stitch
In this tutorial, we learn how to recognize a backwards knitting stitch. Sometimes if you have to undo stitches, you may need to recognize where the stitches are so you can fix the problem. The front leg will be sitting in front of the one in the back when it's done correctly. If done backwards, you will be able to see the front leg in the back of the back leg. To fix this, you can simply take the stitch off, turn it around, and orient it correctly. Or, you can knit through the back loop to t...
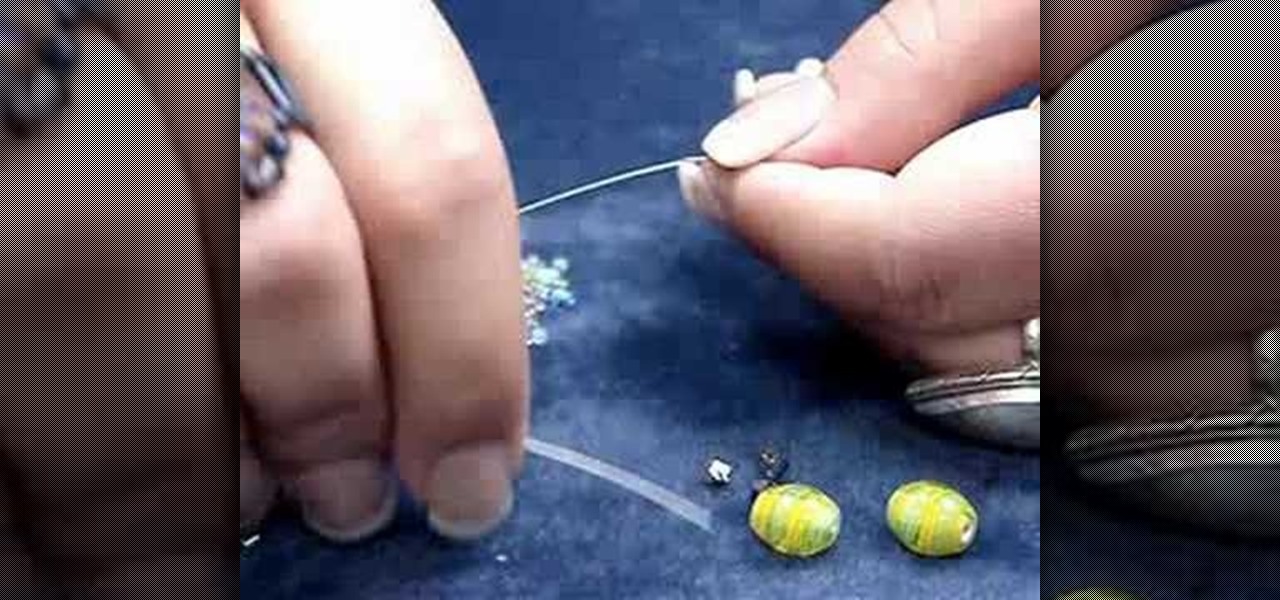
How To: Make a beaded bookmark or "book thong"
In this tutorial, we learn how to make a beaded bookmark or "book thong". First, take a wire and add on a small horse shoe shaped bead. After you do this, use pliers to help bend the wire around this pin to keep it in place. Next, add on a peace sign pendant, then tie the wire around and push the wire into a cylinder bead. Continue to add on more beads to the wire until you reach the end. Use different types of bead to make it more unique and completely your own design. To finish, apply a cla...

How To: Quickly make an origami kusudama
In this video, we learn how to quickly make an origami kusudama. This only requires six pieces of paper to make. First, fold one piece of paper into a triangle, then open it up and fold it in a triangle on the opposite side. Open this back up then flip over. Bend in the edges to make a new triangle, then press down the creases on the side. Bend the middle of the triangle up to the point on both sides. Bend these back down, then fold over the side and make a crease. Open up the bottoms where y...

How To: Knit cables
In this tutorial, we learn how to knit cables. You will need to place stitch markers where you are going to begin your pattern for the cable and end it. Now, take a double pointed needle and make sure it's not bigger than the needle you are knitting with. Work your pattern throughout the middle of your project by making a robe one, then begin the cable knit. Purl the first two stitches, then knit the next six. After this, purl one stitch and knit three other stitches. Continue to do this proc...
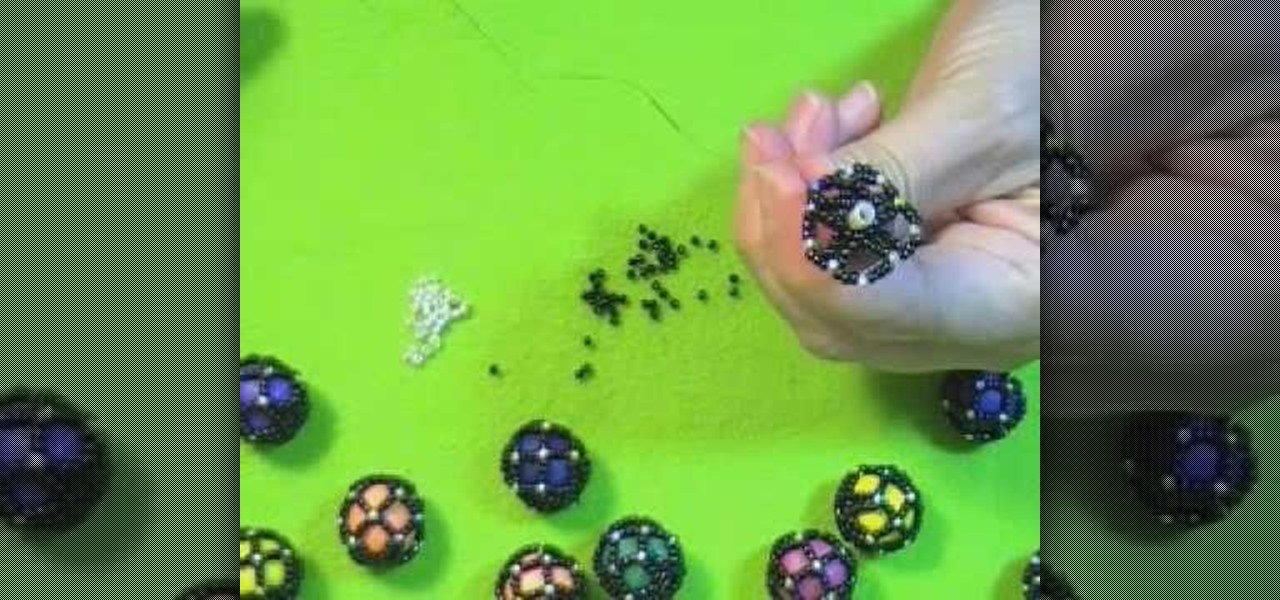
How To: Make a beaded netted bead
Want to create netted necklaces, earrings, purse decorations or any other netted designs. This video demonstrates and explains how to create a netted bead. However, the basic procedures which are
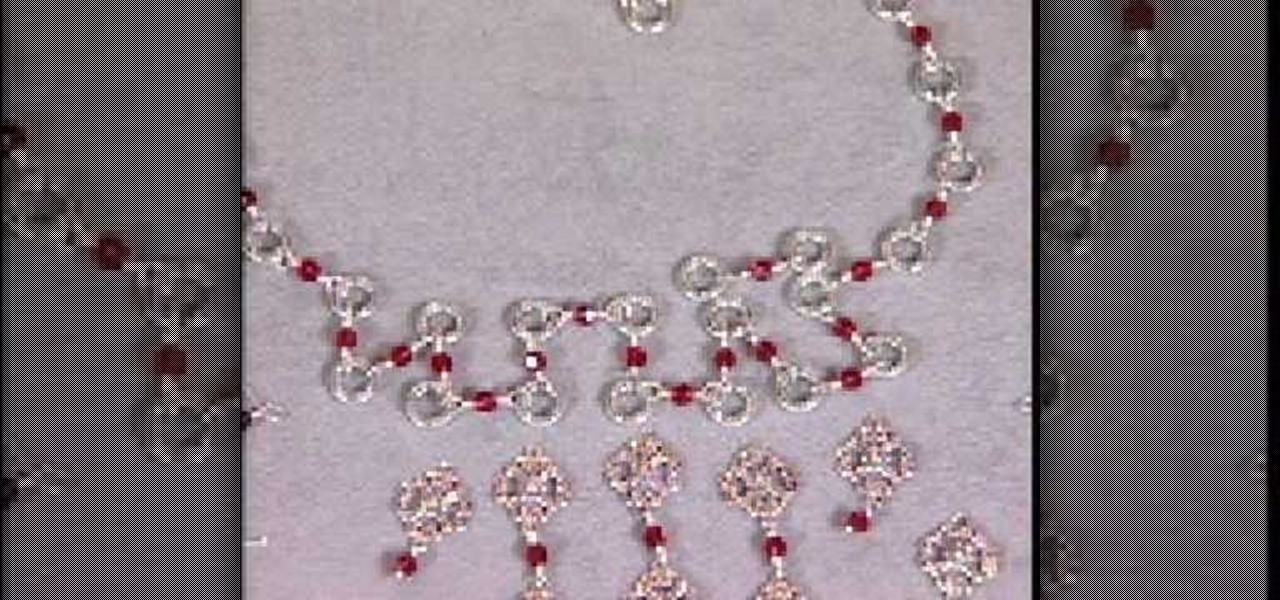
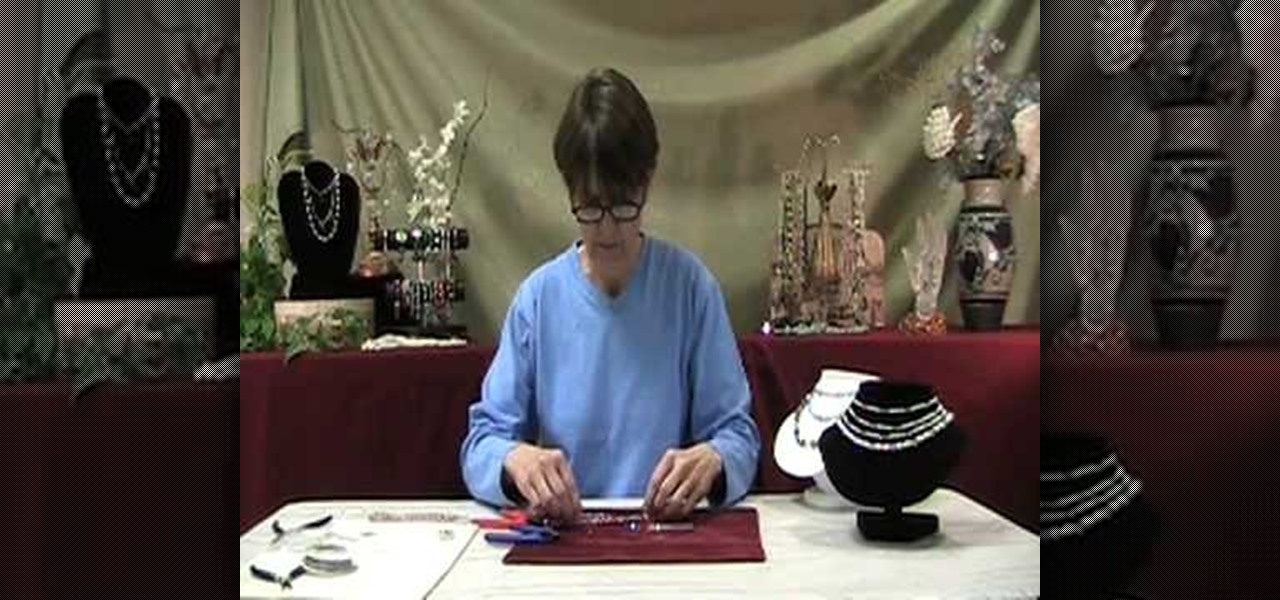
How To: Make a silver vintage-style bead necklace
In this tutorial, we learn how to make a silver vintage-style bead necklace. First make sure you have silver wire and glass beads in the color that you prefer. Now, you will string the beads through individual wires and close them so these can be applied to the center of the necklace. This will create a long chandelier like quality on the necklace. After this, you will create the base of the necklace with the same color beads and silver. You will want to follow the pattern of creating silver ...
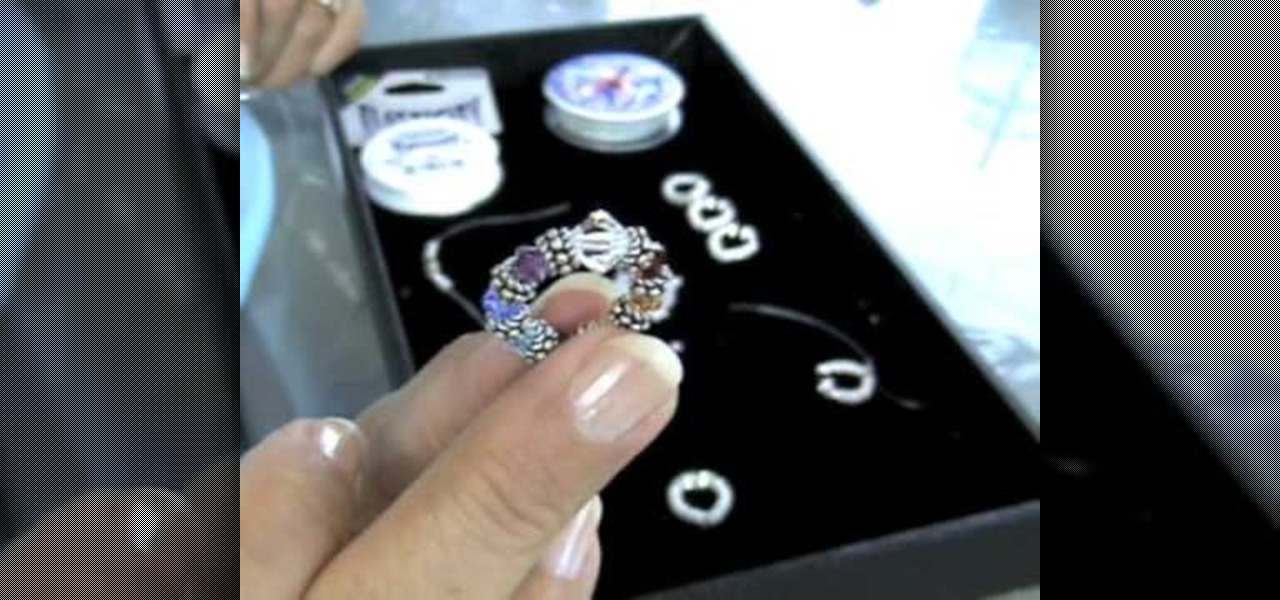
How To: Make an elastic Bali bead & crystal ring
In this tutorial, we learn how to make an elastic Bali bead & crystal ring. First, you need to get all of your supplies together, which include: elastic cord, crystals, glue, beads, and scissors. Start by cutting a 6 inch piece of the elastic cord, then string a bead to the middle of it. Then take a crystal and string it onto one side along with another bead and a silver bead. After this, place more beads around the other side of the middle bead then put it around your finger to see if it's t...
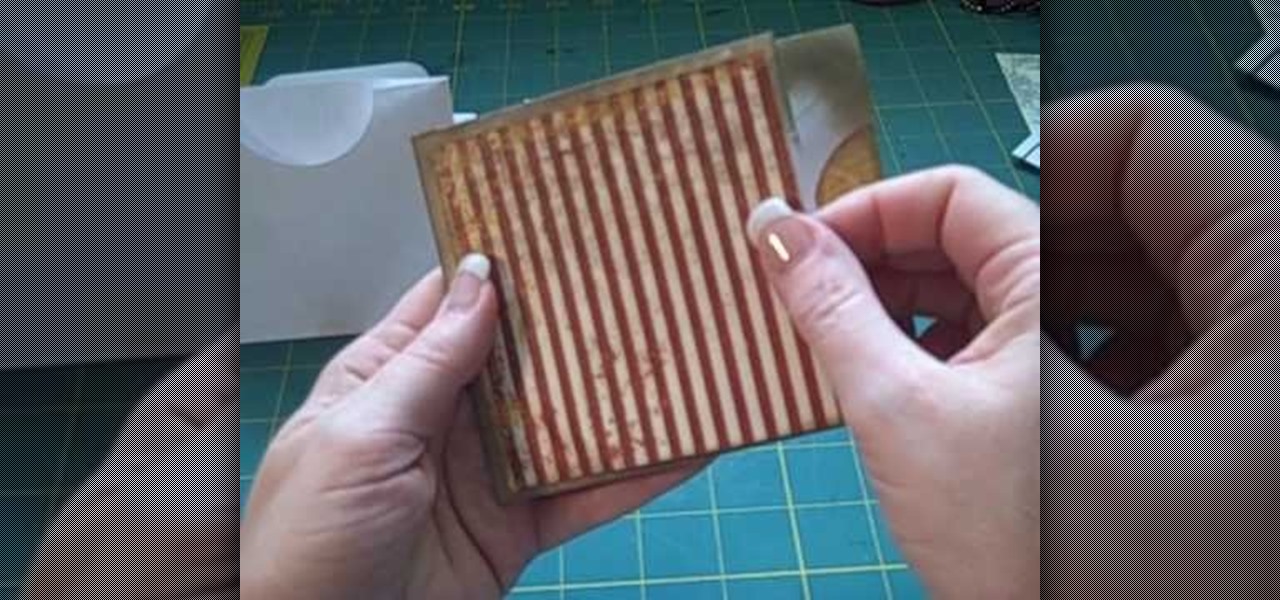
How To: Make a multi-pocket/tag envelope page for mini scrapbo
In this video, we learn how to make a multi-pocket/tag envelope page for mini scrapbook. To start, you will need to put the different pieces of paper together. You will need to use a standard number 10 envelope, then trim off each end so that the envelope body is nine inches long. Then, stick down the flap and then score from one end out four inches to the middle. Then, fold this down. After this, you will cut the ends off and two pockets will be created. Now, cut out half circles to create s...
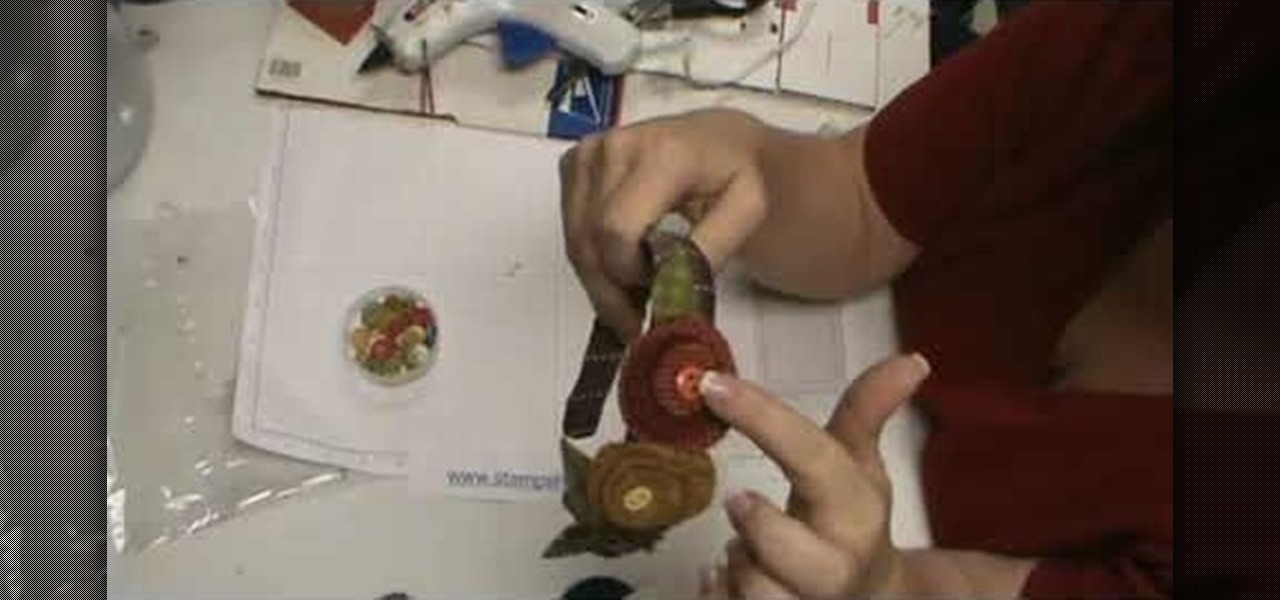
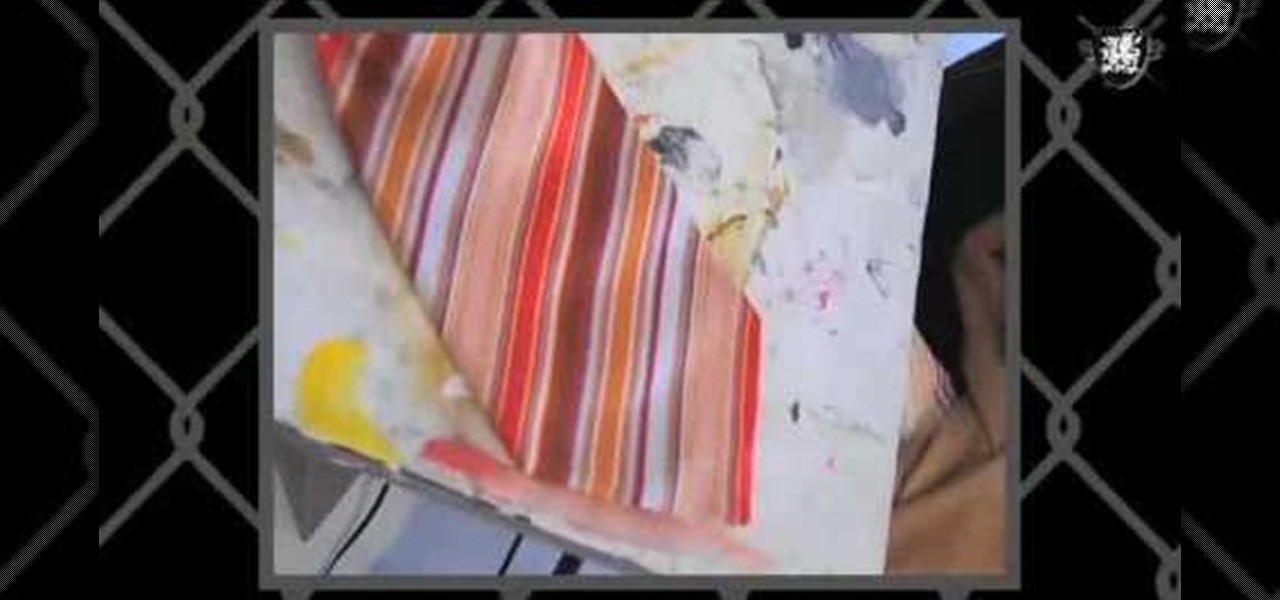
How To: Make lollipop flowers out of fabric
In this video, we learn how to make lollipop flowers out of fabric. First, start out with dye that has four circles in different sizes. You will also need the Big Shot to cut out the circles and wool cut out to fit on the cutting board. Put the board through the machine and your circles will be cut out. After this, start with the largest circle and start to add the other circles on top with a hot glue gun. Now, add a button to the middle of the top smallest circle using a hot glue gun. Add a ...
How To: Create an origami bird
In this tutorial, we learn how to create an origami bird. Start with a rectangle, then fold a triangle into the end of it. After this, fold a crease down the middle of the triangle and tear it off. Next, fold this triangle in half, then in half on the other side. Push down in the middle crease to make a diamond shape on both of the sides as well, then fold down to reach the bottom of the diamond. Fold the top up and the bottom up, then bring the edges into each other to create a pocket. After...
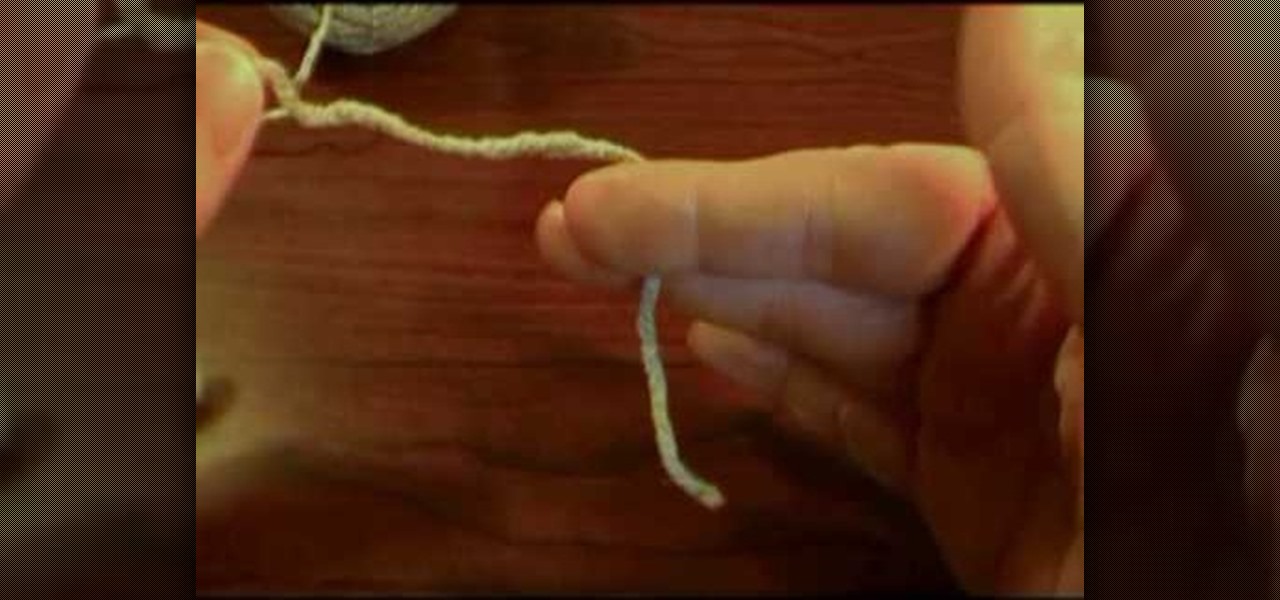
How To: Hold a hook and yarn in crochet
In this video, we learn how to hold a hook and yarn in crochet. First, grab your hook at the thumb grip. Then, practice how you like to hold your hook so it feels most comfortable with your hand. After this, grab your yarn and wrap it around the hook, placing tension in the string. To do this, wrap it around your pinkie then your pointer. Then, hold in between the thumb and middle finger. After this, you will be able to place the hook in the yarn easily to start out your stitch. After this, s...
How To: Make earrings with Swarovski Crystal & coiled wire
In this tutorial, we learn how to make earrings with Swarovski Crystal & coiled wire. You will need: 6 mm round bead, 4 mm Swarovski crystal, 2 inch head pin, and coiled wire. First, place the beads on to the head pin then bend the pin to 90 degrees. Cut this around 8 mm with a wire cutter, then use pliers to curve the bottom of the pin into a loop. Now grab the wire and cut it into a small strip. Form a loop at the bottom, then twist it into a wired circle. Attach this to the loop on the ear...
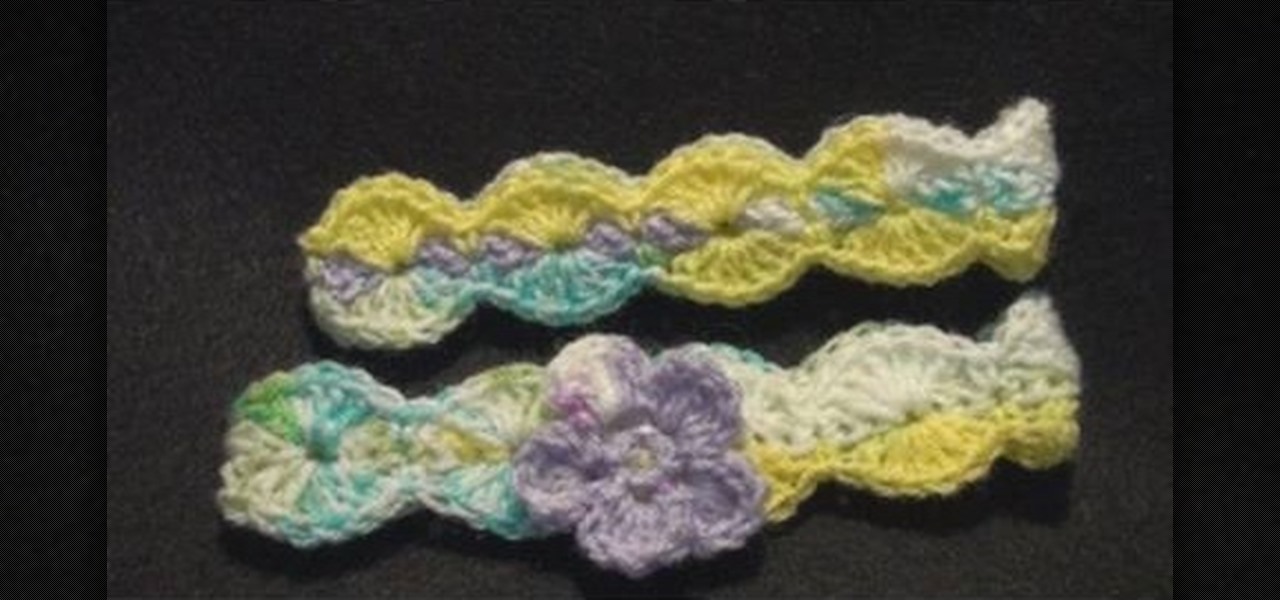
How To: Crochet a left handed headband with optional flower
In this tutorial, we learn how to crochet a left handed headband with optional flower. To start, you will make the foundation by crocheting a single crochet 54 times. Once you have made the base, you can take another color and start to crochet it on top of the first foundation. You will use a single crochet on the top, then to make larger humps double crochet for part of it. When you reach the end, take another color and repeat the same process going over the last color. You can continue arou...

How To: Crochet a left handed streamer hat
In this tutorial, we learn how to crochet a left handed streamer hat. For the first round, you will chain four, then double crochet through the loop. After this, repeat nine times from the beginning then slip stitch to join the beginning chain 3. For round 2, attach contrasting color of yarn, then chain 2. Single crochet in the previous chain 1 then go over the double crochet. Work 2 single crochets in the next crochet 1 then work a single crochet in each space. Slip stitch to join with the b...

How To: Crochet a left handed slinky flower
In this tutorial, we learn how to crochet a left handed slinky flower. You will first start row 1 by working a single crochet in the second chain from the hook. Then, chain 2 and skip a chain. Continue across, then make the last chain 2 and single crochet. After this, start to make the petals. For the first petal, you will do a chain 1, then do a half double crochet followed by a chain one all in the same loop. Continue to repeat the petals until you have seven of them in total. When finished...
How To: Make a interchangeable beaded watch band
In this tutorial, we learn how to make a interchangeable beaded watch band. First, cut your beading wire to appropriate length, then slide a crimp bead and lobster trigger clasp to one side of the wire. Then, bring the end of the wire back through the crimp bead creating a snug fit. Using the rear notch on your pliers, crimp the bead tightly. Then, add a crimp bead cover using the front notch on the pliers to close the bead tightly. Next, string your chosen beads, then repeat the first steps ...
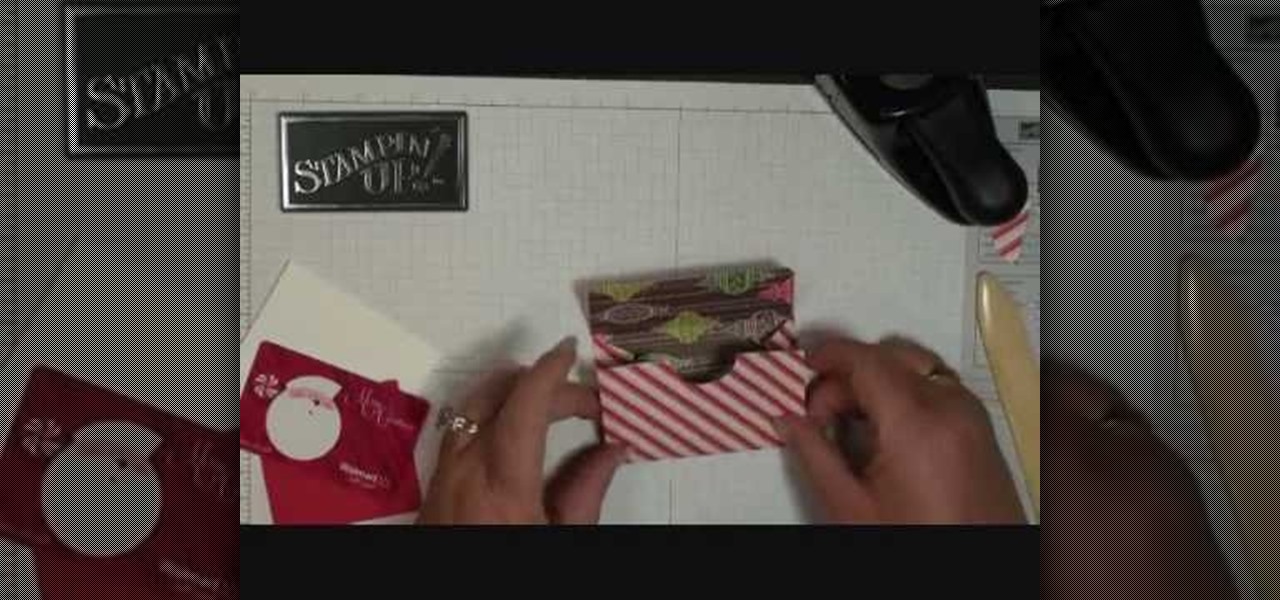
How To: Make a mini gift card envelope with Stampin' Up!
In this tutorial, we learn how to make a mini gift card envelope with Stampin' Up!. First, take a piece of card stock that is red and white. Score this 3/4" on both sides, then turn on the 6" side and score at 1 1/4" and 3 3/4". Once finished, fold this up and cut along the sides that you have scored. Put adhesive on the bottom of the gift card holder to seal up the bottoms so you can place the gift card in. Now, punch a hole in the bottom of the paper so you can see the gift card peak out of...

How To: Make a tubular peyote bracelet
In this tutorial, we learn how to make a tubular peyote bracelet. To get started, string your beads onto the string and leave a 10 inch tail. Then, bring it into a loop and tie it into a square line. After this, use a needle to sew more beads through the beads that you just strung on. As you do this, skip beads so that you have interchanging colors around the circle. You will have a total of four beads on top of the eight that you started with. Continue to do this until you reach rows that go...

How To: Perfom a cable cast-on
In this video, we learn how to perform a cable cast-on. Start this with a slip knot, then grab your working yarn and create your first stitch. After this, go between the two stitches with your other needle, then tighten the last stitch that you just made. Now, go in between the last two stitches and tighten up the yarn again. Continue to do this by making different stitches and as you go down you will have a cable cast-on. As you finish, you will have a longer and longer row, so tie off when ...
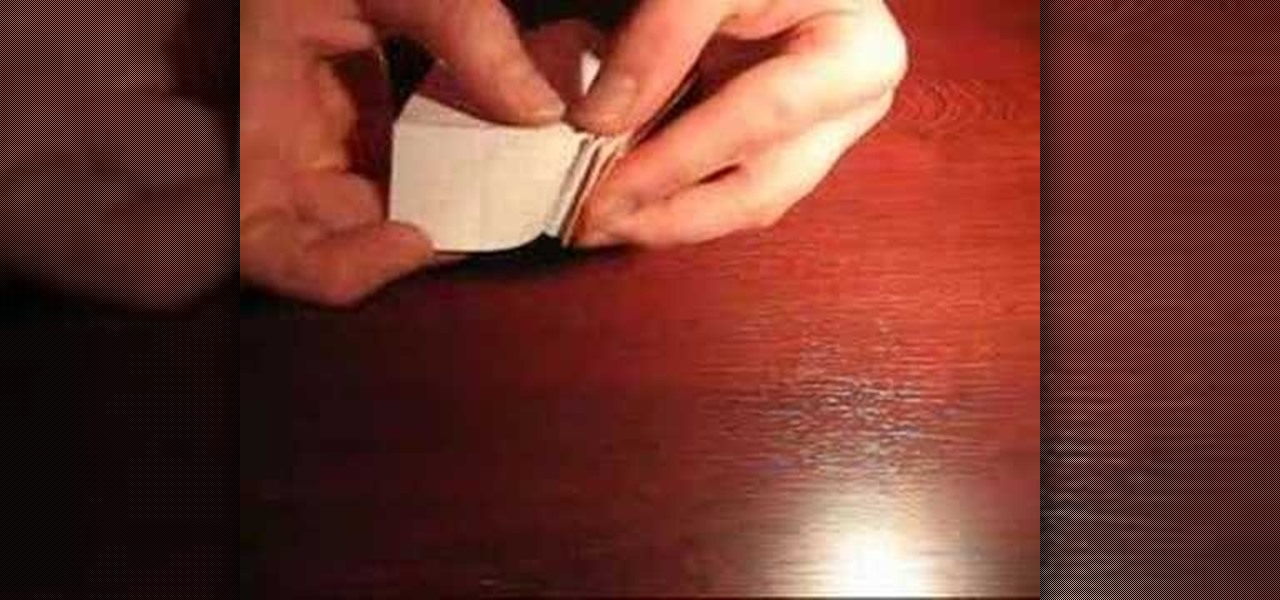
How To: Make an origami book
This video will show viewers how to fold a small book out of origami paper. You will need a square piece of paper for this project. First, fold the paper downwards in half, then fold it into quarters by folding down both edges of the paper to meet in the middle. Unfold and fold the two top sections down to make eighths on your paper. Then turn the paper around and repeat. Mountain fold both sides of the paper until you reach the middle, after which you should have a strip of folded paper. At ...

How To: Make a bohemian loose sleeve maxi dress with Gianny L
A maxi dress, or a loose dress with an empire waistline, is not only a summer staple. If you add some length to the bottom hemline then you can easily wear a maxi dress during the fall that'll keep you warm, comfortable, and gorgeous looking.
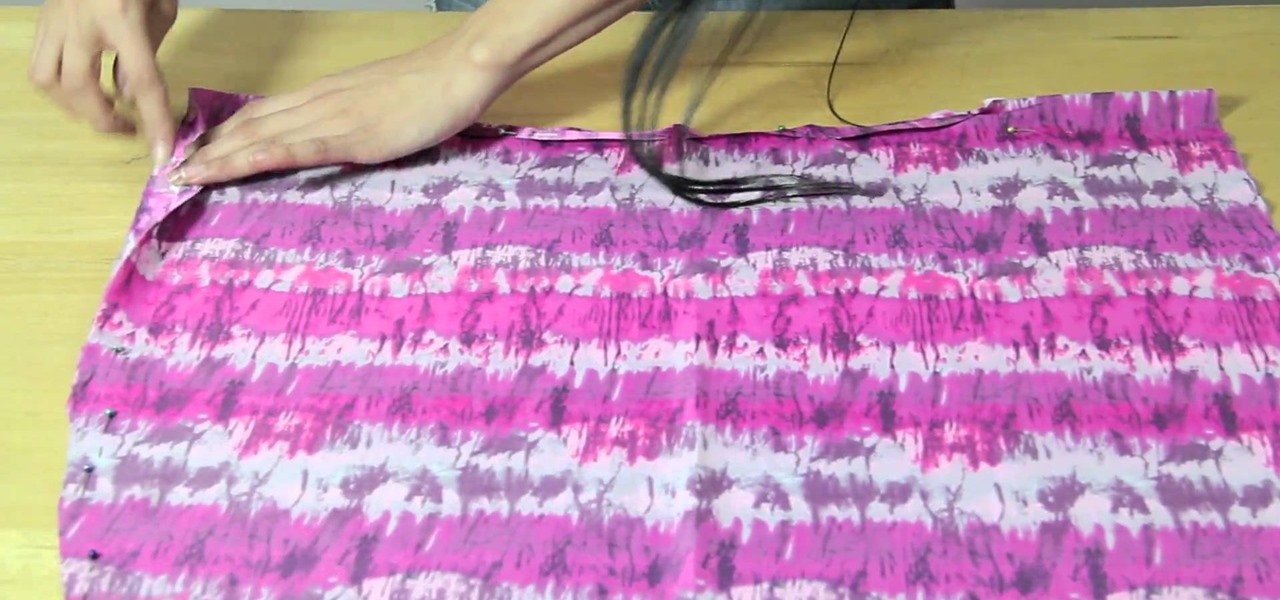
How To: Recycle old fabric into a fashionable banded off-shoulder top with Gianny L
There's no need to drop mad stacks at a department store in order to wear clothing that looks fashionable. In fact, you may not know it yet, but you probably have a few gems waiting to shroud your figure in your garage.
How To: Repurpose plastic bags into tote bags, pouches, and a wine bag
Let's face it: Despite knowing that we should always carry around our recycled, reusable tote bag to the store to cut back on plastic bags, we've still got a whole closet load at home. It's nearly impossible to always have a reusable tote with you, or enough usable totes for each shopping trip.

How To: Make a pink 2 strand bohemian goddess headband with a bow
We never thought you could wear anything that would make you look cute and sexy all at once, but this bohemian headband with a cute pink bow proves us wrong. Rather than simply teach you how to make a simple two strand bohemian headband in the style of Nicole Richie, your instructor teaches you how to make that headband and attach it to a bow for extra girly appeal.

How To: Carve a bloody and gory Halloween pumpkin using power tools
Tim the tool man Taylor would do his famous grunt in favor of this manly way of carving a pumpking. Rather than use your typical pumpkin carving tools like a mini knife and sharp picks, you'll learn how to employ a faster course of action by using power tools to blast those contours off.
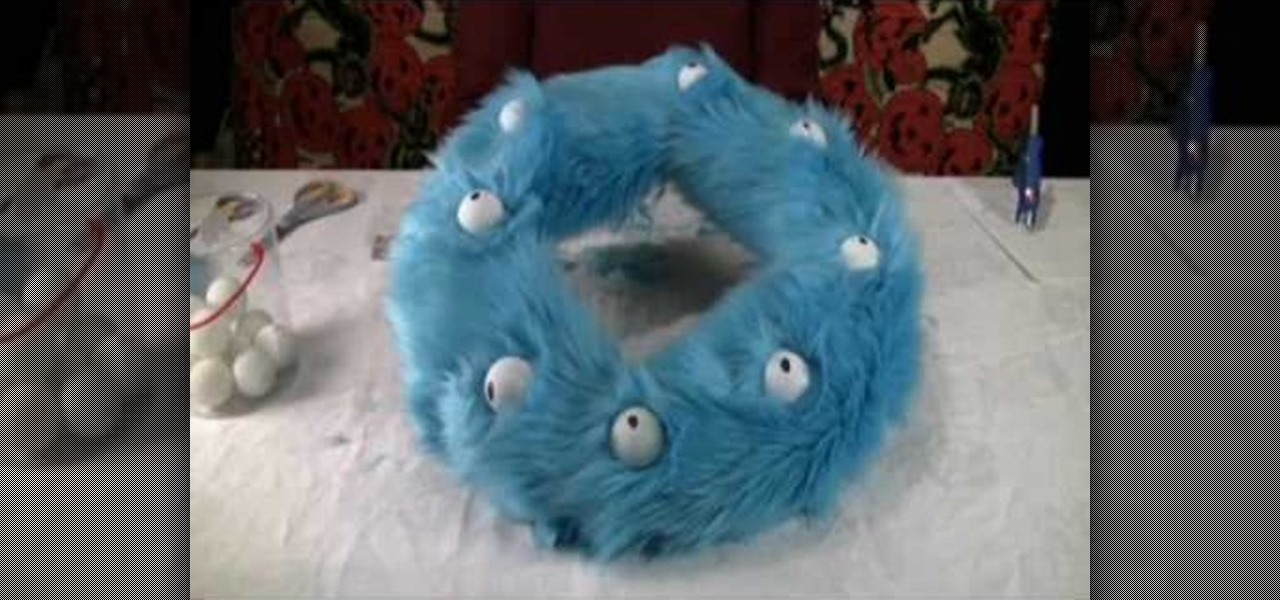
How To: Create a fun and kooky fuzzy monster eyeball Halloween wreath
This wreath's got its eye on you...literally. Freak out trick-or-treaters and perplex adults with this kooky and spooky monster eyeball Halloween wreath. Skeletons and spiders? Psshh, that's SO last year. This wreath is made of fuzzy blue "monster" fabric and adorned with eyeballs made from golf balls.
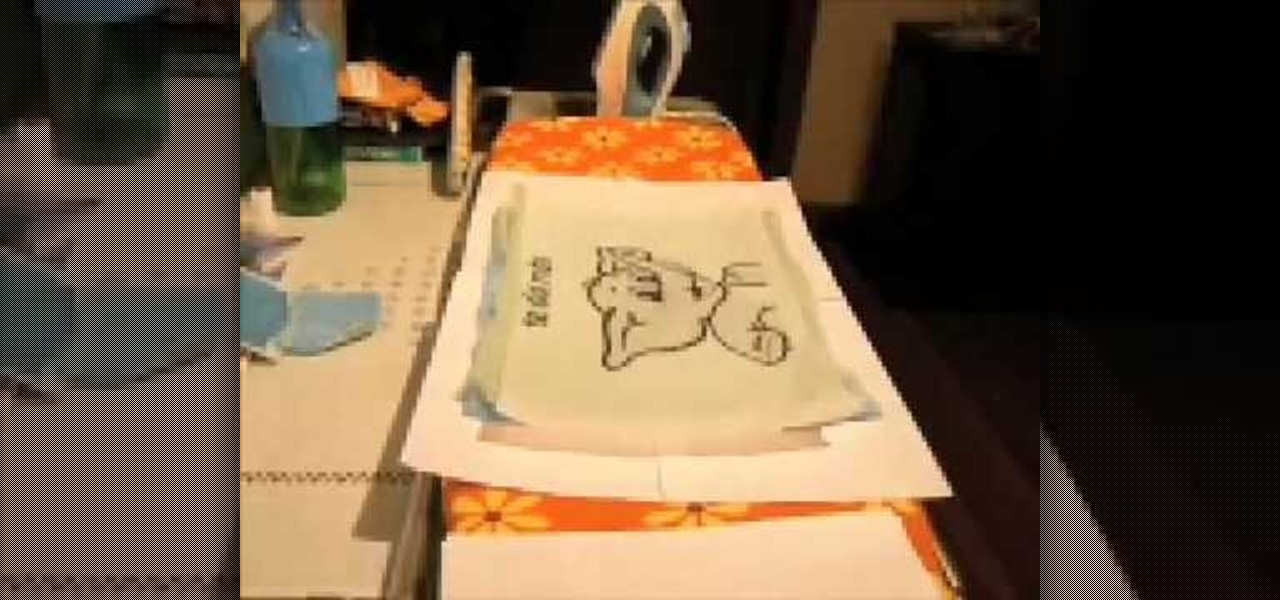
How To: Craft a freezer paper stencil to put a flower design onto t-shirts
Freezer paper isn't just for the freezer. In fact, with a little ingenuity garnered from this crafting video you'll learn how to transform blah and boring freezer paper into a stencil that you can use to decorate t-shirts, jeans, tote bags, or whatever you want!