

Active Arts & Crafts Posts


How To: Sew a great DIY cosplay costume
Sewing your own cosplay costume requires a massive investment of time, energy, and sewing skills. Before you get started, you should watch all of this three-part video tutorial on sewing cosplay costumes. It covers everything from buying fabric to the actual sewing and everything in between, and should have you ready for you next anime convention in no time.

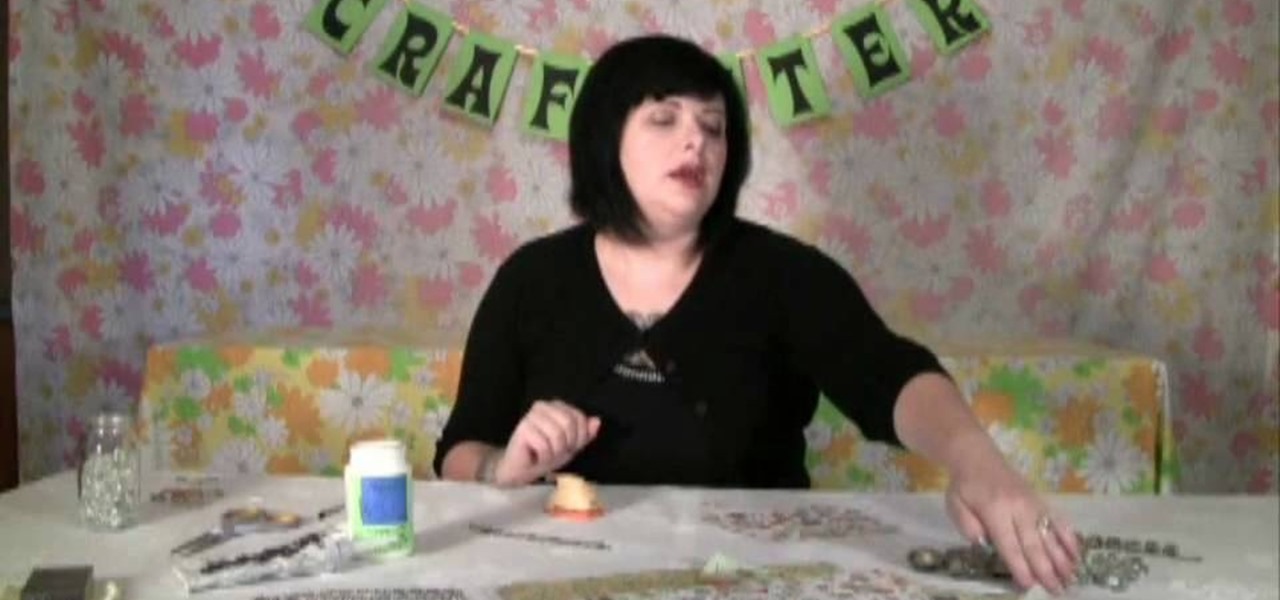
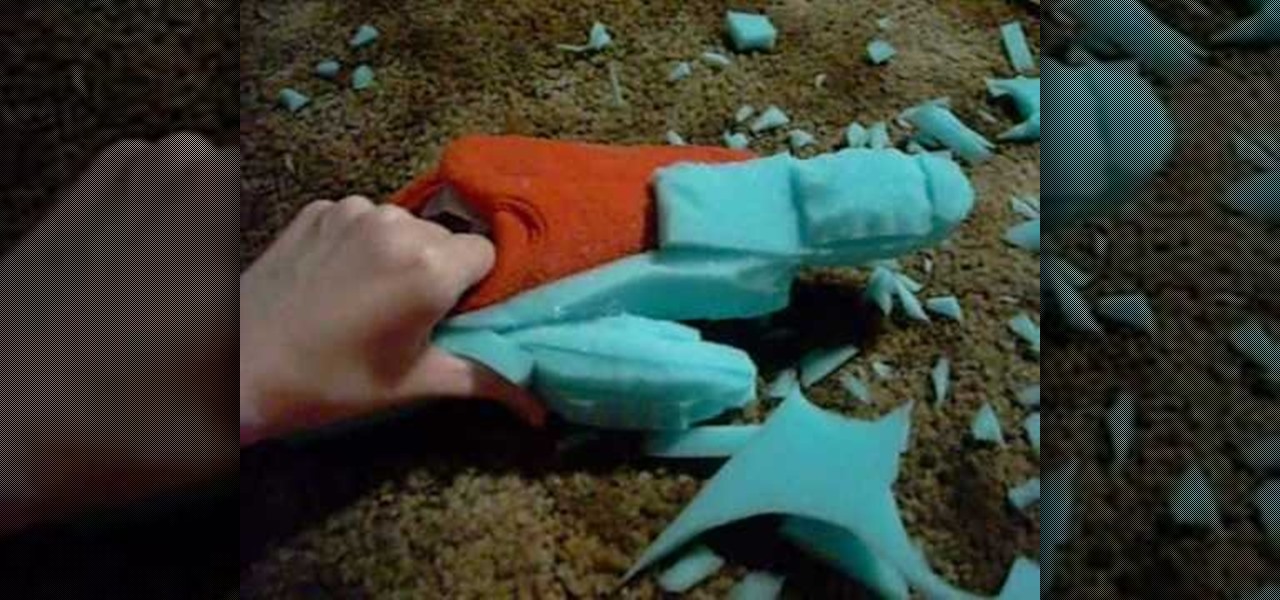
How To: Make a cute Devil-horned ducky melt and pour soap
Melt and pour soaps are some of the easiest soaps to make, given that actually making a soap by yourself from scratch - you know, harnessing glycerin, coloring, etc. - could easily explode into your face, literally, if you mix things in the wrong order.
How To: Make a DIY Silent HIll 1 Nurse cosplay costume
Silent Hill might be the single scariest game of all time, and it has spawned many sequels and films of wide-ranging quality. If you like the games and want to cosplay as one of the sexy yet demonic nurses from Silent Hill 1 and the film, this video will teach you everything you need to know, from what fabric to get to the pattern and how to put it all together.
How To: Make fun pixelated fuse bead coasters
Remember the heyday of video games during the '80s when all video games were 8 bit and super pixelated? While we're glad to have video games that look so real we mistake them for reality sometimes, pixelation is still a cool way to add retro flair to any crafts project.
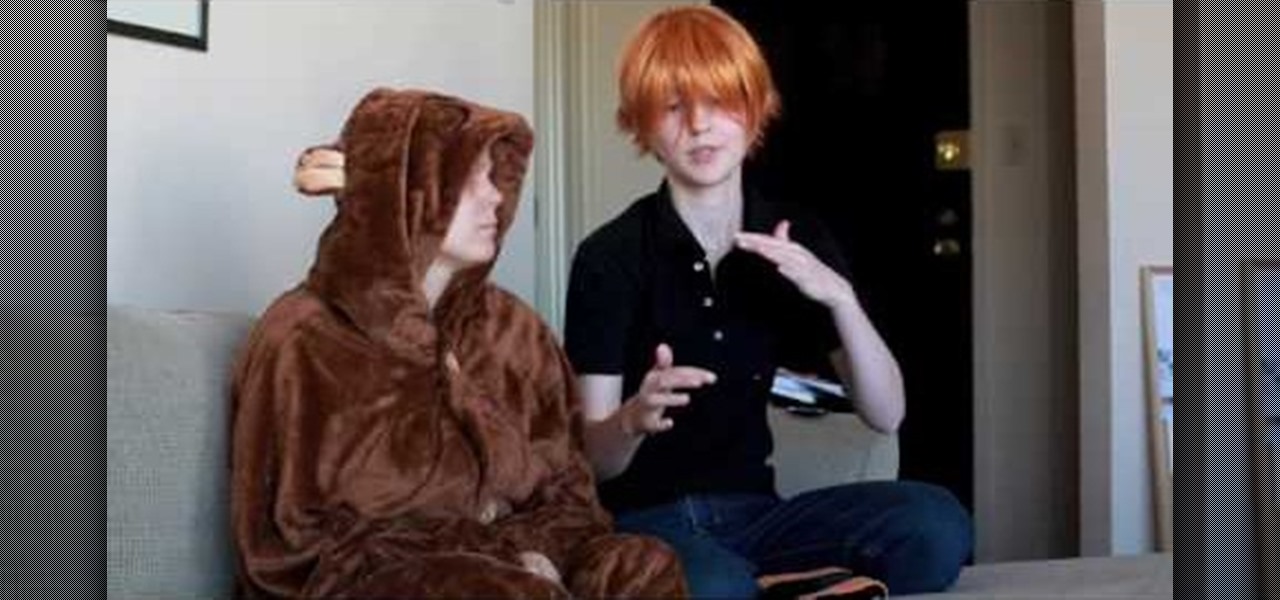
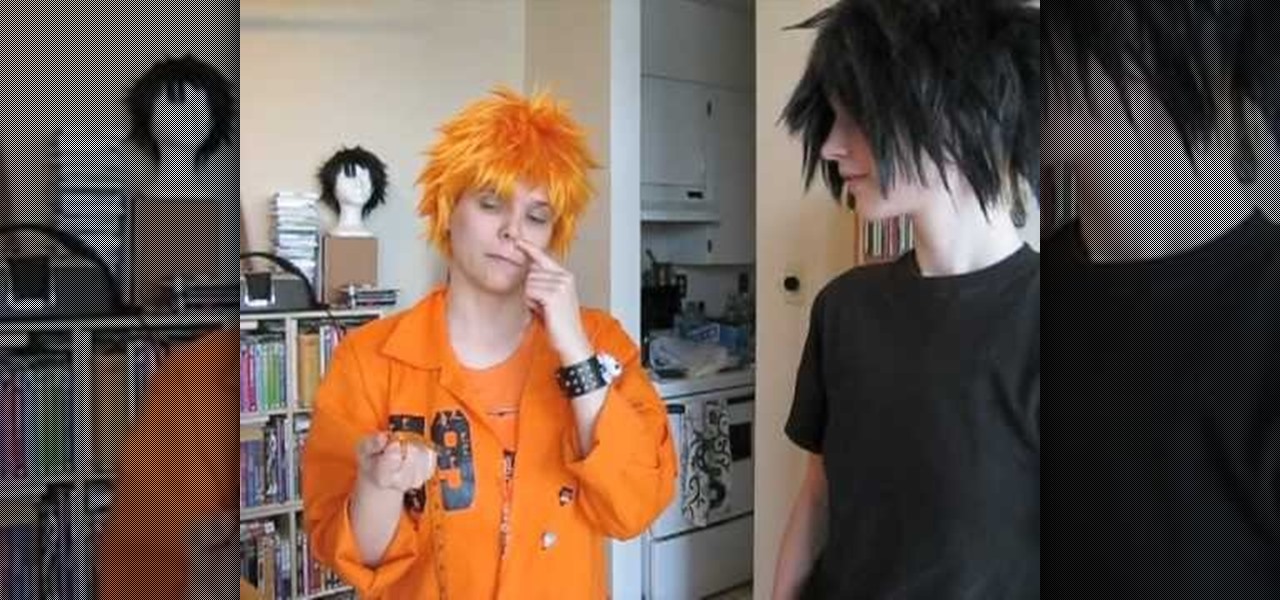
How To: Choose the right character to make a costume for and cosplay as
Cosplay is a fine art these days, and if you want to get into it, deciding which of the thousands of characters you have to choose from to cosplay as can be tough. Making a good costume is hard work, so you want to make sure you choose the right character for you before you invest your time and money. This video features several regular cosplayers giving you all sorts of tips and advice for picking your character based on body type, personality, and other factors.
How To: Craft pretty marble magnets and a picture marble charm bracelet
You probably haven't played with marbles since you were a kid (anyone remember Chinese checkers?), but more likely than not you still have some marbles lying around your house, especially if you have a kid.
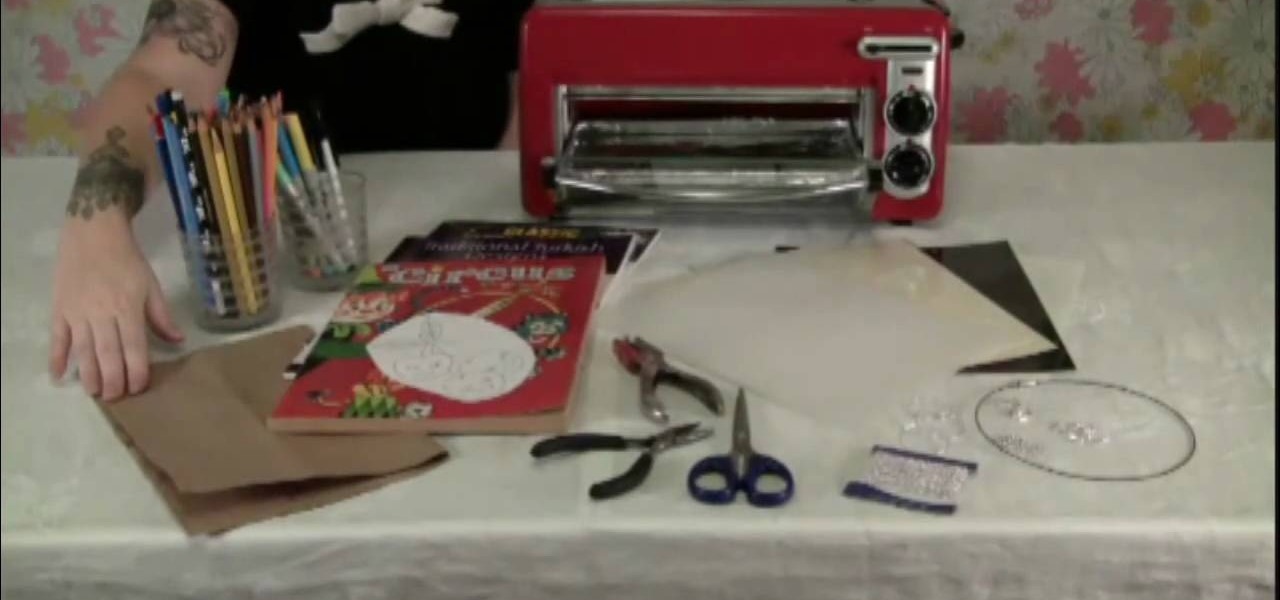
How To: Craft a shrink plastic cherry necklace and accessories
If your little girl loves jewelry making but you're scared she's going to poke her eye out with a wire when you're not looking, sleep soundly at night by teaching her how to craft shrink plastic jewelry. Perhaps the safest and easiest forms of jewelry making, it involves only shrink plastic and a mini oven (which you would help out with).
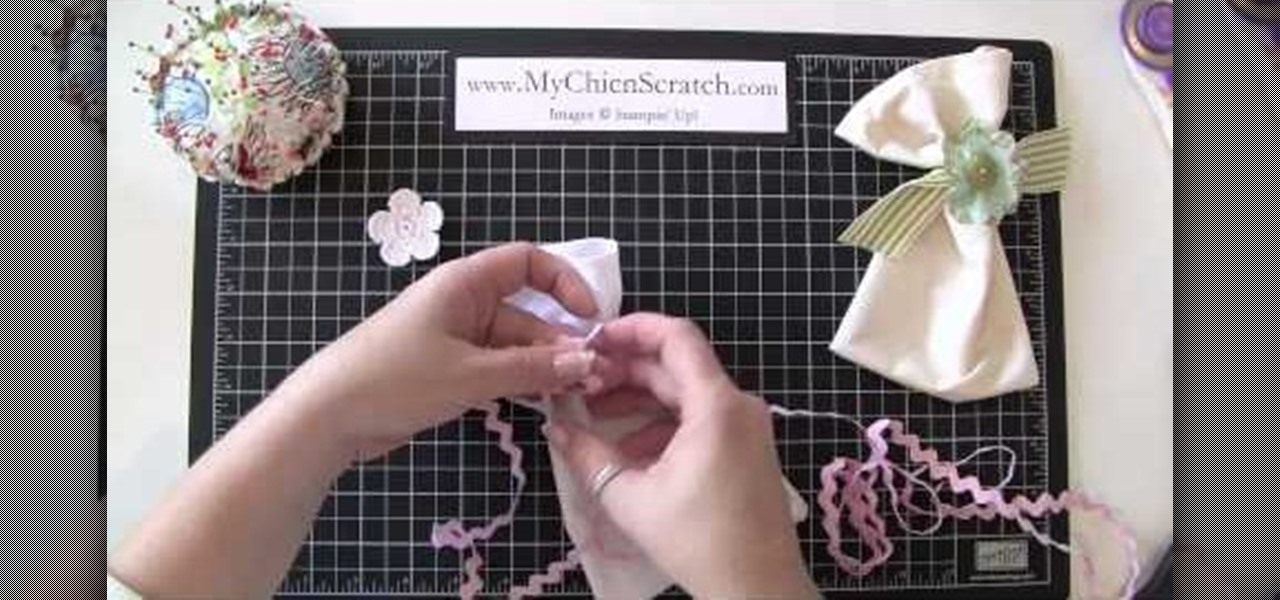
How To: Make a fabric gift bag for any occasion
In this tutorial, we learn how to make a fabric gift bag for any occasion. First, you will need to grab any type of fabric with any design that you want the bag to be in. Next, you will fold in the edges of the fabric so it has a hemmed look, then sew them down. After you do this, sew the two sides of the bag together, then sew the bottom. Next, grab a piece of ribbon that you don't want and wrap it around the bag. Top it off with a felt flower and sew a button into the middle of it. Glue thi...

How To: Make furry gloves for a fursuit
If you want to go furry, don't want to spend the money on a professionally-made fursuit, and have some sewing skills, you've come to the right place. This video will help you get your costume started by showing you how to make a pair of fursuit gloves yourself. They are durable, easy to move around in, and super cute.
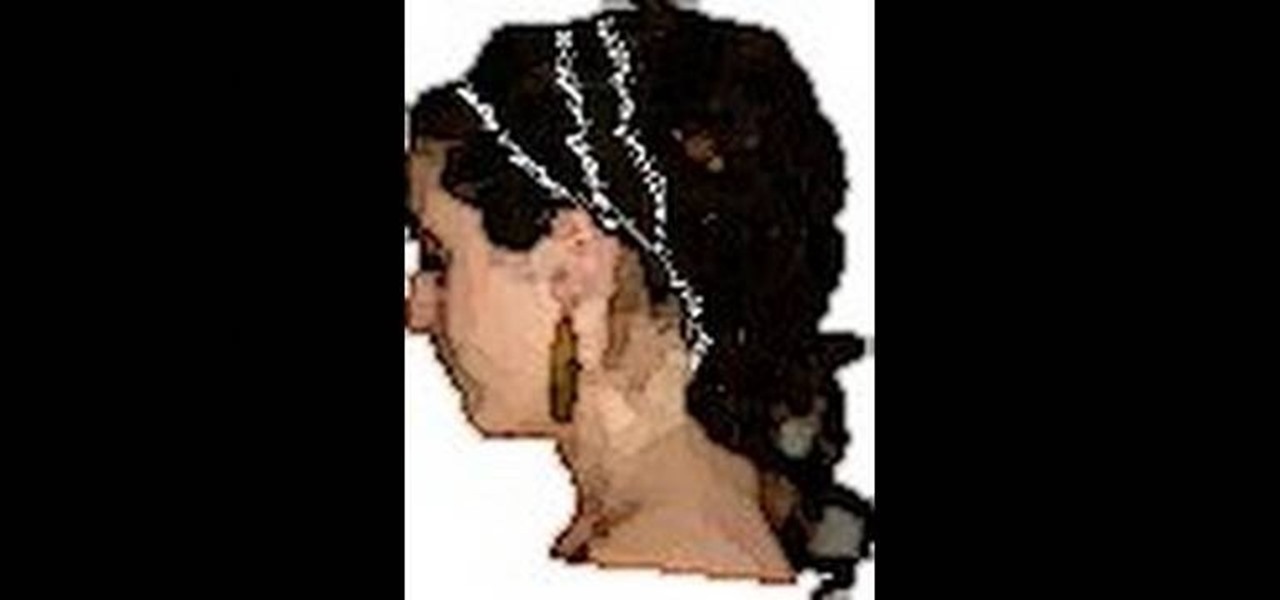
How To: Craft a Greek goddess/bohemian three strand headband
We don't know about you, but anything that says "Greek goddess" in the label gets us instantly interested. In this tutorial, you'll learn how to look like a Greek goddess by making a knitted headband composed of three strands that tie at the back.
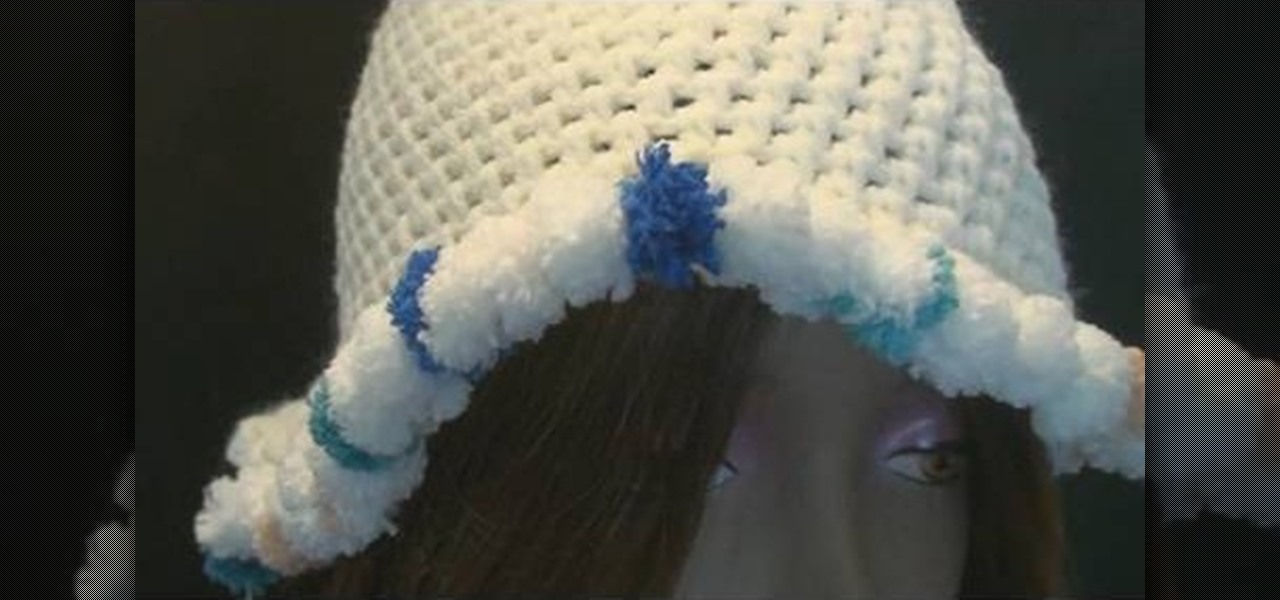
How To: Crochet edging for a cap using Pomp-A-Doodle yarn
Despite what you may believe, making a crochet cap doesn't end at the last knitting row. In fact, crochet caps can be embellished in a number of different ways, including this Pomp-A-Doodle trim.
How To: Make koala footpaws for a fursuit out of slippers for cheap
If you're into fursuits, check this video out. It will show you how to make cheap, durable footpaws for a koala, lemur, or other primate costume out of slippers and other cheap materials. Now get out there and fur it up!
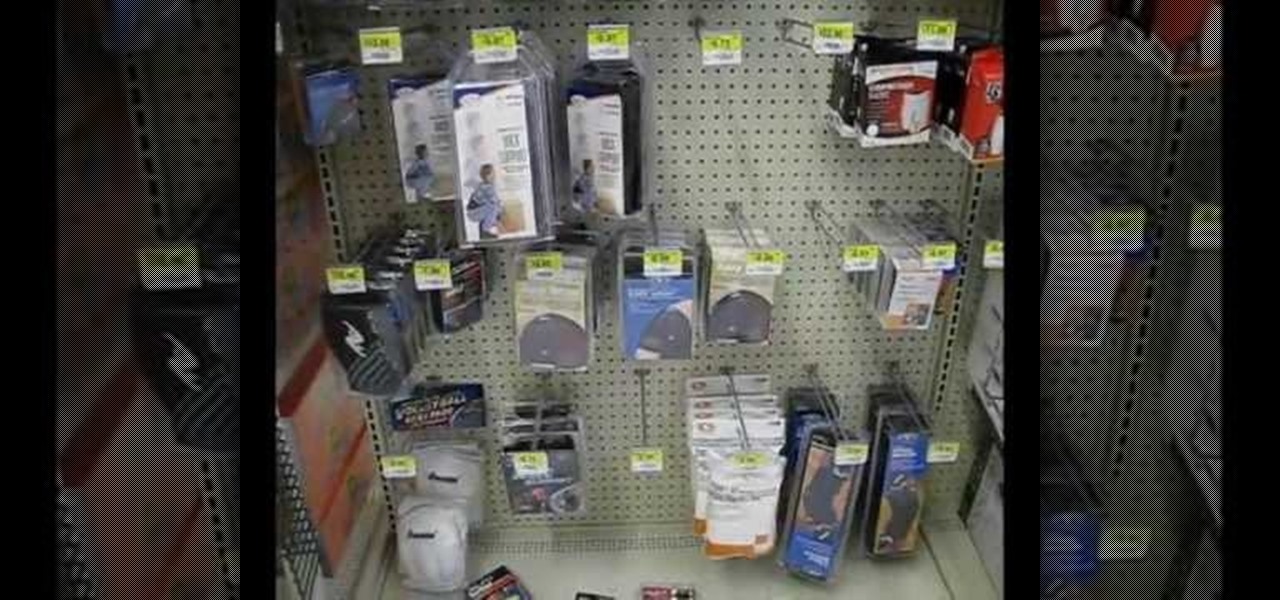
How To: Use and get the right materials for making a fursuit or other costume
Cosplay-friendly conventions are going through a sort of renaissance right now. AnimeExpo, ComiCon, A-Kon, PAX. All over the country people are dressing up as anime characters and furry animals and filling exhibition halls to mingle. If you want to have a really badass costume, you're going to need the right materials. In this video, a semi-professional costume-maker will walk you through the materials you need to make a great fursuit or other elaborate costume and where to get them.
How To: Make your own customizable tank top pattern for beginners
What's the most efficient way to become a fashion designer? By challenging yourself to creating your own clothes from the ground up. And while you probably already know this means cuting, sewing, and embroidering your fabrics, it also means making your own patterns.
How To: Create a cute spider-embellished Halloween box with ribbon loop
Are you ready for the spookiest time of year yet? Get yourself in the mood for macabre (Halloween is in only two months!) by checking out this crafting tutorial for making a cute spider stamp-embellished Halloween box equipped with a ribbon holder.
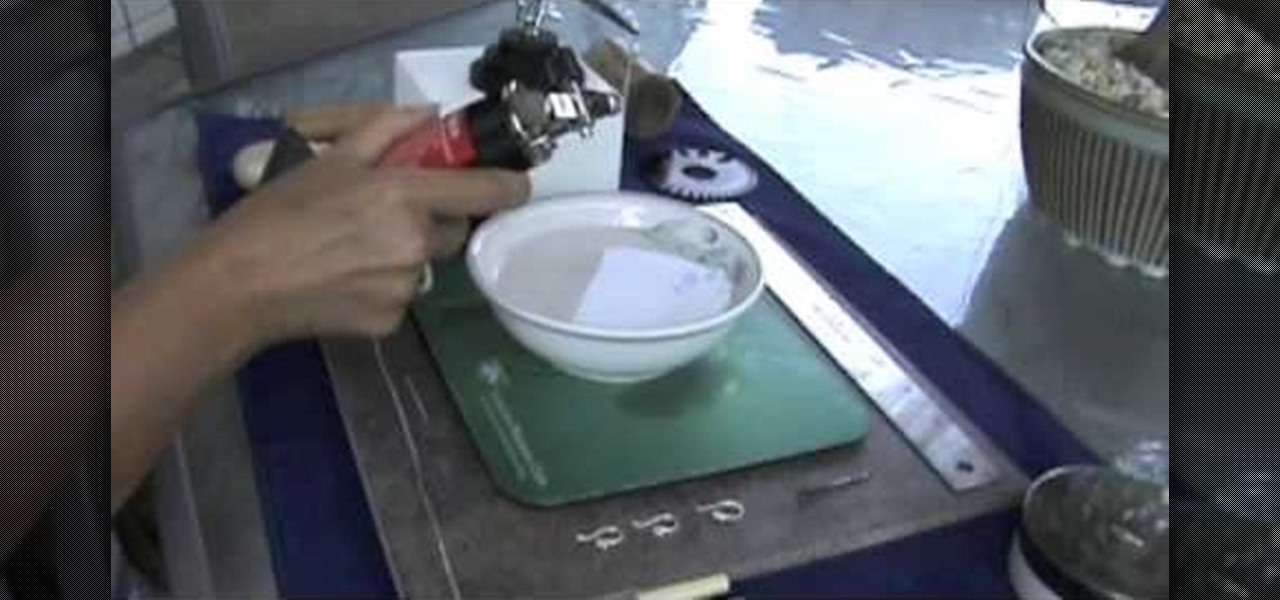
How To: Make fine silver ball earring wires
Make fine silver ball earring wires

How To: Do a single crochet going through back loops only
In this video, we learn how to do a single crochet going through back loops only. First, do your foundation crochet, then start doing single crochets. With the chain, there is two loops, the back and front. To the back loop, you would go through these with your crochet hook, then pull on the yarn to continue to crochet. Make sure you find the difference between these so you know which loop to go through. Start to do back loop crochets and continue until you reach the end of the line. Make sur...

How To: Use French wire when jewelry making
In this video, we learn how to use French wire when jewelry making. First, you want to take your wire and cut it to the length you need, using wire cutters. After this, you will place a stopper next to the pendant or bead that you are applying inside the necklace. Next, string on the clasp to the wire and then bend the end of the wire to the inside of the stopper, then cut the end of that with wire cutters. When finished, your clasp should be secure at the end of the wire and ready to hook on...

How To: Crochet a headband for winter
In this video, we learn how to crochet a headband for winter. You will need yarn and a size 10 crochet hook to do this. To start, make a slipknot, then hook your needle into it. Start making a simple chain stitch, after you finish this row, stick your needle into the first stitch and make a single crochet all the way down. Continue to do this for several rows, until the headband is thick enough to go around your head the way you want it to fit. When finished, tie it off with a knot at the end...

How To: Make a double flap card with Stampin' Up!
In this video, we learn how to make a double flap card with Stampin' Up!. First, cut out the card in green, then add a creamy caramel color to the top of a white piece of paper. Now, add a green piece of paper that is slightly smaller to the top of the caramel color paper. Add another piece of white on top of the green, then layer then together on the card. Add in a walrus and a little kid stamp to the cards and place them onto scalloped punches. On the bottom, apply striped paper, then apply...
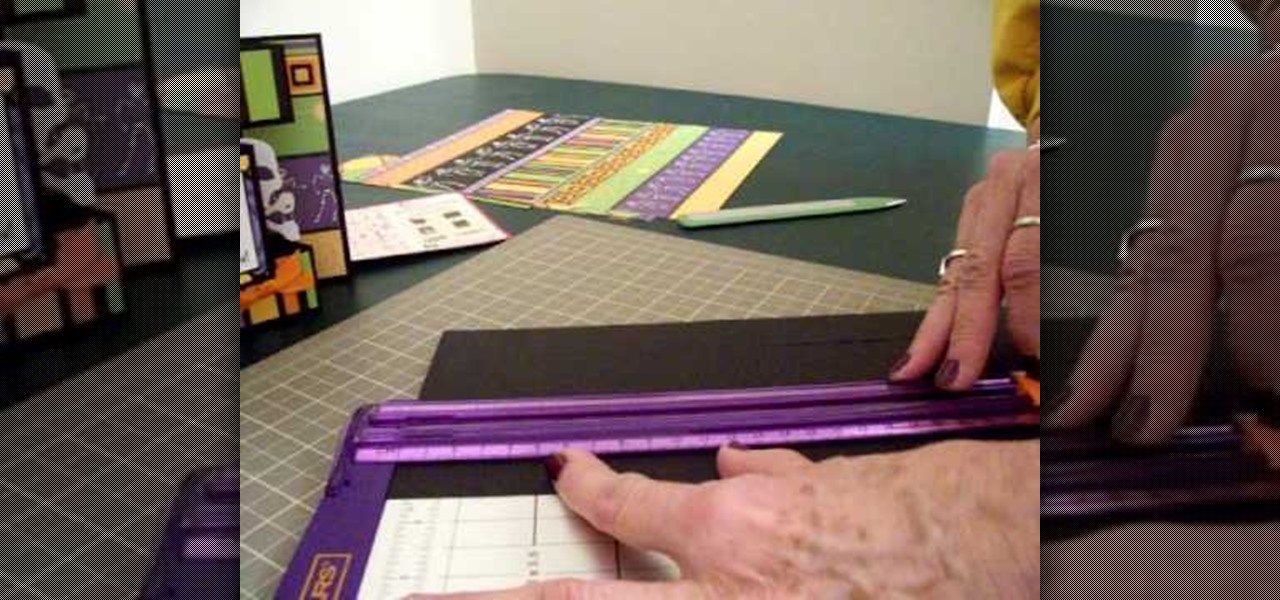
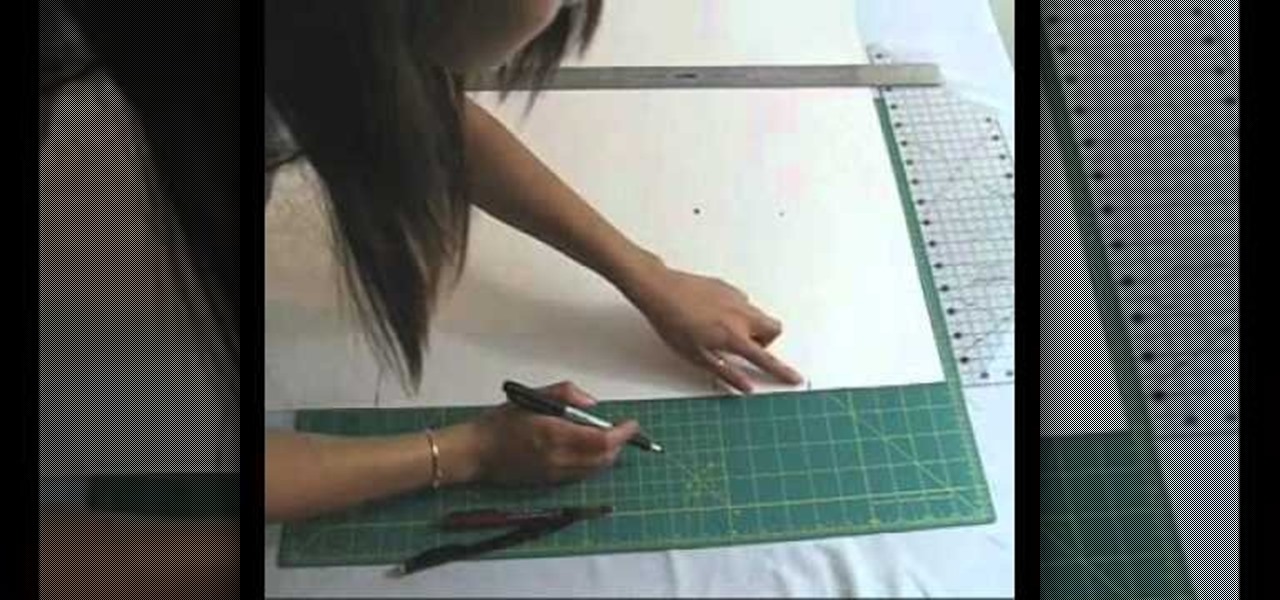
How To: Make a tri-shutter Halloween card
In order to make a Tri-Shutter Halloween Card, you will need the following: card stock, fishing line, ribbon, paper trimmer, printed/decorated paper, and adhesive.

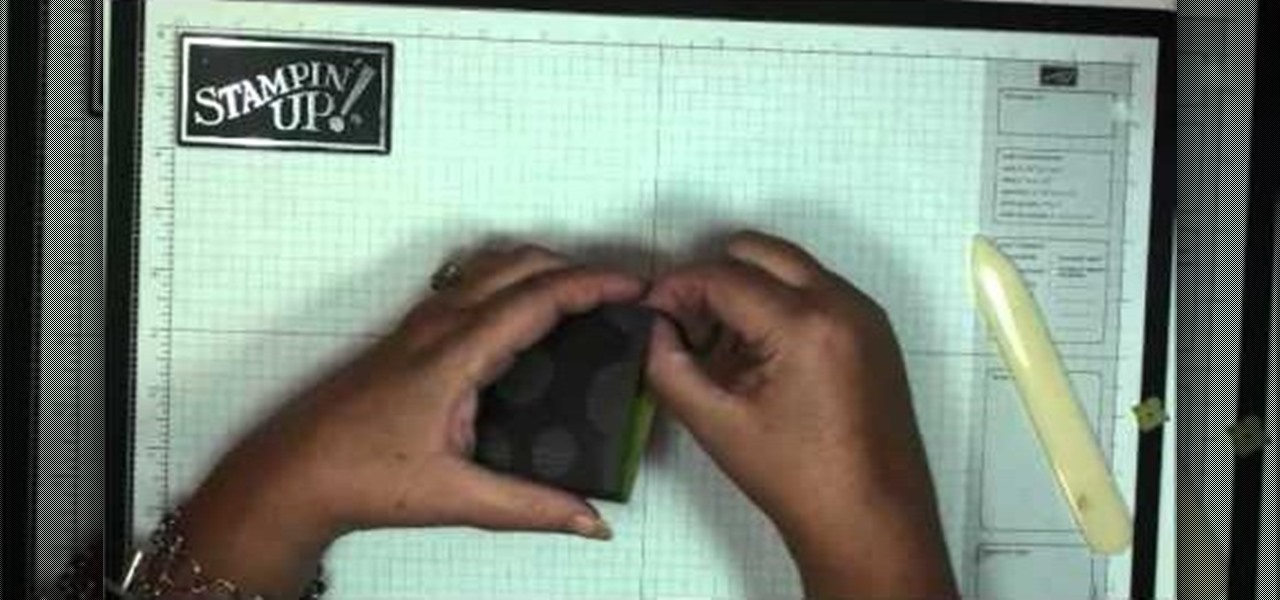
How To: Make a multi-colored paper cube
In order to make a multi-colored paper cube, you will need the following: 6 pre-made folded squares, which can be found separately.
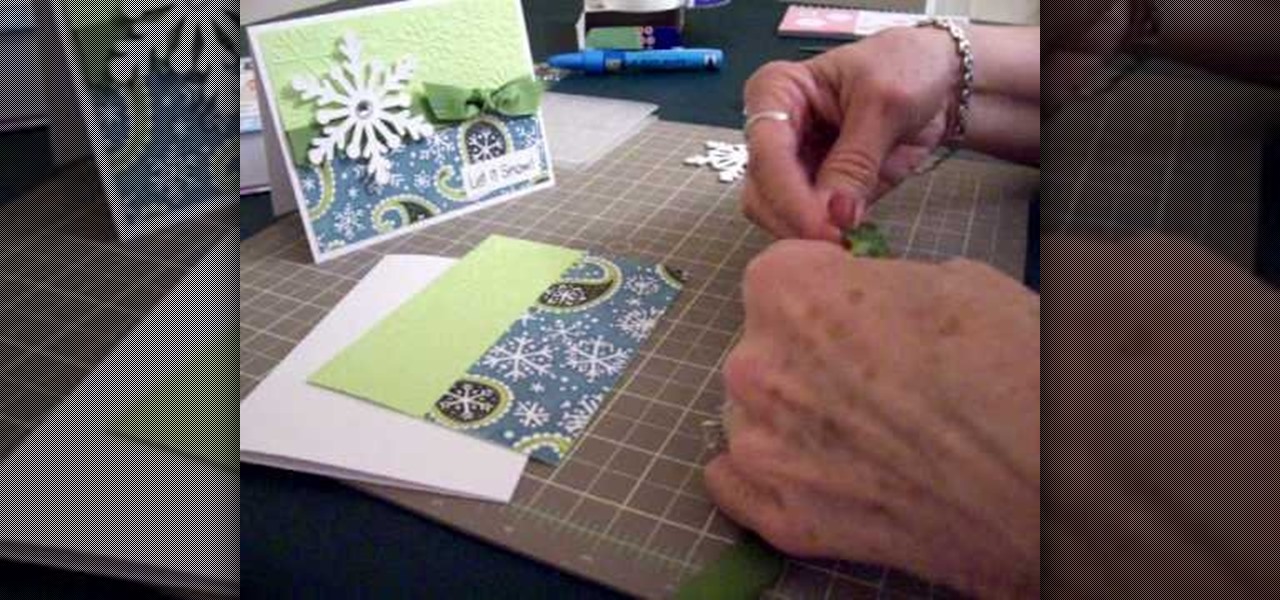
How To: Make a snowflake card using Cricut Winter Woodland
In this video, we learn how to make a snowflake card using Cricut Winter Woodland. You can find the snowflake on page 35 of the manual, then cut it at 3.5", cutting it four times to make it thick and chunky. The top of the card can be run through the Cuttlebug with a snowflake design, and the bottom can have a holiday snowflake print. The sentiment should say "let it snow" and you can place a green bow in the center next to the thick snowflake you make. You can write what you wish on the insi...

How To: Make your own photo album with a paper bag
In order to make a photo album with a paper bag, you will need the following: a bone folder, paper bags, decorative paper, hole punch, matte board, adhesive, and paper fasteners.
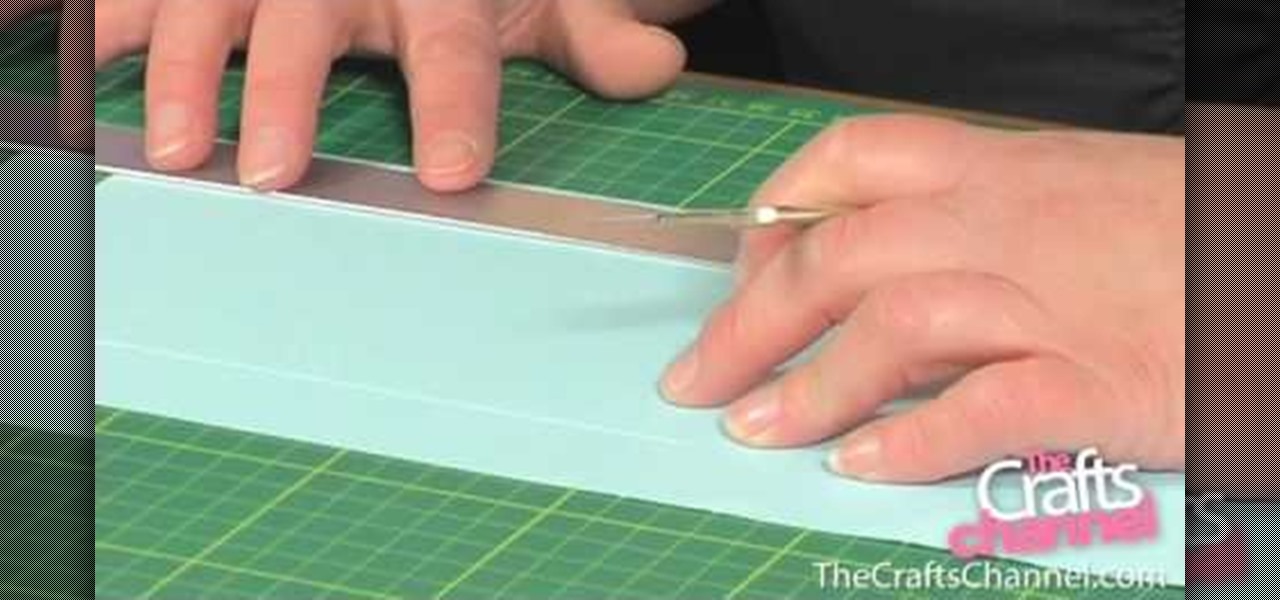
How To: Make a pop-up box card
Connie Brad teaches us how to make a pop-up box card in this tutorial. First, you need to take a scoring board and draw 1 cm increments down the center of it. Now, take a sheet of card stock and score the sheet 2 cm from one end, then continue down until you reach the bottom 3/4's of the paper. Now, fold your card along all of the score lines up until the last line. Next, line this up on a cutting mat and cut 3 cm on each side until the end of each score line. Now when you set this up, it wil...

How To: Make a jingle bell card using Cricut Storybook
In this video, we learn how to make a jingle bell card using Cricut Storybook. you will need the Cricut Storybook cartridge and Cuttlebug Music Notes folder to do this card. First, you will take a cut out of the word "jingle" that has a bell attached to the bottom of it. You can find this in your Cricut crafting books. Next, apply a checkered green paper over a forest green card stock. Next, grab a holiday embossed white paper and apply a ribbon to it, then glue this onto the checkered paper....

How To: Use a yarn bowl when knitting
In this tutorial, we learn how to use a yarn bowl when knitting. The side of the bowl will have a slit in it where you can place your yarn while you are working on a project. Use hand wound balls or any other type. First place the yarn in the bowl and then string it through the slit, feeding it through as you do your project. If you have a larger ball, set it on the side and use it the same way. The bowl is glossy and smooth so the ball will roll around and won't get stuck inside. There's als...

How To: Make a monster hoodie
In order to make a monster hoodie, you will need the following: a hoodie, black felt, white felt, fabric glue, scissors, pencil, and tape measurer.
How To: Make an adjustable cable necklace
In order to make an adjustable cable necklace, you will need the following: 20 inch adjustable cable chain, a slide bead frame, 2 head pins, 8 mm bi-cone, 8 mm crystal, 2 6-mm round rondells, 2 7-mm jump rings, a pair of nipper tools, a pair of round nose pliers, and a pair of chain nose pliers.

How To: Do stockinette stitch
In this video, we learn how to do a stockinette stitch. This is where you knit one row and stitch the row after that. This will curl up if you don't stitch on the side of it as well. When you're on the right side, you will do a knit row making it as large or as small as you want it to be. After this, turn your work around and you will see the wrong side of the work. Now your next row will be purl stitches. Continue to do these until you finish, this is a simple and easy way to learn stitching!
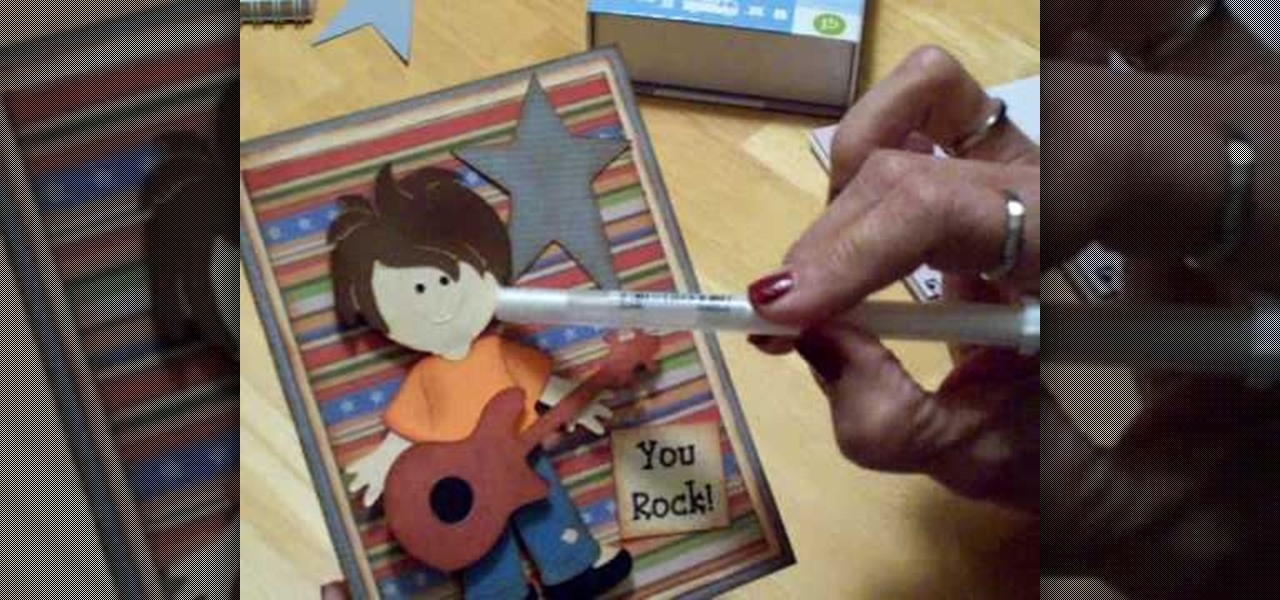
How To: Make a Cricut "you rock" birthday card
Mary shows us how to make a Cricut "you rock" birthday card in this video. Use the Cricut paper dolls cartridge to find a little boy and the clothes that go on him. Cut all the pieces at four inches, then use the joy cartridge to cut out a star that will go behind the paper boy. Next, place a sentiment that says "you rock!" on it, then use a gel pen to make tufts in the hair. Use chalk and ink to go around the clothes and cheeks to make a hairy look. This makes a great unique birthday card fo...

How To: Make a head pin loop
In making jewelry, the head pin loop is used many times. Let's learn to make a head pin loop so jewelry making will be that much easier.
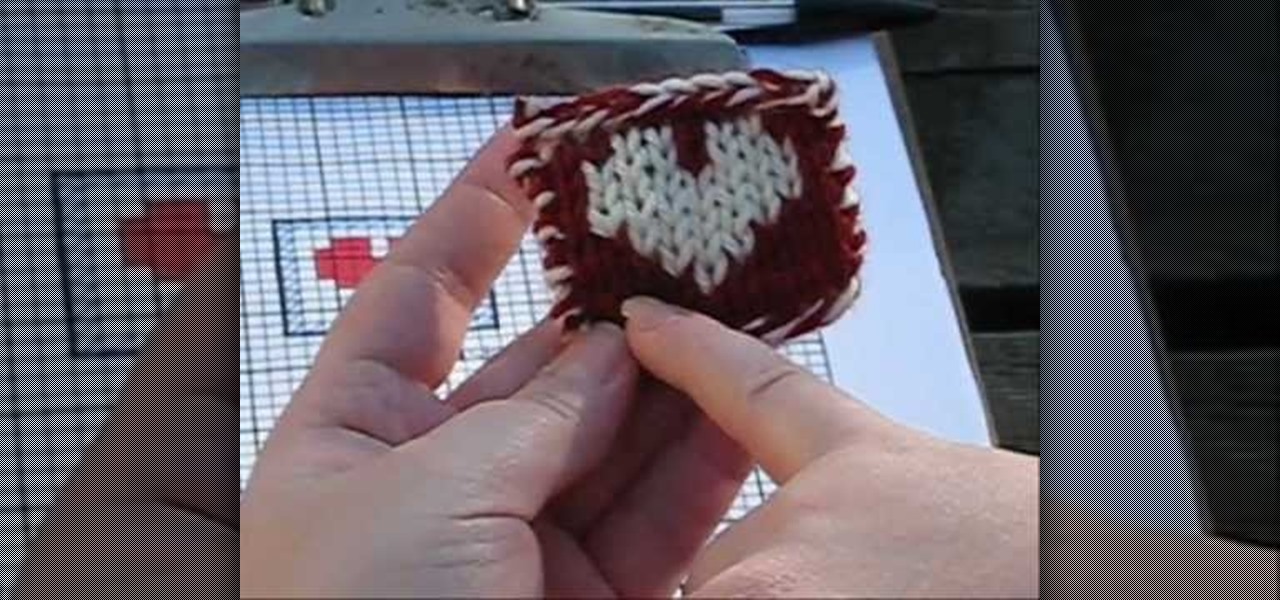
How To: Knit double motifs
In this video, we learn how to knit double motifs. First, make a grid so that you have an even number of stitches all the way around your motif. After this, cast two colors onto the needle, making sure they stay in order. Cast on a total of twenty stitches, which will be just one side of the square for your motif. After this, start to stitch the rows until you reach the middle where your shape will be. Exchange the colors so the pattern in the middle looks how you want it to. After this, bind...
How To: Make ghosted images with white ink and distressed ink
In order to make ghosted images with white ink and distressed ink, you will need the following: a heat gun, Adirondack ink pads, distress ink pads, blending tools, stickles, stamps, card stock, stamp press, a stamp press, scissors, glue dots, adhesives, brads, paper trimmer, and nonstick craft sheet.
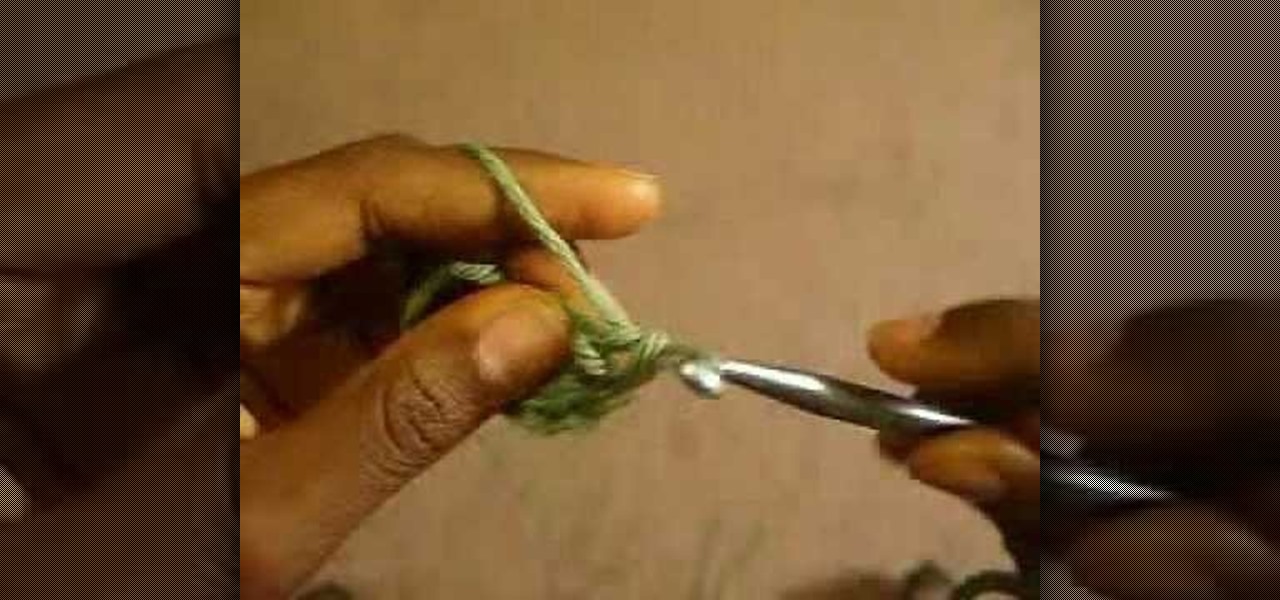
How To: Start crocheting a beanie
In this video, we learn how to start a beanie. During this, you will increase the number of single crochet stitches in a chain. Start off with a chain three, then join them by crocheting a single stitch in the first stitch you made. Do this by pushing the hook through and pulling the yard over, then pulling through. After this, you will have a circle. Start to crochet inside of this by using your circle and inserting the hook into the circle. Crochet around the tail of the circle, then yarn o...
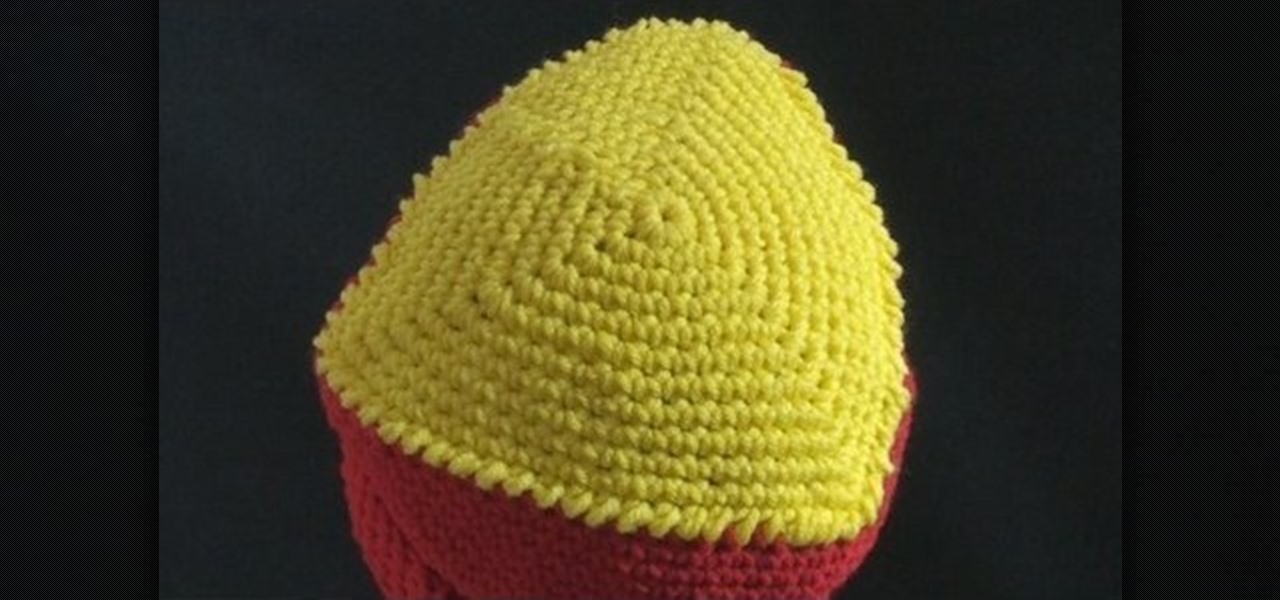
How To: Crochet a triangle-shaped bikini beanie hat
In this video, we learn how to crochet a triangle-shaped bikini beanie hat. First, crochet nine single crochets through a simple loop. After this, join with the beginning single crochet and work a single crochet three times. next, work one single crochets in each of the next two, then three single crochets in the next stitch. Now, go join with the first single crochet. Continue to go around until you have a large circle shape, going down on the sides to make the entire beanie shape. After thi...

How To: Make a Cricut matchbox mini chocolate bar holder
In order to make Matchbox Mini Chocolate Bar Holders with Cricut, you will need the following: Tag Bags Boxes & More cartridge, card stock, a bone folder, two sided tape, a cuddlebug, Stampin' Up stamps, ink pad, ribbon, a circle hole punch, and adhesive.
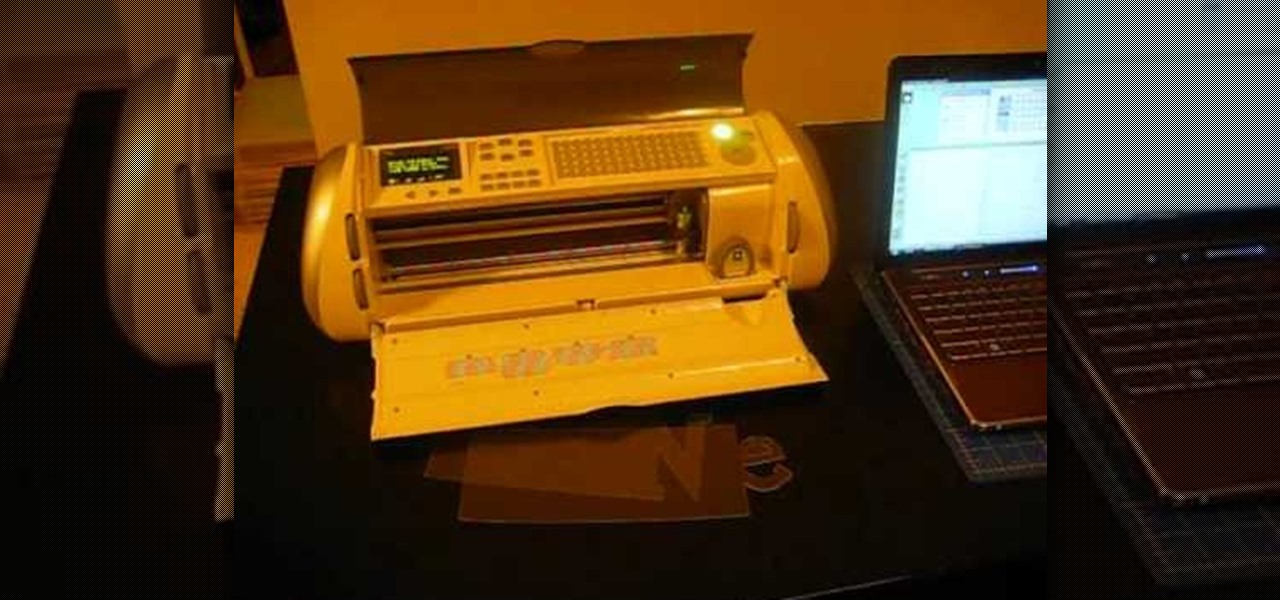
How To: Cut acrylic on the Cricut Expression
In this video, we learn how to cut acrylic on the Cricut Expression. First, you will need to have an acrylic cutter installed on your Cricut Expression. Now, place the acrylic on the mat and insert the mat into your machine. After this, choose the type of cut you want, then make sure the blade depth is at six and the pressure is at maximum. Now you can start to cut the acrylic, and when it's finished, it will pop back out of the machine and be finished! You can then use the acrylic for what p...
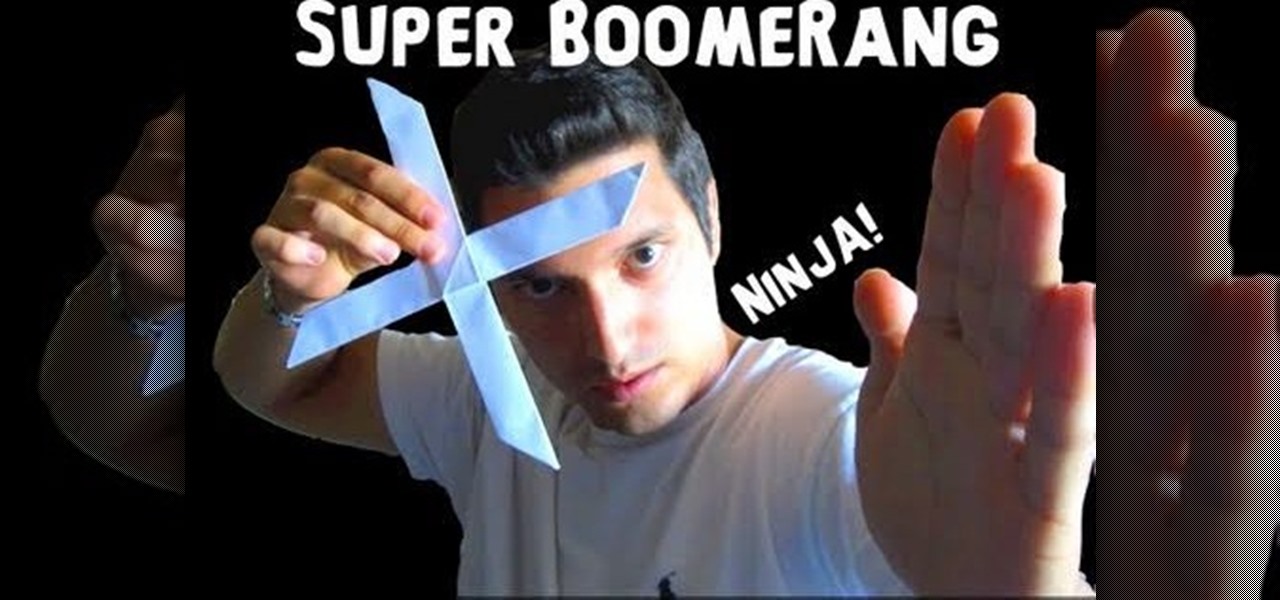
How To: Make a cool four-sided boomerang that works
What's better than one origami boomerang that comes back to you all cool-like? Two origami boomerangs taped together, of course! Now of course you're thinking, "but that's not a boomerang at all and it won't come back to you!," but check out this video and you'll see there's a way to put together two boomerangs so that they'll create a super large and sexy boomerang.
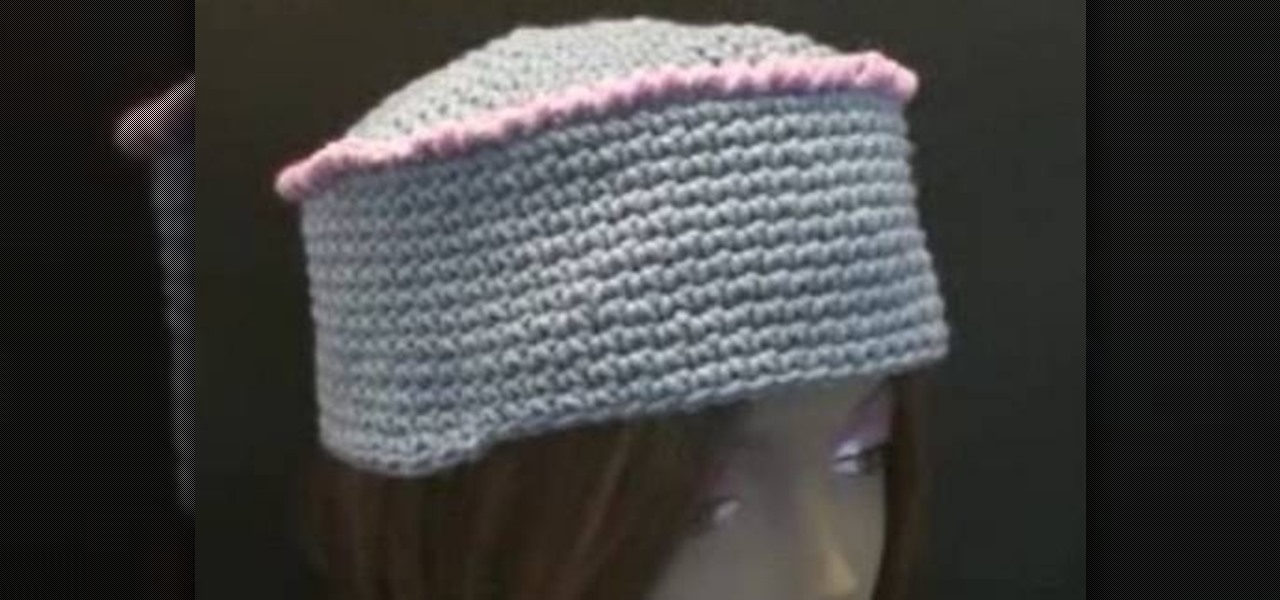
How To: Make a cozy kufi box crochet hat for right handers
Would you like a touch of mod and whimsy all in one? Then this hat is perfect for you because it strikes the perfect balance between the two. Made of cozy, soft blue yarn, embellished with a pretty pink border, and done up in a sort of inverse bowl shape, this is not your everyday baseball cap or beret.