

Active Arts & Crafts Posts


How To: Make your own designer brads
In order to make your own designer brads, you will need the following: clear or colored ultra thick embossing enamel, brads, glitter, ink, acrylic paint, a heat gun, and tweezers.
How To: Make stamped and scalloped Halloween thank you notes
It's never too early to begin crafting for one of the funnest and spookiest holidays of the year: Halloween! No doubt you're going to be attending at least one Halloween party or get together this year, so why not show the hostess with the mostest some love for putting together an awesome party?

How To: Make a hedgehog plushie
In this tutorial, we learn how to make a hedgehog plushy. First, choose a fabric to use, then cut out the shape of it. Once you have done this, cut it out again and pin the two pieces of fabric together. After this, use a sewing machine to sew all of the sides together, leaving a hole in the bottom. Now, turn the hedgehog inside out and then iron him flat. Place some stuffy cotton into the plushy until it is as full as you would like it. Then, sew the hole together so none of the stuffing can...

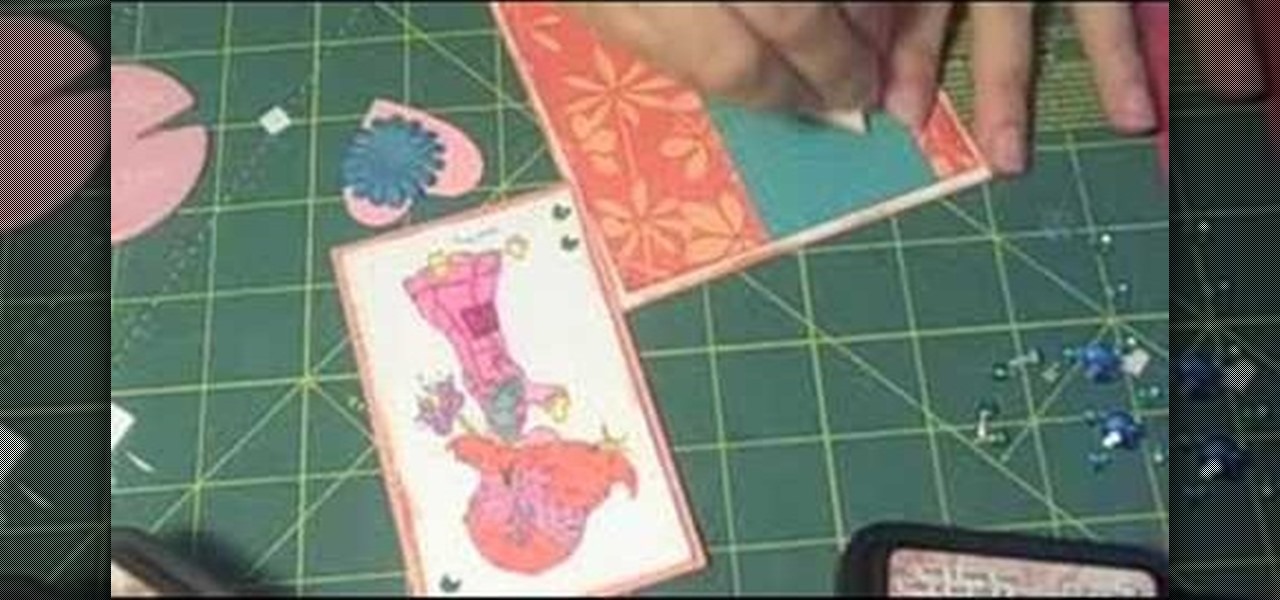
How To: Make a Cricut spinner pinwheel card
In order to make the Spinner Pinwheel Card with your Cricut, you will need the follow: the Cricut Wild Card cartridge, card stock, ribbon, brads, printed/patterned paper, adhesive, and an ink pad.

How To: Make your own silver wire wrap earrings
In order to make your own silver wire wrap earrings, you will need the following: sterling 20-gauge wire, chain nose or small round nose pliers, fine sterling wire, and multicolored crystal beads.

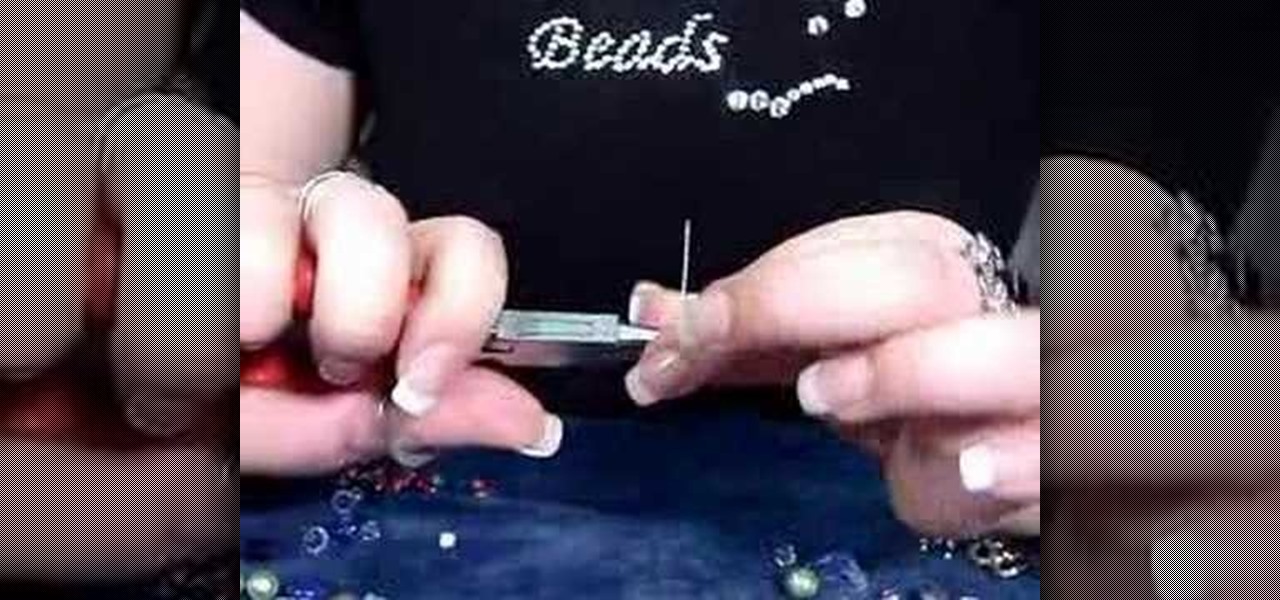
How To: Make a beaded 7 petal faerie flower pendany
In this video, we learn how to make a beaded 7 petal faerie flower pendant. First, string 14 beads on an 18 inch piece of string. Next, create a circle in the beads, then tie it off. After this, add three blue beads to your first pico stitch, then go through two more beads after this. Continue to do this all the way around the bracelet until you reach the other side. After this, go through the first pico stitch and add one red bead, followed by blue and red beads to make petals. Continue this...
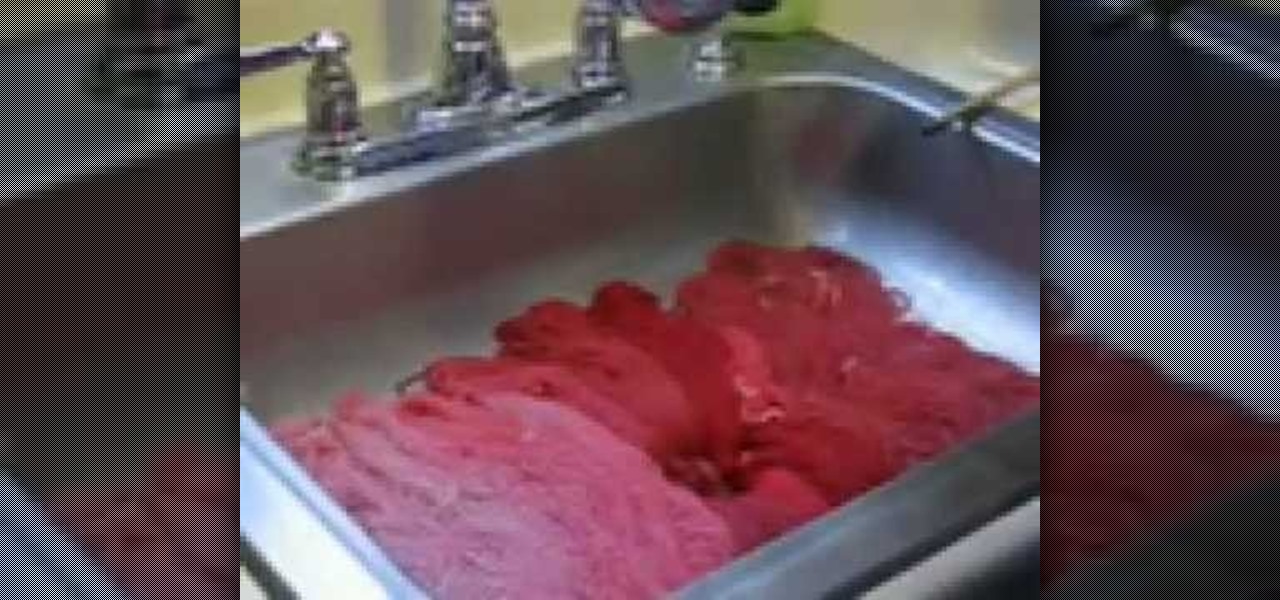
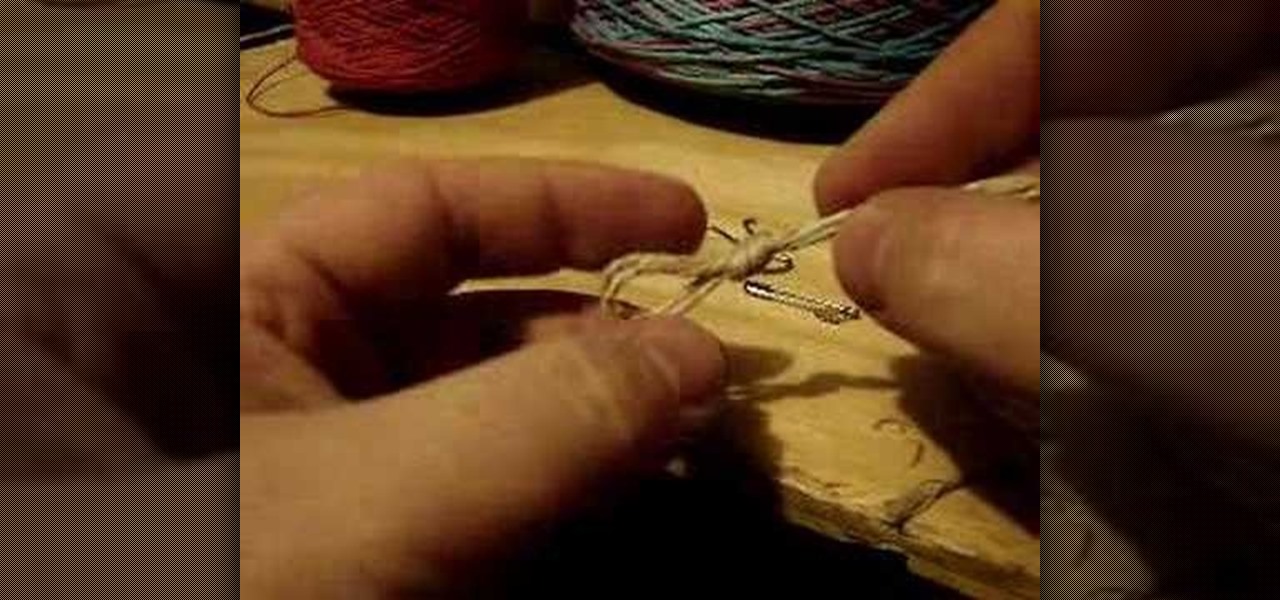
How To: Dye yarn with Kool-Aid
In this video, we learn how to dye yarn with Kool-Aid. First, take two chairs and wrap yarn around them as tight as possible to keep them from getting tangled up. Then, place in a bath of lukewarm water for ten minutes. After this, grab packets of Kool Aid the color you want your yarn to be. Now, take the yarn out of the water and squeeze out any excess water. After this, mix up the Kool Aid and place it into individual jars for each color. Next, place the jars in a large pot of water and the...
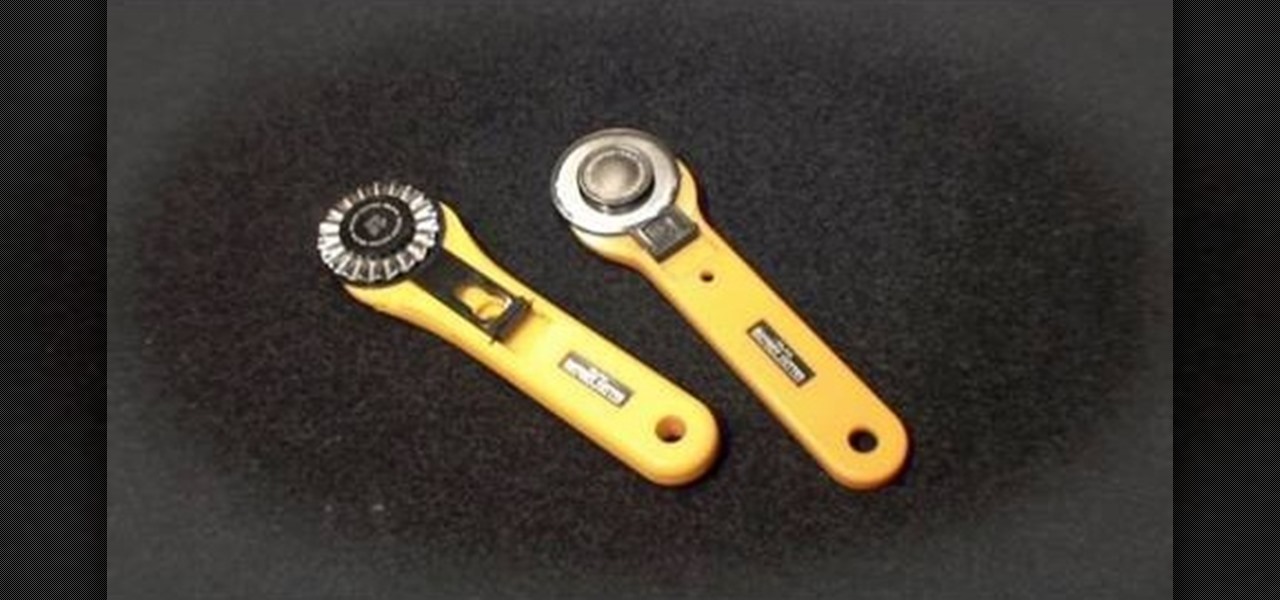
How To: Use a rotary cutter
In this video, we learn how to use a rotary cutter with Kenneth D King. Before you begin, make sure to use a cutting mat so you don't damage the top of your surface. To cut your item, you simply place the rotary cutter on the bottom of the item, then run it through until you have reached the top, or the desired area you want to cut. If you want to cute with a different shape, then you can purchase different cutters that will create shaped edges on what you are cutting. After this, place your ...

How To: Make a shadowbox
In this video, we learn how to make a shadowbox. First, you will need to have a frame that is thick and pops out from the wall. After this, layer hot glue down on the inside of the frame where you are going to put what goes on the inside. Decorate it how you like, a good idea is to use fake moss, wood chips, and stones on the inside. Decorate this as unique as you would like to, let your imagination go wild! After you have decorated the frame as you would like it, grab a piece of paper that y...
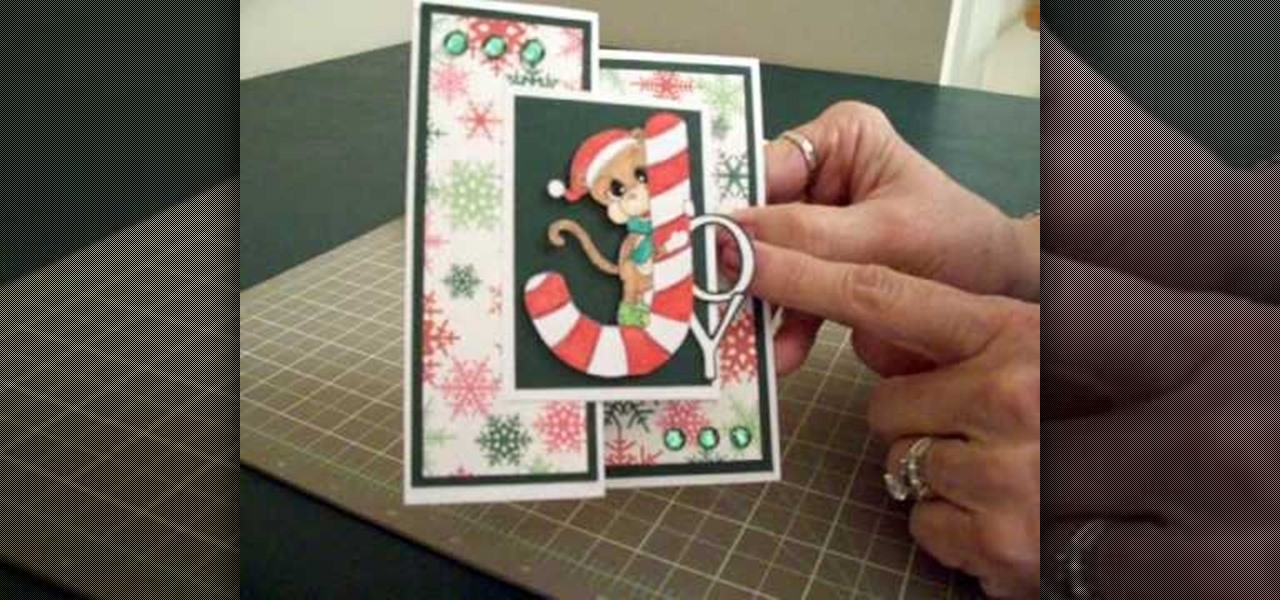
How To: Make a Joy S-fold Christmas card using Cricut George
In this video, we learn how to make a Joy S-fold Christmas card using Cricut George. First, fold the card and mark it so it's in the S shape, then stamp the background of the card with colored snowflakes in different sizes and shapes. After this, use a black outline along the sides of the papers, then add in a black piece of paper to the middle of the top fold. Apply a monkey with a Santa hat to the front and wrap him around a J shaped candy cane. Add in the letters "o" and "y", then add in a...
How To: Make a pocket card out of an envelope
In order to make a pocket card out of an envelope, you will need the following: a used envelope, printed paper, adhesive, card stock, paper cutter, cuddle bug, an ink pad, stamps, markers, and crystals.
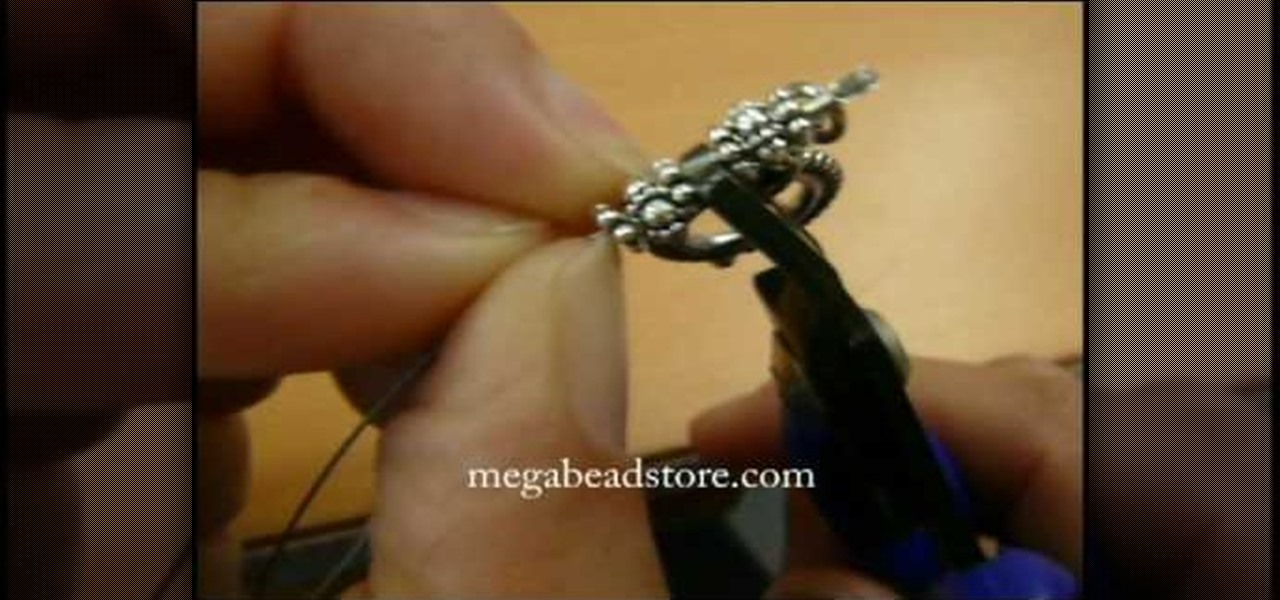
How To: Hide a crimp bead with a crimp bead cover
In this video, we learn how to hide a crimp bead with a crimp bead cover. First, string your spacer followed by a crimp bead and another spacer. At the end, you will have the end piece with the wire protector next to it. Then, bring the piece of jewelry through the crimp bead twice, then through the spacer once more. Now the spacers and crimp beads will be pressed with the crimping tool tightly. Pull on the string to test it out, then slip in your crimp bead cover so it looks like another bea...
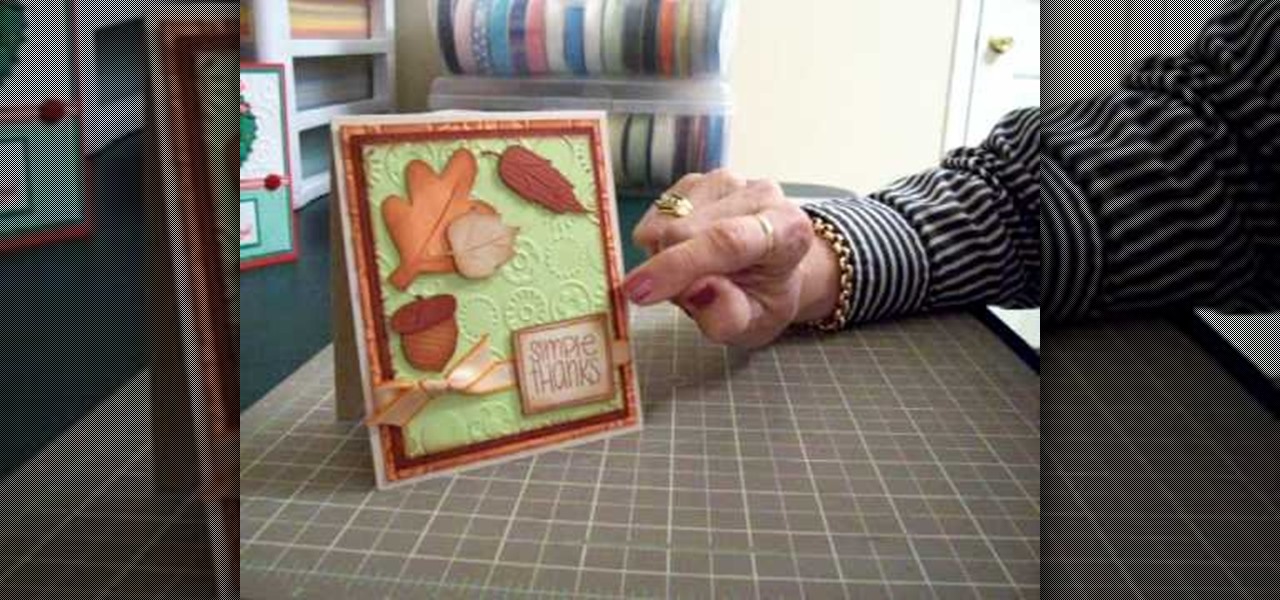
How To: Make a thank you card using Cricut DoodleCharms & SYI
In this video, we learn how to make a thank you card using Cricut Doodle Charms and SYI. The card can be the size you choose. Layer orange, green, and brown mats, running the green and orange through the Cuttlebug using blue dots to give it texture. After this, ink around the edges with brown so the embossing shows up. Use the Cricut to cut the leaves and an acorn, using the Doodle Charms cartridge for one of the leaves cut at 2 1/4". You can also use the Stretch Your Imagination cartridge fo...
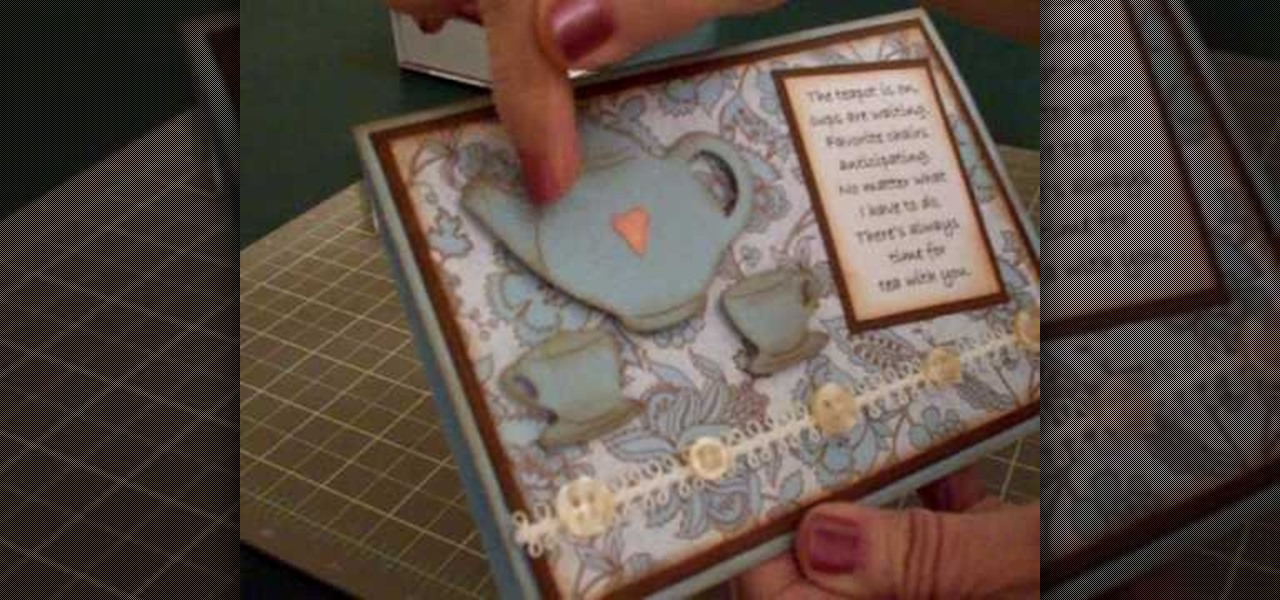
How To: Make a teapot card using Cricut Everyday Paper Dolls
In this video, Mary shows us how to make a teapot card using Cricut everyday paper dolls. First, print out a sentiment that has to do with teapots and fade the edges of the paper. After this, cut out a teapot and cup from the everyday paper dolls on page 43. Cut the teapot and cut twice, then chop them so you can see the details of them. Place this on a paisley or flower background for the card, along with old buttons on the bottom of the paper. Make the card the size you would like, using yo...
How To: Make different types of earrings
Watch as a jewelry designer demonstrates the basics of earring construction. She will show you the main types of earrings and how to create them.

How To: Use "My Kitchen Cricut Cartridge"
When you get you're "My Kitchen" cartridge from Cricut, you will need to test the cartridge, in order to make sure it works. Then, you should look at the manual. Remove the pages that you don't need: those in foreign languages.
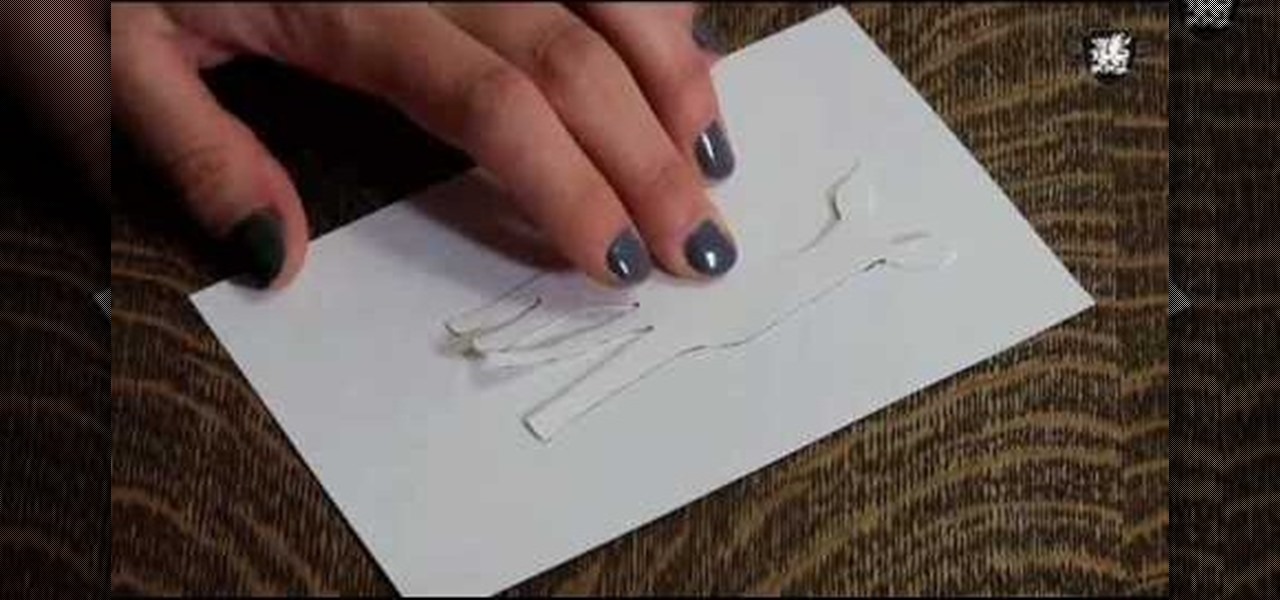
How To: Make paper cutting art for your home
In order to make paper cutting art for your home, you will need: paper, pencils, X-acto knife, card stock, scissors, self-healing cutting mat, poster board, adhesive, and a scanner.

How To: Join a crochet round
In this video, we learn how to join a crochet round. First, you will join with the beginning double crochet. Now, go to the beginning and join with a single crochet doing a slip stitch. Then, slip stitch between to join the two together. Go in with a slip stitch in the beginning, then double crochet. After this, join again with a slip stitch, then go to the beginning of the whole crochet again. By following these steps, you will learn how to join a crochet round in no time! Practice with seve...
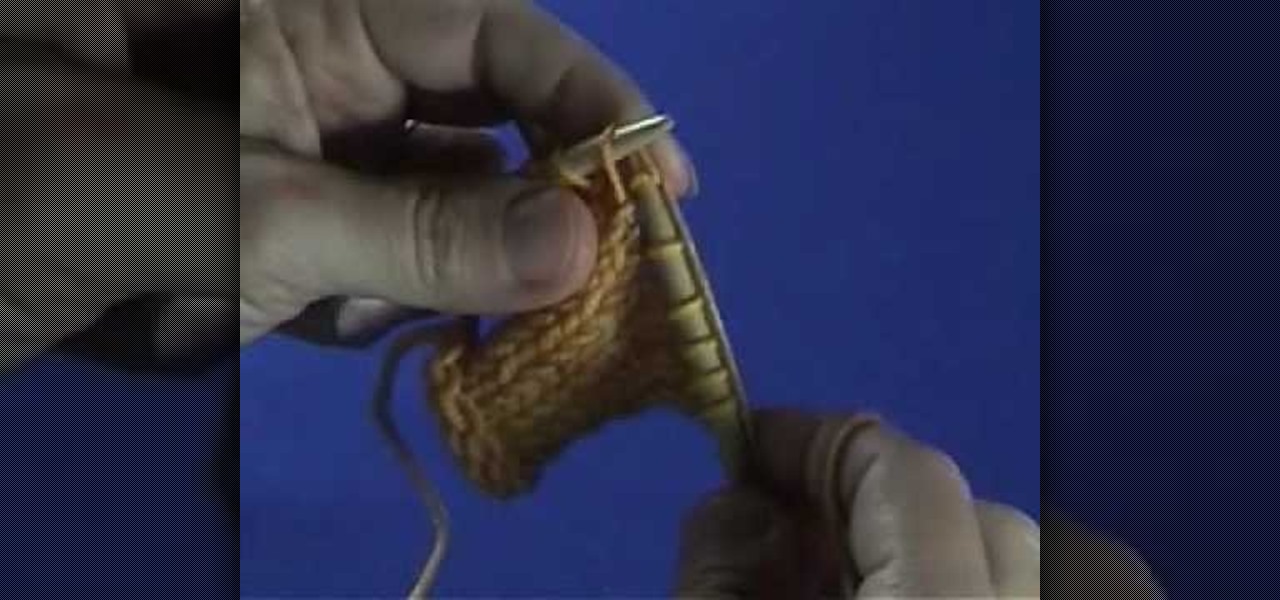
How To: Knit a stitch through the back loop
This video shows how to knit a stitch through the back loop. It's the way you can twist your knit and tight the fabric by stitching through the back loop.
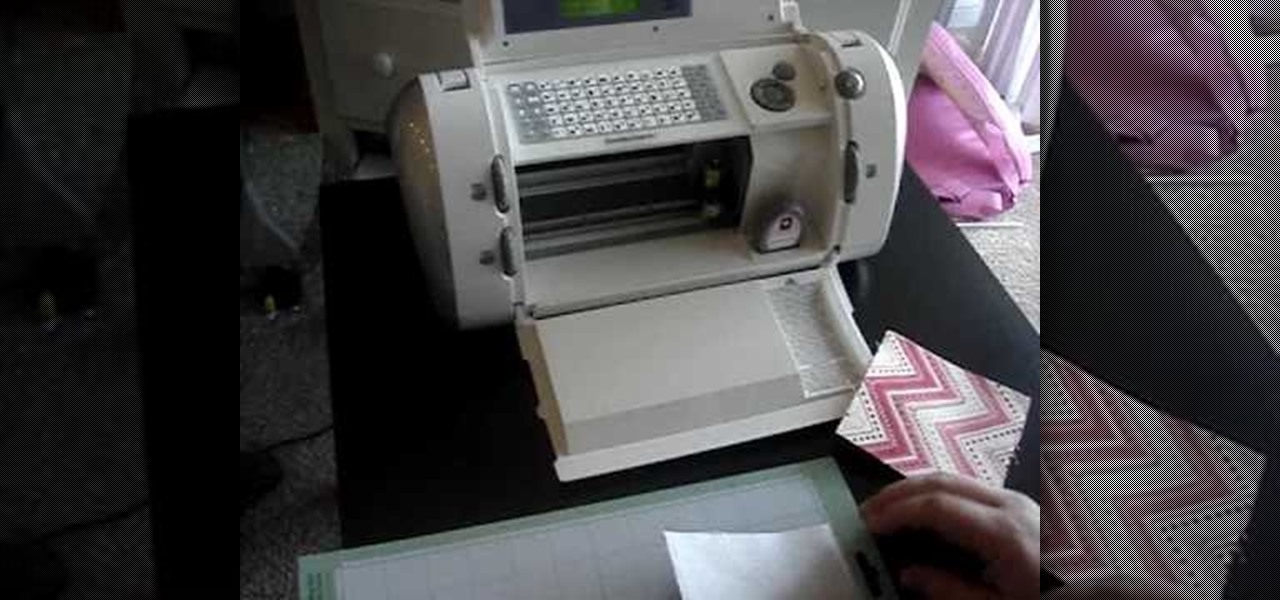
How To: Cut fabric with your Cricut
Cricut can be used to cut fabric. In order to cut fabric with your Cricut, you will need the following: Steam A Seam 2 (a double stick fusible web), blue painters tape, iron, and the Cricut with cartridge.
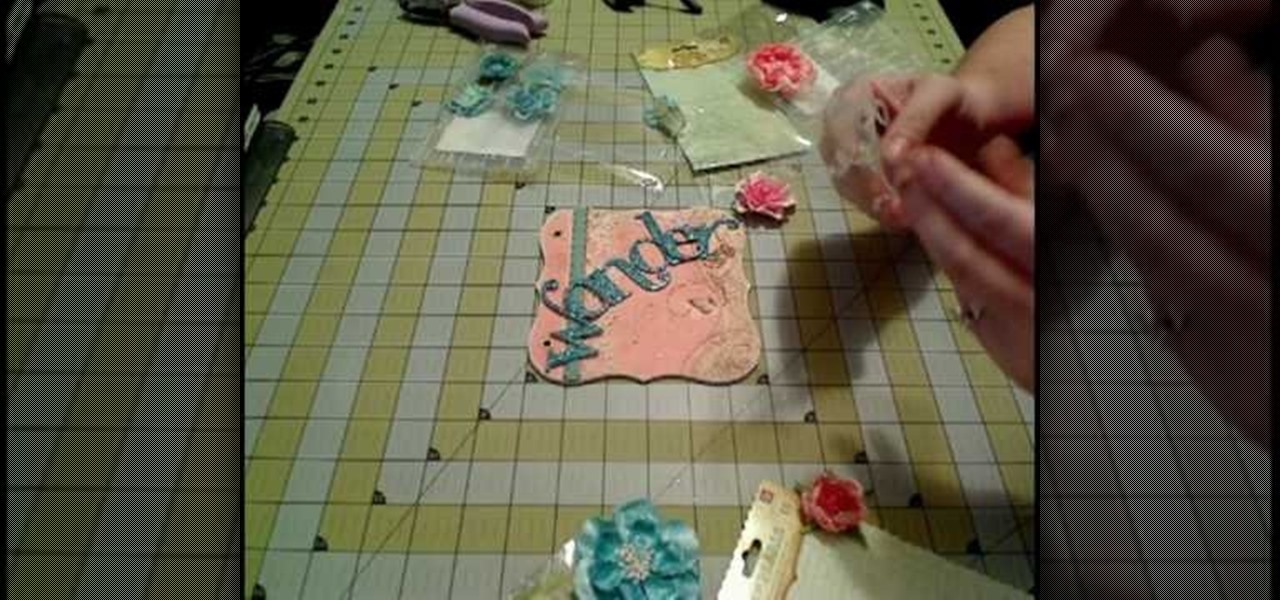
How To: Create a vintage-looking mini scrapbook album
In this seven part series, you're shown how to create a whimsical mini-scrapbook with a very vintage, Alice in Wonderland feel. From taking your materials out of their wrappers to the final pen stroke, this video series will show you how to create a beautiful "World of Wonder" scrapbook. A lovely gift idea for the Lewis Carroll fan!

How To: Make two different sized paper booklets without tape, glue or staples
Homemade booklets are the way to go for back-to-school. Forget about pricy spiral-bound notebooks, make your own paper booklets, and make them without any tape, glue or staples! This is all paper and folding techniques. If you're an origami god, this will be so simple for you to make. Plus, you'll learn how to make two different version of this paper booklet: one big and one small. These are great for notes, to-do lists and school projects.
How To: Make a glossy wallet using magazines
Make a hip and functional wallet using the glossy photos taken from old magazines. Your wallet will be colorful, trendy and have pockets for both your bills and cards. All you need in addition to the magazines is a pair of scissors and some clear tape.
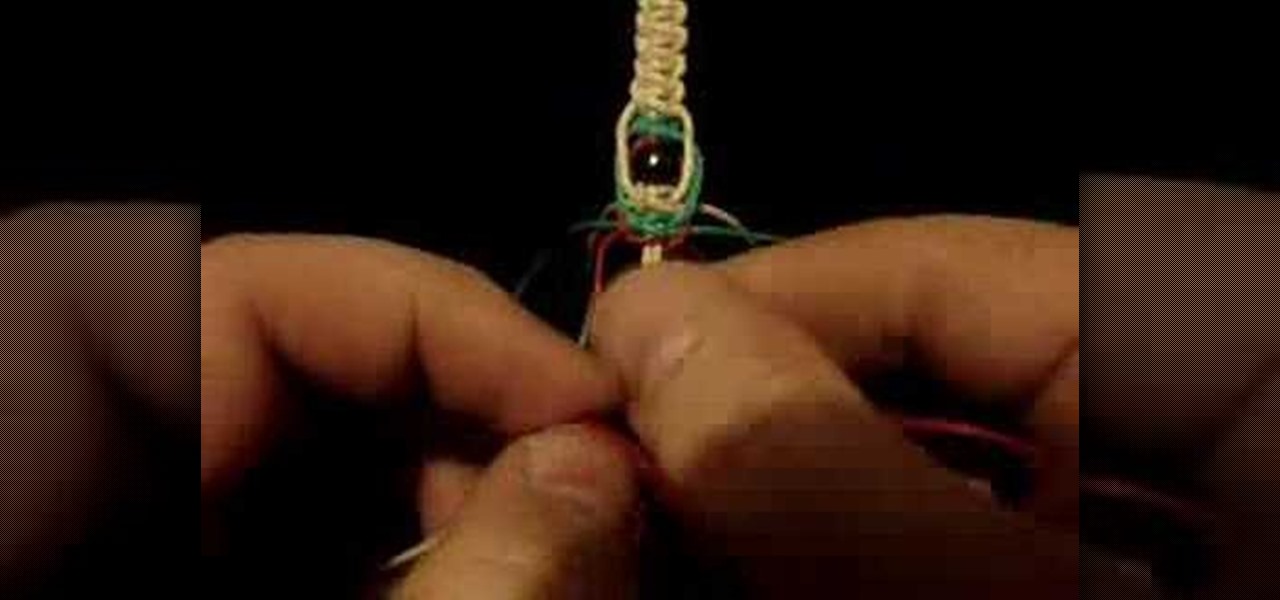
How To: Make a hemp phish bone keychain with three beads
Phish bone keychains feature a highlighted midsection with three different colors of hemp (in this video we use regular rafia-colored hemp, red hemp, and green hemp) that surround wooden beads.
How To: Make an Egyptian clasp from 20 gauge half hard silver wire
If you're an advanced jewelry maker who's looking for a beautiful challenge, then you've come to the right place. This Egyptian clasp, which features a rounded loop head pin, a bunch of spiral curls, and a longer rounded loop headpin, is among the more difficult clasps you can make, but as you can see, the results are quite spectacular.
How To: Make a simple hemp bracelet clasp with a wood bead
Hemp jewelry is crunchy granola chic no matter how you style it. Made of rustic, slightly frayed natural hemp and adorned with natural materials like seashells and wood beads, hemp jewelry is as surfer chic as you can get.
How To: Make a blue lamp work bead with Latticino and Frit
One of the coolest beading effects is the kind that suspends various materials - from flowers to Latticinos - in a clear glass case. Swirled or marbeled shapes can also be added for interest, but either way the resulting work is like looking into a prehistoric block of amber and peeking around at such curious fragments.

How To: Make a beautiful pendant with a head pin
Pendants are like the stars of your necklace. Without them, you'd only have a boring necklace chain or cord. Pendants add excitement to a necklace as well as show off some of your individual style and charm.
How To: Make a sliding knot necklace for heavy pendants
The phrase "you can never have too much of a good thing" isn't particularly true when it comes to jewelry. While we love our bohemian tree pendants and dangling chandelier earrings, we don't like the fact that they weigh five pounds and pull down on our ears and/or necks.
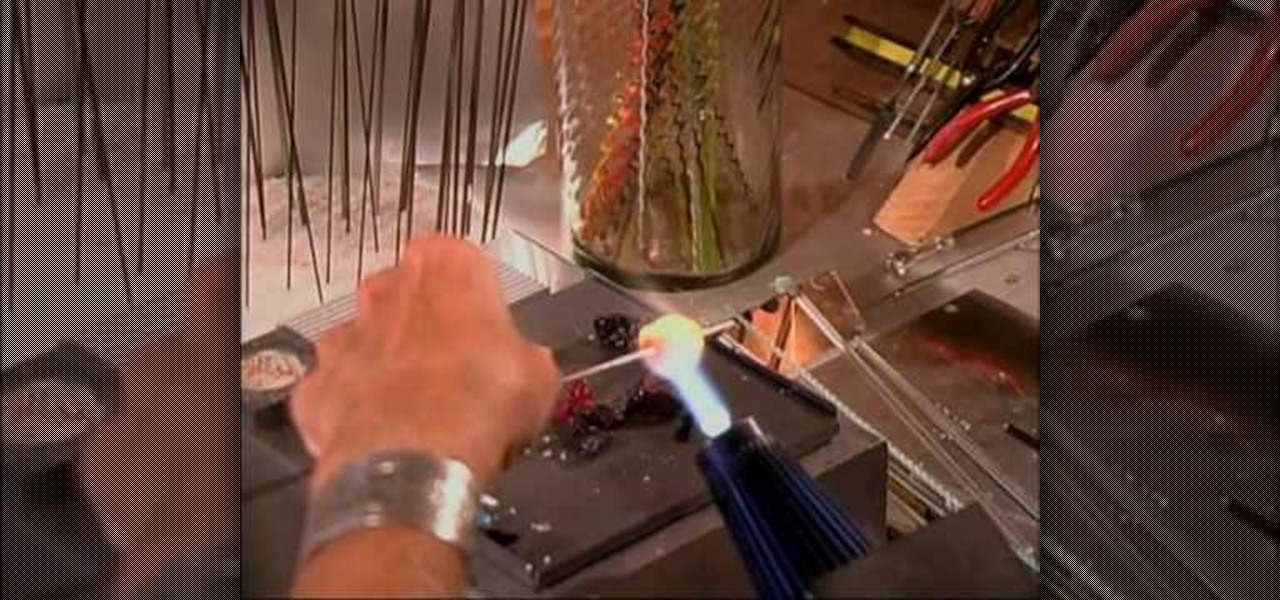
How To: Make gold stone stringers by casing it in clear glass
These gold stone stringers look like glistening incense sticks and are incredibly beautiful. Check out this jewelry making tutorial to learn how to turn gold stone lumps in blue and an orangey yellow into long sticks, or stringers, made of these melted lumps.
How To: Make a soothing water bead using clear glass
Water beads are gorgeous, luminous beads with surfaces that look like waves on a pond, teeming with various hues of robin's egg blue, sea foam, white, and deep navy blue. Water beads can actually be made yourself from clear glass beads.

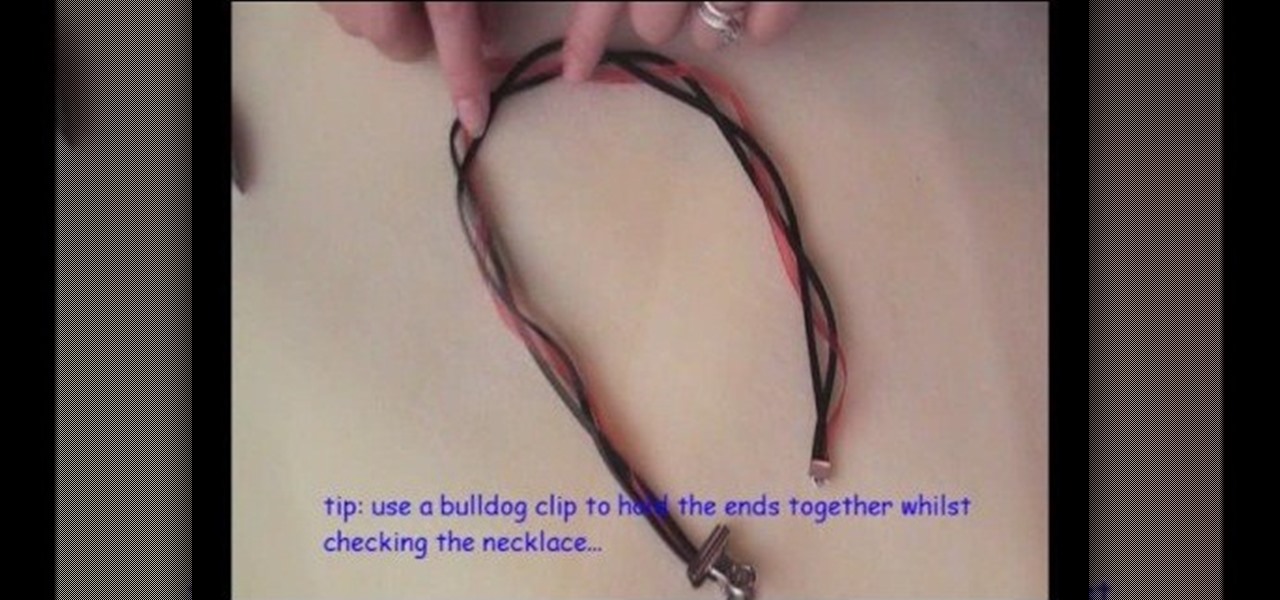
How To: Make a blue floral pendant necklace with two clasps
Don't be a bore and think that all necklaces have to end with a single clasp! While single clasp closures are common, they can also be a pain sometimes to open and close (if you've ever had a tight necklace that moved during the day to the back of your head and you didn't know where the clasp went then you know what we're talking about).
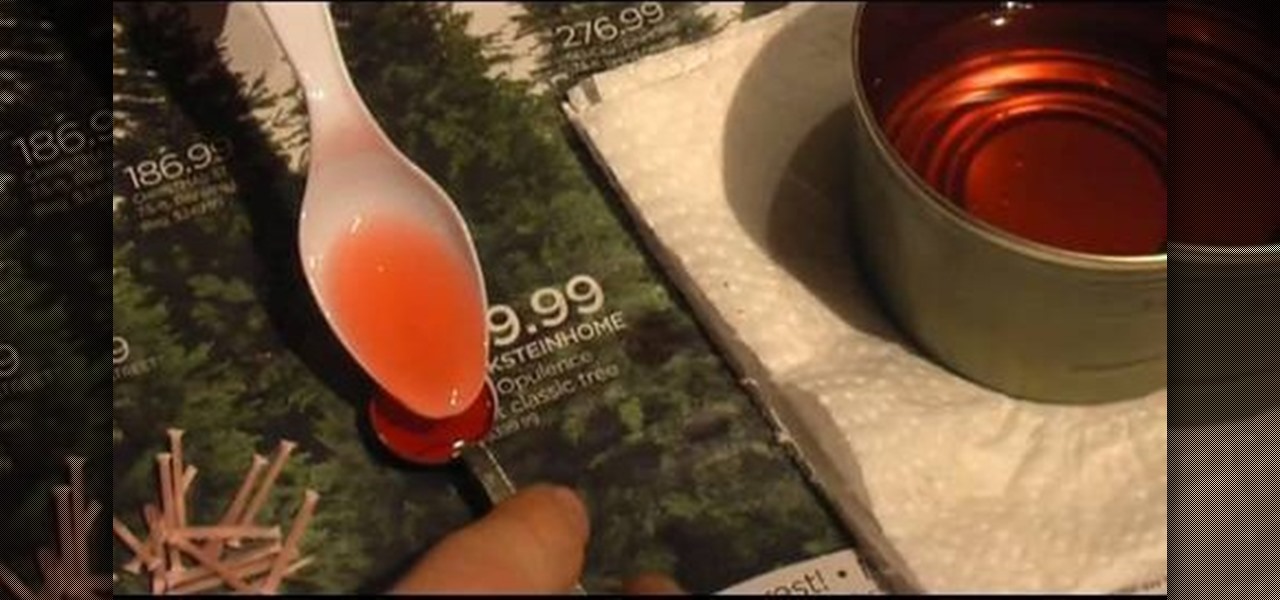
How To: Make the candles for the boilers on pop-pop boats
Pop-Pop Boats are a fun way to mix science with fun! And one of the key components of making the boat work is the heat that powers the boiler through the candle. This video will show you a great step-by-step guide on how to make the small candles that go into the candle holders for the boats as well as how to prepare the wicks properly.
How To: Make a coiled top dangle with pliers for jewelry making
When it comes to making earrings or necklaces, you could take the easy way out and just add a normal head pin to the top of your bead or pendant. But what if you like to create motifs with the wire itself? A great way to start embellishing with wire is by creating this coiled top dangle, or a wrapped head pin.
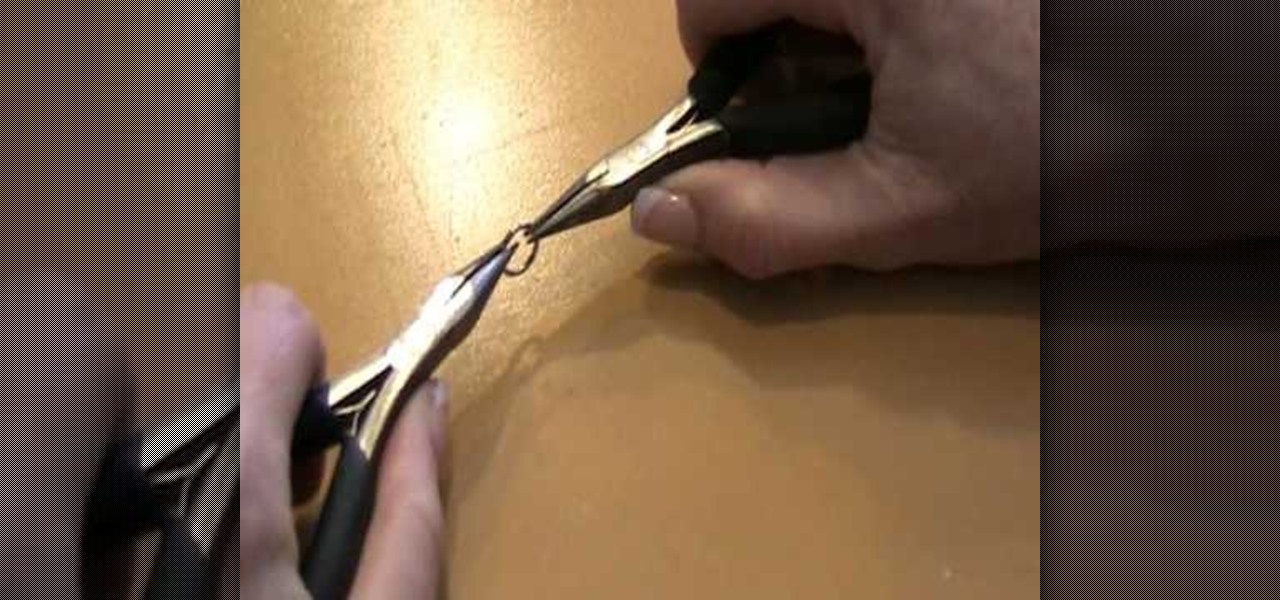
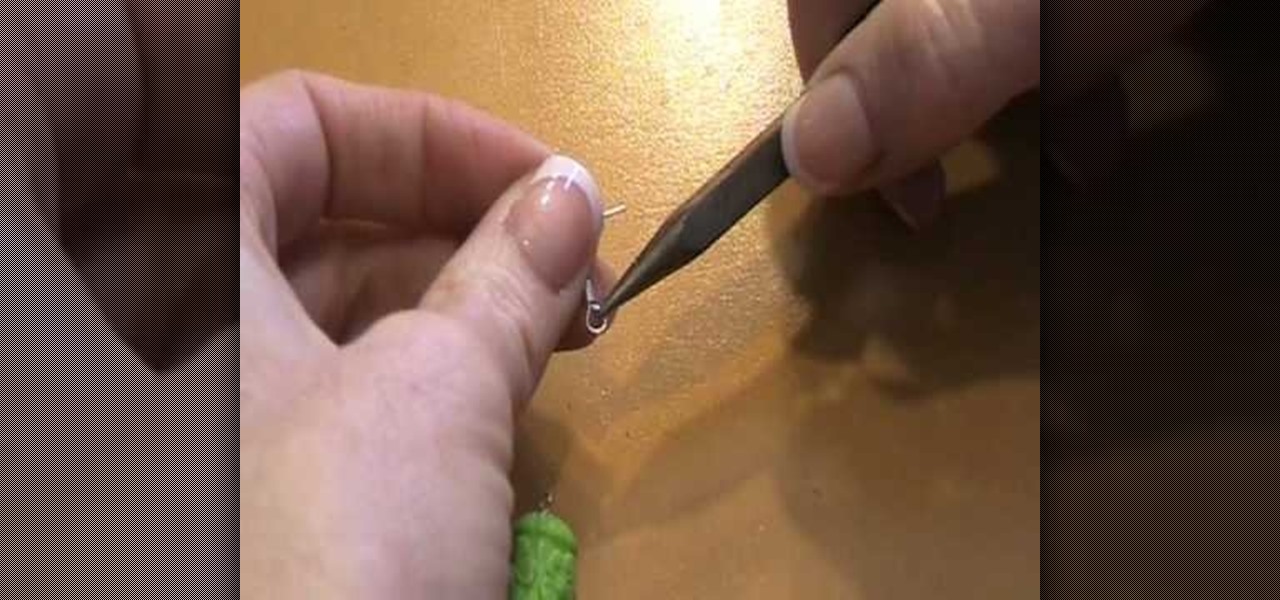
How To: Open and close a jump ring with chain-nosed pliers
Jump rings serve a variety of purposes in jewelry making, the most common of which is connecting adjoining sections of a necklace, bracelet, or earring. If you would like to integrate jump rings into your jewelry crafting then check out this video to learn how to open and close a jump ring using two pairs of chain-nosed pliers.

How To: Attach an EZ-Crimp™ to a wire for jewelry making
An EZ-Crimp is a very useful tool in jewelry making; with a rounded loop on one end and a flat rectangulr space equipped with a hole on the other, it allows for the attachment of a piece of wire (inserted through the hole) and can be used to close a necklace.
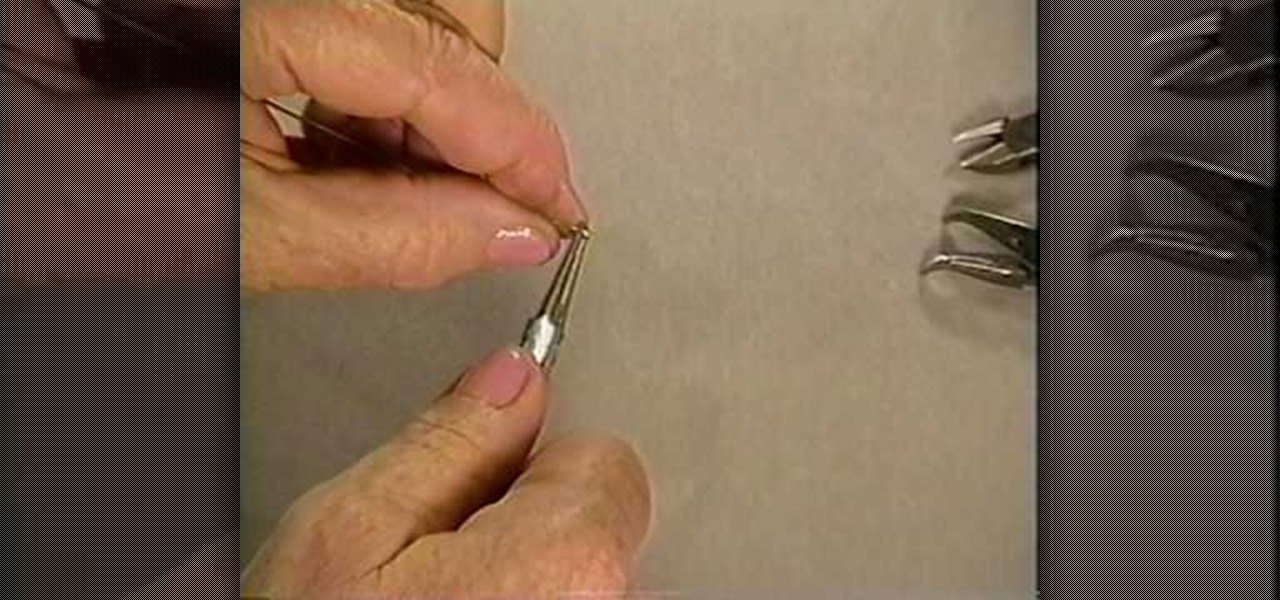
How To: Make an easy looped headpin for jewelry making
What exactly is a head pin? In jewelry crafting, a head pin is the small wire loop on top of a bead that allows the bead to be attached to a necklace or an earring. If you're looking to get into making your own jewelry, then creating a headpin is one of the most basic skills you'll utilize for the rest of your career.
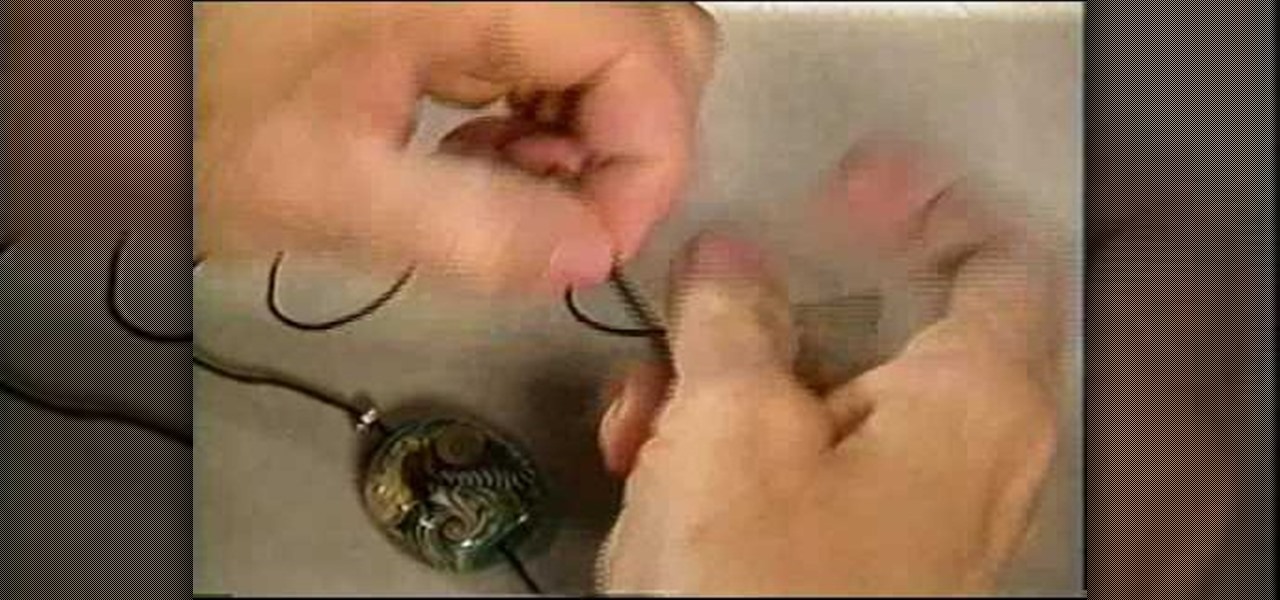
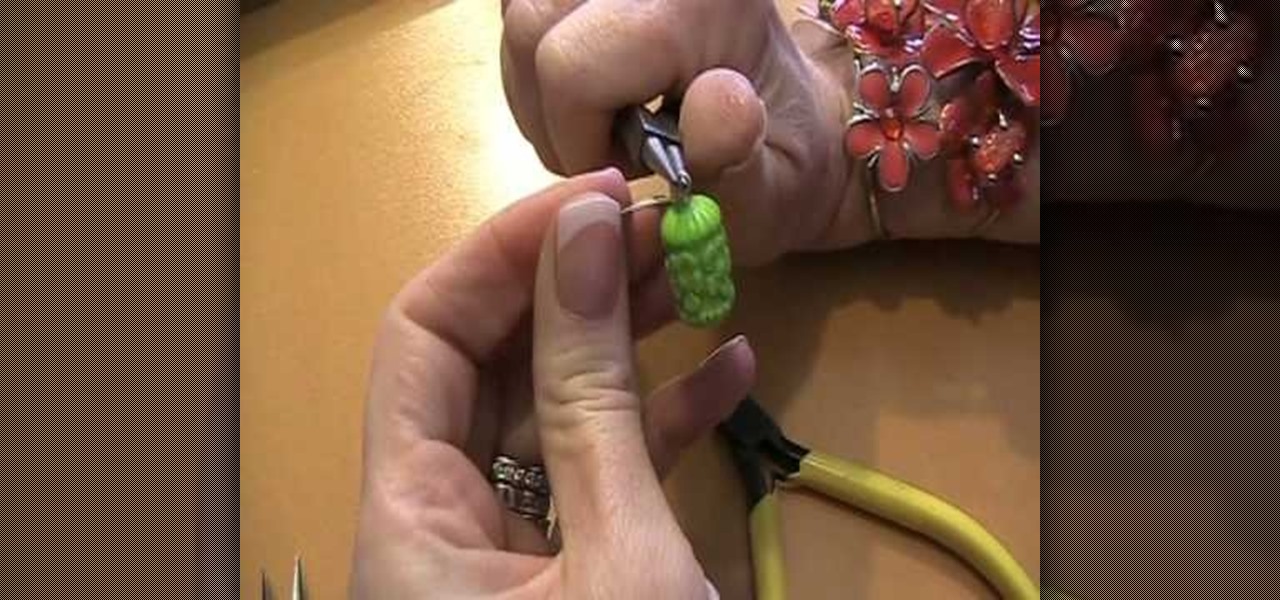
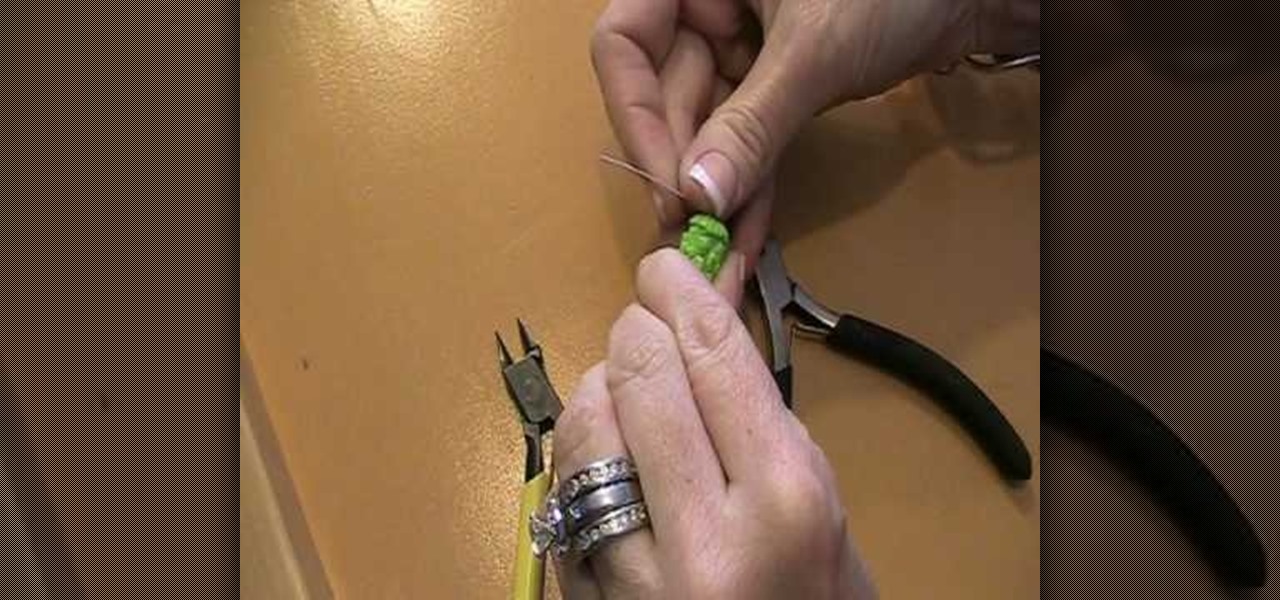
How To: Attach a pendant to an earring hook easily
What is the absolute, most basic thing you need to know in order to asemble an earring? Attaching the earring to its earring hook, of course. By learning how to do this, you'll be able to create a neverending host of funky earrings, from cool guitar pick earrings to drop pendant earrings.
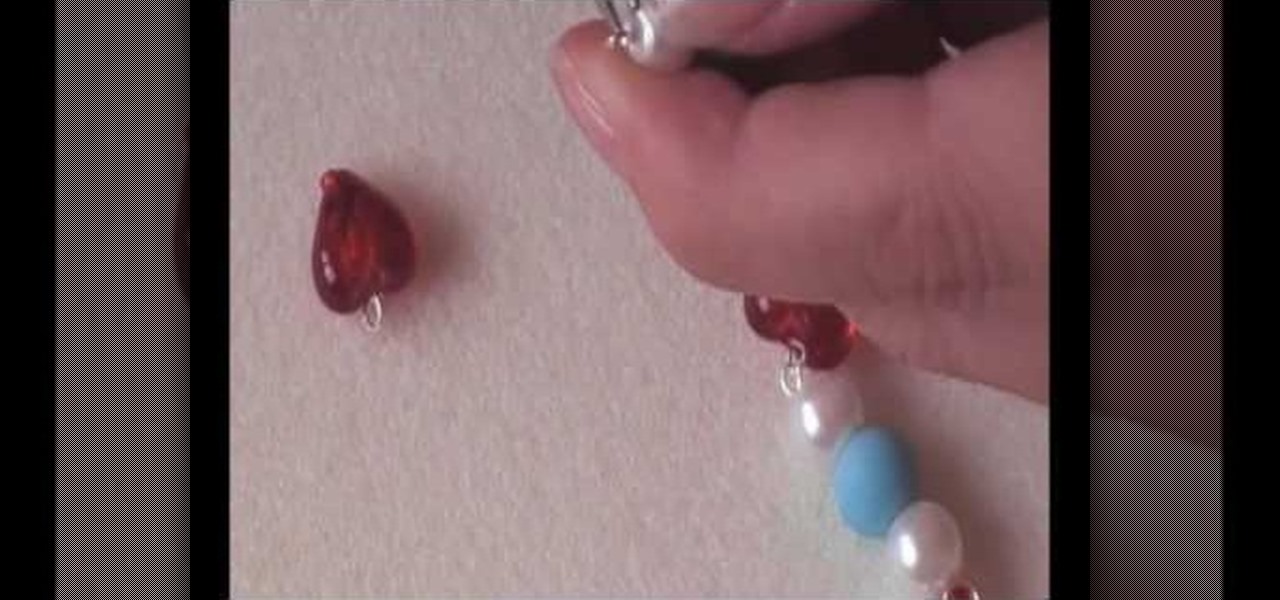
How To: Make cute "Alice in Wonderland" Queen of Hearts inspired earrings
The Queen of Hearts would simply fawn over this pair of "Alice and Wonderland" inspired earrings, especially since a pair of red heart pendants is the focus. Pretty and uber feminine without being over the top, you can flaunt these earrings at any occasion, from school to a midafternoon tea party with the Hatter.
How To: Make a tri-strand necklace with a dichroic glass pendant
Yeah, we know the title of this video sounds confusing (dichroic what?), but a tri-strand necklace with a dichroic glass pendant is simply a fancy term for a necklace composed of three strands with a glass pendant hanging from the bottom.