

Active Arts & Crafts Posts


How To: Make a Cricut sunflower card
In order to make a Cricut Sunflower card, you will need the following: card stock, Walk in My Garden Cartridge, ribbon, decorative paper, chalk, scissors, 2-sided tape, an ink stamp pad, adhesive, and pop dots.
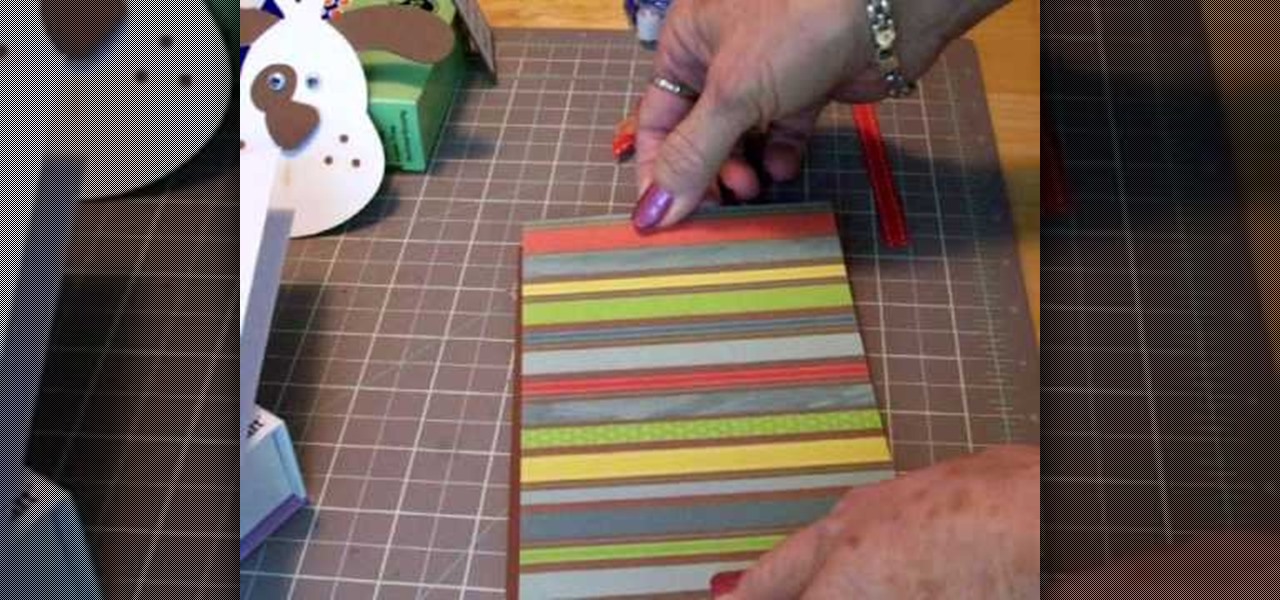
How To: Make a Cricut get well card
This video tutorial is in the Arts & Crafts category where you will learn how to make a Cricut get well card. Cut out the shape of a dog out of white at 4". Then cut out the ears and nose out of brown also at 4". Cut the dog again in brown at 4" for the background. Now assemble the dog as shown in the video and glue on two Google eyes. For the card base take a 10" x 7" card and fold it in half. Take out a brown sheet at 4 3/4" x 6 3/4" and a striped mat. Now apply glue on the card and assembl...

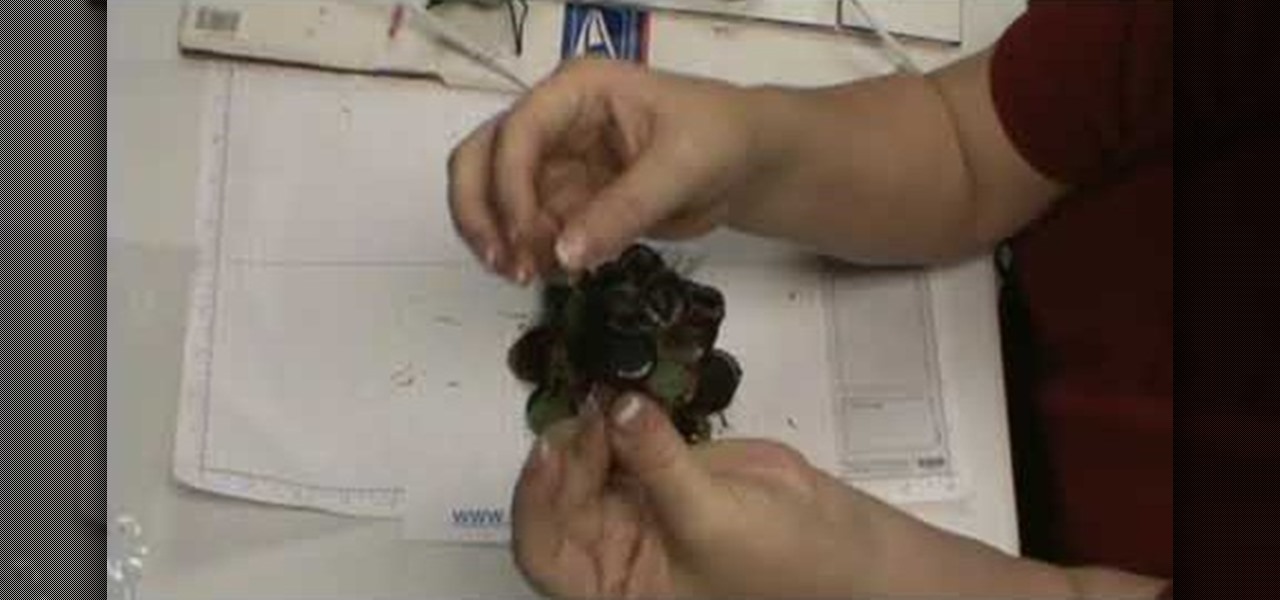
How To: Make crumpled flowers for scrapbooking
This video tutorial is in the Arts & Crafts category which will show you how to make crumpled flowers for scrapbooking. Cut out three circles of 2", 1 1/2" and 1" diameter out of a sheet of paper. Then wet the pieces of paper lightly with water or colored ink and crumple them one by one as shown in the video. Then place the three pieces together and pin them up with a split pin. Now crumple the edges of the paper further to give them the look of a flower. Allow it to dry and your flower is re...
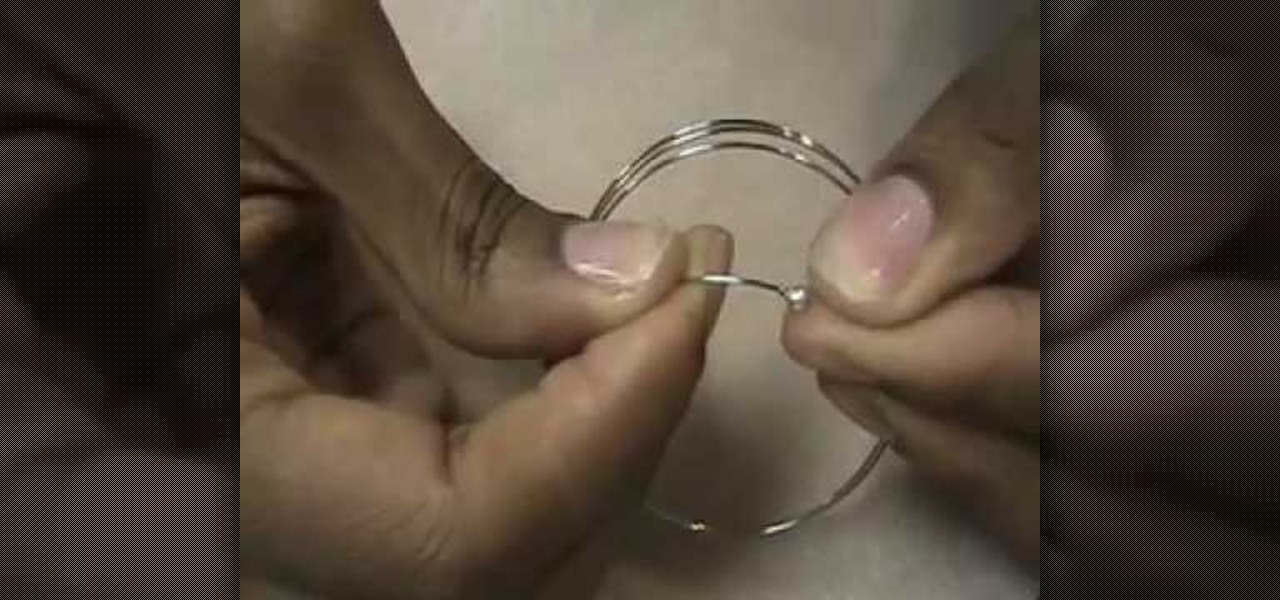
How To: Make a Mediterranean blue bracelet
In this video tutorial, viewers learn how to make a Mediterranean blue bracelet. The materials required for this project are: memory wire, Mediterranean Czech glass bead mix, 4mm sea side mix Czech fire polish round beads, wire cutter, super glue, bead stopper and 2 3mm memory wire end caps. Begin by cutting 3 1/2 clamps of wire and glue one memory wire end cap to the end of the wire. Then string the beads. Users may decide to make a repetitive pattern with the beads or randomly string the be...
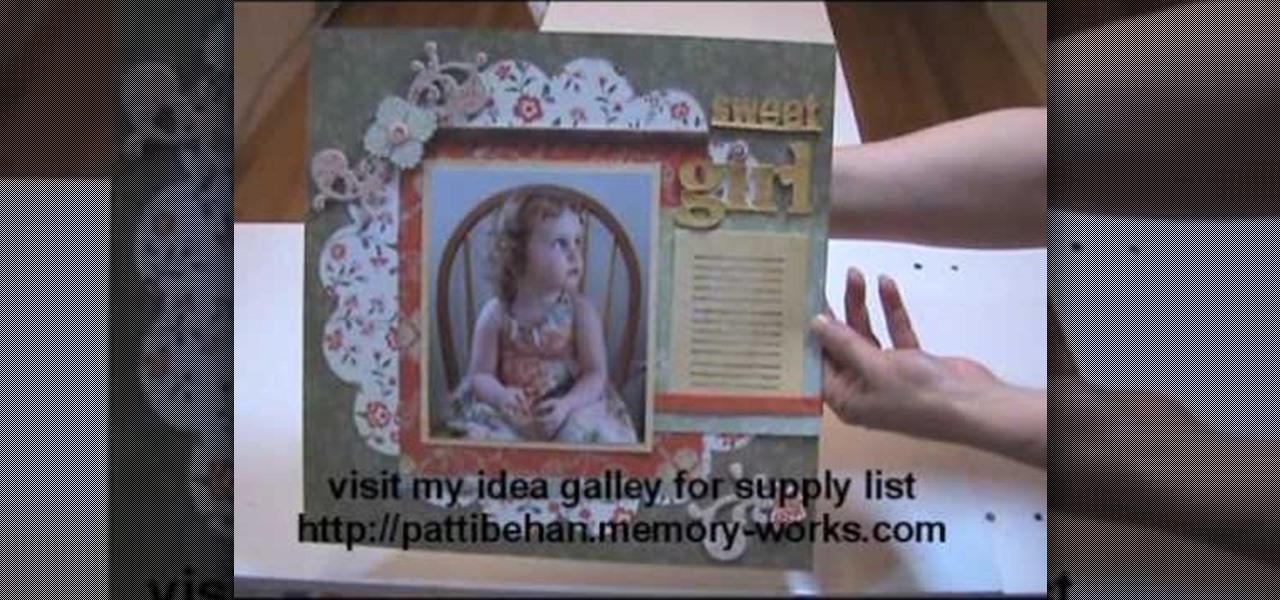
How To: Use your Cricut to save money on scrapbook paper
In this video, we learn how to use your Cricut to save money on scrapbook paper. First, place the mini monogram cartridge into your Cricut machine. Then, place your paper onto the 12x12 cutting mat. Now, load your paper into the machine, then press the scalloped circle and the fit to page buttons. Then, press cut and let the machine do all the work. Once it's finished, unload your paper from the machine and remove the outside portion of the image. Now, adhere it to the white piece of scrapboo...

How To: Make a twisted necklace
In this video, we learn how to make a twisted necklace. First, you will need to grab the cord you want for your bracelet and cut it double to the length you would normally use. Now, measure the cord in half, then start twisting the two together until you reach the end. You can do this with several cords if you would like a more unique necklace. After this, tie the ends and then loosen them up. Next, start to twist the necklace together again, then you can add your jumper bead into the necklac...
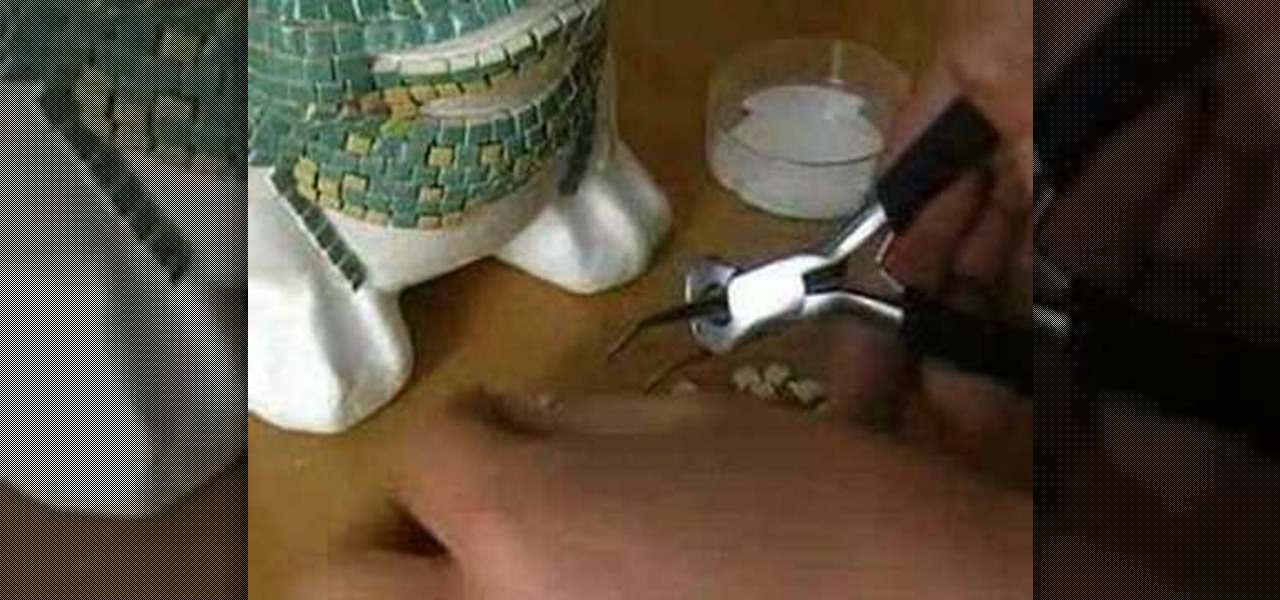
How To: Make a mosaic frog for your garden
In this tutorial, we learn how to make a mosaic frog for your garden. Start by painting white glue over the eye sockets where the eyeballs will be placed. After you place the eyes on, brush on glue to all surface areas and start to place the mosaic on the glue. Follow directions that are given to you for the patterns so you know where to place each tile. You must cut the corner pieces so they fit in correctly. After two hours of drying time, you will rub a powdered solution all over the frog,...
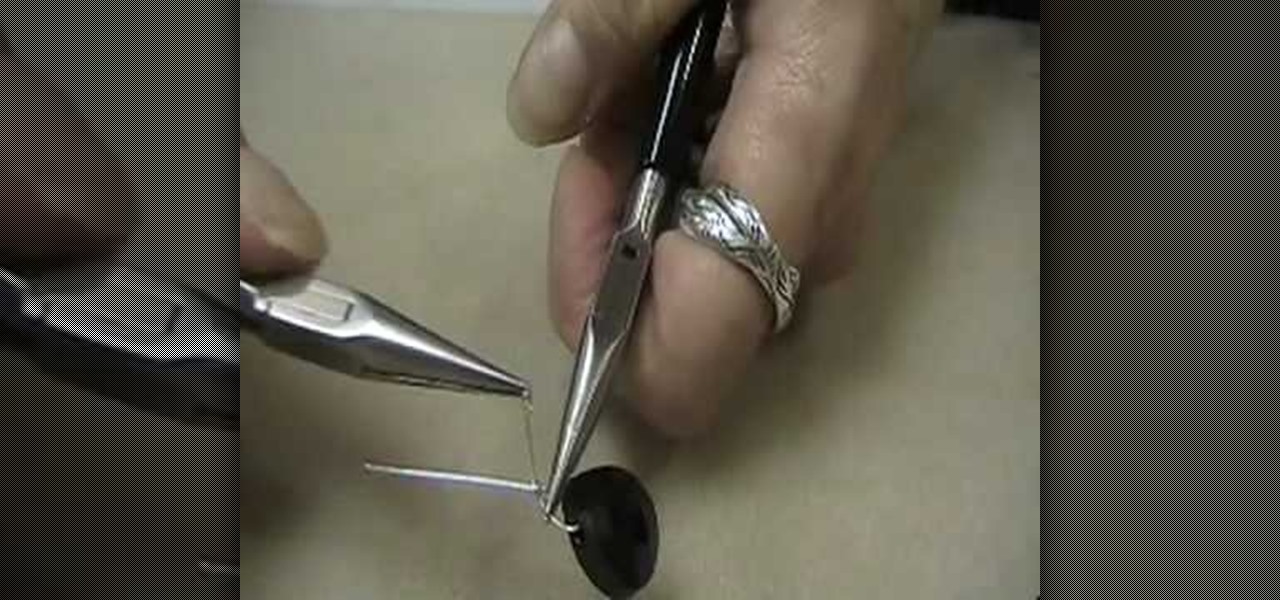
How To: Wire wrap briolettes
In order to wire wrap briolette, you will need the following: wire, wire cutters, chain nose pliers, flat nose pliers, and briolette,
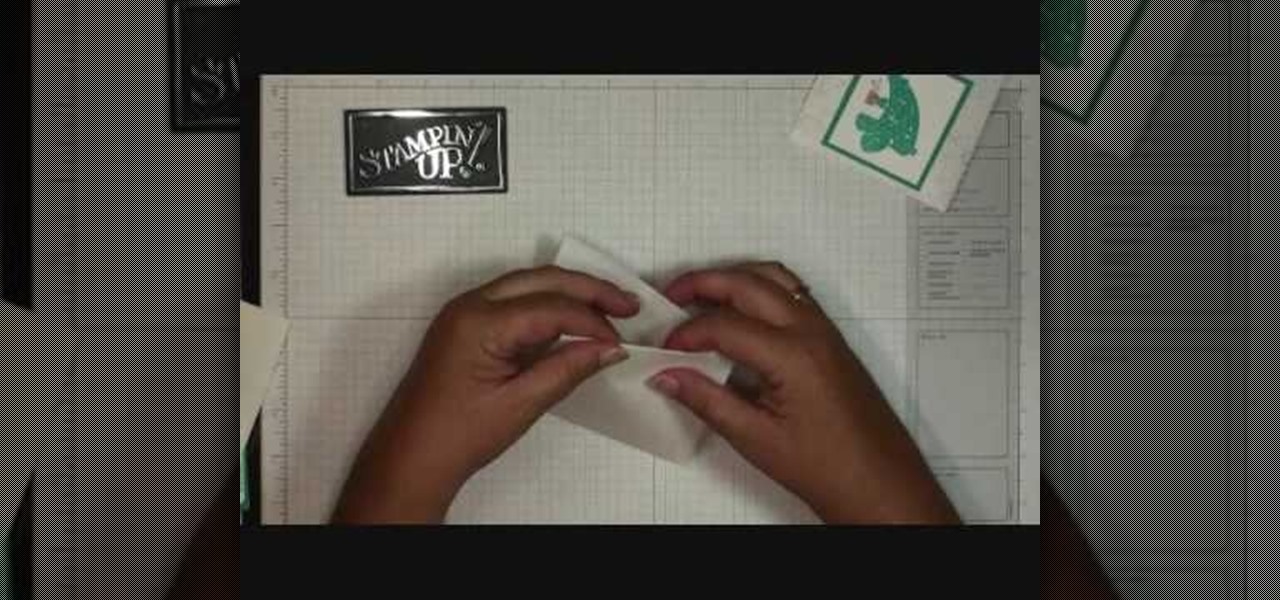
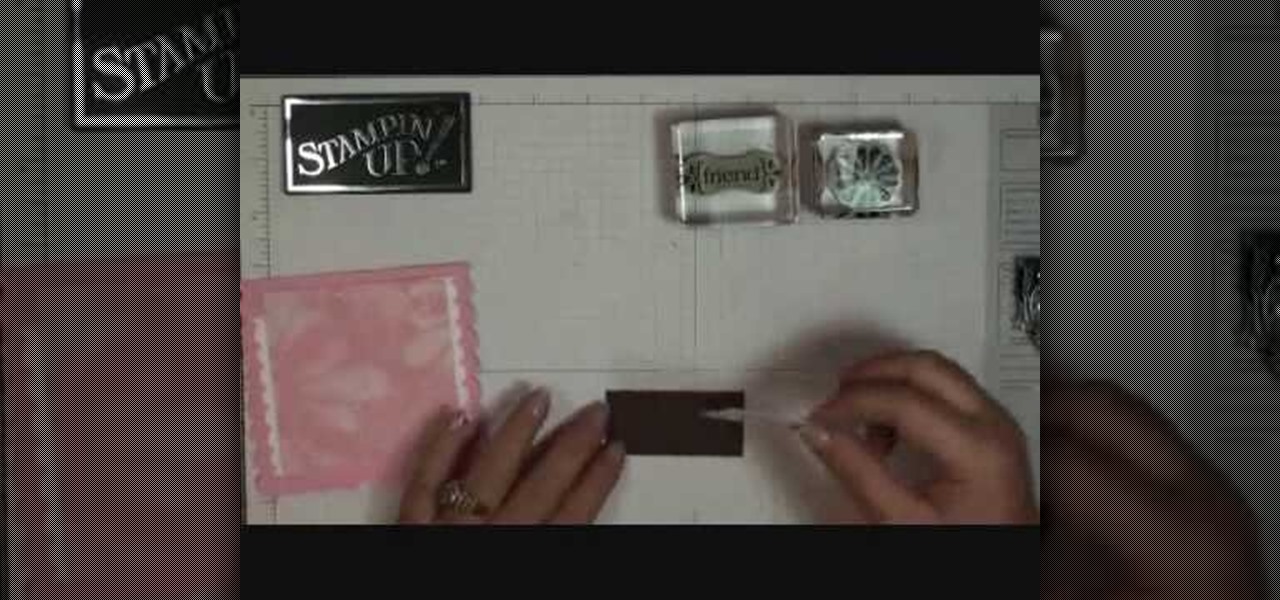
How To: Make a hot cocoa holder with Stampin' Up!
In order to make hot cocoa holders with Stampin' Up, you'll need the following: a whisper white Stampin' Up envelope, scissors, a paper cutter, cocoa, a jumbo wheel, ink pad, adhesive, stamps, ribbon, pen, stapler, glitter, and card stock.
How To: Make a ice skater card using Cricut Winter Woodland
Make a simple, elegant card using Winter Woodland. Go to page 50 of manual. Cut tag and skater at 3 inches. Use 8 1/2 x 11 cardstock and cut vertically to 4 1/4 inch. Fold from top to bottom. Round corners of cardstock and red matte. Make red matte 4x5. Run red matte through cutter bug using swirls folder. Insert between two plates and run through. Place black grosgrain ribbon down the center. Stick to front of card. Glue skater to background. Place square crystals around skater. Create and p...
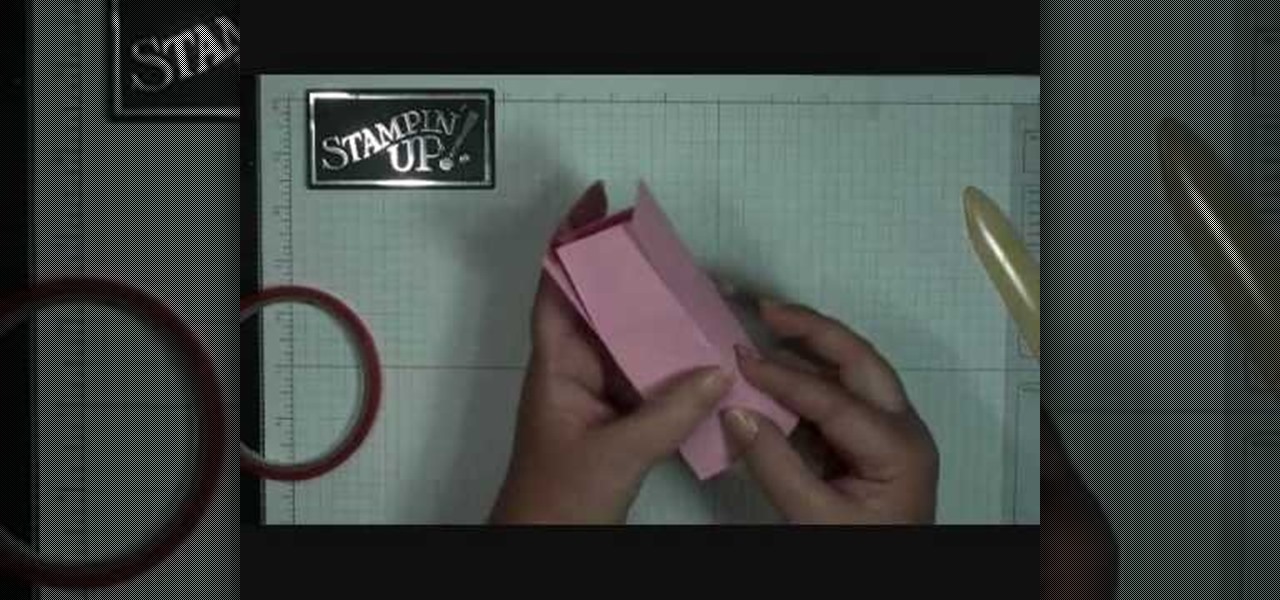
How To: Make a mini milk carton with Stampin' Up!
To make a mini milk carton, you will need the following a big shot, Mini Milk Carton Die # 117310 (Occasions Mini) card stock, a clip, and sticky strip.
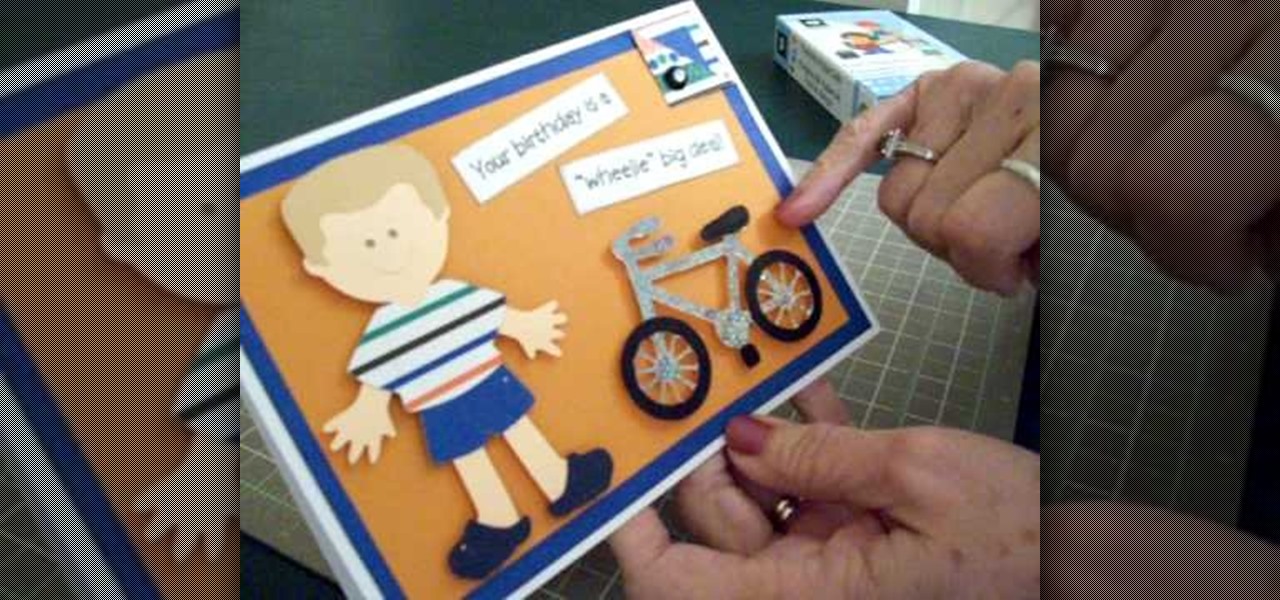
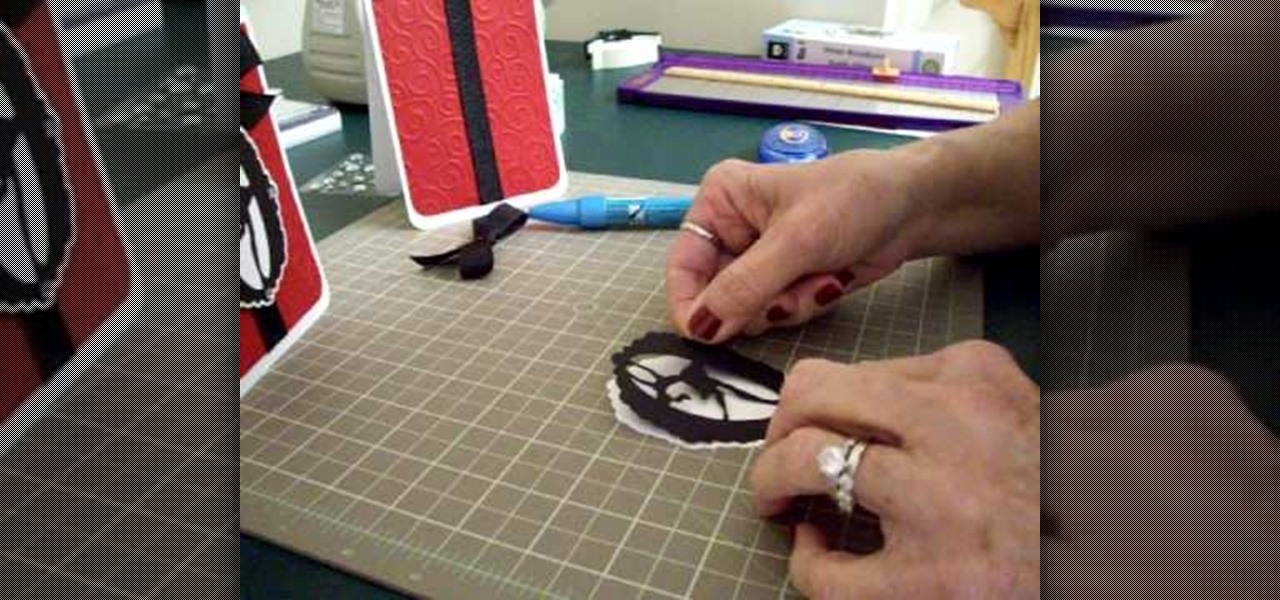
How To: Make a Cricut "biker boy" birthday card
In order to make a Cricut "biker boy" birthday card for a young boy, you will need the following: Everyday Paper Dolls cartridge, adhesive, and card stock.

How To: Make a side step Christmas card using Cricut Winter Wonderland
In order to make the side step Christmas card, using Cricut, you will need the following: card stock, cutter/trimmer, adhesive, rhinestone, ribbon, and a bone folder.

How To: Use cones when jewelry making
In this video, we learn how to use cones when jewelry making with Christina. First, take a half inch hard wire with a looped end and use a pair of pliers to open up the loop slightly. Next, take your strands of beads and place them onto the loop. After this, close the loop making sure it's secure and the beads won't fall off. Then, take the cone and insert the wire through the wide end and pull it through the narrow end. Using your fingers, bend the wire to a ninety degree angle, then trim of...
How To: Make a large scallop square card with Stampin' Up!
In order to make a scallop square card with Stampin' Up, you will need the following: a big shot, a large scallop square # 115950 Bigz Clear die, stamps, adhesive, design paper, mini glue dots, decorative ornaments, and card stock.

How To: Use a chain extender
Would you like a necklace longer or is your neck too big for a necklace you love? No problem, a chain extender will allow you to wear or lengthen any necklace.
How To: Add netting to flower pin
In this video, we learn how to add netting a flower pin. Once you have already out your flower together, put a pin in the back so you can clip it to your clothing. Now, purchase netting from a craft store and cut out a small rectangle. Now, fold this piece up in half and then in half once more. Now, make a triangle at the bottom and open up the flower. Find a place to put the netting in, then apply hot glue inside and use a craft pencil to push the netting into the glue. Do this a couple more...
How To: Make a hematite bead ring
Make a hematite bead ring
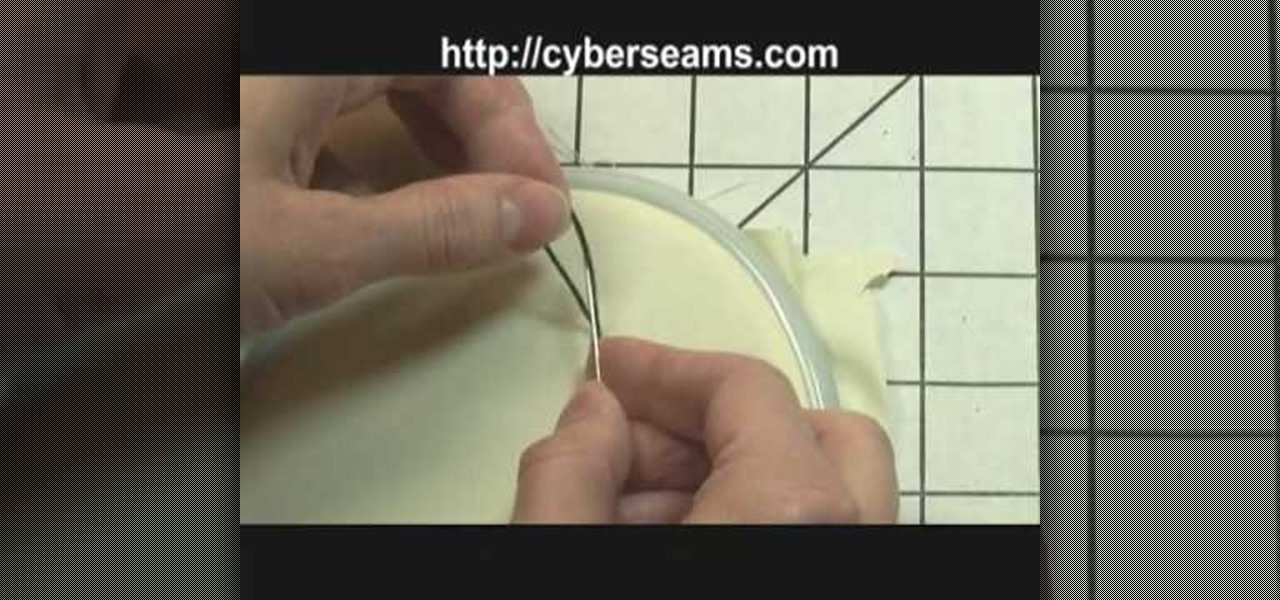
How To: Tie off when sewing by hand
In this video, we learn how to tie off when sewing by hand. First you want to sew your fabric and complete your desired project. Next, you will push the needle into the bottom of the fabric where you won't be able to see the tie off from the front. Now, loop the thread and push the needle with thread through it, before you finish, push the needle through one more loop. Now, pull tightly until there is a tight knot at the bottom of the thread. Now, take your scissors and cut tightly next to th...

How To: Setting up your sewing machine
In this video, we learn how to set up your sewing machine. First, place the thread onto the top pin and pull it down. Then, wrap the thread around the bobbin pin and then push the pin onto the top next to the pin. Now, run the foot petal and keep threading until the spool is fully threaded. Next, place the spool in the bottom of the machine and place the lid back onto the bottom area. Now, thread the top thread down through the tension setting, through the hook, then into the needle. Now you ...
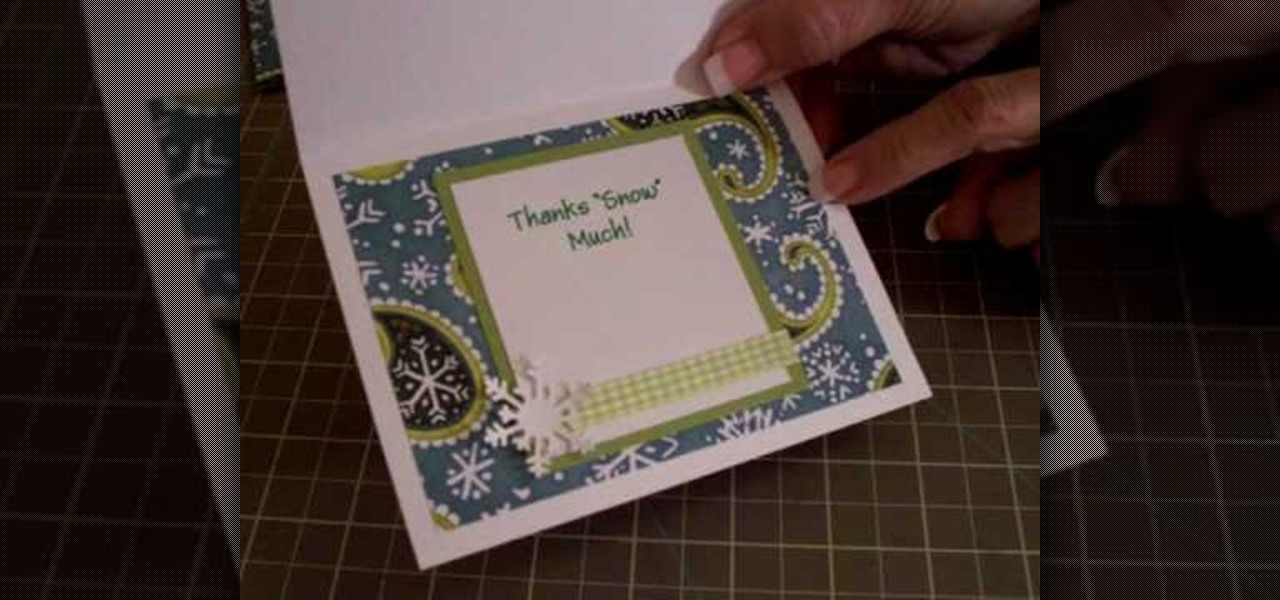
How To: Make a "thanks snow much" card using Cricut
In order to make a thank you card for Christmas gifts, you will need the following: Winter Woodland cartridge, glimmer misty, pop dots, adhesive, gingham ribbon, and pattern paper.
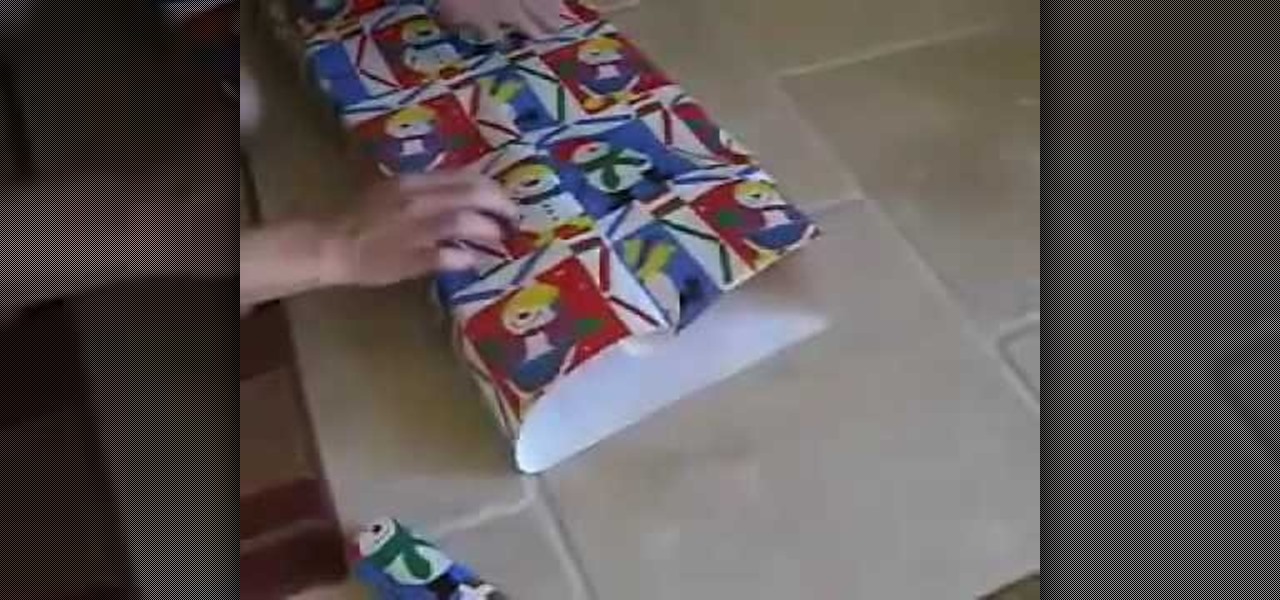
How To: Wrap a gift
In this video, we learn how to wrap a gift. You will need: scissors, your gift, tape, and wrapping paper. First, place your gift down on the rolled out wrapping paper upside down. Measure out the paper so you have enough, then cut the paper from the roll. Next, you will fold the edges of the paper down, then center the gift on the paper. Bring the sides of the wrapping paper into the middle, then tape it. If you have too much paper on the edges, cut it carefully with the scissors. Now, push d...
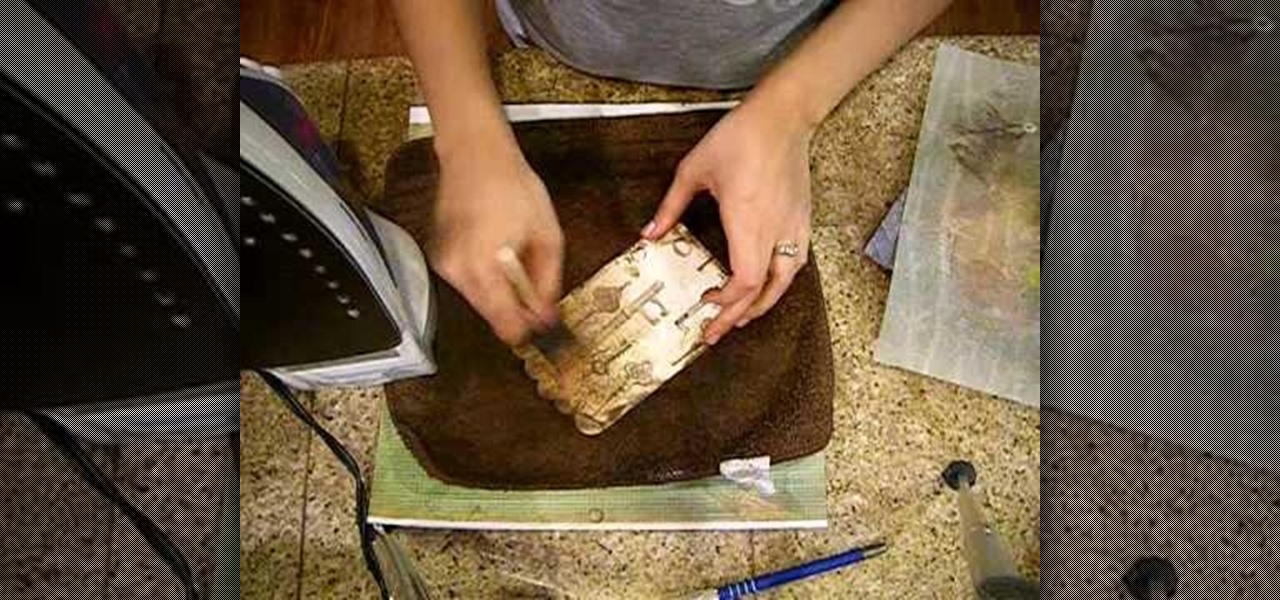
How To: Distress patterned paper
Crinkle top part and go over it with distress ink. Do edges front and back. Put extra ink on scallops. Spray with mustard seed and tattered jewels, olive vine and pine cone to add color. Place paper on pocket and iron on both sides. Spray with iridescent gold. Use brush to spread out. Iron again on both sides. This process makes it look aged. Take a film strip and spray with tattered leather. You want to use an iron when spraying grunge board with tattered jewels because it will make it seep ...
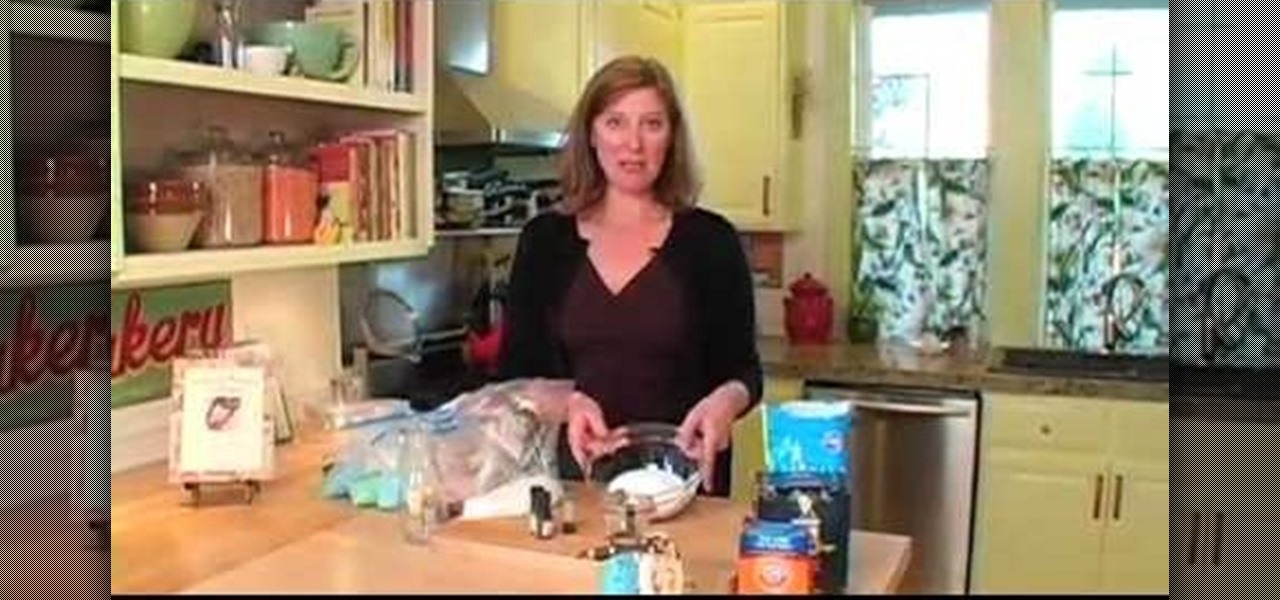
How To: Make colored bath salts at home
In this video, we learn how to make colored bath salts at home. First, gather some rock salt in your home and place it into a large mixing bowl. You can also use Epsom salt if you prefer. Next, grab some natural essential oils in any smells that you prefer. Add a few drops into your salt, then mix together. You can also place the salt into a plastic bag, then place in a few drops of food color and scent, then shake it until it's completely colored and scented. Pour this into a jar and layer t...

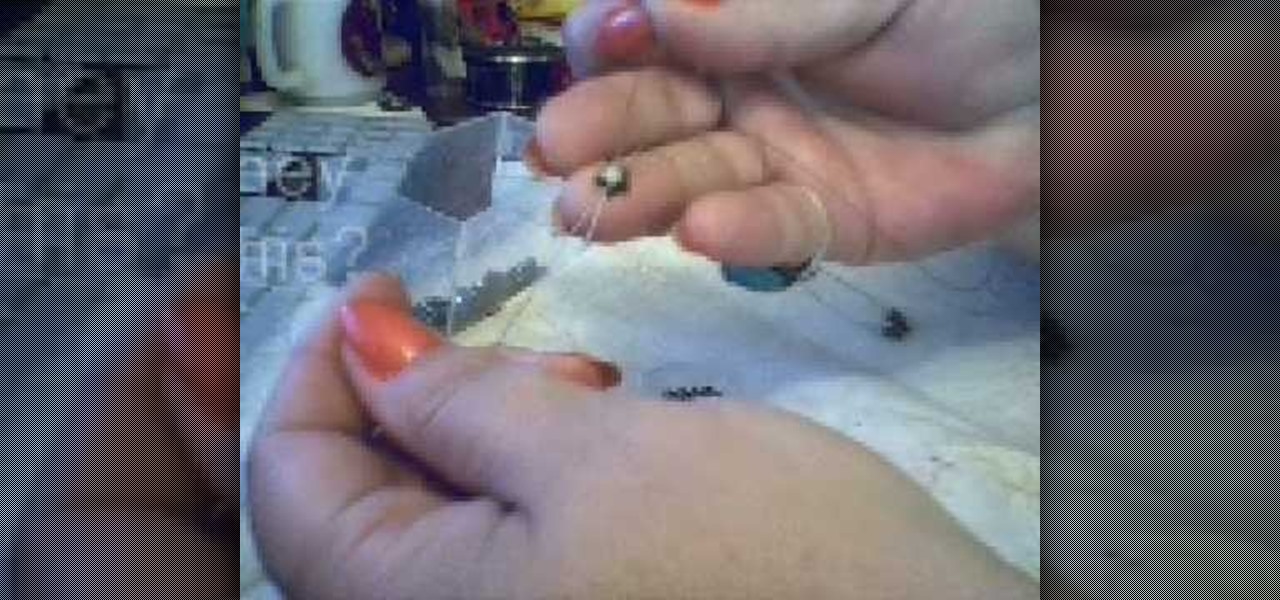
How To: Make a simple wire loop
Where making jewelry, there are a lot of times that you will have to make a simple wire loop. This is how to do it.

How To: Make photo magnets
In this video, we learn how to make photo magnets. First, clean your glass with vinegar, make sure it's small enough for the magnet. After this, cut your preferred image to fit in the glass, then apply adhesive to the image. Apply the glass with the texture side down, then push it around to work out all the bubbles. Clean the glass off with a damp towel before it dries. Next, apply Diamond Glaze to the back of the magnet and then allow it to dry completely. When finished, attach a magnet to t...
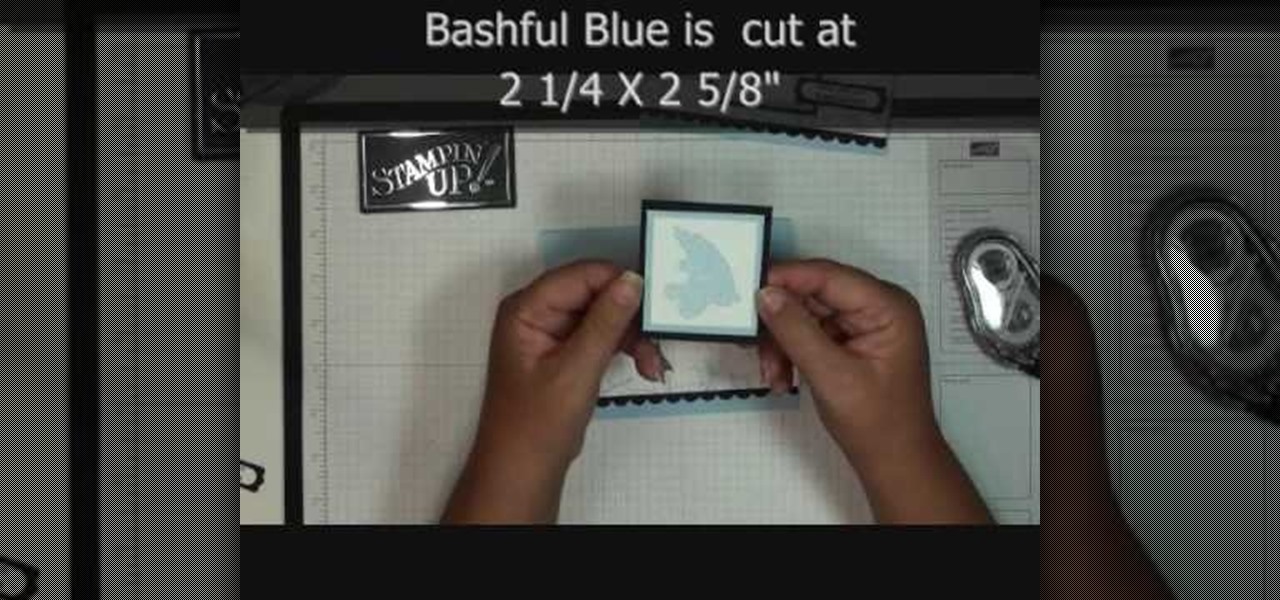
How To: Use the rolling marble technique in scrapbooking
This video tutorial is in the Arts & Crafts category where you will learn how to use the rolling marble technique in scrapbooking. Take a piece of 2" x 5 1/2" whisper white. Then take the stamp set container with three marbles in it and add 4 -5 drops of color from a bashful blue refill inside the container. Then shake the container till the marbles get coated with the ink. Put some dotto on the back side of the whisper white and stick it to the inside top of the container. Flip it over and r...
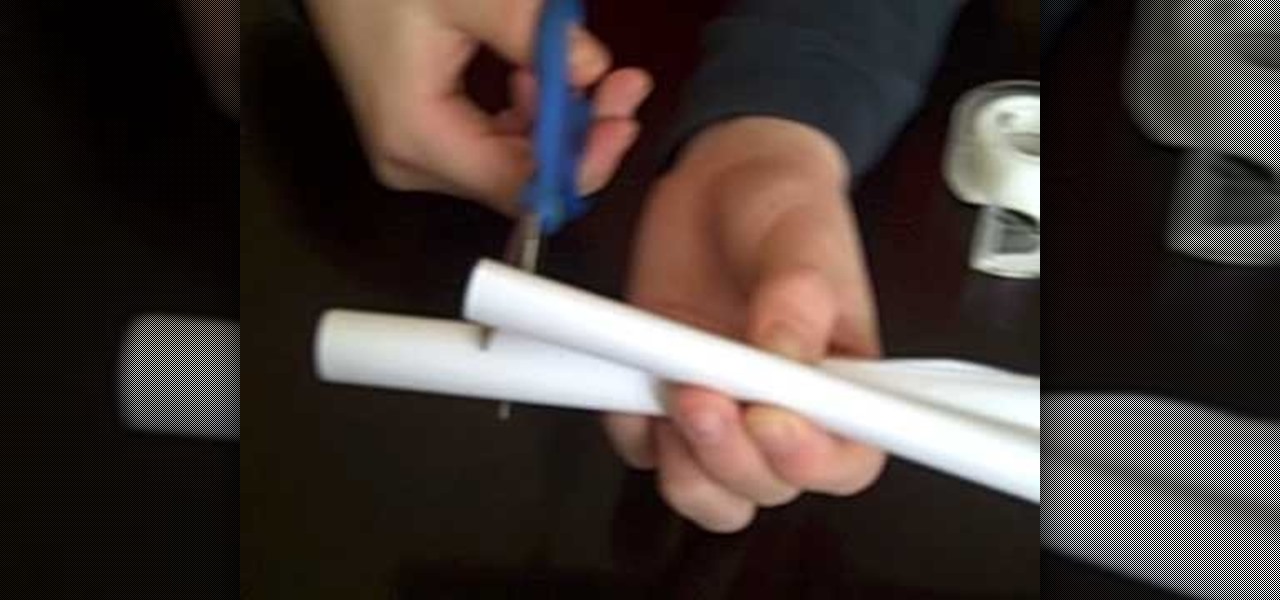
How To: Construct a paper bereta (paper gun)
If you have a little extra time and have a few sheets of paper and other school supplies, try to make something different. Like, maybe a paper bereta or paper gun.

How To: Sew a man's shirt
Stephany is going to take you through the process of sewing a mens shirt. She is going to use a pattern and talk to you first about choosing a pattern and knowing what the package means before you start. This is a very long video series, but sewing a shirt has many components to it, so be patient you'll finish the shirt eventually!
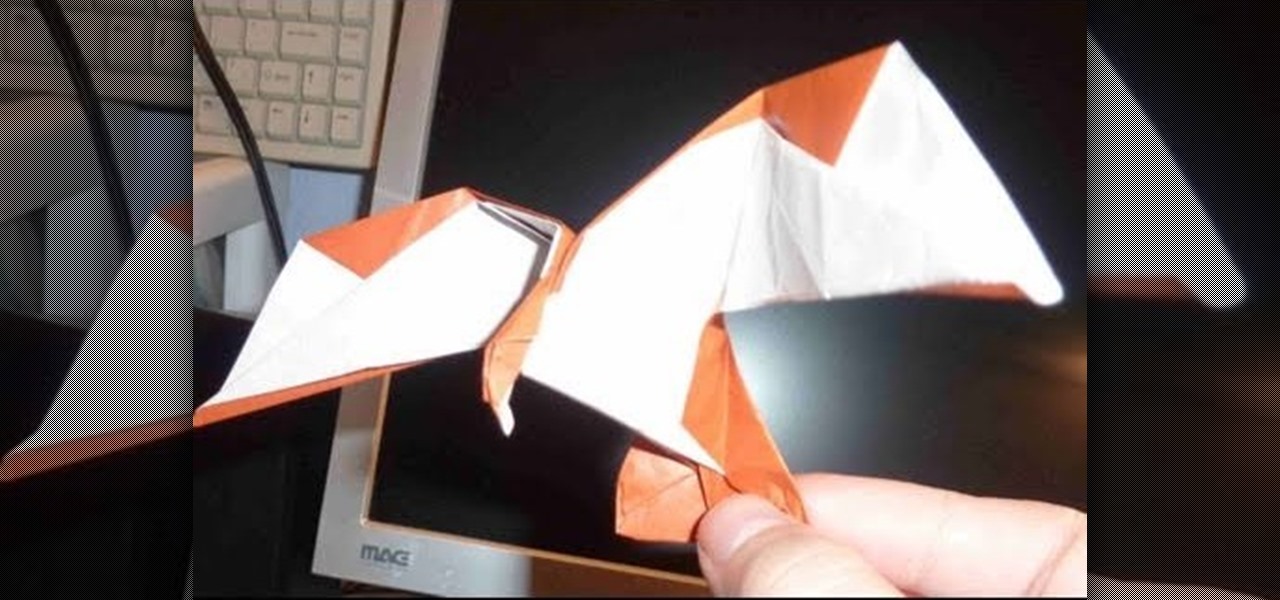
How To: Craft a ferocious origami eagle for intermediate origami students
Eagles are the most effective of the predator birds. With eyesight like nobody's business, a huge wingspan for excellent air foil control when flying and diving down for a yummy little mouse, and a strong, muscular body, it seems eagles were designed to, well, kill.
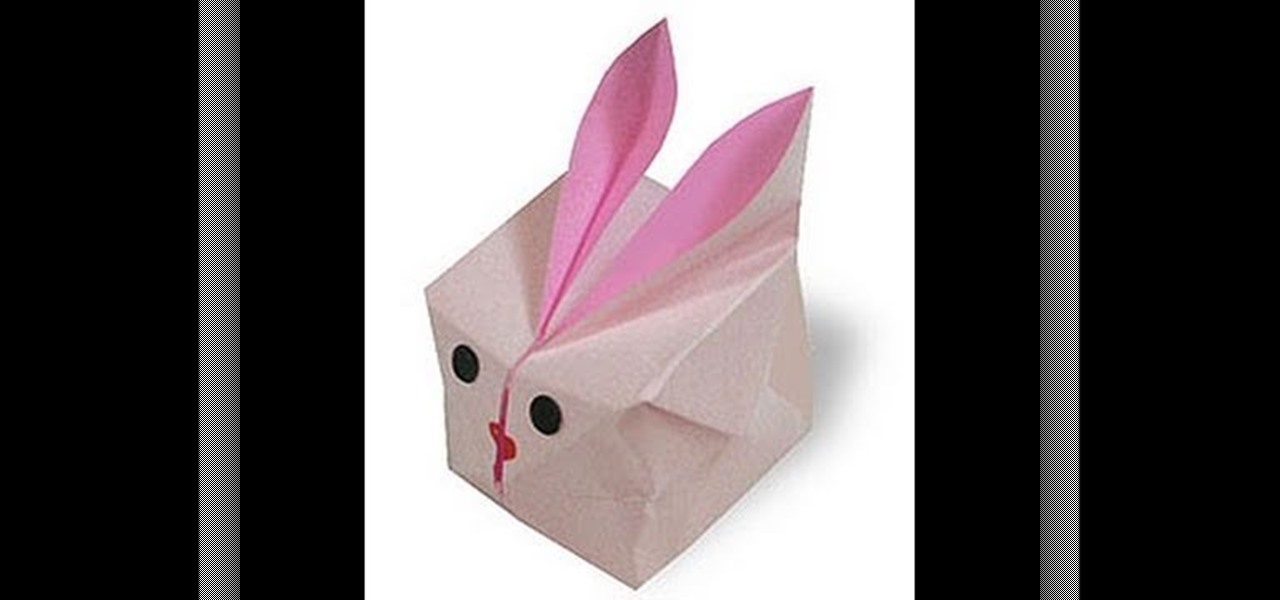
How To: Make an adorable inflatable origami bunny cube
Just when you thought bunnies couldn't get any more adorable comes this chubby wubby inflatable bunny cube. It's like the love child of a bunny and a square! Cute drawn-on beady eyes, a button nose, and perky pink ears that shoot up from its body only add to its sheer adorableness.

How To: Make doily-shaped crochet earrings for left handers
Well this is quite the alternative crochet project. You've probably already knitted a light, hole-y Afghan, and even a long, thick crochet scarf for the winter months, but we can bet you've never even thought of crocheting your own earrings.
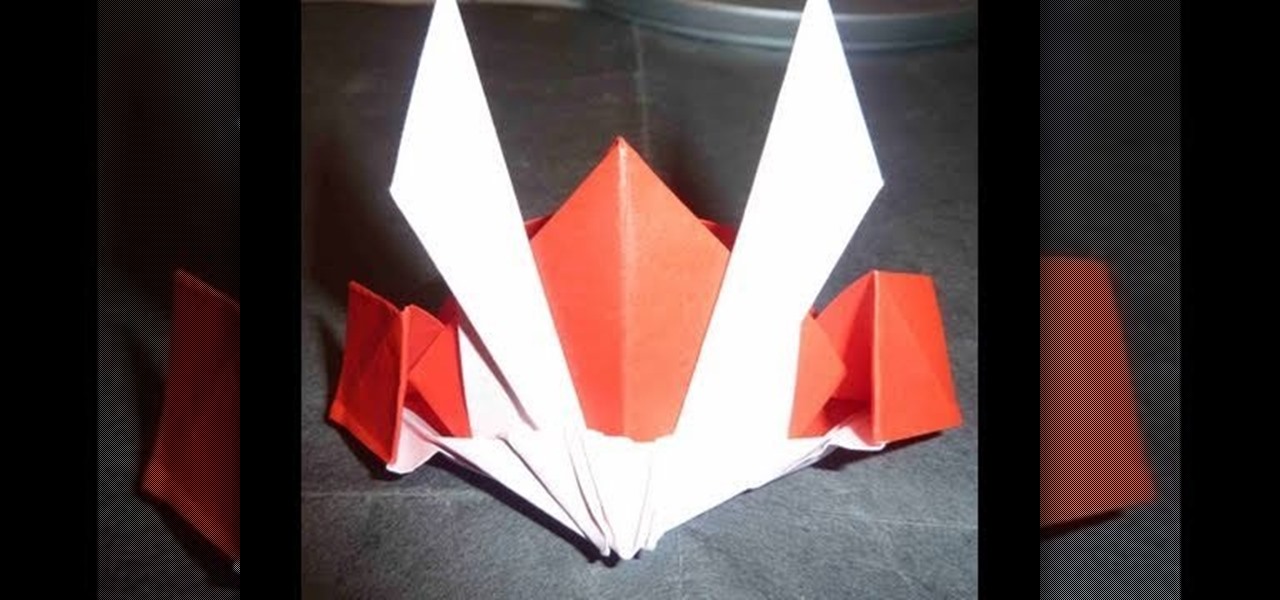
How To: Make a historical gundam (Japanese Shogun) origami hat
The Shoguns were ancient Japan's most brutal and elite warriors. As military dictators, they were said to maintain order and subdue barbarians. Shoguns were fierce in battle and, as bloodshed was a daily thing for them, equipped themselves with state-of-the-art armor and helmets.
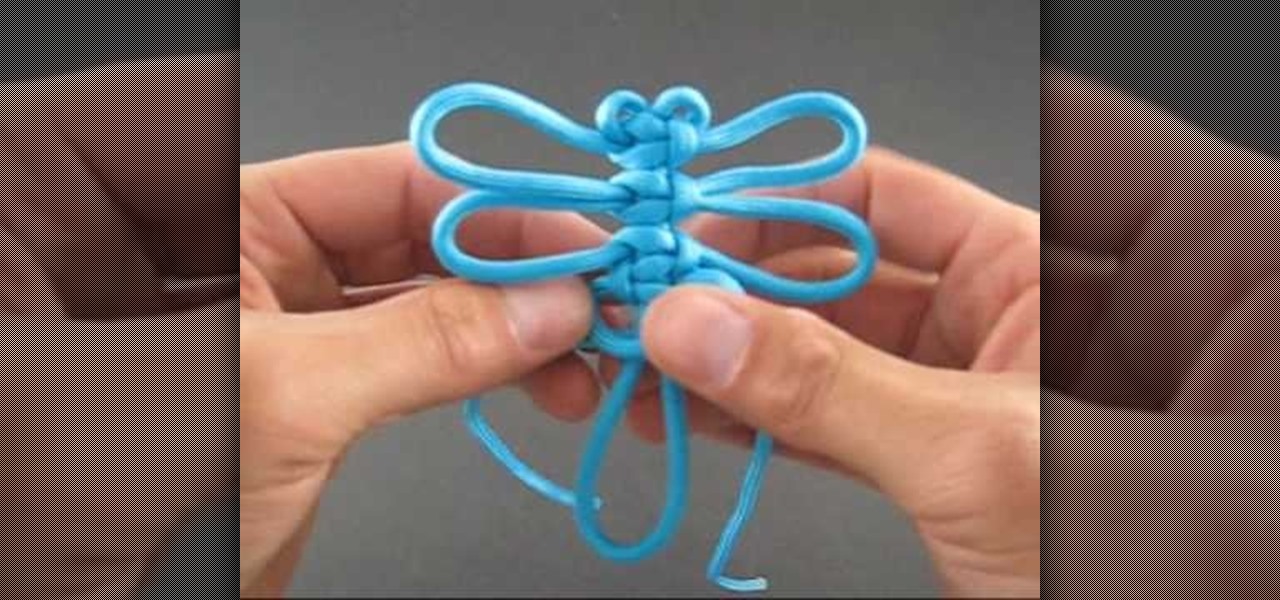
How To: Tie dragonfly knots easily
Tying knots can be fun and a great way to help pass the time. They can be used to decorate a variety of different things. For this video tutorial, you'll be finding out how to tie a dragonfly knot easily. It's a decorative Chinese knot and is one of the more popular ones searched for online. So check out the video above, pay attention, and enjoy!
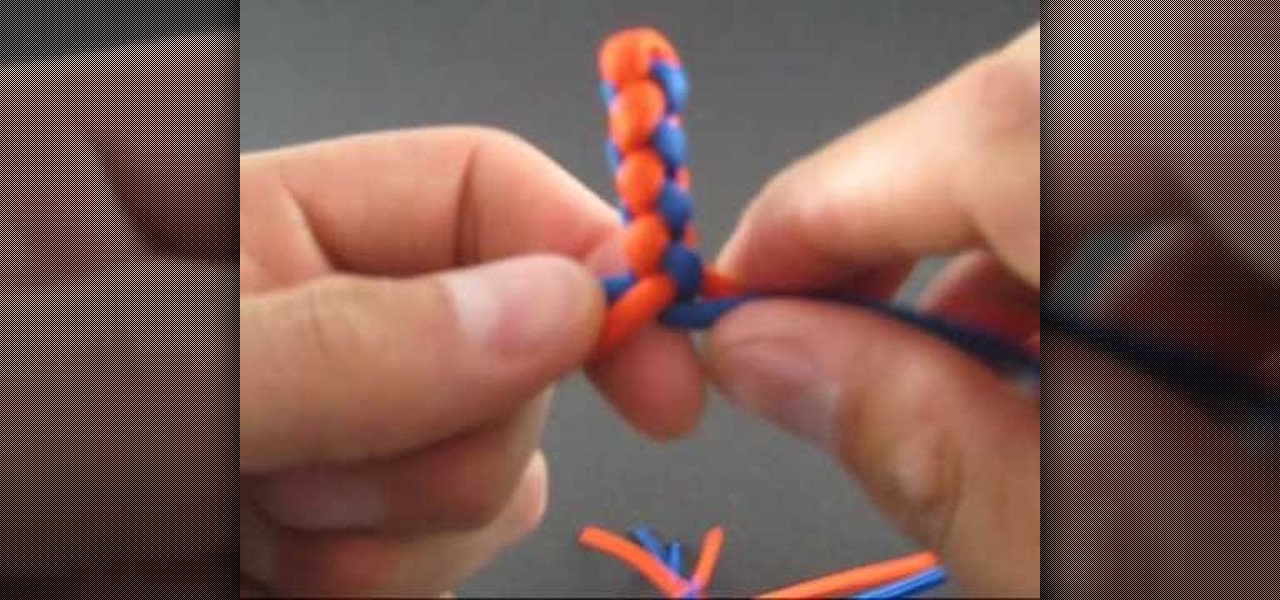
How To: Tie a four strand round braid easily
If you are interested in tying something cool just for fun, check out this next tutorial. In the video, you'll be finding out how to tie a four strand round braid easily. There are many tutorials on how to tie a four strand braid, but they can be very confusing and that's no fun.
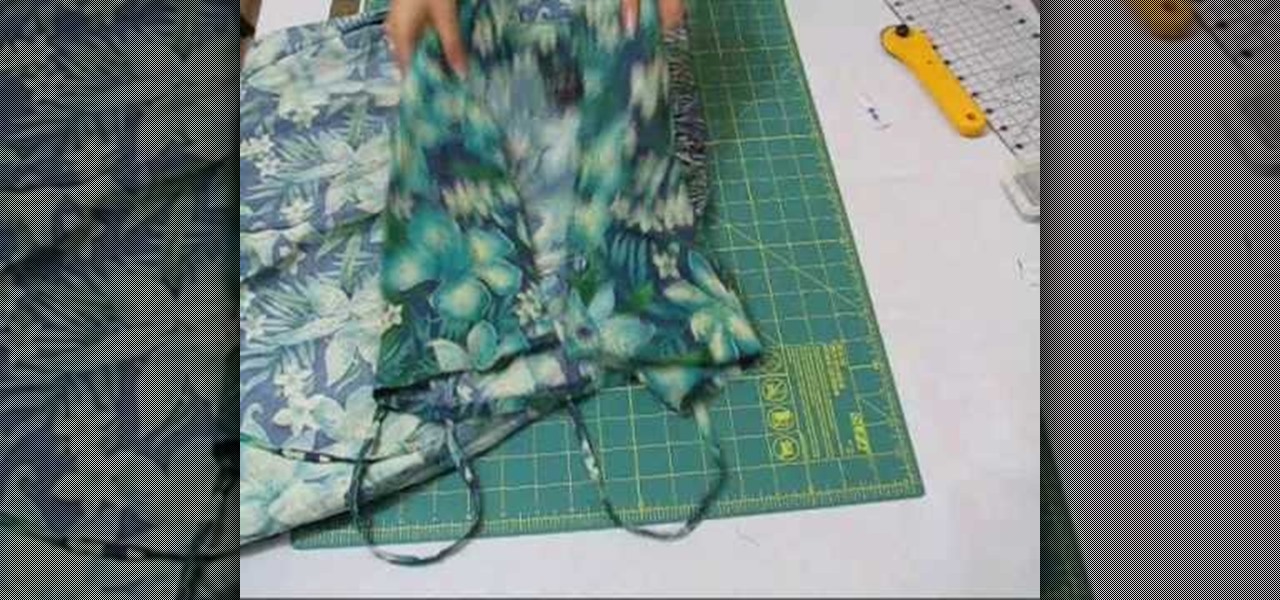
How To: Turn an old dress into a fashionable romper
Some dresses we just never get around to wearing. Like that hideous one our mom gave us with a decent tropical print but hemlines that go down to our ankles. Cute...if you live in the Pennsylvania Dutch Country. We're sure you probably have an ever accumulating stash of similar dresses that you know you'll never wear but don't want to toss either.
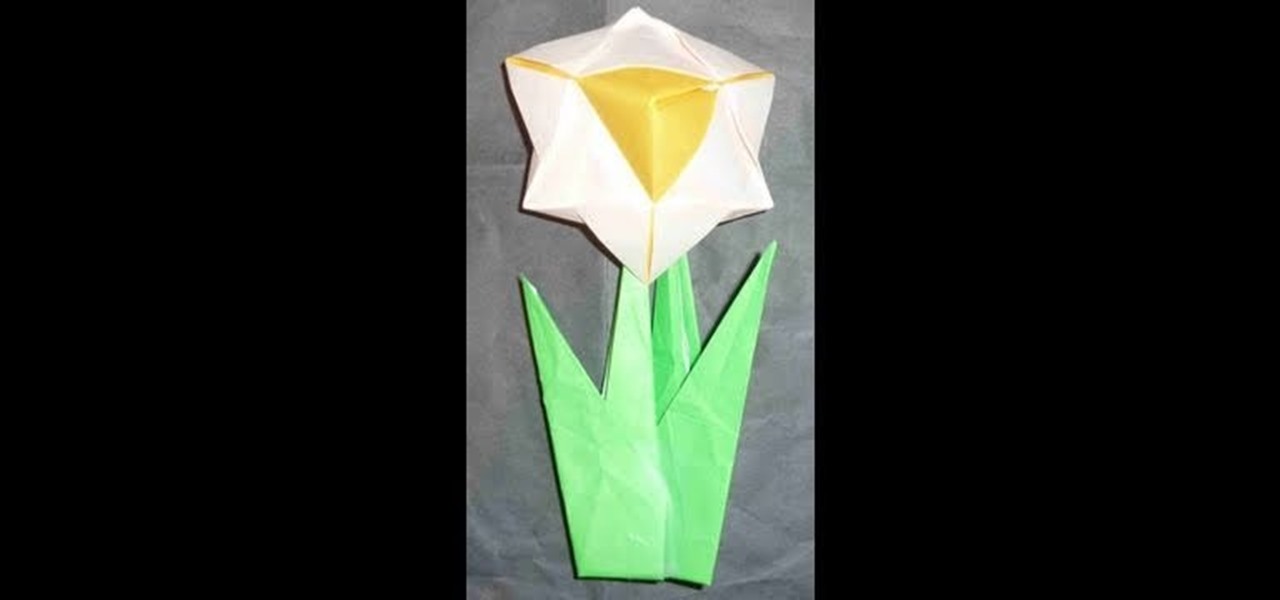
How To: Make a beautiful origami daffodil for intermediate origami students
Flowers actually have a great impact on mood. Some flowers make you happy, like bright white and yellow daisies, while others, like deep crimson roses, make you feel romanced and lovely dovey. So if you're ever feeling down for some reason, cheer yourself up by making this beautiful origami daffodil. With a sunny yellow stamen and bright white petals, this daffodil will certainly perk your day up.
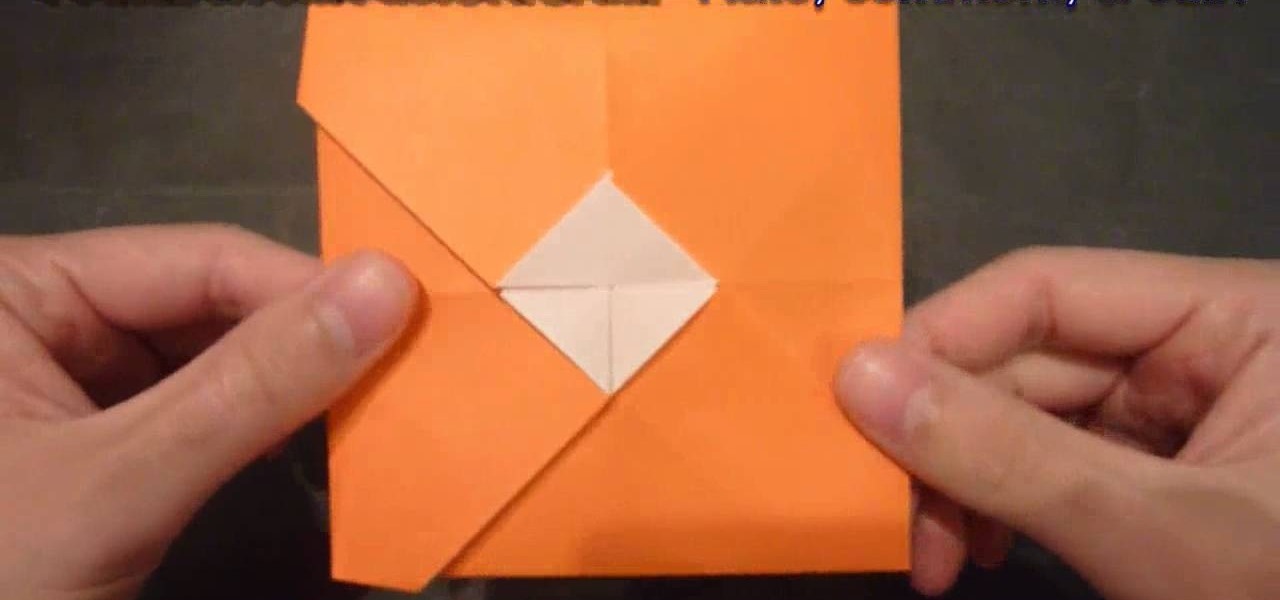
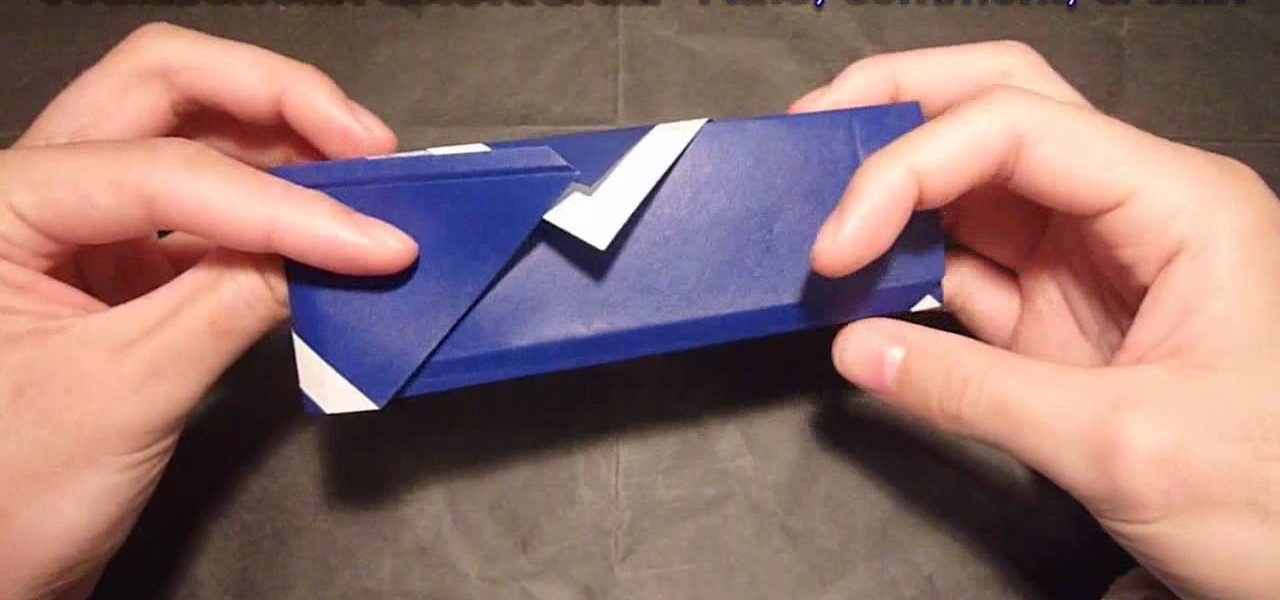
How To: Make a square origami envelope that opens in the center
Do you know why we hate those envelopes that come with any greeting card you buy at Hallmark, Papyrus, or a drugstore? They're SO boring. Always the same rectangular shape, always the same opening mechanism, with the only innovation for each envelope being the color, which does vary to match the card.
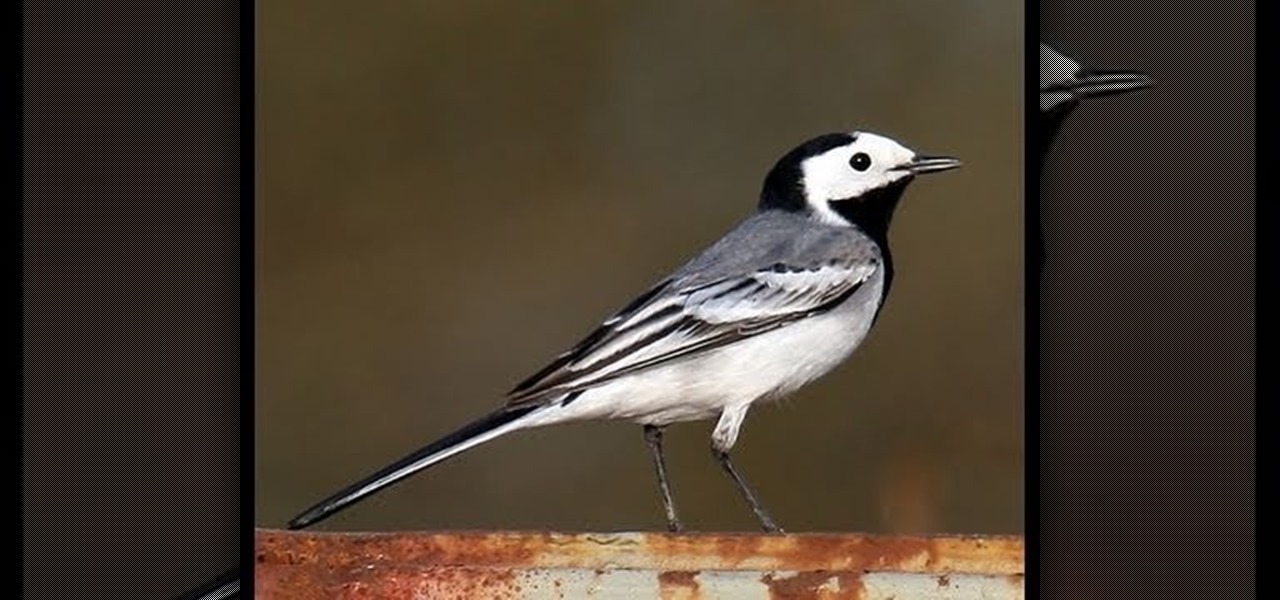
How To: Make an adorable 3D origami wagtail bird
So we're going to ask you one question that will change your origami folding life forever: Are you ready to move beyond cranes? So many people get stuck and attached to making origami cranes because they're easy, cute, and pretty.
How To: Make an extremely simple origami chopstick holder for beginners
Are you hosting an Asian-themed party soon and need an easy but impressive way to present your utensils (AKA chopsticks)? Then this is the perfect project for you.