

Active Arts & Crafts Posts


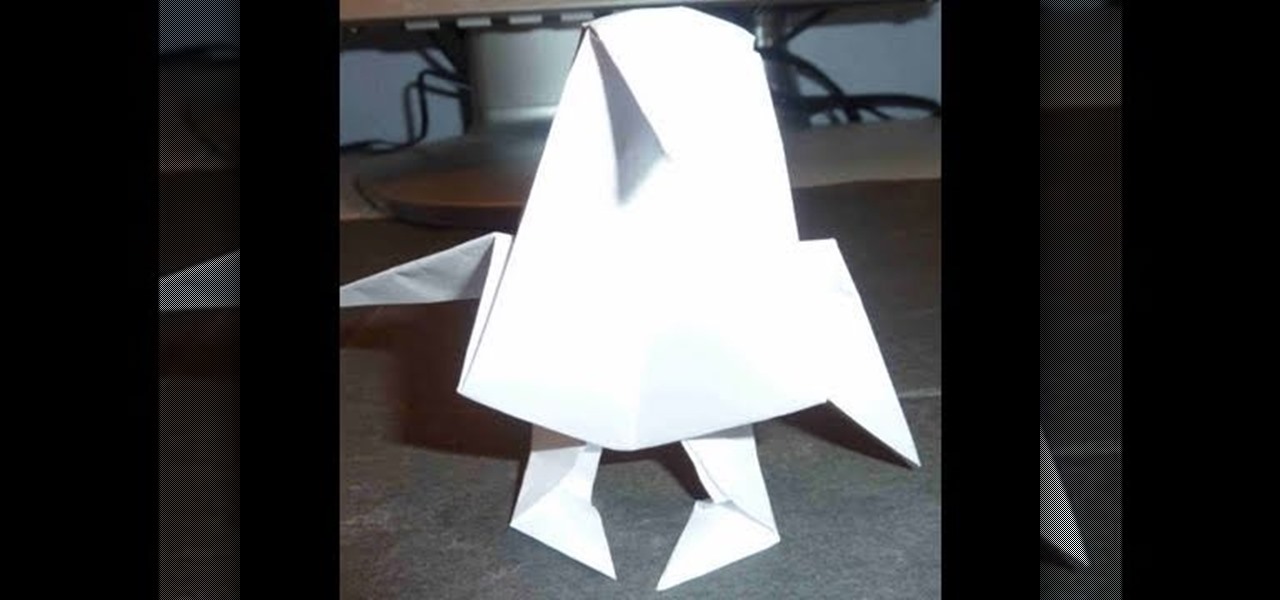
How To: Make a 3D origami alien/monster for beginners
Is it just us, or does this ferocious alien/monster strangely resemble a cute, chubby wubby penguin? Whatever you decide this animal is, all we want to do is tickle its copious belly. Maybe this project would look like the alien it's meant to be if you drew ferocious eyes on it?

How To: Make a 3D origami Samurai hat for beginners
Japanese samurai warriors weren't all ferocious. In fact, many warriors prepared for battle by taking long, luxurious baths in concoctions of steamed rose petals so that in combat, their enemies would be taken off guard by the delightful scent just long enough for the samurai to plunge a well-placed katana into his loins.
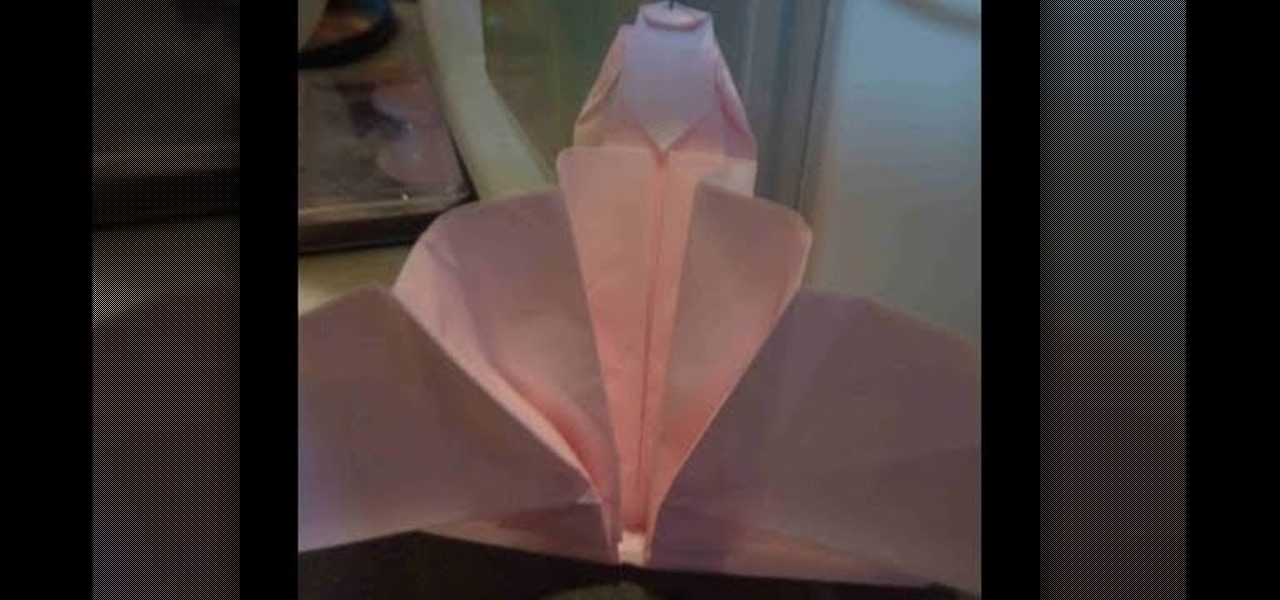
How To: Make an origami Japanese princess for beginners
What little girl doesn't want to be a princess? Sadly though, after we grow out of our Disney stage we soon realize that life isn't one big fairy tale - in fact, it's quite the opposite. But that means we long all the more for our dashing knight on his steed coming to rescue us from our tower and those jaw-dropping princess gowns.
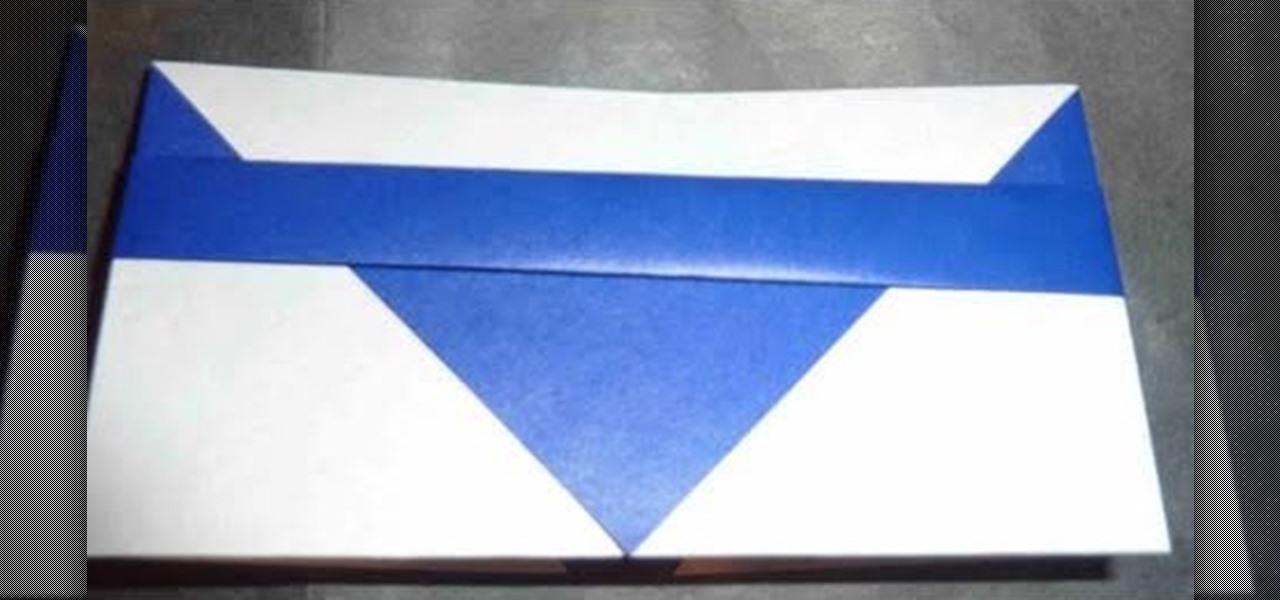
How To: Make a Japanese colorblock origami wallet for beginners
Yeah, you can probably find a countless number of videos on YouTube about how to make "origami wallets." But let's be honest here: Just how usable are these wallets? While you could probably stick a few dollars inside, we doubt you can put in any more safely.
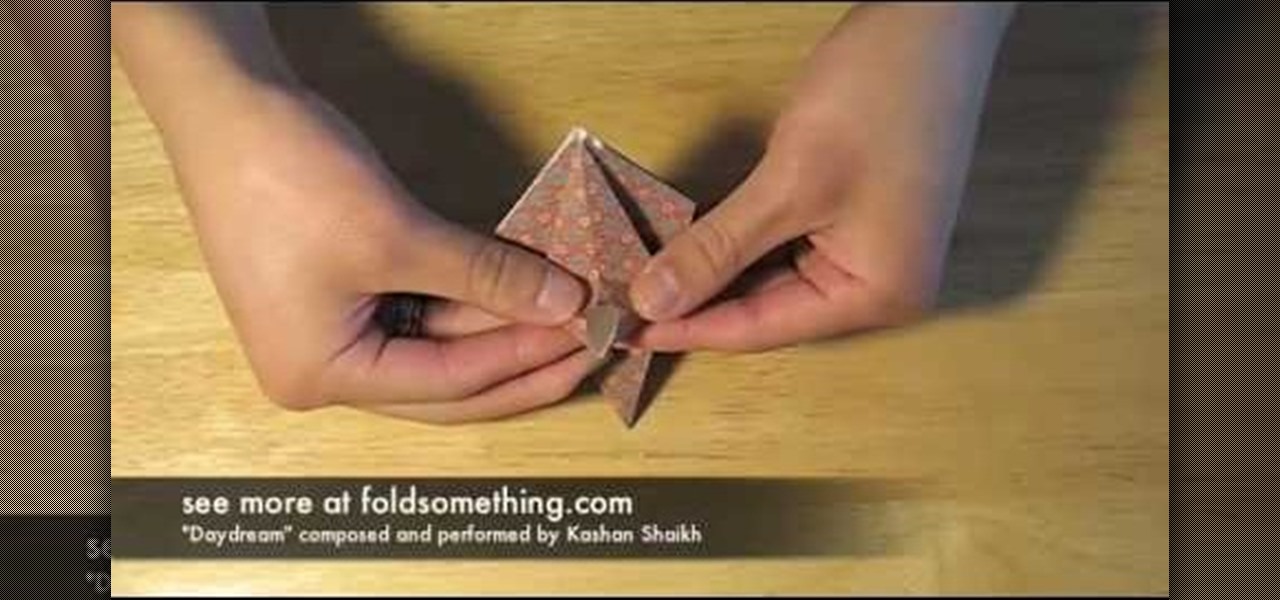
How To: Fold a lily flower with one sheet of origami paper
In this origami how-to, learn the art of folding a paper lily flower. This fold will start from the frog base, so if you already know how to fold the frog base, make one and skip ahead to the lily part. You'll need a sheet of origami paper and a pencil. If you use orange paper it could look like a tiger lily!
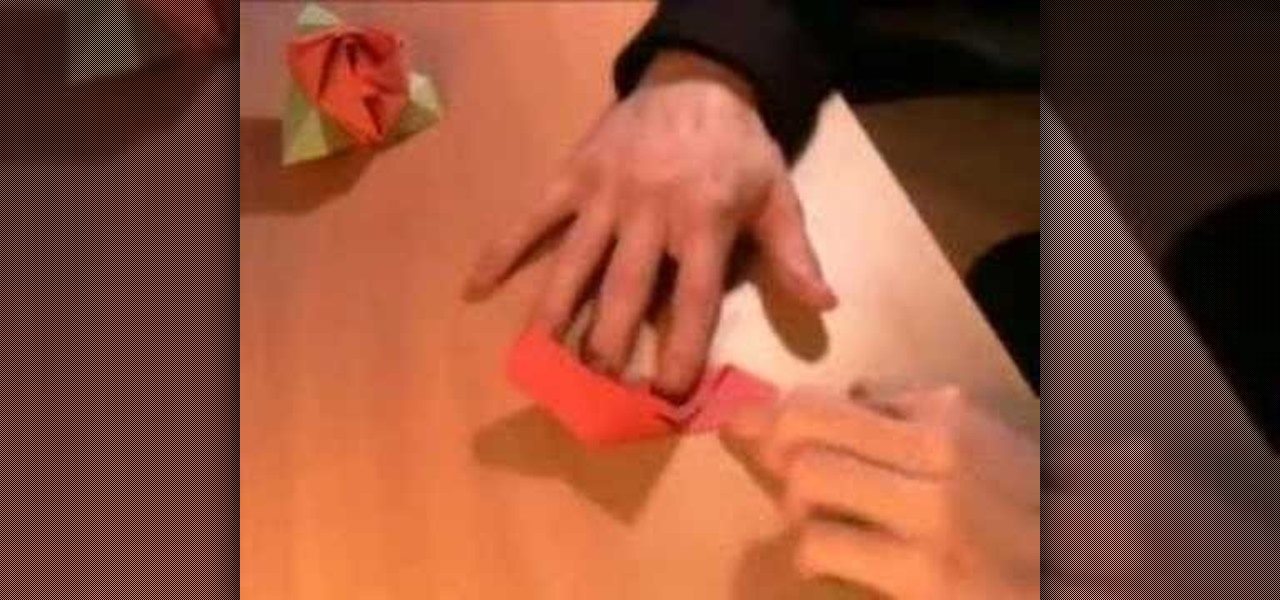
How To: Origami a magic rose box
This is a tutorial on how to make an origami rose that also becomes a box. Magic? Maybe. You will need three pieces of red paper and three pieces of green paper.

How To: Origami a recycle bin
This instructional origami video will show you how to fold an origami recycle bin out of recycled paper. You will need one piece of scrap paper complete this origami project. When you are finished folding this origami box, don't forget to recycle it.
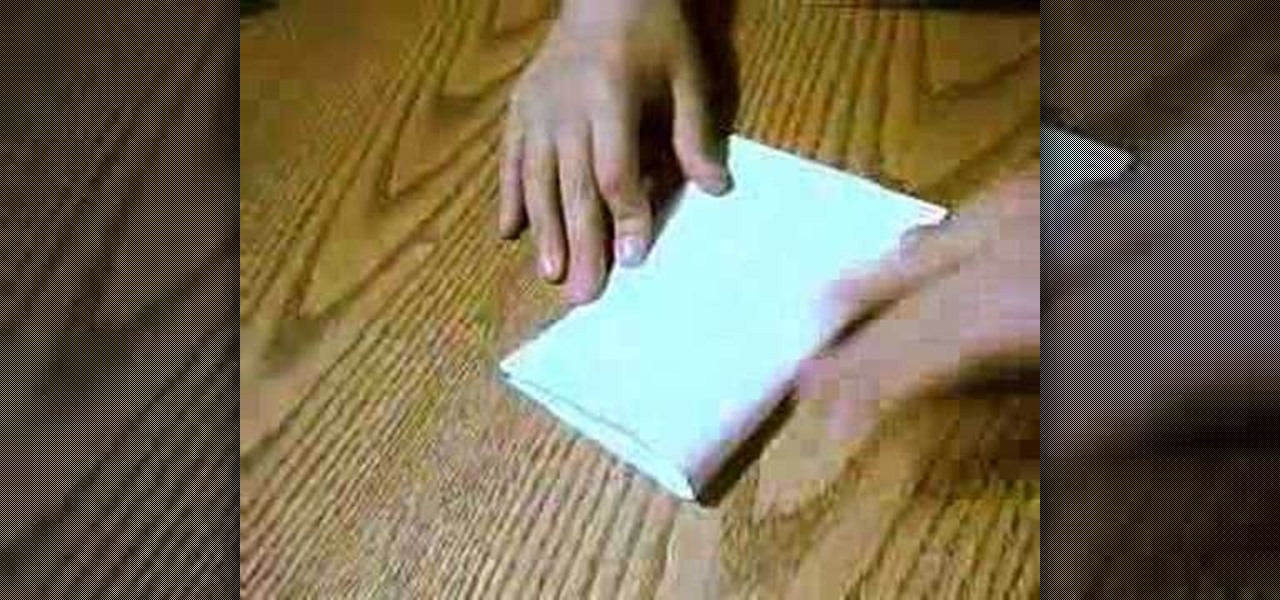
How To: Make a paper box using rectangular paper
It is very easy to make a paper box using rectangular paper and anyone could do it, just follow the steps below, Fold the paper in half hot dog style (the long way). If you are using square paper, it doesn't really matter which way you fold it. Unfold. Fold each side of the paper to the center crease. Unfold. The paper should be in quarters. Fold the paper in half hamburger style (the short way). Again, if you are using square paper, it doesn't really matter which way you fold it. Unfold. Fol...
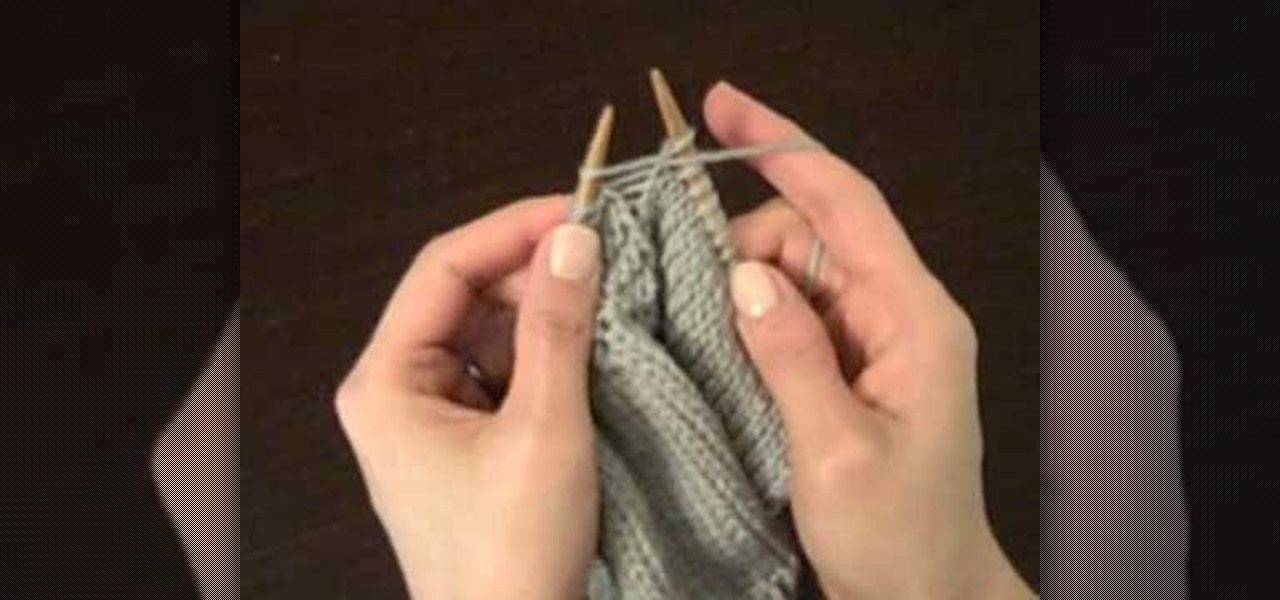
How To: Knit a hat on circular needles
In this video, we learn how to knit a hat on circular needles. First, use a stitch marker to mark the beginning of the round and make sure no stitches are twisted around. Now, join the two ends by knitting your stitch and using both of the loose ends at once. You will now start knitting and going around. You can make as many knits as you want and do any types you would like, making sure you go in the circular motion around the brim of your hat. You can style this as you prefer, then enjoy whe...
How To: Make a paper hat to wear on your head
In this video tutorial, viewers learn how to fold a paper hat. This task is very easy, fast and simple to do. Begin by folding the paper horizontally in half. Then fold it vertically in half. Now open the fold and fold down the top corners to the center to form a triangle top point. Then fold the bottom flap over the edge of the triangle point. Do the same on the other side. Now open the bottom to shape the hat. This video will benefit those viewers who are interested in making origami, and w...
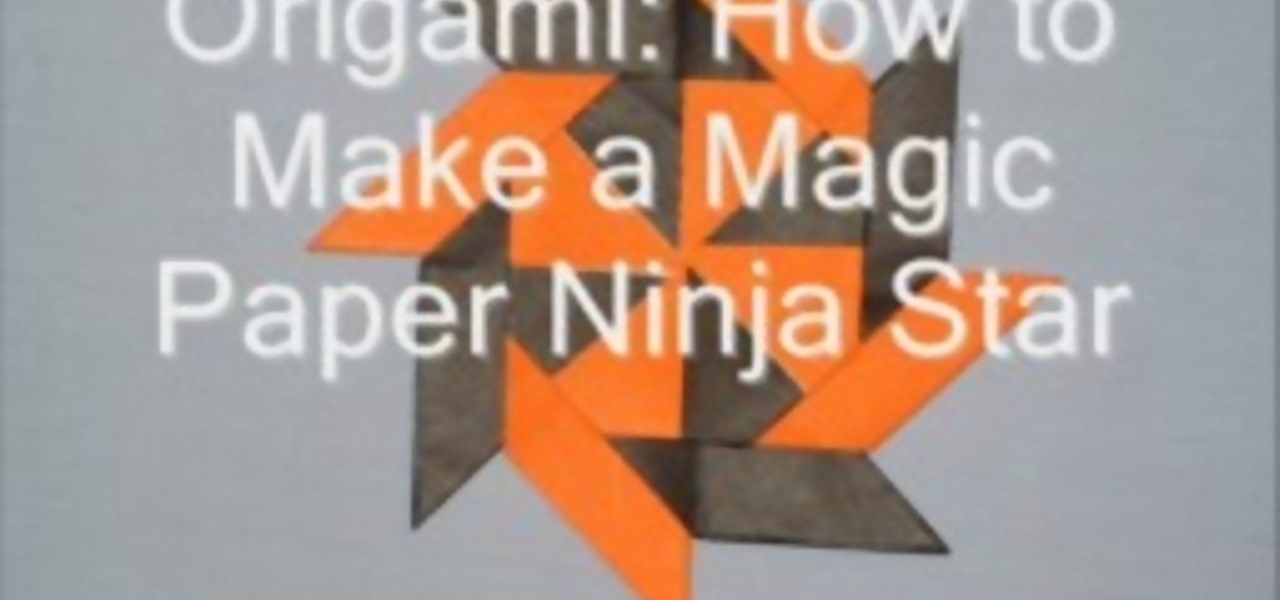
How To: Make a magic paper ninja star
This video tutorial is in the Arts & Crafts category where you will learn how to make a magic paper ninja star. For this you will need 8 sheets of square paper, all of the same size. Fold one sheet in half, open it up and fold both corners of one edge inwards along the centerline. Now fold the whole sheet in half inwards. Then fold the lower part in a triangular pattern, make a crease and open up the sheet. Fold the lower part inwards from the center and collapse the sheet over the fold. Do t...
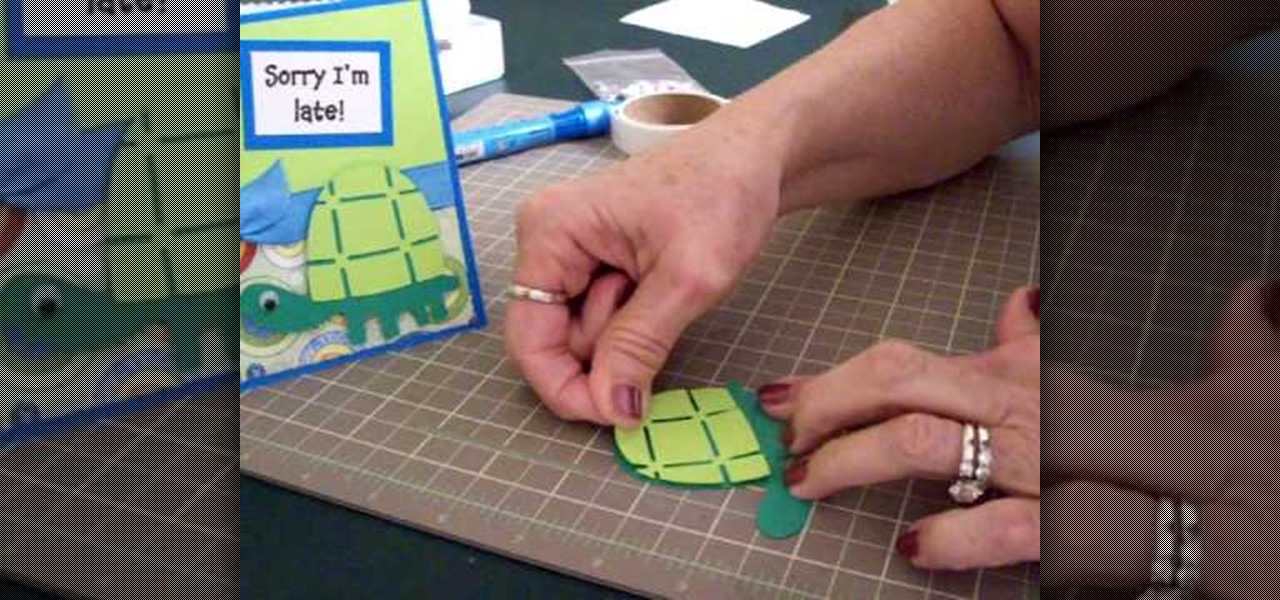
How To: Make a Cricut belated birthday card
In this tutorial, we learn how to make a Cricut belated birthday card. First, cut the turtle out using the Walk in my Garden cartridge. After you cut this out, add in details to the shell using different colors. After you put the turtle together, place it on a blue card stock that has a pattern over the bottom of it. Next, place a ribbon around the middle of the card. On the top, place a message in a framed piece of card stock that says "Sorry I'm Late!". After you make this, fill out the car...
How To: Make a flower hair accessory from shopping bag tissue
In this video, we learn how to make a flower hair accessory from shopping bag tissue. First, grab your tissue from any shopping bag and fold it down until you have a rectangle, then cut on the sides to make several different rectangle shapes. Next, start to accordion these together until you reach the end of the papers. After this, grab the middle of the tissue paper and tie a rubber band around it. Next, start to push up the tissue from both sides until you reach the bottom. After this, you ...
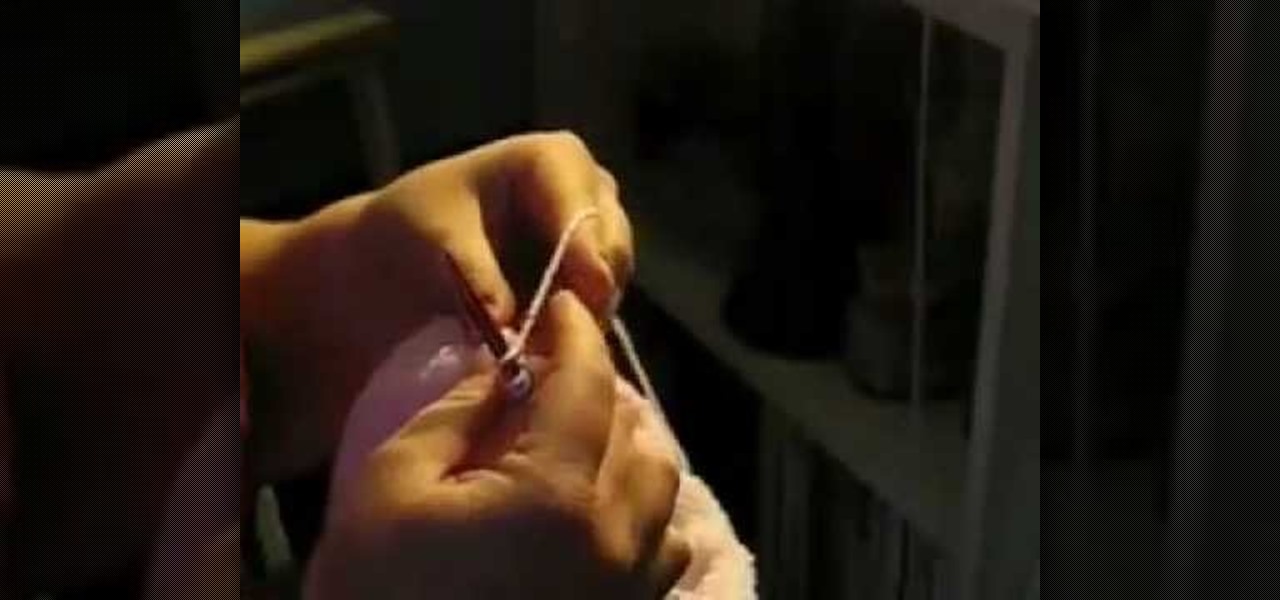
How To: Make cloth flowers
In this tutorial, we learn how to make cloth flowers. Start out by grabbing several different strips of fabric and folding it into a shape that makes a flower. After you do this, place a needle into the fabric so it doesn't come unraveled. After this, start to twist the fabric and then thread the needle through the strip. Now, pull the fabric up and it will scrunch up into a flower shape. Now, wrap this around a stick with a piece of fabric on it, that will become the middle of the flower. Wh...

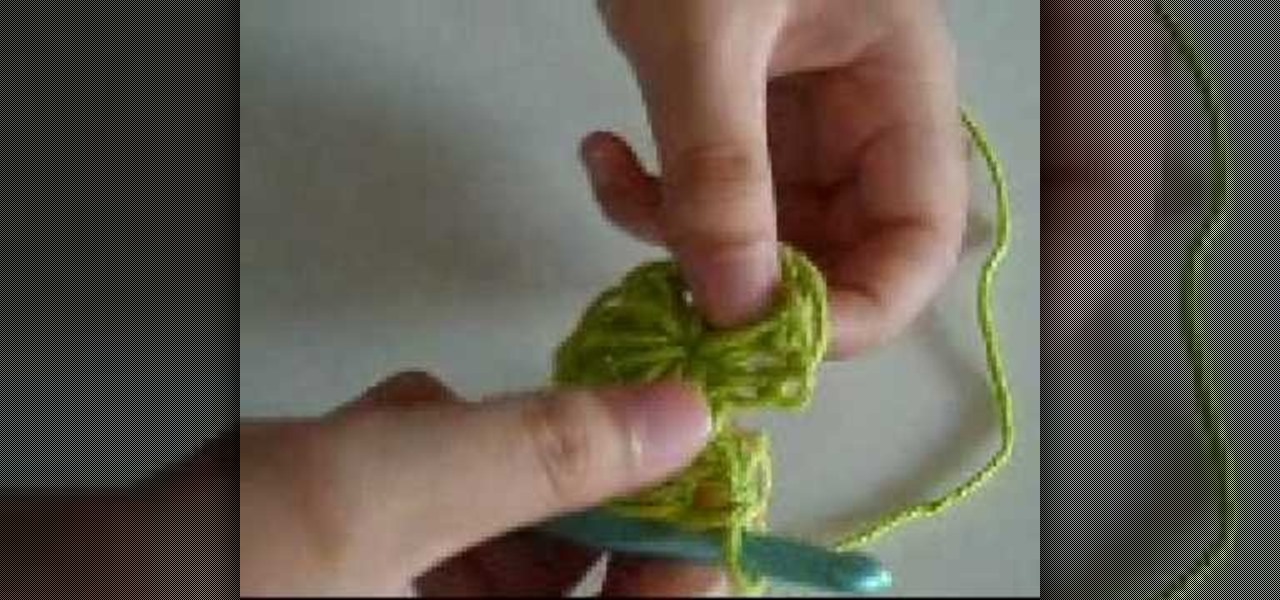
How To: Crochet a beanie hat
In this tutorial, we learn how to crochet a beanie hat. First, you must place the yarn around your fingers, then thread through the needle with a slip knot. After you do this, grab the yarn and move the string through the slip knot to make a chain stitch. The next type of stitch you will do is a seam stitch, where you will find a hole and grab the string, then bring the needle through so you have two loops around the needle, then bring it back through the hole. You will continue to do these s...
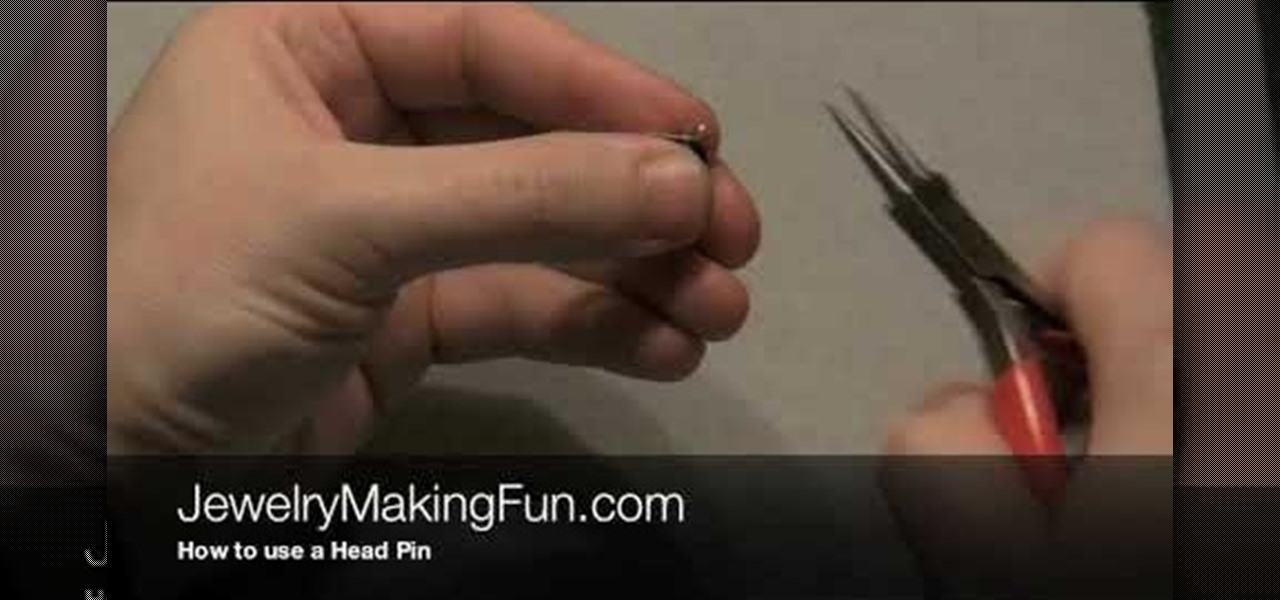
How To: Use a head pin while making earrings
In this video, we learn how to use a head pin while making earrings. Start off by grabbing a 1" long headpin and feed a bead through it until it reaches the other end of the pin. Now, decide how you want to close the loop. The first way to close it is to make a single loop by using pliers and making a 45 degree bend. Cut off any excess wire with wire cutters. The next way to do this is to wind the excess wire around the base until it comes to the bottom of the bead. This is visually appealing...

How To: Make an easy art journal
In this video, we learn how to make an easy art journal. You will need: card stock or thick paper (10 pcs), fabric, scissors, ruler, clips, string, and a button. First, fold your paper in half and push down the crease so the paper stays folded. Now, lay your fabric down onto a flat surface and measure it out so it fits over the paper while laid flat. Now, place marks an inch into the side of the crease of the paper. Now, line the edge of the fabric up with your paper and mark on the fabric wh...

How To: Make a mouse hat with construction paper
In this video, we learn how to make a mouse hat with construction paper. You will need: 2 small pompoms, 1 large pompom, poster board in blue, black, white, and yellow, lace, scissors, and glue to make this. First, cut the blue piece of construction paper on once side, then twist into a cone shape and tape it together. After this, take the rest of the blue paper and cut it into half circle shapes for the ears. Now, take the yellow paper and cut it into a smaller half circle and place inside t...

How To: Flatten a bottle cap in the Cuttlebug
In this video, we learn how to flatten a bottle cap in the Cuttlebug with Sara Sandberg. Before you do this, make sure you purchase bottle caps from a store, the ones from your home beer will not work with the Cuttlebug. Place your thick white A mat in the Cuttlebug, then place the bottle caps flat side down on top. Next, place a dye on top with the metal side down. After this, crank the lever and pull the papers through the machine. When you remove the top, your bottle caps will have flatten...
How To: Use Fiskars Decorative Edge scrapbook layout
In this tutorial, we learn how to use Fiskars Decorative Edge scrapbook layout. First, you will need to pick out the templates, pictures, and paper that you want to use for this project. Now, place the stencil over the card stock and cut out the stencil shapes you want, stars work best if you are doing a fun child theme. Now, apply these to your base card stock, and arrange a frame over the background. Now, apply the picture to the page and add on the stencils you just cut out. Add in quotes ...

How To: Make a stylish Halloween bag tag
In this tutorial, we learn how to make a stylish Halloween bag tag. You will need: ink blending tool in black soot color, black paint, orange paint, white card stock, stencils, cutters, scissors, and glue. First, place your white card stock underneath the stencil, then cut out the shape of a house. After this, mark lines in opposite directions onto the shape. After this, you should have the shape of a spider web. Next, add the ink pain on the top to highlight the spider web and you will be ab...
How To: Make a Beretta paper gun properly
This is a two-part video tutorial on how to make a Beretta paper gun. It's not a replica Beretta, it's just similar to a Beretta, and it's a fun paper gun. You will need paper (of course), tape and scissors to make this paper handgun.
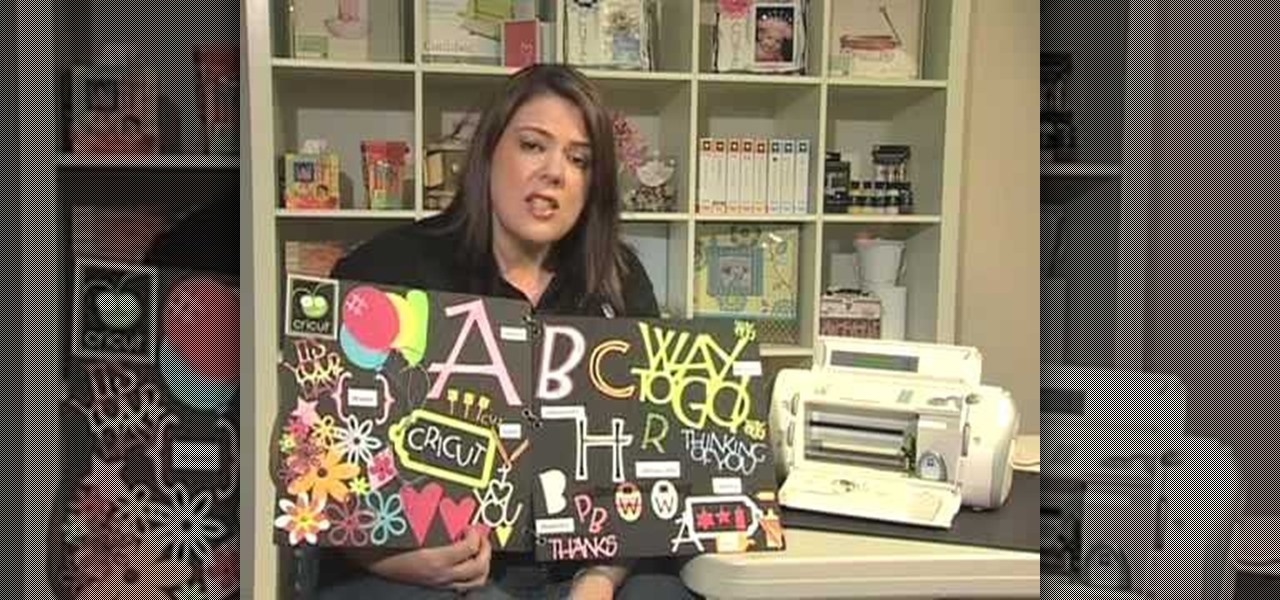
How To: Use the feature keys for your circuit machine
In this tutorial, we learn how to use the feature keys for your Cricut machine. There are six feature keys on every cartridge. The first is the shadow feature key that create a matte to highlight your letter. The shadow blackout key creates a solid matte that doesn't cut out the holes in between the letters. The charm feature key puts a charm top on the top of letters. The sign feature key puts letters inside of a small sign post, making it one inch from top to bottom. The slotted feature key...

How To: Tie a triskelion knot
In this video, we learn how to tie a triskelion knot. First, create the knots base by tying a knot at the end of the ropes. After this, weave the knot by pushing a side loop into the side loop next to the end pieces. Once you push these through the middle, push the ends through the loops and then pull the sides tight until you have a "y" shape. After this, your knot will be finished and you can use this however you would like. You can turn it around the see the best design on the rope and enjoy!
How To: Make a simple friendship bracelet
In this tutorial, we learn how to make a simple friendship bracelet. First choose three colors and then cut two strands of each 3 ft long. After this, tape the strings together at the end and tie a knot. After this, start to tie the strings, one underneath each other. Make sure after you do each color, you pull on the string tightly. As soon as you finish wit all the colors of the bracelet, continue to the bottom of the bracelet and tie it at the end. When you are ready to wear it, tie it aro...
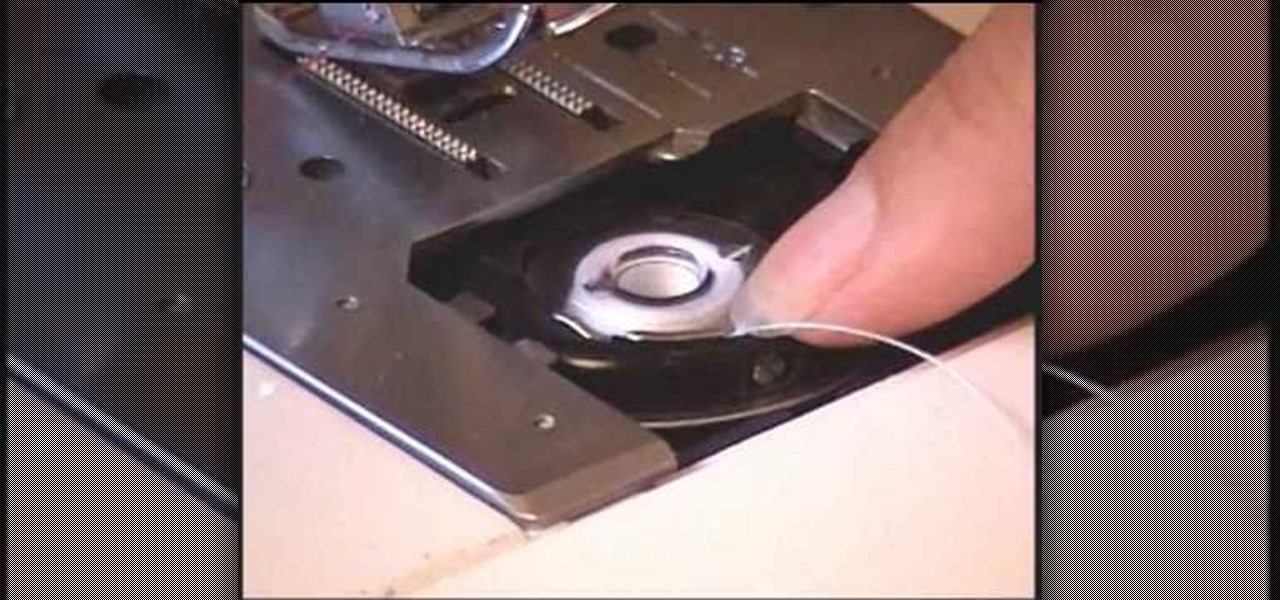
How To: Thread a horizontal sewing machine
In this tutorial, we learn how to thread a horizontal sewing machine. Start off by setting the spool on the top of the machine and placing a cap on the top to hold it on. Next, thread the string through the thread guide and then through the number one. After this, it will go down through the slit and end up at the bottom. It will go through the number two, then go up to the top and go through the number three turn. Once you reach the bottom of the machine, thread the needle, then put the bobb...

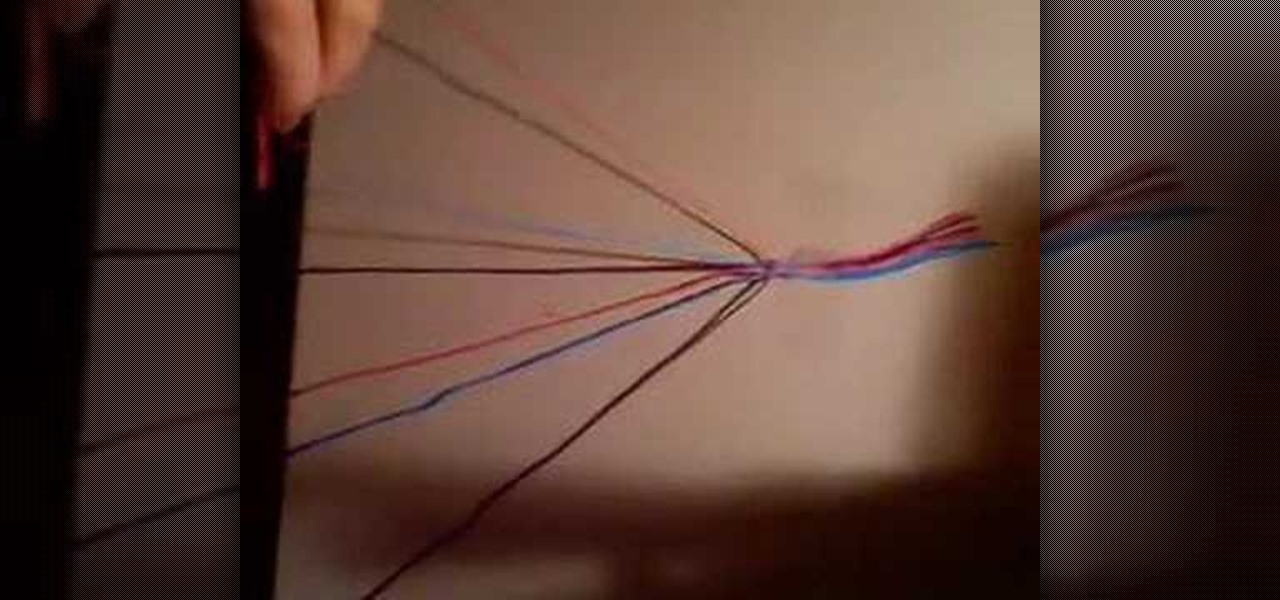
How To: Keep yarn from tangling when using many colors
In this tutorial, we learn how to keep yarn from tangling when using many colors. A great way to do this is to start the crochet then place your color aside. So even though the colors are crossing each other they are not tangling up. Make sure to keep rotating your project and pay attention to where your yarn strings are located at. This will keep all your things in order so you don't have to deal with large knots and messed up projects. Just make sure to set up properly and you will have a g...
How To: Make crayon resist watercolor background sheets
In this video, we learn how to make crayon resist watercolor background sheets. First, draw a pattern onto a piece of paper with crayons. You can make any kind of pattern that you want. After this, add some water color paint to the picture and use a credit card to push the paint around the picture. You will see that the crayon resists the paint and the paint sticks to the paper instead! Let this dry, then you will see that the crayon is still resisting the watercolor ink. After this, enjoy yo...
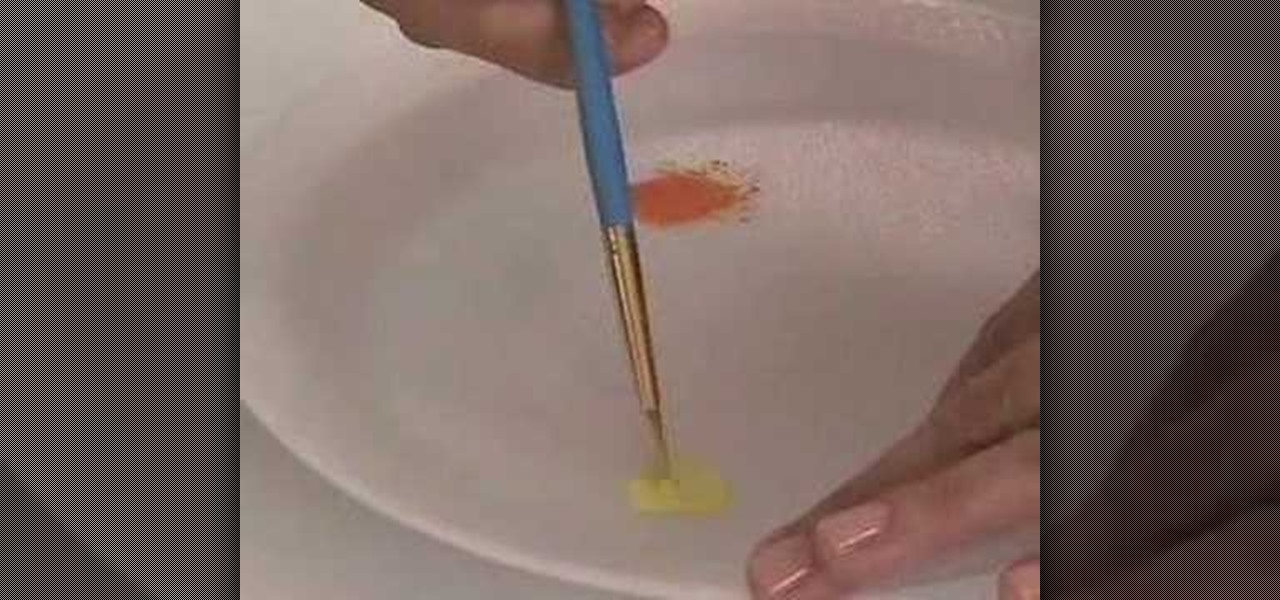
How To: Use the cross stitch 'n paint technique
In this Arts & Crafts video tutorial you will learn how to use the cross stitch 'n paint technique. It combines simple back stitching and water color painting. Most of the materials are found in your kitchen. You will need wax paper, paper towels, and a plate to use as your paint palette, some water colors and paint brushes. After choosing your design, back stitch the outline on the fabric. Place the white paper towel over the wax paper and spread the stitched fabric over it. Now you are read...

How To: Make a snowflake with beads
In this tutorial, we learn how to make a snowflake with beads. You will need: clear crystals, beads, and thread. First, string six beads onto the thread. After this, string a crystal next to the beads. Now, tie this and start to repeat the process on the left side of the beads. Continue to do this process until you have created a shape that looks like a snowflake. You can do as many or as few of these as you would like. This creates a beautiful necklace, or you can use it as a bracelet if you...

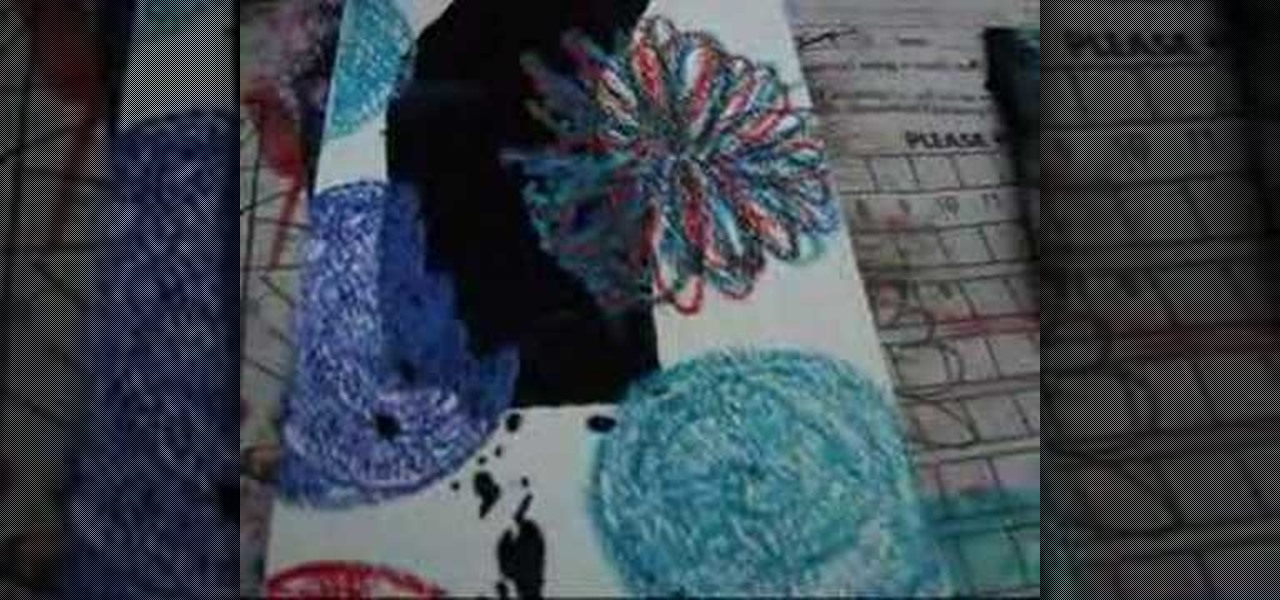
How To: Make looming easier
In this video, we learn how to make looming easier. First, you will want to use a table loomer to help make this much more simple. Start to thread the different colors or one color through the loomer and then grab a plate when you are done. use the side of the plate to run it through the middle of the string. When you are finished, this will help push the thread down into the looming machine and you won't have to do it manually with your hands. When you are finished, you can take out the loom...
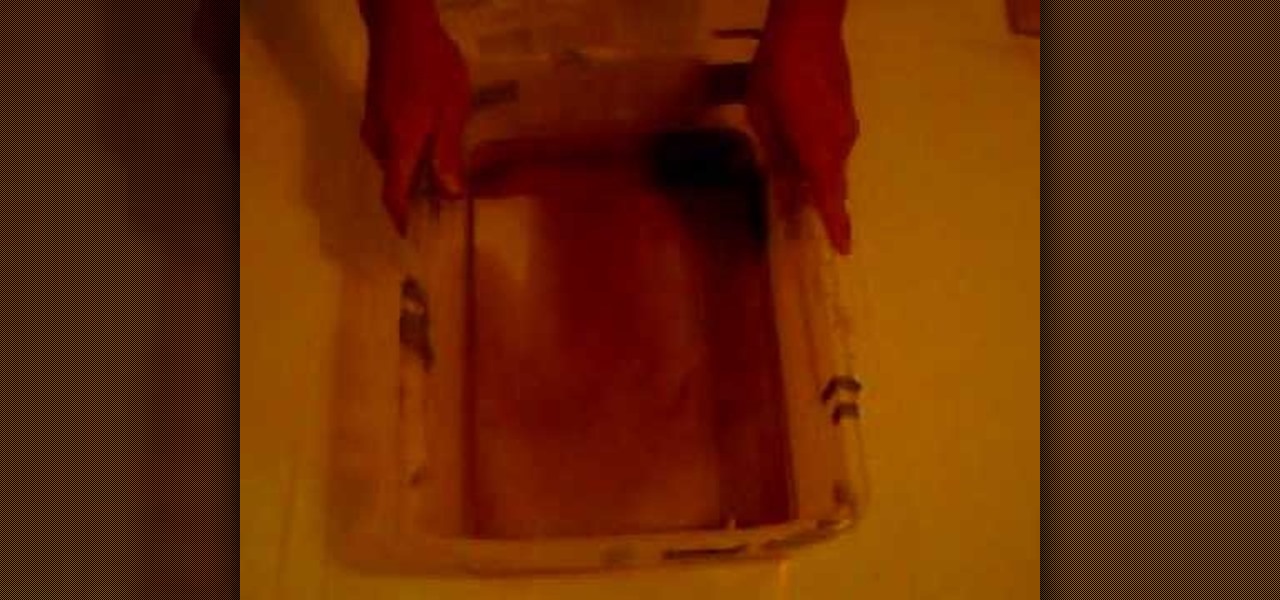
How To: Make paper look old with tea
In this video, we learn how to make paper look old with tea. First, make tea in a plastic container by placing warm water in it and leaving a couple tea bags in. Next, take a normal piece of copy paper and submerge it in the water. Get all the air pockets out so it is completely soaked into the water. Next, press down on all the areas of the paper and leave there for several minutes, or until you have your desired color. When this is done, lay the paper out to dry. When it's done drying, the ...
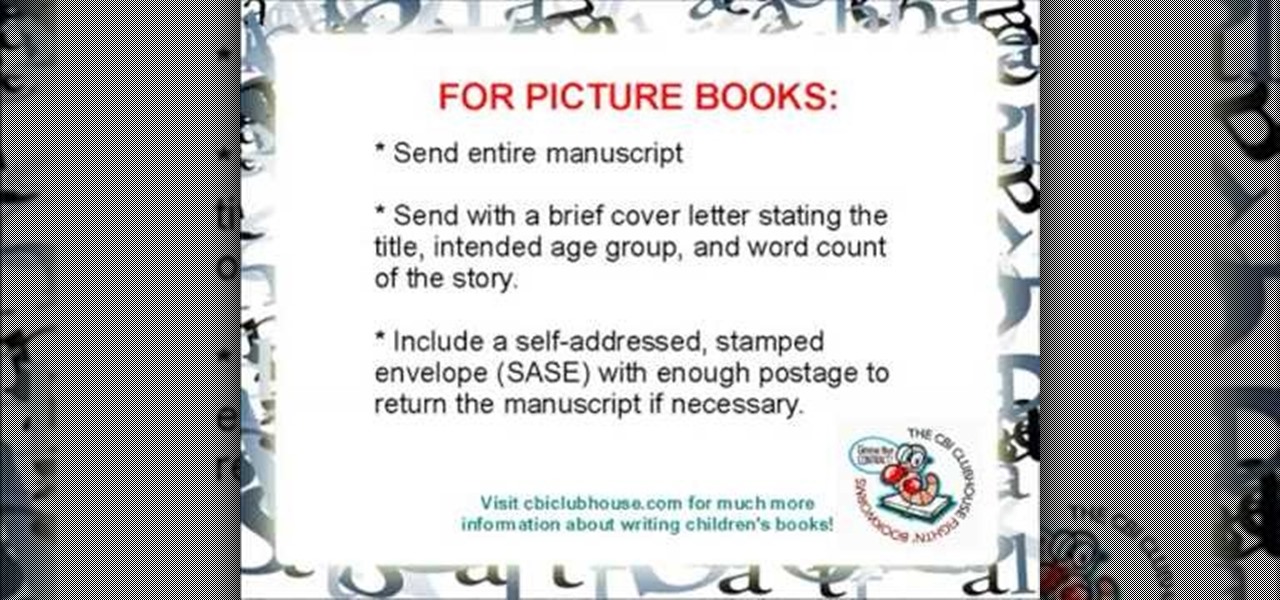
How To: Submit a children's book manuscript to publishers
In this video, we learn how to submit a children's book manuscript to publishers. First, you will want to type your manuscript oh white paper and make sure it's double spaced and indented at the beginning of each paragraph. Use one inch margins on each side as well. Make sure the pages are number consecutively and your name, address, phone number, and e-mail are listed on the cover page. Don't break the text up and don't include pictures unless you're a professional illustrator. When you are ...

How To: Make a ribbon tree
In order to make a ribbon tree, you will need the following: 50 2" pieces of ribbon, scissors, a hot glue gun, hot glue sticks, and a floral tree.

How To: Make a floating flower, Swarovski crystal toe ring
Kameron Kay teaches us how to make a floating flower crystal toe ring in this tutorial. You will need: stretch cord, large crimp bead, flat nosed pliers, flat backed crystal flower, glue, and small scissors to make this. First, cut out your chord to the exact size that you need. After this, use glue to attack the ring into the middle of the string. Place a crimp bead on the bottom to help the bead stay in place, then glue these together as well. Next, tie this together and attach an end to th...
How To: Create a crochet plastic bag from upcycled plastic bags
A plastic bag made out of plastic bags that's stronger than its constituent parts and reusuable for shopping trips? How did we not think of this before? While there's been a green movement recently to upcycle "junk" or "trash" into something usable, like old t-shirts into grocery bags, the idea was always to turn something into something else entirely.

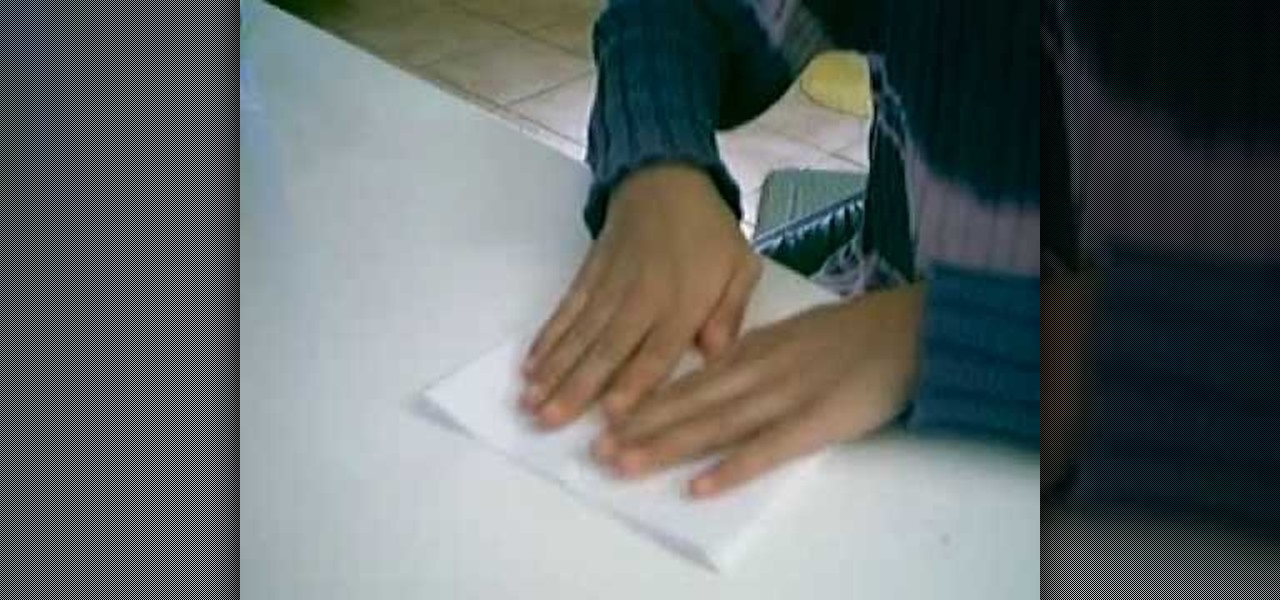
How To: Make a box
In this video, we learn how to make a box. First, fold the piece of paper into a triangle, then another triangle. Now, unfold the paper and fold all the sides into each other, making a square. After this, fold in the sides once more, making sharp creases on the edges. Now, open up the paper and do this again on the other sides, opening up again when finished. Now, fold the sides of the paper and turn it upside down. Follow the creases that you just made to fold the box up into a secure box. M...

How To: Make a two-knot friendship bracelet
In order to make a 2 knot friendship bracelet, you need to anchor about 10 strands of yarn. Separate out 2 strands. Then, one by one, make a simple knot using the remaining strands. The knot is similar to the way you would tie your shoes. Simply, interlace them. Tie it first to the one nearest it. Then, tie it to the next one. Then set it aside. Continue working your way through, until each thread has made a knot in each of the two strands. Make sure that you tie each knot neatly. They will b...

How To: Make a "puppy love" box for Valentine's Day
In this video, we learn how to make a "puppy love" box for Valentine's Day. To key to creating this box is a thin strip of paper that has teeth (pointy spikes) at the end of this. Turn this into a heart shape, then tape it around the heart to make a perfect box. It will be easier to find your center and cold it in half, then place it on the box. Glue the heart onto a black card stock to situate it, then tie a cute ribbon along the edge of the heart. This is very cute and a great idea for Vale...
How To: Do a purl increase stitch in knitting
In this video, we learn how to do a purl increase stitch in knitting. First, make sure your yarn is in front, then do a normal purl stitch. Before you take your yarn off the left needle, go into the back of that stitch and pick it up from behind. Then, do a normal purl loop. After this, take the needle off. This is all you have to do to do a purl increase while you are stitching. If you don't understand it at first, then keep practicing and you will eventually learn how to do this. When you l...