

Active Arts & Crafts Posts


How To: Edge finish with lingerie elastic
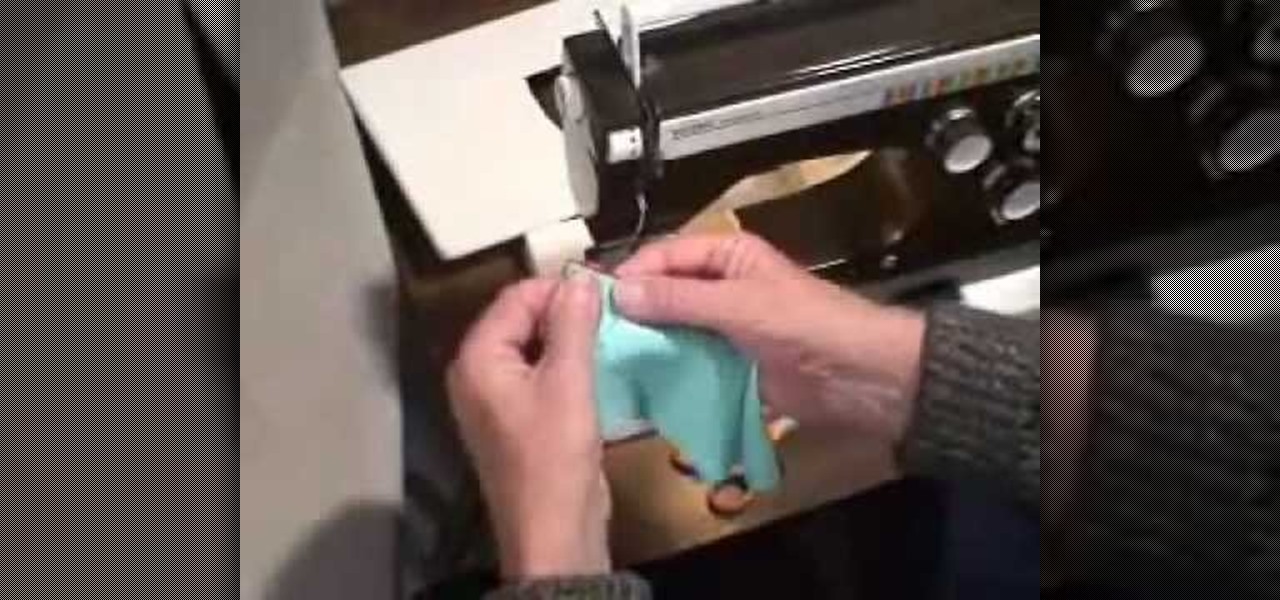
In this tutorial, we learn how to edge finish with lingerie elastic. First, grab your elastic and place it onto your fabric. Line up the elastic so it matches in perfectly with the fabric. Use a sewing machine to sew the elastic onto the fabric. Go slowly while you are doing this and lift the elastic in your hand as you continue to sew it on the fabric. When you get to the end of the fabric, the elastic will be sewn on, and you will be able to wear it! This only takes a few minutes, just make...
How To: Make a whirlybird paper helicopter from printer paper
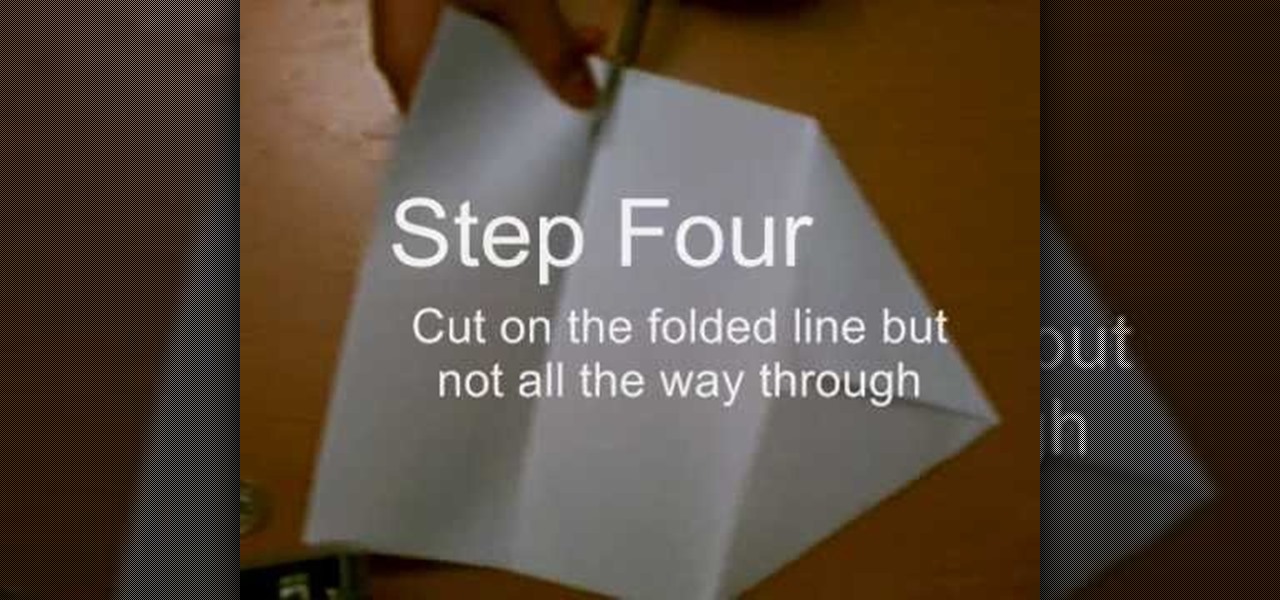
In this video, we learn how to make a whirlybird paper helicopter from printer paper. First, fold two triangles together on the paper. Next, fold the back to the triangle you just created. Next, fold the paper back and, then cut on the folded line but not all the way through. After this, fold the middle flaps until they reach each other. Then, cut through the middle of the bottom and fold one flap on the top, then fold the other flap on the flip side. Now you will be finished with your helico...
How To: Assemble a flower-fold die-cut flowers w/ a glue gun
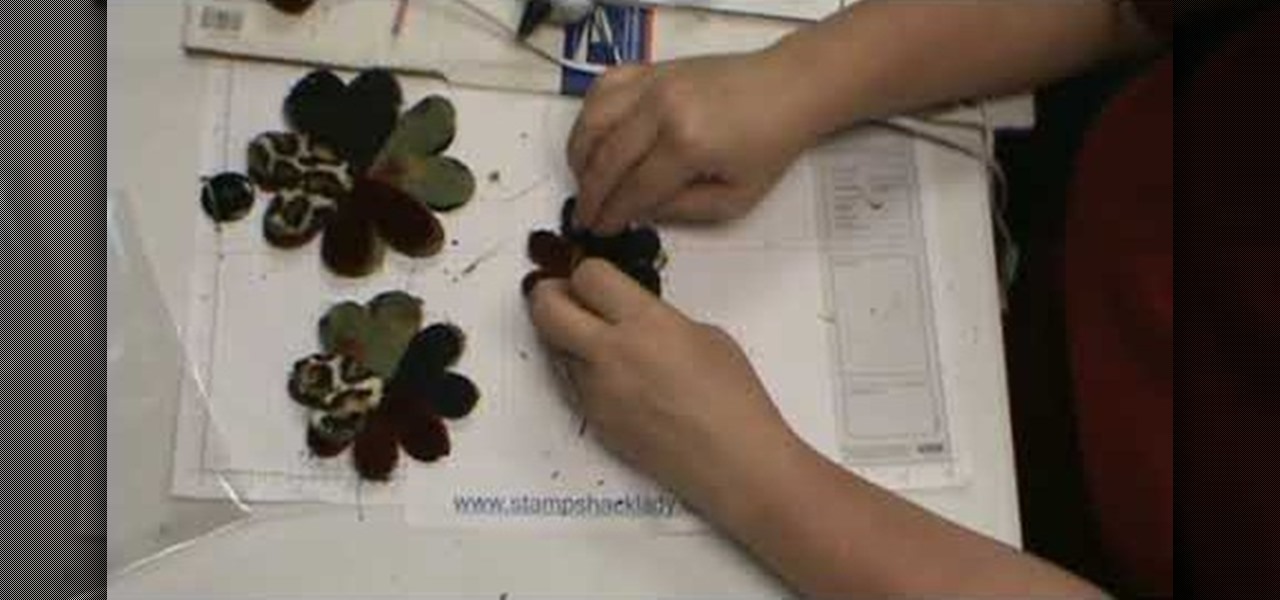
In this video, we learn how to assemble a flower-fold die-cut with a glue gun. First, cut out different fabrics in the flower shape. Put them all into different piles according to their sizes. After this, put hot glue into the middle of the fabric and fold the flowers in half. When finished, put the pieces together with hot glue going in a circle. Continue to do this with all the different sizes. When you are done, all the colors of fabrics should show, then place a button in the middle with ...

How To: Make a beaded ring using a daisy chain variation technique
In this tutorial, we learn how to make a daisy variation beaded ring. First, thread your needle with 1 yard of fire line. After this, string eight of the 4mm beads onto the thread. Tie these into a loop, then thread the 8mm bead down to the loop and run the needle through the fourth crystal and the 8mm will rest in the middle. Now, add on your petals by adding three seed beads and a 4mm bead, running it through the previous loop. Do this again on both sides and repeat the process. To finish, ...
How To: Embroider with beads and sequins
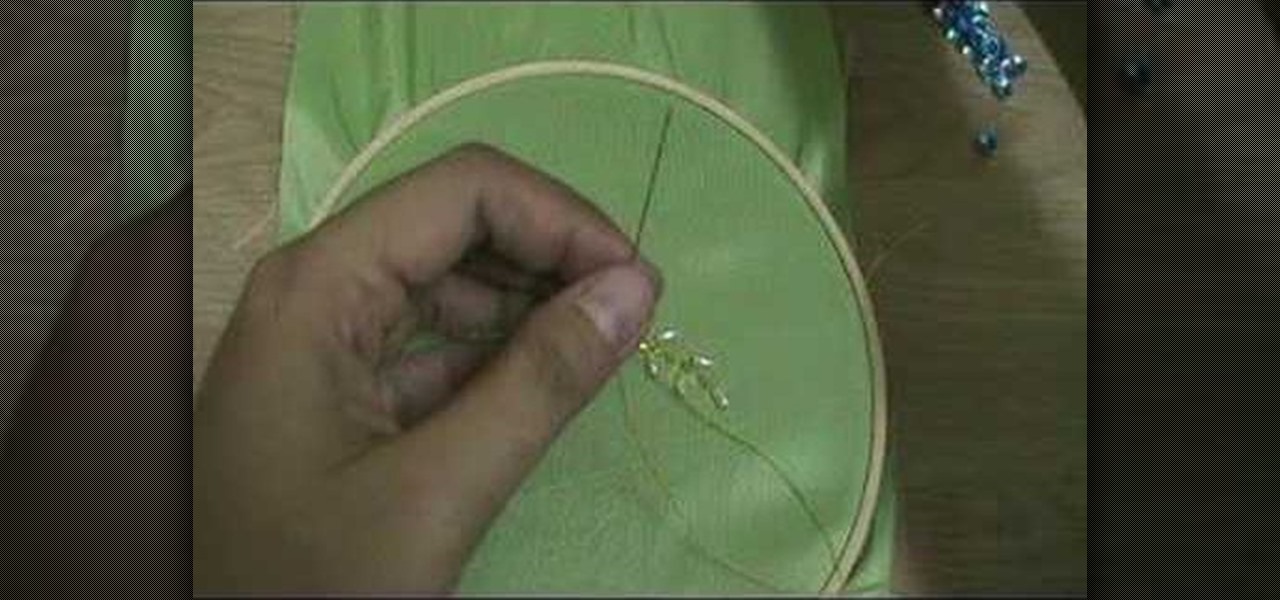
In this video, we learn how to embroider with beads and sequins. First, push the needle through the bottom of the cloth into the top where the sequin is at. After this, continue to thread in beads and more sequins. Make sure you are pulling through on the bottom so you attach the beads to the thread and they don't fall off. When you are done with this, you will push the needle through the top of the cloth, then tie it at the bottom and cut off the excess thread. When done, you will have a bea...
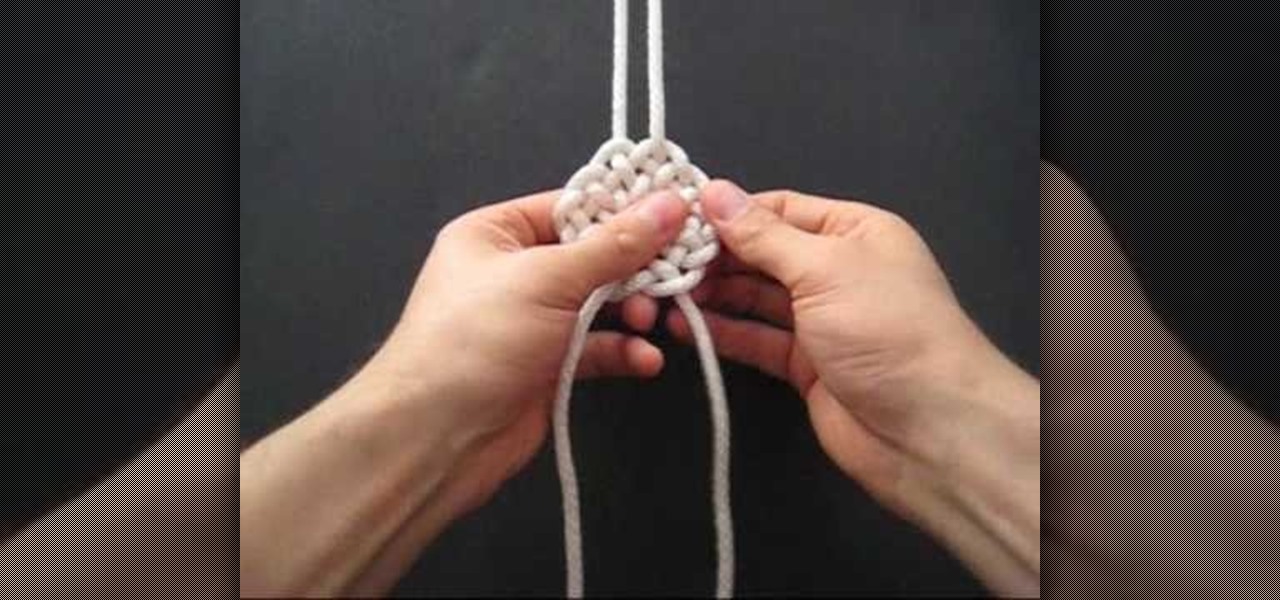
How To: Tie a compound double Coin knot
In this tutorial, we learn how to tie a compound double coin knot. First, take two strings and make a loop with the left one, then loop right right one into that. Tighten these together, then bring the end of the right working string over the loop and through the bottom of the shape, then continue to thread it through. Now, repeat this on the left side with the left string. Next, loop the right side of the string and push through the loop with the end of it. After this, tighten up the ends of...

How To: Make a gift Christmas jar with Stampin' Up!
In this video, we learn how to make a gift Christmas jar with Stampin' Up! First, take any type of jar you want to collect money in. After this, rinse out the inside and remove the labels off of the bottle and measure them. Now, take a piece of card stock and cut it out to make the length of the label from the bottle. Now, decorate the bottle with different Christmas decorations and then tape it onto the jar or bottle. Next, add on different types of felt cut outs to the jar as well. To finis...
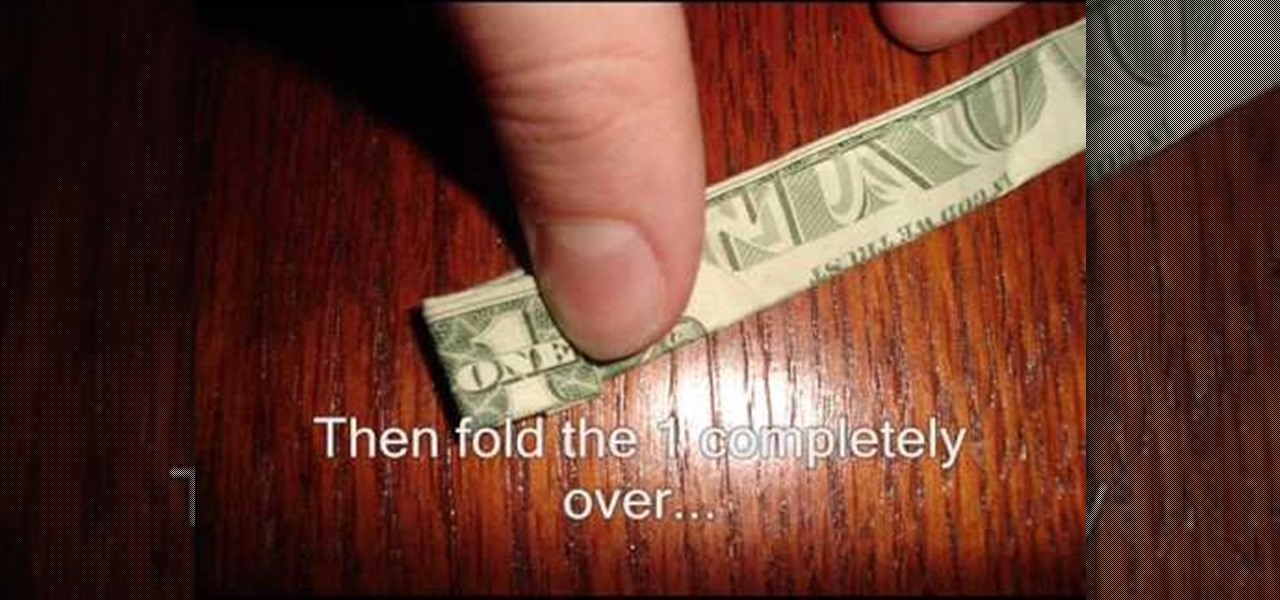
How To: Fold a ring out of a one dollar bill
In this video, we learn how to fold a ring out of a one dollar bill. First, fold the white edges in at the top and the bottom. Next, fold it in half and then spin it around 180 degrees. Next, fold it in half again, then take the white edge on the right side and fold it down until you can see the 1. now, make a backwards "L" shape and fold it back down, then curl it up. Now fold the L underneath and curl the extra part underneath the 1. Now, place this on your hand and you can wear it as a ring!

How To: Make an easy origami ball
If you are interested in making something cool from scratch using paper, then next tutorial should help. this video is showing you how to make an easy cool looking origami ball from scratch. It's easy to follow and can be used for a bunch of different reasons, including playing various games with your friends. So good luck, pay attention, and enjoy!

How To: Make an easy origami crane
For this next video tutorial, you're going to find out how to make a really simple and easy origami crane. Origami is the traditional Japanese folk art of paper folding which took place during the 17 century.

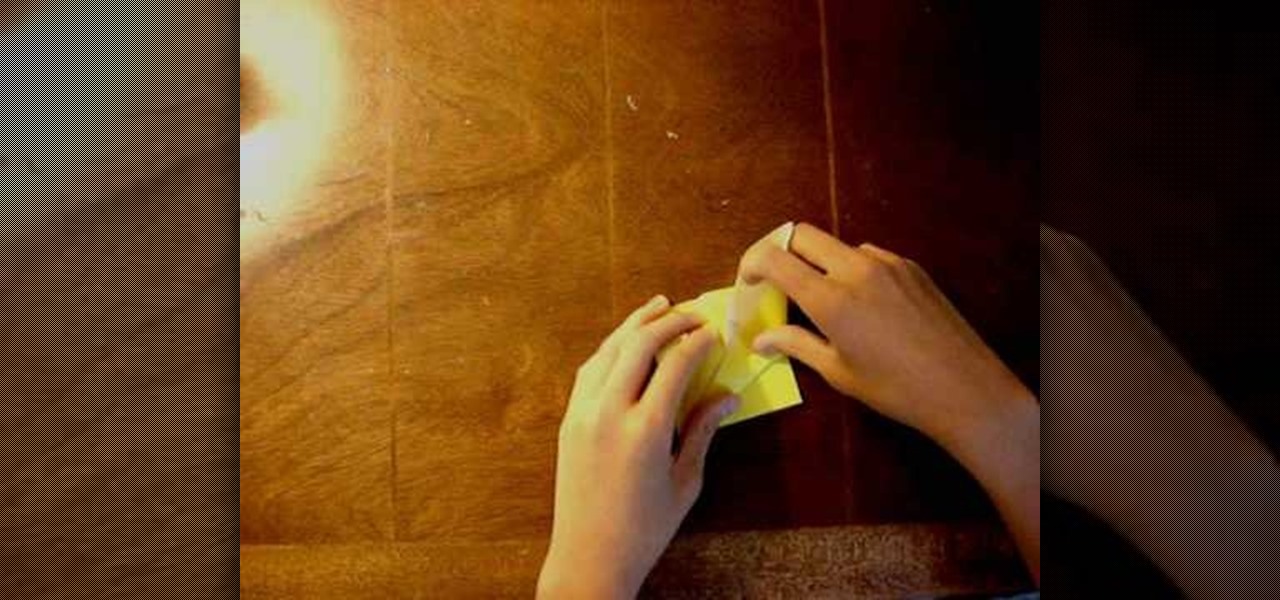
How To: Make an easy origami box from scratch
Origami is an art form that requires time, patience, and the ability to fold things in order for it to take a 3D shape. This next tutorial is an easy video on how to make an origami box. You can use three magazine papers so that you can actually hold things in it. It's good for holding things in like paper clips, orange peel, and much more. So sit back, pay attention, and enjoy!
How To: Make an origami fish easily
In this next video tutorial, you're going to find out how to make a very cool looking fish using the art form known as origami. All you need is a simple, colorful, piece of paper and the time to do it. You're sure to like it and so will your friends. So check out the tutorial, pay attention, and enjoy!
How To: Easily make an origami flower
If you're interested in taking up the art of origami, this next tutorial is very helpful and shows you how to make a cool looking flower. This video is a tutorial on how to make an origami flower. These instructions are easy to follow and can help produce a colorful looking piece of work. Good luck and enjoy!
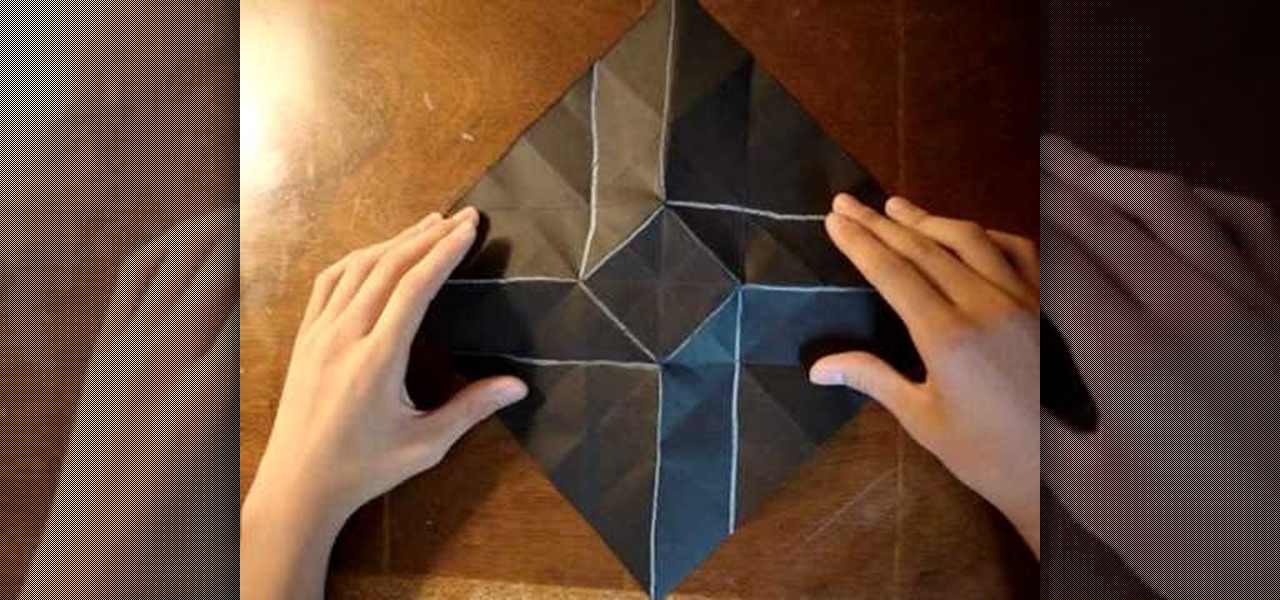
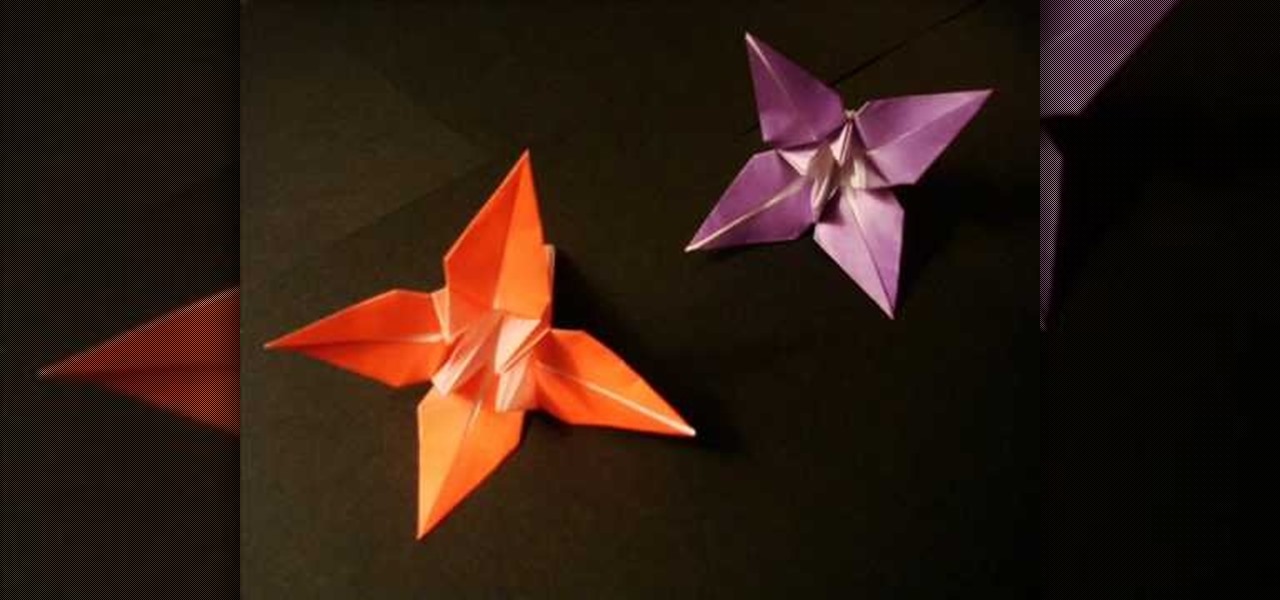
How To: Make a ninja origami star
If you're interested in making a ninja star from scratch using non fatal equipment, then check out this tutorial. It's a very simple project that requires a regular square piece of paper and the right folding lines and it should be simple. So check it out, pay attention, and enjoy!

How To: Make an origami ninja star out of foil
If you're interested in making a giant origami ninja star, this tutorial is for you. OIn the video you'll be using foil to make the ninja star a very cool looking thing. You can use multiple layers to make it heavier. It's something cool that you and your friends will like. Enjoy!
How To: Make a paper football for distance
In this tutorial, we learn how to make a paper football for distance. First, take a piece of copy paper and fold it in half on both sides, then fold in half again, making a crease. Next, fold the bottom of the paper down into a triangle shape. Continue to fold this down, making a right and then left triangle until you reach the bottom of the paper. When finished, you will have a small strip of paper left on the bottom. Tuck this piece into the pocket that you created with the triangle pouches...
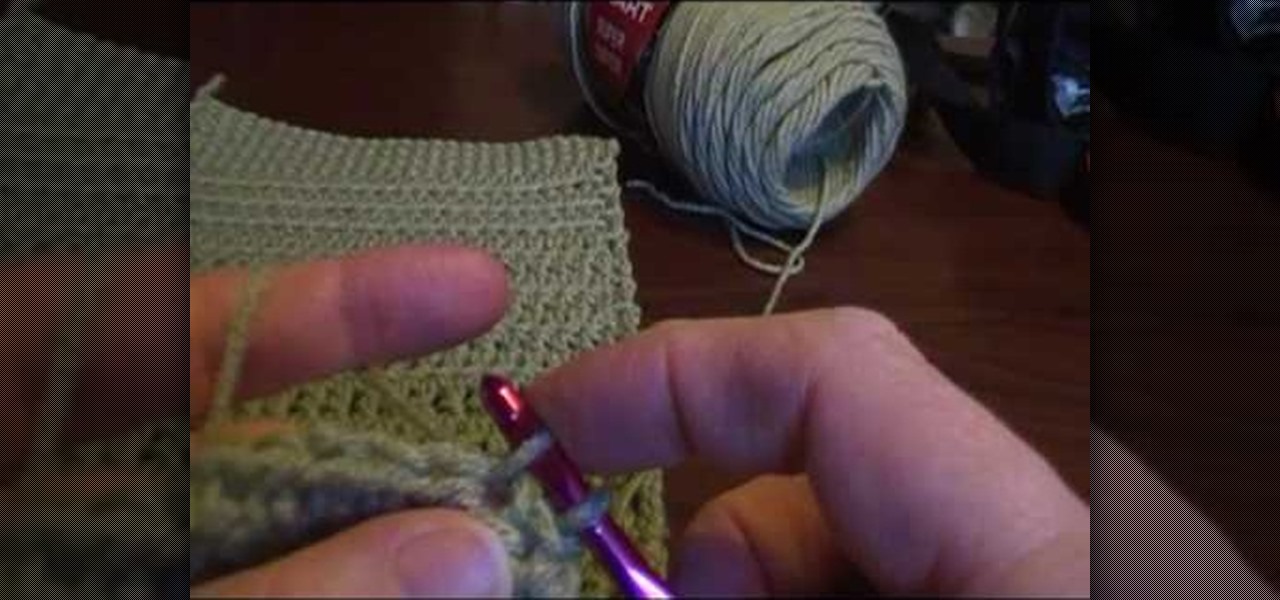
How To: Crochet an alt turning chain for half double crochet
Crochet an alt turning chain for half double crochet Double crochet leaves a hole in the fabric. The special stitch makes the fabric more dense. You will have to go back and double crochet.
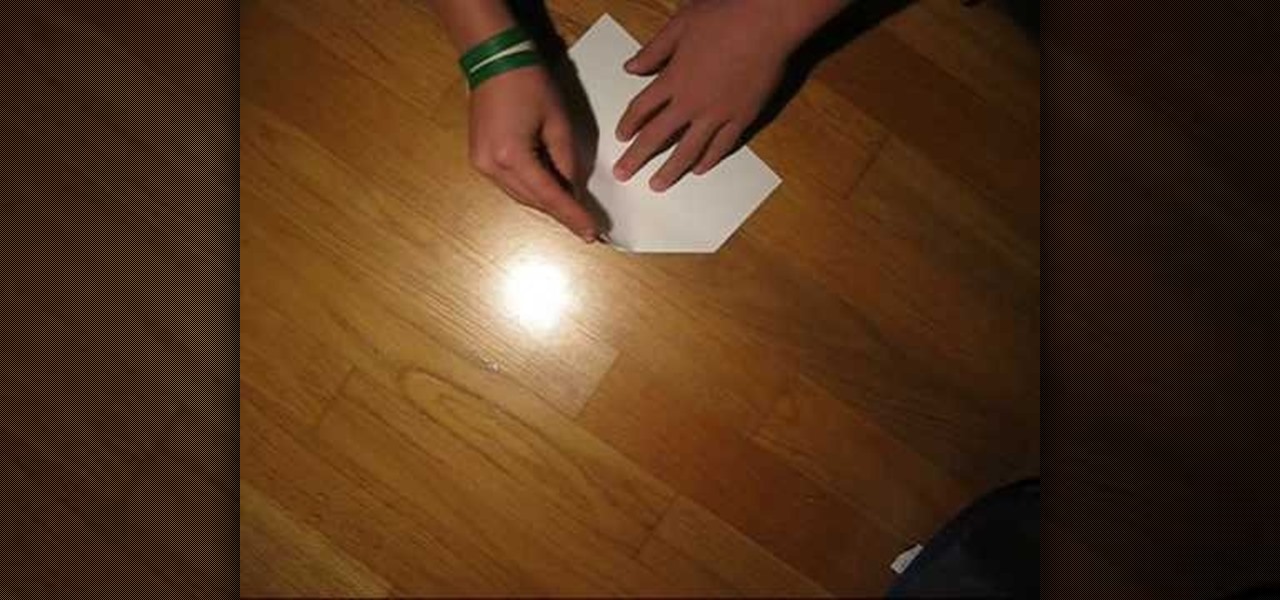
How To: Make a fun paper airplane
This video shows viewers how to make a paper airplane. You should begin with an 8.5 x 11 piece of paper and fold one corner to the opposite side, making a triangle. This should be repeated on the other side, so that a cross is formed on your paper. Folding down opposite sides of the creases, you should have a triangular flap on your paper. Fold both sides of the flap upwards and then flip the paper over. You should then take the tip of the paper and fold backwards. Fold the paper in half so t...

How To: Make January thank you notes with Stampin' Up!
In this video, we learn how to make January thank you notes with Stampin' Up. First, you want to choose what you want your notes to say. You can use a small card stock that is 3" x 3". Then, use a border hole punch and apply it on in different colors you prefer. After this, you will want to stamp on a message that says thank you in black on the front of the card. Next, you can lay a heart punch out on top of the card to give it more personality. You can also place the heart on first and let t...
How To: Draft a pants sloper
In this tutorial, Don McCunn teaches us how to draft a pants sloper. First, measure out the center line of the leg and then draw the center line onto a piece of paper. Now, measure from the waist and mark the measurements along with where you drew the center line. Now, measure down to the hip level and mark this as well, making sure to use the fullest area of the hips. Next, you will need to determine the crotch from the waist to the area where the subject is sitting, then mark it. Use a stan...
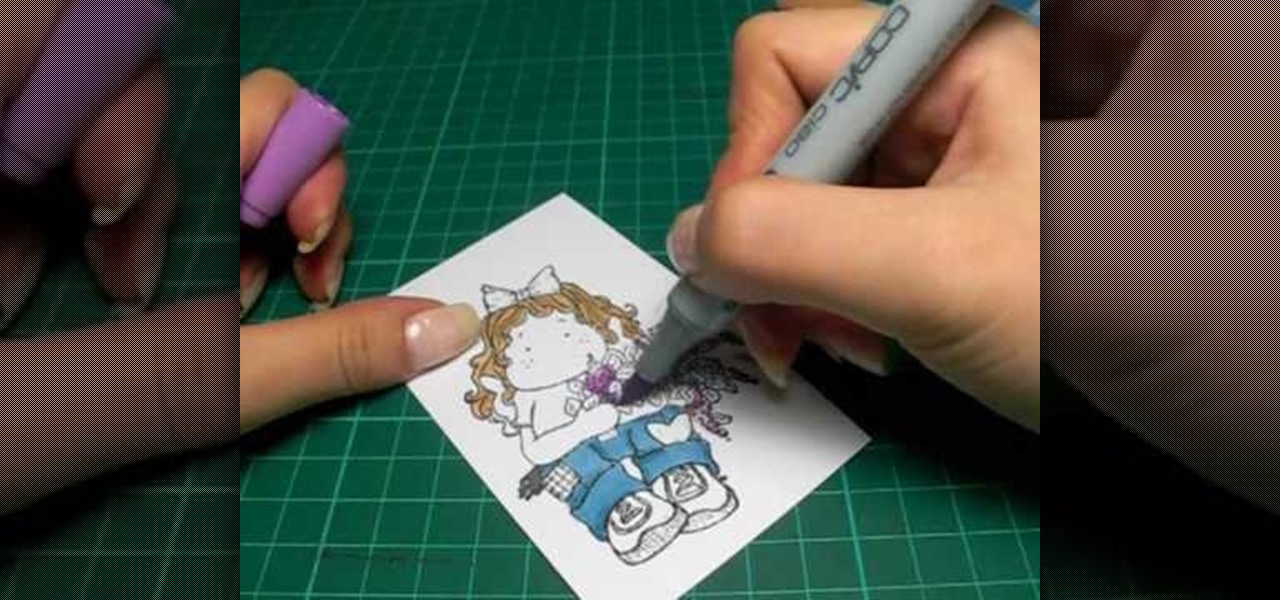
How To: Color with Copic pens
In this tutorial, we learn how to color with Copic pens. First, grab a picture that you want to color with your pens. After this, start to color in the picture with your different colored pens. After you fill in the colors, use a darker colored pen to add in shading and make the lines darker along the sides. Continue to color in your picture, adding shading where you prefer. Add in different colors and make the lines darker when you want them to look more bold. Make sure to add in highlights ...
How To: Sew & measure elastic
In this tutorial, we learn how to sew and measure elastic. First, place the elastic over your waist and think about what you are making. Decide if you want it to be comfortable or if you want it to be tighter if you are wearing it out during the day. Also take into account what type of fabric you are going to be using so you know how much elastic is needed. Fold the elastic and mark the inside and outside of the fold, now do the same thing with your fabric. Now you will know if you need to ea...

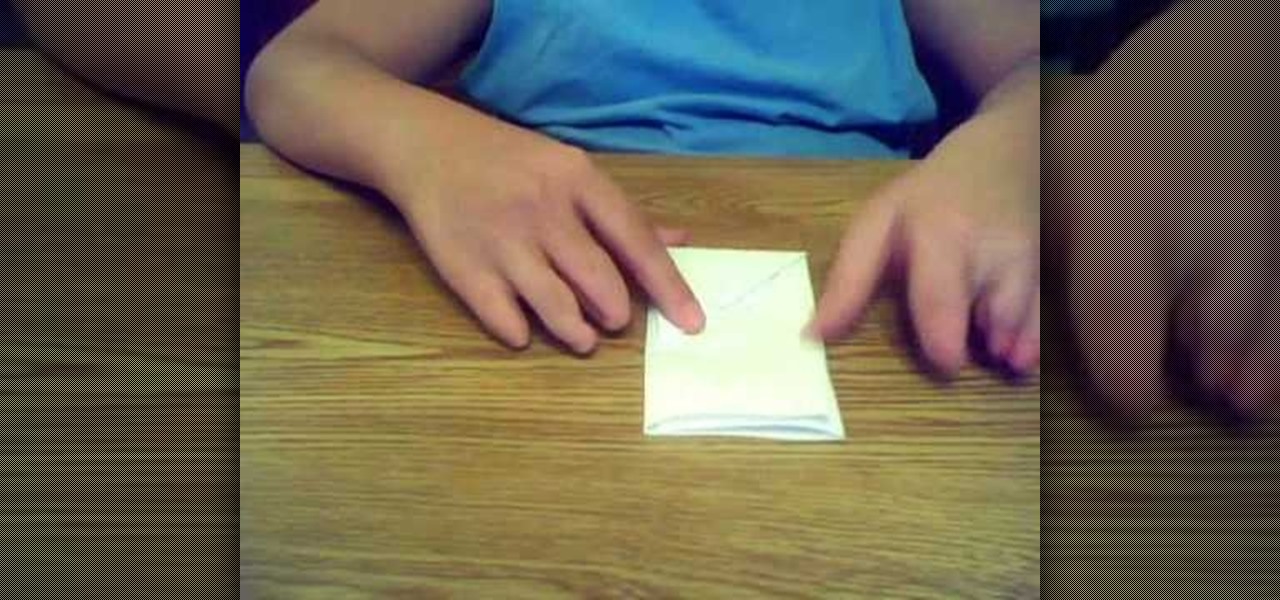
How To: Fold your own paper envelopes
In order to make your own envelopes, you will need a piece of paper, glue, scissors, and optional decorating tools/stickers.
How To: Make friendship bracelets adjustable
In this video, we learn how to make friendship bracelets adjustable. First, tape both sides of your bracelet onto a flat surface. After this, bring both ends into a circle shape at the ends. Now, take any color of string and make a loop with it over the ends of the bracelet. Now, put one end over the other and then put it through the bracelets and into the loop. Then, pull the end of the thread and put the bottom over and under the top piece. Then, put it through the bracelet and tighten it. ...
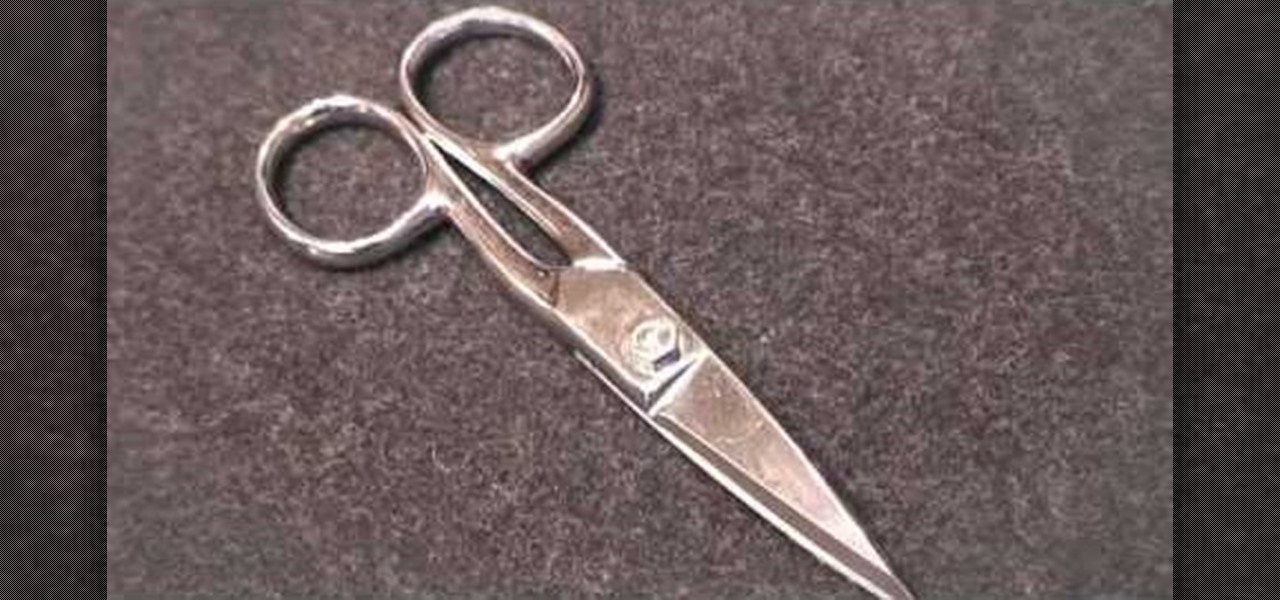
How To: Use tailor point scissors
In this video tutorial, viewers learn how to use tailor point scissors. These scissors are short, have a broad spine on the blades and contains both a knife and bevel edge. The knife edge allows the scissors to go through the fabric and the bevel edge allows users to cut in layers without cutting what's underneath. The broad spine prevents the separation of the blade points. The short blades allow better control and easily movable. This video will benefit those viewers who enjoy stitching and...

How To: Make a bow out of a Starburst wrapper
In this video, we learn how to make a bow out of a Starburst wrapper. Now, place clear tape of the wrapper and fold down the edges. Now, fold the wrapper in half and then in half once more. Make it so you have an accordion design with three different peaks on the wrapper. Now, cut a small strip of tape out of the piece of tape and wrap it around the middle of the bow. After you do this, flare out the edges to make it look more like it has a bow shape. Now, take a bobby pin to the bottom of th...
How To: Make copper cathedral earrings
Cathedral earrings are so dazzling on the ear and so much fun to make. You will need for this project:

How To: Make a "glue in & glaze" jewelry ring
In this tutorial, we learn how to make a glue in and glaze jewelry ring. First, grab a blank ring that has a spot on the top to place a picture. It can have a jewel on it, just pop the jewel out. After this, choose an image from collage art papers, then cut it out. When done with this, place the image inside of the top of the ring and push it down with pliers. After this, place a clothing pin around the ring bottom to hold it in place, then grab you DG3 gel and add it to the top of the image....

How To: Mak a vertical-striped bracelet cuff out of beads
In this video, we learn how to make a vertical striped bracelet cuff out of beads. Start with a long piece of string and string on your beads until you have a length that fits well around your wrist. After this, tie the ends together and cut the tails off the excess string on the short side. now, start to thread through new beads around the entire bracelet. At the end of every few rows, tie it to keep it tight at the end. When you are finished, tie the string and make a knot, then cut off any...

How To: Make an "I love you mommy" card
In order to make an "I love you, Mommy" pop-up card, you will need the following: scissors, card stock, glue, and markers.
How To: Use a big eye needle when jewelry making
In this video, we learn how to use a big eye needle when making jewelry. This is a great tool when using stripping material. The needle is made of the eye and will work with ribbon or thread. First, open the eye of the needle, then thread the material through the opening of the hole. Next, string your beads over the point of the needle and then onto the material. Continue to do this for all the different beads you want to add, then your bracelet will be complete in a few short minutes. This m...
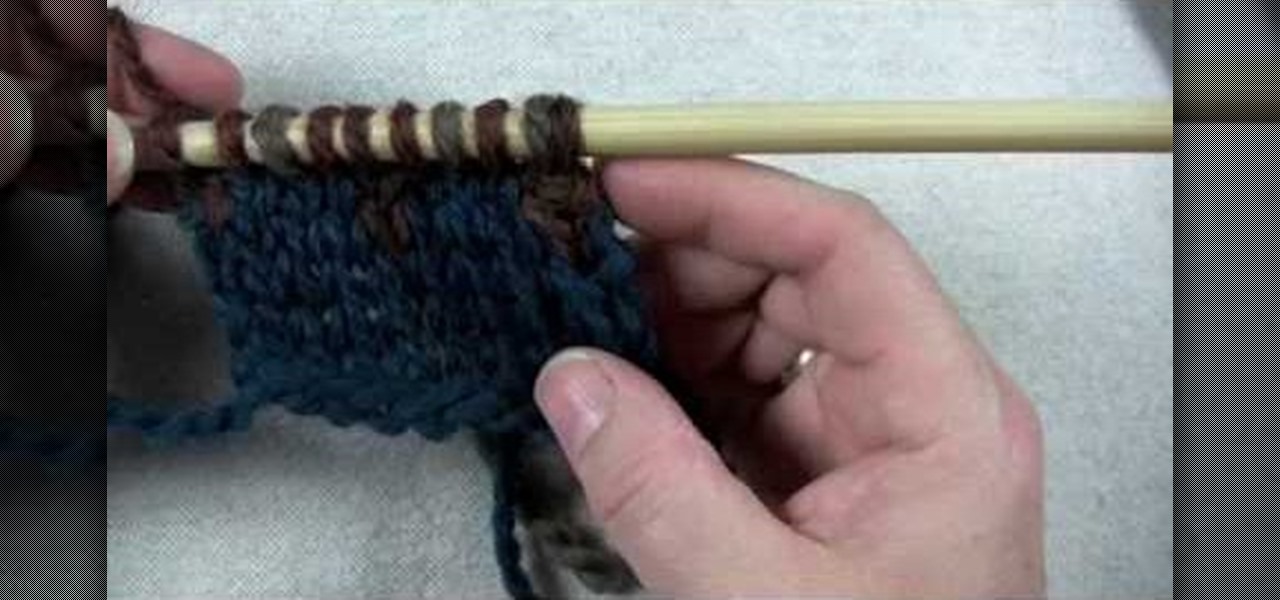
How To: Use a stranded colorwork pattern
In this tutorial, we learn how to use a stranded color work pattern. Start with a basic pattern to help you learn how to do this. Use a chart to help you keep track of where you are and what you have done. Use a sticky not over the rows so you don't get ahead of yourself. Start off with the color that is first, then continue on to do the other colors that are on that row. When finished with this, remove the sticky note and continue onto the other colors that the chart shows. On the first stit...
How To: Create a Father's Day collared shirt and tie card
These adorable cards are perfect for gifting your daddy-o on Father's Day, but you should by no means limit yourself to just that one holiday. These collared shirt and tie cards are also suitable for your dad's birthday, or even for your boyfriend on his birthday.
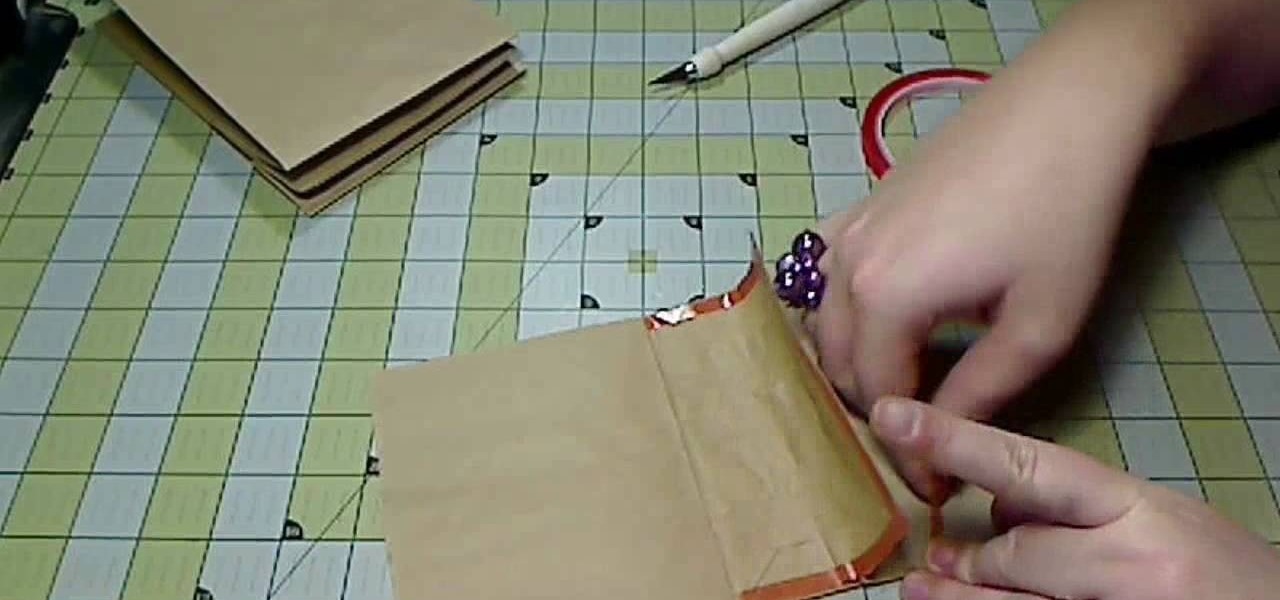
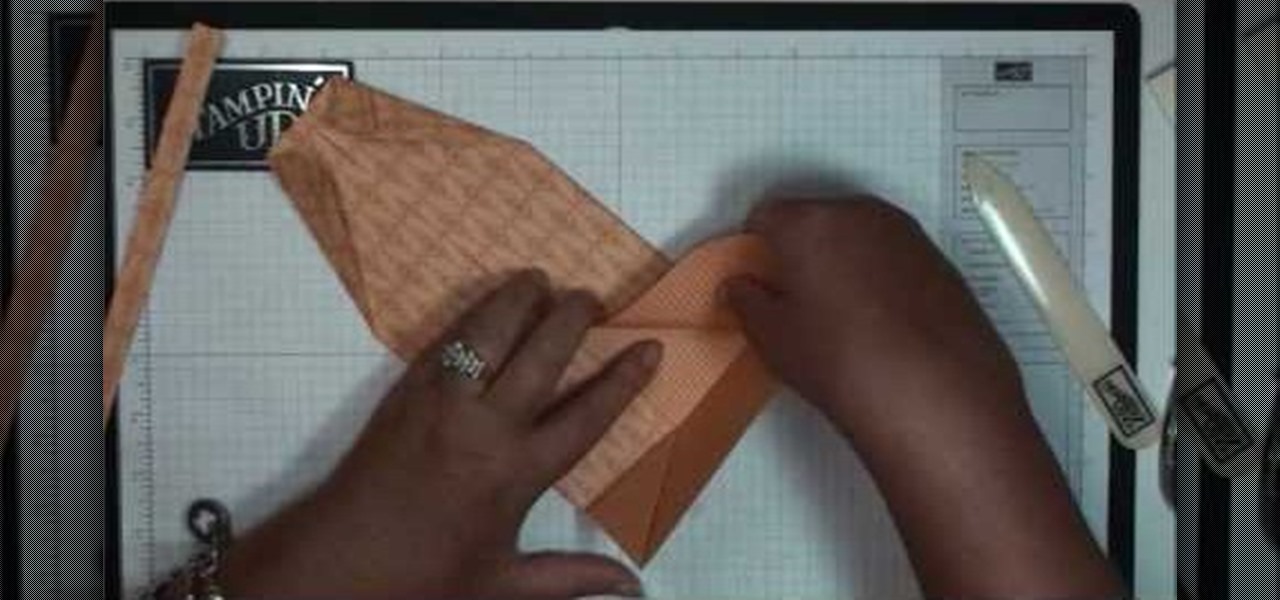
How To: Craft a kraft paper bag album for scrapbooking
Brown paper bags aren't only for storing your PB&J sandwich for lunch. In fact, in the craft world they're heralded and used frequently because they're cheap and give projects a whimsical homespun feel. Just take this kraft paper bag album, for instance.

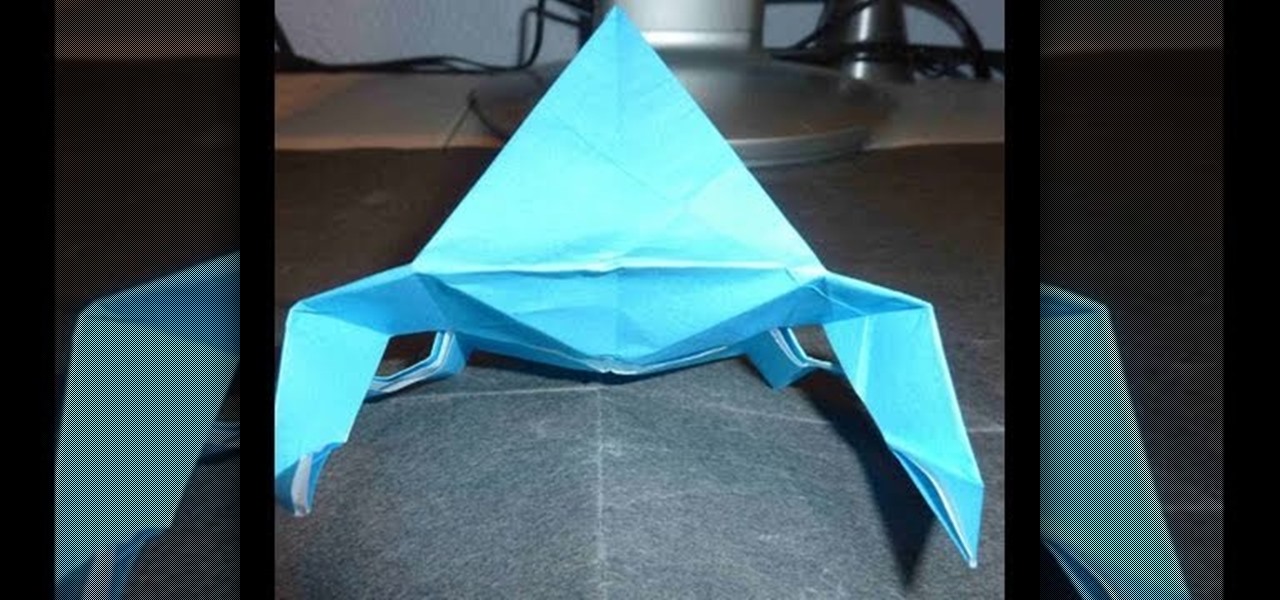
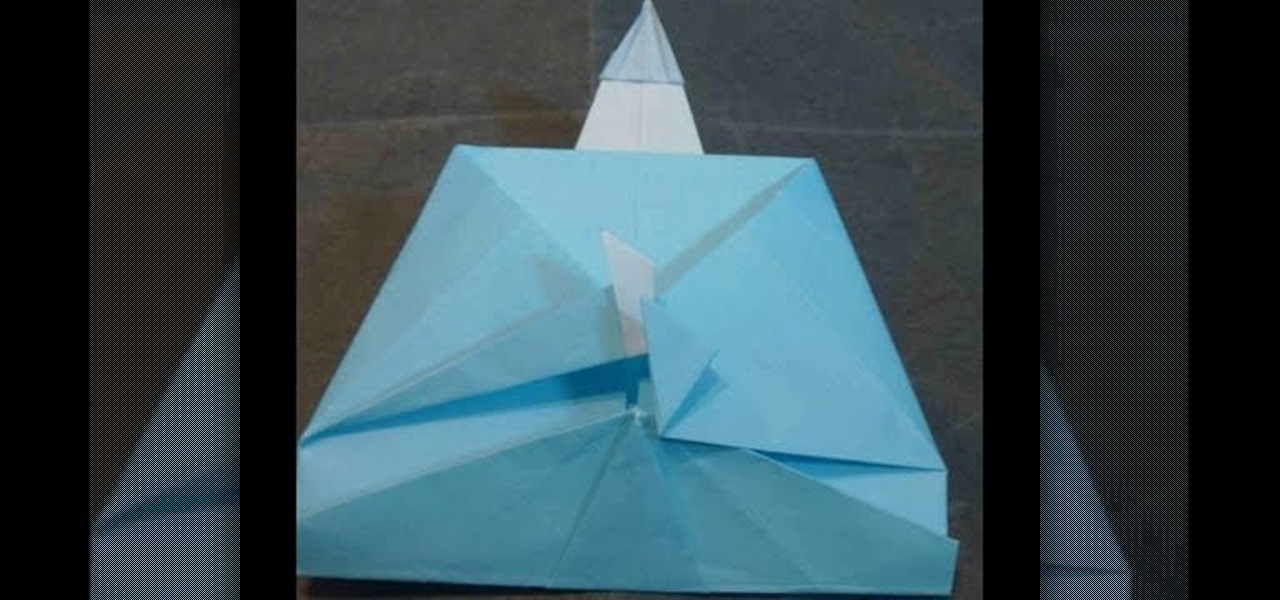
How To: Craft an easy 3D origami tent/pyramid for beginners
What's so genius about this project? yeah, it may just seem like a plain white piece of paper that you fold a bit to stand up, but you're actually getting two beginning origami projects for the price of one. That is to say that if you learn how to make the origami tent in this video, you'll also be learning how to make a pyramid.
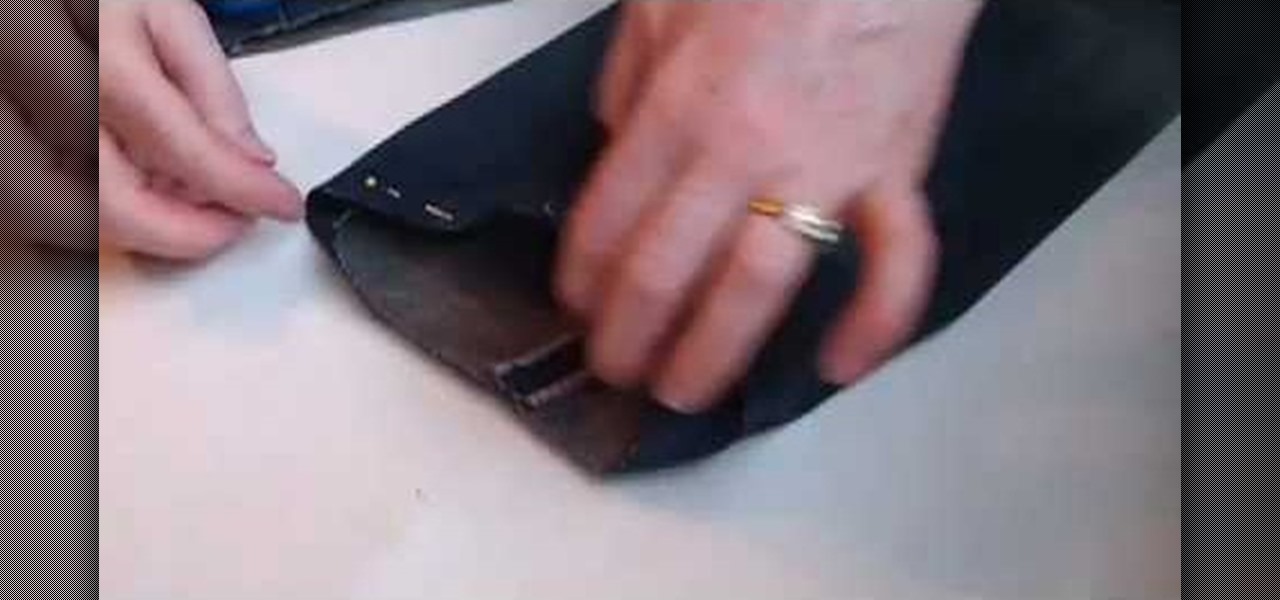
How To: Hem your favorite jeans
In this tutorial, we learn how to hem your favorite jeans with Laura. First, place your jeans on your body, then cuff them where you want to hem them. Next, take your jeans off and pin the cuffs where you wan to hem them to keep them in place. Next, measure out the length of the hem and mark it with a piece of chalk, then you can take out the pins. Next, you will cut the pants, then pin them back where you want to hem them at. After this, you will take them to the sewing machine. After this, ...
How To: Make an adorable 3D origami hermit crab for beginners
Were hermit crabs named after hermits or hermits named after hermit crabs? Either way, we know that hermit crabs are major homebodies. Like, to the point that they almost NEVER leave their homes to come out unless they're visiting another shell...their future shell, that is, when they get too big to fit their former shell.
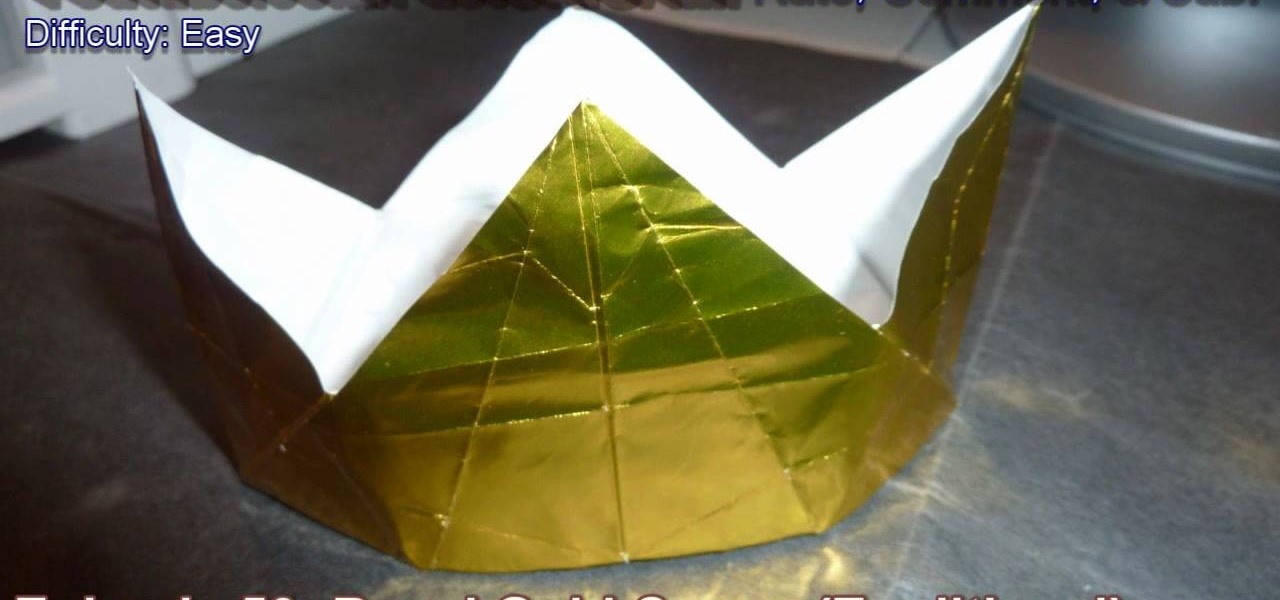
How To: Make a regal gold origami crown for beginners
Okay, so watching "The Princess Diaries" gave us something of a princess complex. Come on, what girl doesn't want to own her own country (however small and fake), have Julie Andrews as her grandma, and be driven to even trivial places like the nail salon in a limo? Sounds good to us!
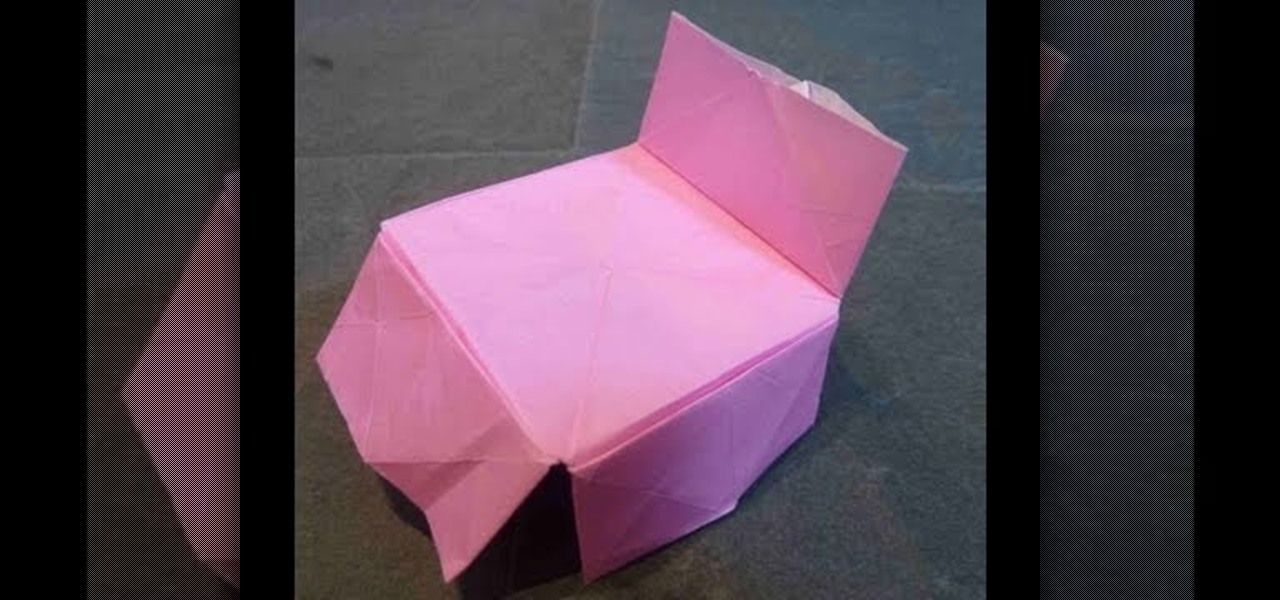
How To: Make a pretty pink origami bed for beginners
If you think about it, beds are a divine resting place. Free of outside distractions (we're hoping you don't bring your iPad and Blackberry into bed), warm, and cozy, a bad is the perfect place to just unwind, relax, and recharge.
How To: Origami a simple Japanese Medieval lord for beginners
In Medieval Japan, Lords were essentially the wealthy men of the country who possessed land. Loaded as they were, Japanese lords wore elaborate clothing made of the finest materials, including silk.