

Active Arts & Crafts Posts


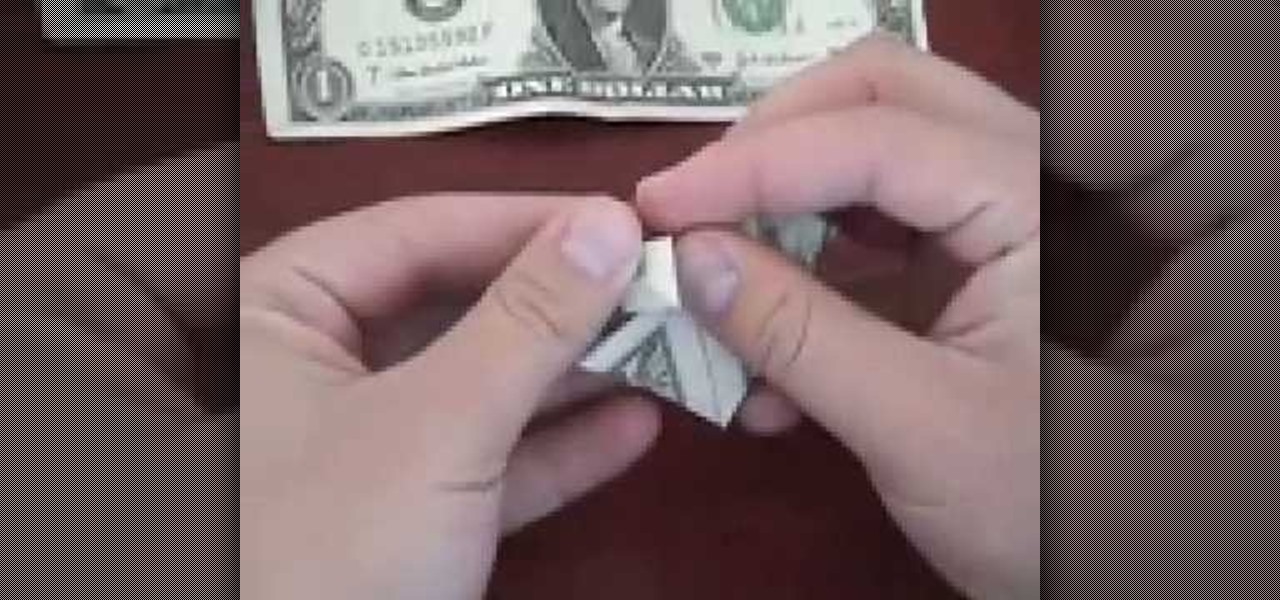
How To: Origami a dollar bill into a heart
You probably owe someone a dollar, and show them some extra thanks by giving back folded up into a heart. Learn how to use the traditional Japanese art of origami to fold up a dollar bill into the shape of a heart. Any denomination works if you're feeling extra generous.
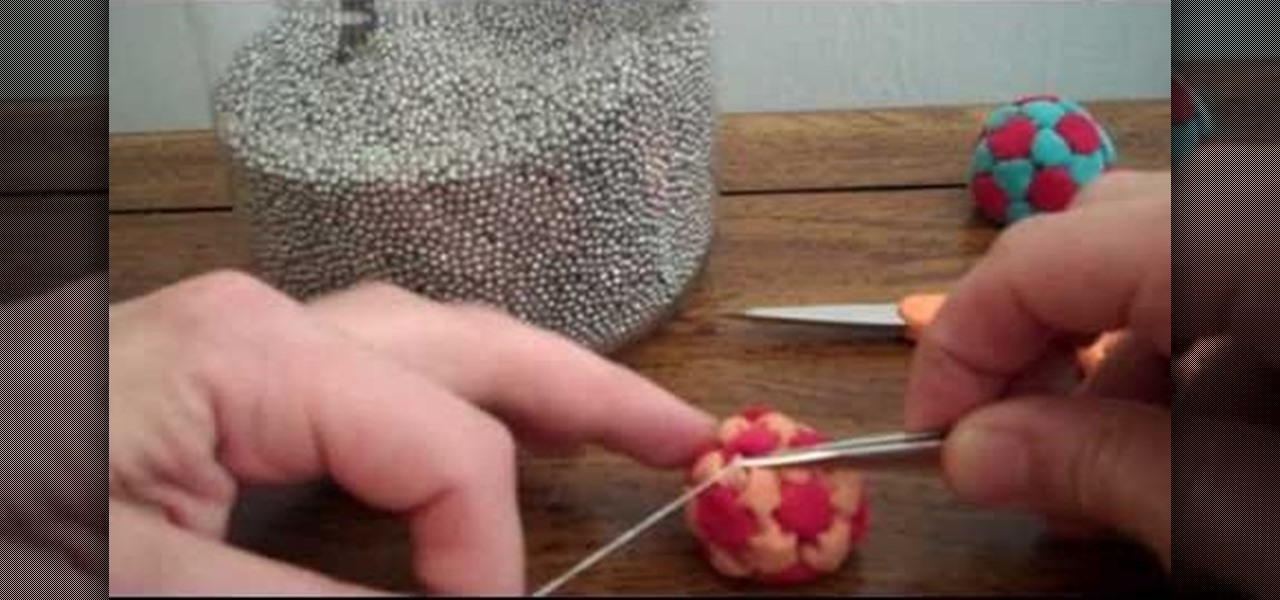
How To: Stitch a 32-panel footbag using a Hacky Sack pattern
If you're tired of buying your footbags, aka Hacky Sacks, and you want to create your own awesomely designed footbag, this video will walk you through the steps of doing it. First, you're going to want to get a footbag pattern to follow, which can be found at the Online Footbag Pattern Generator. In this video, you learn how to stitch a 32-panel footbag together. See the whole process and follow along!
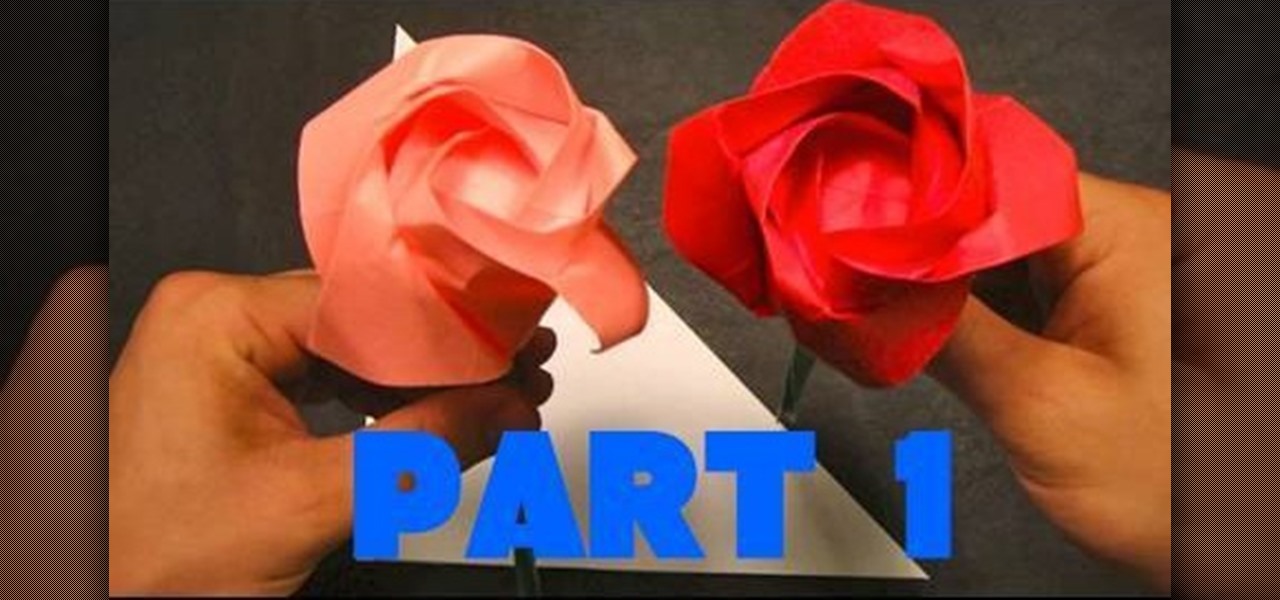
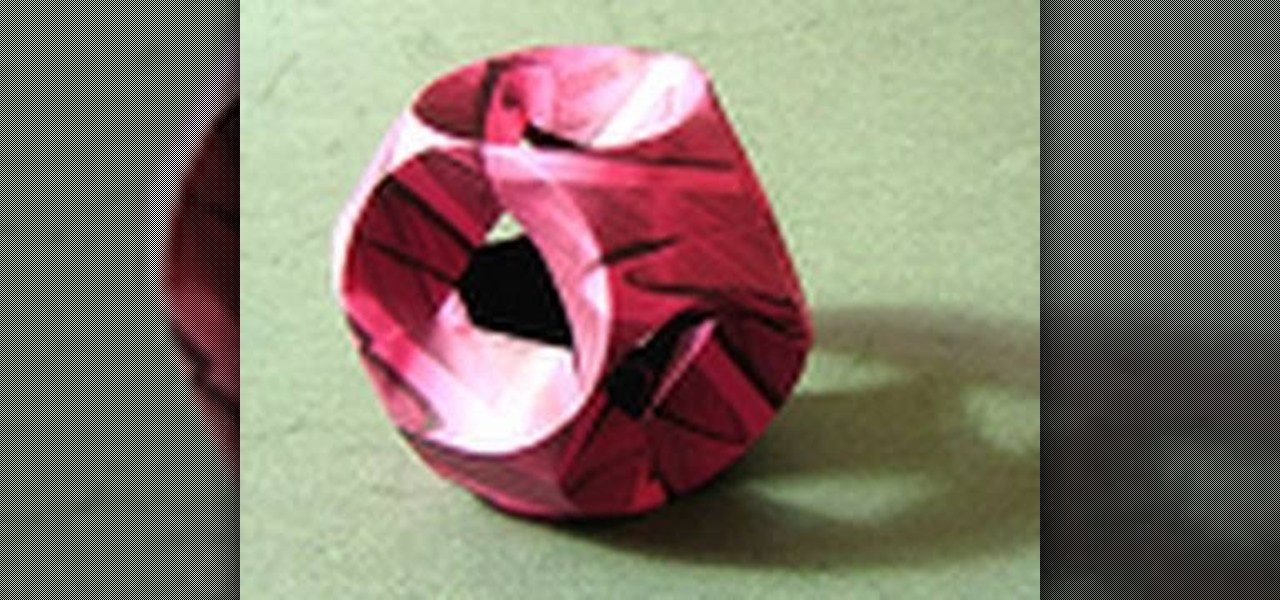
How To: Make an origami rose easily
Origami roses totally pwn (slang for "own," FYI) real roses. Know why? While we'd never turn down a beautiful bouquet of red roses, the pretty flowers also wilt and then kick the bucket within a week, which makes us very sad indeed.
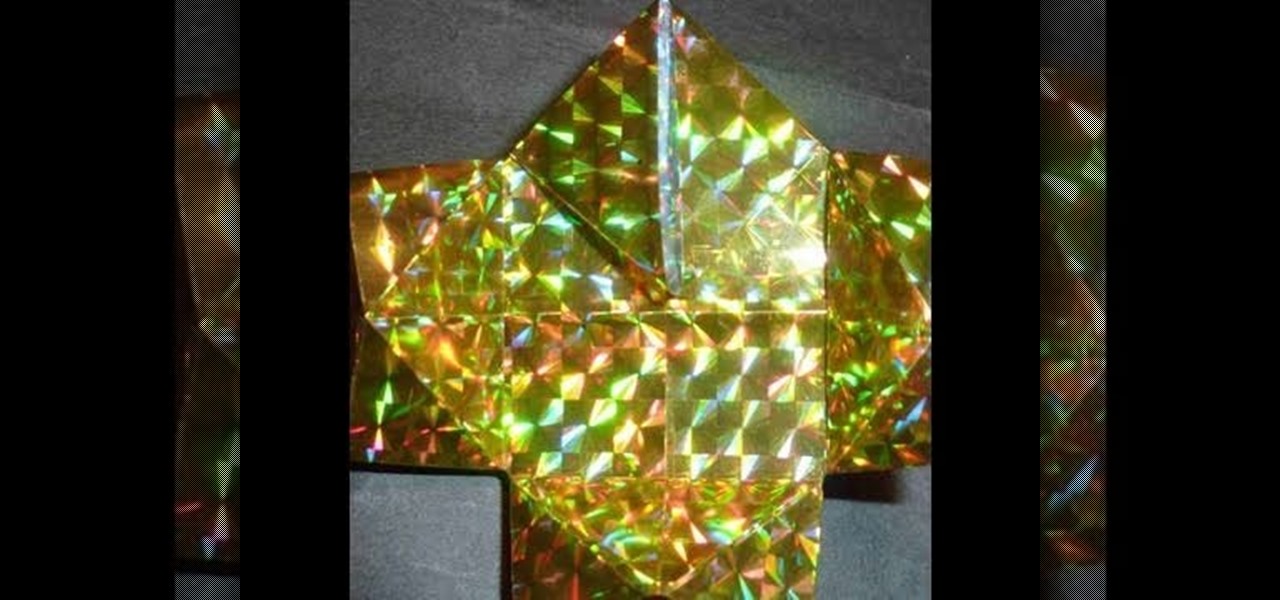
How To: Make a Japanese origami geisha lady for beginners
Given that geishas are known the world over for wearing elaborate silk kimono costumes, even more elaborate headpieces and hairdos, and even more elaborate face and body makeup, it may not make a whole lot of sense that making an origami version can be easy.
How To: Sew up a tissue box cover
In this video, you'll learn how to sew up a decorative tissue box cover for your standard tissue box. Add some decorative flair to your home. This video will walk you through each step of the way. Pretty soon you'll have a nice and artsy tissue box cover to show off to your family and friends.
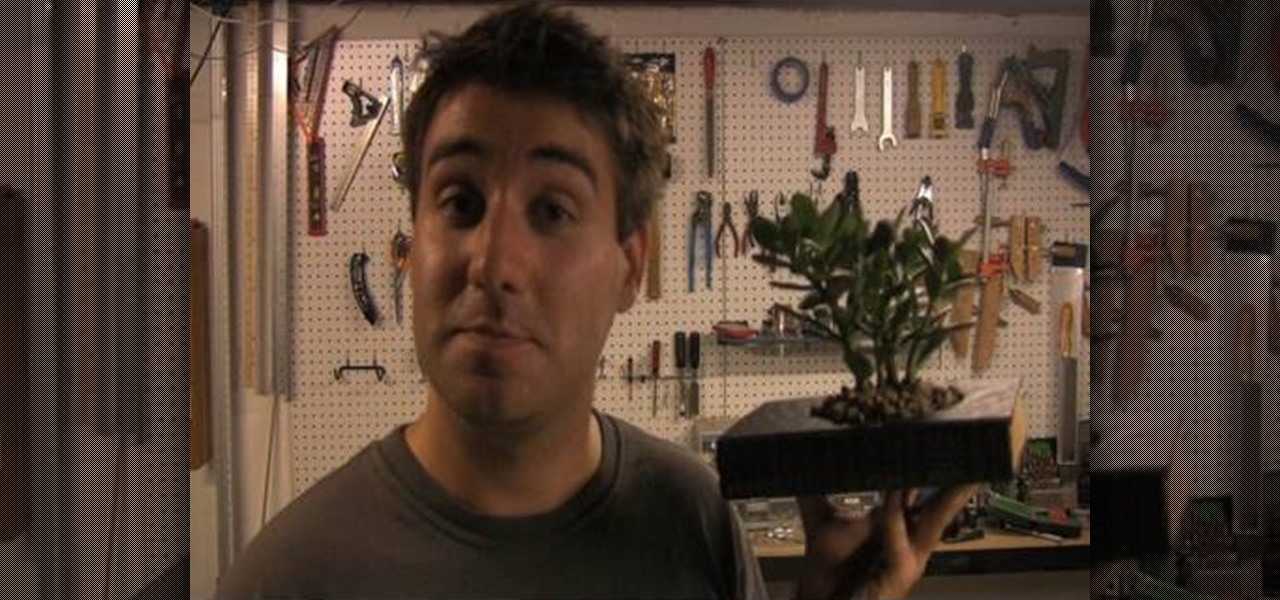
How To: Upcycle an old book into a planter
A planter from a book? Recycling - or, rather, upcycling - these days seems to get weirder and weirder, but hear us out on this one. After all, there's no need to purchase new planters for small house plants at Home Depot when you can make a super cool vintage book planter yourself!

How To: Make a simple flying paper helicopter
No, this isn't an elaborate paper helicopter design that will take you weeks to master. Just because it can fly doesn't mean it's difficult to make. In fact, this is one of the simplest paper helicopters you could make. And it's a great instructional tool for a science classroom to learn about the principles of flight and the heat of the sun. It flies like it has a mind of it's own! Sometimes it will even hover in one spot for an extended period of time. Check it out, both videos, then make y...

How To: Make an origami sumo wrestling game for beginners
They say that it's the inside that counts, not the outside. But not when you're a sumo wrestler. In fact, when you live and die by how much belly fat you can throw onto your opponent's face to make him see stars like the foolish coyote chasing the rabbit in classic cartoons, your outside is your most precious commodity.

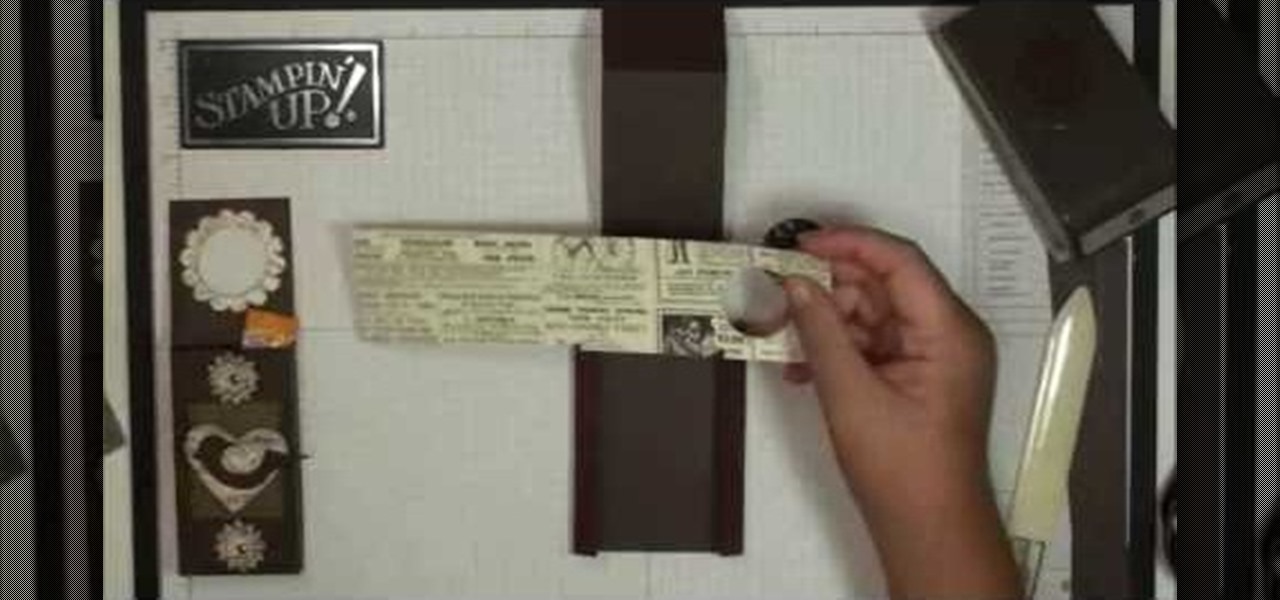
How To: Make a striped Smarties candy holder
Smarties are the all-inclusive candy. With every color of the rainbow, it allows kids and sugar-addicted adult folks alike the powerful option of choosing between eating the Red or Green flavor, or Blue for those days when we're feeling down (that's why we're eating the candy in the first place, right?).
How To: Make a fat and bloated origami crane for beginners
We've always wondered why cranes - origami cranes, that is - look so uniformly slim and model thin. Well, like our overexposure to "perfect" skinny actresses who make us think that everyone should look as they do (pretty with 0 percent body fat), we've also be overexposed to the streamlined version of cranes.
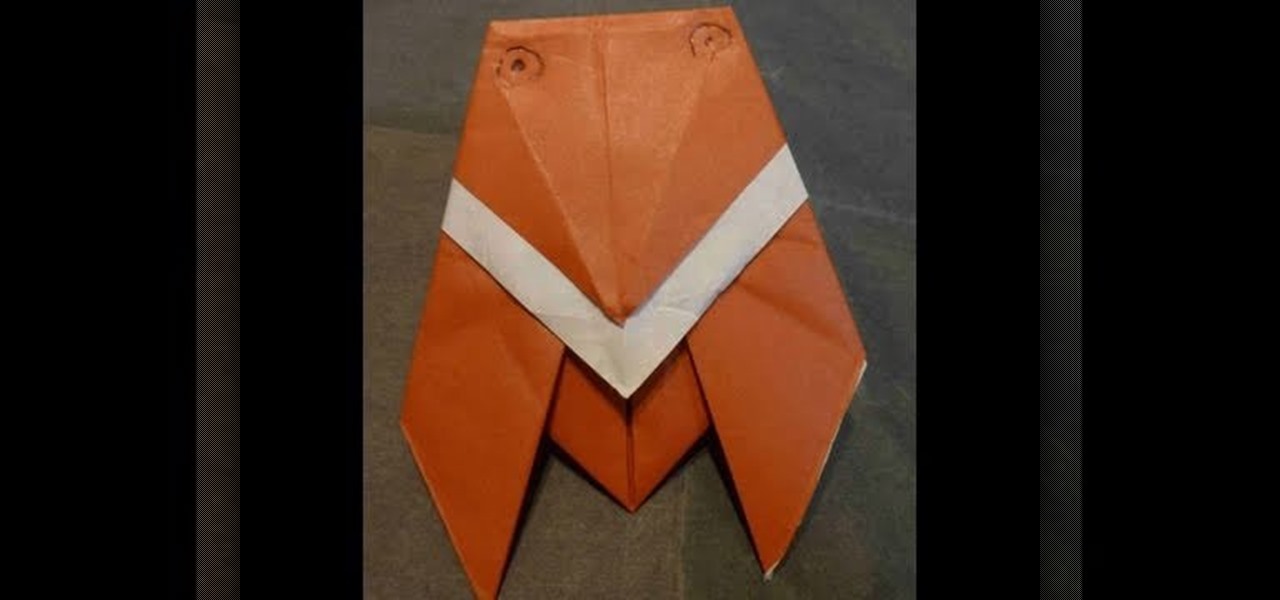
How To: Make a Japanese origami flying cockroach/cicada
A cicada is a fancy term for a flying cockroach, and though it may seem strange - not to mention disgusting - to want to make a cockroach replica out of paper, we promise that the paper version is much cuter and won't pee on you like the real ones would.
How To: Make an origami pigeon for origami beginners
Pigeons are a common bird that don't get the love and respect they deserve. After all, after making a cameo appearance or two on your car window you don't get around to seeing them as the most elegant birds.
How To: Make an avian inspired water bottle treat holder
After a long marathon run, runners like to refresh with a nice bottle - or ten - of water. But if you've ever run for an extended period of time, especially in high heat, you know that you not only lose water through sweat, but also electrolytes and salts that help keep your energy up.
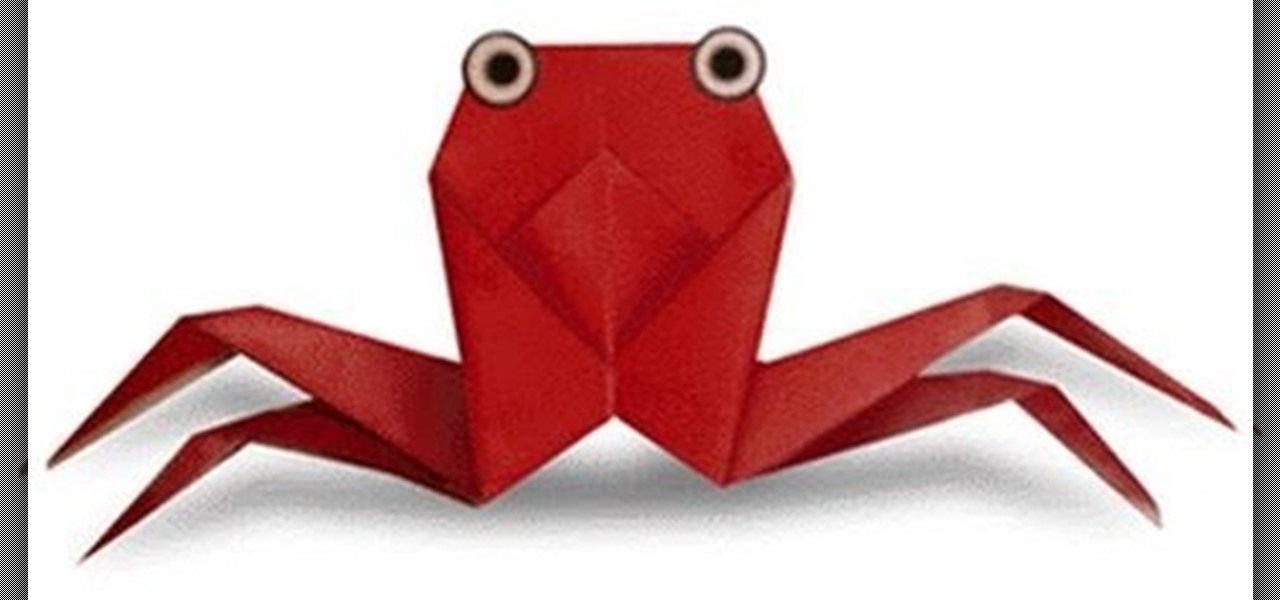
How To: Make an origami crab for beginners
Feeling crabby doesn't always have to be a bad thing. In fact, if you're an origami artist sometimes feeling crabby simply means you're in the mood for folding some teeny crabs! Crabs are a great project for summer and also take minimal effort and expertise to fold.
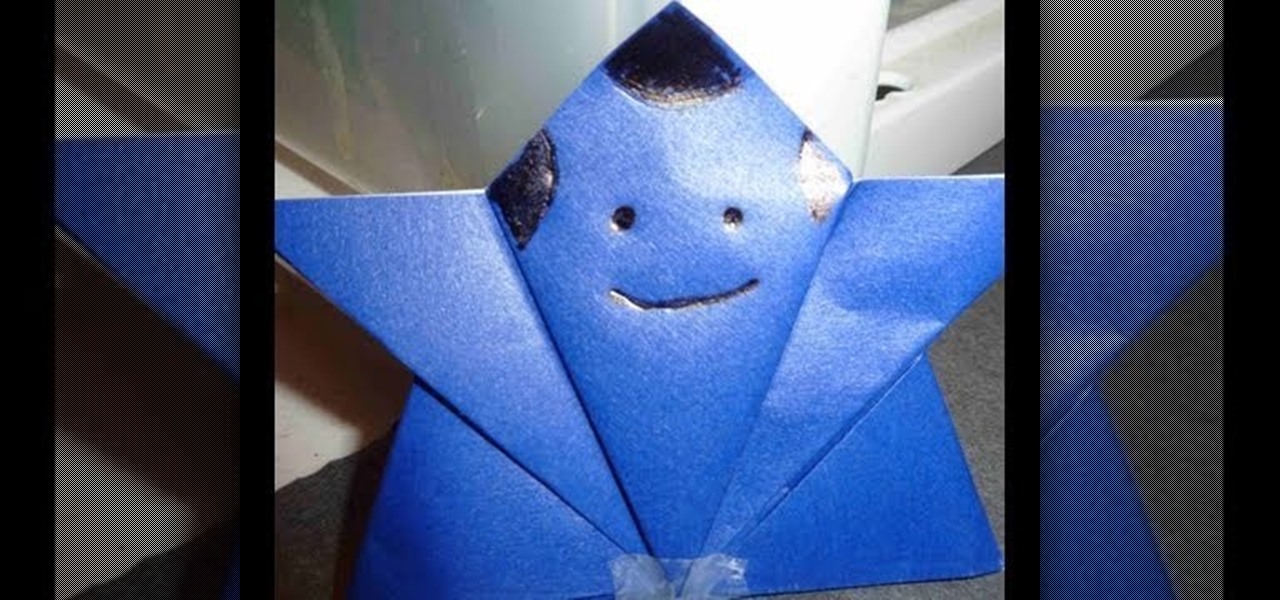
How To: Make an origami Shogun Japanese warrior for beginners
The Japanese Shoguns built their entire warrior culture around masochism. Did you lose in battle? Congratulations, you must cut off your own head! Did you dishonor your general? Punishment consists of swirling your guts around with your own sword (yes, you're doing this yourself) and then chopping off your head. As you can see, failure - and disobedience - was not an option, and to commit it shamed you so much it would be more honorable to be dead than alive.
How To: Fold an origami grand piano for beginners
These are the pianos of concert halls, of greats like Mozart and Beethoven, and of piano masterpieces that still set the standard for good music production. Grand pianos are large and a bit ostentatious, yes, but they create a deep, resonant sound that tugs on your heart strings.
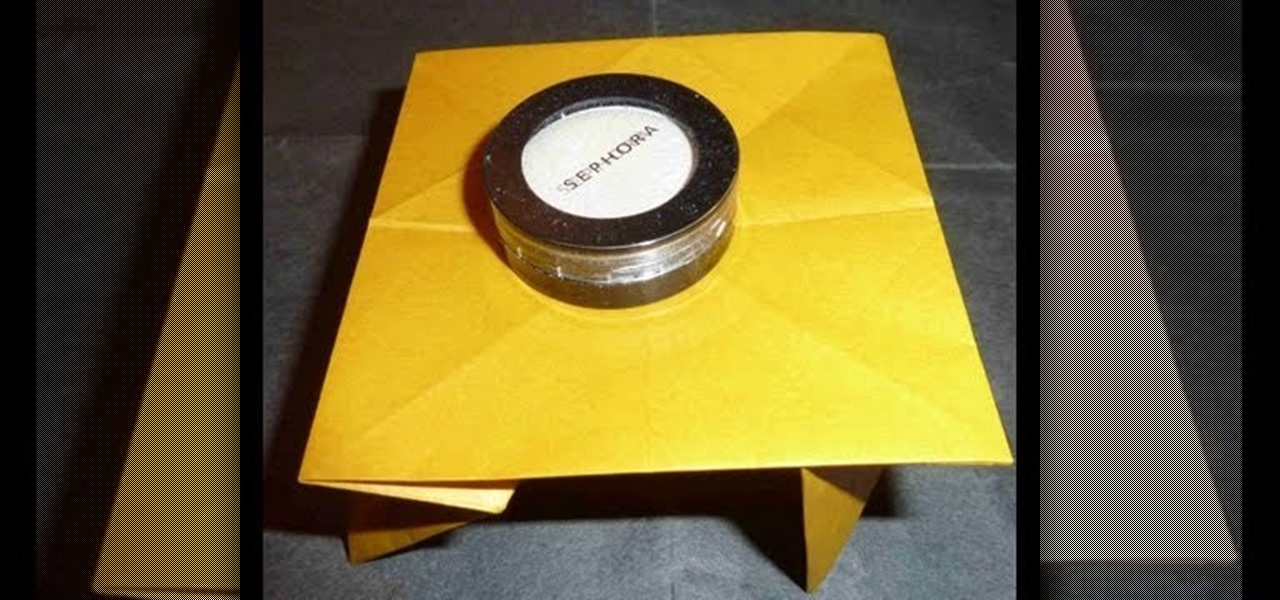
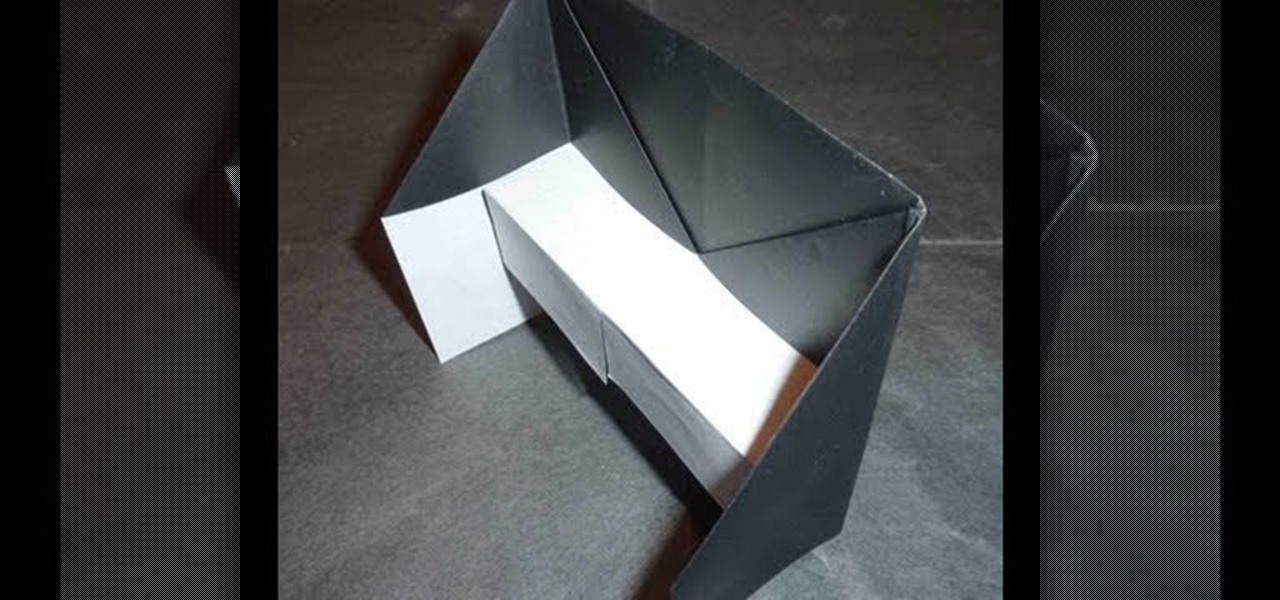
How To: Make an easy origami table for a living room
Got a niece who loves playing make believe in her doll house? Then she'll get a kick out of this project. After all, every doll house needs a set or two of furniture. Make her a furniture piece that's unique and can actually hold a few light objects (like fake food) by watching this origami tutorial.
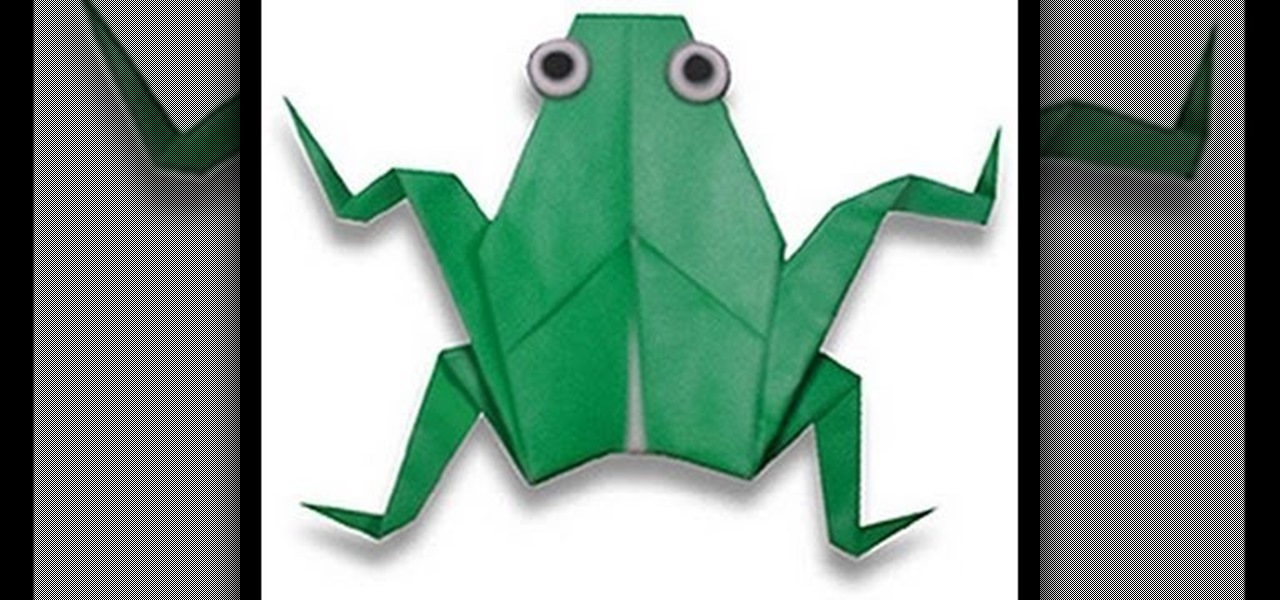
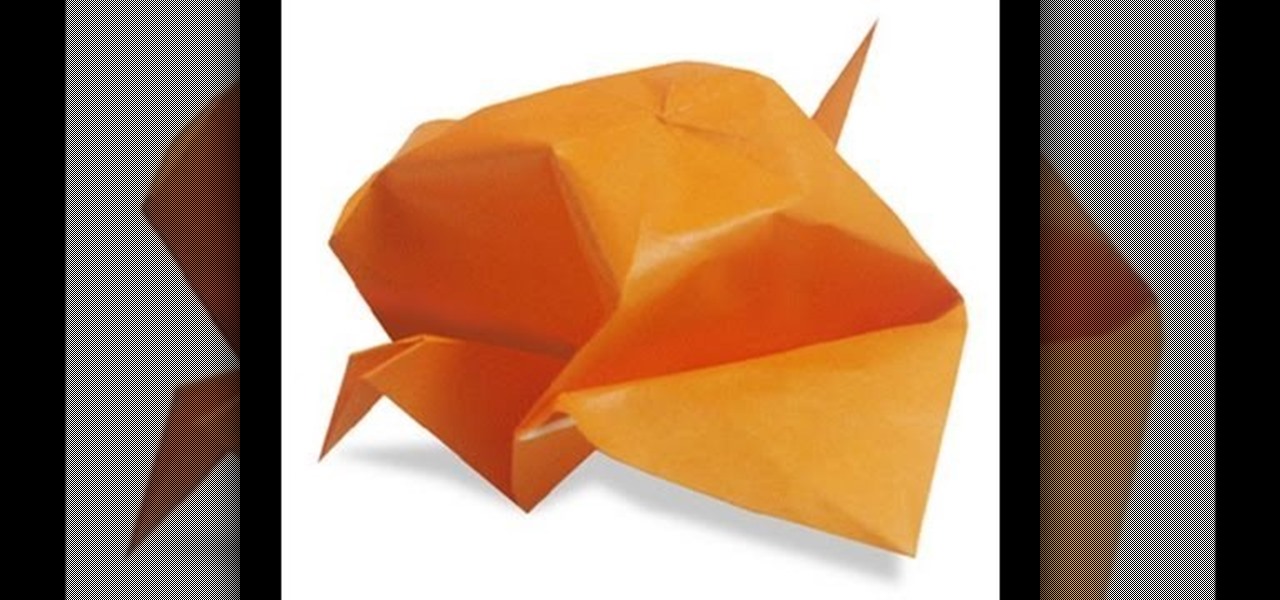
How To: Make a 3D origami frog for origami beginners
Psst. Want to know a little secret? When it comes to beginner origami, if you know how to fold a crane then you can fold a variety of other animals/creatures, including a frog. By adding one extra step, you'll be able to turn a crane into a cute frog that stands on its own.
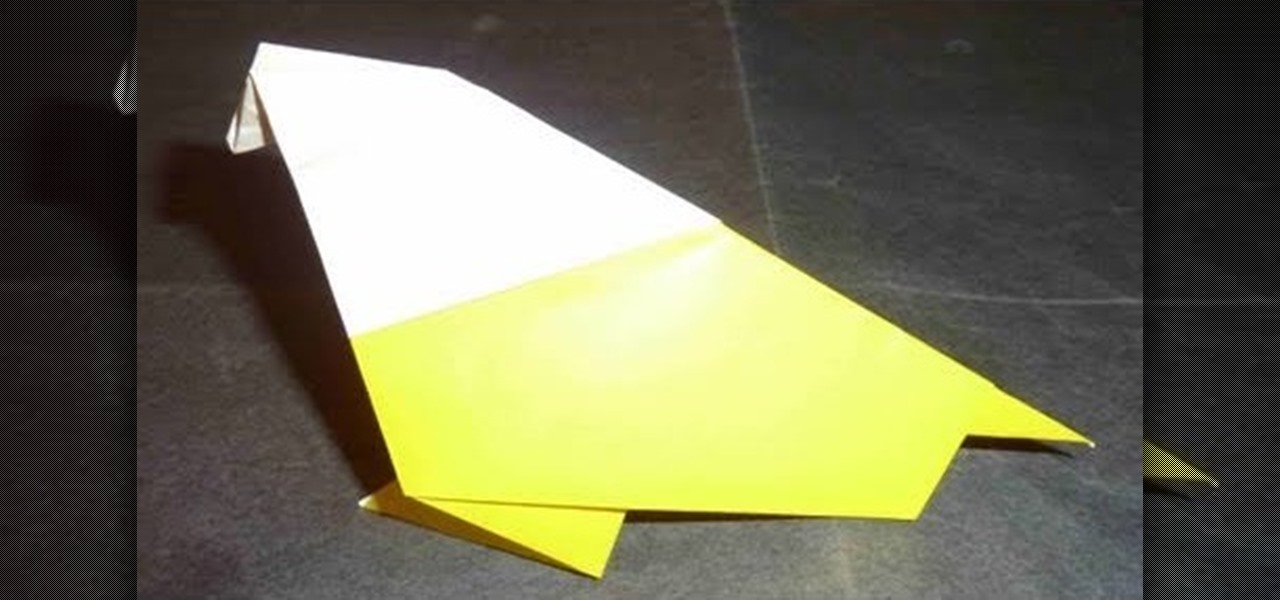
How To: Fold an origami "Jump" model by Hans-Werner Guth
The core principle of origami is folding something from a single sheet of paper. The idea is to challenge your mind to create something fabulous out of very limited material. And while this is quite the poetic journey, as you'll see with modular origami and this origami tutorial, sometimes more than one sheet is necessary to get the job done.

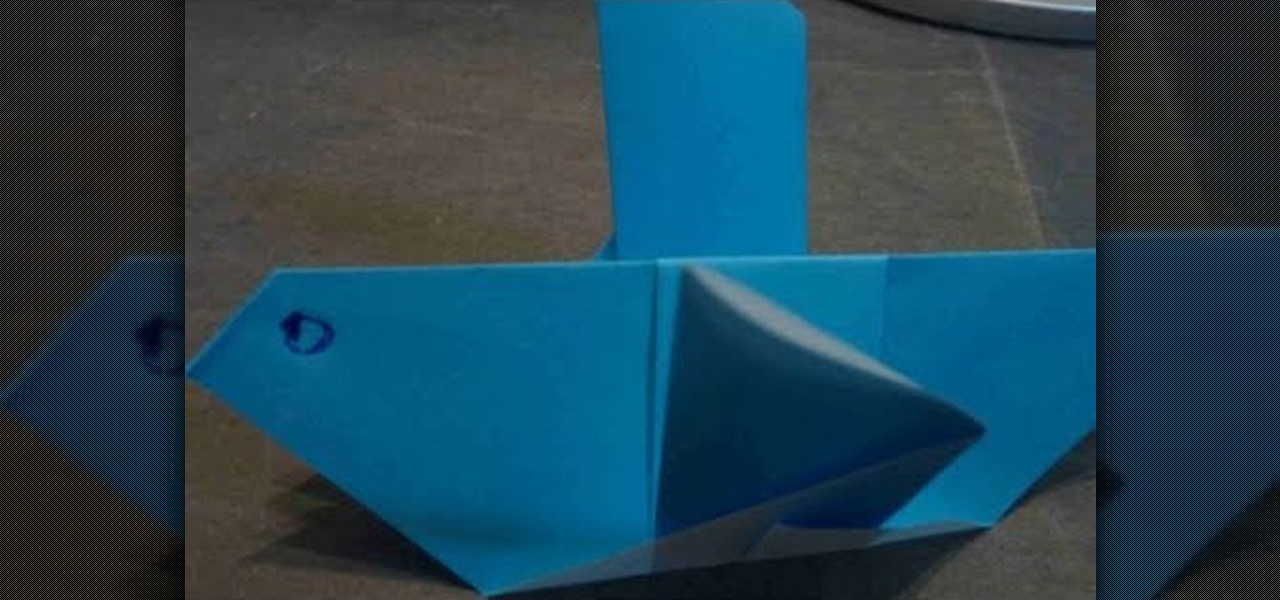
How To: Fold an origami baby cradle for beginners
Just as night follows day, the summer and fall baby season follows wedding season in the spring. Lots of cute young ones seem to get popped out by the dozen during the summer, often prompting baby showers and other baby-themed events.

How To: Make an origami 3D penguin by Kawamura Akira
Our little sister nearly burst our eardrum when she squeled in glee at seeing cute as a button baby penguins tap dance and jive in the movie "Happy Feet." Baby penguins, being rather spherical in shape and super fuzzy, often become a little girl's favorite animal, and it's easy to see why.
How To: Make a cute 3D origami bird for beginners
You don't need to be an origami magician in order to spin marvelous creatures and critters out of thin air using nothing but paper and your super dexterous fingers. In fact, lots of origami projects that you've admired (cranes, roses, swans) can easily be folded by just about everyone. And yes, that includes beginners.
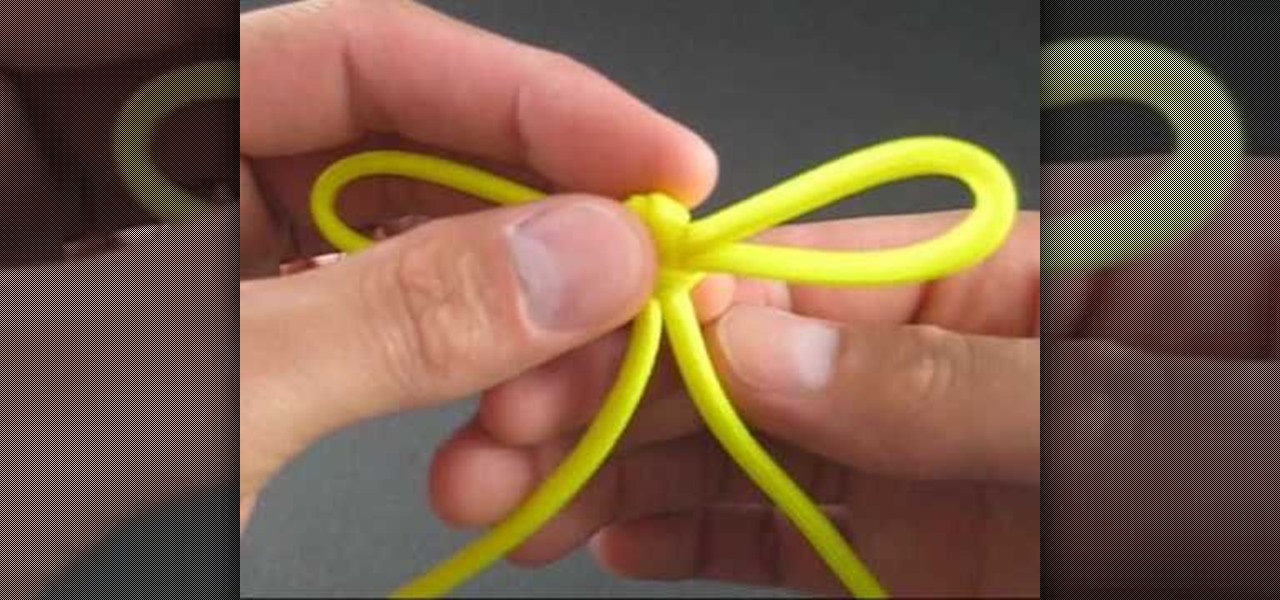
How To: Tie a Japanese bow knot
If you're looking to tie something that is elegant and beautiful, then this next tutorial has something for you. This video is going to show you step-by-step on how to tie a Japanese bow knot.
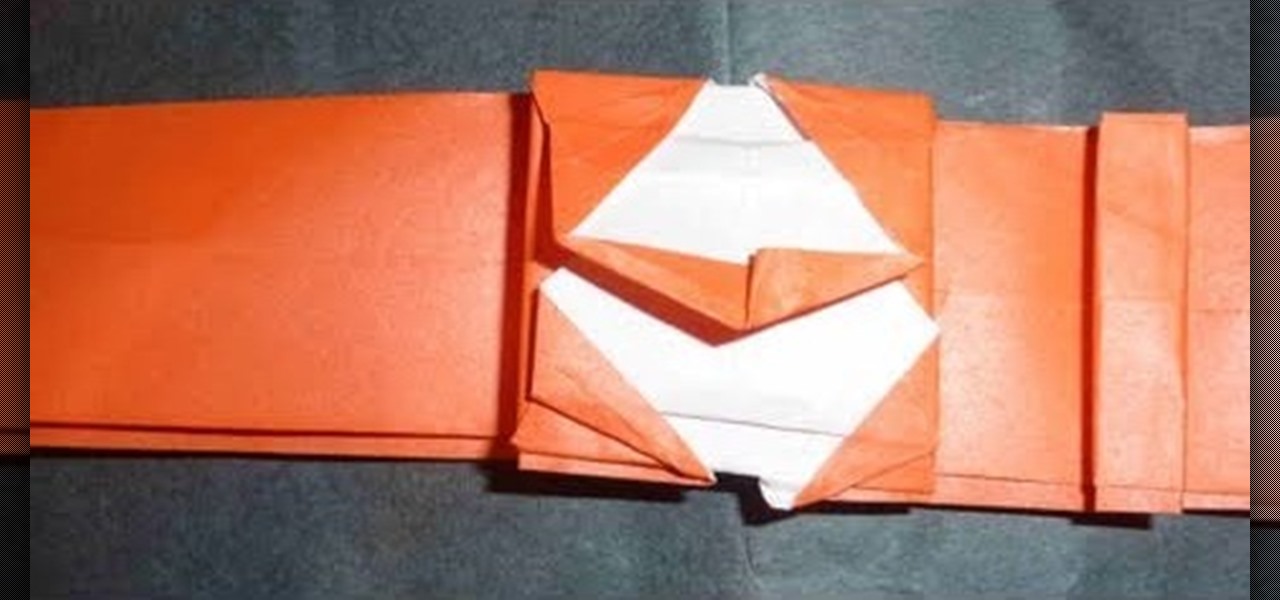
How To: Make an origami wrist watch for intermediate students
What time is it? Time to fold yourself an adorable origami wrist watch! Though watches are now almost obsolete because we check the time via more recent innovations like the iPhone and our mp3 players, they're a fashion accessory that'll be around until the end of things.

How To: Make a journal from packaging materials
In this tutorial, we learn how to make a journal from packaging materials. First, cut a cardboard at 5.5" x 4.5" on each side. When you are finished, create another cut that is 5.5" x 1" for the side. Now, cover the two large sides with a piece of fabric that you choose. After this, cover the middle piece with fabric, and then tape it on with double sided tape. Next, place all pieces next to each other, tape it, then place a solid piece of paper on the inside, and use a glue stick to adhere i...
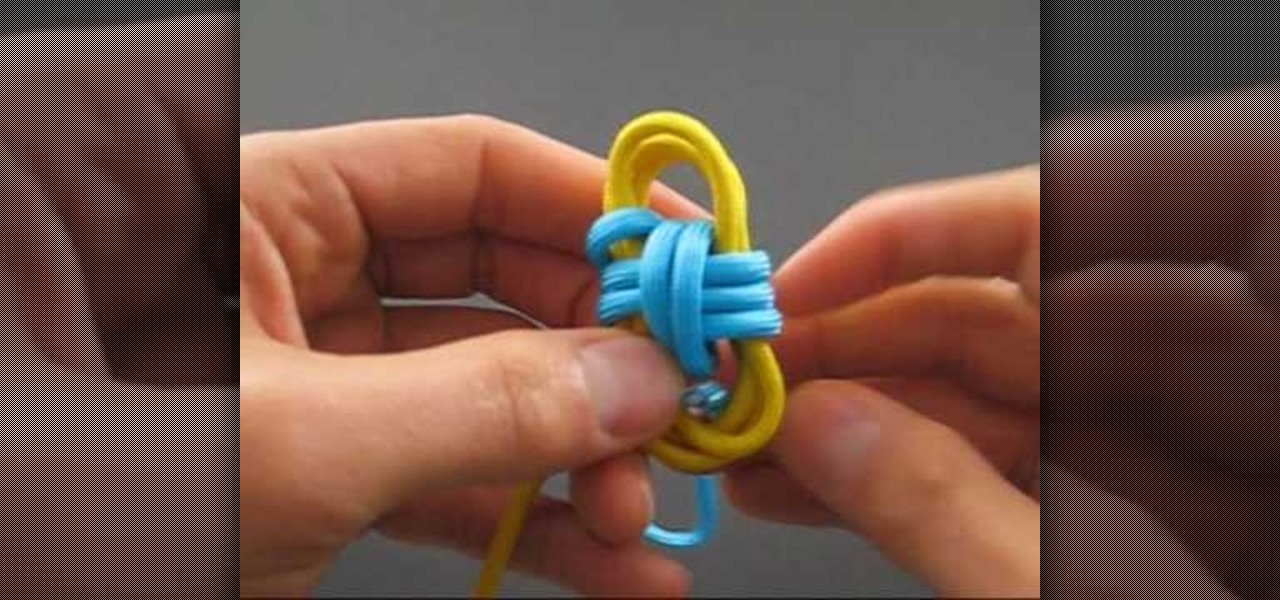
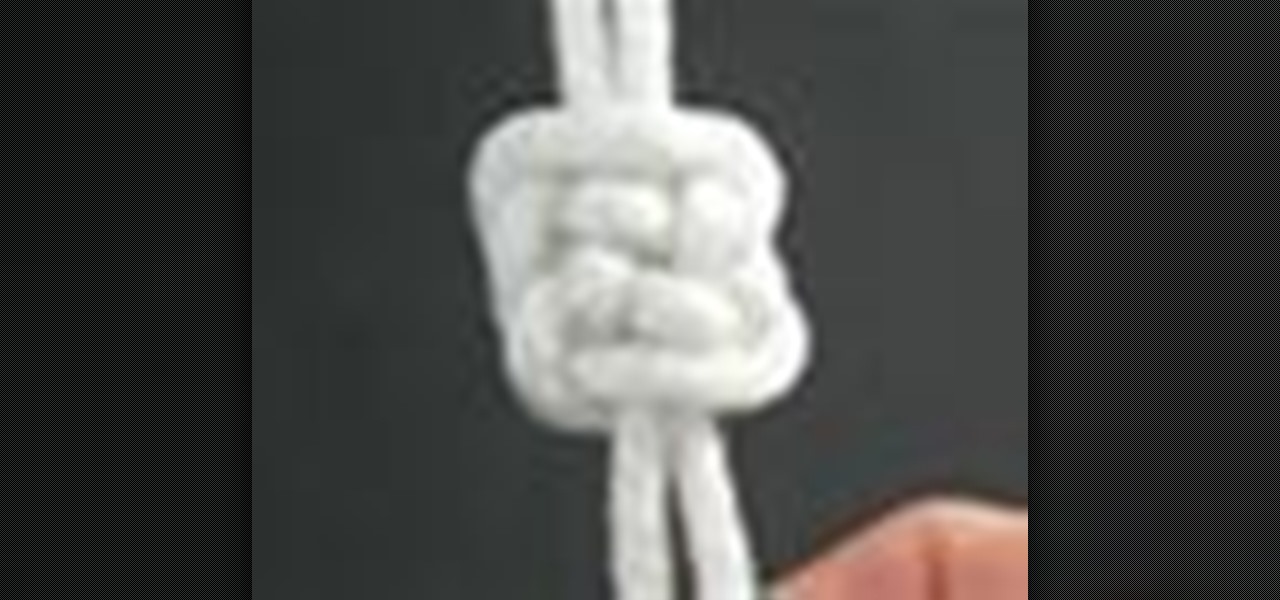
How To: Tie the two color monkey's fist knot
In this tutorial, we learn how to tie the two color monkey's fist knot. First, make a double overhand knot, and snip the edges off. Next, create the monkey's fist by taking one of the ropes and looping it around the fingers several times. After you do this, push the knot through the fingers and tie the other string around the entire loop several times. Push the string through the loop, then continue to tie on the opposite side around itself. To finish this up, Pull the two outside strings tog...

How To: Make knit stitch markers
In this tutorial, we learn how to make knit stitch markers. First, knit to the middle, doing two stitches together, then flip stitch over. When you get to the middle of your item, place your marker on the stitch to keep track of where the loops are at. You can purchase a knit stitch marker from a variety of different craft stores. Use this as often as you'd like, especially if you need help finding the gap when you are creating something. Set this aside when you are finished, and make sure yo...

How To: Back stitch when embroidering
This video tutorial belongs to the Arts & Crafts how category which is going to show you how to do back stitch when embroidering. This is really simple and easy to do and takes no time to learn. For starting, mark five dots on the cloth. Then you stitch from point 1 towards 5. First you pass the needle from under the cloth through point #1, pull up the thread and pass it down through point #2. Now pull the thread up through point #3 and pass it back down through point #2. Then you pull the th...

How To: Fix a dropped stitch in knitting
In this tutorial, we learn how to fix a dropped stitch in knitting. This can be scary if you are a first time knitter, but it can be fixed without having to restart your project and take out all your stitches. First, work back to the place where the stitch first dropped. After this, push the needles back and insert a crochet hook into that dropped stitch. Next, hook the hook into the above stitches and pull it through until it's stitched back up. After this, remove the crochet hook from the y...
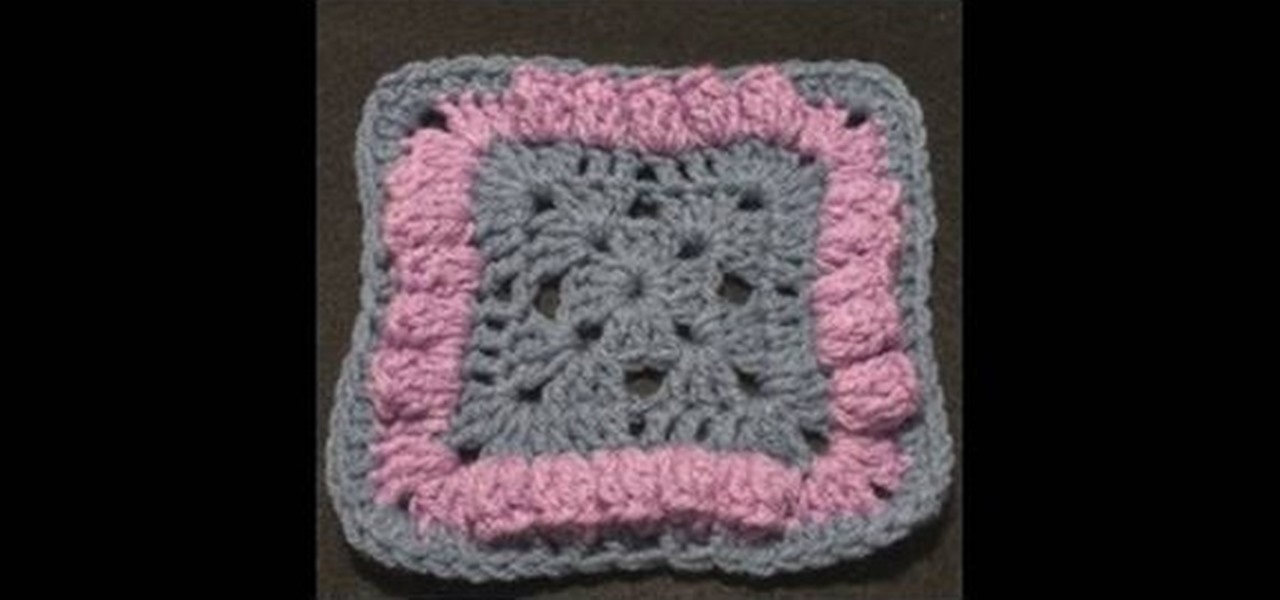
How To: Crochet a bellevue granny square
In this tutorial, we learn how to crochet a Bellevue granny square. Start by adding the slipknot to the crochet hook. Work a chain of four and join with the beginning chain. The first two rounds are going to be a traditional granny square. Chain, pull up, then work three double crochets. Continue doing this for all of them. Chain two, then work three more double crochets. Work the last three double crochets and you will have the base of the granny square complete. Continue doing this, but end...

How To: Make a pig out of punches
In this tutorial, we learn how to make a pig out of punches. First, you will need to have white paper, pink paper, and black paper. You will also need punches that are in star shapes, different circle sizes, oblong shapes, and a flower shape. TO put this together, first glue a small heart shape to the bottom of the oblong shape and set to dry. Next, take a large pink circle and place two white dots and black dots on top to make the face. Next, draw two black circles onto a smaller pink circle...
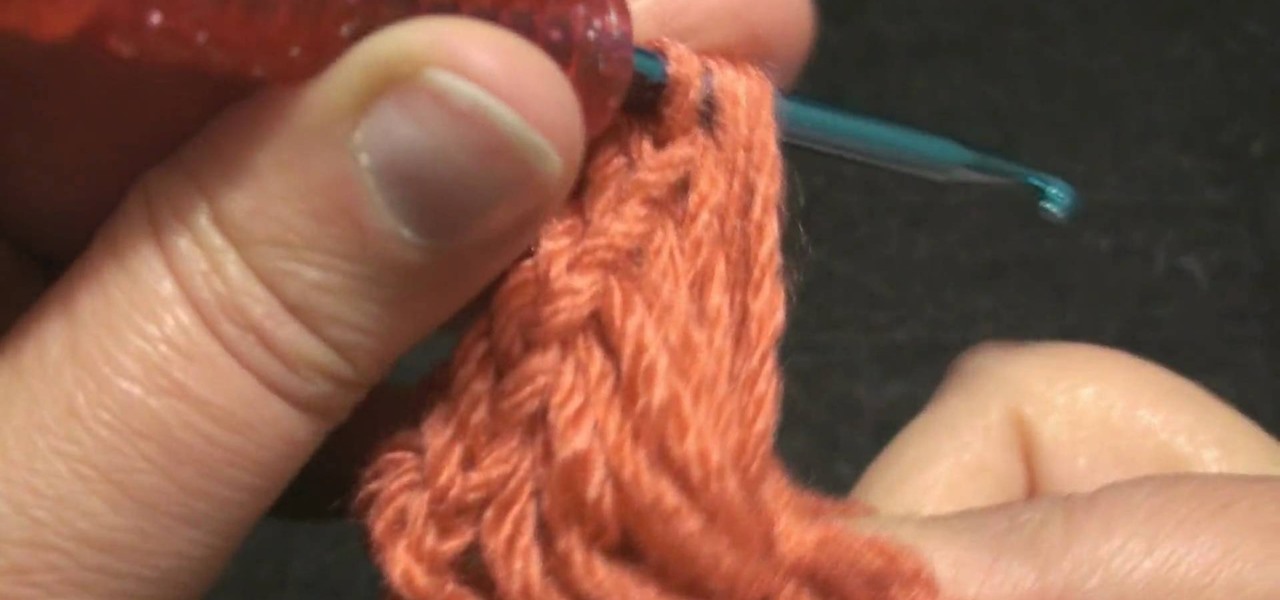
How To: Crochet left hand radiant butterfly
In this video, we learn how to crochet a left hand radiant butterfly. First, attach the slipknot to the crochet hook and chain four. Next, work four chain four loops. Slip stitch through the center of the chain four, then chain four again. Continue to do this until you finish one side of the butterfly wing. Next, continue on to create the next butterfly wing by chaining seven, then cut off the additional string after you knot it off. Now, use a pipe cleaner to shape it into the shape of the b...
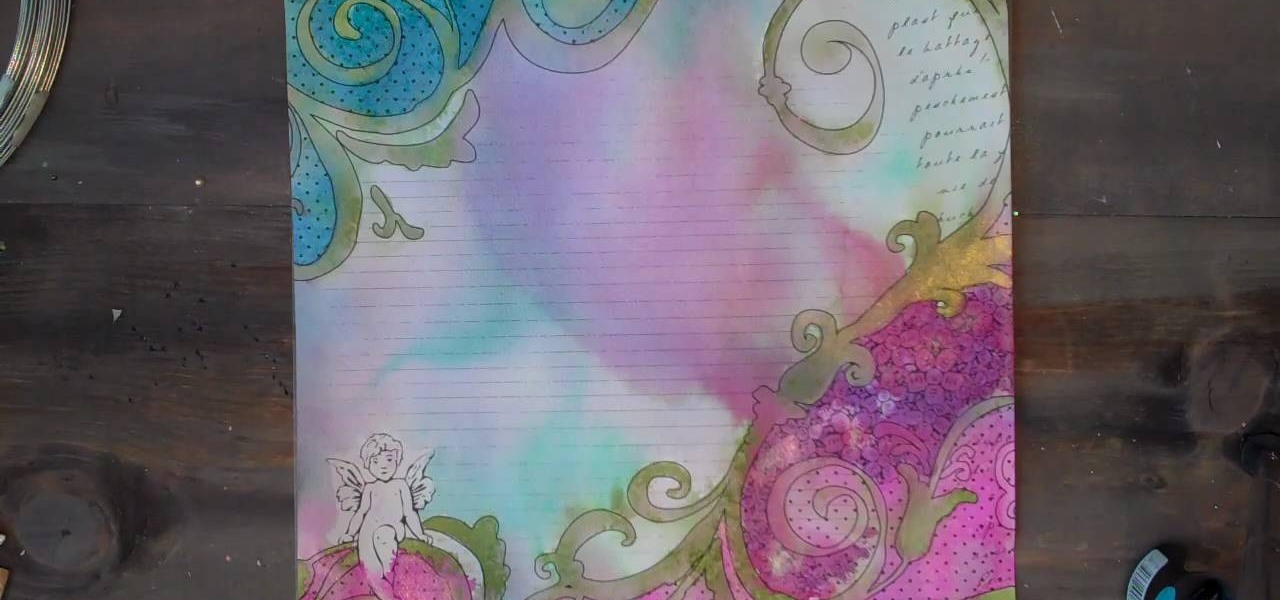
How To: Use Prima Paintables paper
In this tutorial, we learn how to use Prima Paintables paper. These are meant to watercolor on and are very thick pieces of paper. You can take a paint brush and open up a bunch of different paint colors. Start to paint your picture, then allow it to dry. When finished, you can spray a water bottle on it to bleed the picture and make it look unique and your very own. This is something that is fun to do and makes it easy to paint your own creations using this paper that is made just for painti...

How To: Thread a school sewing machine
In this video, we learn how to thread a school sewing machine. First, apply the top thread to the bevin on the top of the sewing machine. You will thread this from the spool onto the side hook, then around the top and through the needle at the bottom. Next, thread the thread into the bobbin next to the sewing machine door, then push it through the bottom and thread it around the needle. After this adjust the settings on your sewing machine until they fit what you like. Then you will be ready ...
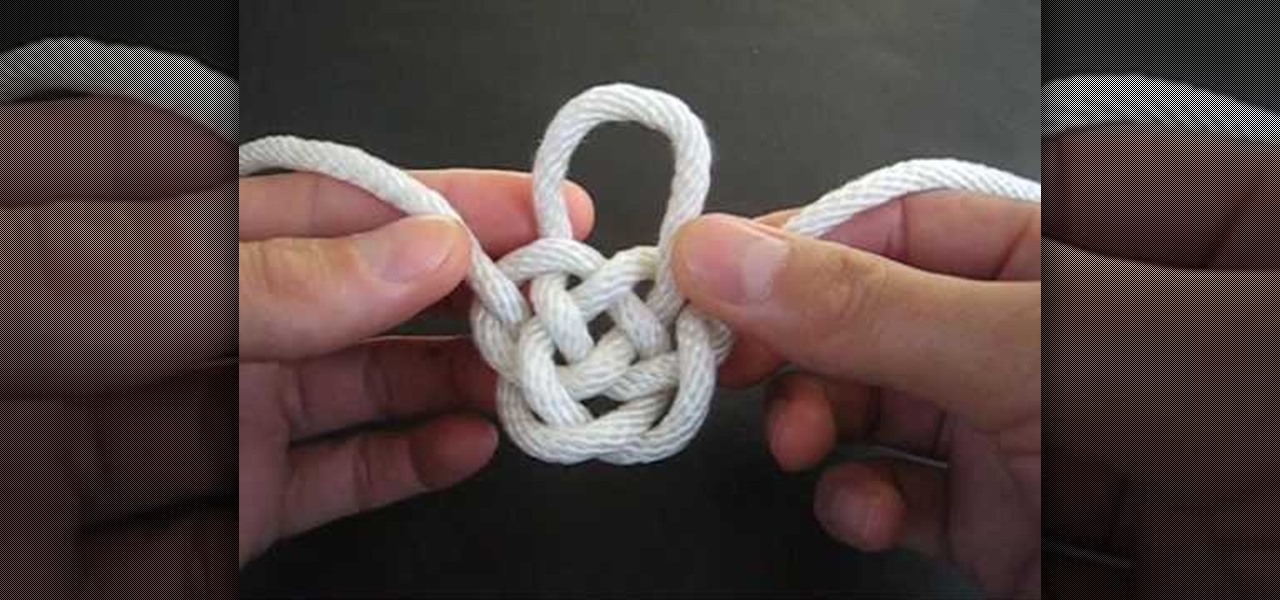
How To: Tie the Djinn Bottle decorative knot
In this tutorial, we learn how to tie the Djinn bottle decorative knot. First, make a loop on the left side of the string, then bring the other side around it and pull the top up. After this, twist the two strings underneath the bottom of the knot and push the right string through the side of it. Then, push the left string into the left side of the knot through the back. Pull on the top, then twist it into a loop and push the left string through the back, making a loop, then pushing the right...
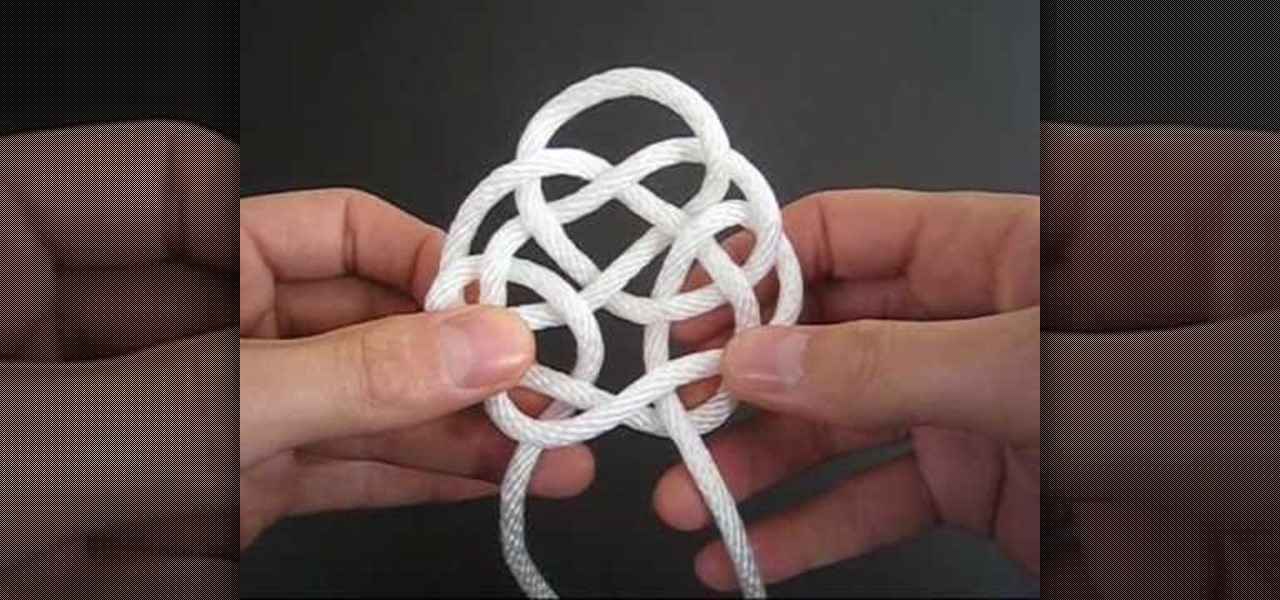
How To: Tie the Rising Sun decorative knot
In this tutorial, we learn how to tie the rising sun decorative knot. First, loop your string on the left side, then pull the right side over the top. Now, bring the bottom of the right side over and place the end into the first loop going over the other string. Next, remove the string from the last loop it was in, then bring the right over to the right loop and push through to the bottom. Next, bring the right string over to the left side and thread through the left loop closest to it. Next,...

How To: Do a cabled pleat
In this tutorial, we learn how to do a cabled pleat. First, do three stitches onto the cable need and hold them in front. Then, slide the needles together and start knitting on each needle with the separate needle. Continue to do this until you are done. You will then put four stitches on the cable needle and then hold them parallel again. You will continue doing this process until you have reached the end of your row. This may take you a few times to accomplish, but practice can help. If the...
How To: Tie a plafond (lanyard) knot
In this video, we learn how to tie a plafond knot. First, make a loop with your string, then make a smaller one directly underneath it. Make a larger loop underneath this, followed by another small one. After this, grab the bottom and lift it to the middle of the one on top of it. Next, bring the top down and push it into the middle of the bottom loop. Bring the left hand side of string through the top of the loop, followed by the right hand side through the right hand side middle. Now, pull ...

How To: Make a paper flower pot
In this tutorial, we learn how to make a paper flower pot. First, fold your paper into a triangle then crease and unfold. Next, fold the paper in half to make a rectangle, then crease and unfold. Do this on the other directions, making creases for each. Now, flip the paper over and make a triangle, then crease and unfold. As you unfold, push the sides in, the squish down to make a square piece. Fold the open end of the square base to the opposite corner, then fold a triangle from the top in t...

How To: Fold a paper crown for your head
In this tutorial we learn how to fold a paper crown for your head. First take a piece of paper and fold it into a triangle. Next, fold the edge of the paper over, then tear it off at the crease. Next, fold the paper in half and then fold in half again, so it looks like a square. After this, unfold it and fold the paper together so both sides touch the middle crease. Now, fold one half of the flap on the inside and do this on both sides. Now, fold the side back on both sides, and then open up ...