

Active Arts & Crafts Posts


How To: Fold an origami ninja star
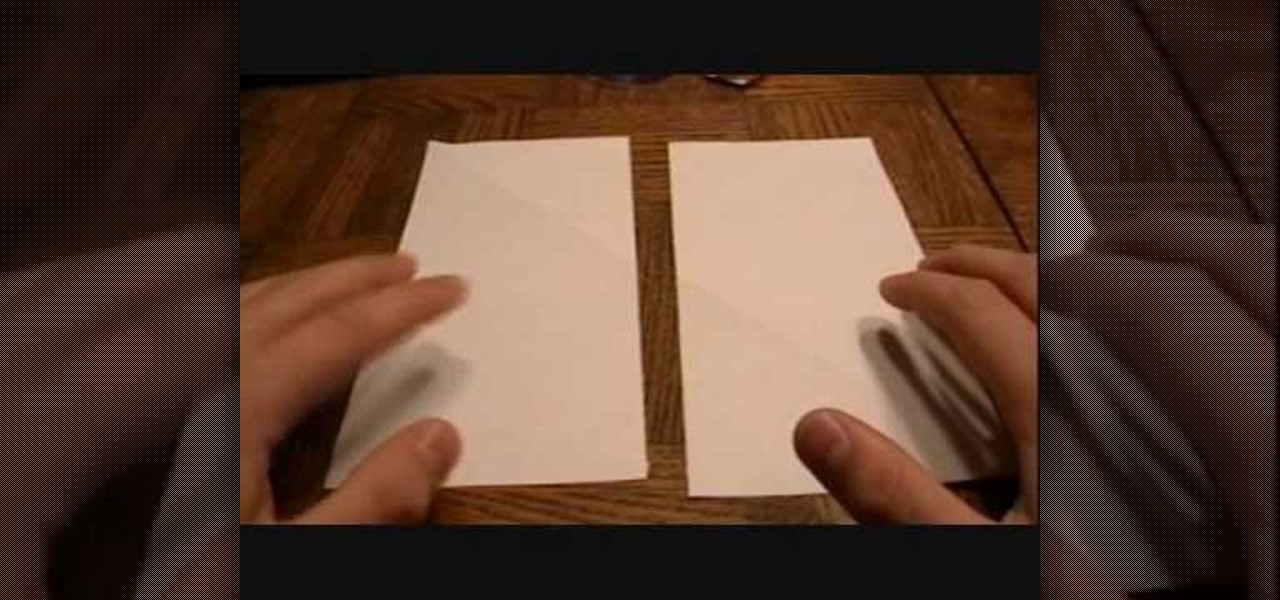
In this Arts & Crafts video tutorial you are going to learn how to fold an origami ninja star. Take a normal paper. Fold it diagonally from one corner and cut off the extra portion to make a square. Fold it in half and cut into 2 rectangles. Fold each piece in half along the length. Fold both ends of each piece in opposite directions to make a triangle. Now fold the ends again to make a bigger triangle at both ends of each piece of paper. Each sheet will form a 'Z' shape. Now place one sheet ...
How To: Do an arrowhead stitch when embroidering
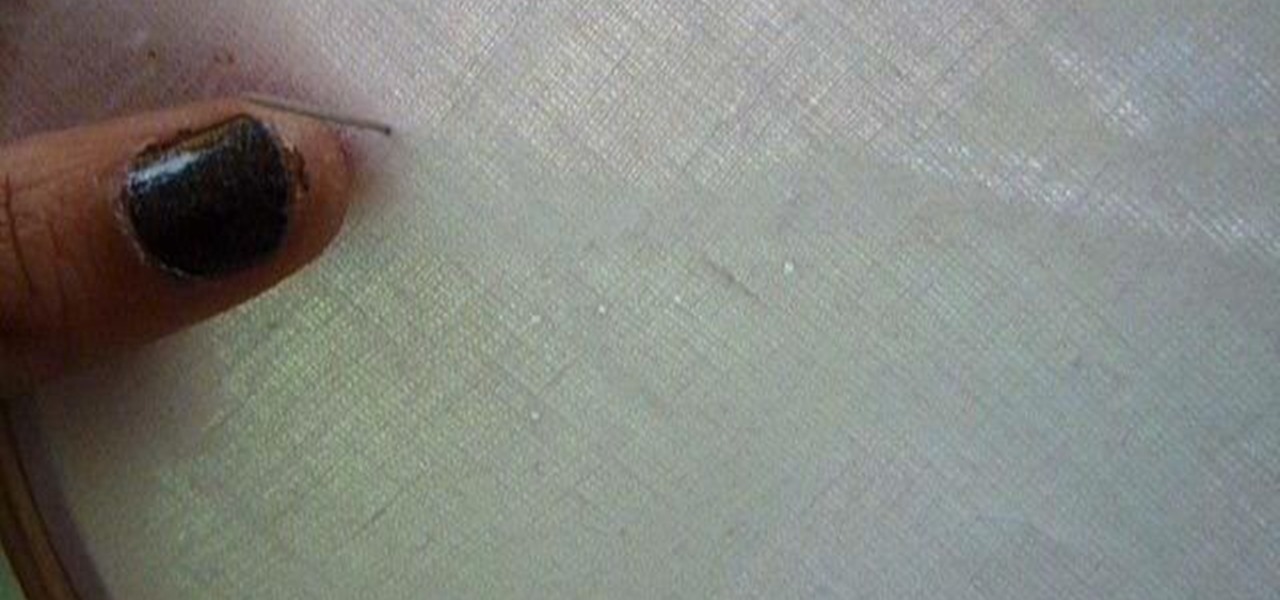
In this tutorial, we learn how to do an arrowhead stitch when embroidering. Start off by pushing the thread through, then pulling it under, then back through at a diagonal angle. After this, thread it back through, making the same angle on the opposite end. As you continue to do this, you will start to see arrows forming after two stitches. Place the arrows one in front of the last to make the stitch complete. When you are done, you will thread the needle through the bottom and tie it. After ...
How To: Work with Stretch Magic
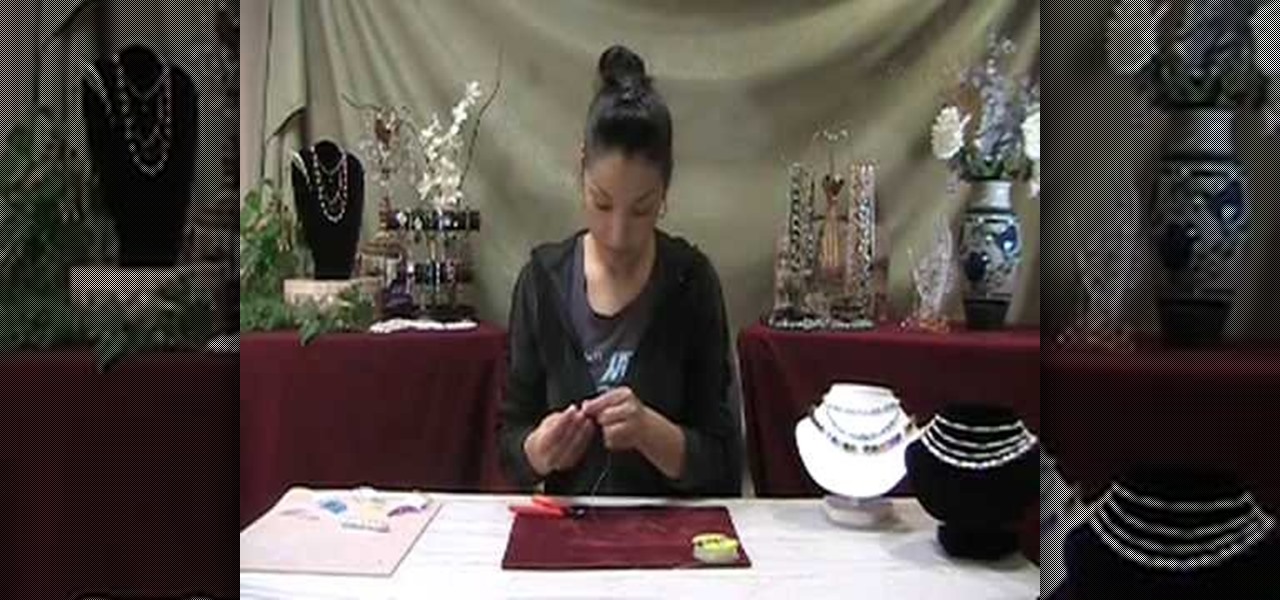
In this video, we learn how to work with Stretch Magic. This is a beading technique that is very easy to use. It's great for making bracelets, because no clasp is required. First, cut a piece of Stretch Magic 4-5 inches longer than you want it. Now, string your favorite beads onto the Stretch Magic. When you are finished with this, connect the ends with a square not and add a drop of super glue for added security. After this, cut off the excess strings from the end and you will be able to wea...

How To: Do a Vandyke stitch when embroidering
First, bring the thread up and then make a diagonal line and bring the thread through again. Bring the thread through again below the diagonal line on the left side. Then, put your needle thread through the 'x' and make sure your loops are even. After this, bring your thread through and even up your stitch. Now thread through on the right hand side and go through the next 'x' shape. Continue to do this, and you will see the Vandyke stitch start to take form as you go on. There will be a verti...
How To: Tie a Maedate knot
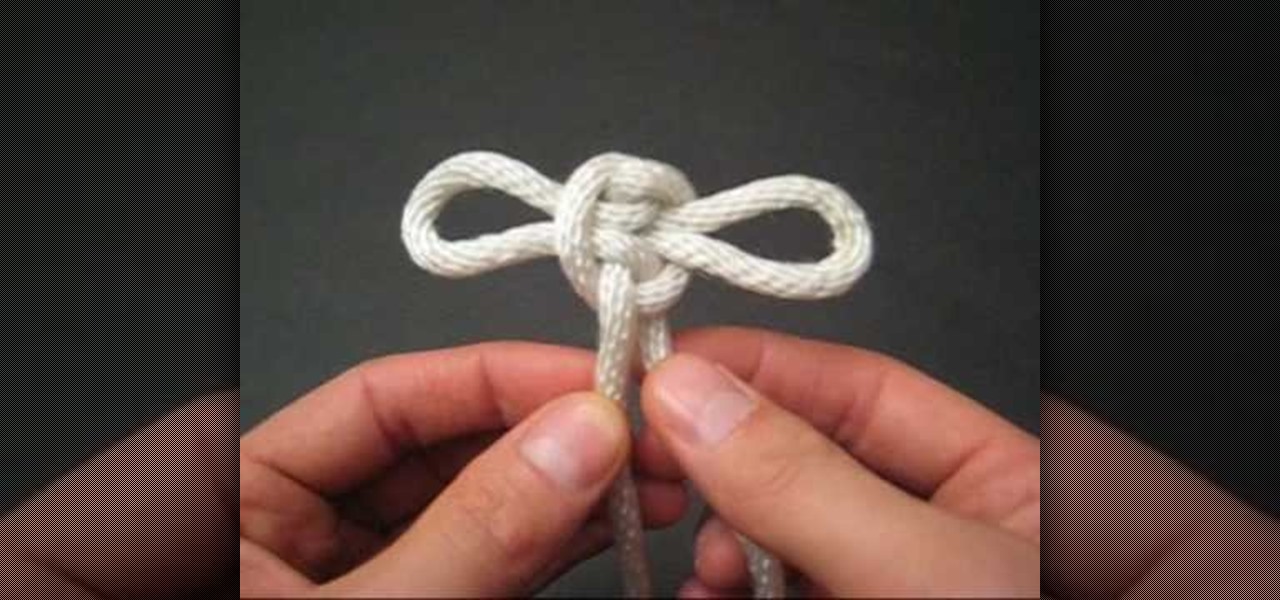
In this video, we learn how to tie a maedate knot. Start off by making a loop in the middle of the string followed by another loop placed next to it. Now, wrap these together in the middle and pull them out on the side. You will now have a shape that looks like a bow. Pull on both sides of the bow, where there will be two loops. You can pull on each of the loops if you want to back them larger. When you pull on the bottom strings, the loops will become smaller. After you do this, you will be ...

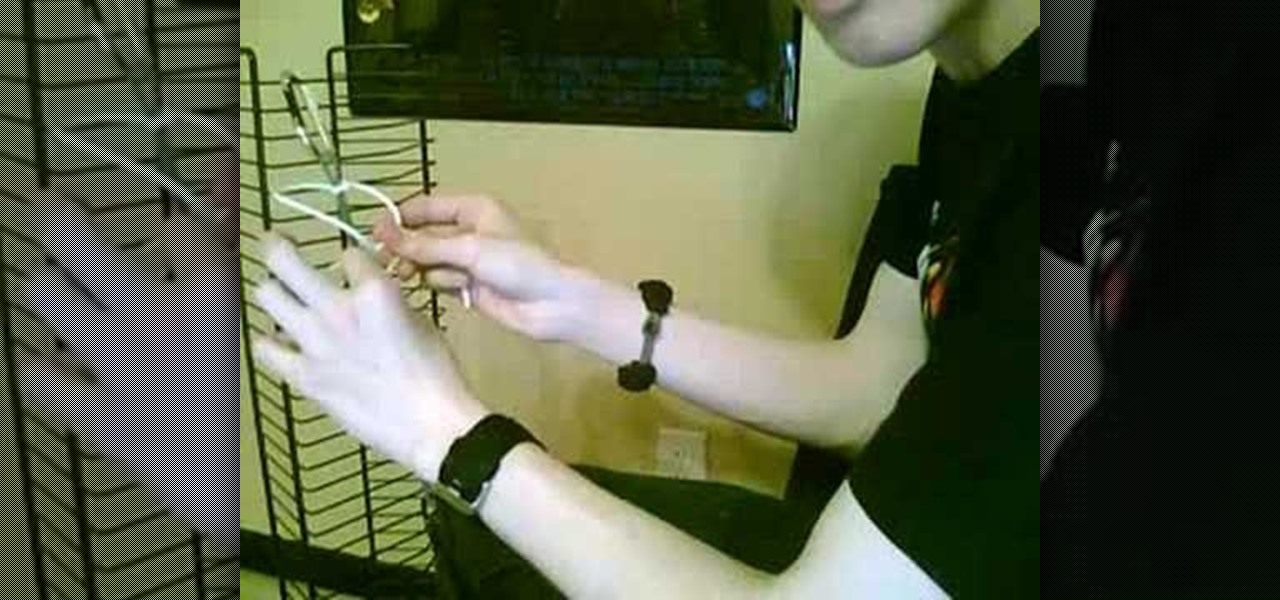
How To: Sew on a shade ring
In this video we learn how to sew on a shade ring with a sewing machine. First, lay your roman shade wrong side up. Next, place a pin inside of it and then fold the shade fabric where it is down. Next, set your sewing machine to a zigzag stitch with a width that is on the wider side. Now, slide your fabric underneath the needle so it just catches the needle on the side. Start to stitch the side of the fabric, removing the pins as you go. Make sure to sew the shade rings on as you go, then you...

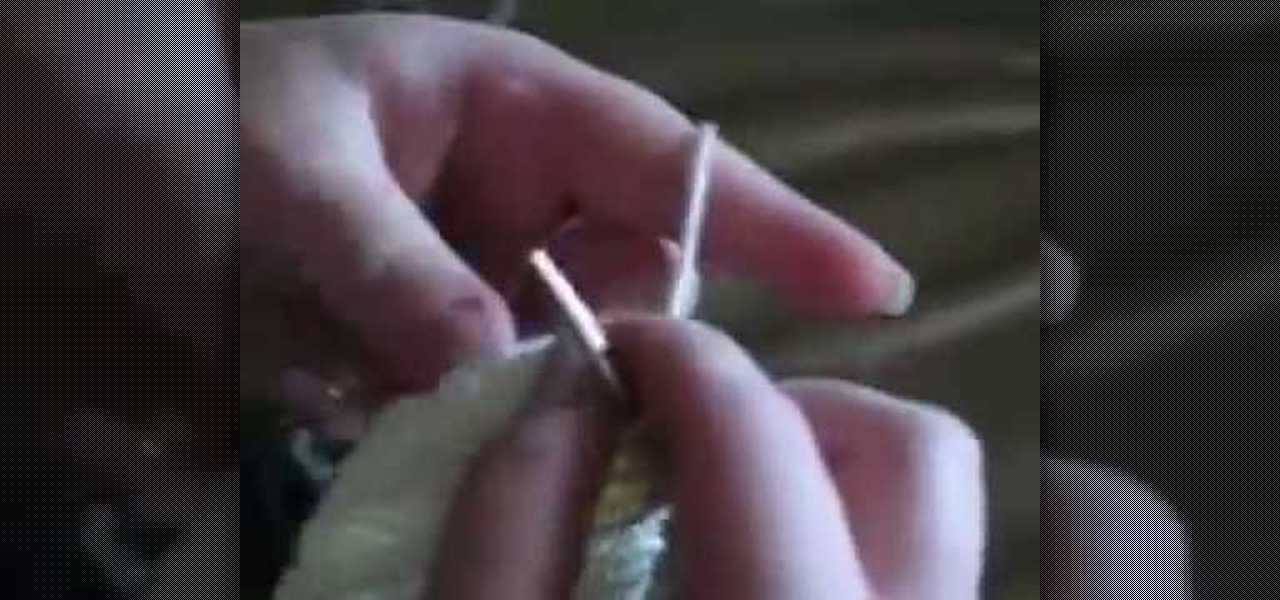
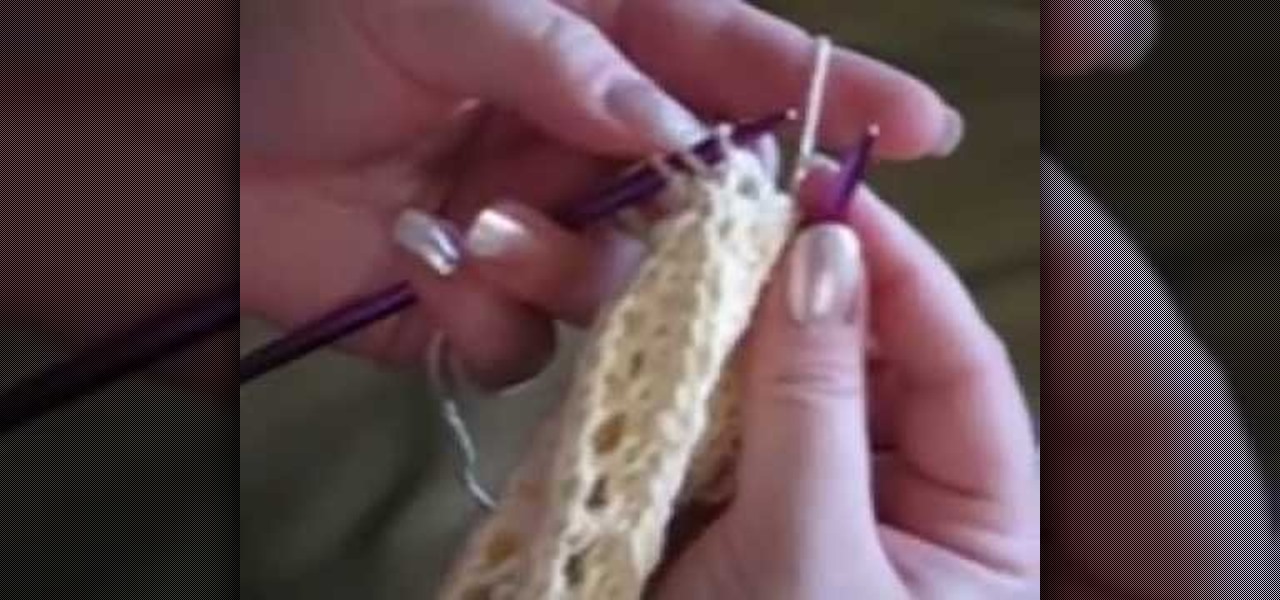
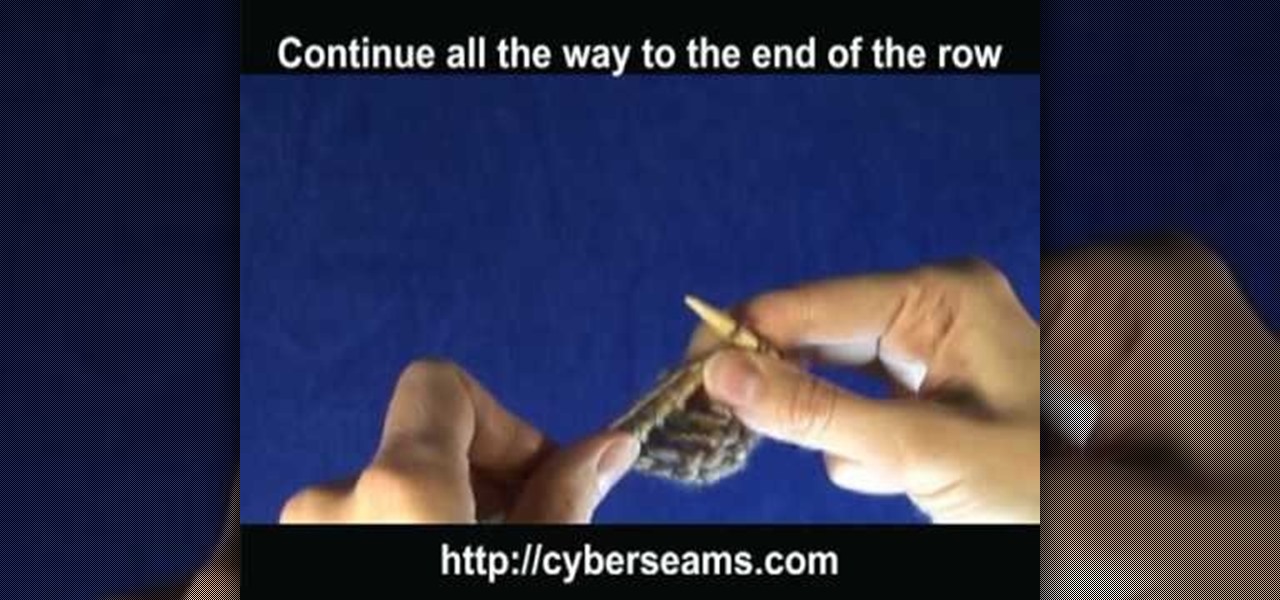
How To: Take out knitted stitches
In this tutorial, we learn how to take out knitted stitches. First, pull your yarn tight and insert your two crochet needles. Take the left needle and go into the stitch, then pull it out with the right needle. Continue to do this for each stitch, until you have removed each one you don't want. Although you may think you won't need to do this, it's very important to learn just in case you make a mistake while creating something. make sure to work slowly, so you don't end up removing more stit...

How To: Fold an easy plane
In this tutorial, we learn how to fold an easy plane. First, fold a piece of copy paper on one side into a triangle, then open up and fold the opposite way, making creases on both sides. Next, fold the triangle further, until you have a shape that looks like a house. Next, fold the two flaps up on top to keep the triangle shape. Then, fold them both down. After this, fold the sides of the triangles into the crease in the middle of the paper. Next, fold the paper in half and make a wing by fol...
How To: Upcycle a t-shirt into a Pikachu romper
Are you a big fan of anime and cosplay? Getting dressed up for anime conventions is super fun, but you can add to the excitement and save money by making your own costume.
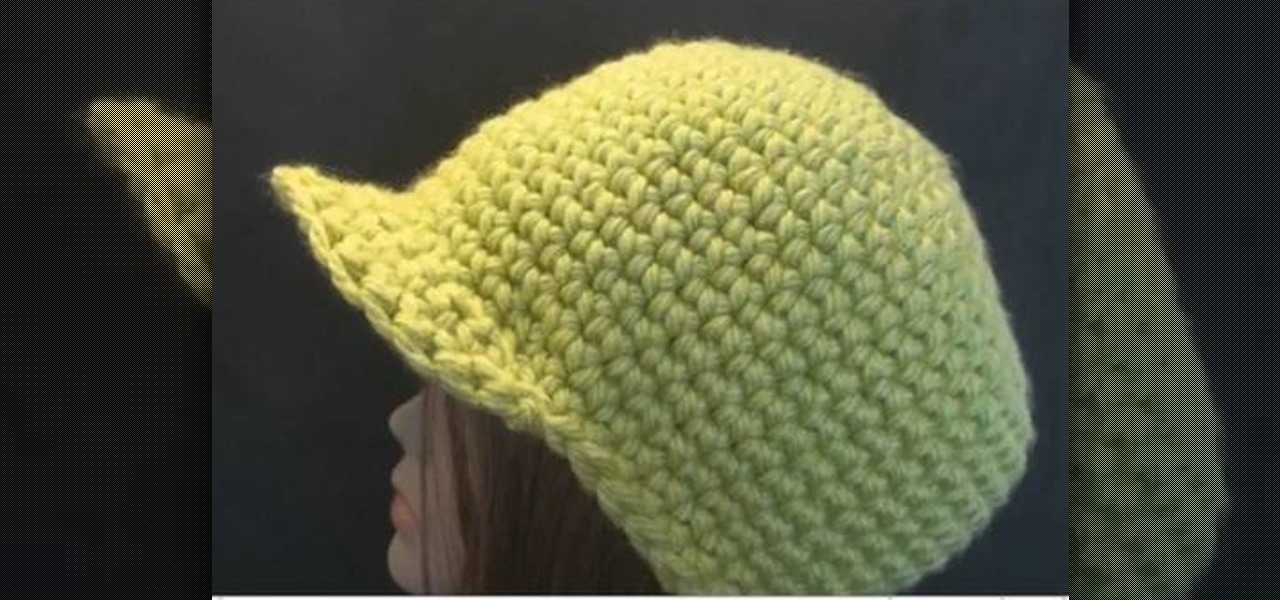
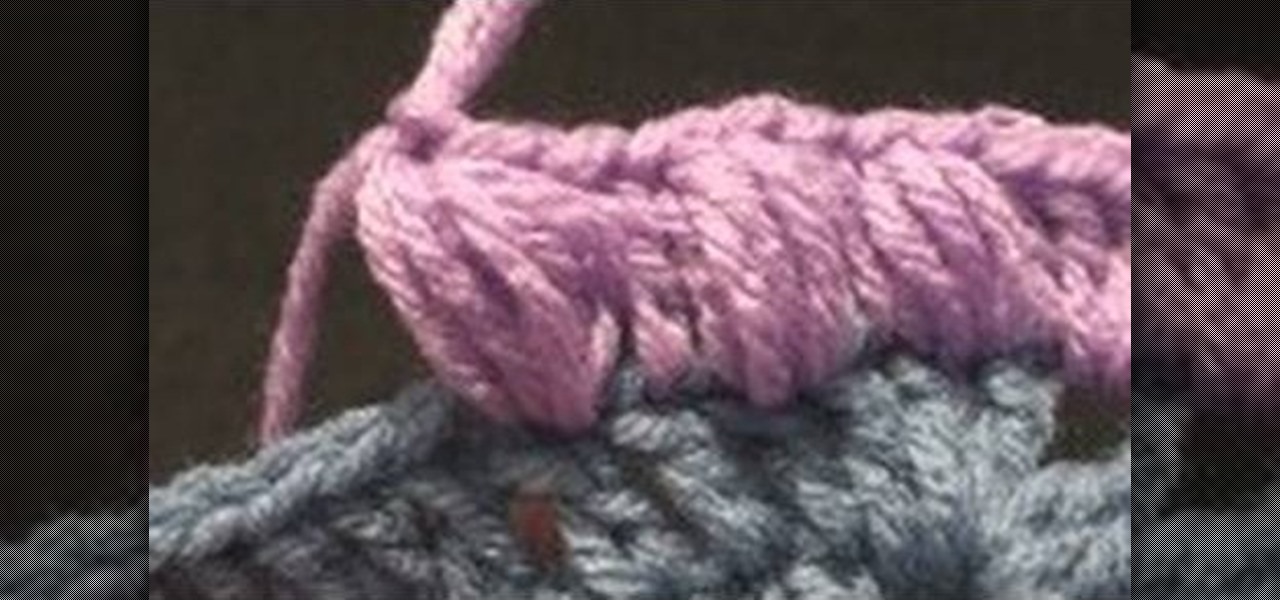
How To: Knit a chunky yarn newsboy cap for left handers
You usually don't hear the words "skater" and "crochet" in the same sentence, but these two rather opposite realms collide within this crochet tutorial. You've probably already seen newsboy caps before: lots of skaters don it because it's cool and also very comfortable. But did you know these skater hats can be made with yarn?
How To: Knit a daisy stitch
In this tutorial, we learn how to knit a daisy stitch. First, you will knit all the stitches for one row. On the next row, you will purl three together making yarn over, then purling the same three stitches together again. Having looser stitches in the first row will help with the ease of knitting the second and third row. Continue to do this process until you are finished. Knowledge on how to do these stitches is extremely important. If you don't know how to knit before this, you won't know ...
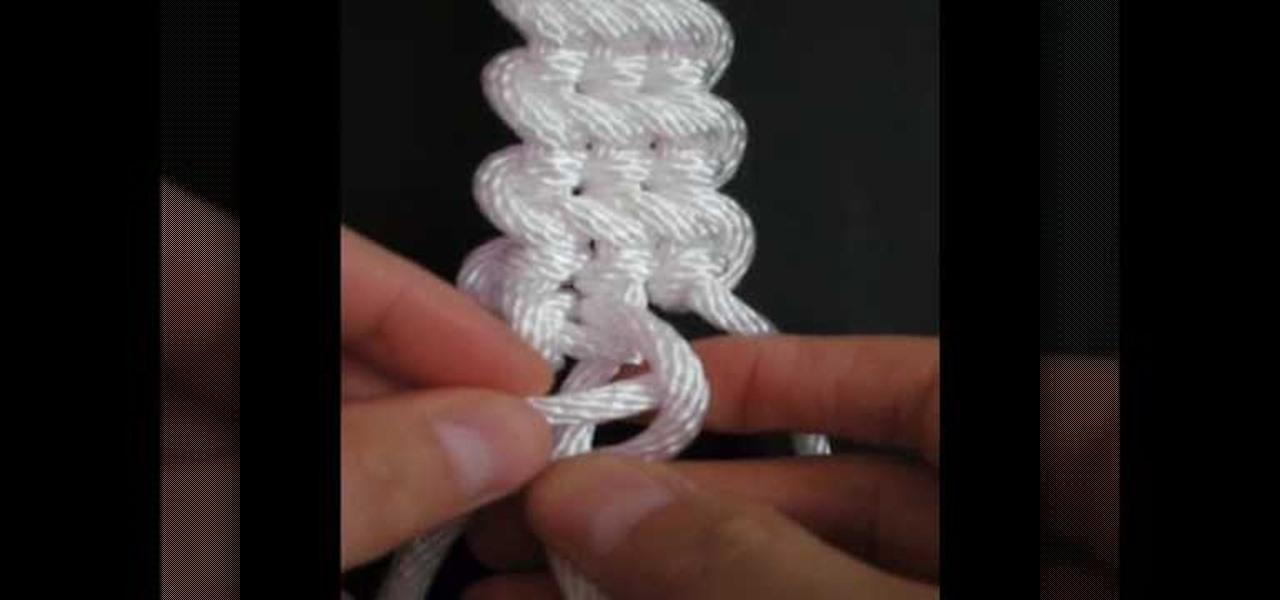
How To: Weave a (king) cobra stitch for parachord bracelets
In this tutorial, we learn how to weave a (king) cobra stitch for paracord bracelets. First, take a 10 inch cord, fold it in half, then tie a knot at the end of it. Put this on a holder, then tie another chord on the bottom of it and hold it with your knees for tension. Next, start to weave the other color chord around it by going in and out of the two sides of the first chord. Continue to do this for the entire bracelet, then knot it off at the end to finish. You can add your favorite colors...
How To: Increase and decrease treble or triple crochet
In this video, we learn how to increase and decrease treble or triple crochet. First, make a chain of ten, then do a few yarn overs. Treble into the next stitch by placing the yarn over your hook twice and drawing out the loop. Draw through two three times, then your treble will be completed. Triple crochet is another name for treble, in case you are already familiar with that term. These stitches will take longer because you have to do more stitches to make the chains complete. To increase, ...
How To: Make the Guitar Bar decorative knot
In this video, we learn how to make the guitar bar decorative knot. First, set up the bard then cow hitch two strips of rope side by side. Next, measure each bar to 12 inches long and make sure you have 12 feet of rope. After this, build the frets of the bar, and while you are doing this you will flip the bar over and start to half hitch. Continue to do this, tying all of the ropes together into the knot. Next, turn the knot over and continue on the other side. When you are near the end of yo...

How To: Make a paper rose with a paper towel
In this tutorial, we learn how to make a paper rose with a paper towel. First, roll one end to the other, then stick your finger inside one end and pinch the tip while twisting a few inches down. This will be your bud and your stem for the flower. Keep twisting down until you reach halfway to the end of the flower. Now, fold the loose piece on the bottom so it's parallel to the stem. Then, twist the leaf and wrap it around the bud. Then, shape the bud to the type of flower you want, then enjo...

How To: Make a legit paper airplane
In this video tutorial, viewers learn how to fold a paper airplane. Begin by folding the paper vertically in half. Then open the fold and fold the 2 top corners to the center crease to form a triangle. Now fold the top point down so the it tucks underneath the fold to form a envelope shape. Then fold the 2 top corners to the center crease to form a triangle once again. Now fold it vertically in half and fold the wings down so that they are aligned with the bottom of the plane. This video will...

How To: Use zig-zag stitch as an overlocking stitch
In this tutorial, we learn how to use a zigzag stitch as an overlocking stitch. First, put your fabric under the sewing machine and place the edge close to the needle. Sew the side of the fabric and when you are done, you will have the overlocking stitch. This will stop your edge from being raw and there won't be any frays on the side, which will reduce unraveling. This is very easy to do and just takes a few minutes. Make sure you prepare your fabric before you do this stitch and you will be...

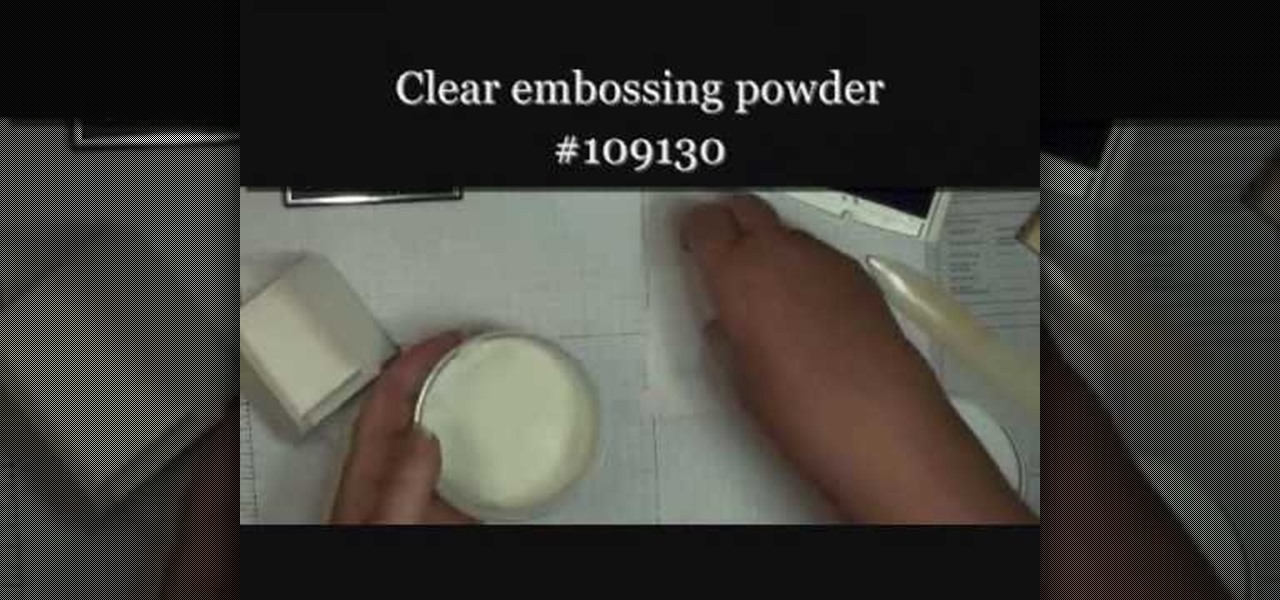
How To: Make a lattice edge on a card
This video features an image from Squizzlefly. The card is Spring suite 2. Use a regular A2 size card. Cut 8 1/2 x 5 1/2. Score in the middle. Go down another 1/2 inch and score. Take a ruler across the top of the fold. Make a pencil mark at every 1/4 inch. Should be 21 small hash marks. Measure down 1/4 inch on both sides. Go 1/2 inch in and make a dot every 1/2 inch. Go down 1/2 inch from the fold and make a dot every 1/2 inch. Make long-short, long-short cuts with the dots along the whole ...

How To: Make a paper lily pad with a cool pop up flower
In this video, we learn how to make a paper lily pad with a cool pop up flower. First, take a piece of paper and fold it in half, then unfold it and fold the bottom half up to the middle, then fold the top half into the middle. Now take the scissors and cut off the edges, leaving the middle crease. Now, cut down the middle crease and then fold the right half of the crease in half twice. Fold it once more, then flip it over and take half of it and fold it up. Now, take your scissors and cut it...
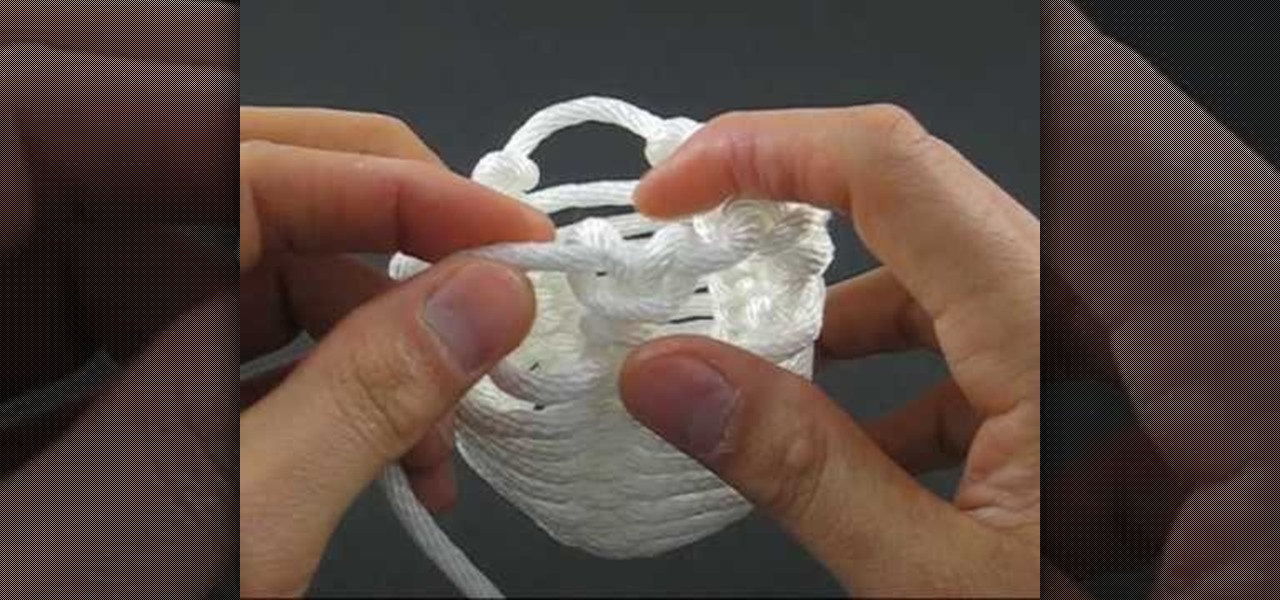
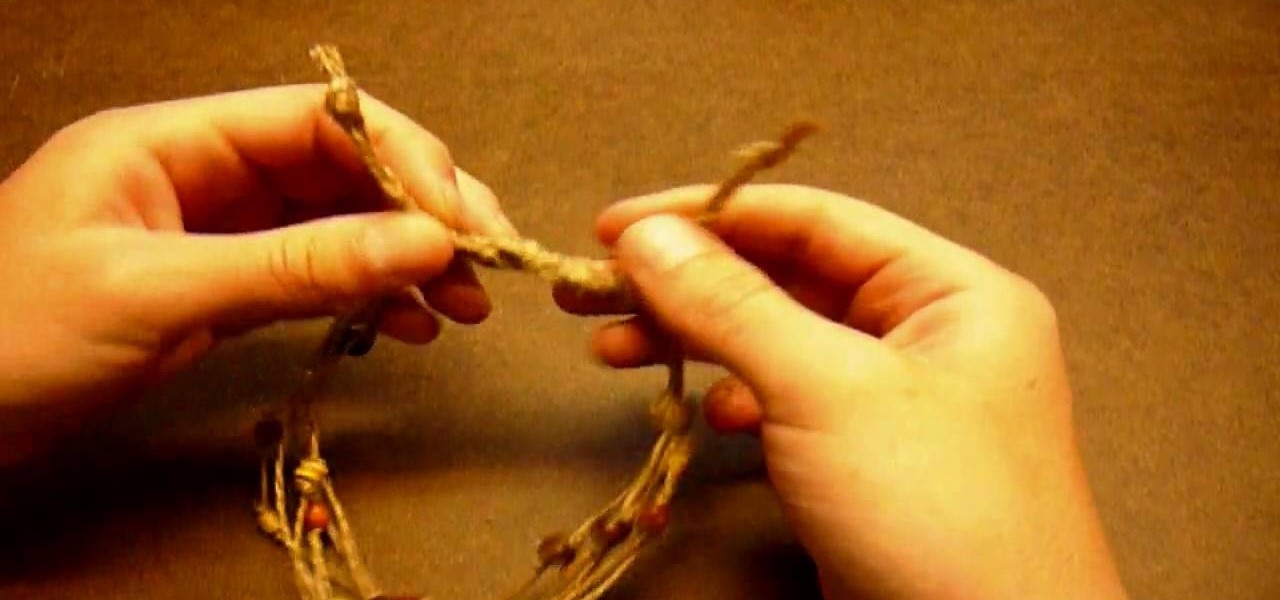
How To: Tie a honey rope basket knot
In this video, we learn how to tie a honey rope basket knot. To do this, you will need a 10ft of nylon rope. Start off by tying a counter-clockwise slipknot at one end of the rope. After this, pull the loop of the slipknot out four inches. Then, tie a second slip knot clockwise next to the first slipknot. Draw the loop length of the second so it's equal to the first. Next, continue to create slipknots next to each other until you've done five. No, hook your working end into the first loop and...

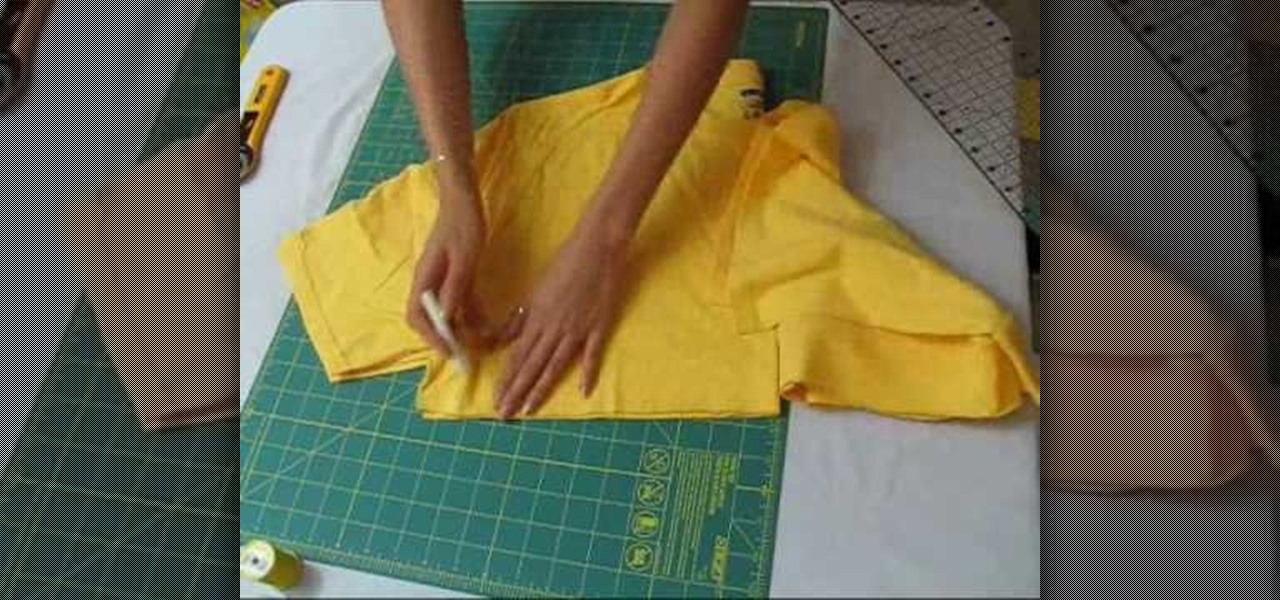
How To: Hem a sleeve
In this video, we learn how to hem a sleeve. First, turn your shirt inside out, then lay it flat. After this, grab the sleeve and fold it over to where you want it hemmed to. Next, place pins in the spots where you want your shirt hemmed, then go over the area with an iron. Next, go to your sewing machine and slip the sleeve around the platform arm. You will have to take the outer base off the machine to do this. Now, lower your needle and sew in the spots where the pins are, removing them as...
How To: Make a diagonal lace stitch pattern
In this tutorial, we learn how to make a diagonal lace stitch pattern. Begin by knitting the first and second stitch. Then, make a yarn over and then slip slip knit, which will create a left slanting decrease. Now, you take your left needle and slip it through these two stitches and knit them together. Then, knit one and continue to repeat the yarn over and slip slip knit until you are at the end of the row. Continue doing this for 6 rows, and when you are done you will have a diagonal lace s...
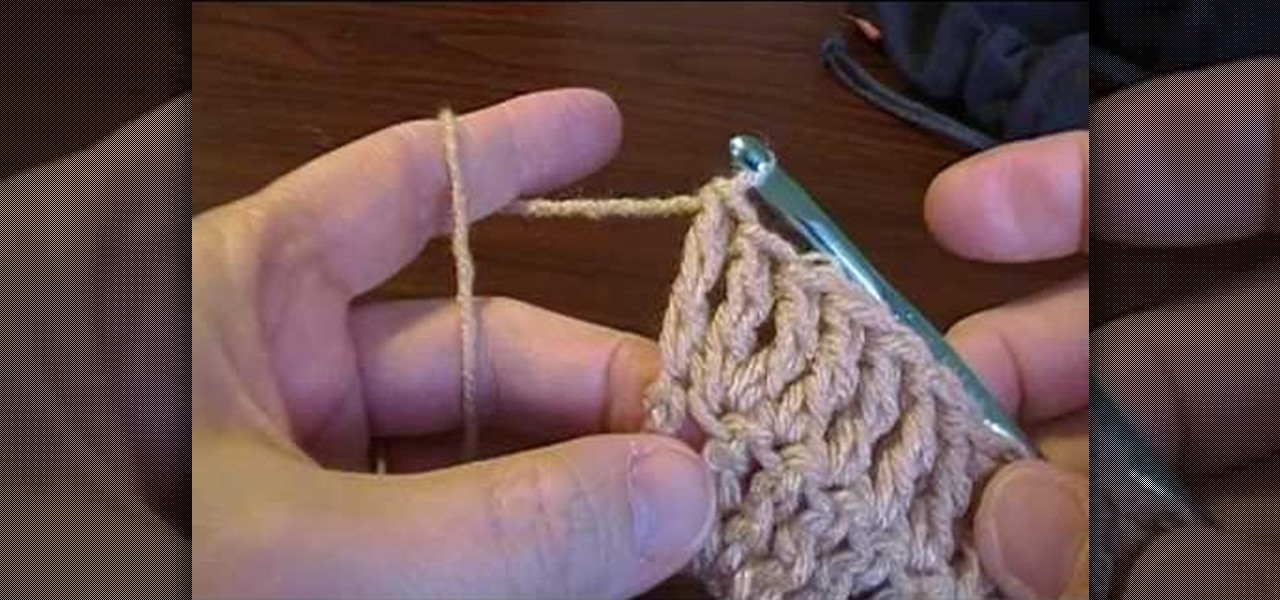
How To: Crochet an extra puffy puff stitch
In this tutorial, we learn how to crochet an extra puffy puff stitch. First, insert the hook and pull it through. Pull all the loops up even so the hook is horizontal, then wrap the yarn over and enter the hook through the top of the stitch. Pull the loop up and then wrap the yarn over, pull it through, then pull the loop up so the hook is horizontal with your work. Continue to repeat this process until you get to the end of the row. Place chains on the top to secure them, then you will have ...
How To: Make a simple beaded hemp anklet
In this tutorial, we will learn how to make a simple beaded hemp anklet. Start off by measuring six 34" strands of hemp. Now gather the hemp strands and tie them into a knot at the end, pulling the strands tight. Clip the end into the clipboard and start to tie your hemp strands into a braid. When you reach the bottom, tie a knot and pull tightly. Now, add wooden beads onto your anklet and keep braiding in between these on other anklets. When you are finished, you can give these to friends as...

How To: Make a triangular Japanese box for paper clips
In this video, we learn how to make a triangular Japanese box for paper clips. You will need: 3 square pieces of paper and 1 glue stick. First, fold the square into a smaller square by making three triangles. Open up into a large triangle and fold the top down, then make a crease and open back up. Do this for all the pieces of paper, then apply the glue stick to the inside of one corner of the first square. After this, stick the next piece of paper onto this, then fold the bottom paper over t...
How To: Make a small folding box for Easter
In this tutorial, we learn how to make a small folding box for Easter. First, cut a shimmery white piece of card stock to 6" x 8 1/4". After this, score the paper at 2 and 3/8". Then score again at 2 and 7/8", flip it over and do again on the other side. After this, cut the four corners with score lines off, then fold the score lines that are left. Now, grab an Easter stamp and stamp the inside of the box underneath the top flap. Place a candy inside of the box, then fold it up and place an E...
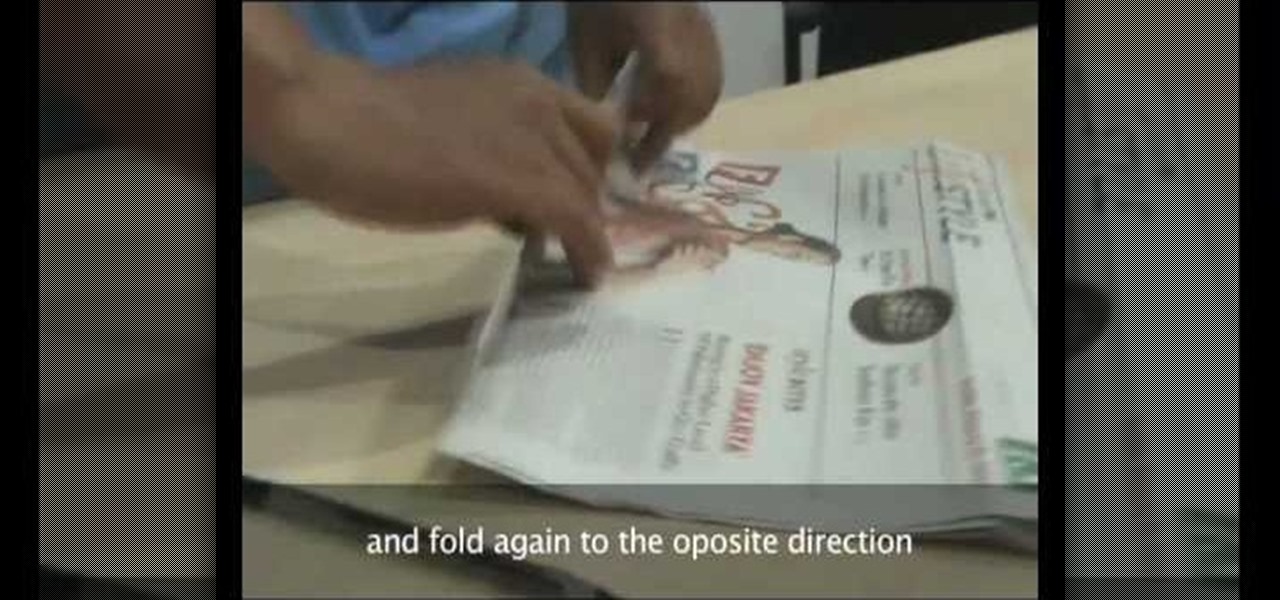
How To: Make a paper bag out of a newspaper
In order to make a paper bag out of a newspaper, you will need the following: 2 sheets of newspaper, a ballpoint pen, cardstock with 2 holes, organic glue, and 2 pieces of rope.
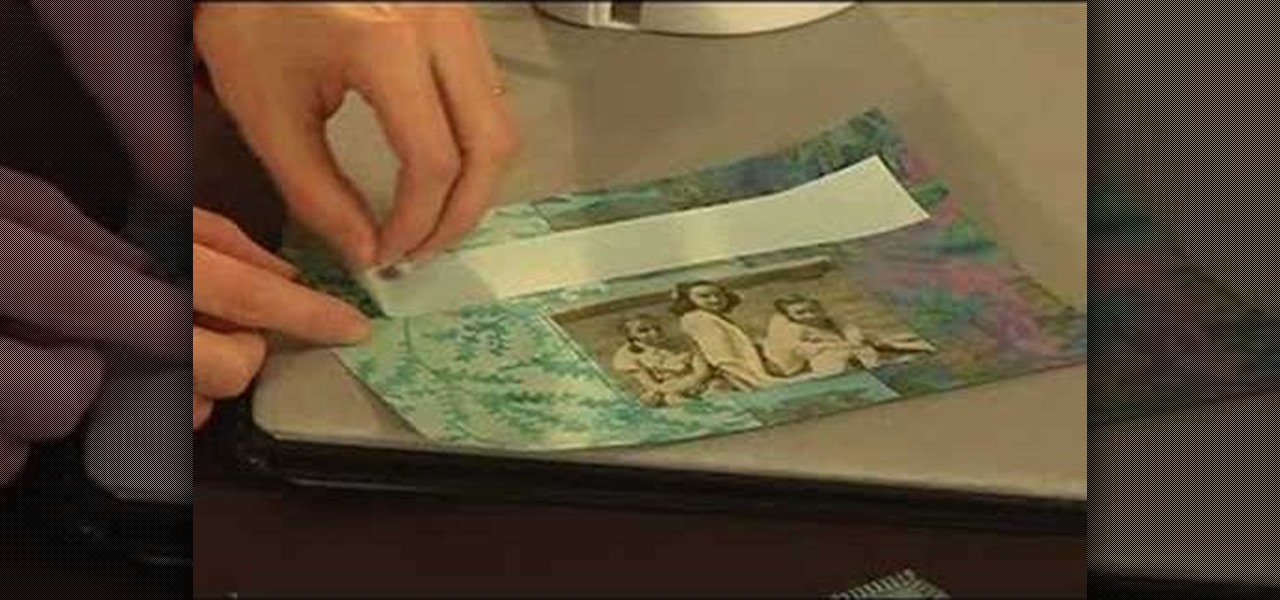
How To: Create fiber art journal pages or fabric books
In this tutorial, we learn how to create fiber art journal pages with Elin Waterston. First, think about the theme of your book then layout what theme you want for your book. This will carry out through your entire book, so choose something that works. Stick text onto the fabric, then add stitching to help the fabrics to stay together. This journal is a fun project to do by yourself or with other artists. Make sure you unify your book with the subject and take your time in making the theme ti...
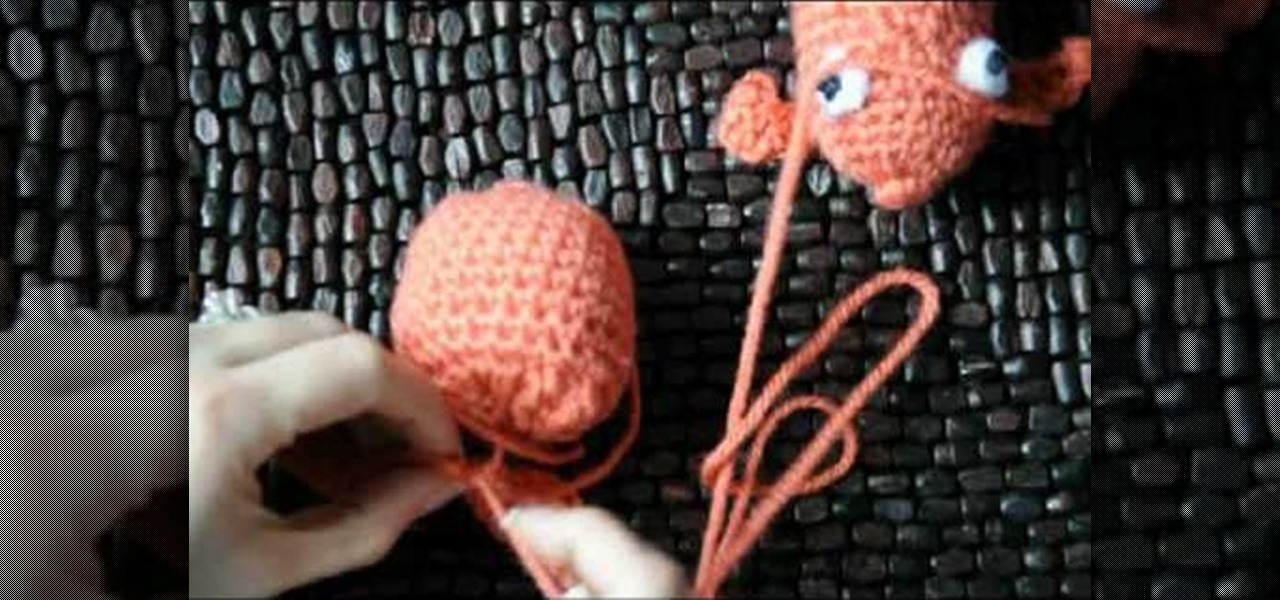
How To: Crochet a goldfish style dog or cat chew toy
In this tutorial, we learn how to crochet a goldfish style dog or cat chew toy. Start with a slipknot, then chain 2. Now, do 5 single crochets next to the hook. Then, do a slip stitch to finish and then knot. Now, make the eyeball by using a yarn needle and black yarn. Go through the center of the eye, then wrap the yarn around the needle and go back into the center. This will give you a knot that you can cut off when done. Repeat this once more to make the other eye. Now, using your yarn nee...

How To: Crochet a left hand radiant flower
In this tutorial, we learn how to crochet a left hand radiant flower. First, make a slipknot, then chain four. After this, join the beginning chain and then chain three. Slip stitch through the center of the chain, then chain three and slip stitch again. Do this over again five times on your row. After this, continue making stitches until you have the shape of a flower. Add on green yarn to the back of the flower, by doing the same type of stitch. Work as many stitches as you would like. The ...
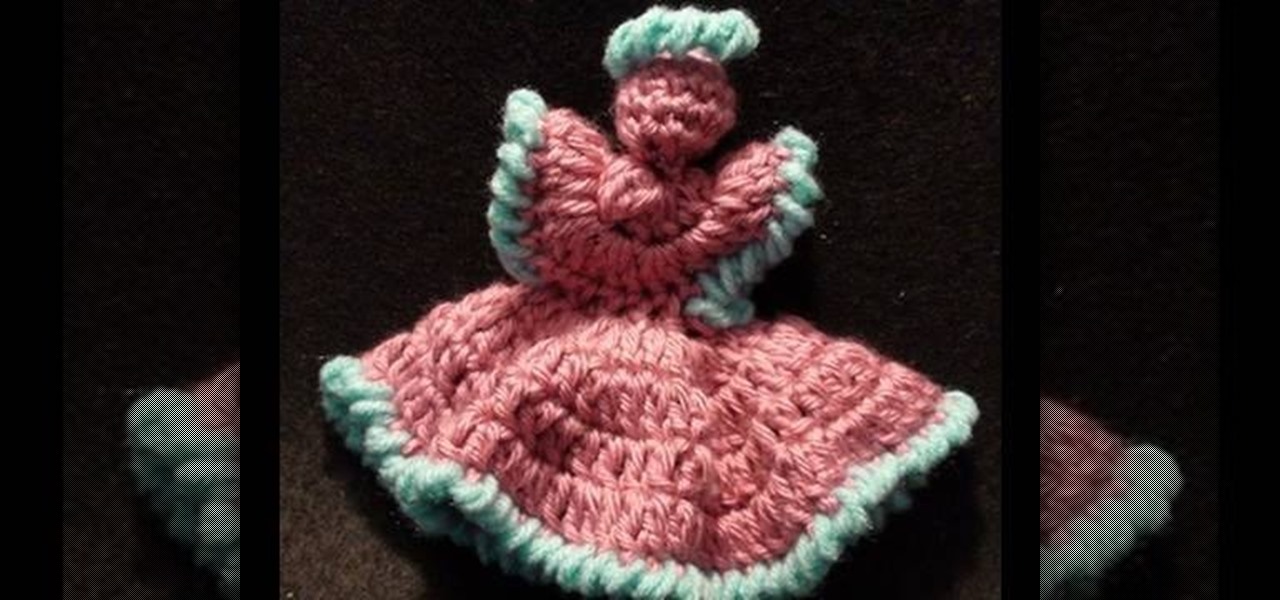
How To: Crochet a left handed dainty angel
In this video, we learn how to crochet a left handed dainty angel. Use a size H 5mm crochet hook. Add a slipknot to the crochet hook, then chain three, join, and chain one. After this, work 6 single crochet through the center of the chain three. Next, join two single crochet for each stitch around for a total of 12.Now do 12 more single crochets and work an additional round with the single crochet. Continue this process until you finish, then create the dress by doing the same type of crochet...

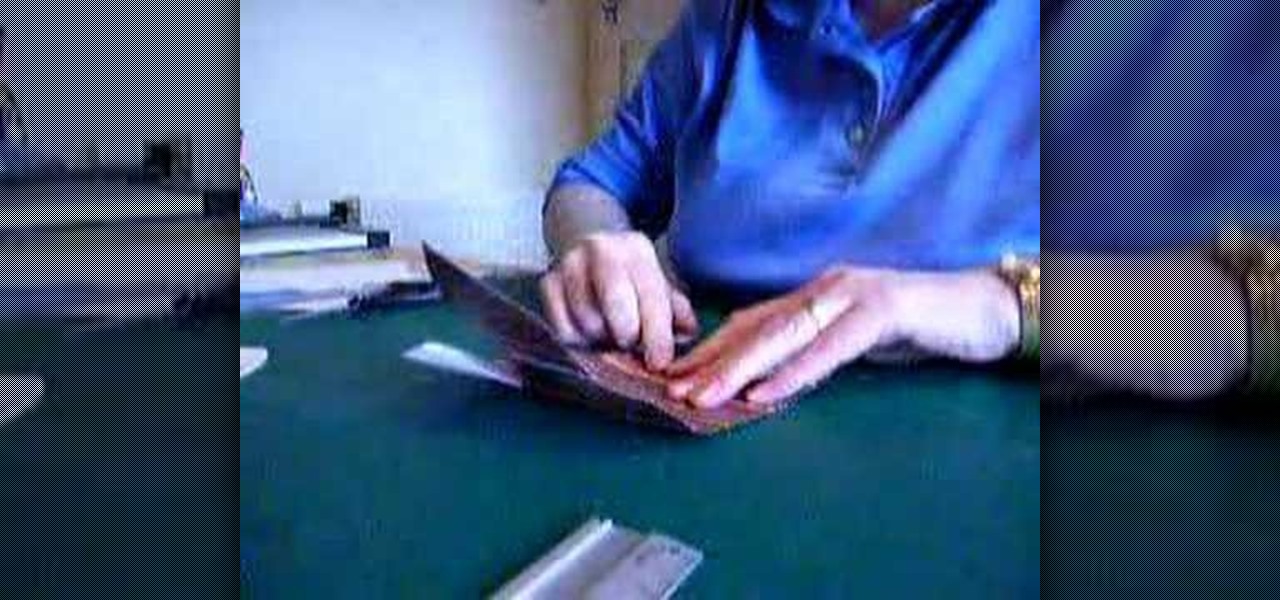
How To: Make a file folder organizer
In this tutorial, we learn how to make a file folder organizer. First, you will need to apply double sided tape to paper, then apply a thicker cardboard paper over it. Now, cut most of the excess paper off, except around 1/2". After you have this cover made, apply tacky glue to some manila folders, and stick them into the cover you just made. After you complete this, you will be able to apply the backing to the folder as well. When you are finished, you can add different decorations to your f...

How To: Make a fitted sleeve sloper
In this tutorial, we learn how to make a fitted sleeve sloper with Don. First, graft a set in sleeve pattern. This will be based on a fitted bodice that is very close to the arm and high over the arm on the elbow. You will want to shape the shoulder to fit the contour of the body. You will put a series of darts into the fabric so it fits on the body perfectly. If you do a looser cut sleeve, you won't have to do this. After you make this, place it on your model and make sure the arm can move e...
How To: Make mini paper square boxes
In this tutorial, we learn how to make mini paper square boxes. First, grab a piece of paper and fold two ends in so they touch in the middle. After this, fold the bottom up so it covers the triangles and they meet at the middle. Crease the edges, then cut down the edges on both sides where the crease is. Next, fold the sides in so you have a shape that looks like a sword. After this, fold the sides up, then fold the other sides in. When finished, push the creases in and you will form a box, ...
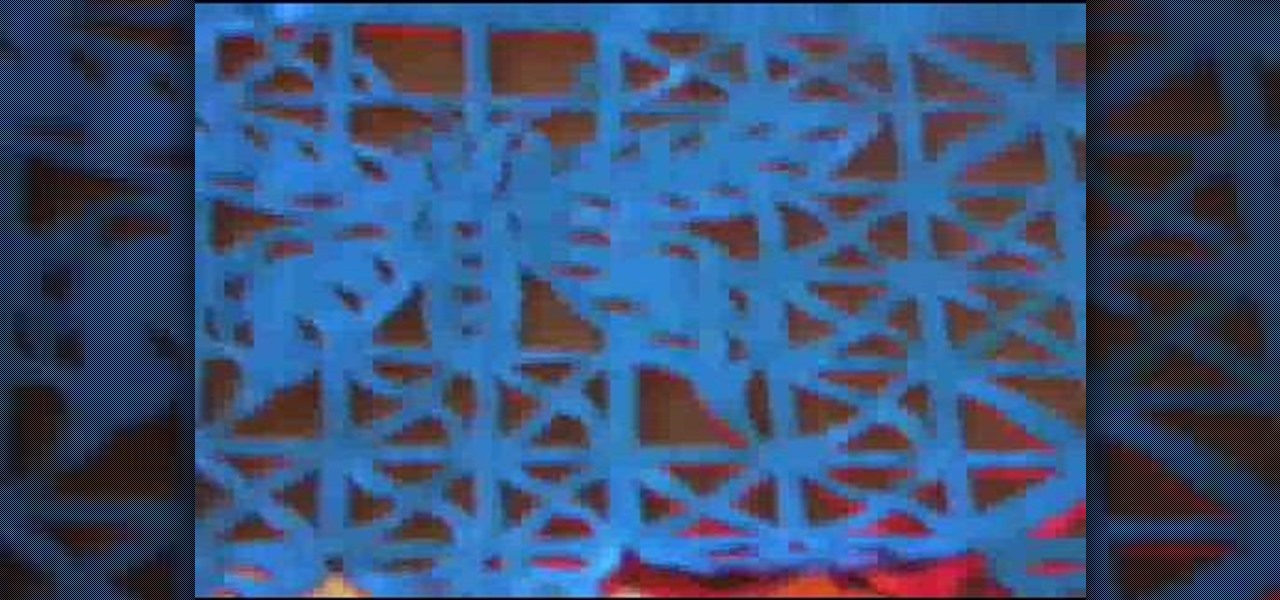
How To: Make papel picado using chisels
This video tutorial is in the Arts & Crafts category where you will learn how to make papel picado using chisels. This is a traditional paper craft of Mexico. The designs you can cut on paper are only limited by your imagination. First you got to make a design on paper. Then you got to stack up 40 to 50 sheets of paper and staple them together. Now you can start cutting the paper stack using a chisel and a hammer. Choose the appropriate chisel for the design and place it close to the outline ...
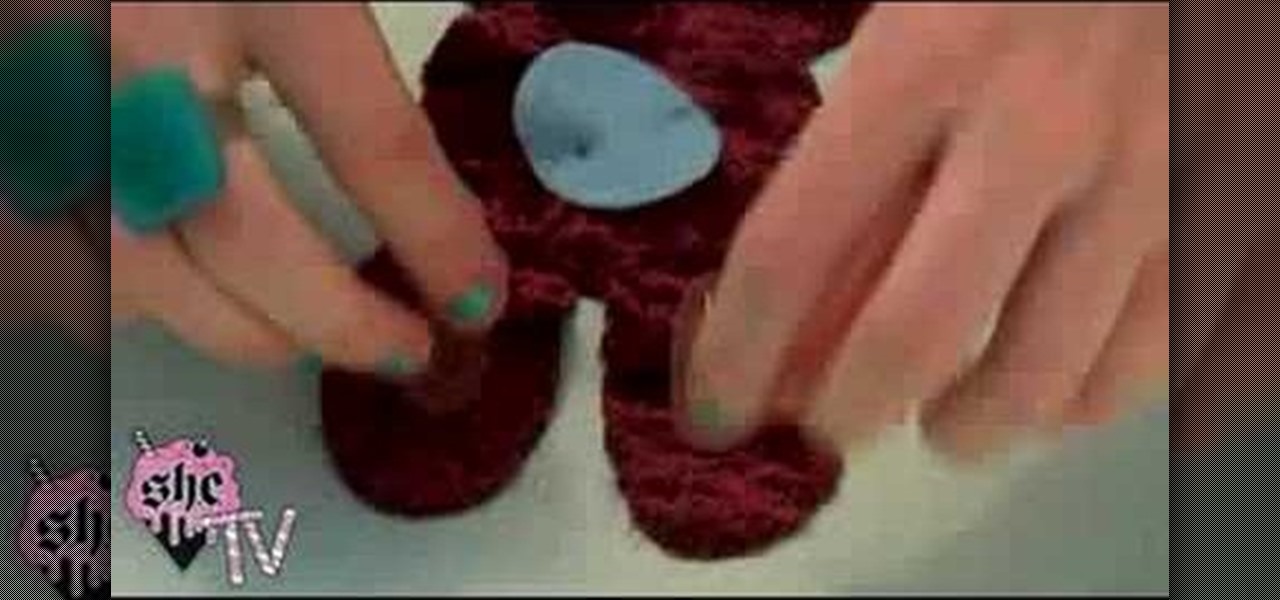
How To: Make a plush rabbit aka "a Wumpling"
This video teaches us how to make a plush rabbit. Start off with a piece of fabric, then cut out the shape for the bunny out of this fabric to make two sides. After this, cut out the color for the eyes out of various other colored fabrics. When finished, sew the eyes onto the bunny and then sew both sides together. After this, fill the bunny with stuffing and then sew the entire thing together. When you are finished, you will have a small and cute plush rabbit that is not only made cheap but ...

How To: Origami a pencil cup/holder
In this video, we learn how to origami a pencil cup/ holder. First, take a square and fold it into a triangle. Give it a crease, then unfold. Now, fold in half to make a triangle from the other direction. Give it another crease, then unfold. Intersect by folding in half making a rectangle, making sure the color side is on the inside. Make a crease and unfold the paper, not fold it into a triangle. Now, take the triangle point and fold it up. After this, give it a crease and then fold another ...
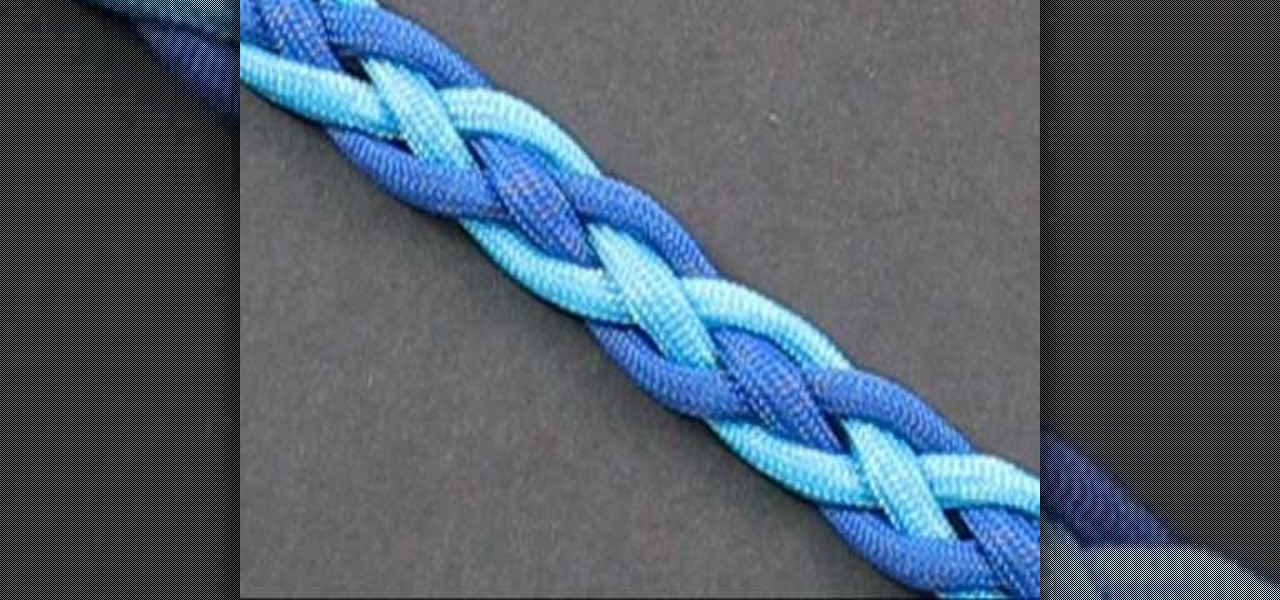
How To: Tie a two color snake weave
The great thing about weaving, is not only can you make something that is fun to look at, but can be used in certain situations. This next tutorial is going to show you how to tie a two color snake weave. The weave is basically a celtic knot that is perfect to use as bracelets and straps. This weave is different from an original snake weave in that it adds something extra and can't wrap around itself. So check out the tutorial and good luck!

How To: Make a rose from turnips and other hard vegetables
In this tutorial, we learn how to make a rose from a turnip. To start, cut at an angle all the way around the outside of the turnip. After this cut, cut a thin layer around the turnip just around the inside of the cuts that were just made. Continue to do this process throughout the entire fruit until you get to the top. Make sure to alternate from the middle of the petal, so they aren't all line up the same. When you get to the top, you will be making smaller cuts, until you finish. When you'...
How To: Knit a left handed scarf pattern
In this tutorial, we learn how to knit a left handed scarf patter. To begin, you will cast on 20. After this, you will knit for two rows, then on the next row you will knit once and yarn off twice, then end with a knit one. Repeat this again fro the next row, or how every many rows you want your scarf to be long. When you are done and have the desired length, you will bind off and your scarf will be finished! If you wish, you can change colors between rows to get a colorful effect, or just us...