

Active Arts & Crafts Posts


How To: Do a Checkered or Alternating Chain Stitch
The chain stitch is perhaps one of the most common stitches in hand embroidery. By itself, it's pretty versatile. Add all the variations, and you can do just about anything with the chain stitch! Here's the alternating or checkered chain stitch. Watch this video from Needle 'n Thread to see how it's done.
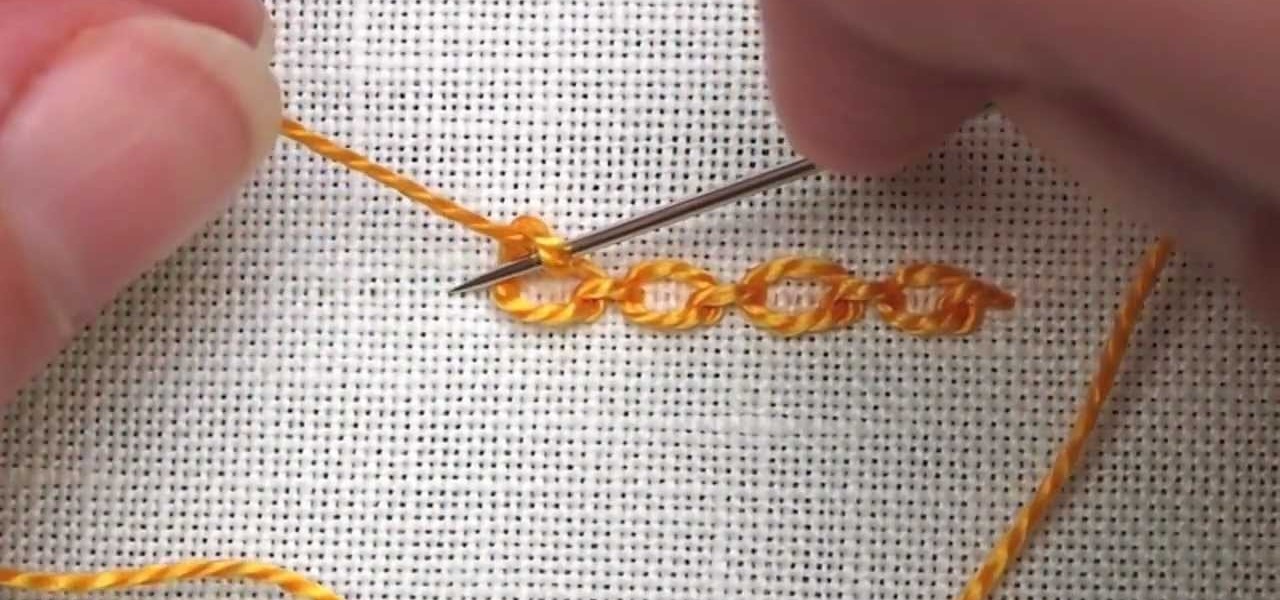
How To: Do the Cable Chain Stitch
There are many variations on the chain stitch used in hand embroidery. Here's one that produces a "realistic-looking" chain, with a small link between each of the loops in the chain stitch. It's called the cable chain stitch. Watch this video from Needle 'n Thread to see how it's done.
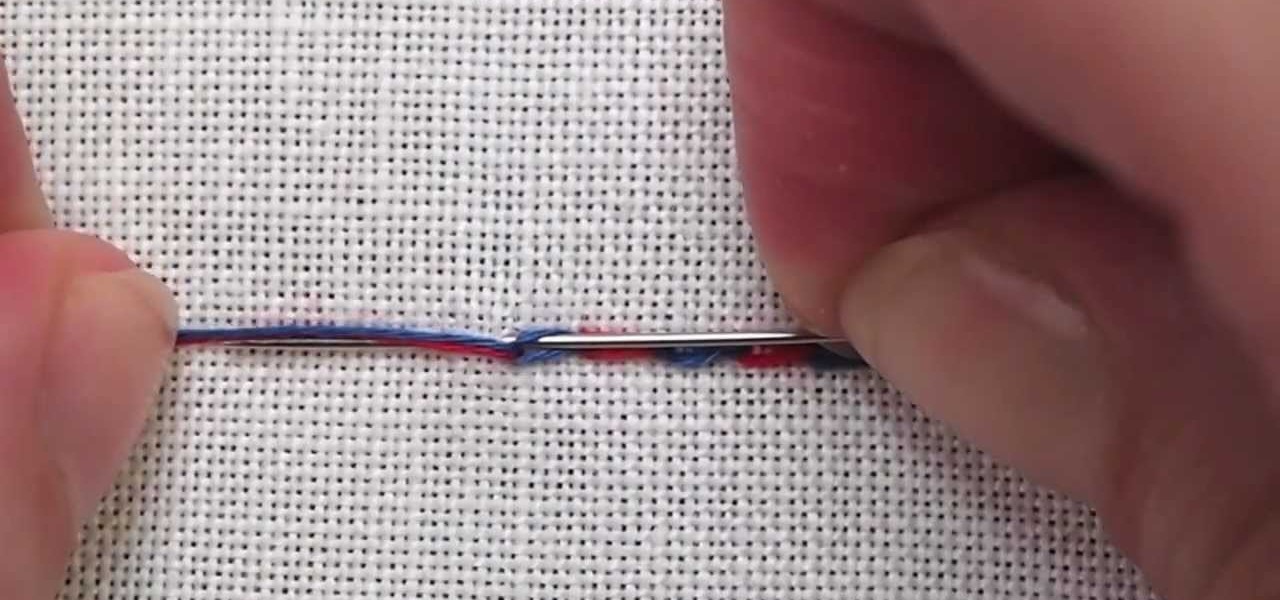
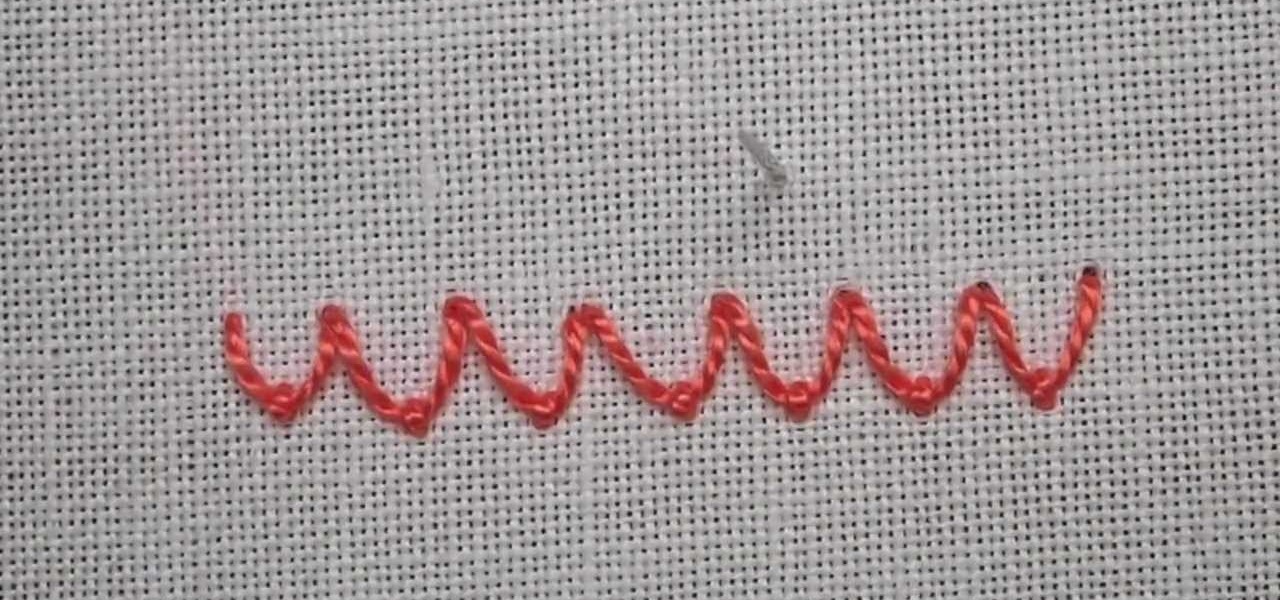
How To: Do the Rope Stitch
The rope stitch is a nice hand embroidery stitch, perfect for a thick, corded look, and a member (believe it or not) of the chain stitch family. It looks like overcast stitch on a slant, or trailing on a slant. It's a great stitch for curves. Watch this video from Needle 'n Thread to see how it's done.
How To: Do the Rosette Chain Stitch
Here's a video tutorial from Needle 'n Thread for another hand embroidery stitch - the rosette chain stitch. The rosette chain stitch is much like the oyster stitch, but it's worked in a line, or around curves. The oyster stitch is more often seen individually.

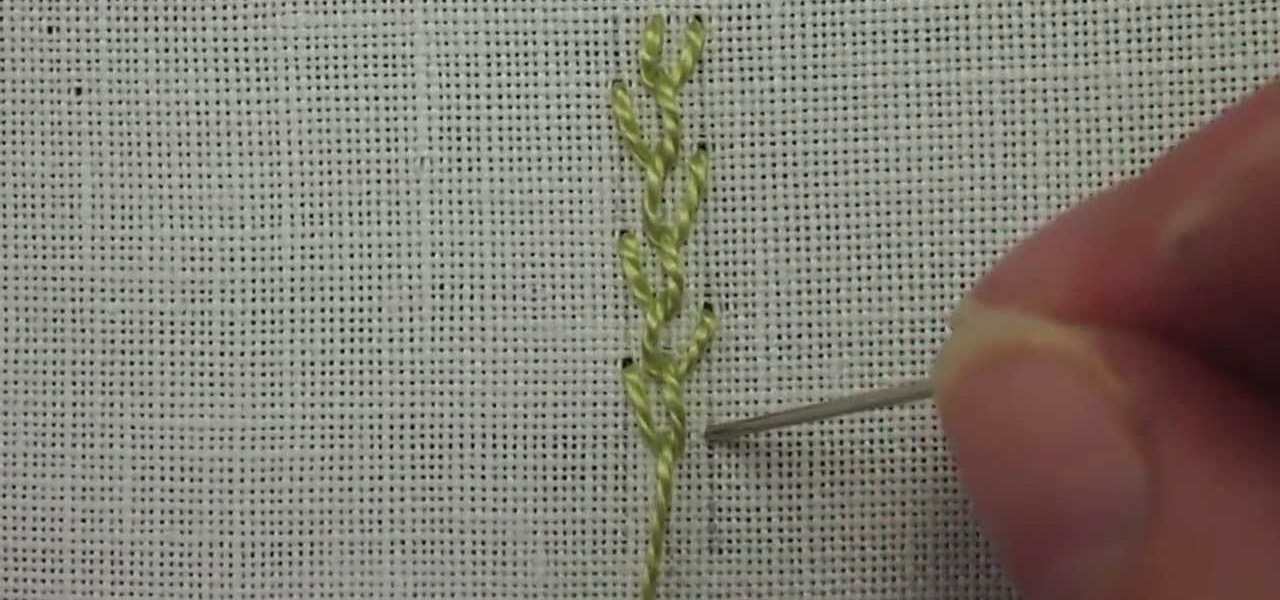
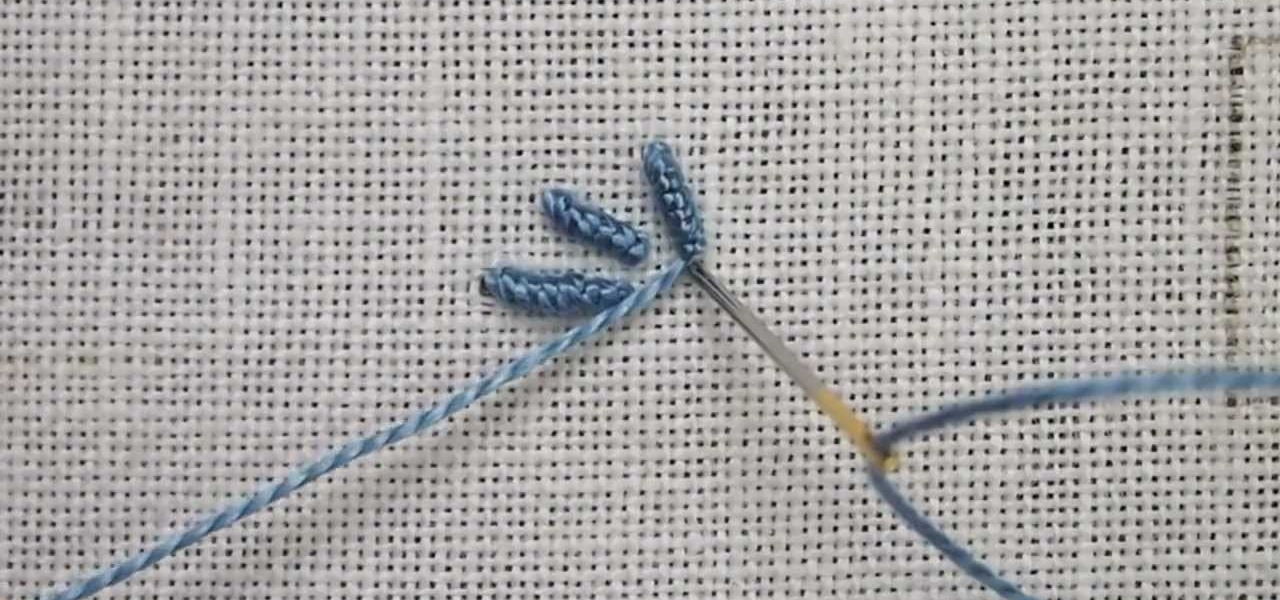
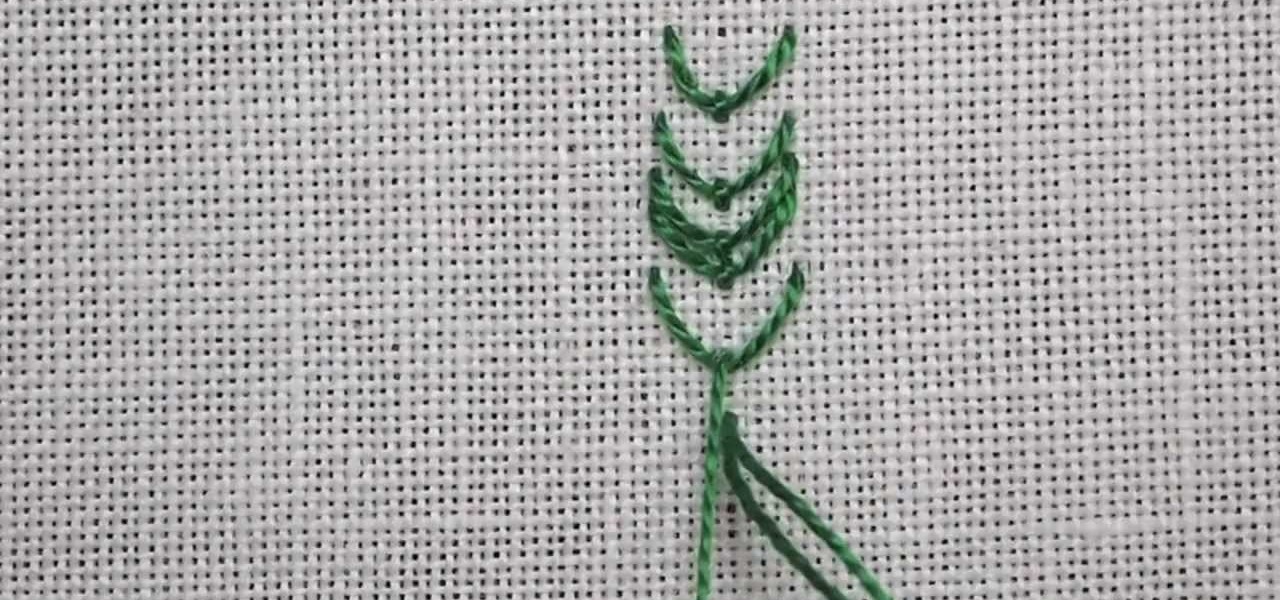
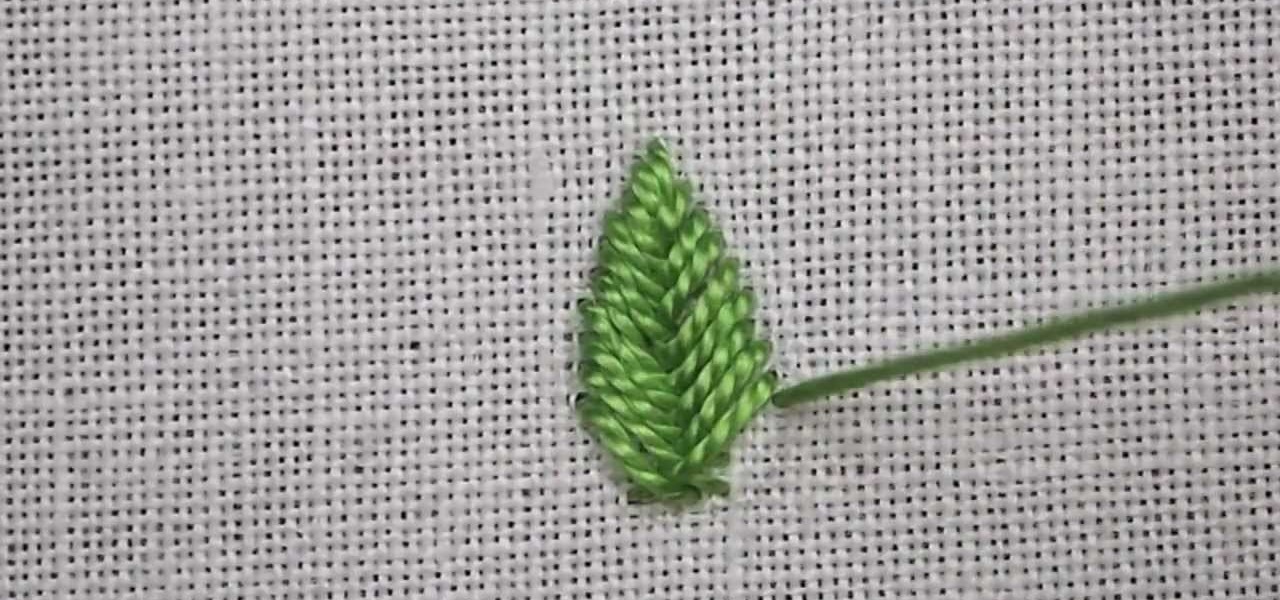
How To: Do the Wheat Stitch
If you are a beginner at hand embroidery, one of the first stitches you will probably learn is the chain stitch. The chain stitch has many variations, and one of them is the wheat stitch, also known as the wheatear stitch. This stitch is simple to work and produces a line that resembles a shaft of wheat. The stitch can be used in all kinds of applications - it would make great background greenery in flowers and gardens, it can also serve as a seam embellishment in crazy quilting, and it can s...
How To: Do the Horizontal Fly Stitch
The fly stitch is another basic embroidery stitch used for straight and curved lines, seam embellishments in crazy quilting, and general surface embroidery techniques. The fly stitch can be worked horizontally and vertically. In this video, it is worked horizontally. Watch this video from Needle 'n Thread to see how it's done.
How To: Do the Feather Stitch
The feather stitch is an easy stitch for hand embroidery. It's worked vertically, from top to bottom in a kind of back-and-forth, right-and-left motion. You can use the feather stitch in hand embroidery for edges and borders, it's used often in crazy quilting as a seam embellishment, and it also makes a good foundation of foliage or stems in flower designs, in Brazilian embroidery, and more. Watch this video from Needle 'n Thread to see how it's done.
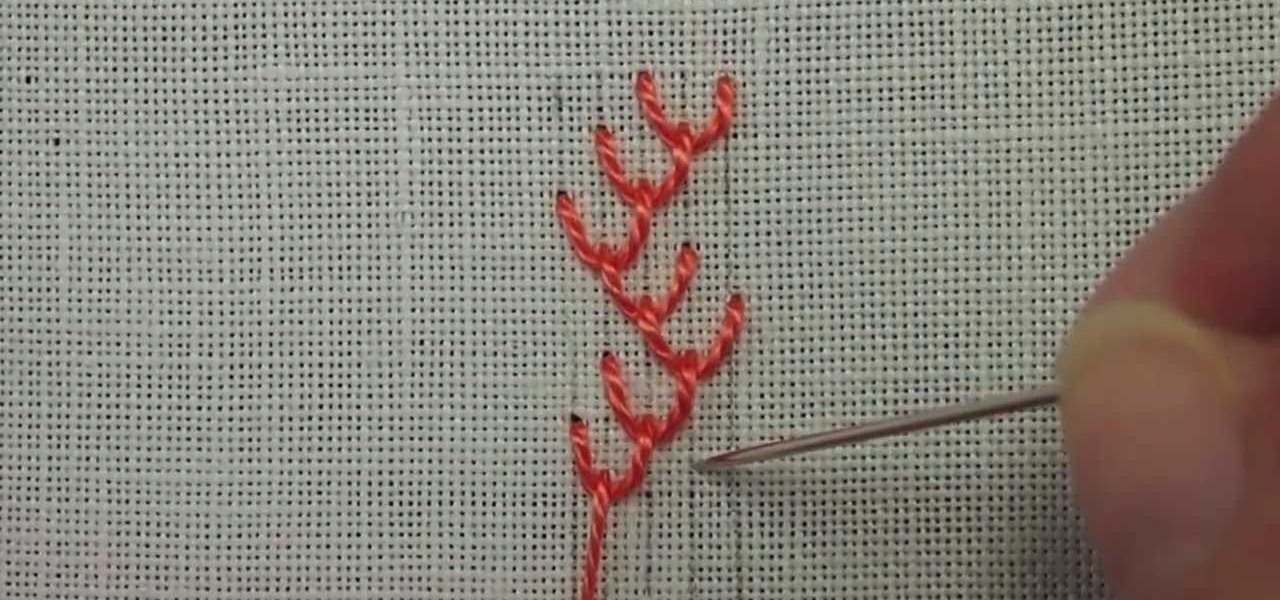
How To: Do the Double Feather Stitch
Variations to the feather stitch make it a versatile stitch for hand embroidery. Like the feather stitch, the double feather stitch is used for foliage, sprigs, greenery, etc., in all types of general surface embroidery, and is especially good for Brazilian embroidery, ribbon embroidery, etc. It works great as a seam embellishment in crazy quilting, and as an edging or border stitch on other work. Watch this video from Needle 'n Thread to see how it's done.
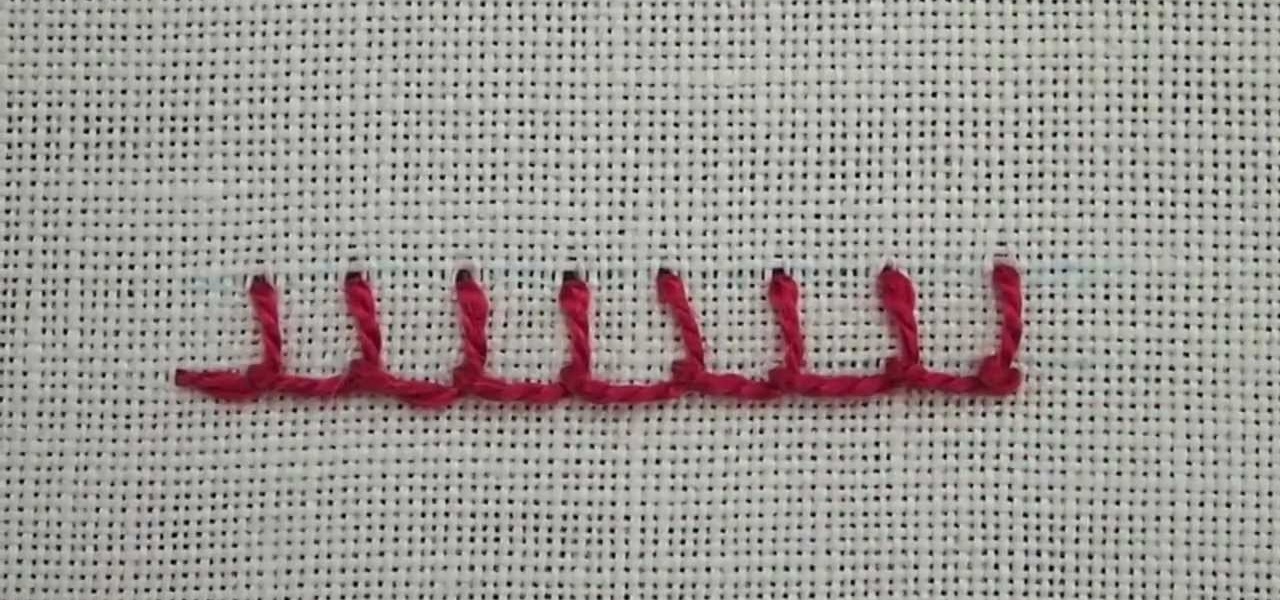
How To: Do the Buttonhole Stitch
The buttonhole stitch is used in many types of hand embroidery - general surface embroidery, crazy quilting, whitework and cutwork, Mountmellick embroidery, needle lace, filet work - you name it, buttonhole stitch fits in somehow. It's a super versatile stitch, and once you have the basic stitch down, it's just a matter of applying it in a variety of ways. Watch this video from Needle 'n Thread to see how it's done.
How To: Do Buttonhole Wheels
Once you know how to do the buttonhole stitch, it's just a matter of "working it" a bit to master variations of the stitch. In this video from Needle 'n Thread, you'll learn how to work a buttonhole wheel, which can be effectively used in all kinds of embroidery - especially flower-like accents and for adding texture to designs.
How To: Do the Daisy Stitch
The detached chain stitch, also known as the "lazy daisy" or just "daisy" stitch, is a pretty popular embroidery stitch. It's perfect, of course, for flowers, but can be used in lots of different ways. Watch this video from Needle 'n Thread to see how it's done.
How To: Do the Seed Stitch
Here's a video tutorial for the seed stitch used in hand embroidery. This is a very simple filling technique! Seed stitch looks great when it's worked either in a uniform pattern (as it is in the video) or when it's worked randomly. Watch this video from Needle 'n Thread to see how it's done.

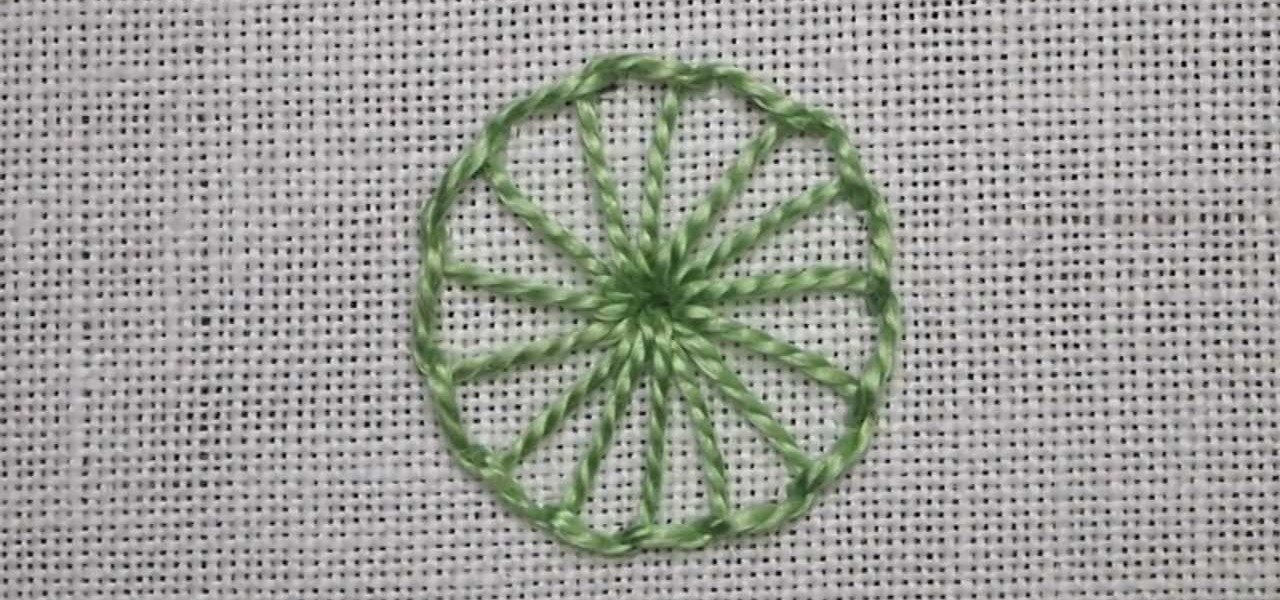
How To: Do the Ribbed Spider Web Stitch
The spider web stitch and the ribbed spider web stitch are both "woven" embroidery stitches, either used as isolated accents or used in clusters. They aren't a line stitch or a filling stitch, and they aren't really a "small" detached stitch that can speckle a background lightly, either. Watch this video from Needle 'n Thread to see how it's done.
How To: Do Bullion Knots
The bullion knot needs a little practice to get it just right, and to be able to vary your technique to get the results you desire. Watch this video from Needle 'n Thread and get some great tips so you can do it too!
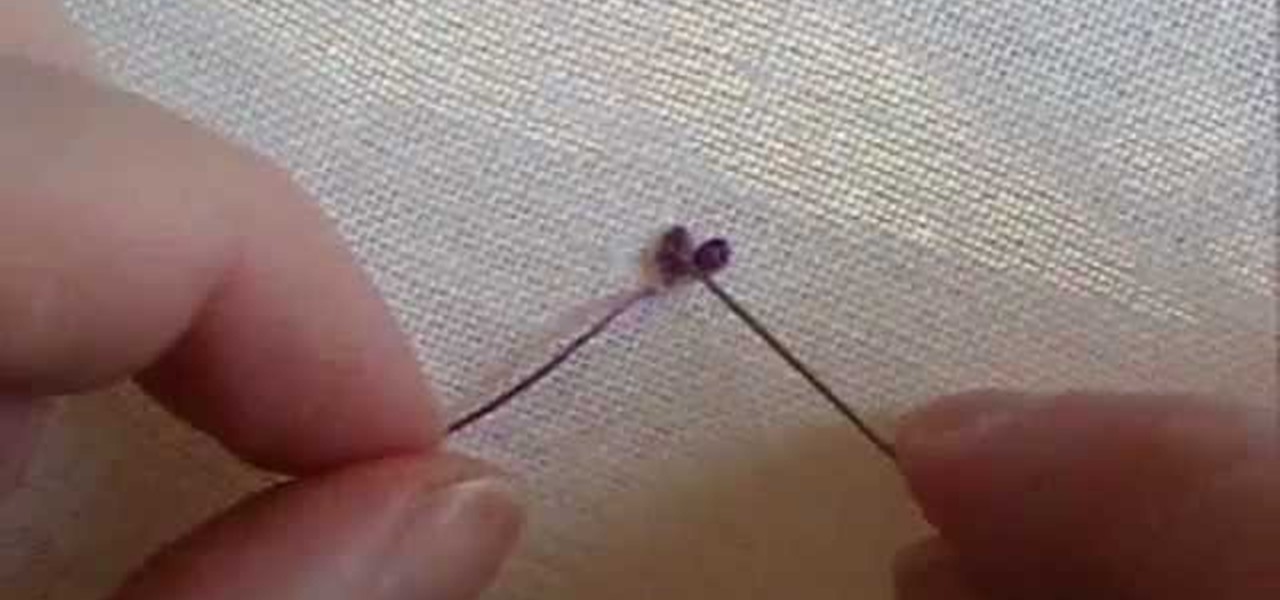
How To: Do the French Knot
The French knot is used often in hand-embroidery, but a lot of people avoid it, because it intimidates them. Once you work one correctly, you'll find that it's really easy!!! Watch this video from Needle 'n Thread to see how it's done.
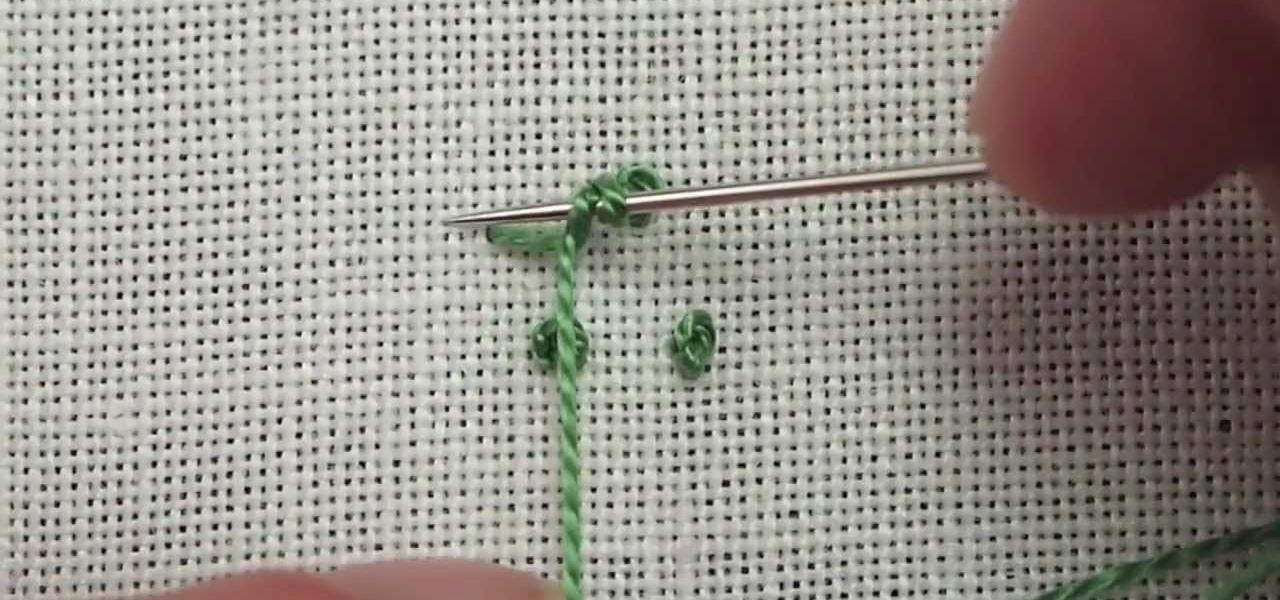
How To: Do the Colonial Knot
The colonial knot is used in hand embroidery in the same applications as the French knot. Here's a video tutorial from Needle 'n Thread to help you get the hang of the colonial knot.
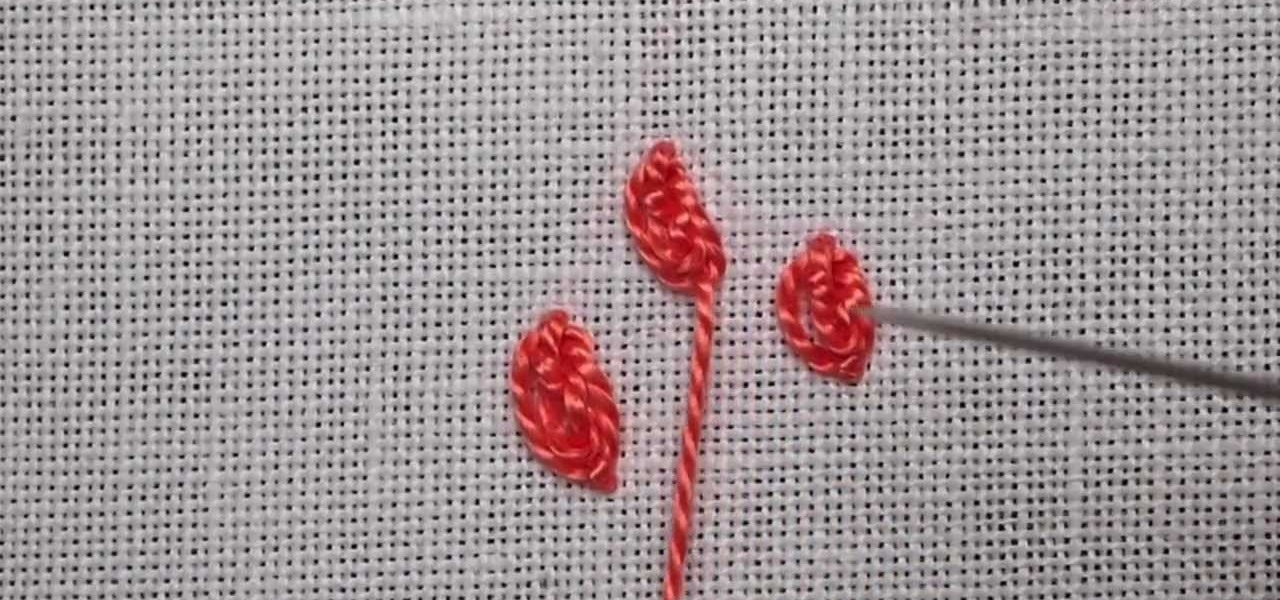
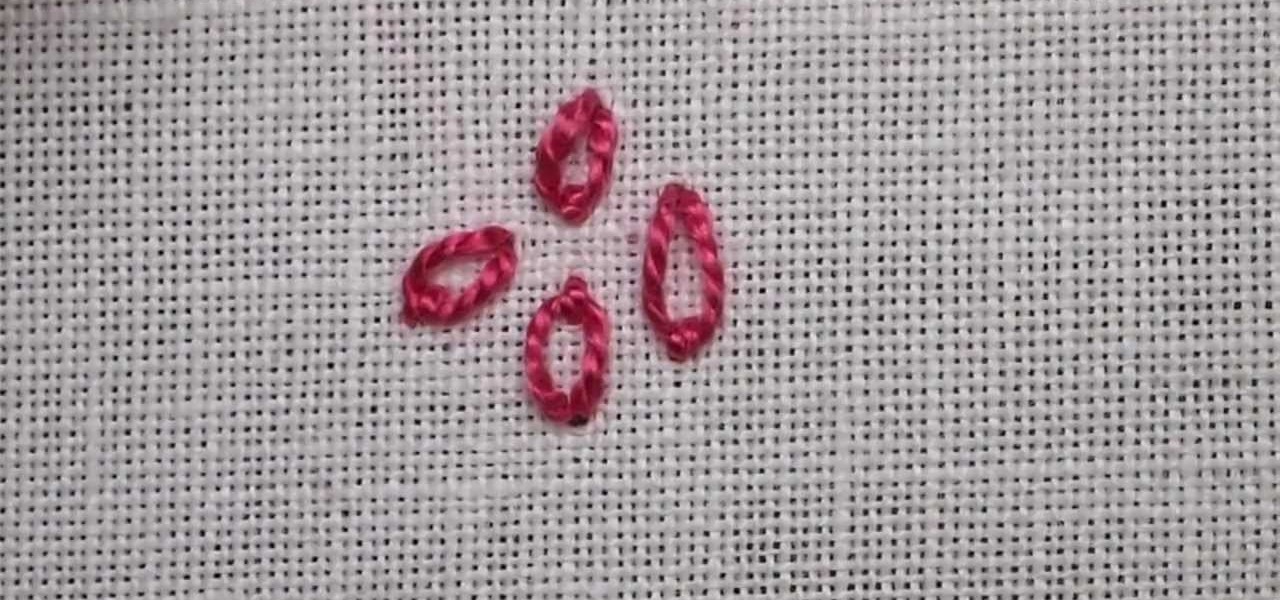
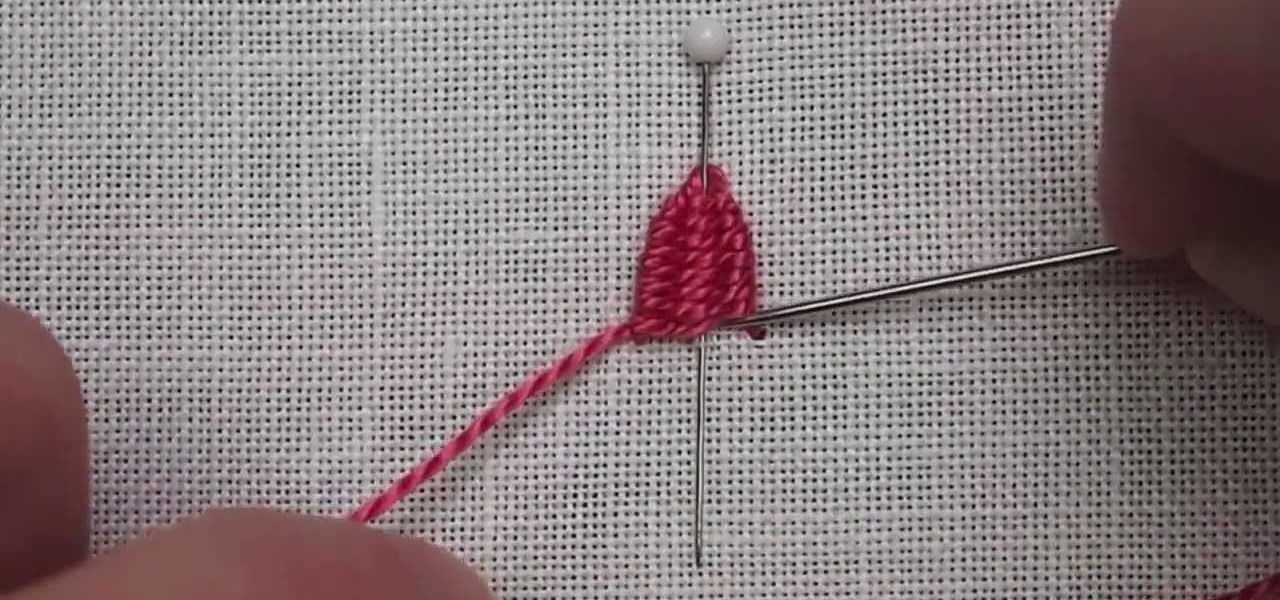
How To: Do the Oyster Stitch
The oyster stitch is an isolated stitch. It is a combination stitch using the twisted detached chain stitch which is "surrounded" by an "open" chain stitch, or even a fly stitch. The oyster stitch makes a filled oval shape, suitable for flower petals or individual buds and accents. Watch this video from Needle 'n Thread to see how it's done.
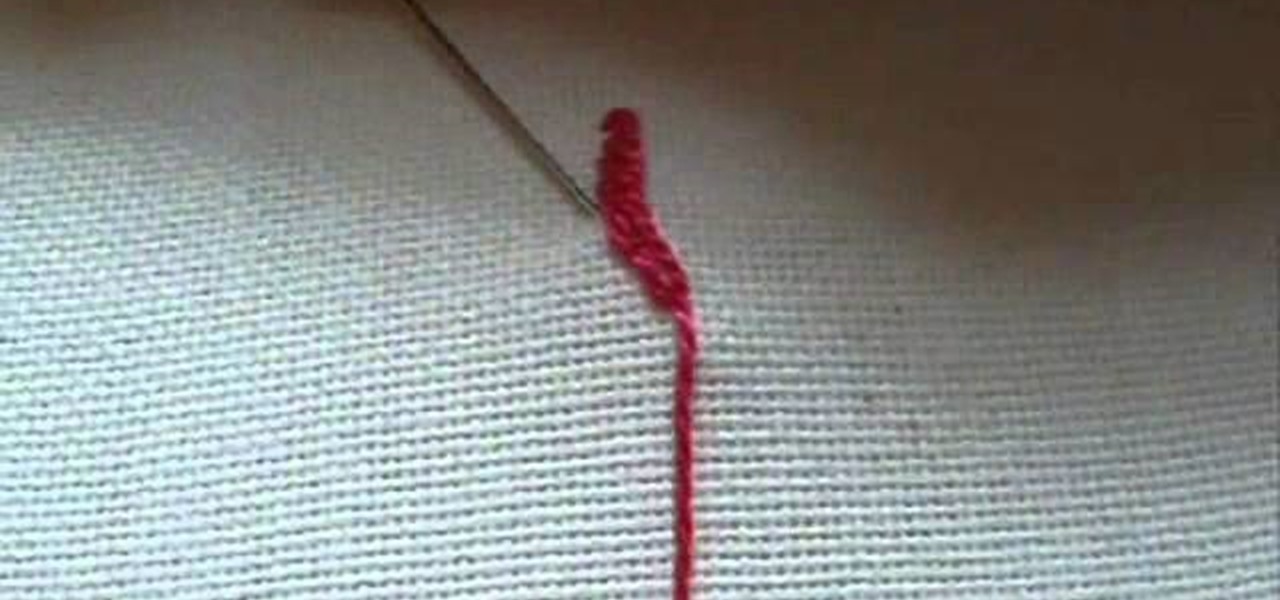
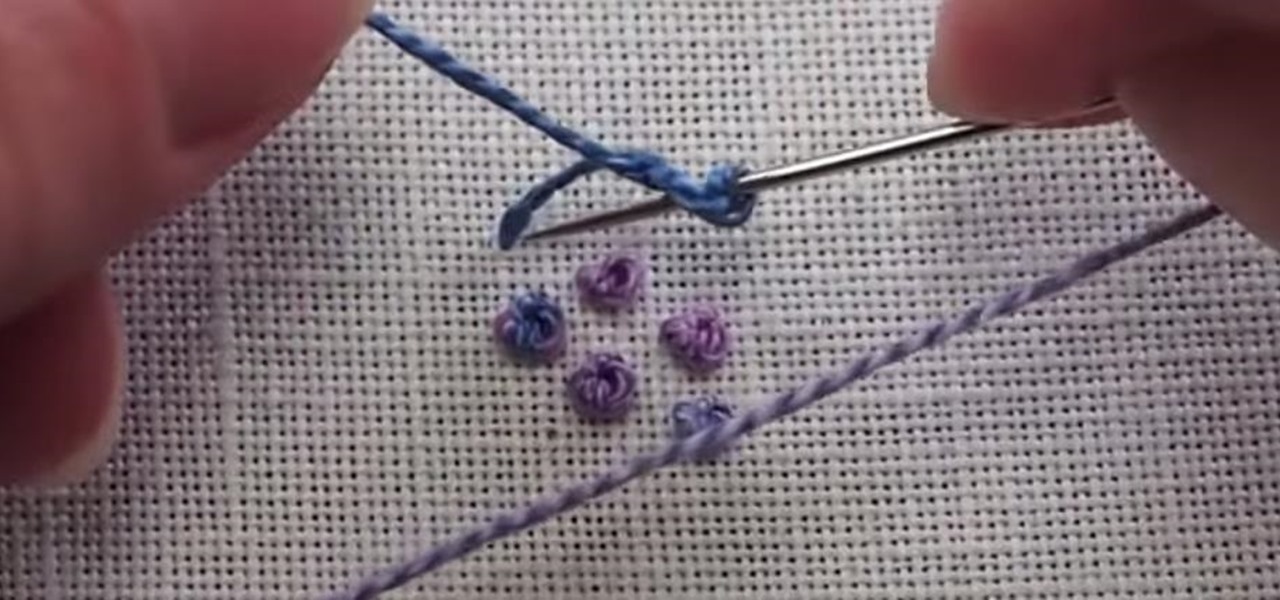
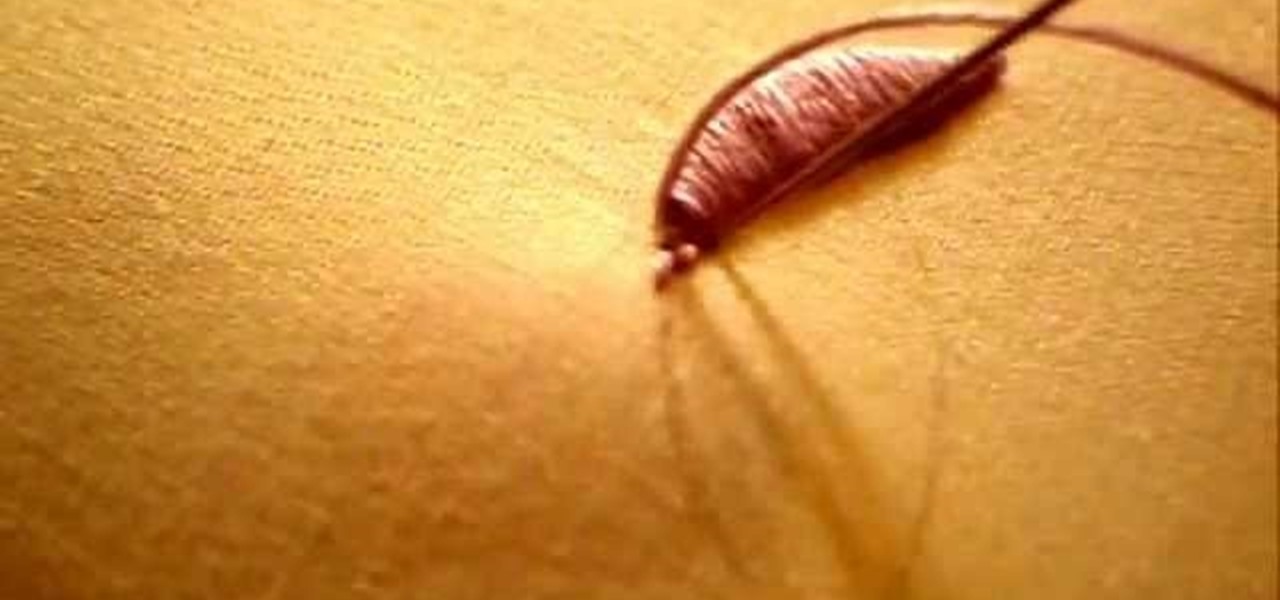
How To: Do the Drizzle Stitch
The drizzle stitch is a "texture" stitch. It makes an individual, almost-upright, slightly twisted "tower" on your fabric. Watch this video from Needle 'n Thread to see how it's done.
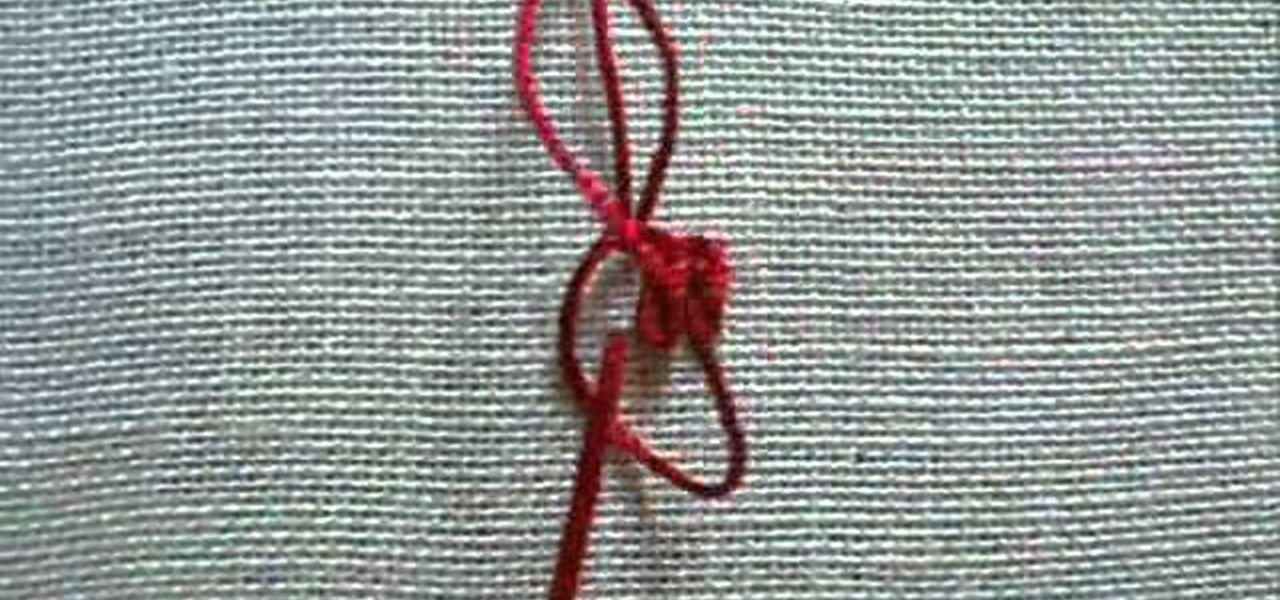
How To: Do the Woven Picot Stitch
There are many dimensional embroidery stitches , but one of the most fun is the woven picot. You can do a lot with it! It's an easy embroidery stitch - it looks more advanced than it actually is! It's a great stitch for adding texture to your embroidery project, and it doesn't necessarily have to be free standing. See how it's done in this video from Needle 'n Thread.
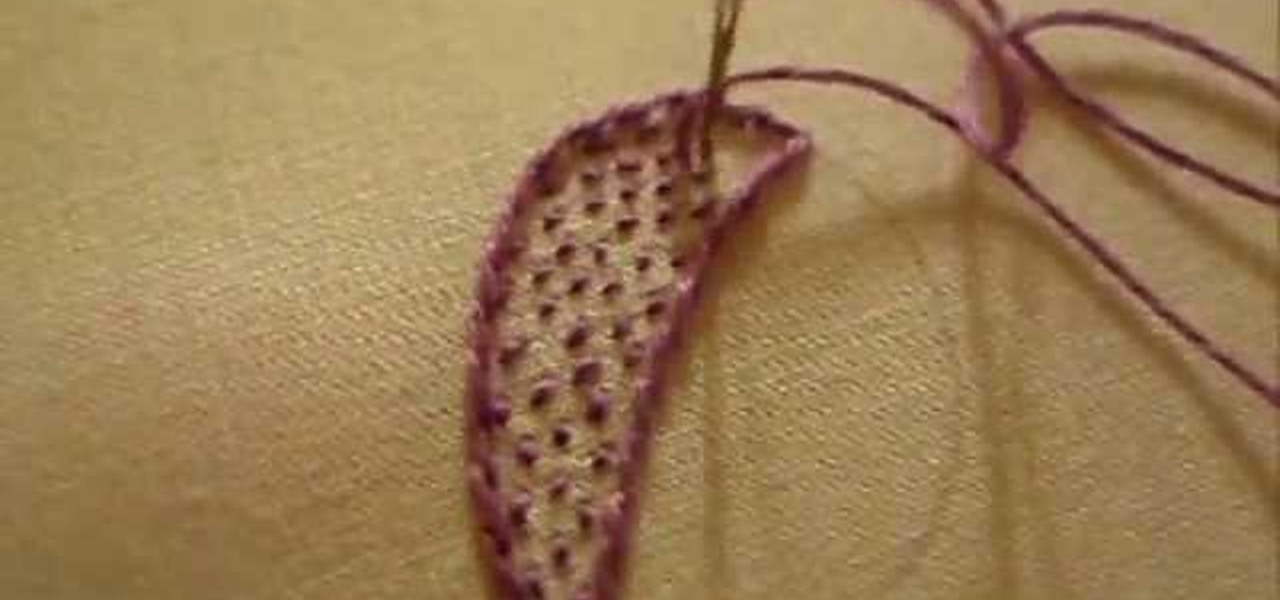
How To: Do Detatched Buttonhole Filling
In detached buttonhole filling, you don't pass through the fabric as you work the buttonhole filling. In attached, you do. Attached buttonhole filling gives you more scope for varying the placement of stitches, so that you can create effective filling patterns. The detached buttonhole, though, gives you a bit more room for dimensional effects, since you can take out part of your foundation fillings and fold the buttonhole area back on itself - or make petals or leaves that stand away from the...
How To: Do the Vertical Fly Stitch
The fly stitch can be worked both horizontally and vertically. In this video tutorial from Needle 'n Thread, you'll see the fly stitch worked vertically.Besides working fly stitches in horizontal rows or vertical columns, the stitch can also be isolated, to create "filled" (loosely filled) background areas, or to create small accent-like stitches across a "canvas." Experiment with it! It's a fun and quick stitch!
How To: Do the Padded Satin Stitch
Of all the hand embroidery stitches that exist, one of the most beautiful, when done well, is the satin stitch. It does take a little practice to get the hang of satin stitching, and it is true that it is not a very "forgiving" stitch. Watch the video from Needle 'n Thread to see how it's done.
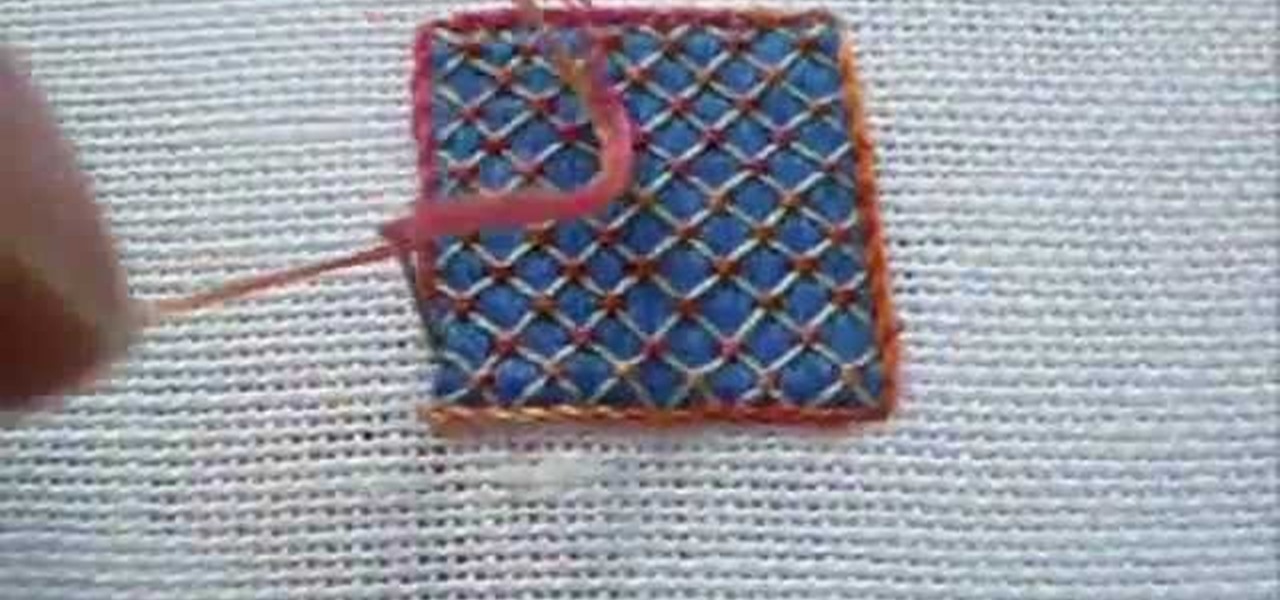
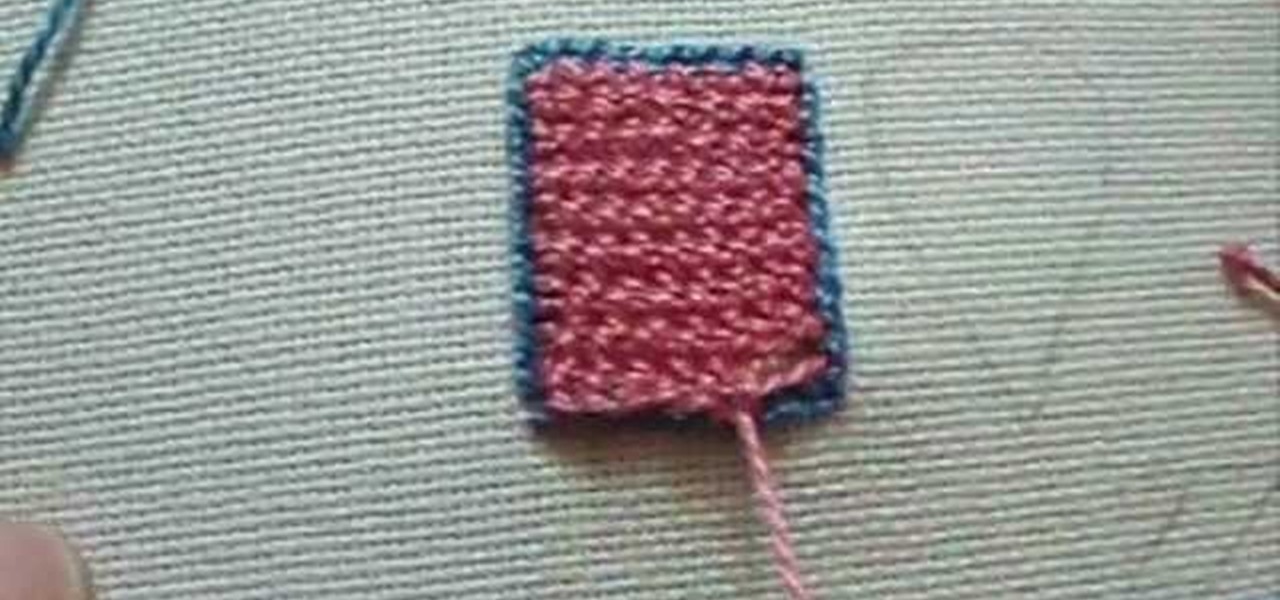
How To: Do Lattice Work
Lattice work is used as filling or for backgrounds. Worked on a plain ground (with only the fabric behind the lattice stitches) it can be easily managed by beginners. Adding a colored background (for example, a background worked in satin stitch) kicks the stitch up a notch to intermediate level. Here's a video tutorial from Needle 'n Thread on working lattice stitch over a satin stitch ground.
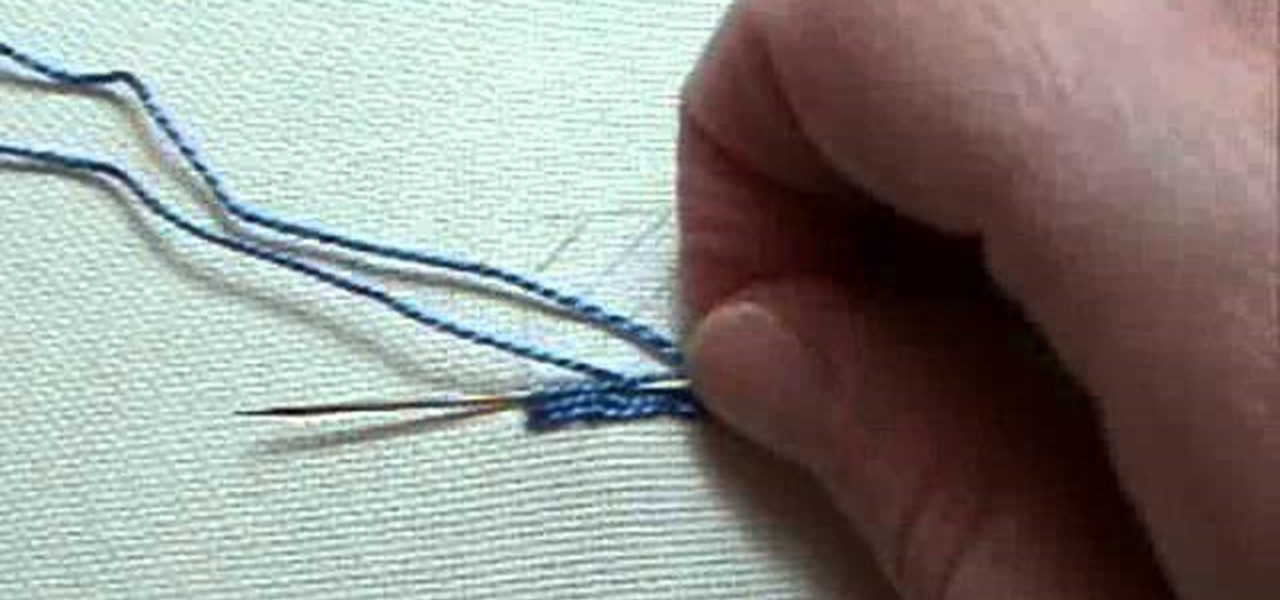
How To: Do the Bokhara Couching Stitch
Bokhara couching is a filling technique used in surface embroidery. Unlike regular couching, Bokhara couching uses only one thread, which serves as both the laid thread and the couching thread. Watch the video from from Needle 'n Thread to see how it's done.
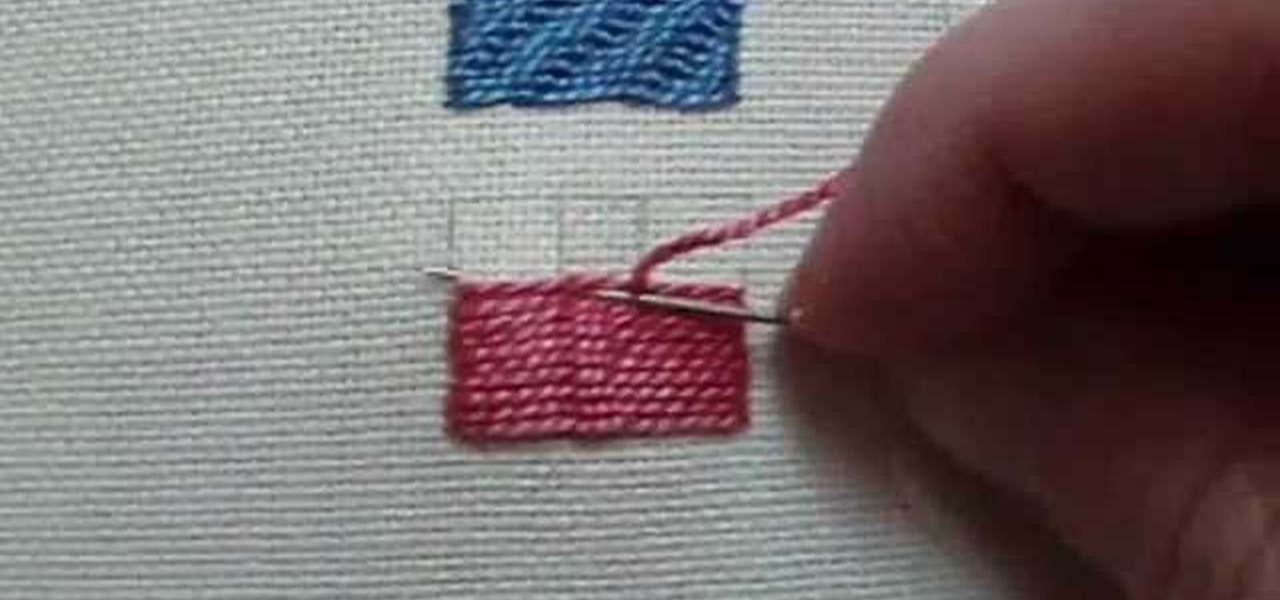
How To: Do the Roumanian Couching Stitch
Here's another video tutorial from Needle 'n Thread for a hand embroidery stitch called Roumanian couching, which is used primarily as a filling stitch.
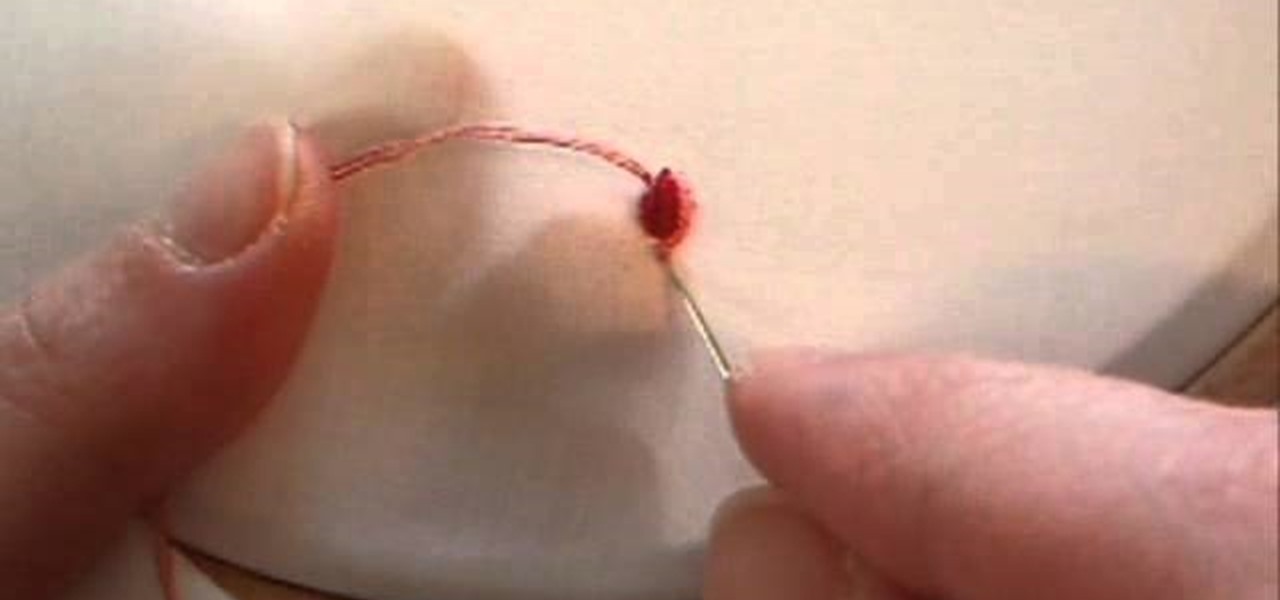
How To: Embroider a Rose Bud Out of Bullion Knots
Here's a video tutorial from Needle 'n Thread for a rose bud made out of bullion knots. The bullion knot can be used to make beautiful roses and rose buds, and, believe it or not, they're actually really simple to make once you get the hang of it!
How To: Do the Fishbone Stitch
As you'll see in this video tutorial (from Needle 'n Thread), the fishbone stitch is an easy embroidery stitch to use for filling in leaves (and other shapes, too). The stitch is a good stepping-stone to satin stitch, as it requires you to keep a neat edge on the outside of your design.
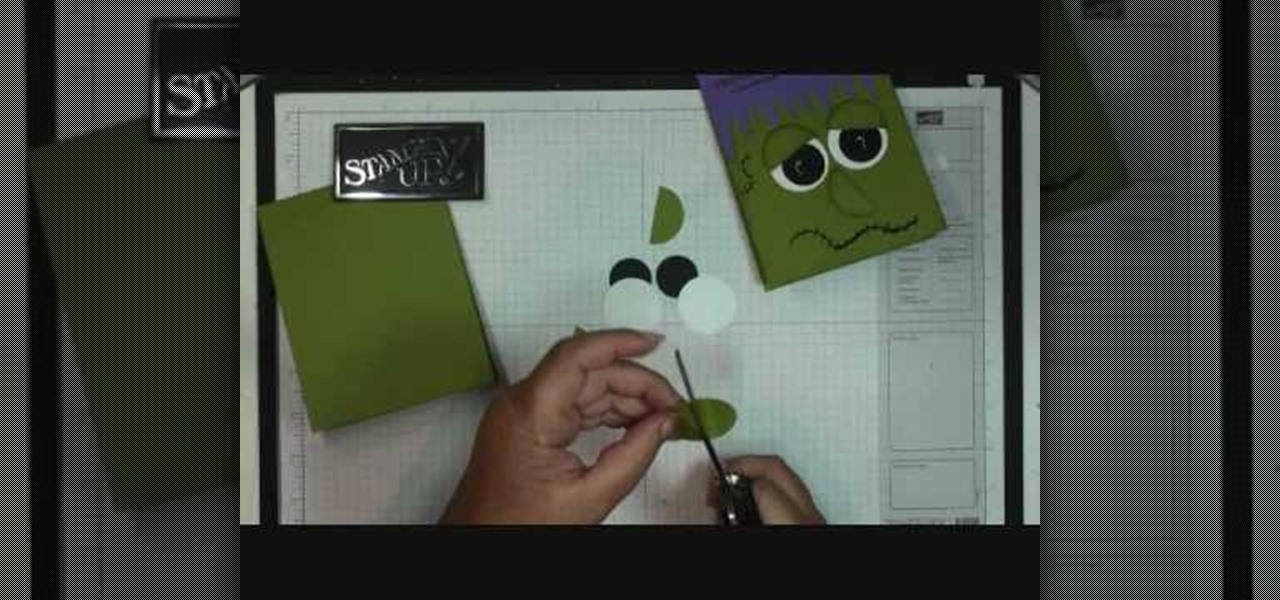
How To: Make a Frankenstein Halloween card with Stampin' Up!
In this video tutorial, viewers will learn how to make a Frankie card. This video provides all the materials required to make the card. The materials required include: old olive card stock that is cut at 4 1/2" x 11", lovely lilac card stock that is cut at 2 1/2" x 5 1/2", stylus tool, Smarty Pants stamp set, 1" circle punch with 2 black card stocks, 1 3/8" circle punch on whisper white and old olive card stock, glue and a black market pen. This video will benefit those viewers who enjoy art,...
How To: DIY Triple Spiral Knot Bracelet
DIY Triple Spiral Knot Bracelet with beads in Shamballa style. This bracelet is easy to make and it looks great! A good bracelet for beginners in macramé.
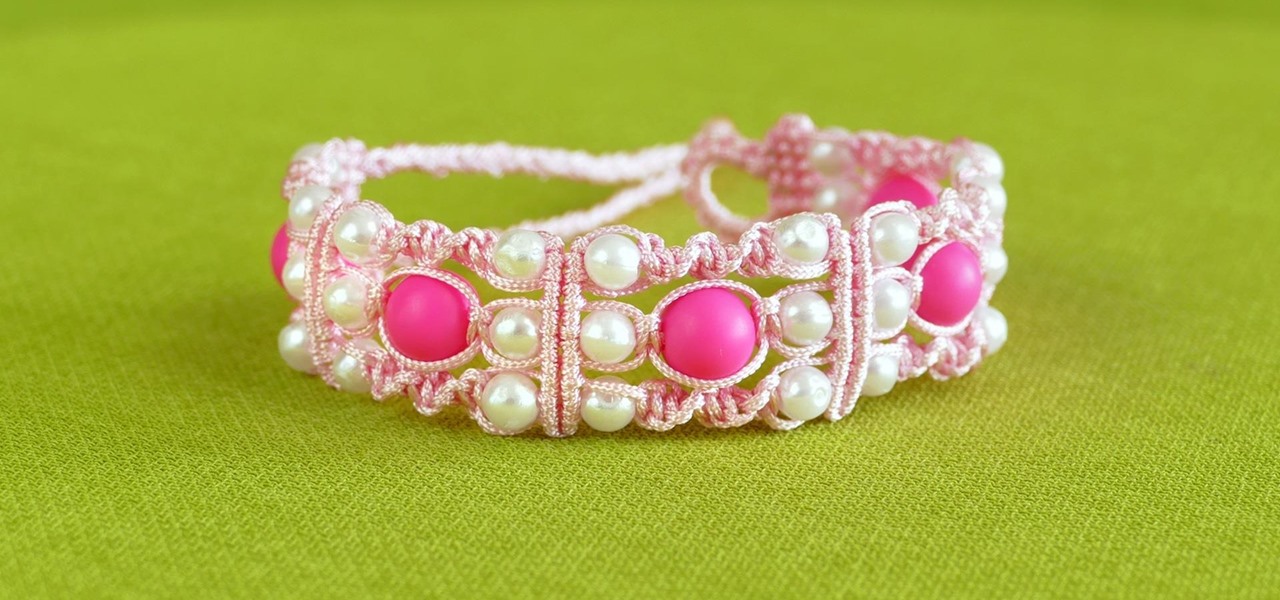
News: Most Popular Macrame Bracelets of 2015
In this video compilation, you can see the most interesting bracelets of 2015. We are celebrating 300 macrame videos & tutorials! Our Macrame bracelet tutorials are for Free!
How To: Wick a silicone candle mold
This shows you how to use a drill to make wick holes in silicone molds for candles.
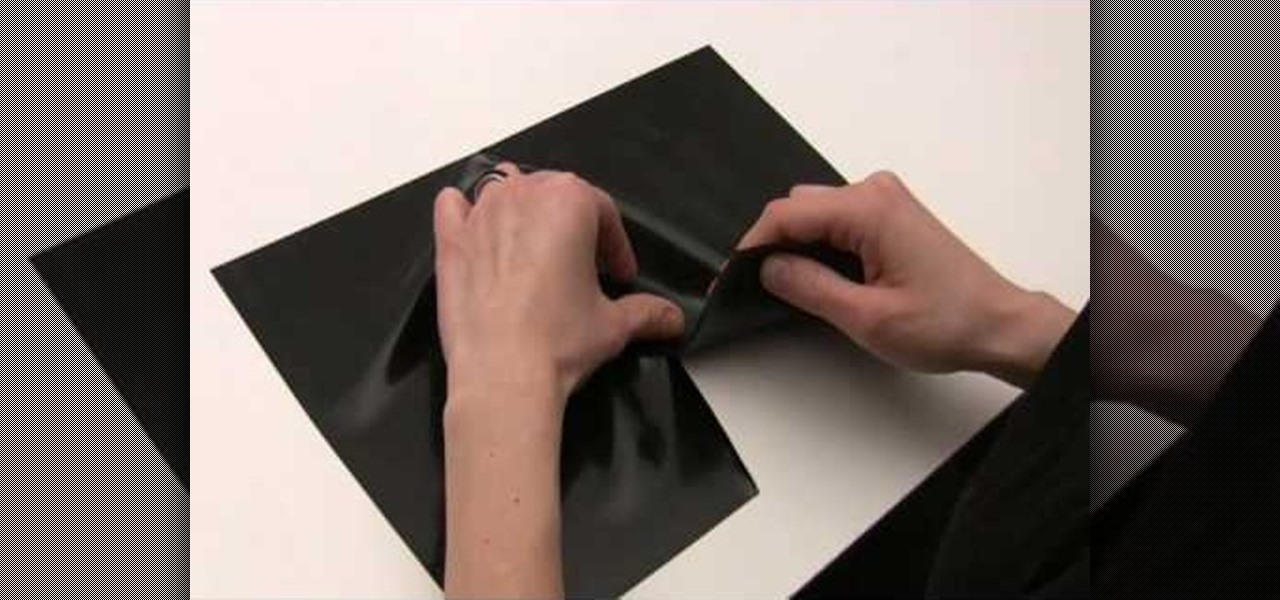
How To: Glue straight and curved latex seams
In this tutorial, we learn how to glue straight and curved latex seams. First, press each piece of latex down so it's just touching in the middle. After this, use your finger to press down on the middle, then take a roller and roll over the middle until it's perfectly straight. Now, stretch out the latex to make sure that both sides are stuck together. To glue curved latex seams, place the pieces together slowly, pushing your finger down in the center as you go to make a curved effect. Once y...
How To: Beaded Macrame Square Bracelet Tutorial
DIY Beaded Macrame Square Bracelet. This bracelet looks great! In this tutorial I showed you a multi-colored version. You can change colors of your choice. Hope you will like it. More info in video..
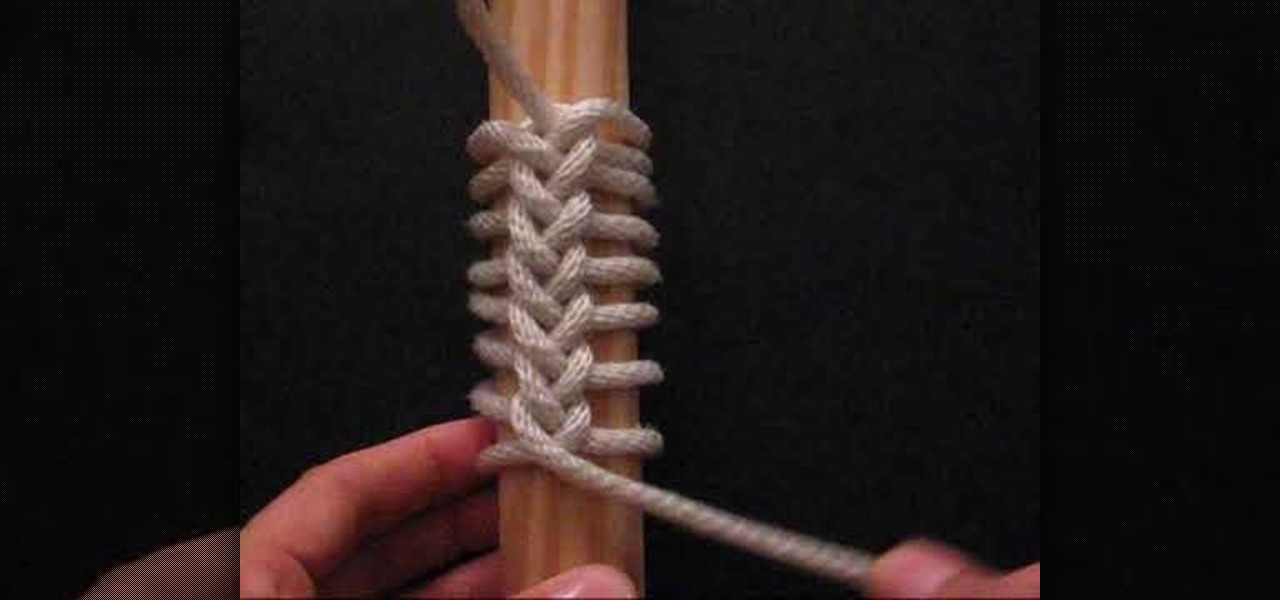
How To: Tie a single-strand Ringbolt hitch knot
In this video, JD, from Tying It All Together, demonstrates how to tie a knot known as a "Ringbolt Hitch". This is also known as "coxcombing". This type of knot was once a common tie used by sailors to dress-up items and parts of their ships. When tying a wheel, a "Turk's Head" knot was used to cover the part of the wheel where the two ends of the ring bolt met, which would firm up the hitch, and help to keep the tied ends from unraveling. It is a nautical tradition to use this type of knot t...
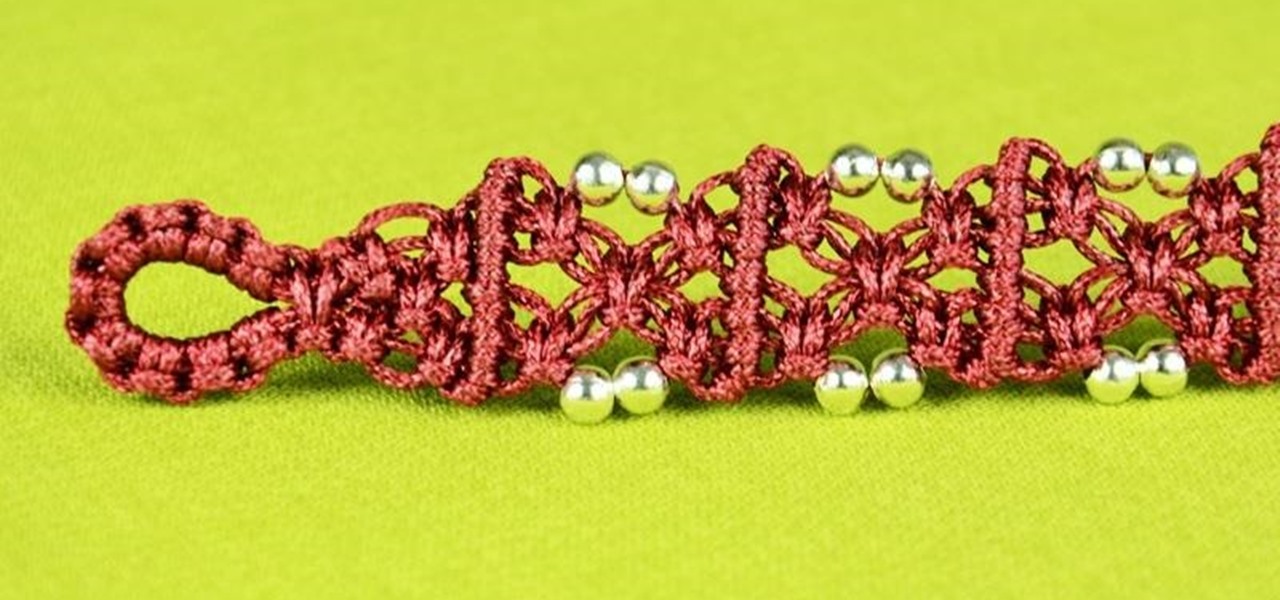
How To: X Patterned Square Knot Bracelet - Easy Tutorial
X Patterned Square Knot Bracelet with Beads and Button clasp. This bracelet is easy to make and it looks interesting :) a good bracelet for beginners in macrame. More info in video..

How To: Make a paper cigarette from cigarette foil
In this tutorial, we learn how to make a paper cigarette from a cigarette foil. First, fold a piece of foil length wise, then flatten out the creases. After this, unfold the paper and tear it in half. Now, fold half of it in half again to make the stem of the flower and twist the top. Use the other half of the foil to make blossoms and flower petals. When you are finished shaping these, attach to the stem of the flower and shape more to make the flower look more realistic. Attach more leaves ...

How To: Make a mosaic jewelry ring
In this video, we learn how to make a mosaic jewelry ring. First, put the glue into a container, then place the stones into the glue and then place them onto the ring. Start by making the outer ring of the circle, then continue to go around the inside and the middle. Once you have all the stones placed inside, let the ring and stones dry for a full two hours. Next, take your powder and add a small amount of water. Mix together until you have a toothpaste like consistency, then rub it on the r...
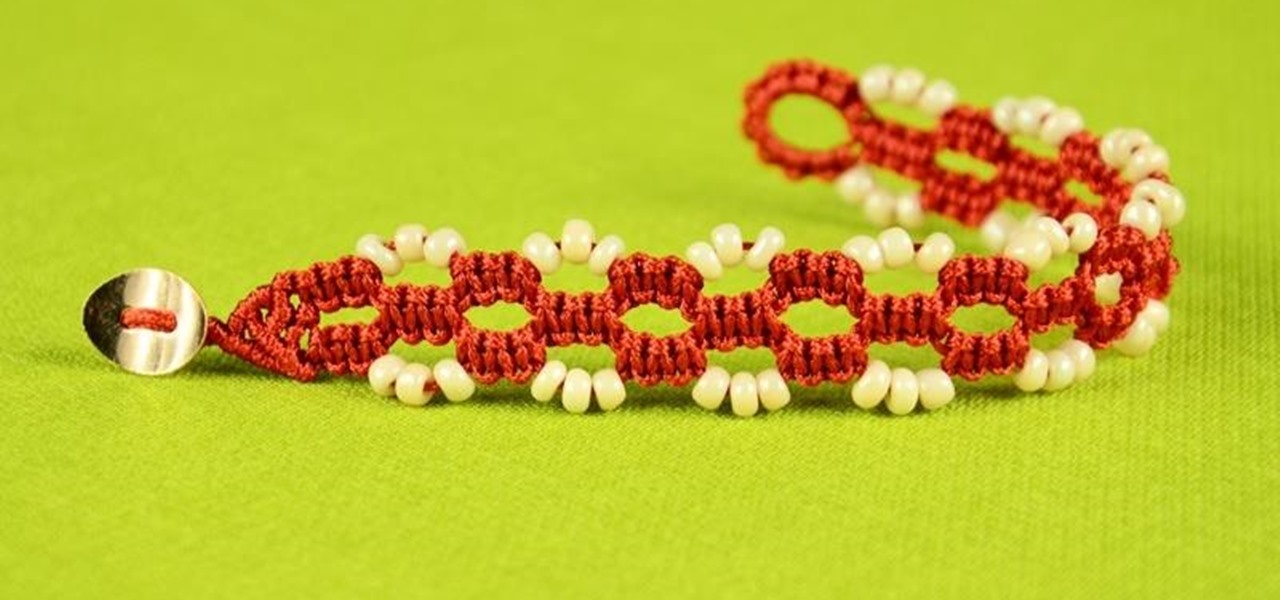
How To: Easy Square Knot Bracelet Tutorial
DIY Easy Square Knot Bracelet with Beads and Button clasp. Easy to make and fun to wear :) a good bracelet for beginners in macrame.

How To: Make a paper bag mini
In this video we learn how to make a paper bag mini. Start out with your paper consistent throughout the entire bag and then distress the pieces that you place on it. When you open it up it will have several pages inside of it. Use different types of stamps, distressing, and tags to make this unique. Use a lot of tags to put notes and sentiments on and then add in designs that are all your own! Add in as many pages as you would like to and create something interesting. Leave it plain or add i...
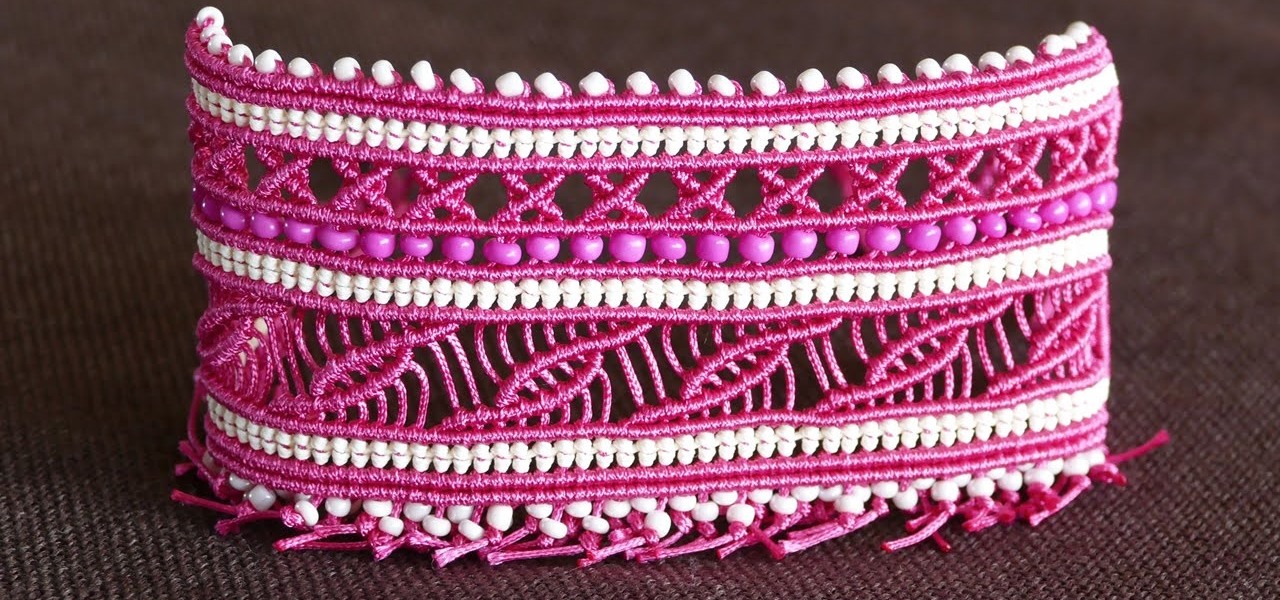
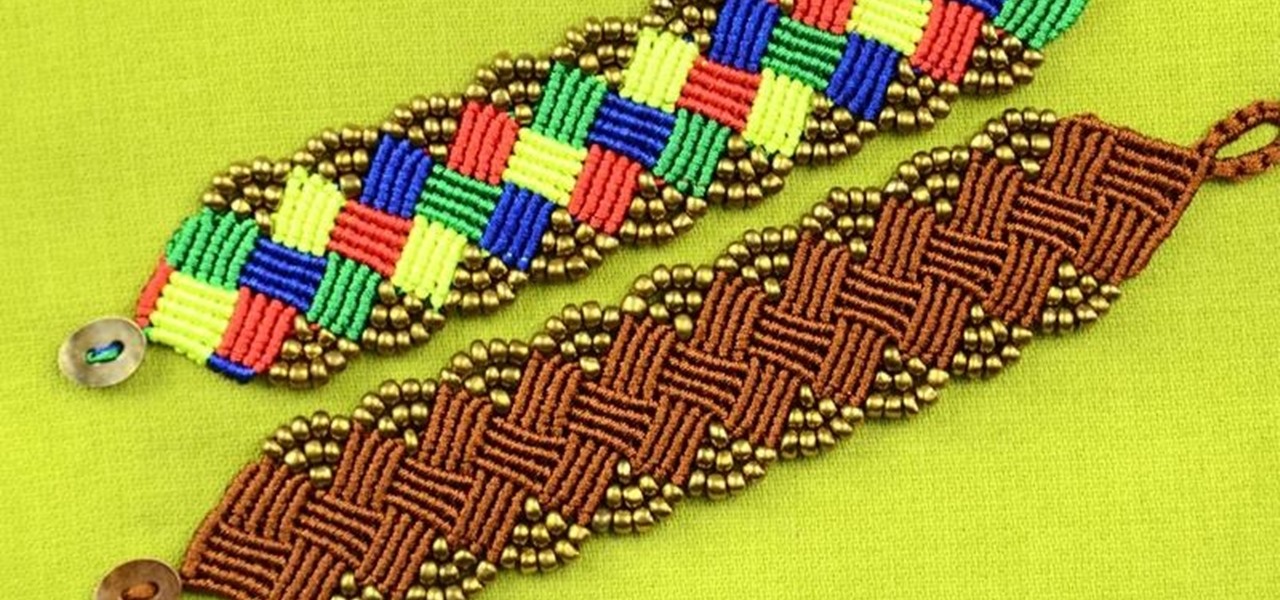
How To: Wide Macrame Cuff Bracelet Tutorial
This is a tutorial on how to make a Wide Macrame Cuff Bracelet. Crosses & Leaves pattern with beads. More info in video..