

Active Arts & Crafts Posts


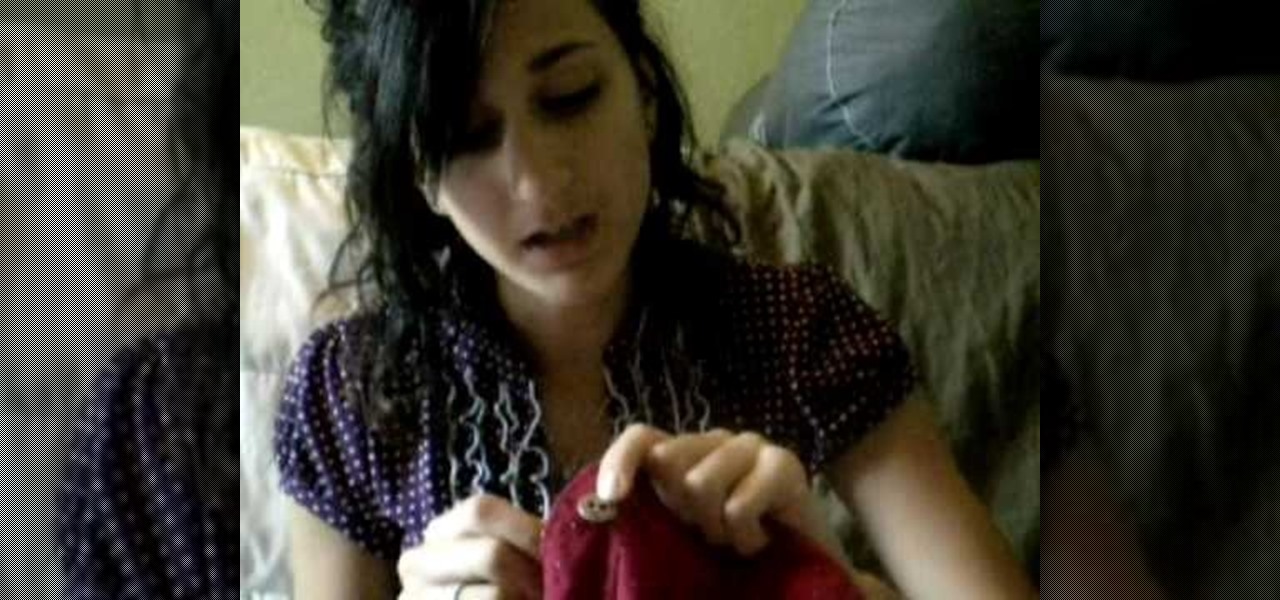
How To: Sew a button onto any garment
Need to replace a button on a shirt? How about sewing something new with buttons? Learning to sew is a great way to get creative and to customize clothes you love by either tailoring them to fit your body better or embellishing designs by adding extra buttons or fabric. In this tutorial, learn how to hand sew a button onto a garment.

How To: Hand sew a button on a shirt
Missing a button and in a hurry? Instead of waiting a couple days when dropping off your dress shirts at a seamstress, why not fix the problem yourself within an hour? In this video, learn how to hand sew a button on a shirt with "How To Sew with Jenny T".

How To: Make a two pocket card
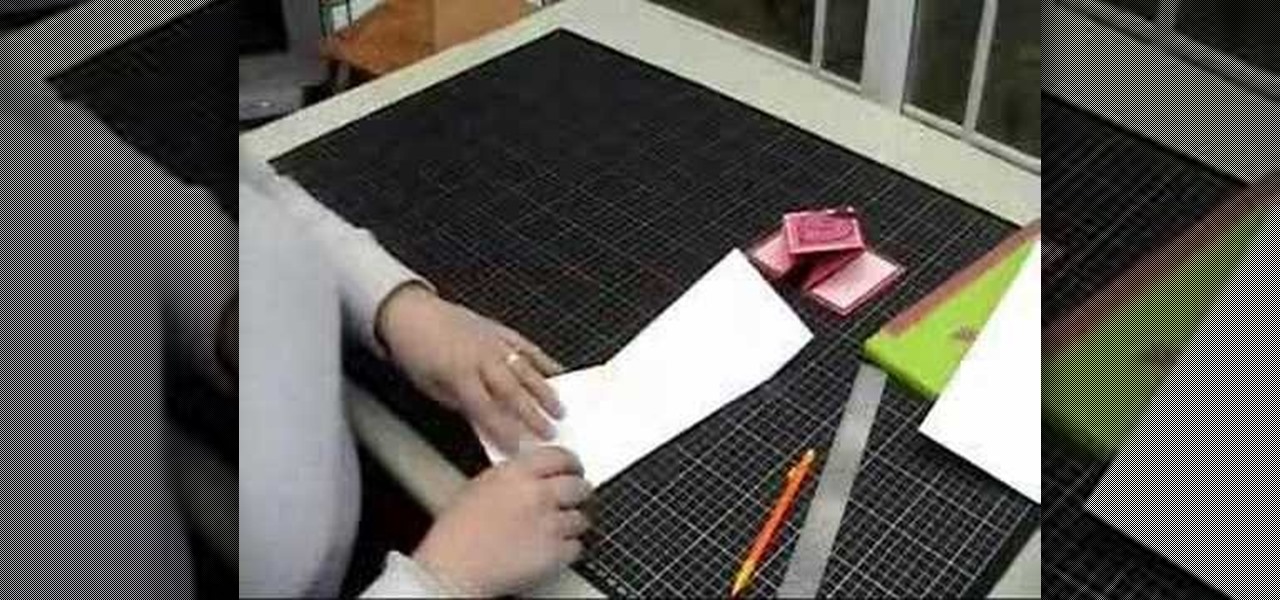
In order to make a Two Pocket Card, you will need the following: double sided large card stock (8 x 4), precision trimmer, a ruler, tape, or glue, a pencil, and a ruler. Fold it in half, widthwise. Open it up and fold it lengthwise. Open it back up.

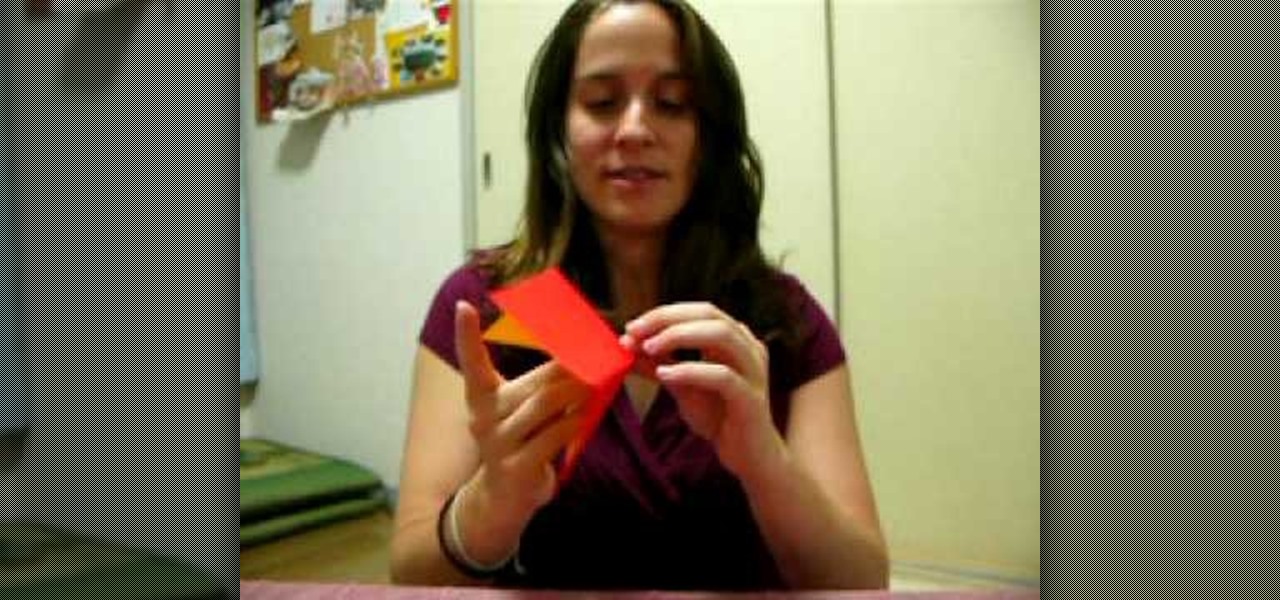
How To: Make an origami shirt and necktie from folded paper
This video tutorial demonstrates how to make an Origami necktie and a shirt card. Begin with a square two sided paper. Fold the paper in half, forming a triangle. Open it back up and use the center fold as a guide. Take one corner and fold it in toward the center fold. Repeat this on the other side. You end up with a kite shape. Turn your paper over. To make the front knot of the tie, fold down the smaller corner toward the center about a third of the way. Fold the point back up toward the to...

How To: Fold a floating origami boat
You may know how to fold an origami paper boat, but chances are you don't know how to origami a paper boat that can actually float. This video tutorial will show you the step-by-step instructions for each fold involved in the boat building process. You only need on sheet of paper for this floating boat, which means it's actually really easy to fold.

How To: Make rubberband bracelets
Attention Avril Lavigne fans! Copy her punk rock style with help from this arts & crafts tutorial. Learn how to make unique bracelets out of rubberbands with the step-by-step instructions given here.

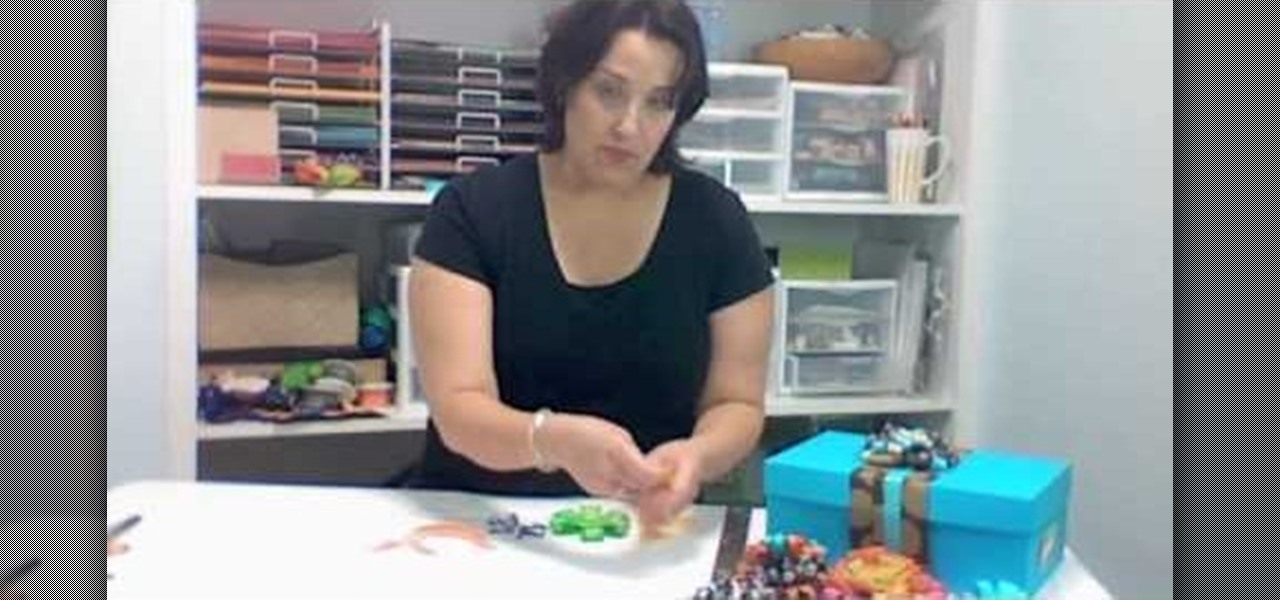
How To: Make jewelry with old bottlecaps
Don't even think about buying store bought jewelry, when you can make your own custom designs at home! Learn how to put that old collection of bottlecaps to use with guidance from Debz, owner of Rubber Stamp Plantation in Honolulu who demonstrates how to make a wonderful pair of bottle cap earrings. Good luck!

How To: Make a strawberry from folded paper with origami
This is a video tutorial showing its audience how to make an origami strawberry. The first step in making this strawberry is to gather your supplies. You will need one piece of origami paper. First fold the paper into half on one side then open it and fold it in half again so that you have four squares. Next do some diagonal folds. Next reverse your paper and fold across your diagonal crease once again. Next diagonally fold it in half and then fold your triangle in half. Next make a square ou...

How To: Fold durable paper ninja stars
This tutorial demonstrates how to make Ninja stars out of 2 pieces of lined notebook paper. Lined paper make your star look cooler and help you keep track of your folds. Fold you paper into five equal sections with a small section left over at the top. This is about five and a half lines per section. Next fold over one corner of the edge that is farthest away from you and then fold over the corner of the opposite edge. Set this paper aside. Repeat the process with your second sheet of paper e...

How To: Make a mennorode star from folded paper with origami
This tutorial guides you through the process of making a mennorade star with origami. It begins with a square of paper that is folded in half and then folded from the corners to make guides on the paper. The paper is then cut in half to make two rectangles. Each rectangle is then folded and trimmed to form a 'Z' shape. It is necessary to complete these steps for ten more pieces of paper. The next step is to take to of the 'Z' shapes, perhaps of complimentary colours, and link them together so...
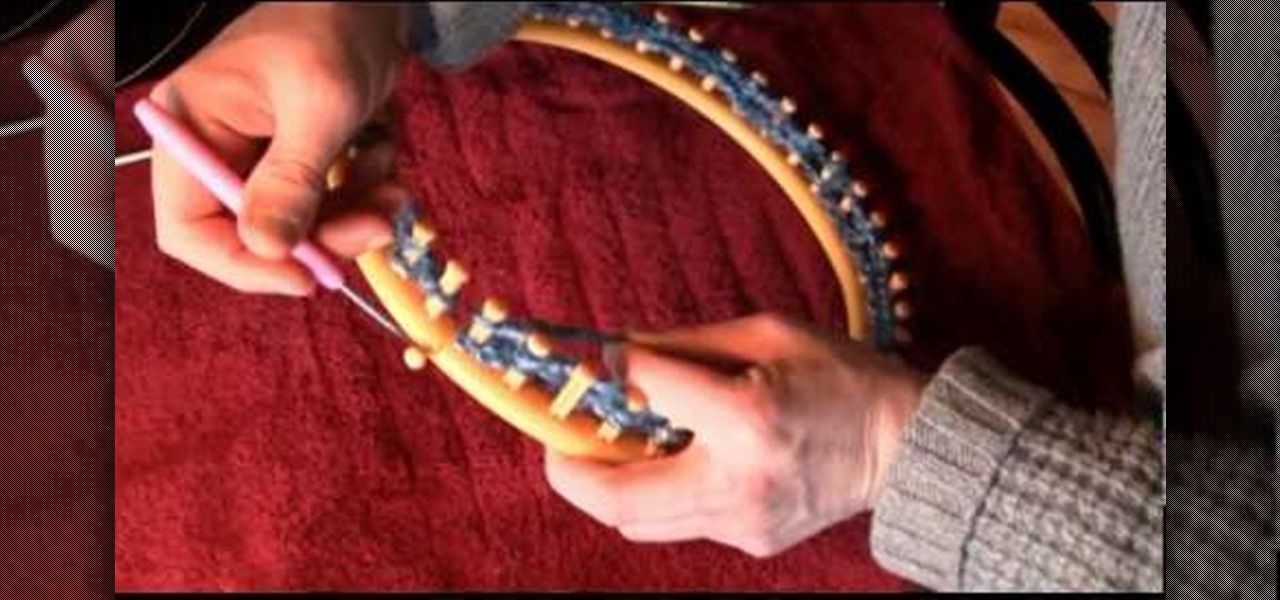
How To: Make a shawl when knitting on a large circle loom
This video shows us how to make a shawl when knitting on a large knitting loom. Here are the following steps:

How To: Make a cupcake treat bag
To start you will need a craft bag. They can be found at Michaels but they can be difficult to find. Take the bottom flap of bag and fold it over. The bags will be cut down to 4 and 3/8. You will next need your pink pirouette cardstocks, one will be 5 3/4 x 3 5/8 and it will be scored at 1 1/4. That will be the back of the bag. The other pirouette will be 4 1/2 x 3 5/8 and it will be the front of the bag. On the front Pirouette you will use your stamp on the front right hand corner as close t...
How To: Sew a baby blanket
In this video series, our expert mommy Karina Fraley, will demonstrate how you can sew your own baby blanket and burping cloth. If you have a new baby, you know how expenses can build up, but learning how to make easy sewing projects like this baby blanket is a cheap way to create a beautiful gift for your baby.
How To: Use markers & water to create a watercolor stamp look
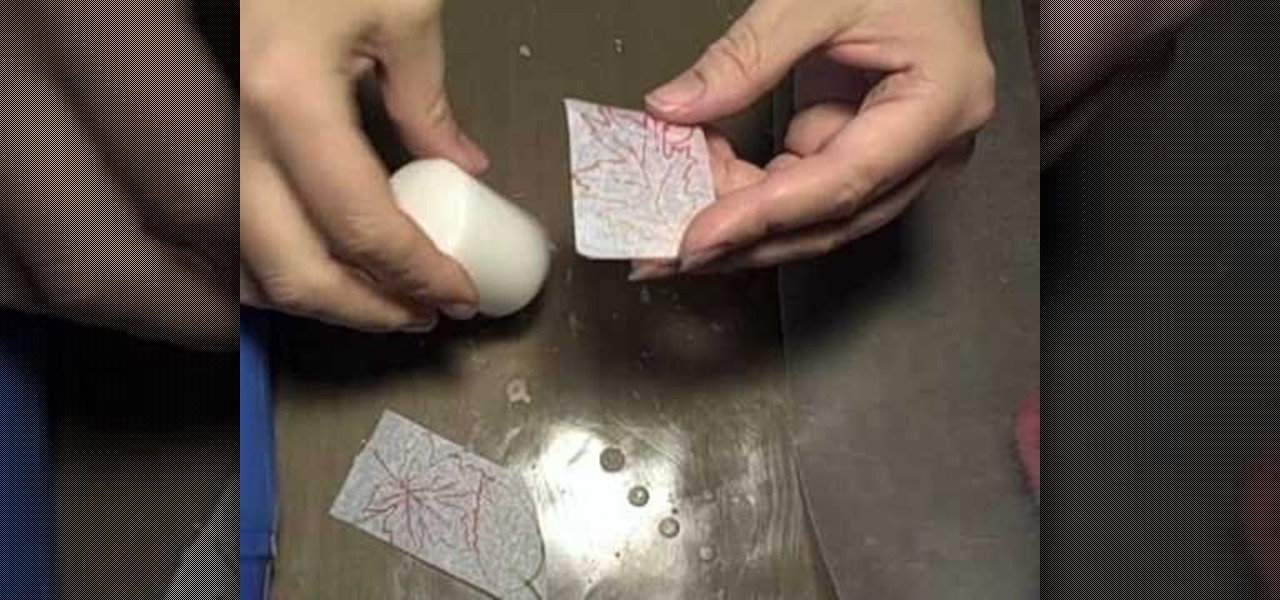
In this Arts & Crafts video tutorial you will learn how to use markers & water to create a watercolor stamp look. You can use rubber and acrylic stamp for this. You will need water based markers, minimister and card stock. Select you stamp and color it with markers as you would do in a painting. For example, you can color the leaves green and flowers red. You can also apply different shades. Then spray water with the minimister and stamp the image. Just stamp and lift, don't keep it too long ...
How To: Make a flower loop bow to decorate gifts
Leah for May Arts Ribbon shows how to make a flower loop bow. The following items are needed for it: Needle and thread, scissors, May Art Ribbons and a ruler. Buttons or flowers may also be needed to put on top of your bow as per your selection.
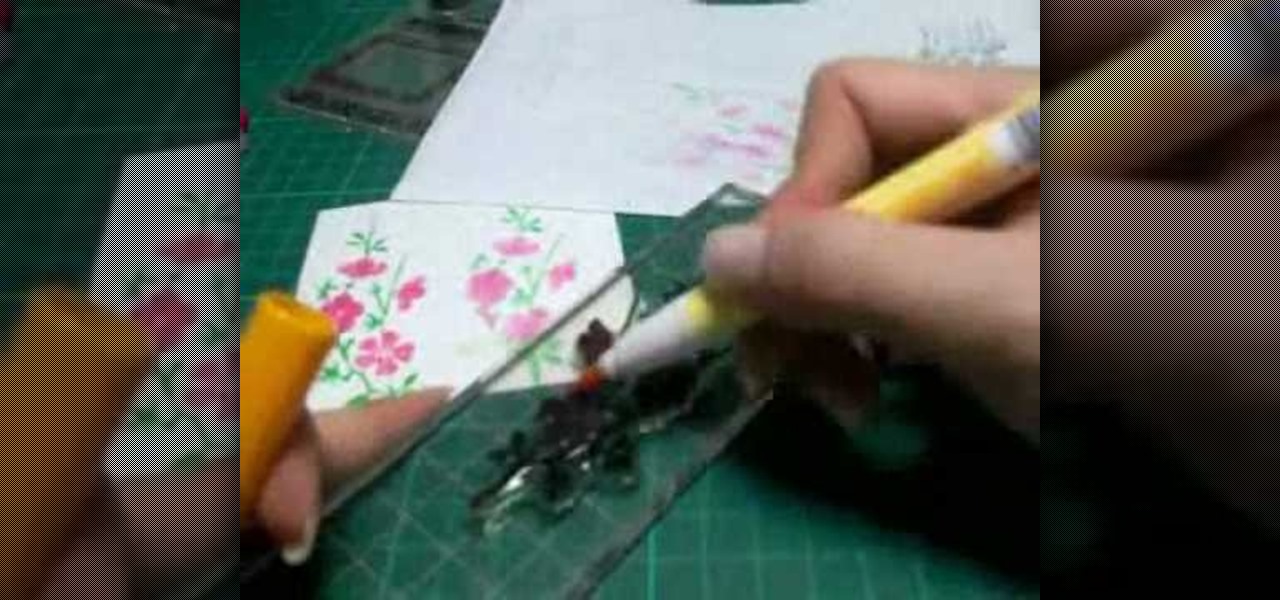
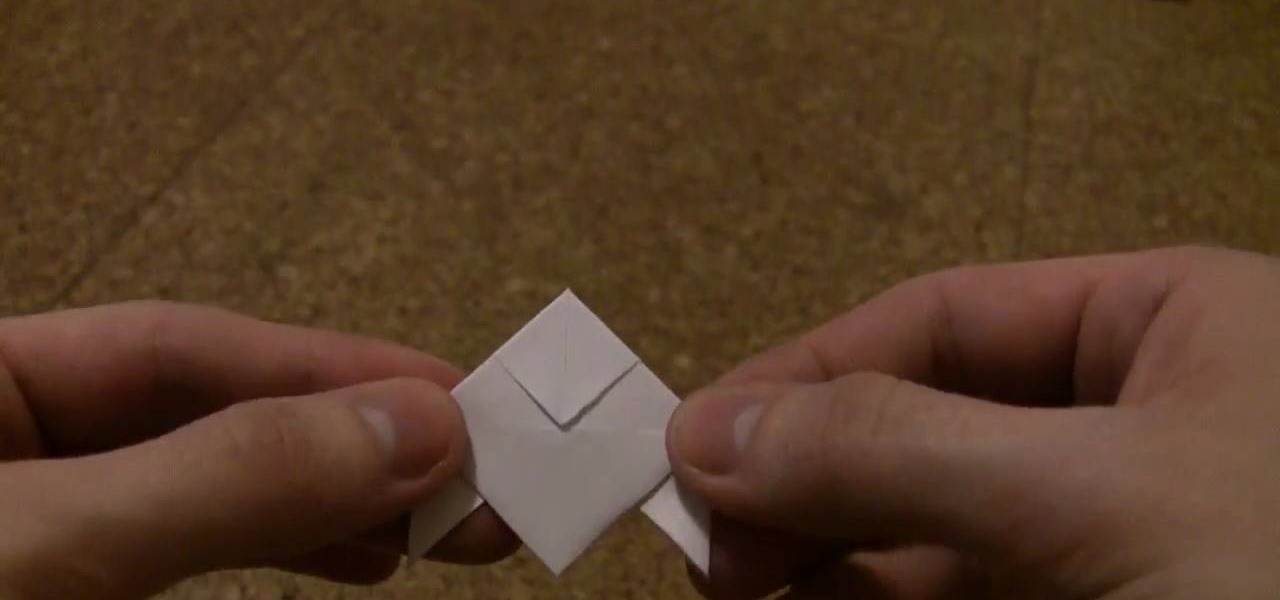
How To: Make a diamond folded card
In this Arts & Crafts video tutorial you will learn how to make a diamond folded card. Get a sheet of paper 4x12 inches. Draw a pencil line at the half way mark, that is, at 6inches. Fold one of the lengths to the center pencil line. Do the same to other half of the paper. Open up the sheet and do the same fold in the opposite direction. Open up the paper and flip it over and you will see the diamond fold in the center. Now you fold from each side up to the cross where the diamond begins. Fli...

How To: Make a side-by-side style friendship bracelet
Friendship bracelets are a fun gift, and important part of your school years. In this video, learn a new bracelet style.
How To: Sew a baby bib
There's nothing greater than giving a baby a handmade gift that they will treasure. In this tutorial, learn how to sew a simple double sided baby bib. This bib is adorable and durable and will last long enough to pass down from kid to kid.
How To: Create your own custom decorative candles
Candles make a lovely addition to any home decor, and they are also fabulous gifts. In this video learn how to make your very own decorative candles for cheap. All you will need to create this funky gift if a plain white candle from any grocery store, tissue paper and some wax paper.
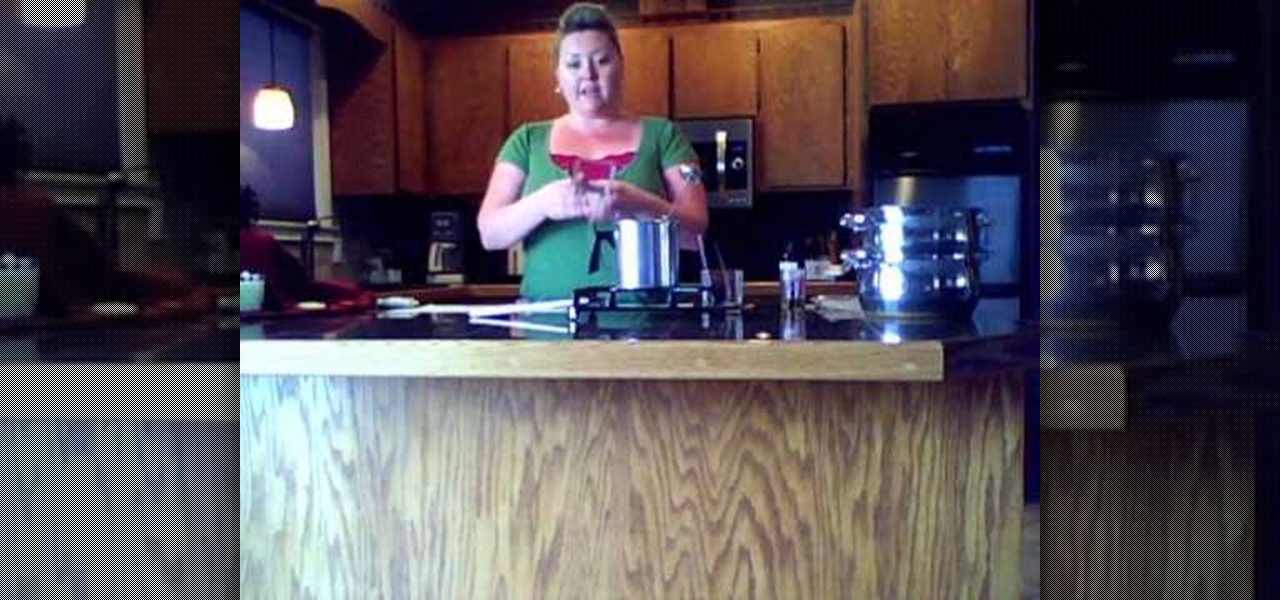
How To: Make a homemade soy candle
Candles are classic. They add atmosphere and style to any space. In this tutorial, learn how to make a healthy, earth friendly candle at home.
How To: Make soy candles at home
Candles are beautiful. They light a room, create atmosphere, smell nice and make awesome gifts. So, why not make your own homemade candles and save a little money? In this tutorial, you will learn how to make an eco-friendly soy candle for a personalized present. These candles look good, smell great and everyone appreciates a gift with a personal touch.

How To: Make a holder for a card set
This video describes how to make a fancy-looking stationery card set holder. First, take a card and cut it down to 10*6.5 dimensions. On the 6.5 inch sides, score 1" each. On the 10 inch sides, score 1", 7" and 8". Using a pair of scissors, cut flaps on the 10" side on the scores upto 1". After cutting these slits, you can do any designs on the card in order to make the holder look beautiful. Now fold the card along all the scores to make creases. Now, using glue, stick the flaps together. Fo...
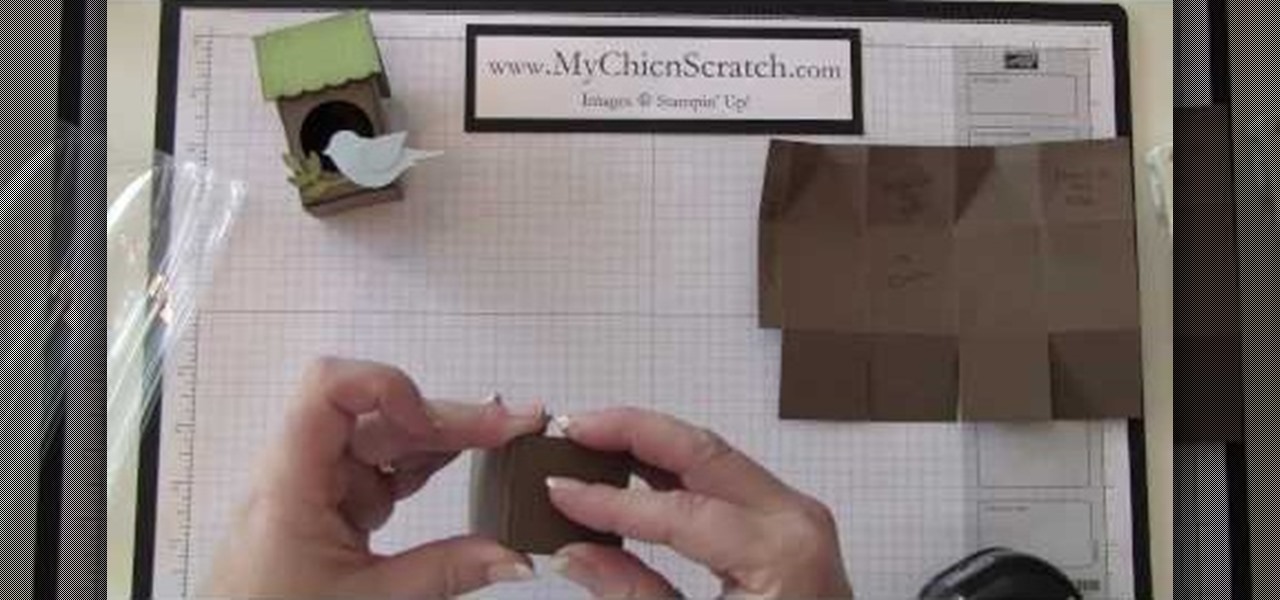
How To: Make a mini milk carton birdhouse
In this how to video, you will learn how to make a mini milk carton bird house. You will need a mini milk carton dye for this. Use the template to fold the paper. There will be score lines to help you with the folding. Once this is done, fold in the paper and take a punch to create a hole in the paper. Punch another hole in the paper. Next, apply adhesive to the two sides. Once this is done, fold the paper up along the lines to create the basic shape of the bird house. Next, take the green pa...
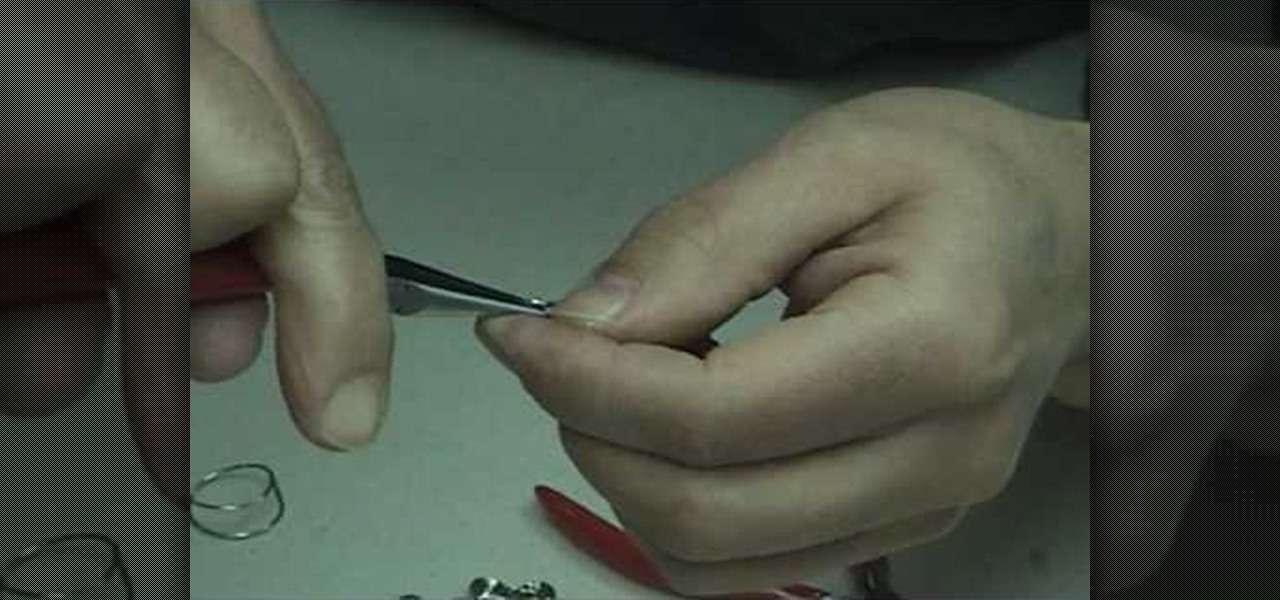
How To: Make simple wire hoop earrings
The video describes to make wire hoop earrings. Take a steel metal of anything and take a eighteen gauge wire and wrap a few length of it around the taken piece of metal which is cylindrical in shape. Cut the wire at the desired part and remove from metal.The wire takes the shape of a standard spring. Again cut it into two or three pieces. Hold the wire again and straighten the edge and after that once again bend it down holding at the place where bent begins. Put some on it to design and the...
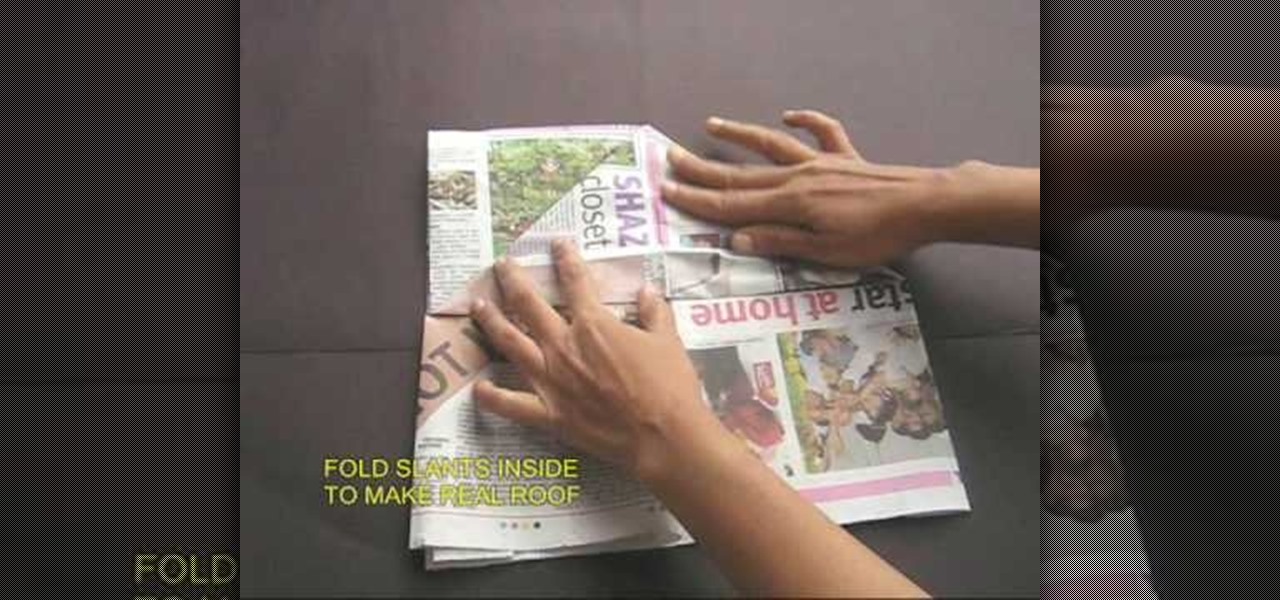
How To: Make a paper cap from a half sheet of newspaper
The man on the video explain how to make a cricket cap from just a half sheet of newspaper. You start off with a half sheet of news paper, and fold the sheet in half, and then fold it again into a quarter. Then it shows you to fold down the two tops sides as if you were making a "roof". Then you are to fold the roof to the mid point of the base. You are then told to open the whole sheet of newspaper again, fold in both of the long edges to about 4 cm. You are then to fold the sheet in half wi...

How To: Fold a hexagonal, six-point paper star with origami
In this Arts & Crafts video tutorial you will learn how to fold a hexagonal, six-point paper star with origami. Take a hexagonal sheet of paper and fold in half from all corners. Then fold each side inward up to the center point. Open up all the folds. Now fold one side up to the center point. Then fold one corner back over itself and fold the next side of the paper up to the center point. Continue like this for all sides and you will now have a smaller folded hexagon. Then lift up each flap ...
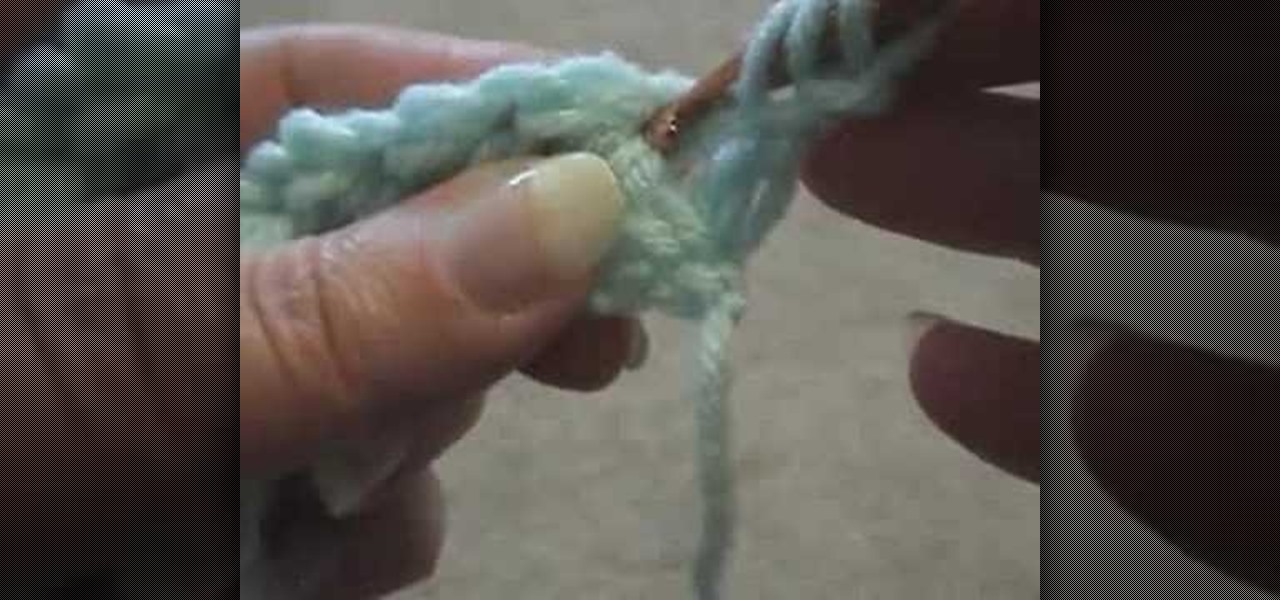
How To: Crochet a galaxy or snowflake stitch
Watch this instructional crochet video to crochet a galaxy stitch. This crochet method creates an intricate snowflake pattern. Use any type of thread and crochet needle to complete this project. This galaxy or snowflake pattern creates a complex crochet weave for warm yet breathable blankets, sweaters and winter caps.
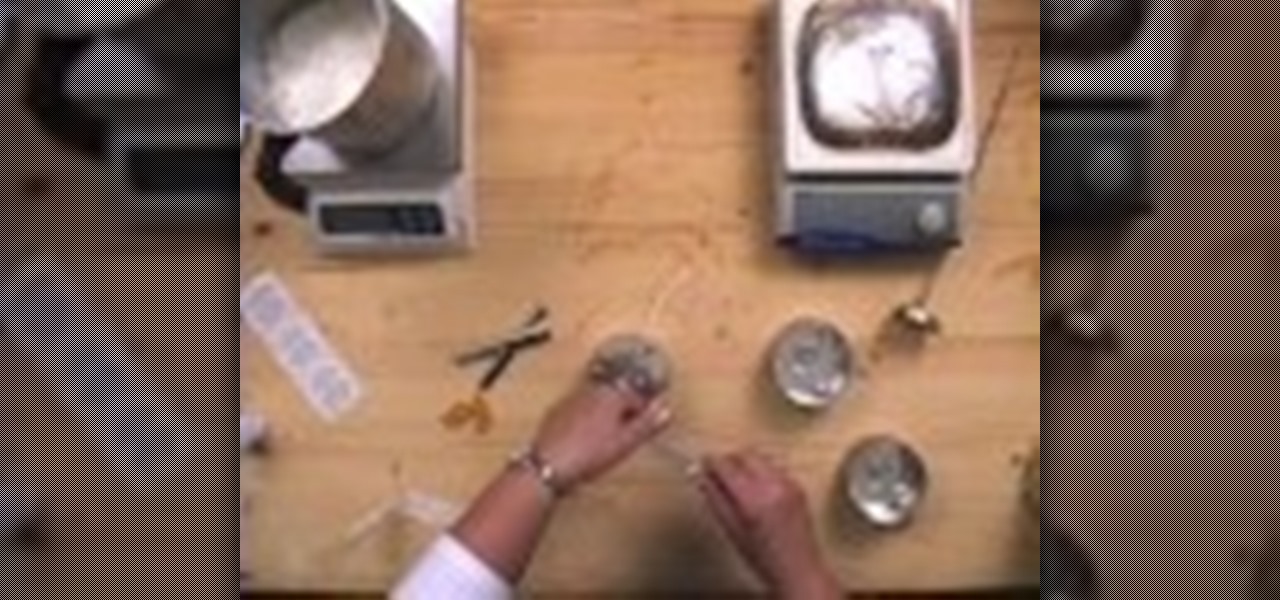
How To: Make a shimmer mixture for cards with Stampin' Up!
In this video tutorial, viewers learn how to make a shimmer mist mixture for cards. Begin by filling a small spray bottle with rubbing alcohol. Now add about 1/2 tsp-tbsp of Champagne Mist shimmer paint into the spray bottle and shake it to mix it. Users can also use frost white or platinum shimmer paint. To apply the shimmer mixture on a card, spray the mist in the air and wave the card stock into the mist. The alcohol will help dry the paint faster. This video will benefit those viewers who...

How To: Make a Scottie dog from folded paper with origami
Take a piece of paper and fold it triangle wise. Then unfold it and fold two edged sides towards the center. Then turn back in the same manner and fold right there. Then again turn back and fold two sides as done before. Then straight that part and fold into two sides and then fold one side to an upside direction. Then fold it downwards holding the center part. Then again fold downward the folded portion and a little bit upward the edged part. Keep intact the edged portion. Then fold the next...
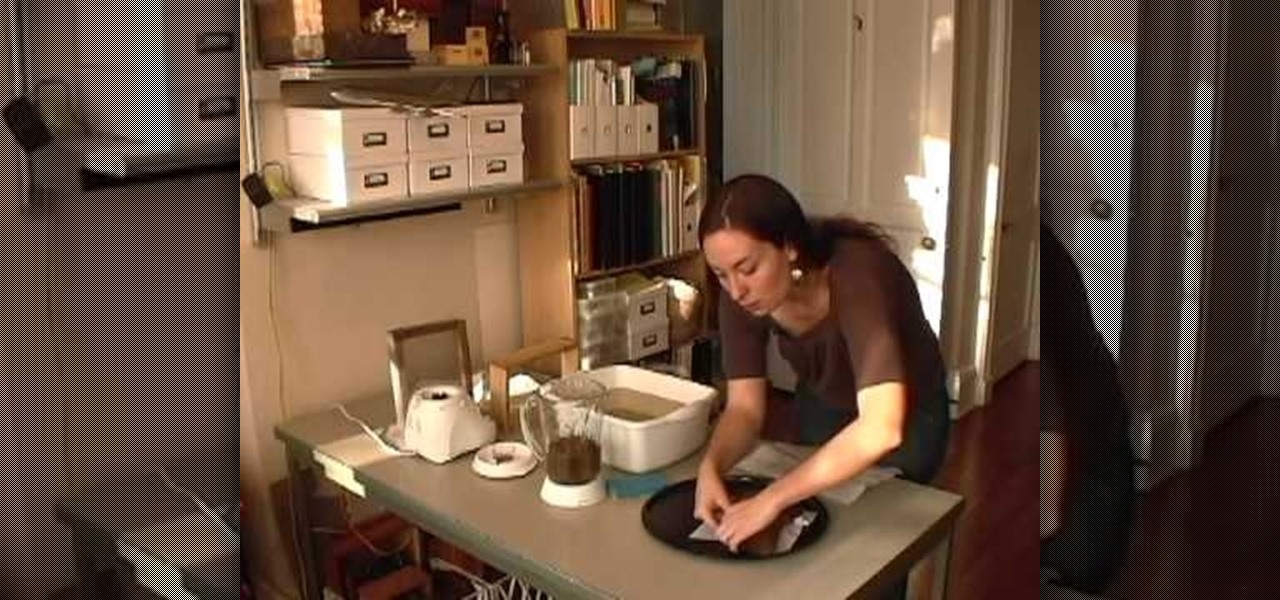
How To: Make a bowl from recycled paper
In this video, Liz Grotyohann demonstrates how to make decorative bowls from recycled paper. The materials required for the purpose a bowl shaped mold, a blender, a basin of water, a tray, a paper making tool, a sponge, some cloth and any kind of household waste paper like paper bags or junk mail. Liz prefers to use compressed packaging material and lines the bowls with old maps. She wets the map and covers the bowl with it. Pieces of brown paper are put in a blender with water and blended to...

How To: Make a lily flower from folded paper with origami
In this Arts & Crafts video tutorial you will learn how to make a lily flower from folded paper with origami. For this, you need a square sheet of paper. First you fold it in half and then fold it in half in the other direction. Next you fold it diagonally across to form a triangle. Then fold it again across the other diagonal. Open up the paper and push the diagonal folds inwards slightly so that the center point is pointing upwards. Then press the folds in to form a triangle. Take one of th...
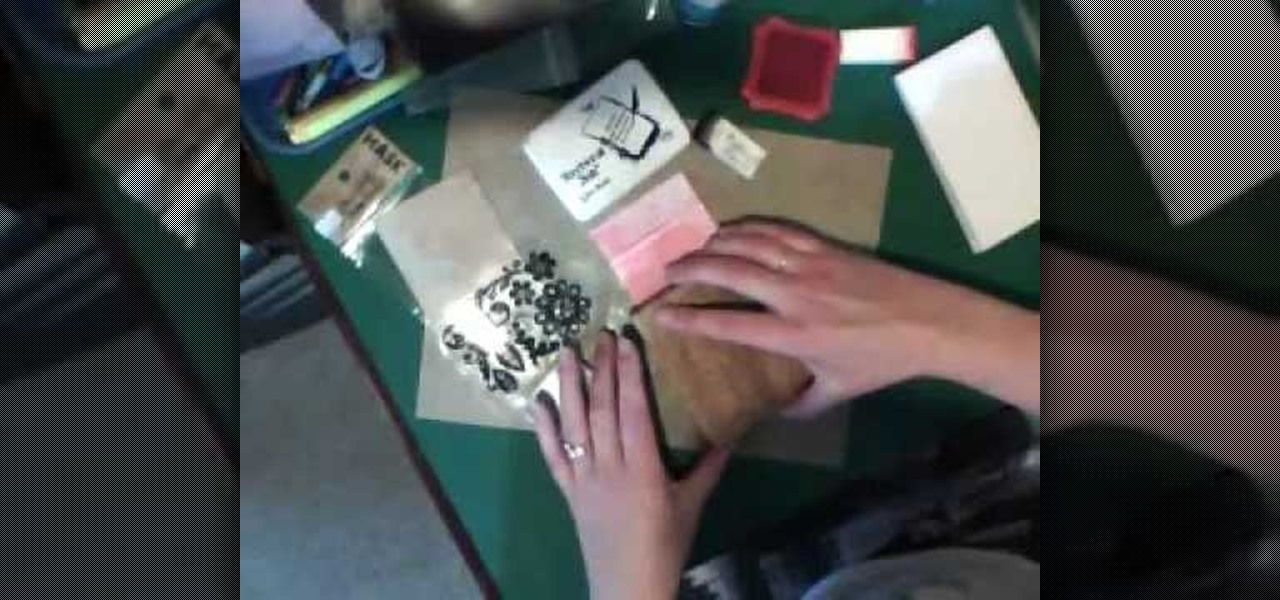
How To: Make a stamped notepad cover
In this Arts & Crafts video tutorial you will learn how to make a stamped notepad cover. Put the note pad on the edge of a bigger sheet of paper, draw the outline and cut the paper along the lines. The paper should be longer than the notepad. Put the note pad on top of the paper aligned with one end and fold the other end of the paper. Remove the paper and crease it properly along the scoring lines. Depending on the theme you want for the cover, apply the required ink with sponge on the paper...

How To: Macrame your hemp jewelry
Rayann shows us techniques to make macrame designs using hemp for the creation of fun, interesting jewelry designs. She shows us four techniques. First she introduces us to the half-knot using four strands of hemp. The right-hand strand is brought across the others in the shape of a backwards four, while the left-hand strand is brought behind the others and through the loop created. A series of half knots will result in a spiral design along the length of the jewelry.

How To: Make a 3d pop up card
In this video tutorial, viewers learn how to make a 3D flower pop up card. The materials required for this are 5 pieces of paper, scissors and glue. Begin by folding the paper in half 3 times and then fold down the sides to a triangle. Now fold a bit of the triangle flap up to make a slimmer triangle. Then cut around the top with a half circle shape. When opened, it will be a flower shape. Cut one of the pedals off and decorate it. Make 7 more flowers and glue the points together. Now take a ...

How To: Make a cool ribbon tree
This video shows how to make a beautiful little ribbon tree. This project is a great way to use up your leftover ribbon.

How To: Make your own journal with household items
To make your own journal with household items you need a hole punch, scissors, yarn needle with string, some beads, a piece of construction paper, and at least 4 pieces of printer paper. Take your piece of construction paper, fold it in half and then unfold it. Do two hole punches in the crease of the fold at the top and bottom of the paper. Then do a half hole punch in the middle of the paper. Do the same fold, unfold and punches to the printer paper. Be sure to match up the holes in the pri...
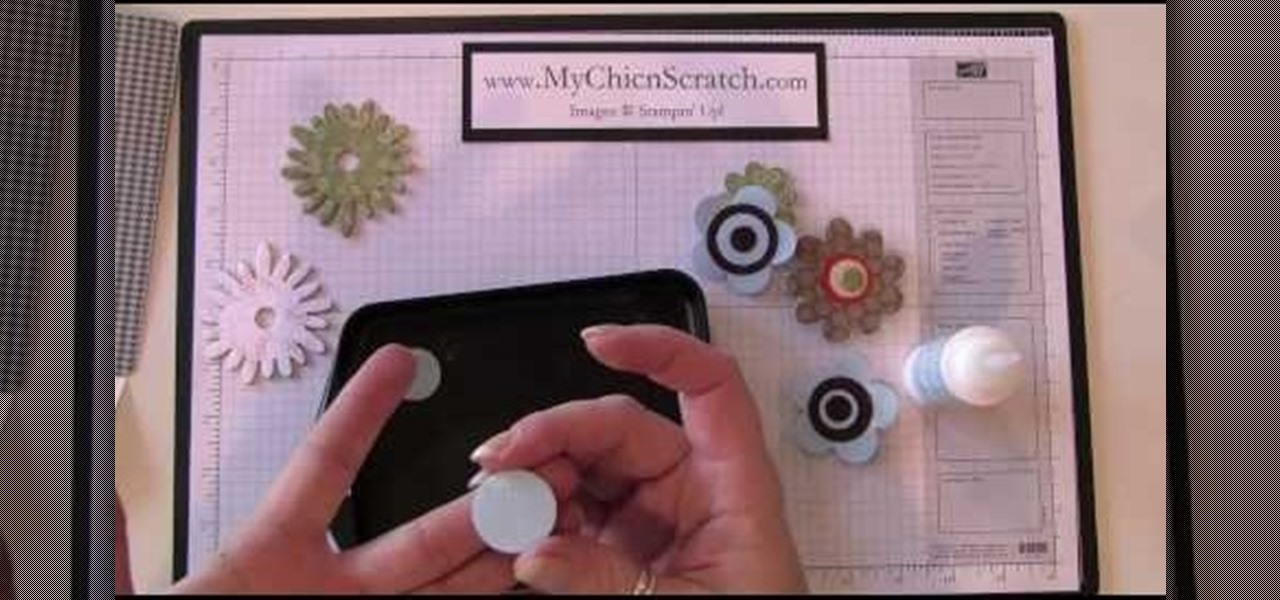
How To: Make flower magnets and faux brads
In order to make flower magnets and faux brads, you will need the following: card stock, a hole punch, a sponge applicator, and crystal effects.
How To: Fold an erupting origami volcano
This video is about making an origami of a volcano. The video begins with aliMcRose talking about the geographical formations of Japan and then she shows a finished origami. The materials required are one piece of two sided paper and a pair of scissors. Fold the piece of paper in half on one side and make sure the fold is a clear line. Now unfold the paper and fold it on the other side in a similar way.The piece of paper will now have four squares. Now fold these four squares into triangles a...
How To: Fold a Heavy Rain-style paper origami bird
In this Arts & Crafts video tutorial you will learn how to fold a Heavy Rain-style paper origami bird. For this project, you will need a square sheet of paper. Fold it diagonally across both diagonals. Open it up and fold one corner up to the center point of the paper. Flip it over and fold the other three corners to the center point. Now fold all the four corners to the center point. Flip it over and now fold it in half as shown in the video. Then you pull out both ends from the center and w...
How To: Make a button with a Badge-A-Minit hand press
Nathan demonstrates how to easily make a button using the Badge A Minit hand press button maker. First, load the button back into the blue ring. Place the artwork, face side up on top of the button back. Add the clear plastic circle on top of the artwork and put the yellow ring on top. Next, flip the apparatus over and put the purple ring on top of it. Then, put the green ring on top of the purple ring. Place one hand on top of the other on top of the green ring and press down firmly until it...