

Active Arts & Crafts Posts


How To: Hand-dye and crinkle seam binding for vintage cards
Jenniesbarn has created a video tutorial about how to make hand-dyed crinkle seam binding. She says that crinkle seam binding is popular because it has a vintage look. To begin, she uses a mister to spray water on a ribbon strip in order to allow the strip to crinkle easily and allow color to absorb more evenly when dyed. Afterwards, spray the dye and tossle the ribbon at the same time. It is possible to blend different colors by spraying a different colored dye afterwards. Once the desired c...

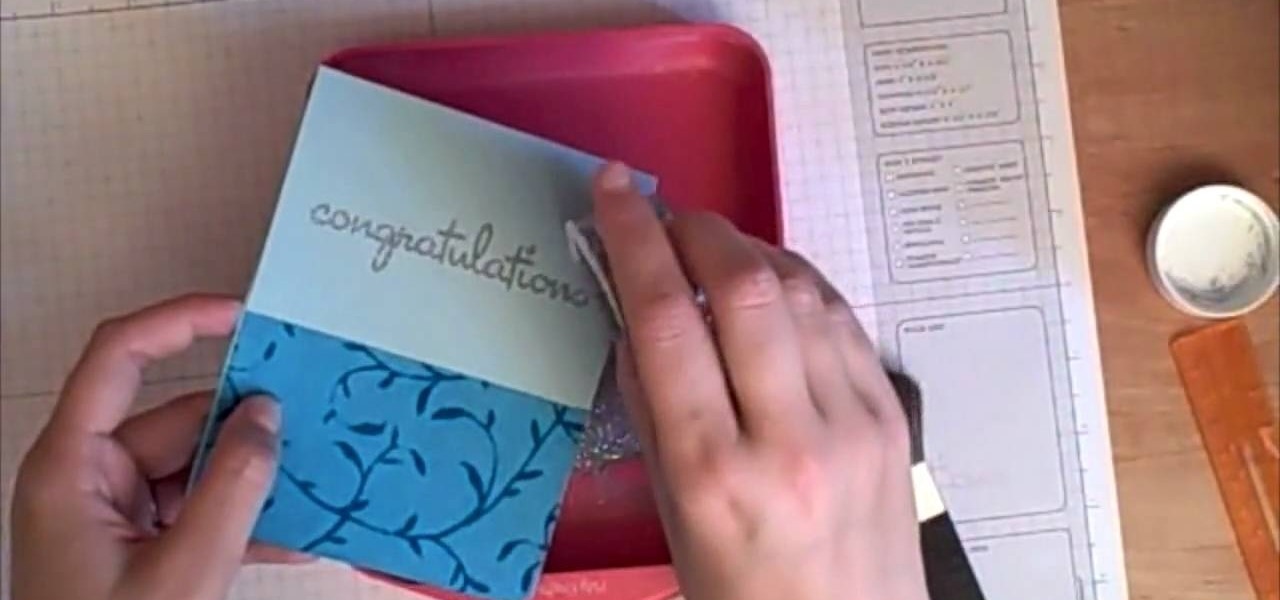
How To: Use a Cuttlebug & make a congratulations card
This video shows us how to use a cuttlebug and make a congratulations card. Here are the following steps:
How To: Make a vertical Easter greeting card
In this Arts & Crafts video tutorial you will learn how to make a vertical Easter greeting card. Take a 6x6 yellow card and fold it in half. Using the Valentrio Fiskars corner punch, you can punch one corner. Cut a 2 1/2” wide metallic cardstock, a 1” wide paper strip, stamp a picture or a design and punch it with Fiskars punch. Punch the 1” wide strip with the Fiskars border punch and glue both the pieces above and below the metallic card stock. Glue the metallic card stock and the pic...
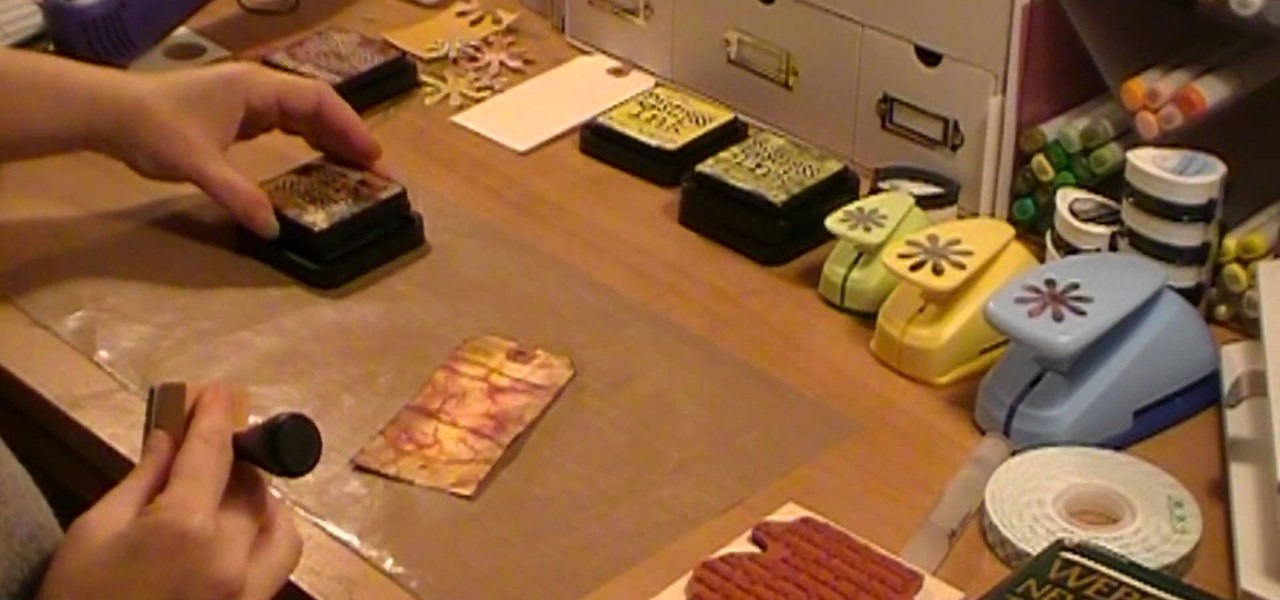
How To: Create a Tim Holtz or autumn inspired distressed tag
Donna50242 shows us how to make an amazing looking tag to use on different things. This video is in response to another one posted earlier. This tag is made be crinkling up an ordinary brown paper tag and then flattening it out to create the worn out wrinkle effect. Using a distressing inking tool with a foam pad, we apply the ink in a swirling motion. using different colors from the ink set (Mahogany, Mustard seeds, green etc), we can create amazing effects. And that's it, your done! Try exp...

How To: Make an 8 sided ninja star out of paper
To make an 8 sided ninja star first you need to take a sheet of the paper you are using and fold this in half, the short way. Unfold this so you have a crease. Now, fold the corners into the center crease. Do this to the top corners. Now, flip this over and fold over the bottom of the paper to the back and crease this. Now, you will want to tear this bottom half creased part off. Fold this into a square and fold the square into halves on both sides and tear this off to create smaller squares....

How To: Make a jewelry organizer for less than $3.00
Making a jewelry organizer is a fun and easy project to do! Orielle Hopkins, the Money Smart Mom, gives tips on making a great organizer for a minimal amount of money. Make a trip to your local craft store and search for a bead organizer with enough compartments to store your jewelry. If you have a lot of jewelry you may need to buy more than one organizer. Select adhesive backed felt in your favorite color for your project. Measure each compartment in the bead organizer and cut squares of fe...

How To: Make an 8-petal flower from folded paper with origami
In this Arts & Crafts video tutorial you will learn how to make an 8-petal flower from folded paper with origami. Take a square sheet of paper and fold it diagonally in both directions and open it up. Then fold it in half horizontally and vertically n the opposite side. Open it up and collapse the sheet in to a waterbomb base. Fold the flaps down along the center crease on both sides. Valley fold the four tips up. Open up the sheet and fold the four corners inwards. Then fold the direction of...
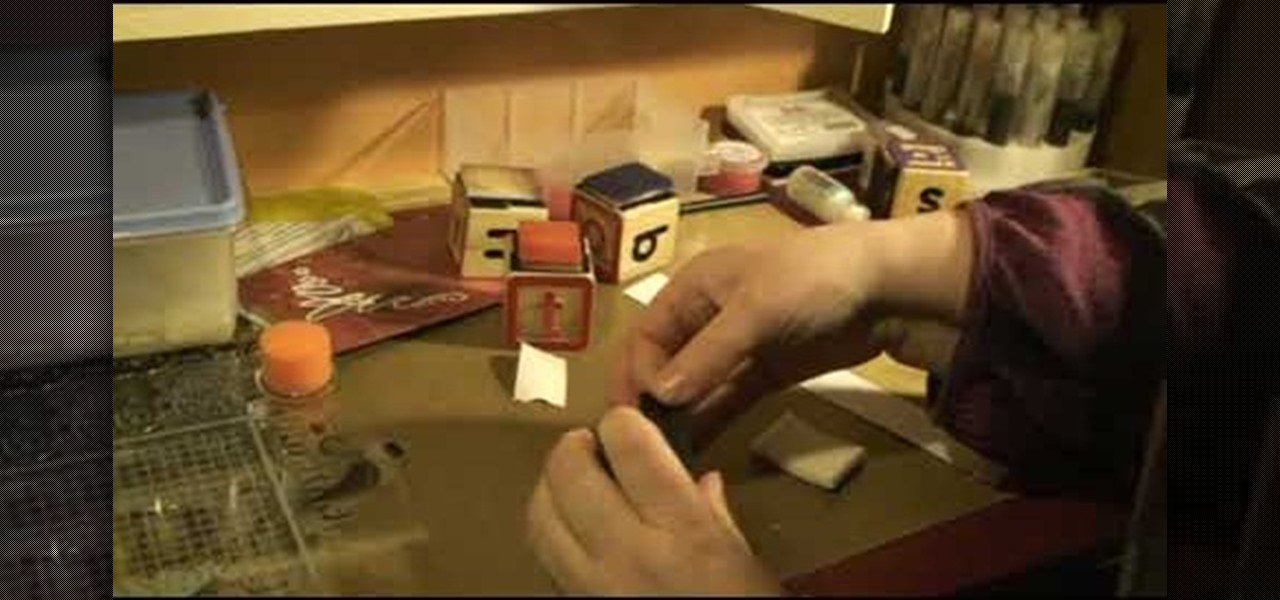
How To: Make a homemade foam applicator tool for distressing
This how to video shows you how to create your own home made foam applicator for blending. This will be useful as you can use items you can find at home and save money. You will need a piece of wood, such as a child's letter block, a piece of foam, and two pieces of velcro. Stick the pieces of velcro on to the block. From there, stick the foam applicator on top of the velcro. Once this is done, you are ready to use your very own home made foam applicator. You can use this for blending and oth...
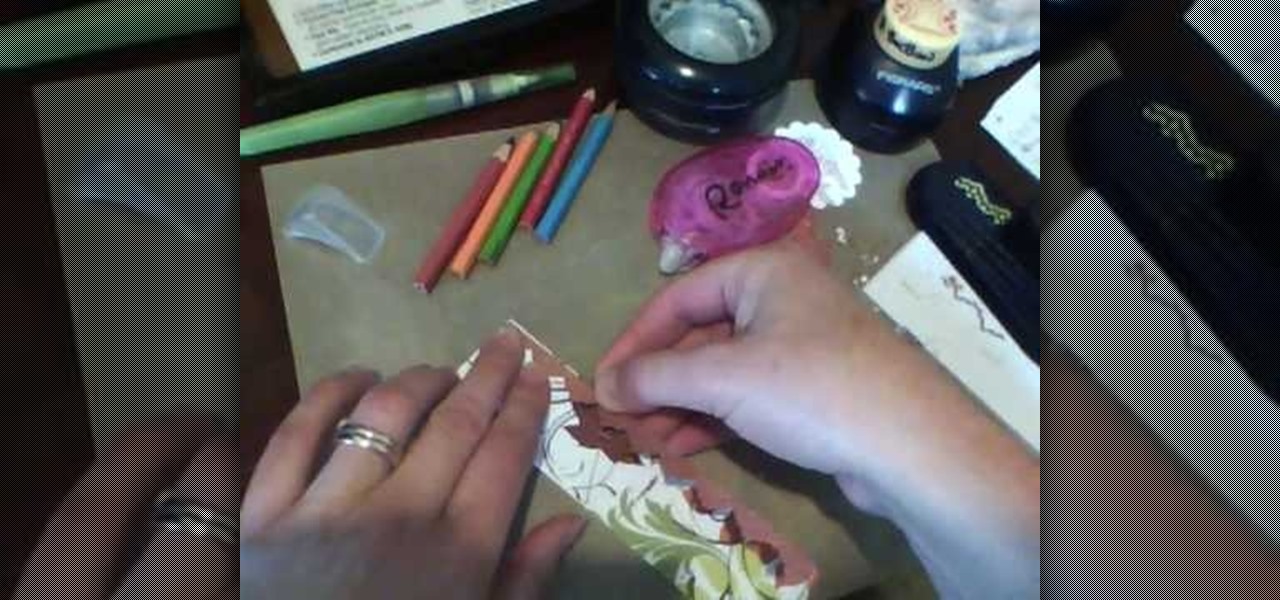
How To: Make a beautiful rosette using fabric paper
In order to make Fabric Paper Rosettes, you will need the following: decorative fabric paper, scissors, glue, and jewel embellishments.

How To: Distress a tag using Tim Holtz distress inks
First of all you have to arrange for materials like ink blending tool, ink blending foam, some tags to be used as practice surface and a distress ink pad. The tutor advises that you must not use a blending tool like a stamp and never make a lot of impressions using it on any surface. Instead of stamping the ink on the surface like a stamp you have to be careful while using it. Use a blending tool in such a way that the whole ink goes slowly onto the tag. Start by working the blending tool on ...
How To: Make a squash fold-out mini book
The narrator starts by explaining what a squash book is. A squash is designed to keep photos, journalling or what ever you like. To start we require a 4x4 pattern paper and 3x3 chipboard. We then glue the chipboard onto the pattern paper. We then cut the corners of the pattern paper. We then fold the flap in and glue down. We repeat this to form another cover. Next we grab a 6x6 pattern paper, we then complete a series of folds. One diagonal, half horizontal and half vertical folds. We repeat...
How To: Make cardstock roses
In order to make Cardstock roses, you will need the following: cardstock, stencils, scissors or cutting utensil, a cutting mat, color glimmer, a hole puncher, and acrylic paint.
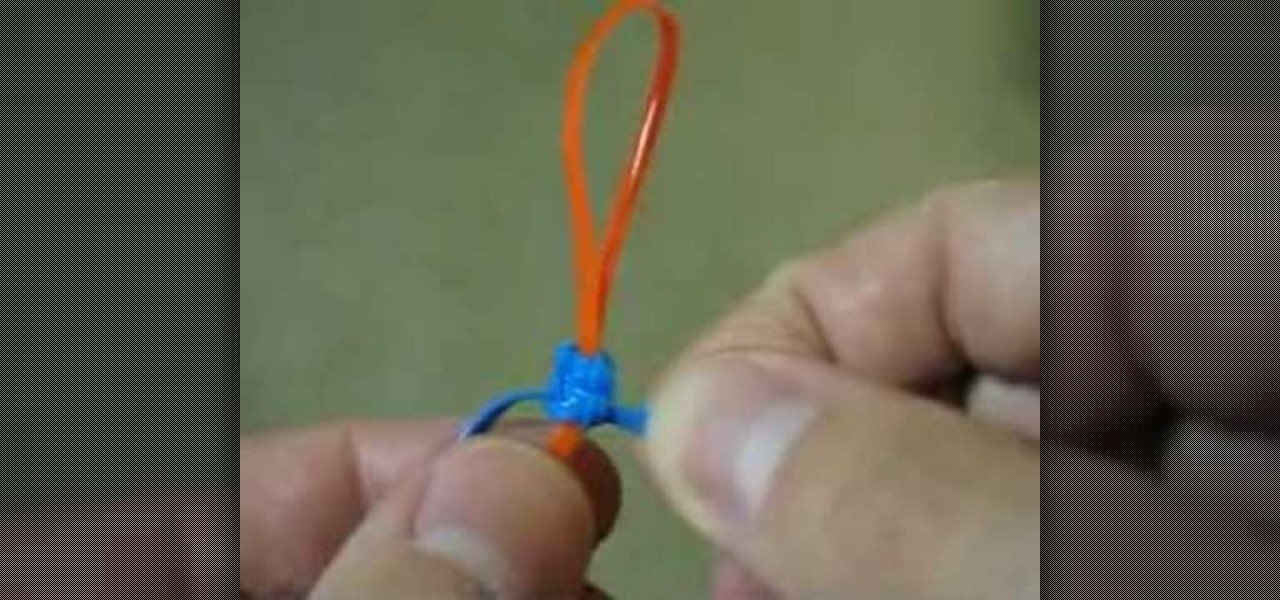
How To: Do a lanyard cobra stitch
This video shows us how to do a lanyard cobra stitch. Here are the following steps. Step 1: First of all take two threads and make a loop of one thread.

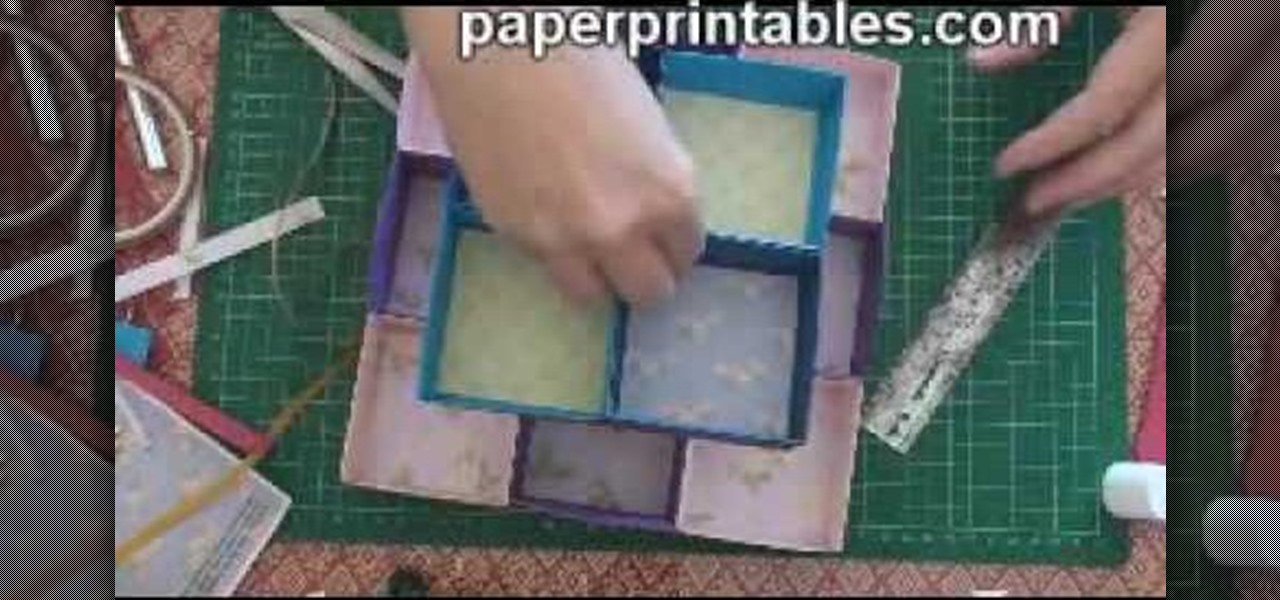
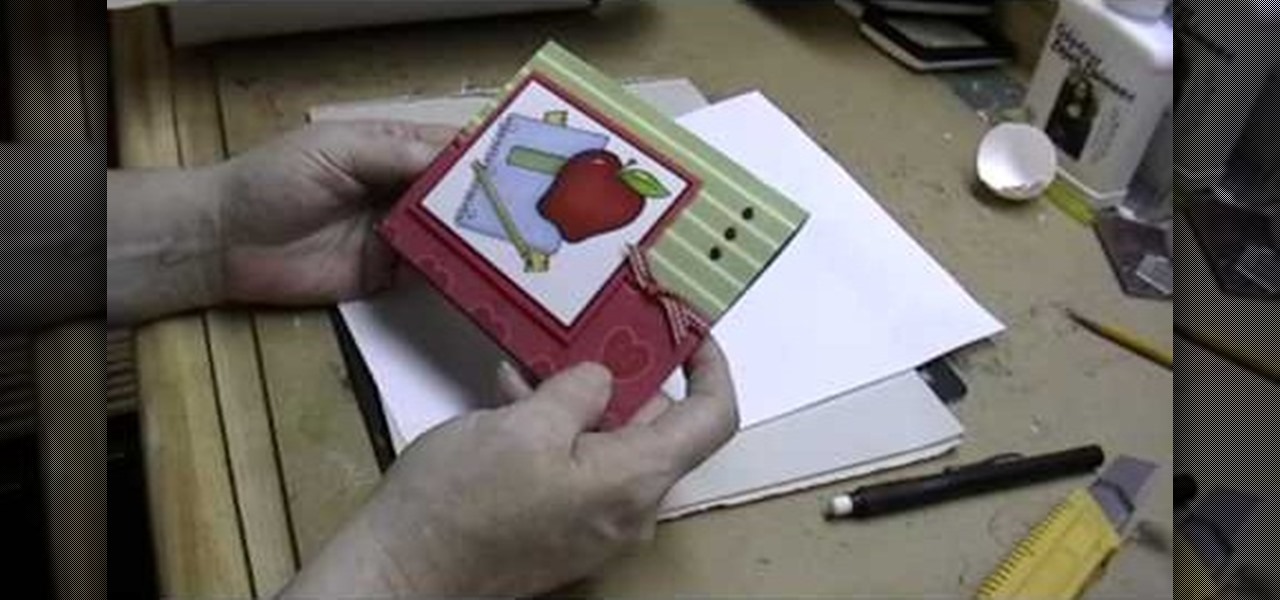
How To: Create a box to hold a mini album or small cards
In this Arts & Crafts video tutorial you will learn how to create a box to hold a mini album or small cards. Take a shiny card stock 10.5 x 6 inches. On the 6" side, score at .5" and 1" on both sides. On the longer side, score at 3, 3.5, 7.5 and 8 inches. Cut out the corners on the flap side of the card as shown in the video. Do a step cut on the other side of the card as in the video. Round the four corners with a corner rounder. You can do some stamping now if you want or you can also glue ...
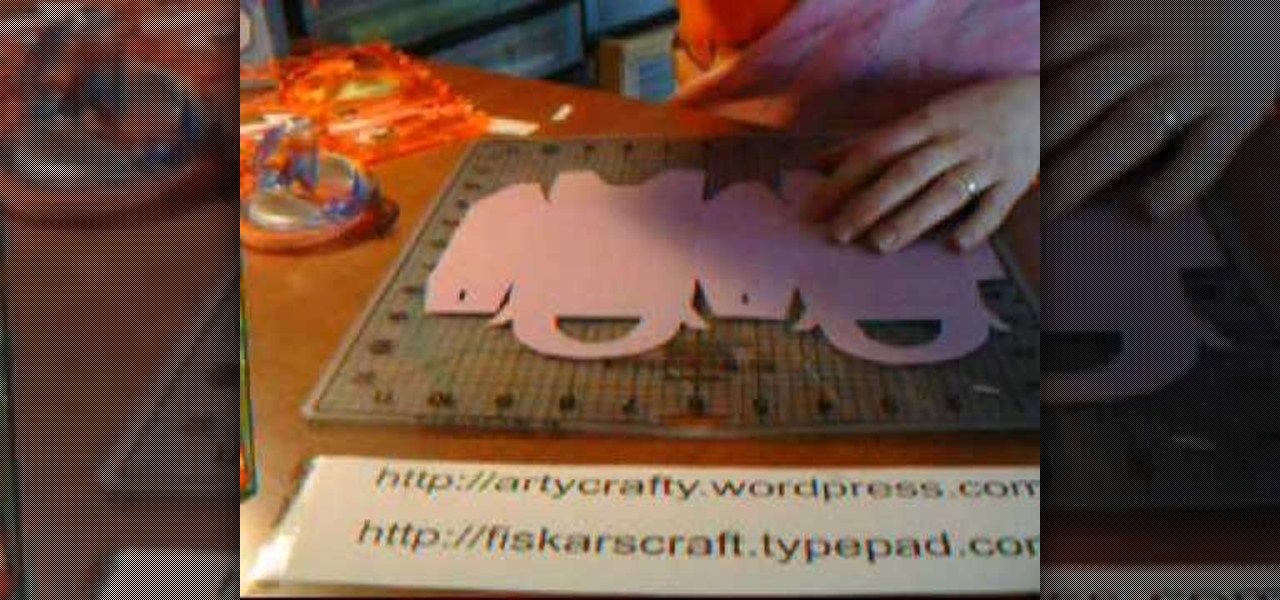
How To: Make handmade treat boxes
In this Arts & Crafts video tutorial you will learn how to make handmade treat boxes. Materials needed for this project are trimmer with scoring blade, PDF template, cardstock, scissors, Fiskars fingertip craft knife, Fiskars templates, Fiskars ultra shape Xpress, decorative scissors and embellishments. Download the PDF template from http://artycrafty.wordpress.com, print it out on a cardstock on the non-decorative side and cut out the shape along the thick line. Then score along the dotted l...
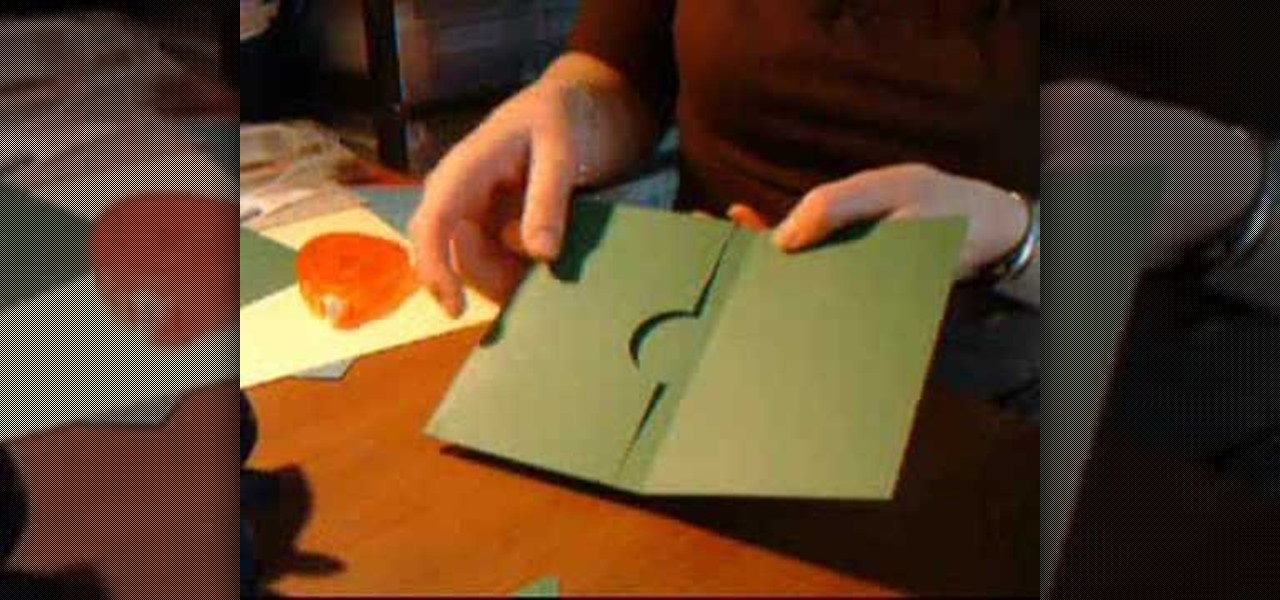
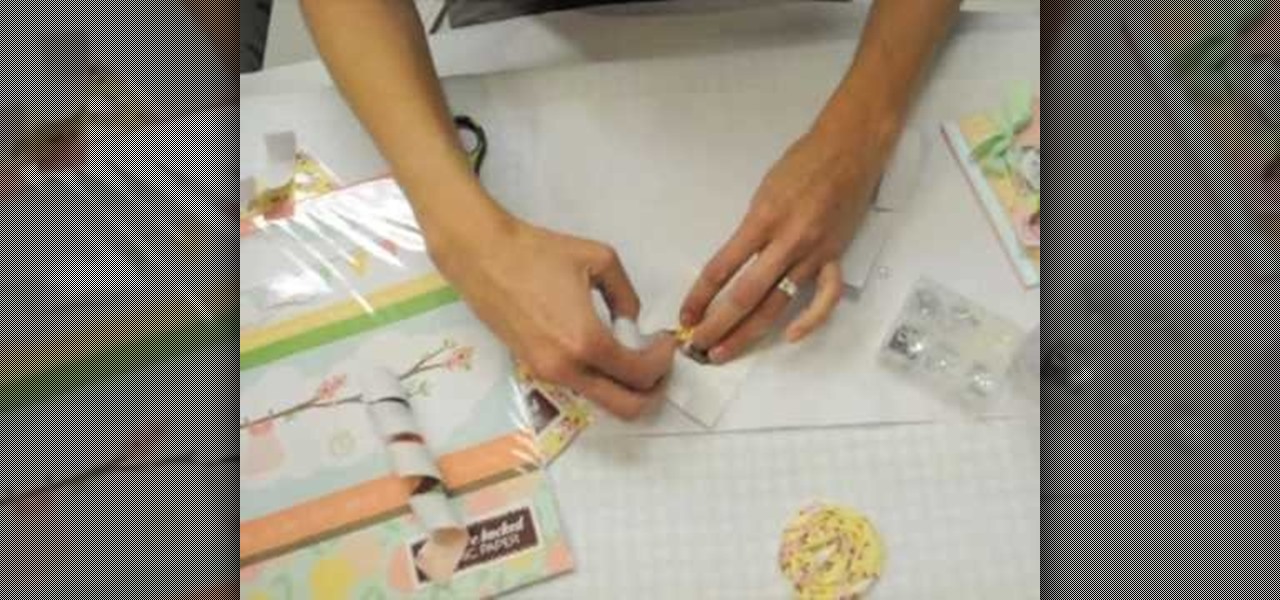
How To: Make pocket cards for Christmas & spring
This how to video shows you how to make a pocket card. You will need a trimmer with scoring blade, fiskars corner boarder punch, circle squeeze punch, 3 pieces of 12" x 12" card stock, small pieces of patterned card stock, tape, and embellishments. First, score the stock at 4" and 8". Next, trim about 1/4" off. Now apply adhesive down to the sides of the card. From here, use the circle punch on the edge of the card stock. Fold the stock together to create a pocket. Next, trim unwanted strips ...

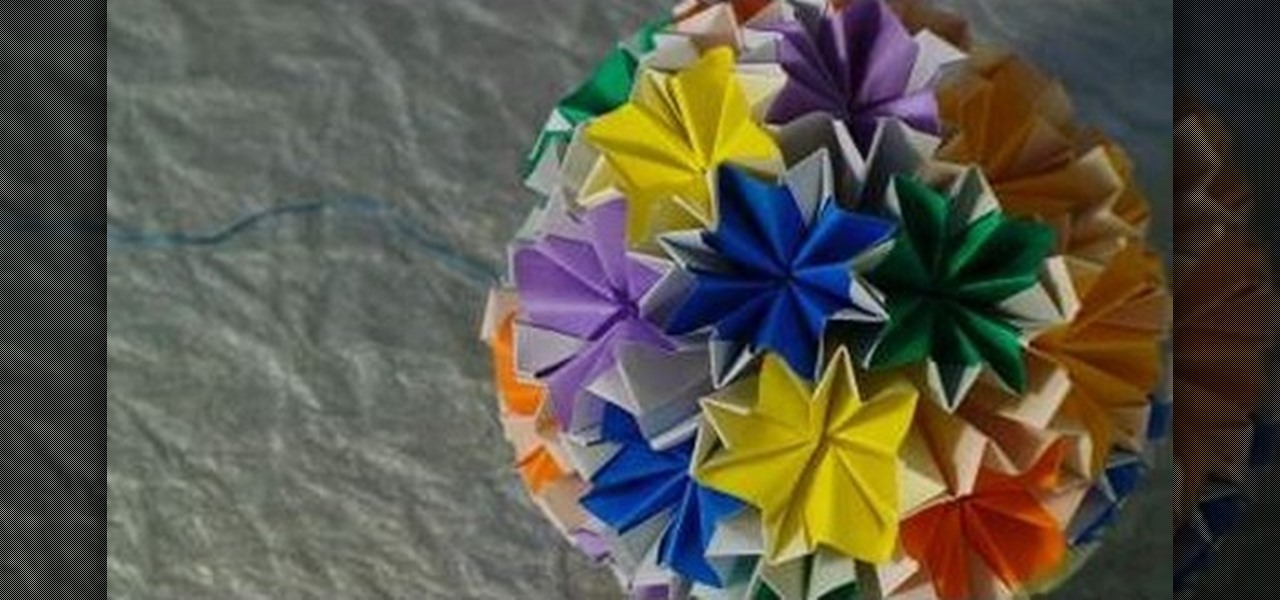
How To: Make an 18-unit curler kusudama with origami
In this Arts & Crafts video tutorial you will learn how to make an 18-unit curler kusudama with origami. Kusudama is a Japanese paper ball that is made out of a large number of smaller shapes glued together. This video will show you how to do this without the need to sew or glue to join the pieces. Take a small piece of square paper and fold it diagonally across both diagonals. Then fold it in half from both sides. Now fold in from the center as shown in the video. Then curl up all the four c...
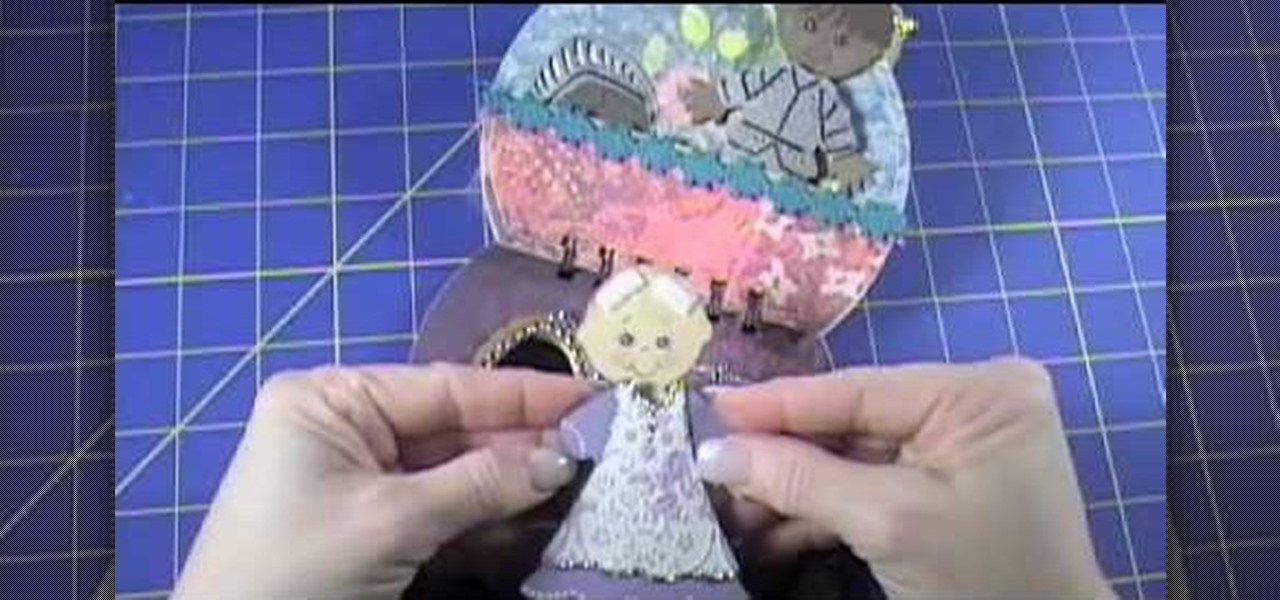
How To: Start a paper doll dress-up tin/purse project
The video describes the making of Paper doll dress up and a Tin Purse to put the dolls inside. You can use the cartridge paper but regular paper should do. She was sticking to the princess themes in this tutorial. The tin comes from provocraft but creative imaginations also offers one. Instead of purchasing a tin you can find a old tin purse maybe once for a over sized set of playing cards. There is a tab feature you can use on the dolls but which children the might come off. She suggests usi...
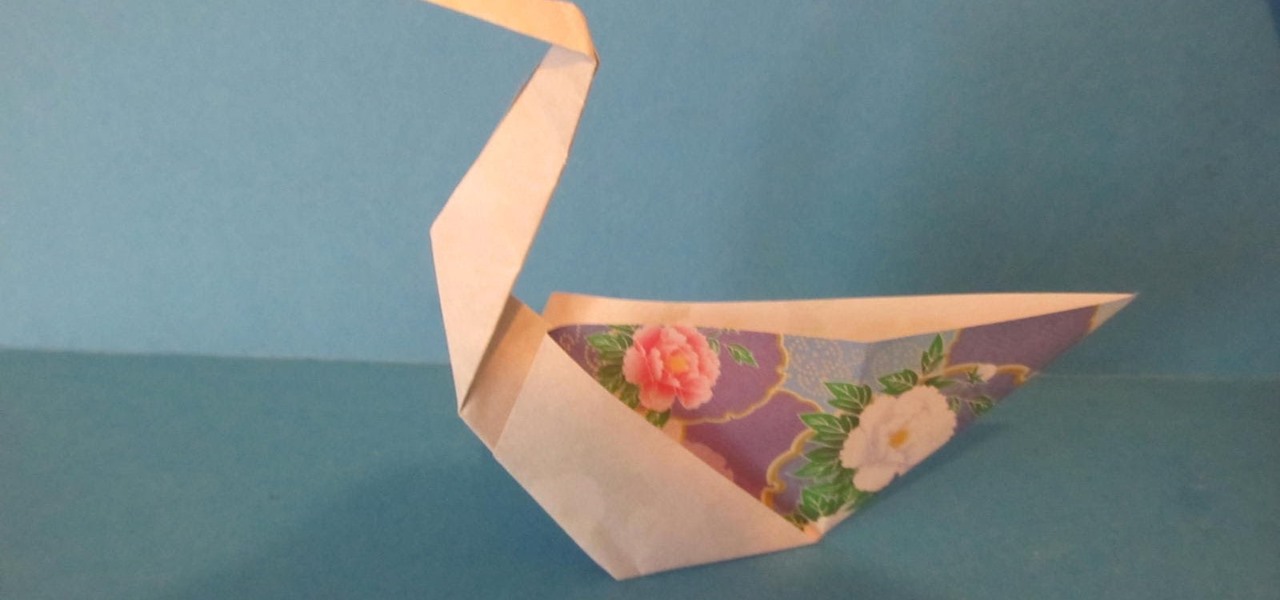
How To: Make a simple origami paper swan
This video shows us how to fold a simple origami swan. Here are the following steps: Step 1: First of all take a paper and then crease it diagonally and then open the crease and then fold the paper on the crease line so that a cone is obtained with a triangle on the top.

How To: Weave in loose ends when knitting
This is a video on how to weave in ends on kniting. First take two ends at a time, tie the new color and a half not around the current working color, and tie them. The thread the end onto the yarn needle, and go througha few of the yarn stitches. Next give it a little pull to make sure nothings coming loose. Go up to the next yarn ends, and do the same thing. What you have to make sure you do is weave the yarn through light colors. Also make sure the knots are secure, and are not going to com...
How To: Make an origami Kusudama Venus
In this Arts & Crafts video tutorial you will learn how to make an origami Kusudama Venus. For this project, you need square sheets of paper of different colors. First you fold a sheet diagonally across to form a triangle. Then fold it again to form a smaller triangle. Open up one triangle and fold it in to a square. Repeat this step with the other triangle also. Now the paper folded in to a square; ¼ the original size. Holding one square flat on the table, lift up the other and squeeze it d...
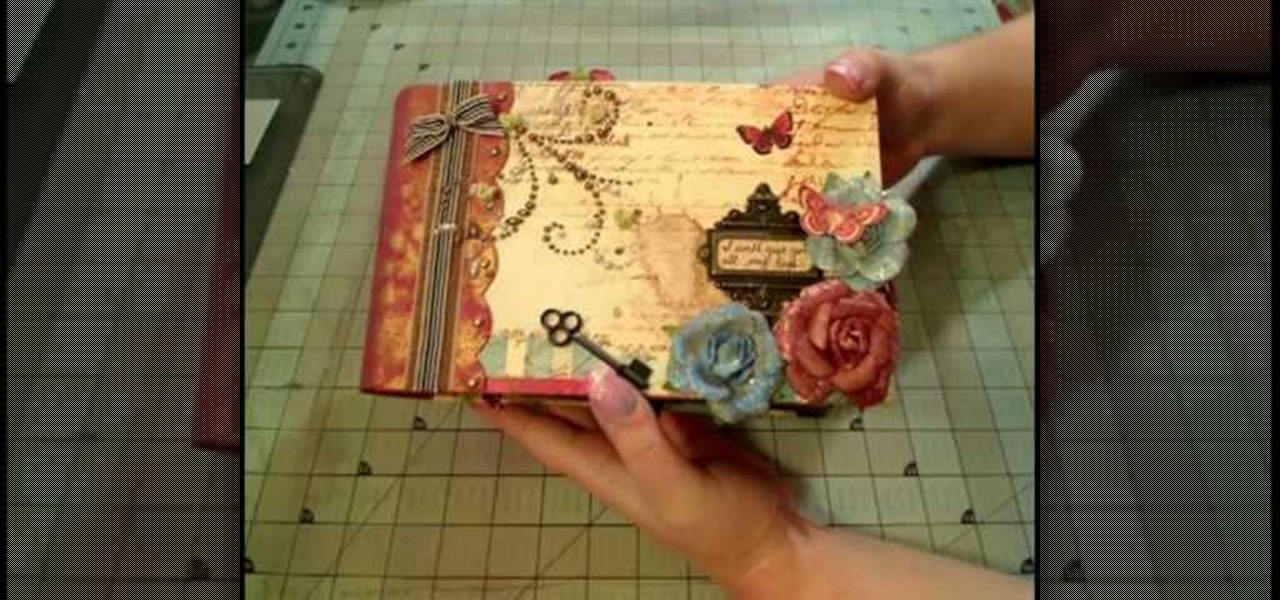
How To: Make a prima "Pastiche" paperbag album
How to make a Prima "Pastiche" Paperbag Album. The demostrator shows us how to make a Prima "Pastiche" Paperbag album. Take a french paper, apply fix some pearls, old keys, artificial flowers, key mantle, all this for the back cover of the album.
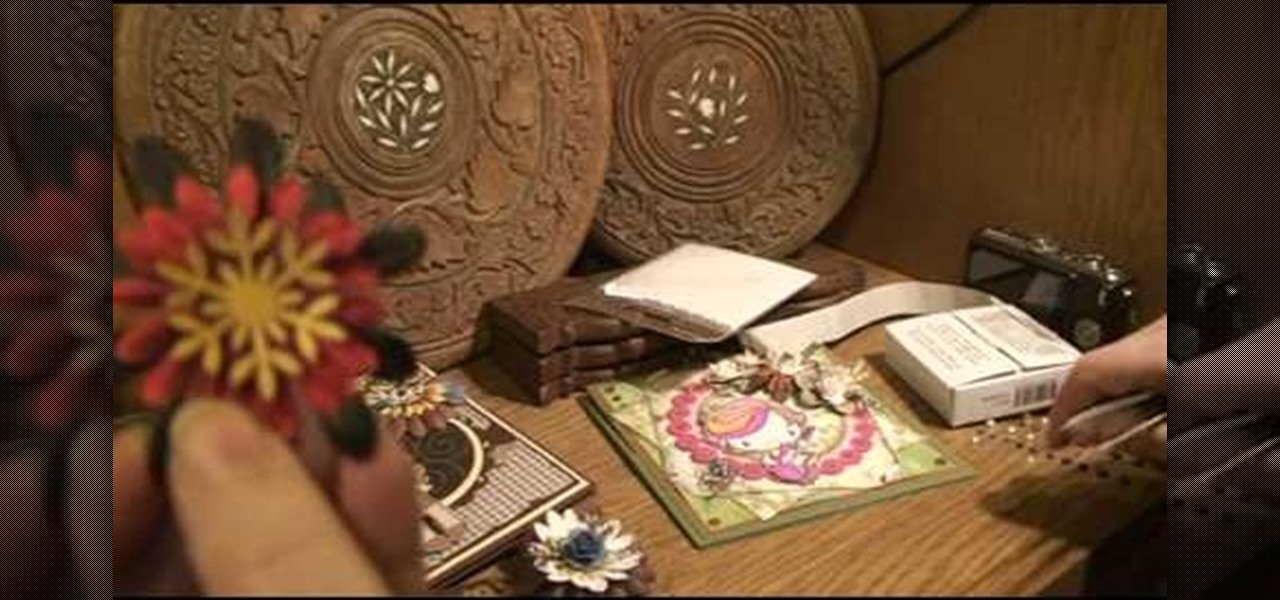
How To: Make flower arrangements on a card
In this Arts & Crafts video tutorial you will learn how to make flower arrangements on a card. To make this you will need punched out pieces of flowers, snowflakes and leaves of different shapes, sizes and color. You will also need some small size paper flowers, glue dots and cards. To make flowers, you can take a rose and twist the wire stem around a paintbrush to give it a curly shape. Then put a glue dot below the rose and attach it to a punched out snowflake. Take some punched out branche...

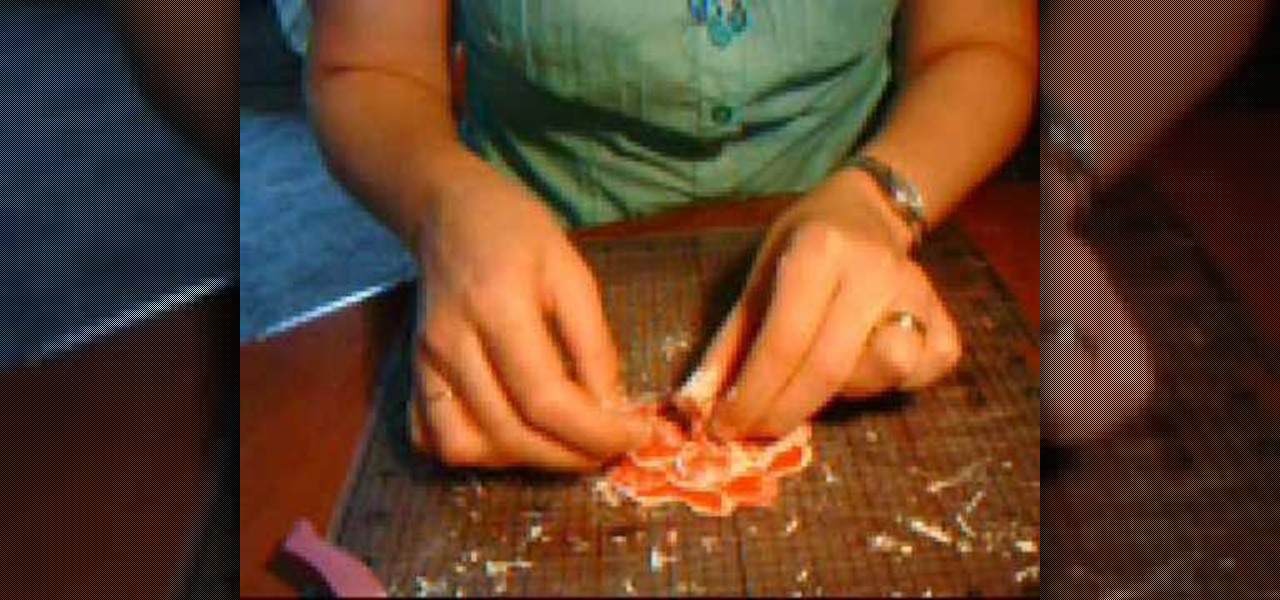
How To: Make ribbon blower
This is a great instructional video on how to make ribbon flower. First you have to take 12" long pink color ribbon. Now you have to use a needle with a linen thread.You have to stitch in the edge of the ribbon. Now fold the ribbon to look like petals of flower.Now add one small stitch to join the ends together. Then knot off the thread. Now add crystal effects along the flower edges. You can then use chunky glitter. You can also use power pals. You can now use the circle punch now. You can u...
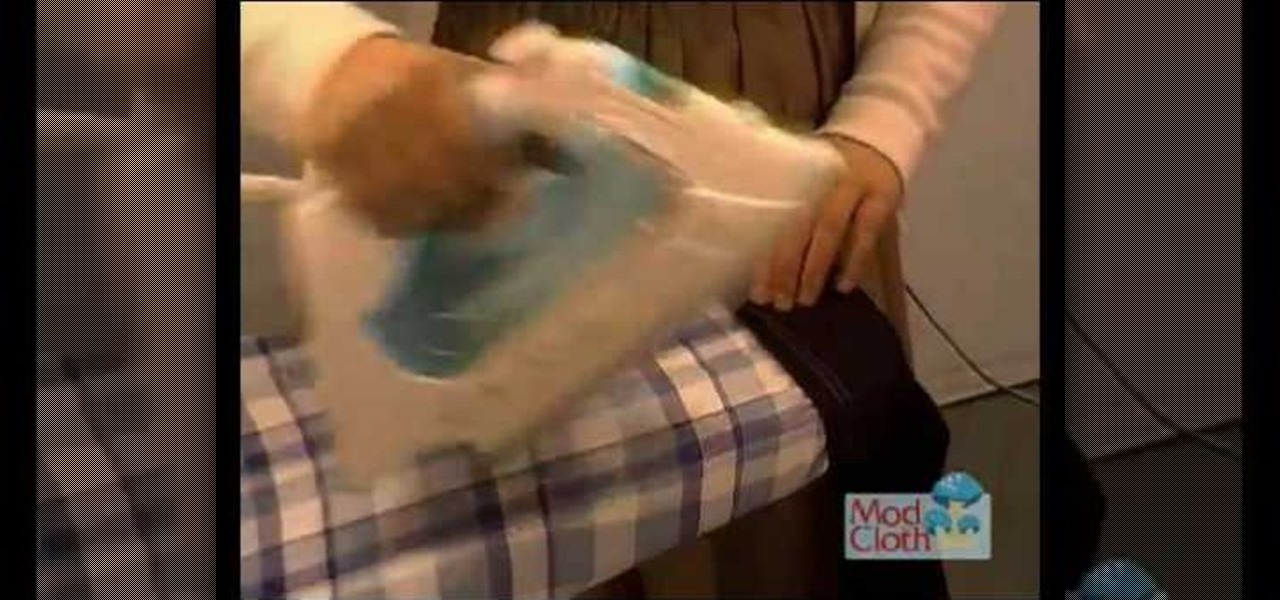
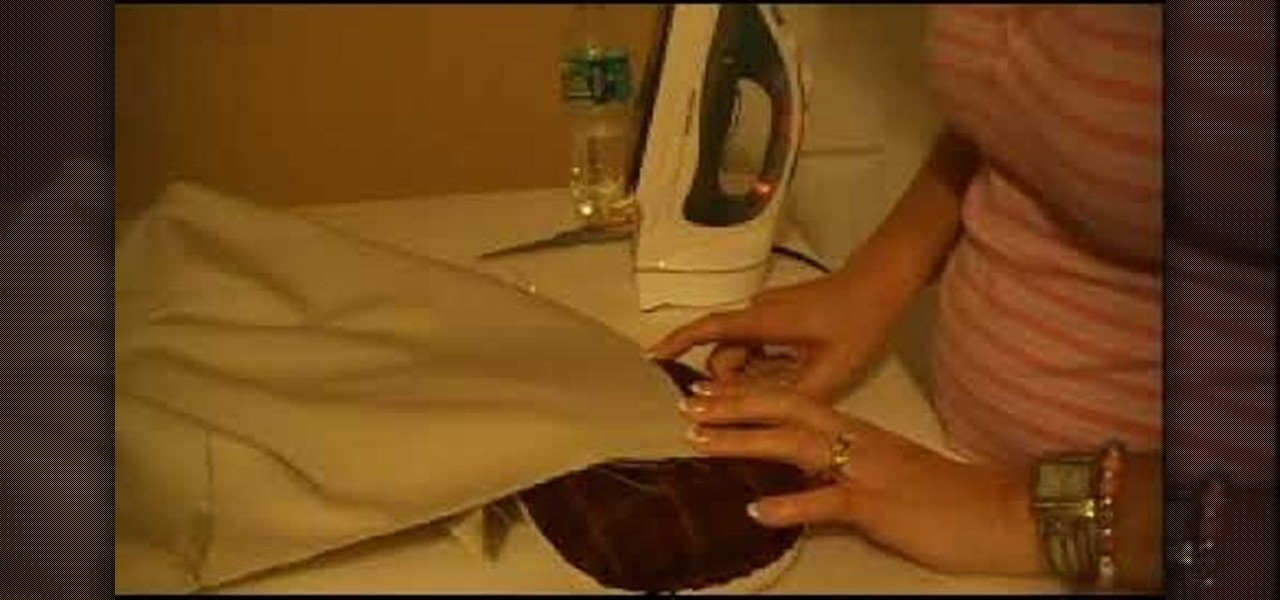
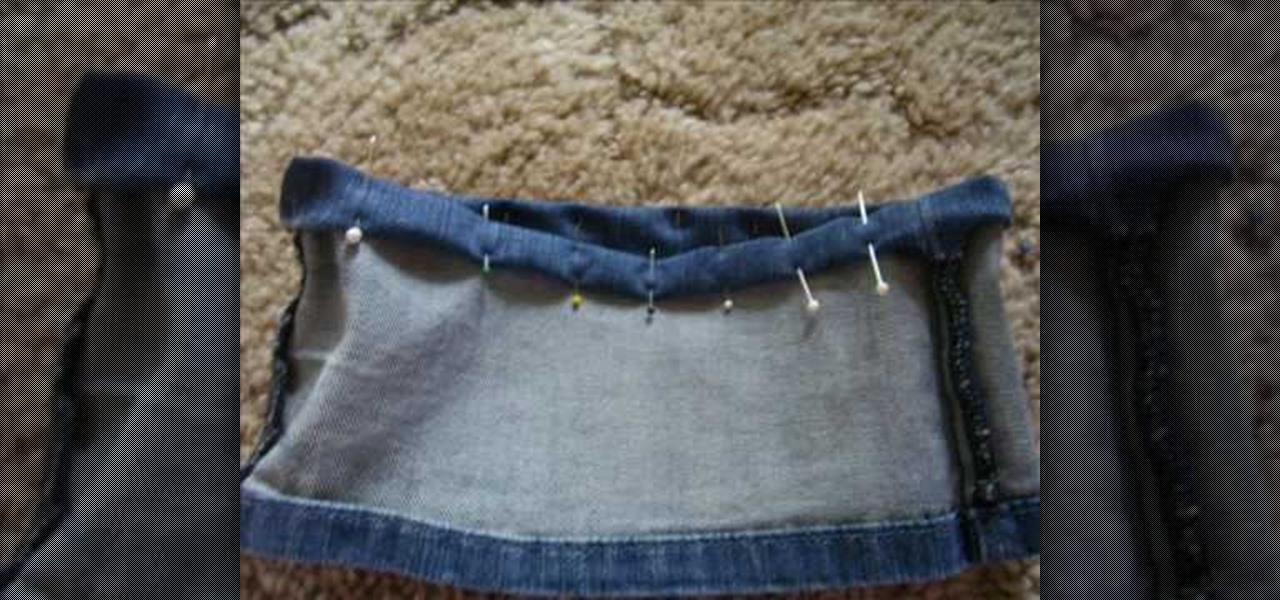
How To: Hem a pair of skinny jeans
Are your new skinny jeans dragging on the ground? That's no good. Keep those bottom seams clean by hemming up your pants! In this sewing tutorial, learn how to hem a pair of skinny jeans and make them look as if they were taken straight to a professional seamstress.
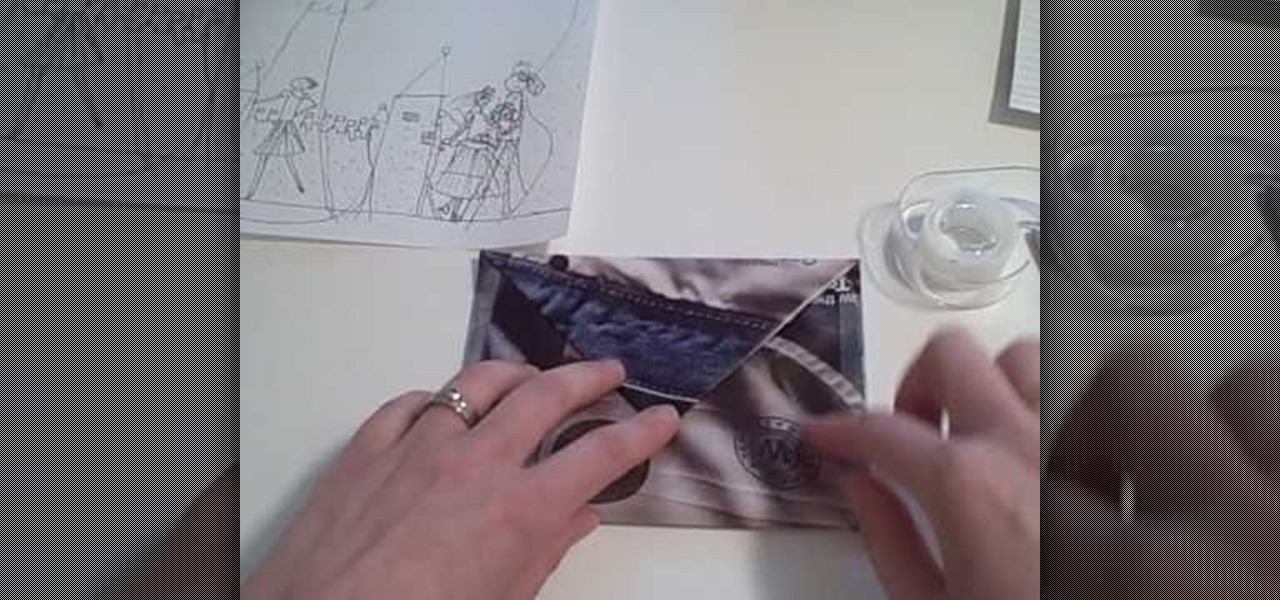
How To: Make handmade paper envelopes
Everyone loves the personal touch of a homemade greeting card, so why send such a beautiful gift in a plain white envelope? To maintain the crafty beauty of your card, why not make a custom envelope to go with it?
How To: Make a paper 12 cupcake presentation stand
Watch this video to learn how to make a cool, original paper origami cupcake presentation stand in this simple demonstration. All you need are 16 pieces of paper, 3 A4 cards, and a little bit of glue! Your stand will hold 12 cupcakes or muffins, and it's a great and attractive way to present food gifts to your friends and family.

How To: Make a big 3D paper star out of newspaper
Paul shows us how to make a gigantic three dimensional five-point star out of paper. First, glue A4 sized paper together to make a long strip. Make a U-shape on one end, cross the shorter end under the strip and make a knot by placing the end into the loop. The knot now looks like a pentagon. Flip the pentagon over and over until the end of the strip so that the paper strip is bundled into the pentagon shape. Stick the end of the strip to the pentagon shape. Press the centre on each side of t...
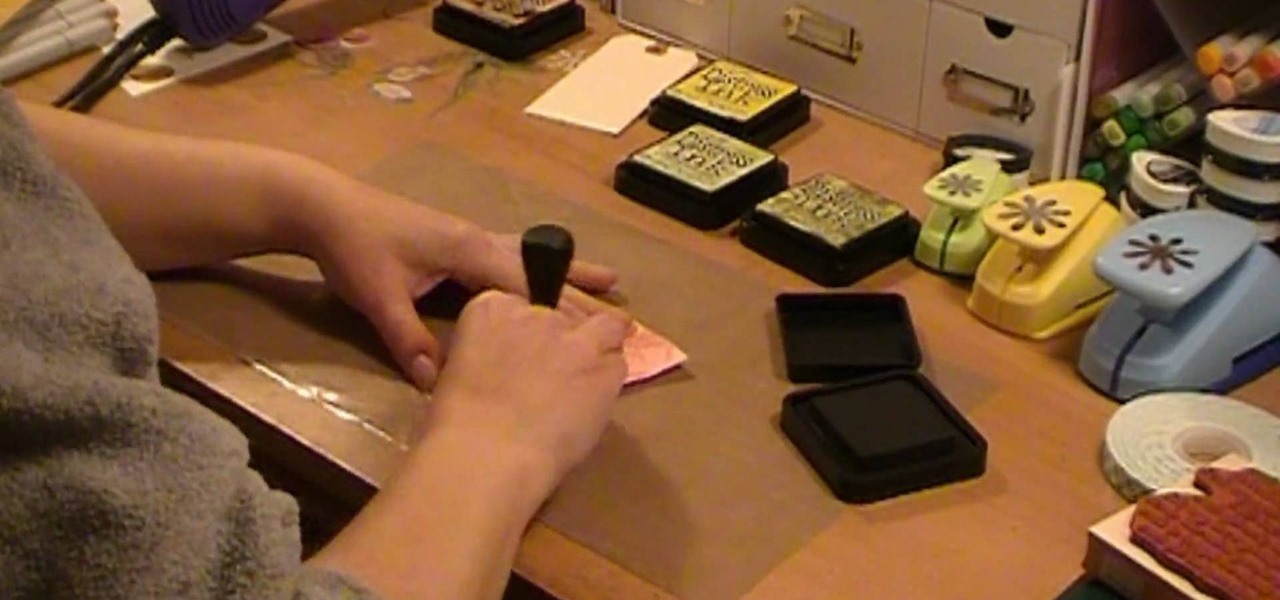
How To: Stamp & heat emboss on a card
In this Arts & Crafts video tutorial you will learn how to stamp & heat emboss on a card. First you rub in a powder on the paper on which you are going to emboss, because embossing powder is really sticky. Then you select the stamp that you want to emboss and apply sticky transparent ink on the stamp. Make sure you do a through job of this. This will make the embossing powder stick to it. Now stamp the card and press it evenly to ensure that the impression is complete. Then pour embossing pow...

How To: Make buttons from paper scraps
This video shows how to make buttons from paper scraps. You need some patterned paper scraps left over from scrapbooking. The best working surface is a Teflon sheet. You also need some shiny glaze product, a pin, and a punch, for example a circle punch, but square, hearts or flowers will do just as well. You need scissors too. Cut or punch out several button shapes. Use a small hole punch to make two holes or four holes in the centre of the button. Use the pin to clear the glaze nozzle. Add t...

How To: Crochet a left-handed puff stitch
Are you a crochet junkie? Expand your crochet knowledge with help from this video hosted by Crochet Mania. In this video, learn how to crochet a left-handed puff stitch and create a puffy crochet creation!
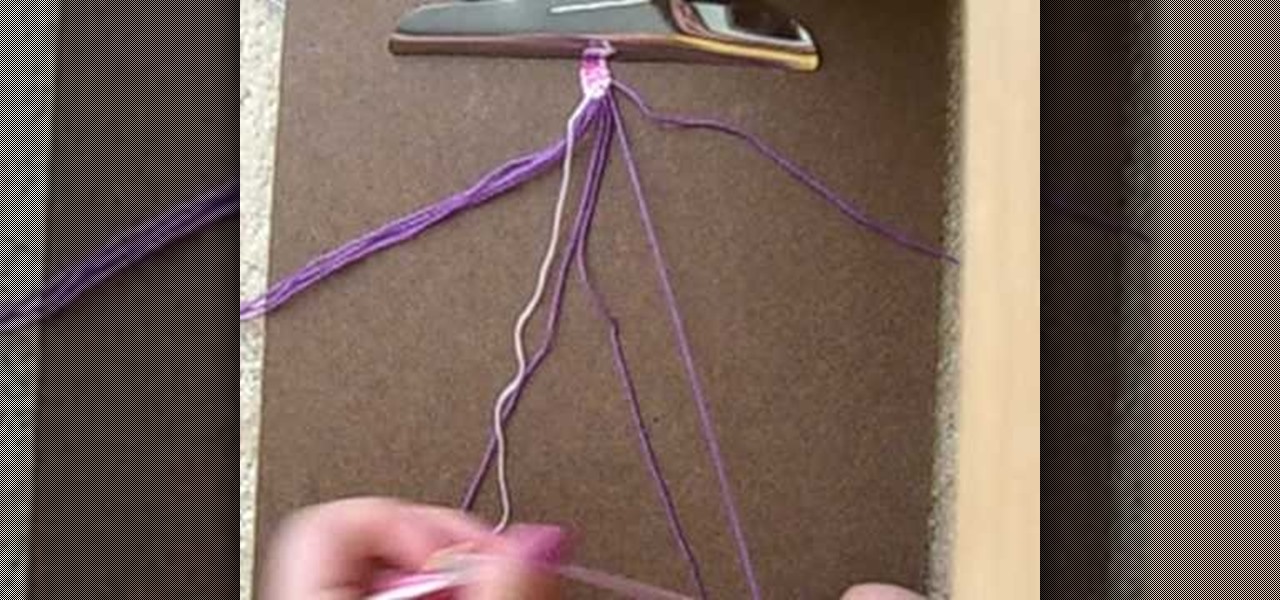
How To: Make a letter friendship bracelet
Expand your friendship bracelet horizons by learning how to weave a new one! In this video, learn how to make a friendship bracelet for any friend with their name woven in! Show your friend how much you care by giving them this personalized friendship bracelet.
How To: Sew easy darts
Inserting darts can instantly make a baggy piece of clothing fit like a glove. Dart placement, in all cases, depends on your body - you only use darts where you need "shaping" or when a garment needs "curves". In this video, learn how to sew easy darts into a garment that needs adjusting.
How To: Sew a skirt for an American Girl doll
Are you a collector of the amazing doll collection made by American Dolls? Want to make your own custom clothes for your American Doll? In this video, learn how to sew a simple skirt with guidance from this sewing expert.

How To: Fold an origami angel with a wide wing span
This video illustrates how to fold an origami angel with a wide wing span. Here are the following steps:

How To: Make branches-styled friendship bracelets
What better way to say thanks for all you've done, than by making a cool friendship bracelet! For kids, friends can play a key role in how they mature and are able to build relationships with other individuals later on in life. And by making friendship bracelets, not only will they be sending a message that they care, but they'll also be showing them they share a certain bond that no one else has. So check out this tutorial on how to make branches-styled friendship bracelets from scratch. Enjoy!
How To: Make a Tim Holtz inspired tag w/ distress inks & water
This video illustrate us how to make a Tim Holtz inspired tag with distress inks and water. Here are the following steps:

How To: Turn a washer into a necklace
Cathie and Steve from the DIY Network are here to show you how to make handmade hardware jewelry sure to wow passersby! In this segment, learn how to paper a washer and use it as a necklace pendant to create a unique piece of jewelry for cheap. Customize the washer with paper colors & prints that fit your own personal style... Impress others with your new jewelry piece, do it yourself spirit, and creativity!

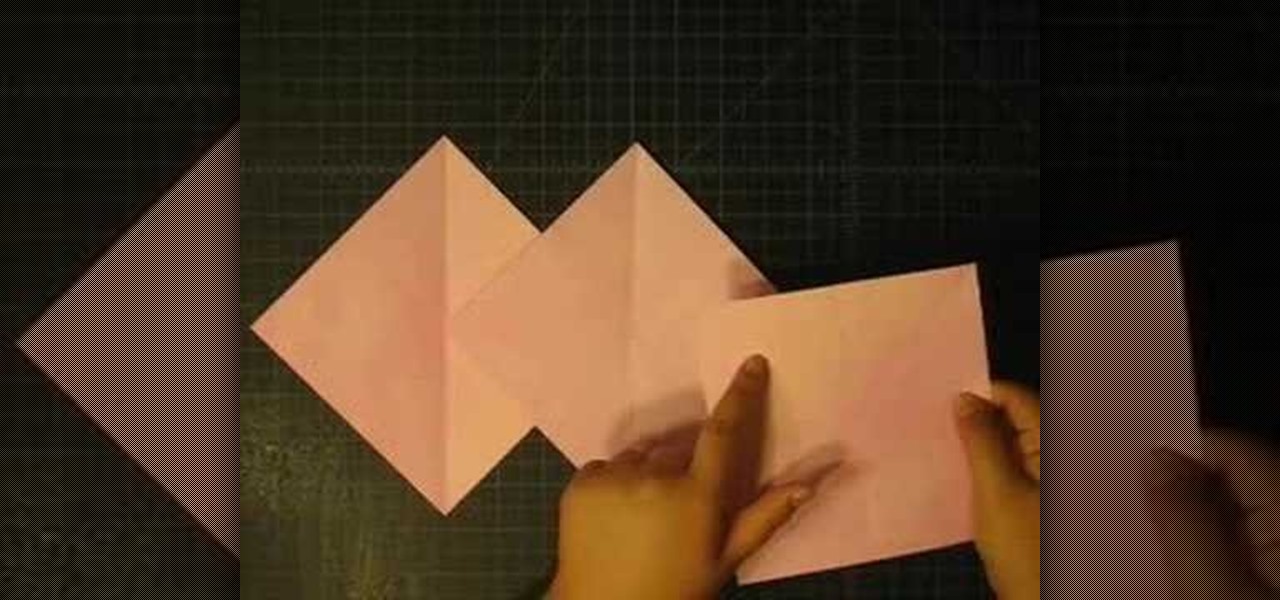
How To: Make an envelope for a 3 x 3 card
Sending loved ones letters in the mail isn't what it used to be, especially with e-mails and text messages playing a big part. But for those who still do so, you may have a problem trying to fit certain sized cards into enevelopes. This video focuses on 3x3 cards specifically and how to make an envelope for them. Enjoy!
How To: Make your own envelopes & alter pre-made ones to fit
This tutorial is helpful for those who enjoy the old fashioned way of sending mail. The video focuses on making your own envelopes using a variety of different papers including wallpaper, regular paper, and even designer paper. You'll also find out how to make pre-made envelopes to fit card. Enjoy!