

Active Arts & Crafts Posts


How To: Make a no sew fleece blanket
Are you not really a big fan of sewing but love making things? You're in luck! Learn how to make a no-sew blanket with help from this tutorial! Keep yourself and the ones you love warm with this amazing blanket design that crafters of all levels can complete!
How To: Make a vintage-inspired greeting card
Do you have a penchant for all things vintage? Why not save some money the next time a birthday or special occassion arises and make your own vintage-looking greeting card? In this video, Niki Jackson shows you step-by-step how to create this adorable greeting card using background papers, printed materials and distress inks.

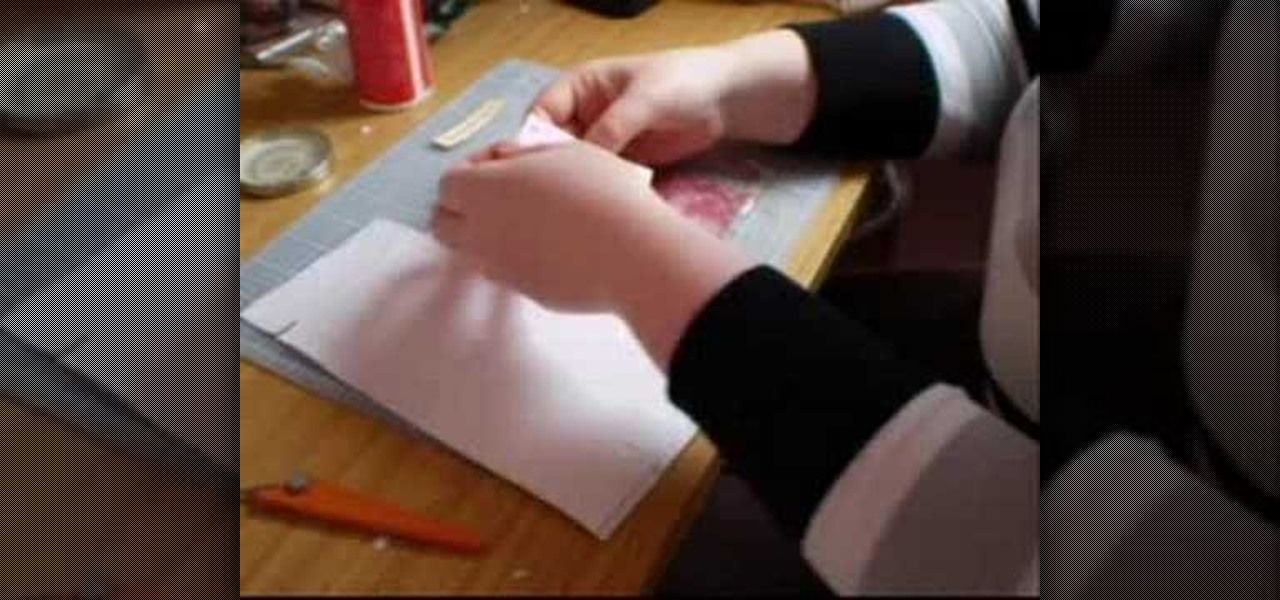
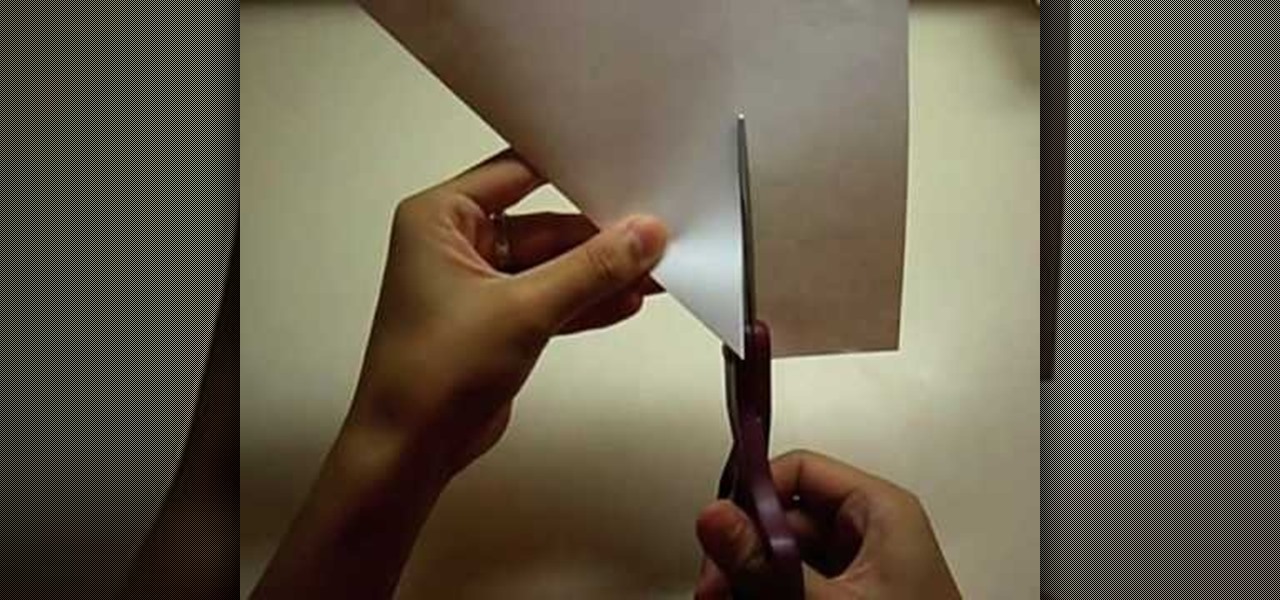
How To: Make a spiral rose easily
In this video Jennie shows us how to make a perfect spiral paper rose. All you need for this is a piece of 6X6 inches of paper, scissors, some glue and, if you really want to be creative, some ink. For starters you're going to need a 6X6 inch piece of card stock. Jennie chose a double-sided card stock because she thinks it will look more interesting but you can also use a plain piece of paper. The first step in creating your rose is making a spiral patterned cut alongside the paper. The ideal...
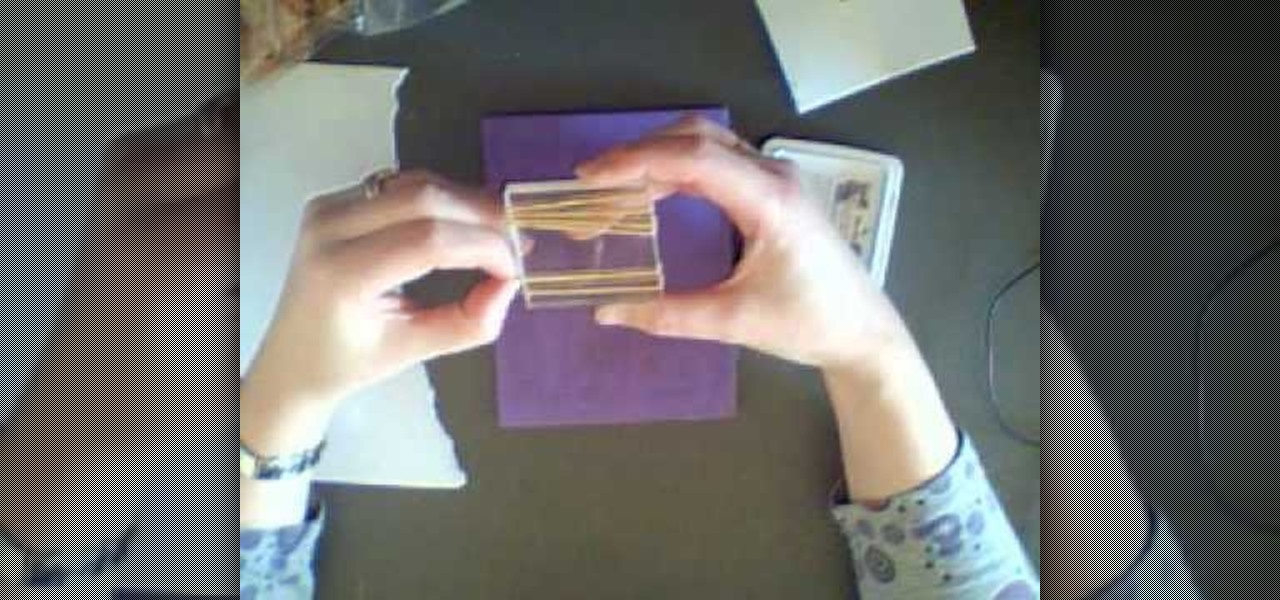
How To: Make your own Journaling line stamp
First of all you need an acrylic block, stamping pad, packet of rubber bands and a piece of paper. Open the rubber band packet and then you have to choose several rubber bands which are of same size. Now you have to get these rubber bands on your acrylic block. You can also use a wooden block or an old stamp instead of acrylic block. Now you have to sort out the rubber bands so that they are placed in order with a gap of around a quarter of an inch between each one. You also have to adjust th...
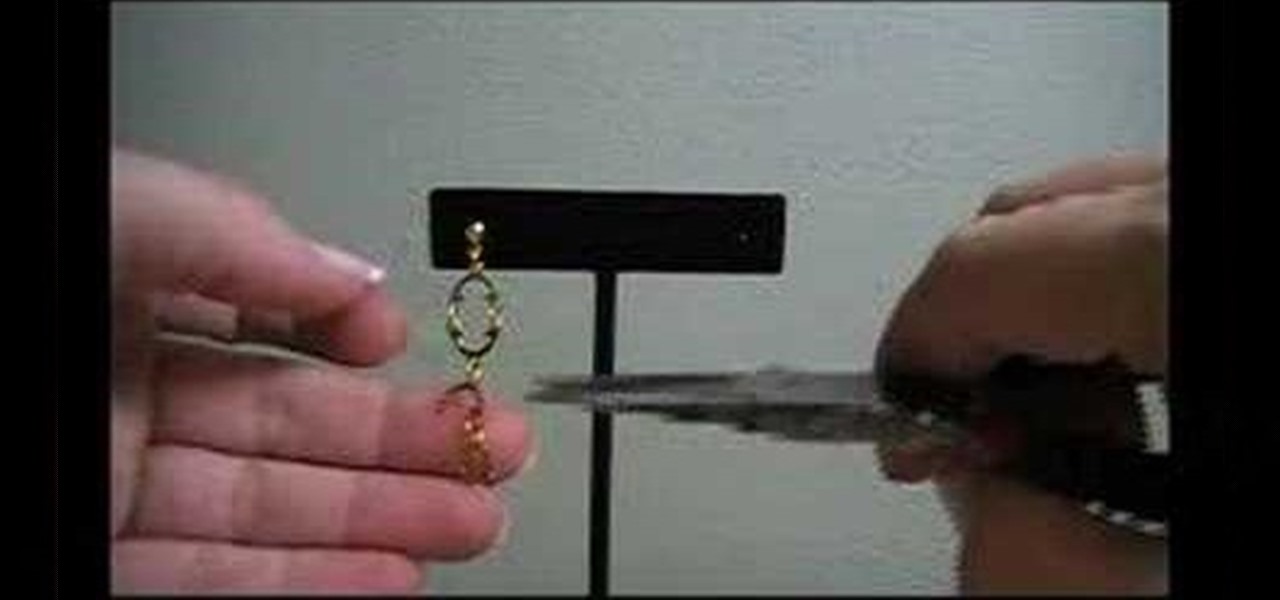
How To: Make cascade style earrings
It's easy to throw away tons of money on jewelry... that's many times overpriced. Why not learn how to make your own jewerly designs? By making your own jewel pieces, you can not only save a ton of cash but customize them to fit your style. In this video, learn step-by-step how to make a pair of cascade earrings perfect for a bohemian look or a night out on the town.

How To: Make a double bow for scrapbooking
This video gives a demonstration of how to make a double bow for scrapbooking. First, cut a short piece of your ribbon off the end. Make this piece about 5 inches long. Next, after leaving a tail of ribbon bend a longer piece of the ribbon over and over, smoothly, until you have 2 loops on each side which creates the double bow. Cut off the end of the ribbon, leaving a tail. Pinch the middle of the double bow. Use the short piece which you cut earlier to tie around the middle of the bow. Adju...
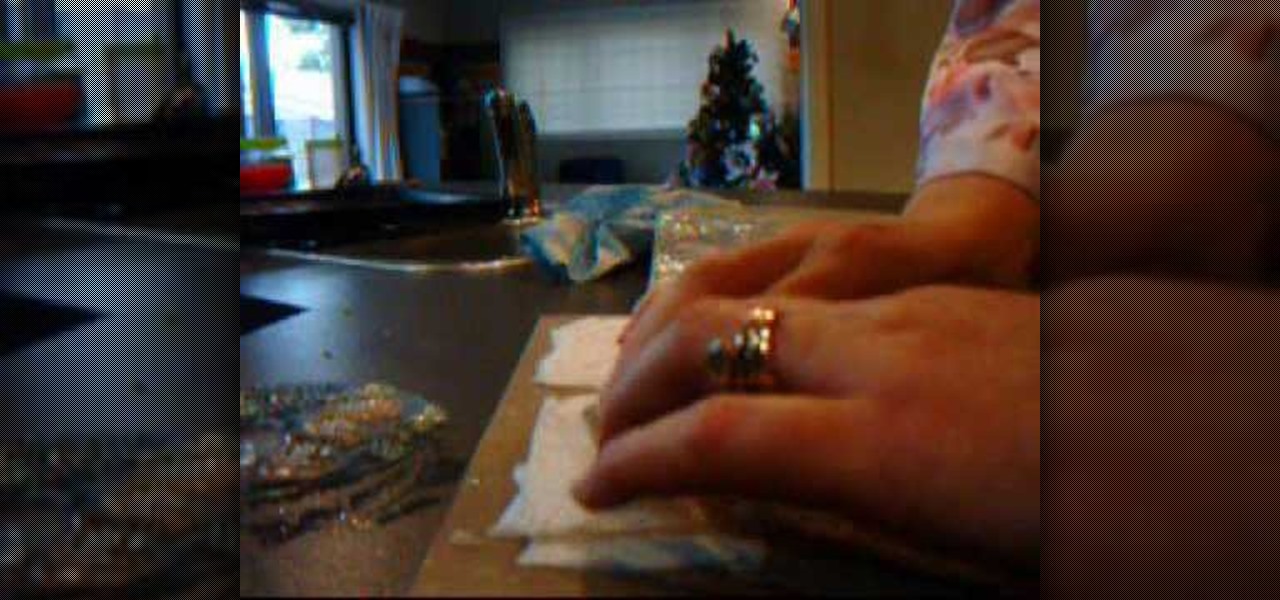
How To: Make molded paper using stamps & toilet paper
In this video tutorial, viewers learn how to make molded paper. The materials required are toilet paper and stamps. Begin by wetting the toilet paper under some water and lay it down. Use about 10 layers of 2 ply toilet paper. Now press the stamp onto the wet toilet paper and then press down on the stamp with a towel or cloth. Remove the stamp and heat dry the toilet paper. Now let the toilet paper dry fully overnight or half of the day. This video will benefit those viewers who are intereste...
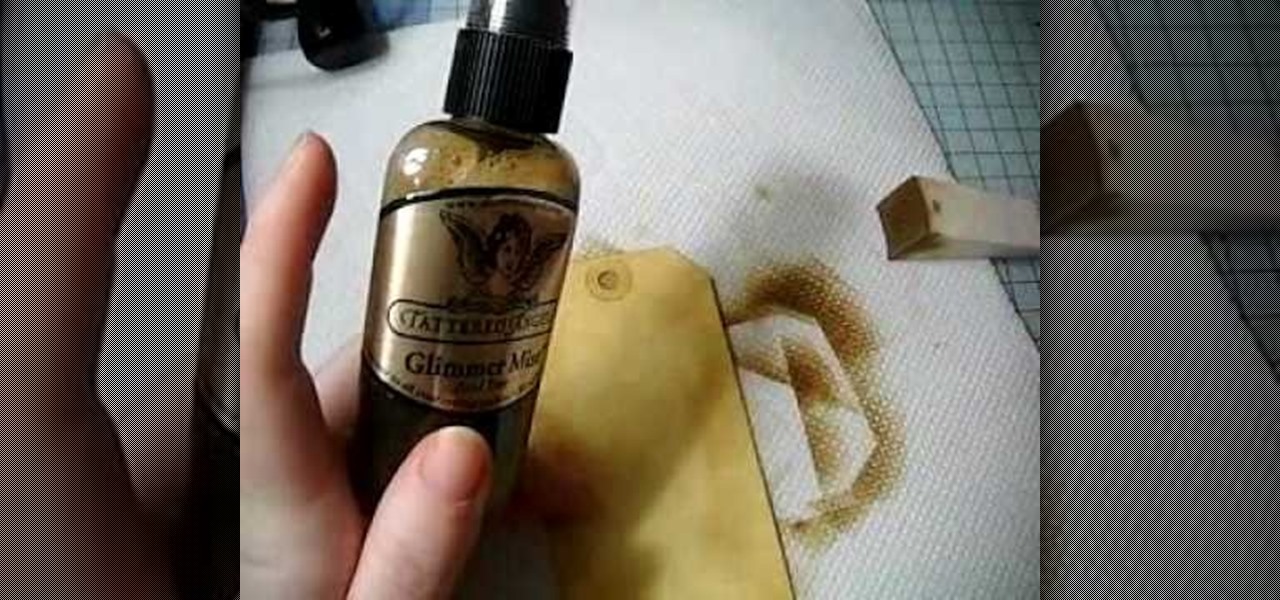
How To: Make a distressed scrapbook tag
In this Arts & Crafts video tutorial you will learn how to make a distressed scarpbook tag. Take two tags, one red color and one yellow color and strip the threads off. Take a light color ‘Distress’ ink on a sponge and dab one side of the yellow tag with it to give it a light rough look. Now take little darker brown ink on another sponge and dab the edges of the tag with it. Then place the tag in a box and spray Glimmer mist on the tag. Dry the tag with a dryer. Now dab some more brown in...
How To: Make a paper bag tag
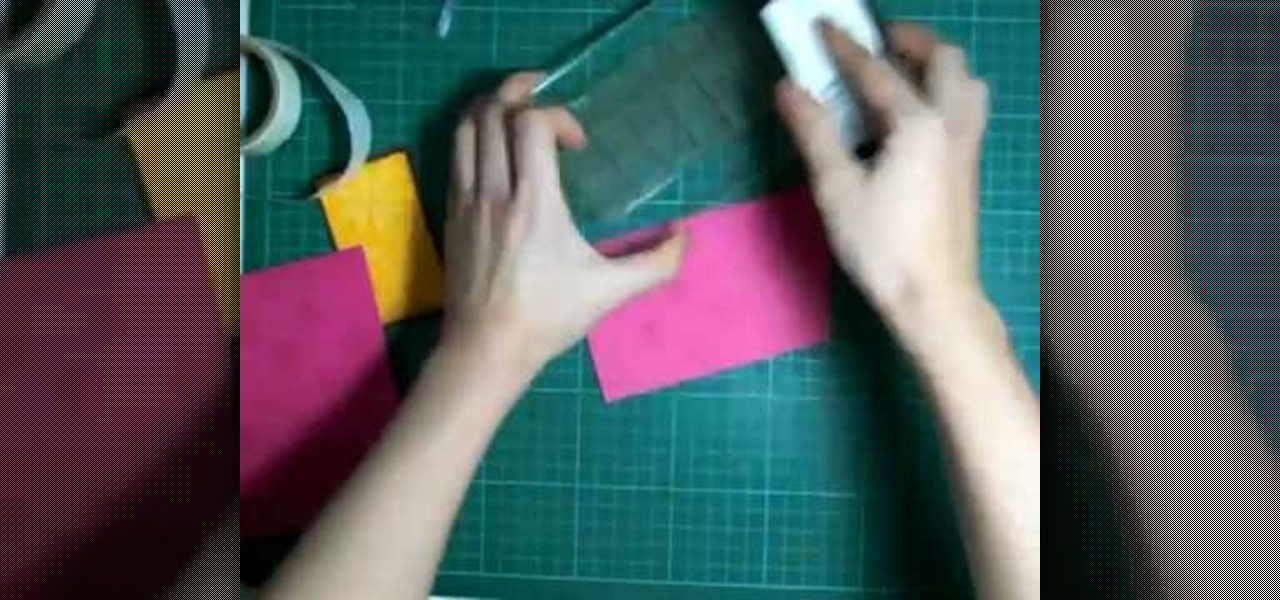
In this how to video, you will learn how to make bag tags. You will need a tape runner, embellishments, elastic, a plastic bag, letters, cloud 9 rain dot eyelets, a trimmer, bits of card stock, and hole punches. First, cut the card stock and make it a square shape. Next, decorate the card stock with embellishments and the name of the child it is for. You can use the adhesive to stick these on. Next, cut more card stock and wrap it the piece around the decorated card stock. From here, place th...
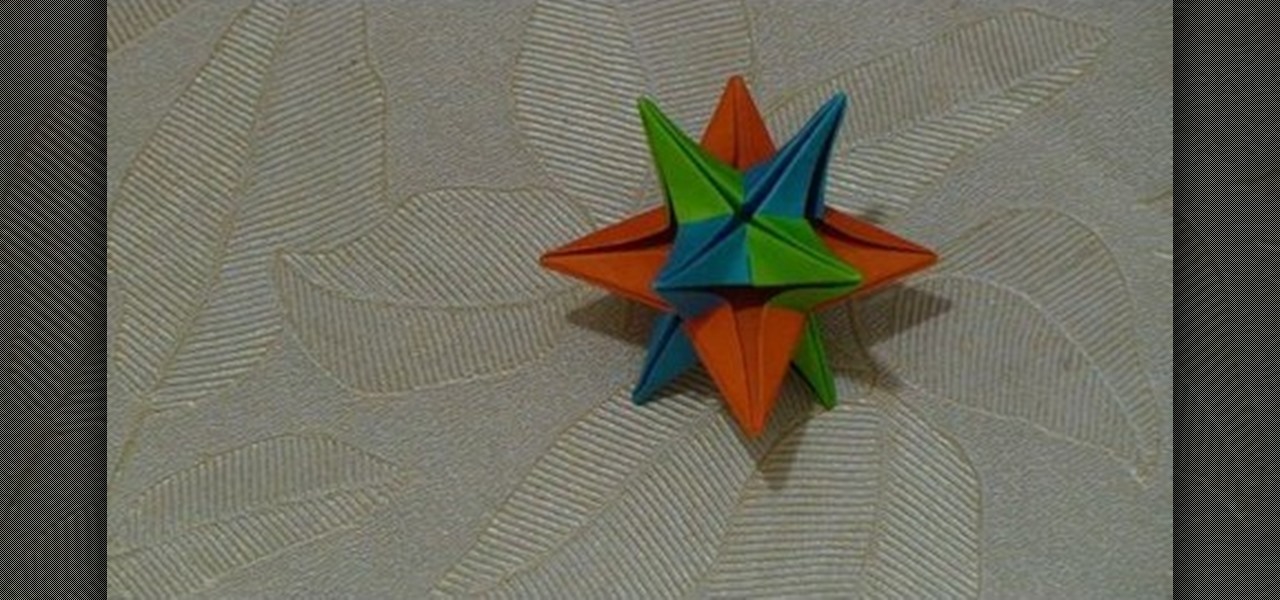
How To: Make a six-sheet 3D paper star with origami
In this Arts & Crafts video tutorial you will learn how to make a six-sheet 3D paper star with origami. Take three pairs of paper; each pair of different color or take six pieces of paper of the same color. The paper should be square size. Fold the paper in half, open the fold and fold one half up to the center line. Repeat this step for the other side also. Open up the paper and repeat these steps by folding the paper in the other direction. This will divide the entire paper into 16 squares....
How To: Make an accordian fold card
In order to make an accordian- fold style greeting card, you will need a piece of card stock, glue or adhesive, scissors, markers, and stencils/stamps. Cut the cardstock in a diagonal. Fold the card into 3rds, lengthwise. Cut a 5 x 3 ¼” panel at an angle. Use Masking Magic and stamp the excess card stock. Cut out your stamp designs. Color in your designs with Sharpie brand permanent marker pens. Glue the 5 x 3 ¼” cut piece to the card, or you could use 2 sided tape. If you have addition...

How To: Make a simple paper popper in three simple steps
This video shows you how to make a simple paper popper in three simple steps. Take a rectangular piece of paper and fold one quarter over. Fold it over once again in the same direction. Flip the paper over and make it into a square by folding again. Open out the side just a little bit, so that you can see the fold still inside. Sweep your arm down from a height really quickly and you will hear the sound of a "crack" as the paper pops on the way down. You can do the same thing again if you ref...

How To: Cast on when knitting on a circular loom
This video shows the method to cast on when knitting on a circular loom. Wrap the string around the finger twice. Take the back loop and put it over the forward one. Again take the back loop and push it out of the finger creating a slip knot. Put the knot in the peg next to the anchor. Put the string on the outside. Take a size G crochet hook and put it between the peg you want to stitch and the previous one. Face the hook downwards and take the string with it. Bring it to the other side of t...

How To: Make a paper shotgun that shoots
To make a paper shotgun you will need some tape and three pieces of paper. With the first piece of paper roll it up into a medium size tube and tape down the ends. The other piece of paper is going to work as the handle. Roll that piece up into a tight roll and secure it with tape to one of the ends creating the handle. The last piece of paper is going to be used as the bullets. Cut this piece into three even pieces and roll each piece into a cone shape sealing the end of each cone with tape....
How To: Fold a blow up origami paper cube
First of all you need a standard paper of size 8 by 11.5 inches and a scissors. Step1. Take one corner of the paper and then fold it to meet the other side. Now press the diagonal and then crease it.
How To: Make bath bombs that fizz in water
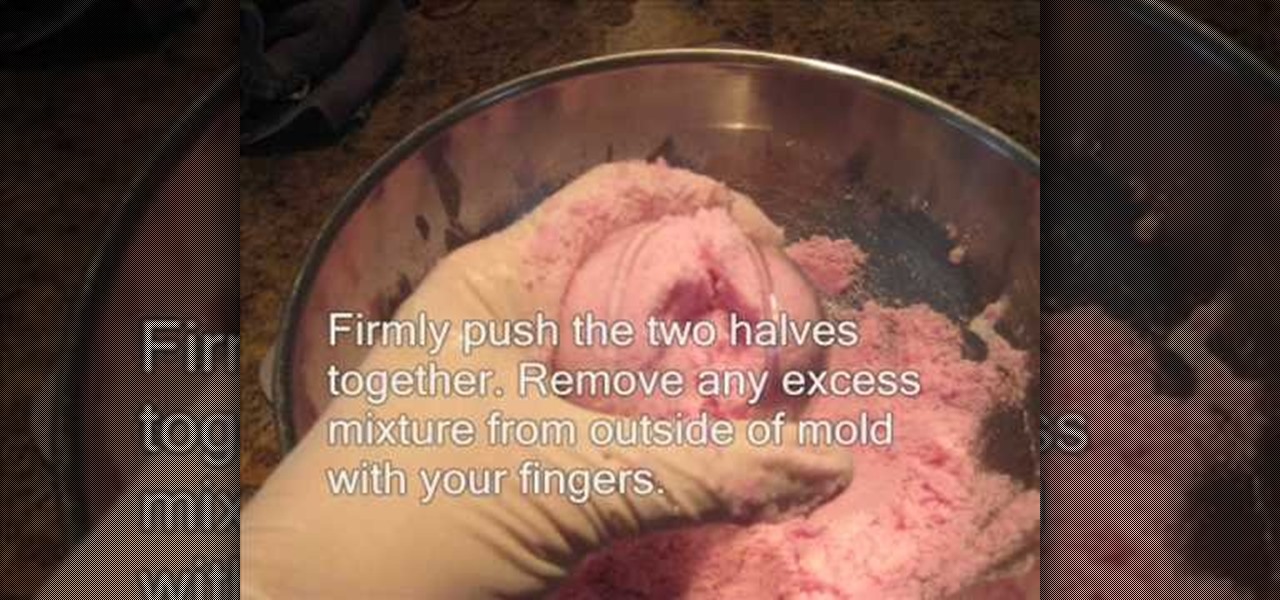
In this video, GoPlanetEarth.com shows viewers how to make bath bombs. The ingredients needed are: a half cup of Epsom salt, a half cup of citric acid, one cup of baking soda, one teaspoon of liquid glycerin, one teaspoon of water, three teaspoons of oil (the fragrance for your bath bomb), three tablespoons of sunflower or canola oil, one-fourth of a teaspoon of Borax, and food coloring (liquid). You will also need to have bath bomb molds, latex gloves, a bowl, a glass measuring cup, and pape...
How To: Make a card using the Cuttlebug "smoosh" technique
In order to make a Cuttlebug Smoosh Card, you will need the following materials: card stock (at least 3 different prints or colors), a ruler, distress tool, double sided tape or glue, distress ink, watermark stamp pad, decorative accessories, and scissors.
How To: Use border punches & a stamp
This video is part of the lawn fawn card series and it explains the making of a card using border punches and a stamp.The materials required are a set card-polka dot basics from paper tray ink.This card has a variety of dots on it. Remove the big open circle polka dot and lay it on the aqrualic and place it on a plastic bock with grids on them.Using a color box cover the stamps with ink.Now place the block over the card so that the grid lines with its length and press on it.The polka dots wil...
How To: Use clear stamps & make a card
In this Arts & Crafts video tutorial you will learn how to use clear stamps & make a card. You will need acrylic stamps for this project. The products used in the video are from papertrayink.com. The stamps are clear and have a sticky back with which you can attach them to an acrylic base to make the stamp block. Then ink the stamp and stamp it on the paper. Since, it is clear, you can ass and align it properly on the paper. The other cool thing about acrylic stamps is that you can take more ...
How To: Make Christmas patterned cardstock
In this video, we learn how to stamp your own customized X-mas patterned cardstock. You will need: green/red stamp pads, Christmas stamps, light yellow plain cardstock and a stamp foam mat. First, stamp your yellow paper as you wish with the green and red stamp pads, you can make any pattern you'd like. Then, place on your stamps on the paper and press the clear stamp press down onto them. Now, apply your stamp color and press back onto the paper. This will make the different stamp shapes pre...
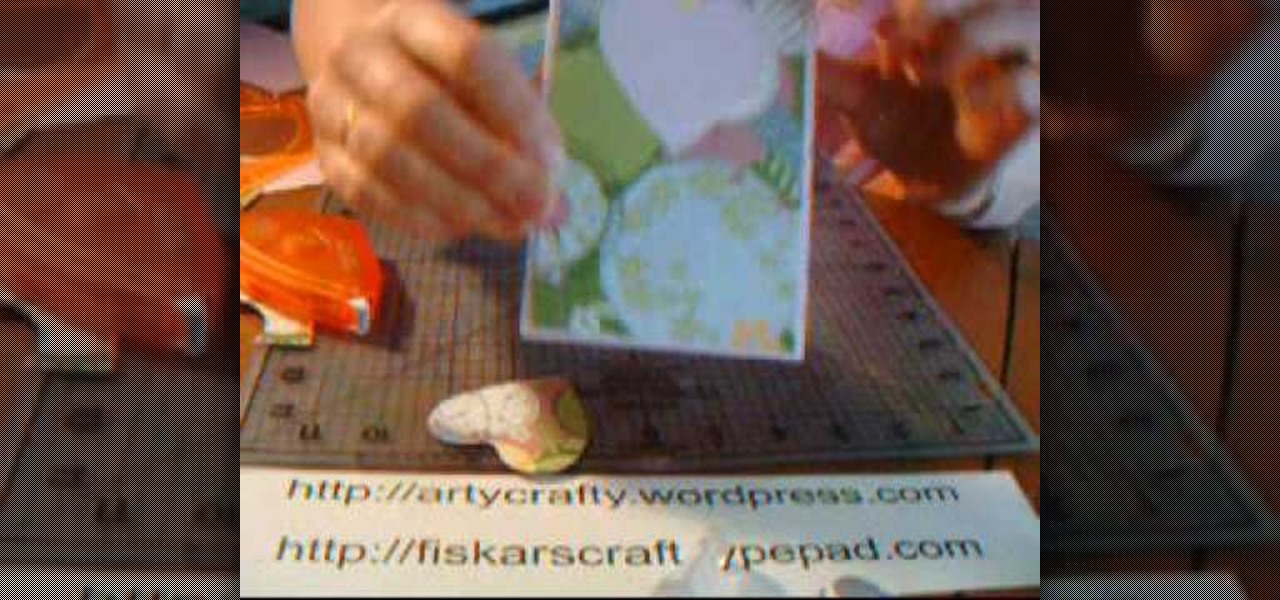
How To: Make window cards
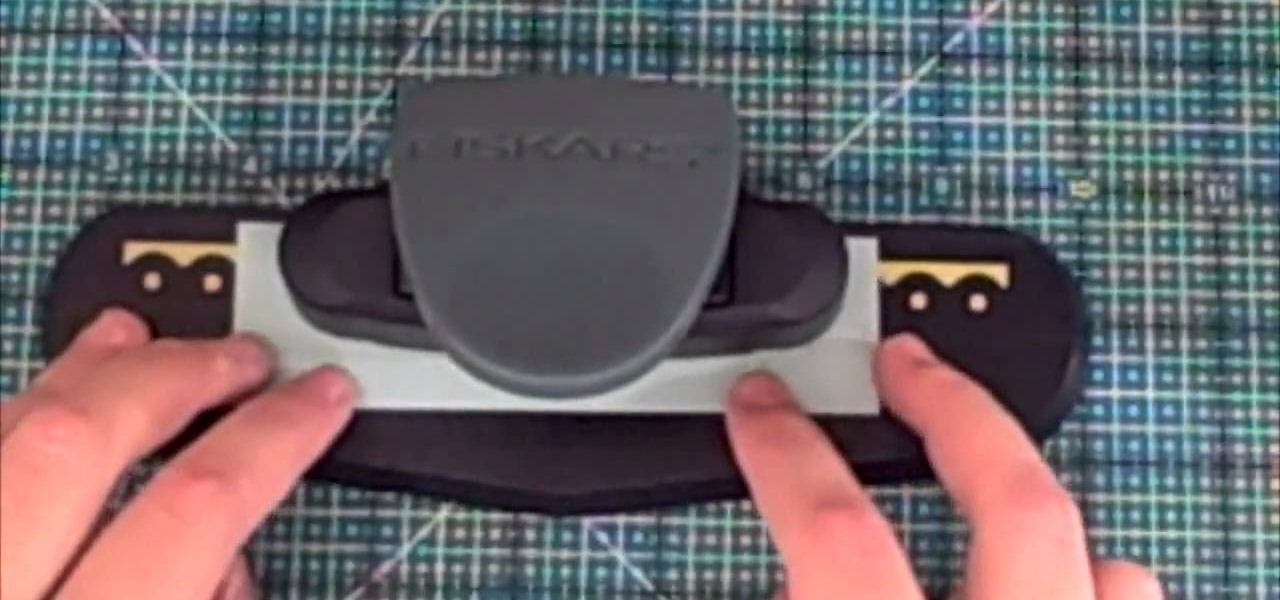
In this Arts & Crafts video tutorial you will learn how to make window cards. Supplies needed are trimmer with scoring blade, Fiskars templates, Fiskars ultra shape xpress, glitter, cardstock and embellishments. Take a 81/2 x 6 inch cardstock , score the center at 3‚Äù mark and fold it. Take a colored paper about ¬O‚Äù smaller than the card, cut out a 2.5 heart with the help of the template and glue it on the card. Then open the card and cut out a 1.5 heart from the center of the 2.5 heart. N...

How To: Make a bath bomb using household supplies
Taylor and Lily demonstrate making fizzy bath bombs. Ingredients needed are one cup of citric acid, one half cup of corn starch, one cup of baking soda, and one quarter cup of a light vegetable oil. Food coloring and flavored extracts or essential oils can be use to scent them. First mix up all of the dry ingredients in a non reactive bowl. Then add the vegetable oil. Mix with a nonreactive spoon, whisk, or gloved hands. If food coloring is being used, add four drops. If using an extract or e...

How To: Use a wrist distaff
In this how to video, you will learn how to use a wrist distaff. First, wrap the distaff around your wrist. Get some fiber and lay it over the bottom. Wrap it loosely around the descending part of the wrist distaff. Bring it over your hand and grab it with your index and thumb. Take your spindle and get ready to make a join. Give the string a spin and start drafting. Keep on spinning until you get a nice amount of fiber on it. Next, unwind it and put the spindle in the proper position. From h...
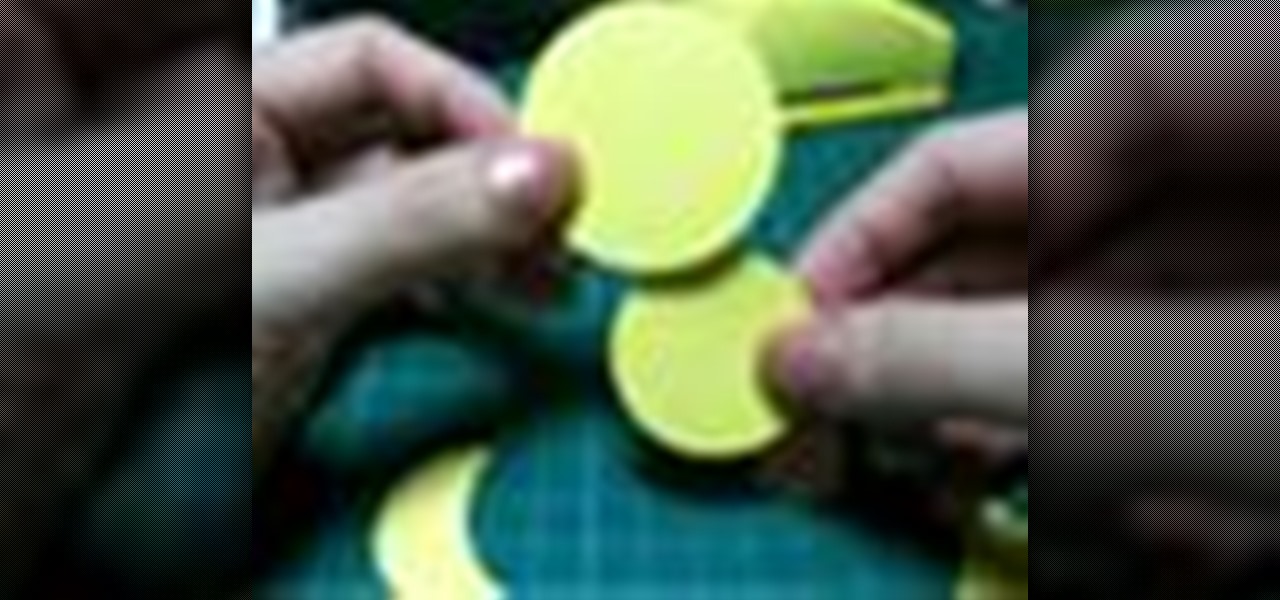
How To: Make a little chick using punches
In this how to video, you will learn how to create a little chick with punches. You will need a 1 3/4 circle punch, a 1 1/2 circle punch, a 1 1/2 circle scallop punch, and a small square punch. You will also need a pink and yellow material to cut from. Cut out one piece from the 1 3/4, one from the 1 1/2 circle, and two pieces from the 1 1/2 scallop circle. Take one piece of the scallop and take the 1 3/4 punch and punch the side out. Take the punched piece and place it on to of the other sca...

How To: Make a ring from folded paper with origami
In this Arts & Crafts video tutorial you will learn how to make a ring from folded paper with origami. For this, you need a square sheet of paper. First you fold it diagonally across to form a triangle. Then fold it again across the other diagonal. Open it up and fold two corners up to the center point. Fold them in once again so that each side is divided in to four. Open up all the folds and fold one corner back up to the center point. Now fold this triangle twice over in a manner as shown i...

How To: Make your own art journal
By watching this video, you will learn how to create your own art journal. Begin by cutting pieces of heavy weight cardstock 5" by 8". After you have cut all your sheets, fold them in half. If you want a defined crease, you can use a bone folder. Next, poke small holes in the crease of each sheet. Start at the center and then poke one every inch above and below the center hole. Then using a regular running stitch, sew through each hole of a single sheet. Once you reach the bottom hole, bring ...
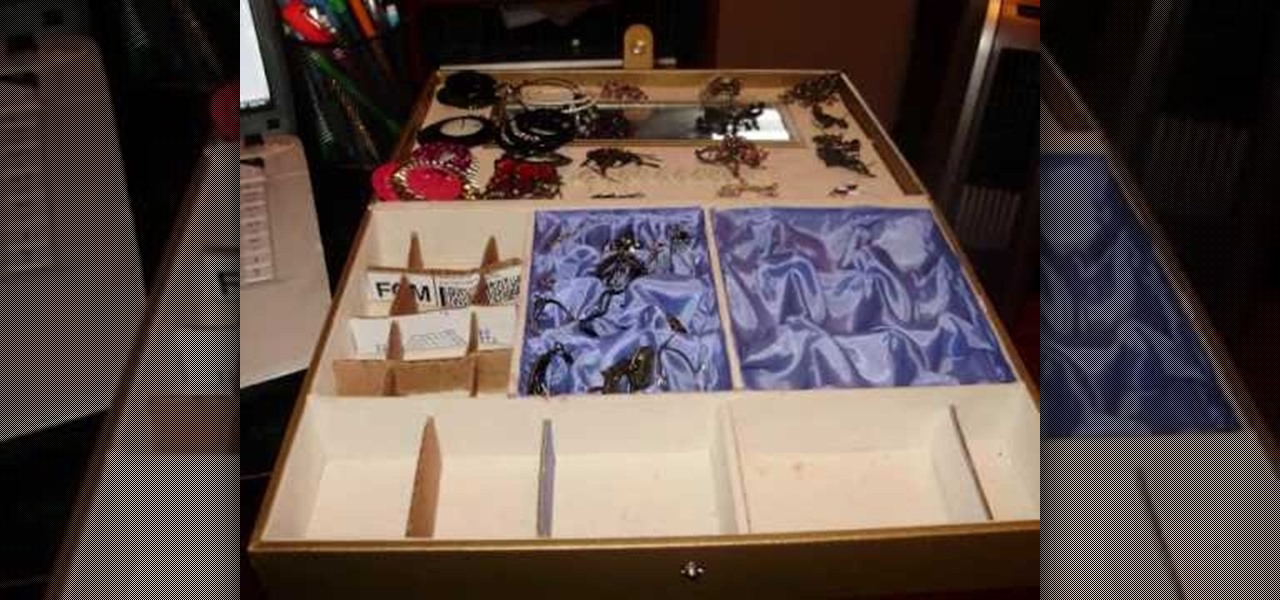
How To: Make a custom jewelry box for cheap
This video shows how to make a custom jewellery box for cheap. Find any box we want to use. Next find some spare fabric to put on the inside. Make little compartments big enough for whatever we are putting in. Just use cardboard for this. Measure the cardboard into strips and then made triangular cuts so that the cardboard would be more stable. Next make sure whatever we are putting in will fit in the compartments we have made. Use super glue to put the fabric in and pleated the fabric. Now w...
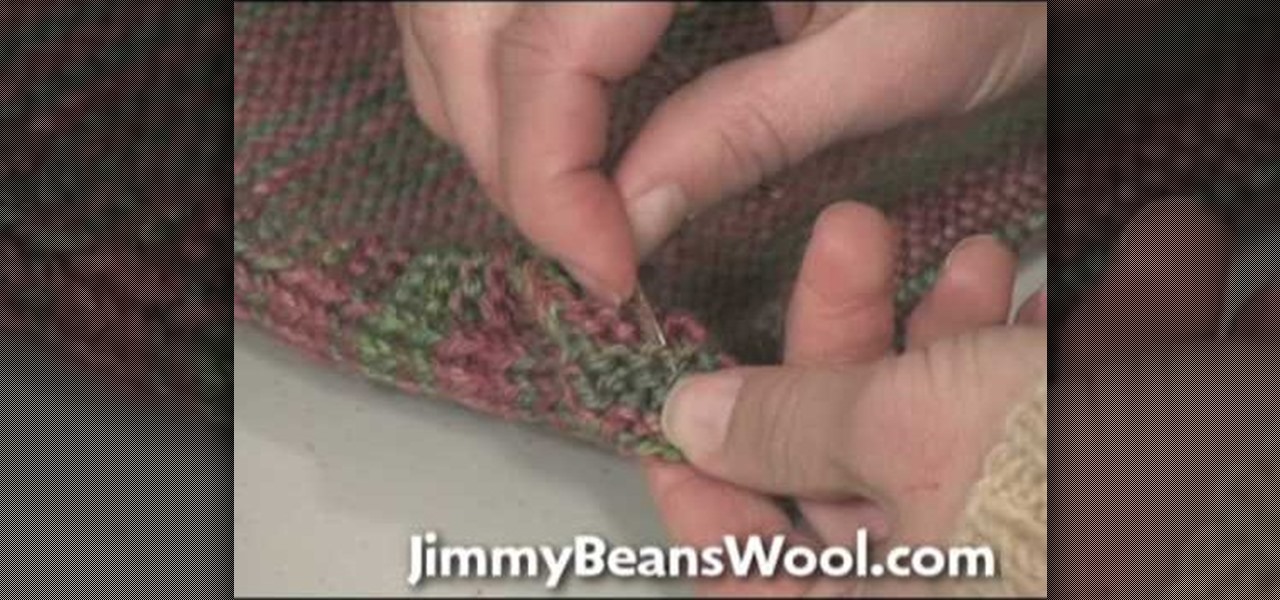
How To: Use the technique to weave in ends when knitting
This video shows us how to weave in ends when knitting. Here are the following steps: Step 1: Take a needle specially meant for wool thread and scissor.
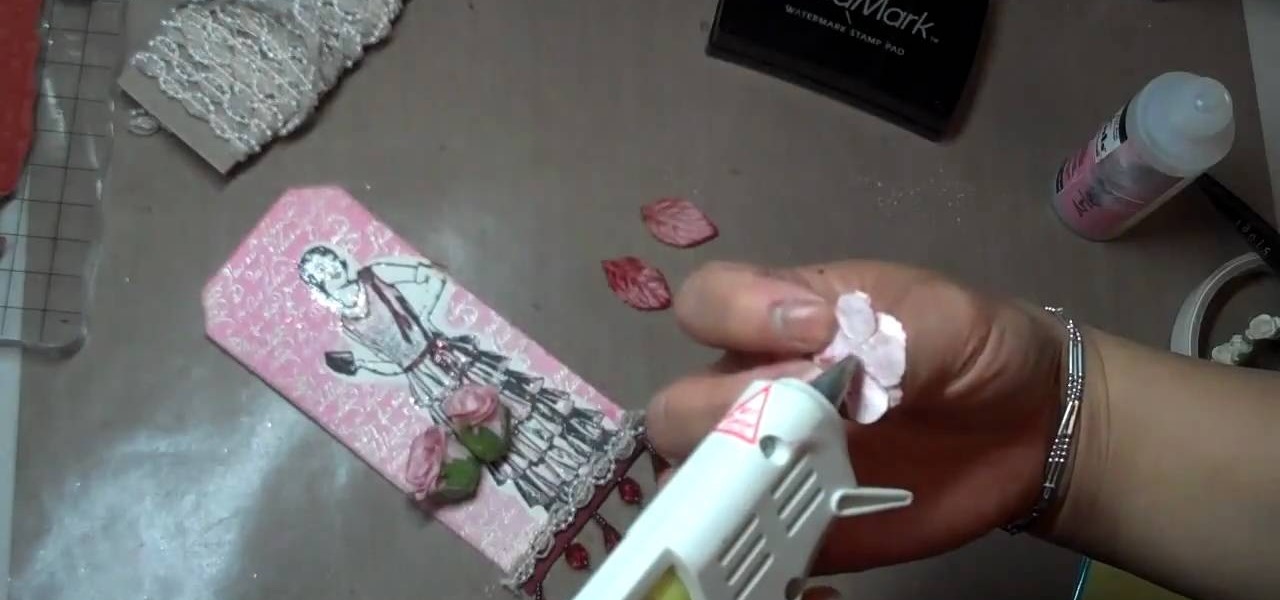
How To: Make a vintage lady tag
Mybutterflykisses12 shows viewers how to make a vintage lady tag! First, You will need a stampof a vintage lady and some cardstock. Dab your stamp with black ink and stamp it onto card stock that is shaped like a tag. Next, you can stamp on vanilla script above the figure. Next, apply clear embossing powder to the tag and then heat this with a heating gun so it can set. Next, place an opaque stamped image of the same woman over the original on the tag. Cover the stamped image before you apply...

How To: Create your own water bottle holder
The card stock used is a celery card stock that is 2 by 7 and 3/4. You then fold the ends of the card 2 inches into the card on both sides. So now it should look like two 2 inch squares on the ends that are folded and then a rectangle in the middle. The designer paper used measures 3 and a 1/4 by 1 and 7/8 inches. To make the decoration on top you use the paper punch that punches a 1 and 1/4 inch circle in the paper and then you use the scallop punch around the area of that same punched out h...

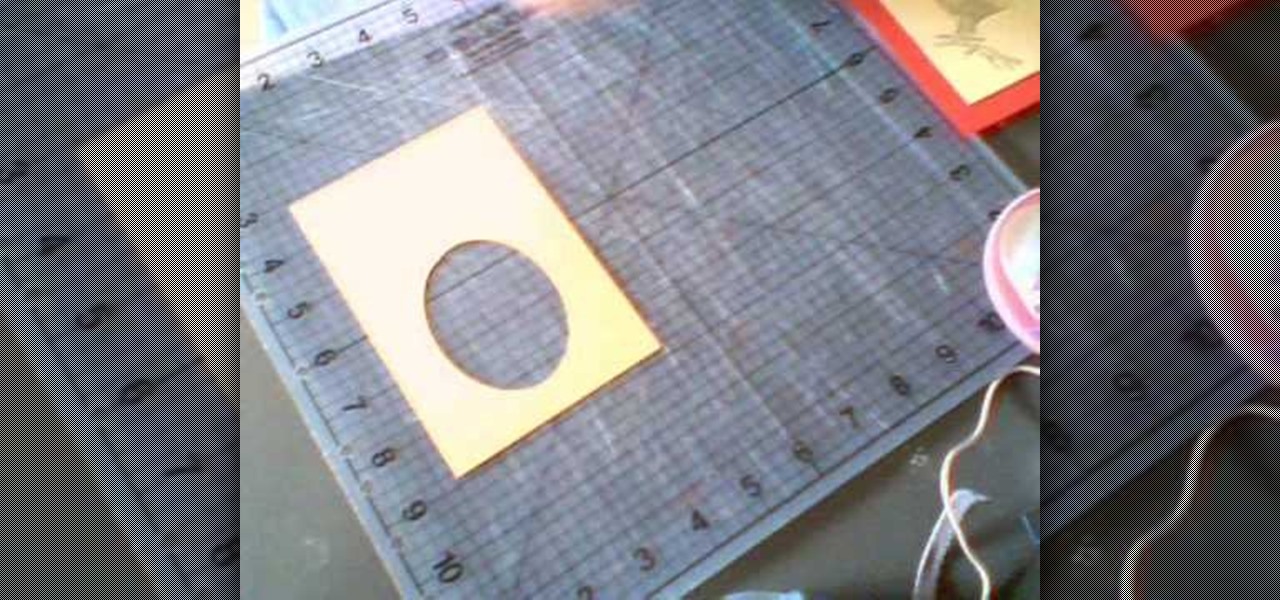
How To: Make a circle shaped card
This is a video about how to make a greeting card in circle shape. First take the card and fold it into half. Next take the colluzle and place it on the card. Mark a circle using colluzle on the card. Cut the card on the marking and leave some space at the folding of card. Take the design paper to place on the card. Next cut the design paper in round shape. Make sure that the shape should smaller than the card you have already prepared. Next stick the design paper to card. Next take one ribbo...

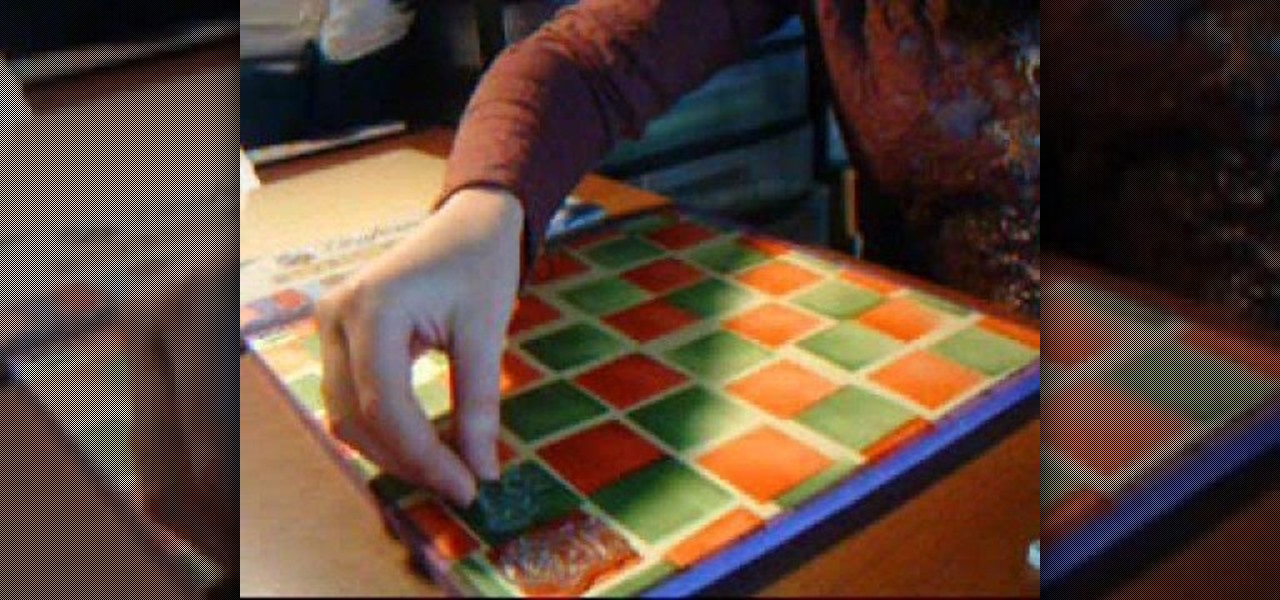
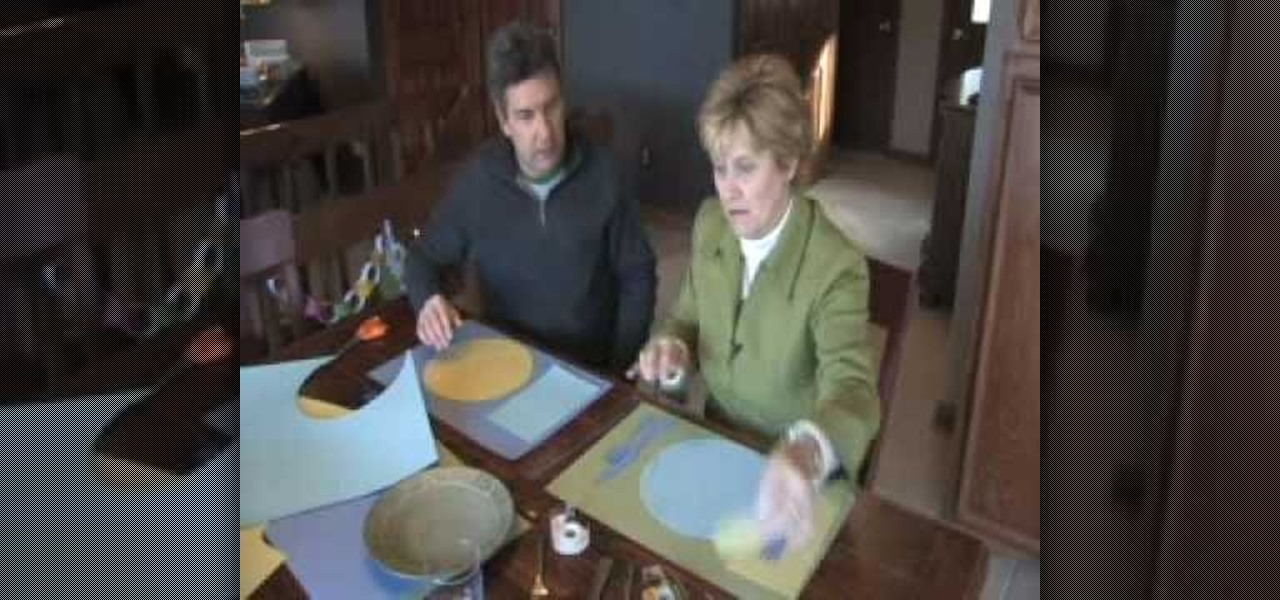
How To: Make reversible placemats
Placemats are an important piece when it comes to setting the table. Not only can it add a certain sense of style to the table, but it can help keep your table top nice and clean! Usually placemats have only one particluar side where it is going to be used the most. In this video tutorial, you'll find out how to make reversible placemats so you have another option to choose from. Enjoy!
How To: Make easy kid placemats and set the table
Now when it comes to setting the table you just need three things: fork, plate, and a napkin. But for some, things are more complicated than that. Sometimes they feature the soup spoon , salad fork, and so on and so forth. Although this video doesn't cover every single utensil, it does cover some of the basics. Find out how to make placemats for kids as well as teach them how to set the table. Enjoy!

How To: Make personalized placemats easily
If I had kids, this is something I would totally use to not only entertain them but give them something fun to look at during dinner. This fun tutorial shows you how to take some simple foam and use glitter, markers, and other items to make cool placemats. Enjoy!

How To: Make a cool chalk cloth placemat for kids
I wish I was still a kid because this was a pretty cool project to perform and a cool placemat I would have used! Most of the ingredients can be obtained from your local arts and crafts store and seems pretty simple, but does require skill. So enjoy this tutorial on how to make a chalk cloth placemat. Enjoy!
How To: Make a handmade shaker card
This video teaches us how to make shaker cards. These are cards that have a sort of window where you can see glitter or confetti moving about when you shake the card. You start off with your card base. A good size is 6" by 8". You take your front image, either a picture you have or stamp one yourself. Attach this image to the front of your card base. Line your image with thick double sided tape. Don't leave any gaps or your glitter will leak out. Next you cut your window. This will be the ver...
How To: Make an awesome ring out of a 50 cent coin
Fifty cent coins and quarters made before 1964 were made of 90% silver. This is considered jeweller's quality silver so can easily be made into a ring. Kennedy Half Dollars can be found at coin shops or on ebay for four or five dollars a piece. Begin with an anvil which can clamp onto a table. This will allow you to hammer without damaging the table. If you don't have a anvil, you can use any flat surface that is sturdy and made of metal. Next, take a small hammer, position the coin on its ed...
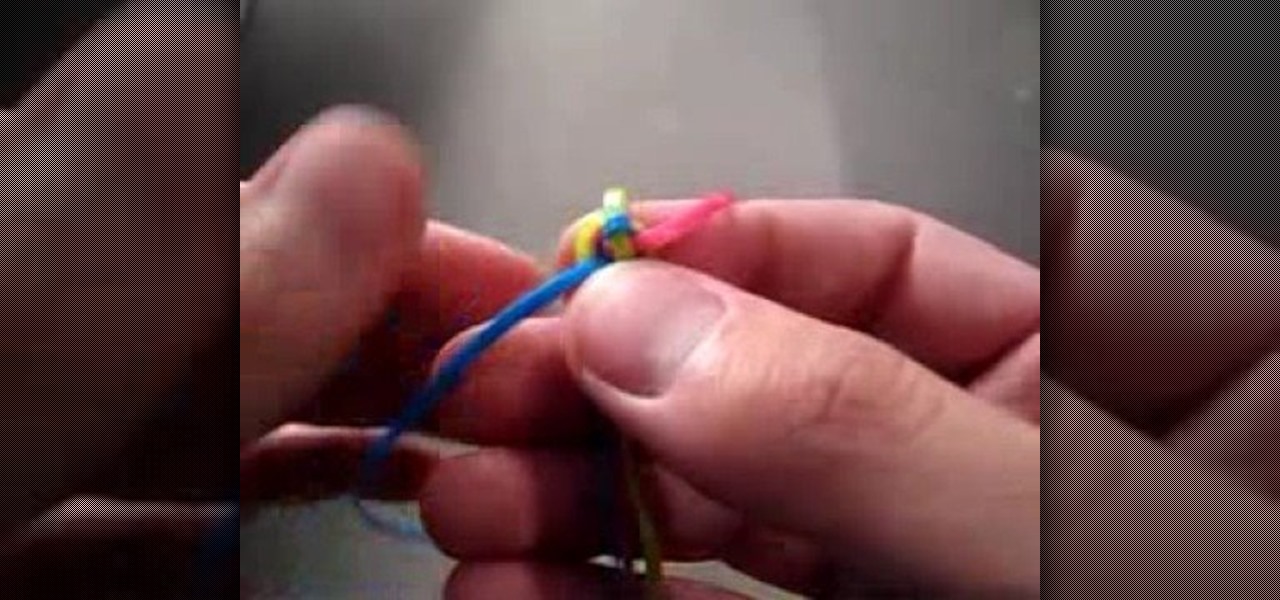
How To: Do a lanyard twisted triangle stitch
In this video tutorial, viewers learn how to do a lanyard twisted triangle stitch. Users will need 3 pieces of gimp with the same length. Take all 3 strings and tie a knot at the end. Now separate all 3 strands from each other and select one of the strands to be the top strand. Put the top strand over the second strand and bring the second strand over the third strand. Now run the third strand through the loop of the first strand. Pull on all 3 strands to make the stitch and repeat for the re...

How To: Fold an origami lotus flower with one sheet of paper
To make a lotus out of a single sheet of paper, use a colored, square paper sheet with a different center color (optional). With the colored side facing outwards, fold the sheet diagonally in half creating a center crease. Open up and repeat the step with the other corner to obtain a center point. Carefully fold the 4 corners towards the center point to form a smaller square. Repeat the same procedure with this square. Flip over and repeat the same procedure over again. The next step is optio...
How To: Fold an origami paper cube
In this video tutorial, viewers learn how to make paper cube. Begin by folding the paper diagonally in half and cut the bottom bottom edge off to make a squared paper. Open the paper up and fold diagonally on the other side. Open it up and pinch in the two upper corners. Align the two corners together and fold the inside to flatten it out. Do the same on the other side. Grab a corner and fold it up to the center. Do the same for the rest of the corners. Grab a flap and fold it to the center a...