

Active Arts & Crafts Posts


How To: Fold a basic paper balloon with origami
This video shows the way to make a paper balloon. A square paper is taken. Two perpendicular folds are made down the diagonals of the square. Then an isosceles triangle is made by folding one side of the square towards its opposite side and the other two sides are tucked in. Now there are four isosceles-right triangular flaps. The flaps are folded along its middle to resemble isosceles triangular flaps. The edge of the flaps is folded towards the center. The free end of the flap is tucked int...

How To: Make Chinese paper lanterns with origami
This video illustrate how to make Chinese paper lanterns with origami. here are the following steps.Step 1: Take a string for holding the lanterns.Step 2: Now take a square sheet of paper and fold it diagonally so that two diagonal intersecting crease are formed.Step 3: Now hold the crease together and push it upwards to form a triangle.Step 4: Now fold the triangle into two equal triangles, do the same with the other side also.Step 5: Now fold one triangle and crease it to the center, repeat...
How To: Sew elastic (polybraid & Lastin)
This video is a tutorial on sewing both polybraid elastic and lastin elastic. Polybraid is a very sturdy fabric elastic, while lastin is a thin, clear, very stretchy elastic, good for use in diapers. It is important to buy name brand lastin elastic to ensure good quality.
How To: Make a simple paper hat for your head
This how to video is by a young girl Rida Sharief and teaches you how to construct a hat from simple construction paper. First step, you fold the paper in half and crease the paper with your fingers. Next step, you fold it again in half and crease with your fingers. Next open back up so that the paper is only folded in half. Then, fold triangles inward almost all the way down, but leave space for flaps. Finally, fold the flaps up and you have your own self-constructed paper hat. To wear it si...
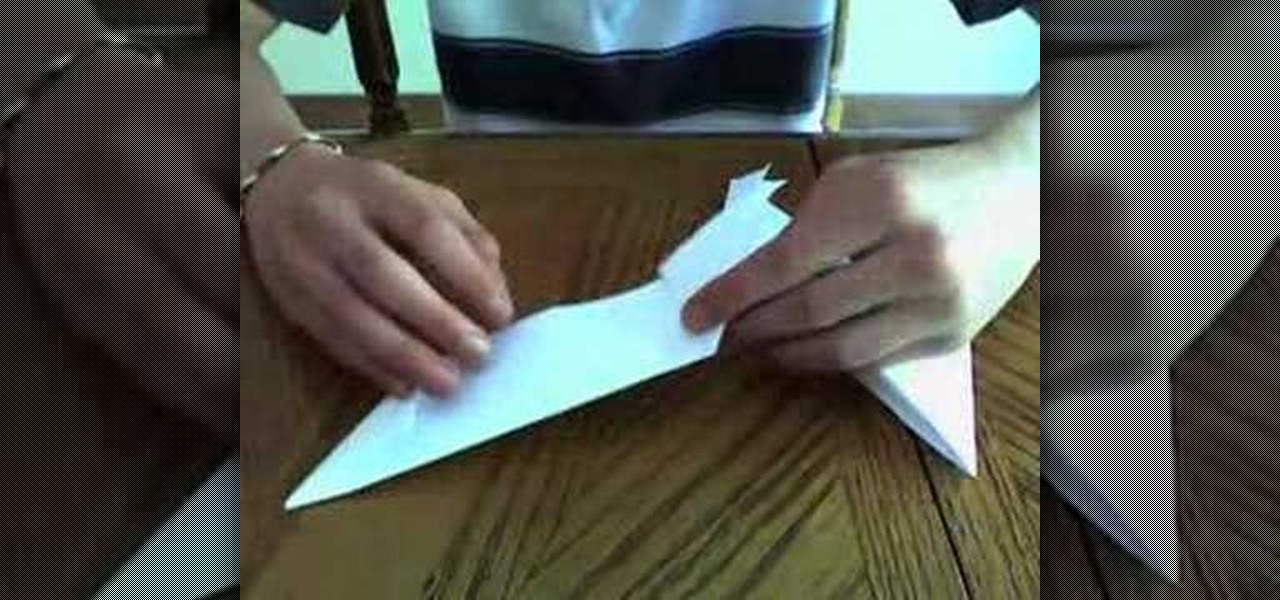
How To: Make a paper shuriken (or ninja star)
In this Weapons video tutorial you are going to learn how to make a paper shuriken (or ninja star). Take a square size paper and cut it into half. Then fold each piece in half lengthwise. Fold one end to make a triangle and fold the other end in the opposite direction to make a triangle. Now fold the ends again to make a bigger triangle. Then each sheet will form a ‘Z’ shape. Now place one sheet on top of the other forming a cross. Then fold in the protruding triangles of one over the other p...
How To: Use glue-in bails and caps
This video shows the method to use glue-in bails and caps and Morano glass bead to make a simple Christmas tree ornament. Apply adhesive to the post on the glue-in cap. Apply enough adhesive so that the cap makes good contact with the Morano bead and does not ooze out from the sides. Insert the cap into the Morano glass bead and put it upright until adhesive sets on the bead. Put adhesive to the post on the bail. Put it into the bead and leave the adhesive to set. Put the ribbon through the b...

How To: Make a ribbon tree ornament
Jen Spencer teaches how to save money by making a Ribbon Tree at home. You can create this by using some of your ribbon scraps. Cut them into two inch strips, you'll need scissors, a hot glue gun, and a green floral tree. They come in a variety of sizes and also white. Fold the strip in half making a loop. Add a dab of glue on the end and close it. Jen warns be careful with the glue gun. Do that with all the ribbon strips. Place a little glue on the tree and glue the strips on. On top you can...
How To: Use a paper punch with fimo
First of all take a small fimo punch. You can also use decorative buttons because the smaller cutters are not easily available. Now you need to take the sheets that have thickness less than one millimeter. You have to check them because the larger size shall not fit. Pop in the inlet just like a paper and try to fit. If not then use a roller to roll them to reduce their thickness. Now lift it with a ruler and then insert it into the inlet. The best way to do is to drop them in. Once it fits e...
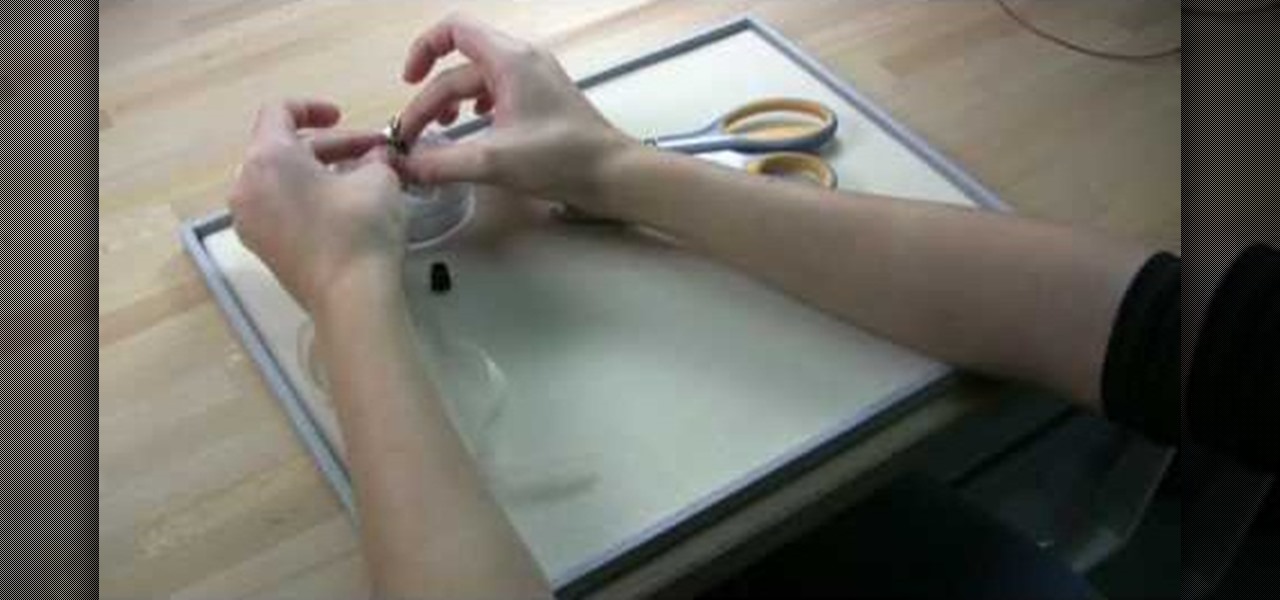
How To: Create jump rings in three minutes
Karen Bratt demonstrates how to make jump rings for jewelry and key chains. To prepare jump rings the things required are a coil of silver plated wire, a pair of round pliers and a pair of cutting pliers. Take the coil of silver plated wire and place it at the wider end of the round pliers. Slowly bend the wire and form a circle around the pliers such that the wire coils. As you bend allow the coil to come up the beaks of the pliers until you make half a dozen of jump rings. Take it out of th...
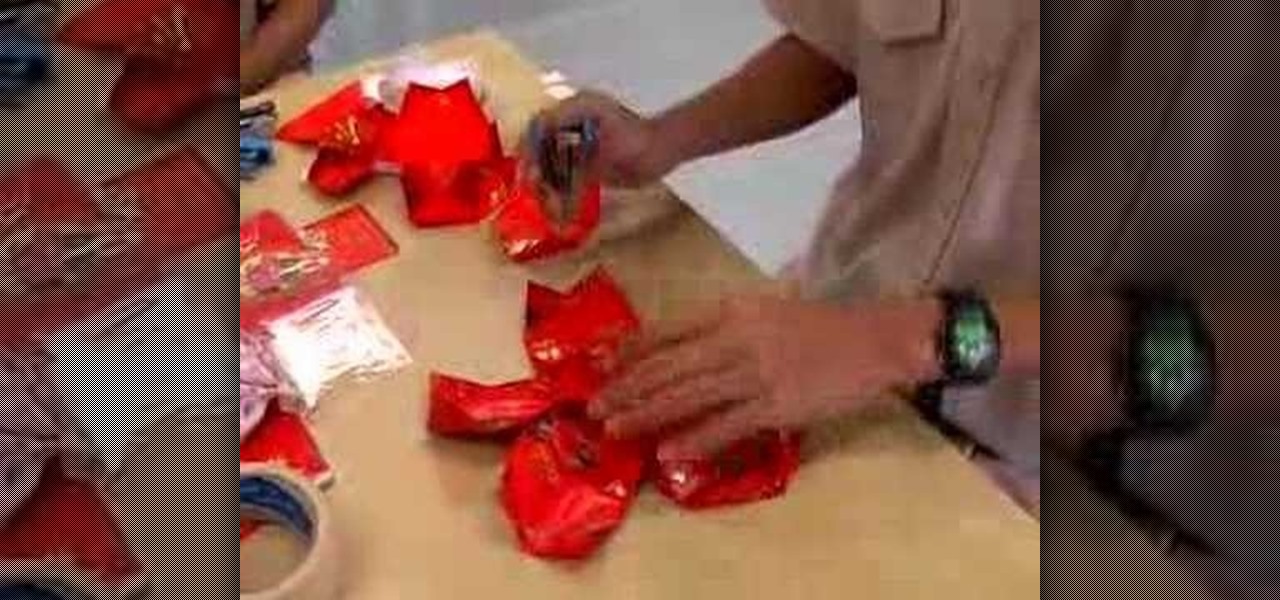
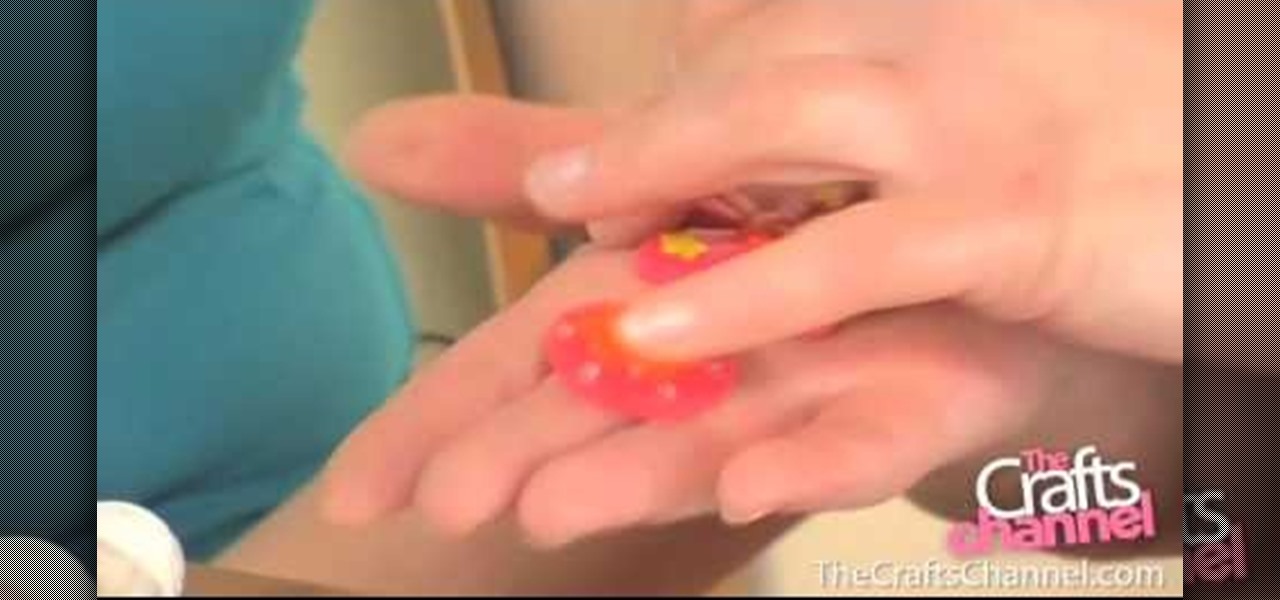
How To: Make a traditional Chinese paper lantern
Supplies1.20-35 square papers (all the same size)2.stapler

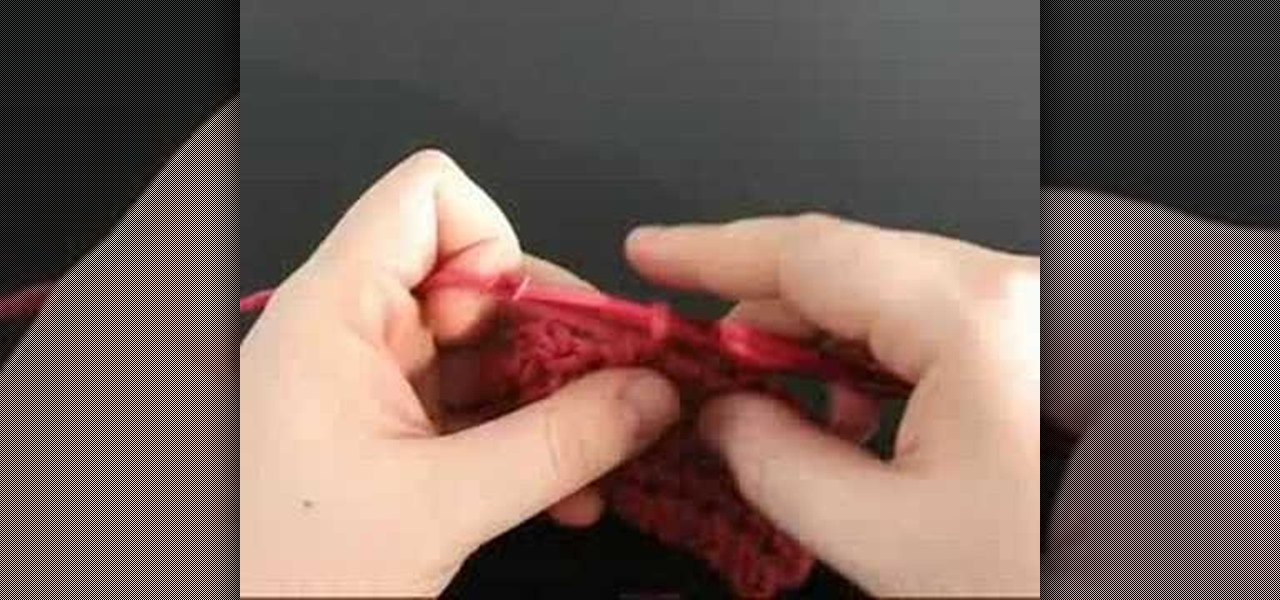
How To: Properly do a double crotchet stitch
How To Crochet: Double Crochet Stitch is a short video that demonstrates how to create the double stitch. As show in the video, you will need yarn as well as a crochet hook. The video shows step by step how to create this specific type of stitch. The narrator explains that the double crochet stitch is twice the height of the single stitch and also has wider spaces between each stitch. Advice is also given to count your stitches at the end of every row as the narrator cites "losing" and "gaini...
How To: Make jewellery using cord in 4 minutes
In this how-to video, you will learn how to make jewelry using cord in less than four minutes. Corrine Bradd shows you how to easily do this. First, take a satin braid and tie it in a knot. Trim the excess off with scissors and take a cord end. Place the knot inside the groove and then clamp the cord end with a pair of pliers. Turn it around and do it again for the other side. These cord ends come with a loop on top for further use. These look great on jewelry such as charms. You can use a sl...
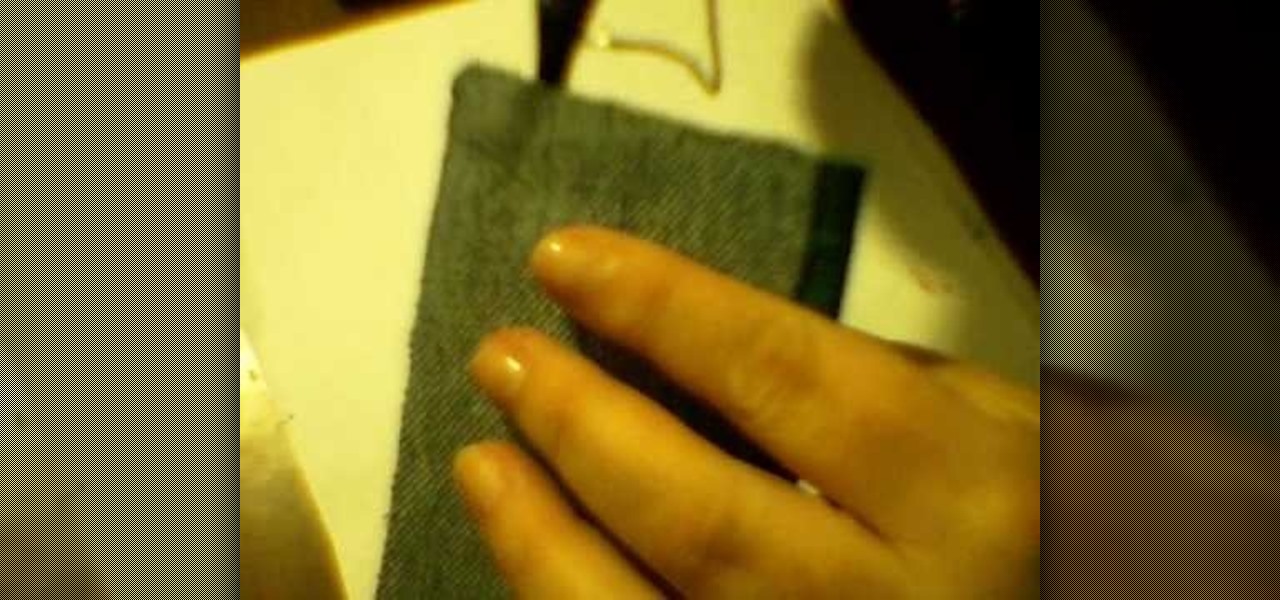
How To: Make a pocket wallet out of recycled blue jeans
Digsart demonstrates how to make a wallet from a pair of blue jeans. First, with a pair of scissors he cuts out the back pocket of the jeans. You can paint the pocket with acrylic paint to give it a more sturdy feel. Once they are painted, he dries them out by placing them on plastic bottles. Once the paint is dry, he cuts a slit in the middle of the pocket, creating two sides for change and bills. Then, using a hot glue gun and Velcro, he glues the Velcro patches onto the pocket. Once the Ve...

How To: Fold hearts from square sheets of paper with origami
Take a square piece of paper to begin. Fold in diagonally in half to form a triangle. You then fold both ends up so that it will form a smaller diamond shape. You then repeat what you just did, but folding two of the ends up again to meet the other side. Fold your piece of paper in half again revealing another smaller triangle. Flip the paper over and unfold the smaller pieces that you folded up to meet the ends. Pull these apart and then fold down in the middle. Bend in the 4 pointy corners ...

How To: Make a back-post double crochet stitch (BPDC)
First of all you have to understand that in this type of crochet you have to do similar to what you did for the front post double crochet. However the basic difference is that in front one you inserted the crochet from the front, however in this type you have to insert the crochet from the back side. So to do this you have to yarn over the crotchet and then go through the back to the right side of your stitch and just open up the front and then go back through on the right side of the stitch ...

How To: Make a novelty paper hat
Paul teaches how to make a paper hat. The supplies you'll need are a piece of paper and a measuring device. !. Fold the paper in half. Measure to make sure its half. 2. Fold the paper so hat the unfolded side is up. 3. Fold the side as if you're making a triangle. You don't want to fold it up all the way because you want to have leftover space for an opening. Do the same for the other side. 4. Fold a flap down and crease. Make sure you go all the way across. 5. Do the same with the other side...

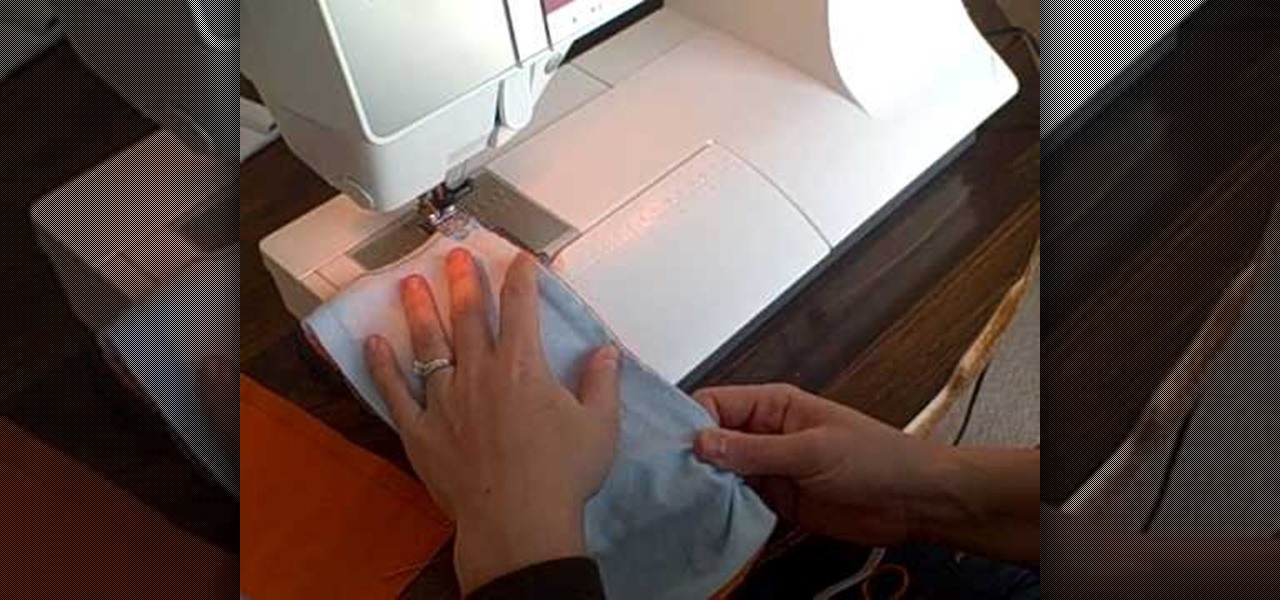
How To: Thread a bobbin on a side threading sewing machine
This video shows how to thread your bobbin on a side threading sewing machine. We start off by making sure that the needle is in the most upright position. The upper thread guide when moved to the most top of its travel, the needle is in the most upright position.Then you take the bobbin case and your bobbin. Make sure the thread is coming up over the top towards you and not underneath and over the back. Slip in the bobbin into its case, put the thread through the groove under the potential s...
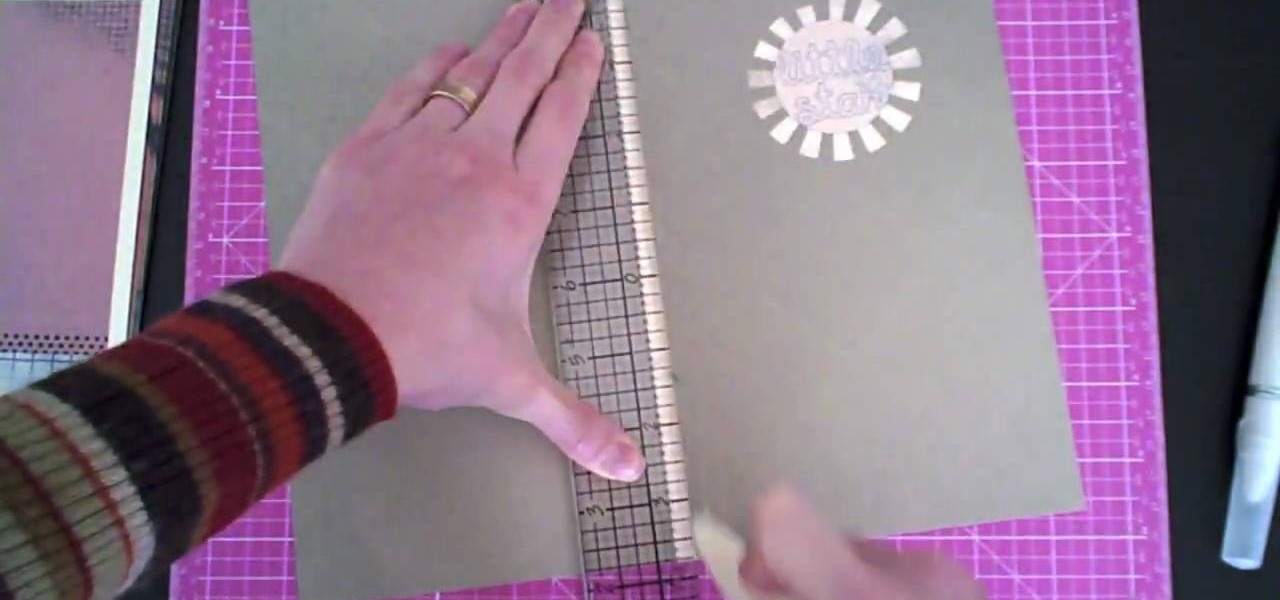
How To: Make a recycled hybrid board book
Creativity Prompt demonstrates how to make a hybrid board book. First, select printed paper of your choosing. Cut off the excess paper with a cutting blade and crease the paper for the spine. Fold and burnish the paper. Apply a generous glue stick layer to a recycled board book and adhere the paper to it. Burnish the paper with a brayer to strengthen the adhesion. Let the glue dry and trim off the excess paper. Cut the rest of the paper for the board book pages. Cut out photos and titles for ...

How To: Double crochet
How to make a double crochetIn this video we are about to see how to make a double crochet. It is done by chaining two chain stitches. In this case it is of seven chain stitches to get four double crochet. Take the yarn over the hook. Insert the hook into the fourth by skipping three chain stitches. Do yarn over and pull through first loop. Now yarn over and pull through second and third loop is well. Extra chain stitches move over and count as our first double crochet. Do it again that is ya...
How To: Make your own kilt pin in minutes
First of all you need roll of wire around 1 or 1.25 millimeter thick. Now take the roll of wire and using a round nose pliers bend the wire about 5 cm. now take a flat nose pliers and the hold the ends and bend it round to make a hook. Now taper off the end and then straighten the wire. This shall be the top portion of your pin. Now take round nose pliers and then wrap it in a complete circle and then repeat it two more times. This shall produce three loops and you can also adjust the length ...
How To: Perform a basic half-double crochet stitch
In this how-to video, you will learn how to perform a half double crochet. First, yarn over and insert the hook under the top two loops, yarn over again, and pull through. Yarn over and pull through all the loops on the hook for three. Now, repeat the process. Yarn over, insert the hook, yarn over, and pull through. Yarn over and pull through all the loops on the hook for three, once more. Once you get to the end of the row, make the last half double crochet stitch. By viewing this video, you...
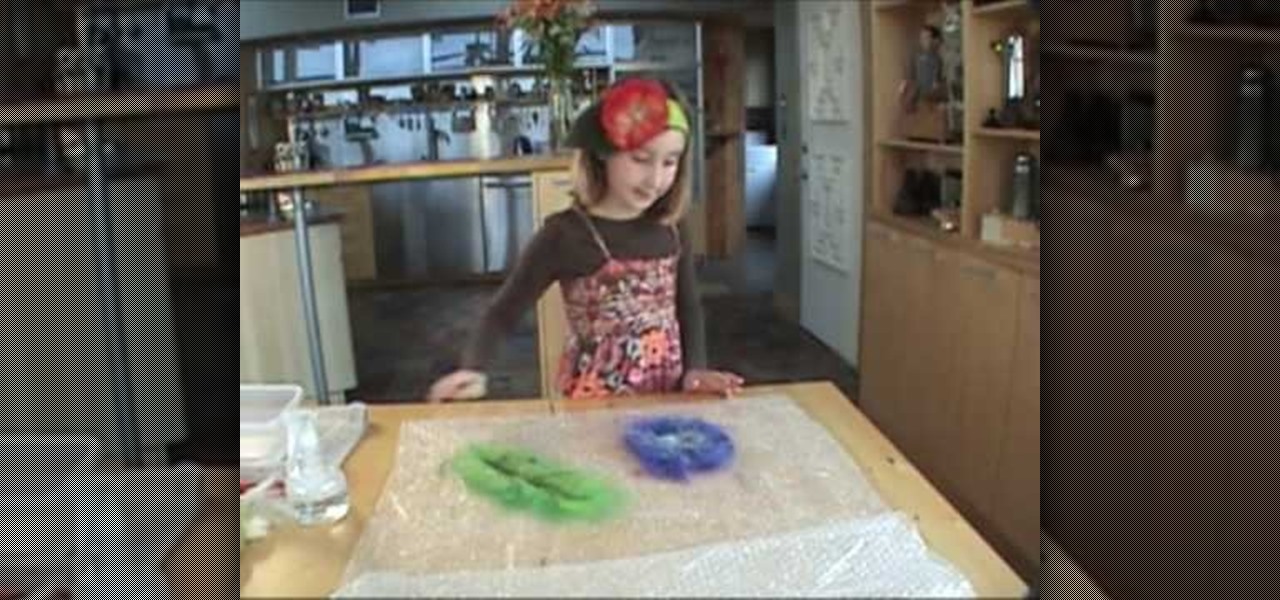
How To: Make a felt flower accessory
This is a demonstration of making a felt flower accessory for your head bands, waist band and even for your clothes. You will require wool fibers, bubble wrap, felt sponge rolling pin, washing bags and a container of hot water and a spray for soap water. First loose fibers are taken of the color you prefer for your flower and laid in one direction to the size and shape of the flower. Then a second layer is laid at right angle to the previous layer. Some strand of fiber is twisted and laid on ...
How To: Make a loud and annoying paper popper, step by step
This video demonstrates how to make a loud and annoying paper popper. Prepare a regular sheet of paper and lay it down on the table or a flat surface. Fold the lower portion of the paper at about an inch and a half (1.5") or two inches (2"). Fold it the second time at about the same length you did with the first. Then, fold the paper right in the middle in the opposite direction with your first two folds. Your paper should now be folded to resemble a nurse's hat. Hold one corner of the folded...
How To: Measure borders when quilting
When measuring for borders on your quilt, begin by spreading your quilt out on your work surface making sure that it is laying flat but not pulled tight. With a tape measure, measure from one edge to the opposite edge across the length of the quilt. You should measure along two or three different seam lines and cut the border material to correspond with your longest measurement.If you would like a two-inch wide finished border then you should cut your border material two-and-a-half inches wid...
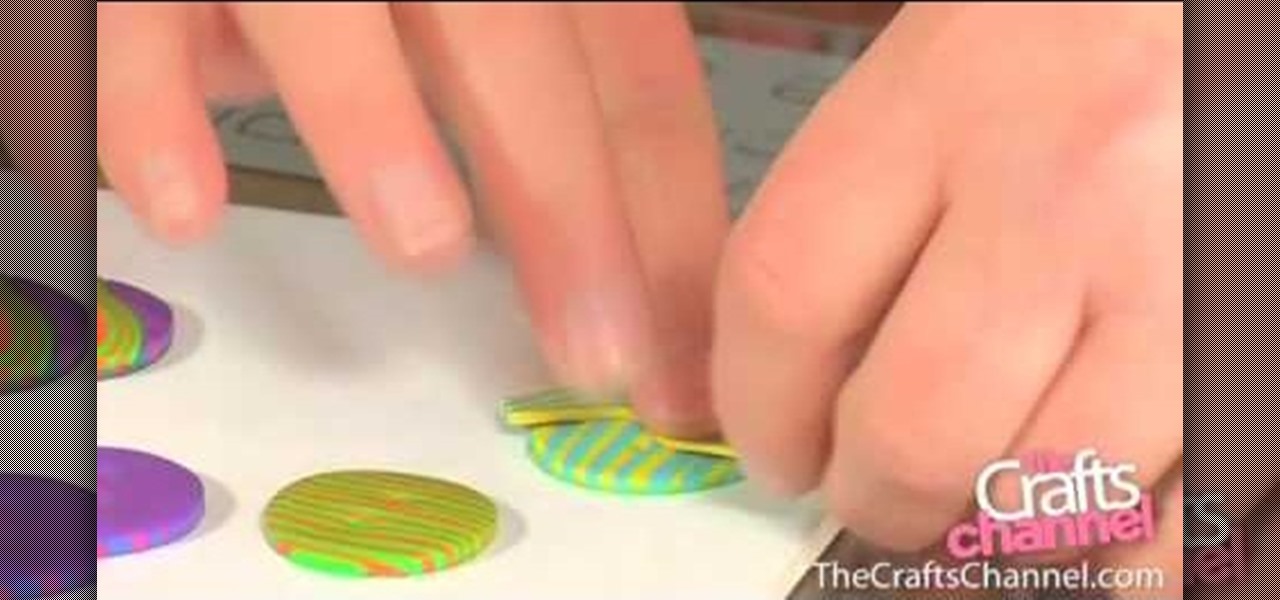
How To: Make stripy fimo buttons
In this video Corinne Bradd explains the steps involved in the creation of stripy fimo buttons. It is rather simple and requires only a few materials such as polymer clay, rollers, cutters and needles. At the start you have to place clay pieces (varying color) in the form of a rectangle one on top of the other and fusing them together by making use of rollers. After they have been fused they are shaped into circles by making use of cutters. Holes are punched into the circle by making use of n...

How To: Open and close jump rings
In this tutorial, Artbeads gives us a tip on how to open and close jump rings on a bracelet. First, take a pair of chain nose pliers and hold one side of the jump ring. Then, take a pair of needle nose pliers and pull the other side of the jump ring. Twist the ring by twisting side to side with the pliers to open and then attach your charm. Don't open any other direction, this will cause the jump ring to become weak. Close it by pushing it back in the same side to side manner. Repeat this to ...

How To: Make a homemade hoodie out of an old t-shirt
This video tutorial in Arts & Crafts category will show you how to make a homemade hoodie out of an old t-shirt. Katia is presenting this video. First you cut out a T-shirt shape out of an old newspaper. You can do it freehand also. For the front piece, take the neckline down a little bit. Then draw a hood shape. To draw the neckline of the hood watch the video. So, you now have the back, front and the hood pattern pieces. Now take your t-shirt and cut it open from the side. Place the back an...
How To: Make a luxury brass case for an MP3 player
Make a luxury brass case for an MP3 player. When a design is made, draw it on a section paper. Stick the paper on a brass plate with glue, and cut the brass plate along the line on the paper with a jigsaw.
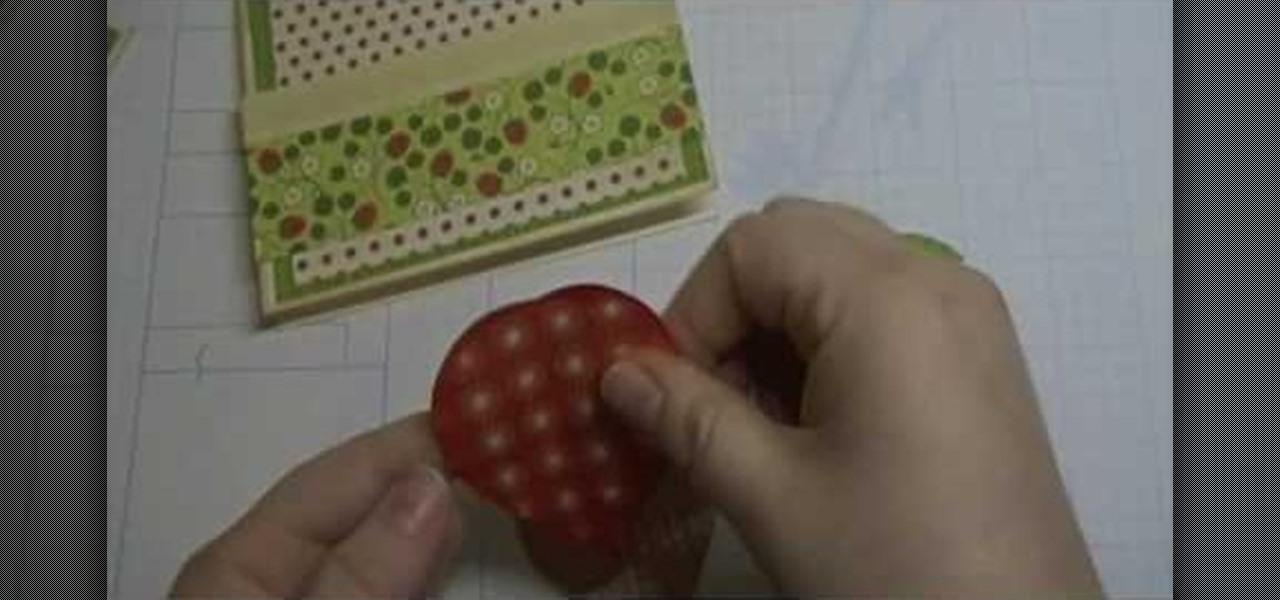
How To: Make an berry-themed card using Preserves Cricut
Simple Card Monday teaches viewers how to make a berry-themed card using Preserves Cricut! You'll want to use the Garden Variety Cricket Preserves paper for this berry-theme project. First, you should start off with an A-2 sized 5.5 inches by 4 inches sheet paper. Ink this using chamomile ink on all of the edges of the card. Next, add green onto the top of the card. It should leave a tiny border around. Now stick this strawberry paper with ribbon onto the polka dot paper. Cut your strawberry ...
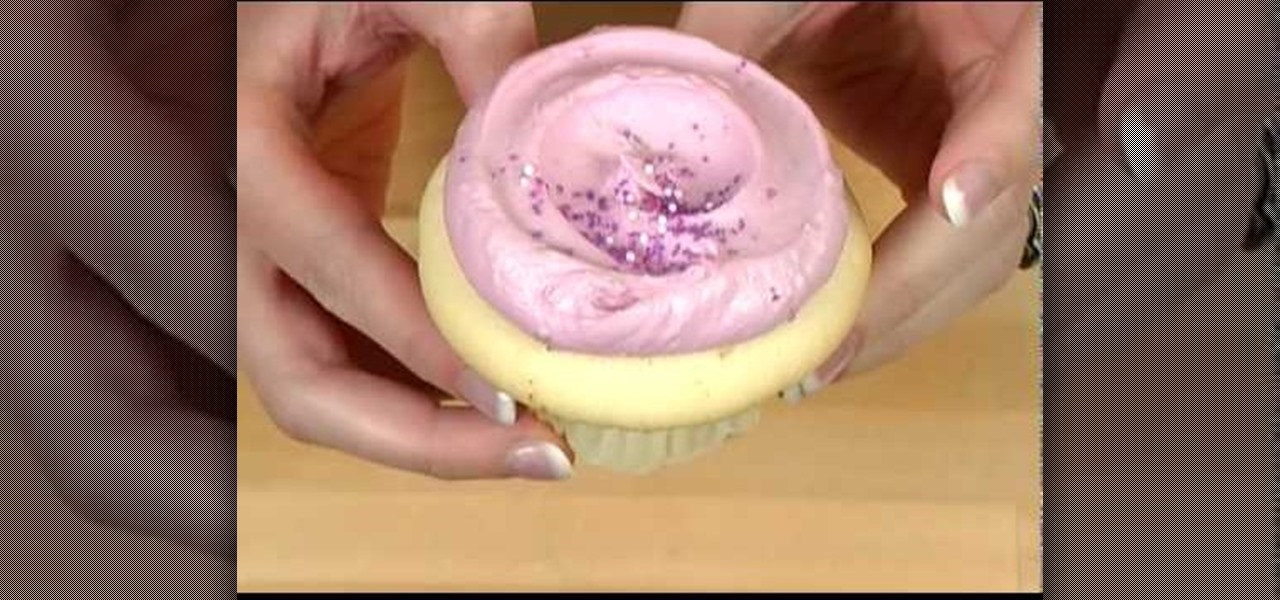
How To: Make soap cupcakes with soapy whipped icing
In this video, Anne Marie teaches us how to make soap cupcakes with whipped frosting! This recipe will make 16 soap cupcakes, which is perfect for parties. For the cupcake base you will need: 40 oz white melt & pour soap, 1 1/2 oz vanilla select fragrance, 1 1/2 oz vanilla color stabilizer, 6 ml canary LabColor (diluted), SoapyLove scalloped round mold and spray bottle with rubbing alcohol. For the soap frosting you will need: 16 oz white melt & pour soap, 8 tbsp natural castile liquid soap, ...

How To: Decorate a cardboard sun mirror
Decorate a Cardboard Sun Mirror- Acrylic Painting Project- Art and Craft

How To: Use front- and back-post double crochet stiches
The person in the video demonstrates how to do a front post and a back post double crochet. First she shows you what a post is. The body of the previous row of double crochet is the post. To do a front post double crochet, you should loop the thread over the hook and put the hook under the post through the hole before it and bring it out from the hole on the other side of the post. Then you can loop the thread over the hook again and pull the hook out through the same way it went in. Then you...

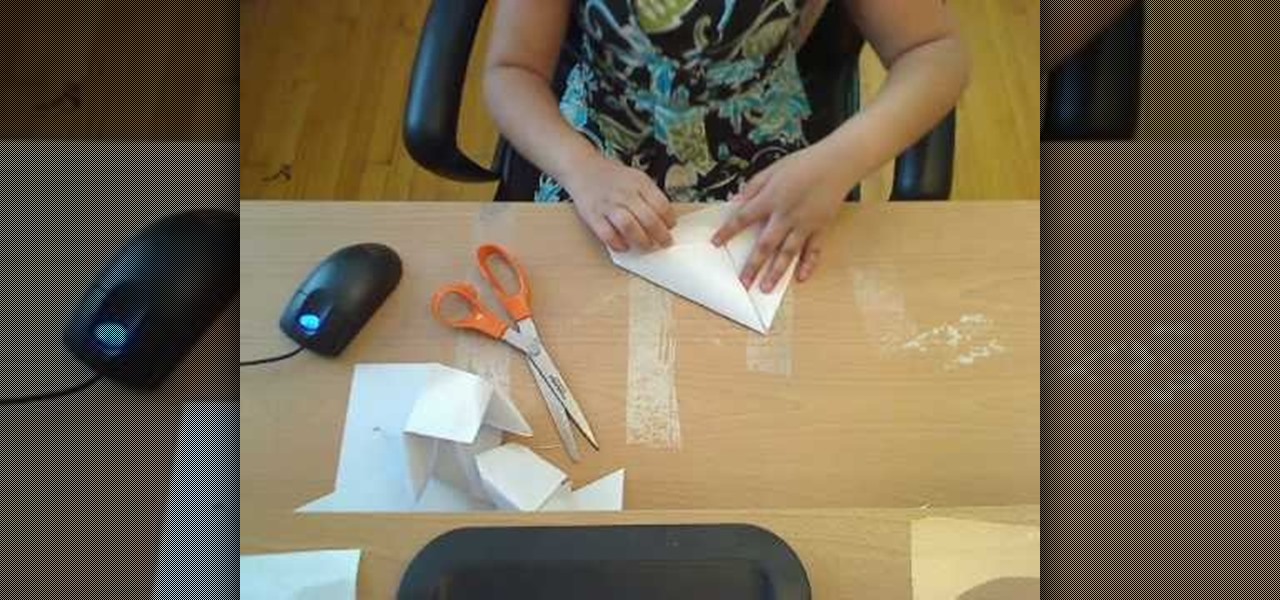
How To: Make picture perfect paper snowflakes
In this how-to video, you will learn how to make a paper snowflake. This is great for the winter. The best way to make a good snowflake is with the way you fold it. Start off with a square piece of paper. Fold the paper into a triangle. Now, fold the triangle along the height into another triangle. Take one of the lower corners and fold it 60 degrees. Fold the other side the remaining 30 degrees. Snip off the trails with scissors. Now, cut patterns into the sides of the paper. Unfold and then...
How To: Make a harrier style paper airplane
This is a demonstration of how to make a harrier paper airplane. First fold the paper in half lengthwise, making sure the corners line up. Unfold it and fold the corner toward the center line. Fold the top triangle down almost to the bottom of the paper. Fold the top corner in to the center line again. Fold in the first point. Fold the plane in half lengthwise. He demonstrates how to fold the wings in the right place so that the plane looks like a harrier. The plane can be customized and deco...

How To: Machine bind a quilt
This video shows a demonstration of how to machine sew the binding of the quilt, especially the tricky corners. She starts with the binding already sewn onto the front of the quilt and points out how she made the corner like a little pocket. As she sews along the side and approaches the corner, she folds up the binding on the edge that's past the corner and pins it, so it keeps the corner in shape. Then she folds that entire edge up all the way to the corner, holds the corner down tightly wit...
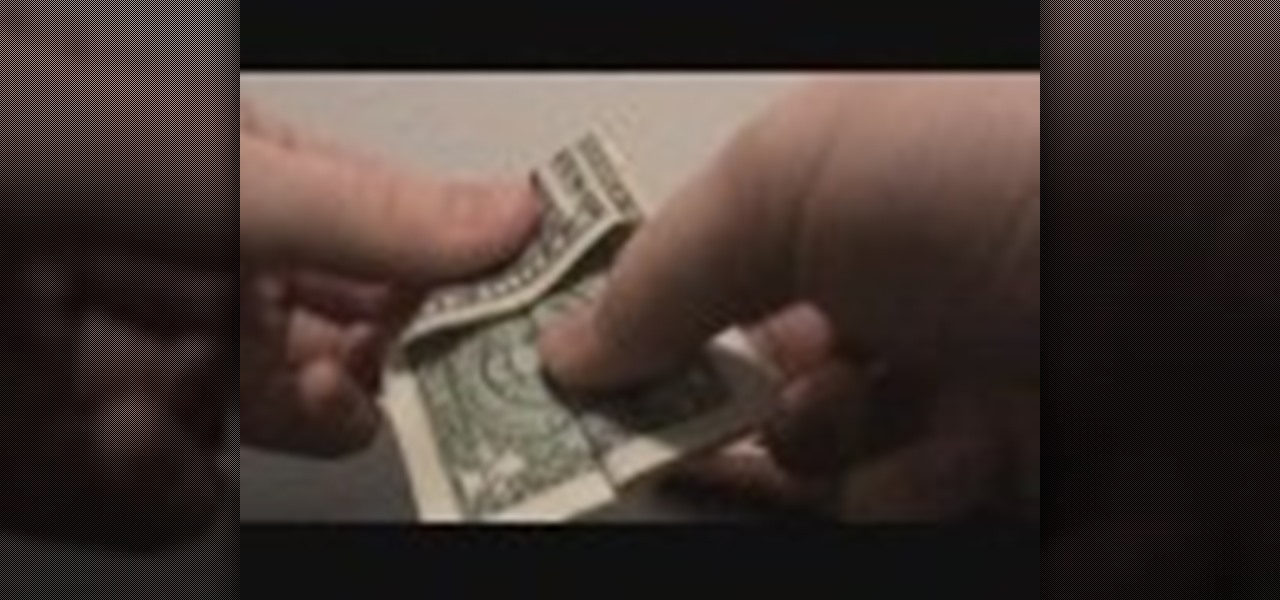
How To: Make a bow tie out of a dollar bill
we are taught how to make a unique bow tie from an ordinary dollar bill in just a few short steps. There are no tools are supplies necessary, just your fingers and a dollar bill. Folding the bottom up, then again in half. Opening the sides it forms a 'tent' like fold on either side. Fold up bottom, fold end down. Fold the corners to the center, turn around and repeat that same motion. Pull out while grasping the middle. Flatten it out and there you have in your hand a bow tie, created in just...

How To: Fold a paper frog
This video illustrate how to fold a paper frog. Here are the following steps.Step 1: First of all take a sheet of paper and fold it into half diagonally forming a triangle.Step 2: Now roll back the paper and fold this triangle it into half so that a smaller triangle is formed..step 3: Now fold back the triangle and make it into two equal halves.Step 4: Now take the corners and fold them all to the center and open it from the center to the joined line.step 5: Hold back the triangles out of the...

How To: Make paper ninja stars
This video illustrates how to make paper ninja stars. This process includes the following steps.Step 1Take a sheet of printer paper and scissor.Step 2Fold it and cut it into two halves.Step 3:Fold one half of the rectangular piece again into half.Step 4:Fold the right end diagonally.Step 5:Now fold the left end diagonally.Step 6Fold both the ends in half.Step 7Fold the other rectangular piece again into half.Step 8Fold the right end diagonally.Step 9Now fold the left end diagonally.Step 10Fol...
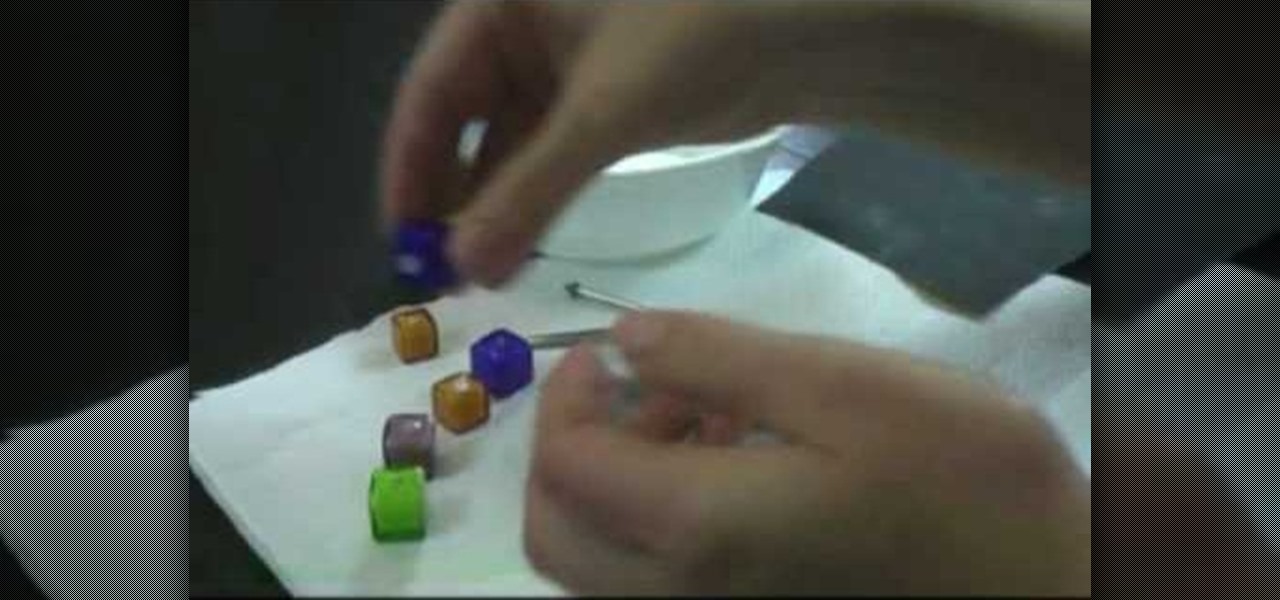
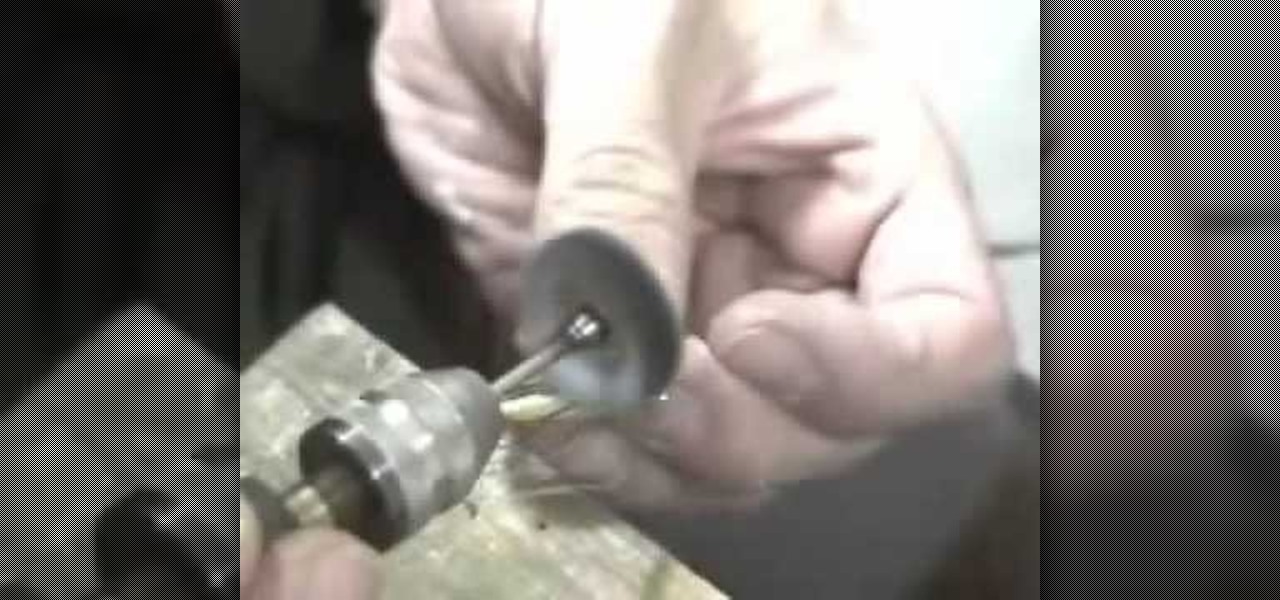
How To: Use a bead reamer to smooth sharp edges on a bead
This video teaches us to use a bead reamer to smoothen sharp edges on a bead. You need a reamer, some water and the reaming tips. We need the large tip for enlarging and smoothening the holes and a 45 degree edging point for smoothening the edges of the hole. Twist the handle of the reamer and insert the tip in it. Take the bead and the reamer with the large tip & dip it into water periodically during the procedure so that the water acts as a lubricant. Begin filing the inside of the bead hol...

How To: Make an origami bow tie from a one-dollar bill
In this episode of the Southwest Yard & Garden series, John White discusses common plant problems with the help of Dr. Natalie Goldberg an extension plant pathologist. The common shrub problem discussed is Powdered mildew, which is shown on a japonica shrub. The common tree problem discussed is cotton slime flux or bacterial wet wood on a cottonwood tree. They begin by describing the common symptoms to look out for as well as conditions for infection and growth in the dry southern climate. Th...