

Active Arts & Crafts Posts


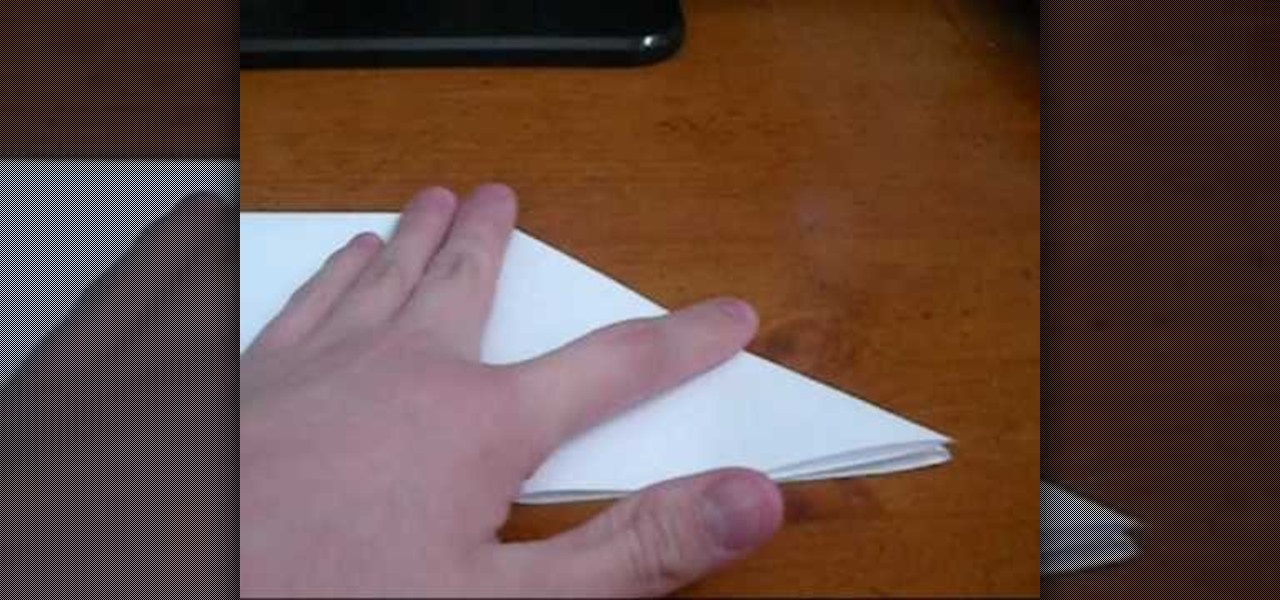
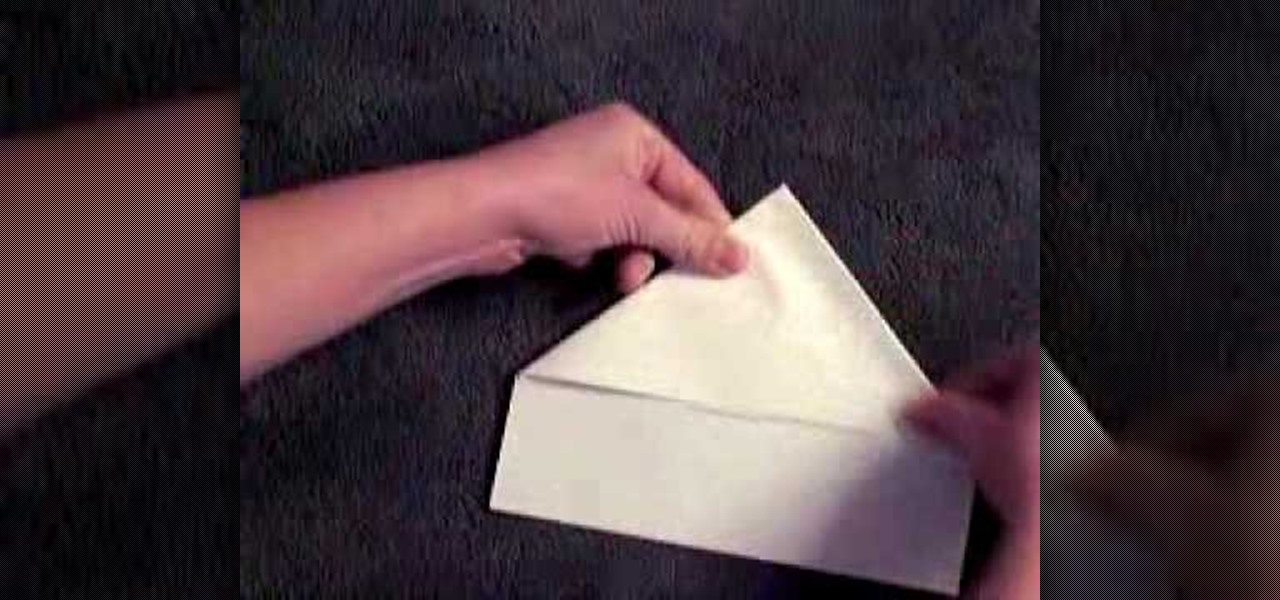
How To: Make a folded-paper balloon/water bomb
Learn how to make a ‘Paper Balloon/Water Bomb’ by watching this tutorial. Take a square piece of paper. Fold the paper diagonally to make a triangle. Open the paper to reveal a diagonal crease. Repeat the same with the other end, to make a crease which is perpendicular to the first one. Open the paper to reveal an ‘X’. Now fold the paper at the center, to make a rectangle. Next, push the edge along the central crease to the middle at both ends and crease well, as shown. This makes a triangle ...
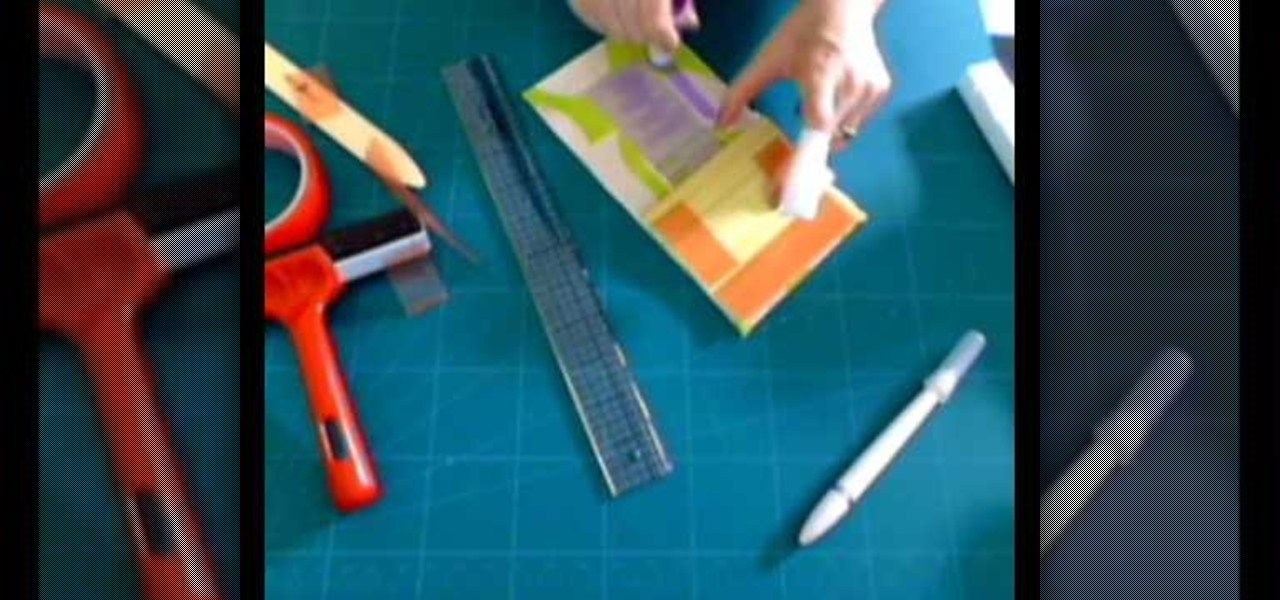
How To: Decorate your home fabrics
Making your own Mondrian-inspired cushion cover is demonstrated in this clear and concise crafting video. Materials required are a plain cushion cover( preferably in a tight weave such as canvas or cotton; water; medium size, firm, flat edge paint brushes; scissors; one inch wide masking tape; a sturdy piece of cardboard , saran wrap and 4 jars of textile paint - one color should be black or graphite. You may choose plain or glitter paints. Cut the cardboard about one inch smaller than the si...

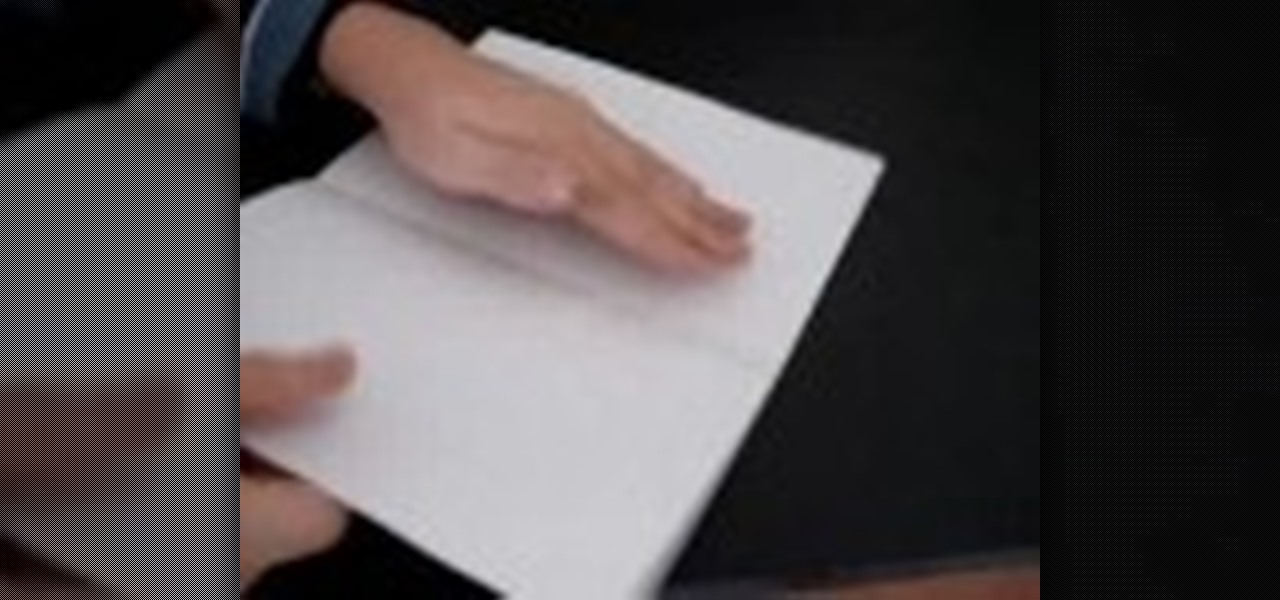
How To: Make the X-hunter paper airplane
In this how-to video, you will learn how to create an X Hunter paper airplane. First, fold your paper in half vertically. Unfold the paper and fold the two sides to the fold in the middle. Fold the top into a triangle. Unfold it and do the same for the other side. Unfold the paper and flip the paper. Fold the top down. Flip the paper and make two wings on both sides. Fold the top into a triangle. Push the sides to make the top part come up. Fold the tip into a diamond shape. Fold the sides of...
How To: Make your very own paper spinner
Evil Penguin Master demonstrates how to make a paper spinner. First fold a regular sheet of paper in half, defining the lines well. Then, cut the paper along the crease with scissors or tear it with your hands. Next, fold the halved paper again lengthwise. Then, fold down the corner. Flip the paper over and fold down the other corner so it forms a slanted rectangle. Repeat the technique with the other sheet. Lay the sheets on top of each other so they form an X or a star. Fold each triangle i...
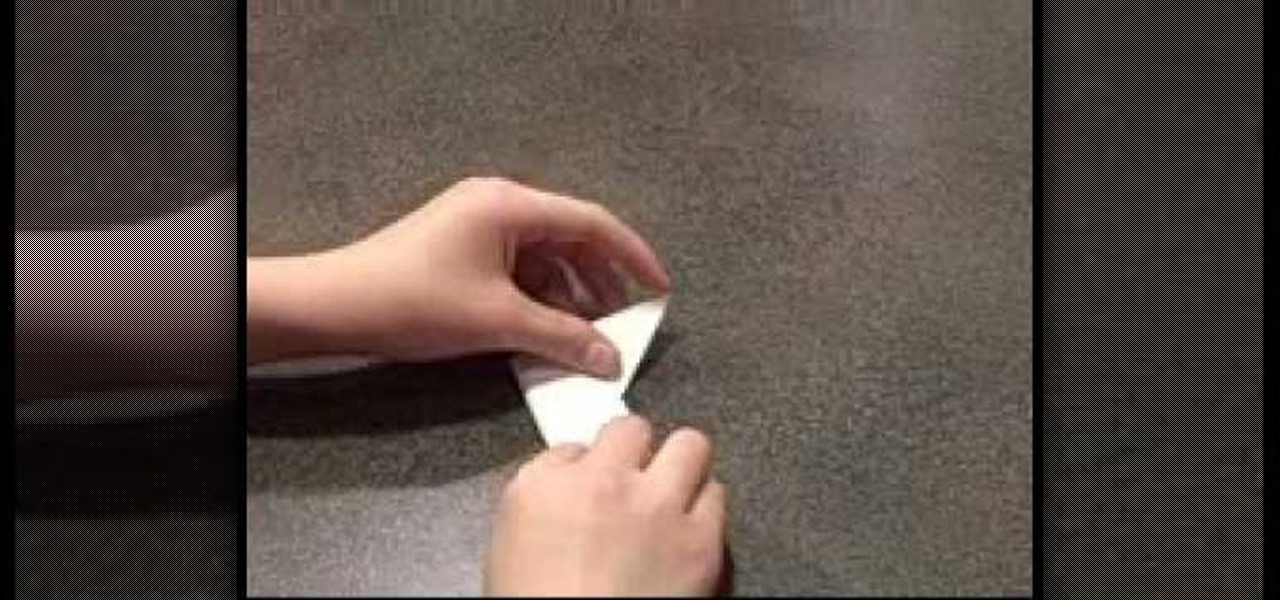
How To: Fold paper to make an origami ninja star
This video demonstrates how to create an origami ninja star. Prepare a square shaped piece of paper. Lay it down on a table or on a flat surface. Fold the paper right across the middle in a vertical orientation. Fold it once more in the same manner as the first fold, now creating a more slender vertically standing rectangle. Fold the upper portion of the origami diagonally forming a small triangle on top of the rectangle. Do the same on the bottom portion of the origami. Fold the upper portio...

How To: Knit a thumb onto a mitten
This video illustrate how to knit a thumb onto a mitten. Here are the following steps.Step 1:Take the mitten on knitting has to be done.Step 2:Now at the center take out the contrasting thread and then pass the knitting sticks through the leftover stitches .Step 3: Now similarly pass the other knitting sticks through the other half leftover sticks.Now take two more sticks and pass them in horizontal direction to that of the previous sticks so that the previous leftover stitches overlaps the n...
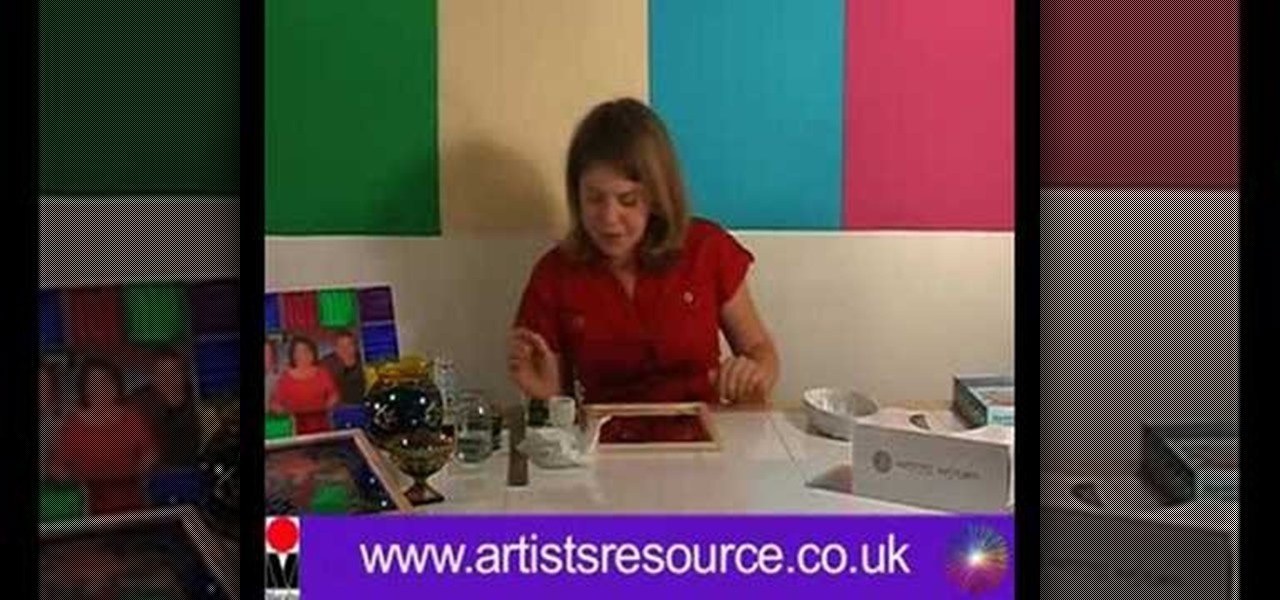
How To: Make a stained glass mirror
In this Arts & Crafts video tutorial you will learn how to make a stained glass mirror. This video is from Artists Resource. You will need a Marabu GlasArt kit, some spirit, a china graph pencil, scissors, a ruler, masking tape, a container to mix your paint, an object to draw an oval shape, Marabu outliner paint, a mirror and peel off dolphin stickers. Take a few dolphin peel offs and stick them on the face of the mirror; on the edges, to form a design. Place the oval shape object in the cen...

How To: Sew a disappearing 9 patch quilt block
In this how-to video, you will learn how to make a disappearing 9 patch quilt block. Start with a simple 9 patch. You can use dark and light fabrics. Put the darker fabrics in place so you make an x shape. Sew these patches together. Now, fold it in half and then line up the ruler. Cut the fabric in half, and then cut the halves in half. Re-arrange the cloth in any way you want and sew them back together. You will have an interesting design once this is done. Viewing this video will show you ...

How To: Use crimping pliers
In this video arsbeadsvideos instructs you on the use of crimping pliers, crimp tubes and how to use crimp covers. Make sure you use jewelry wire that is fine enough to fit through the holes in your jewelry. On your crimping pliers you'll notice there are two notches, also called stations. The first notch is furthest from tip of the pliers and has a raised bump or dimple in the middle. This helps to created figure-eight crimps. The second notch is used to form the crimp into a tube shape. To ...
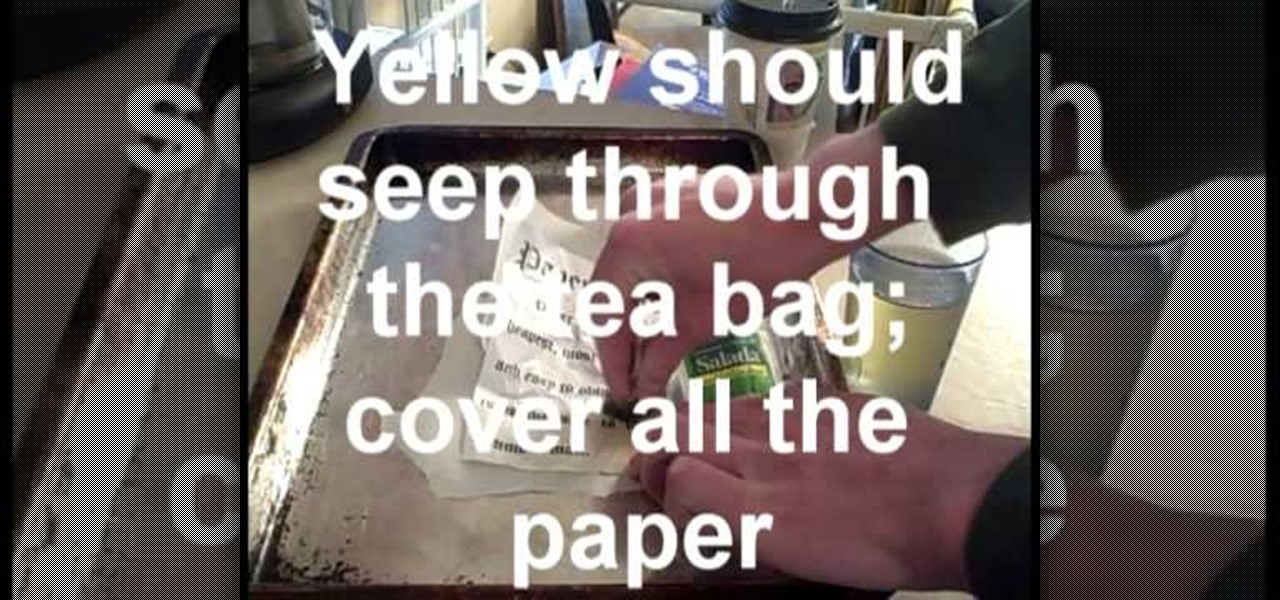
How To: Age a piece of paper so it looks antique
In this how-to video, you will learn how to easily age paper. First, crumple the paper up into a ball and then unfold. Next, set the oven to 200 degrees F and make some tea. Get a cookie sheet and lay the crumpled paper over wax paper. Take the tea bag and smash it against the paper. Yellow liquid should seep through the paper bag and onto the crumpled paper. Place the tray into the oven for about four minutes. Next, carefully take out the pan. Your paper now has an aged look. Viewing this vi...
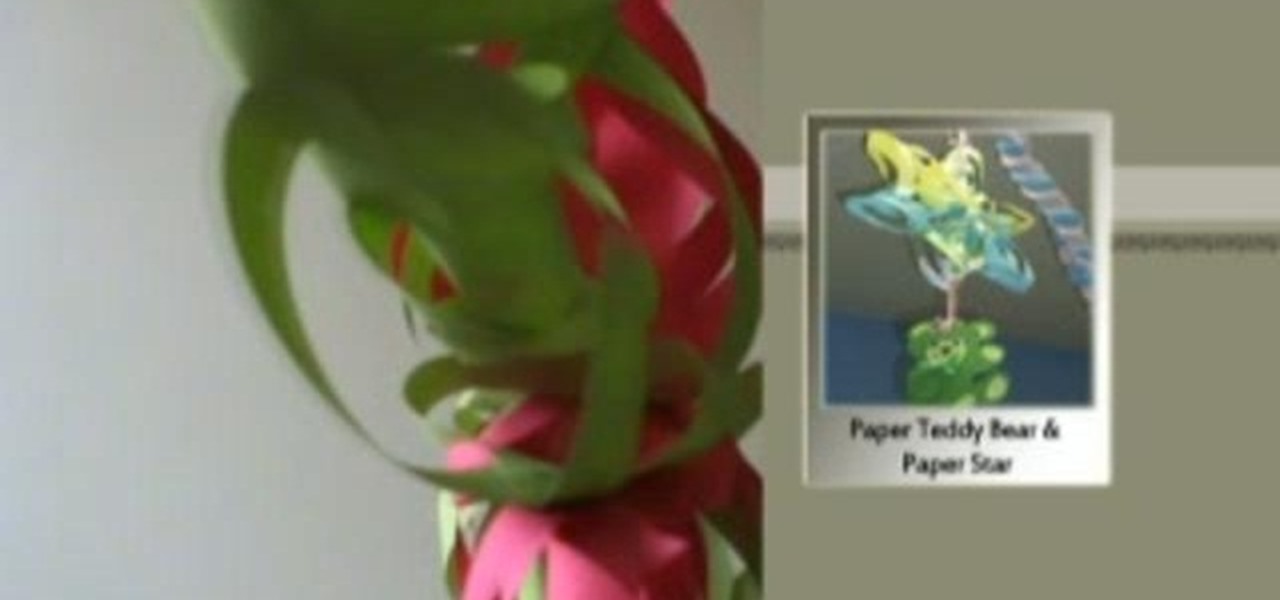
How To: Make a decorative paper star
This is a great instructional video on how to make a decorative paper star. The materials you need are color papers, ruler, stapler, scissors, adhesive tape, pencil and cutting pliers. Take a paper and make a square of 20 cm side. Now fold the paper twice and get a triangular shape. Now draw four lines on it. Then cut along the lines with the help of scissors. Take the middle square and staple it. Then go to the back side and staple the ends. Repeat this process and get a star. You can make t...
How To: Make cool paper claws
How to make cool paper claws:Flameboy2202 shows us how to make cool claws with paper. They are really simple and can be used at Halloween. All you need is a eight and half by eleven sheet of paper. Take the paper, fold the top right corner; try to make it as even as possible. Now, take the top point and fold it to make a pyramid kind of formation. Now take the bottom two corners and fold them in. Fold the bottom upwards so that you have a perfect triangle. Flip it over and see, you have a per...

How To: Make a stained glass picture frame
In this Arts & Crafts video tutorial you will learn how to make a stained glass picture frame. This video is from Artists Resource. You will need a Marabu GlasArt kit, some white spirit, a china graph pencil, scissors, a ruler, sheets of scrap paper, lead tape and a picture frame. Take the frame and remove the clips. With the ruler and china graph pencil mark off and draw 6” squares. Rub off the center lines with a tissue. This is where the photo will fit. Next you fill the squares with the g...
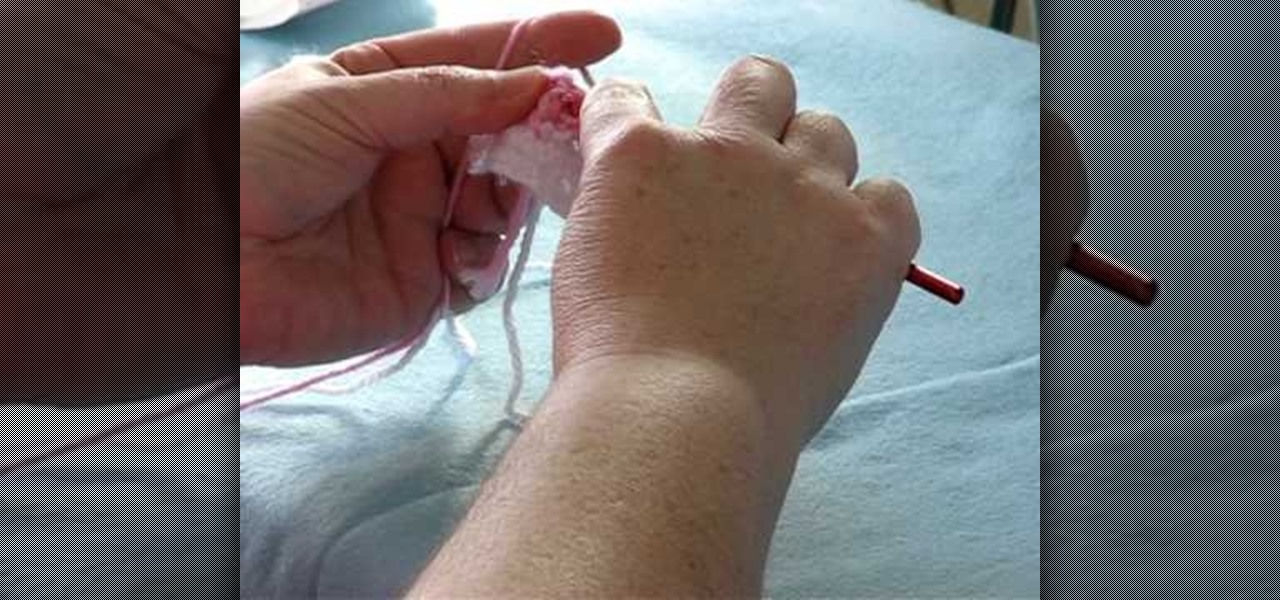
How To: Make front-post & back-post double crochet stitches
Donna teaches how to do a front-post, back-post crochet stitch. First of all you'll need yarn and a hook. Start with a single crochet. Donna uses white to create the single crochet and to create a heart, goes over the single line with pink to create a double crochet. To create the double line, go around and through. from front to back, through the single post. Always have the yarn going through the same side. The basic method using the pink, is to make the design in a "V" shape. Using this me...
How To: Make an easy fabric-covered hardbound journal
You share your innermost feelings with it on a daily basis. Why, then, settle for something drab, prefab and impersonal? With this handy how-to, you'll learn how make a custom fabric-covered hardbound journal.
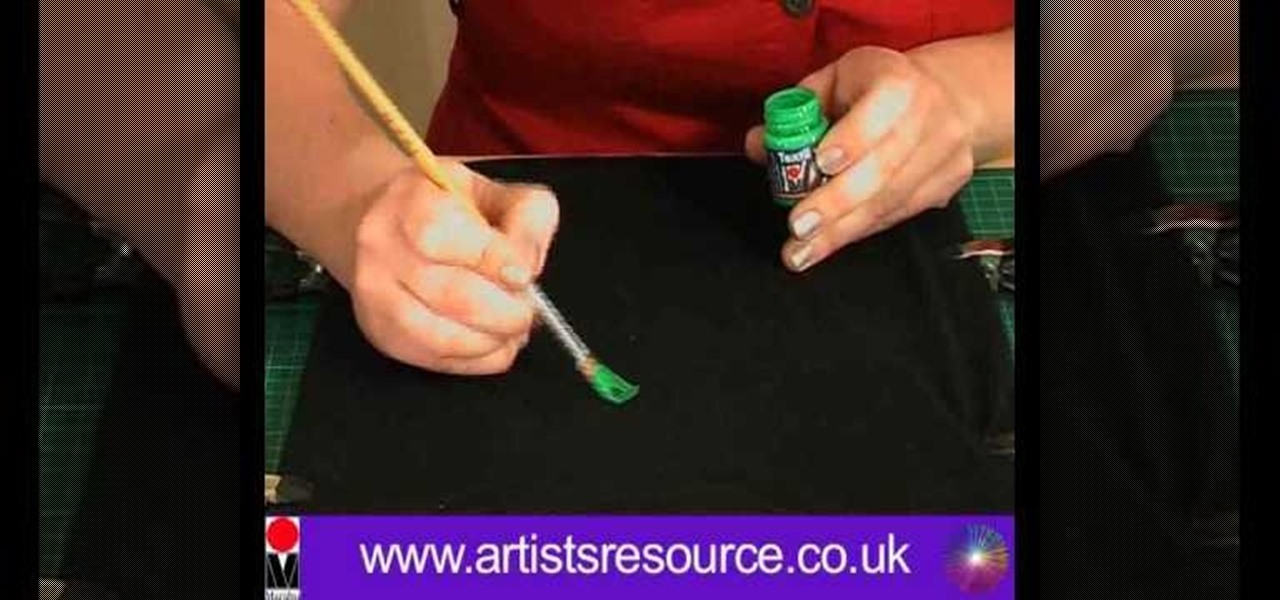
How To: Paint on a t-shirt
Learn how to ‘Paint onto your T-Shirt’ by watching this video. Materials required for this include the following:•Marabu Textil Plus Start Kit – 6 colors included with paint brush•Marabu Metallic Outliner Paints•Crocodile clips•Masking tape•Pencil•Design printed from the computer•Tracing paper•A large cardboard wrapped in cling film•A dark colored T- ShirtBegin by placing a tracing paper over the design and secure it to the table using masking tape. Next, use a pencil to trace the design on t...
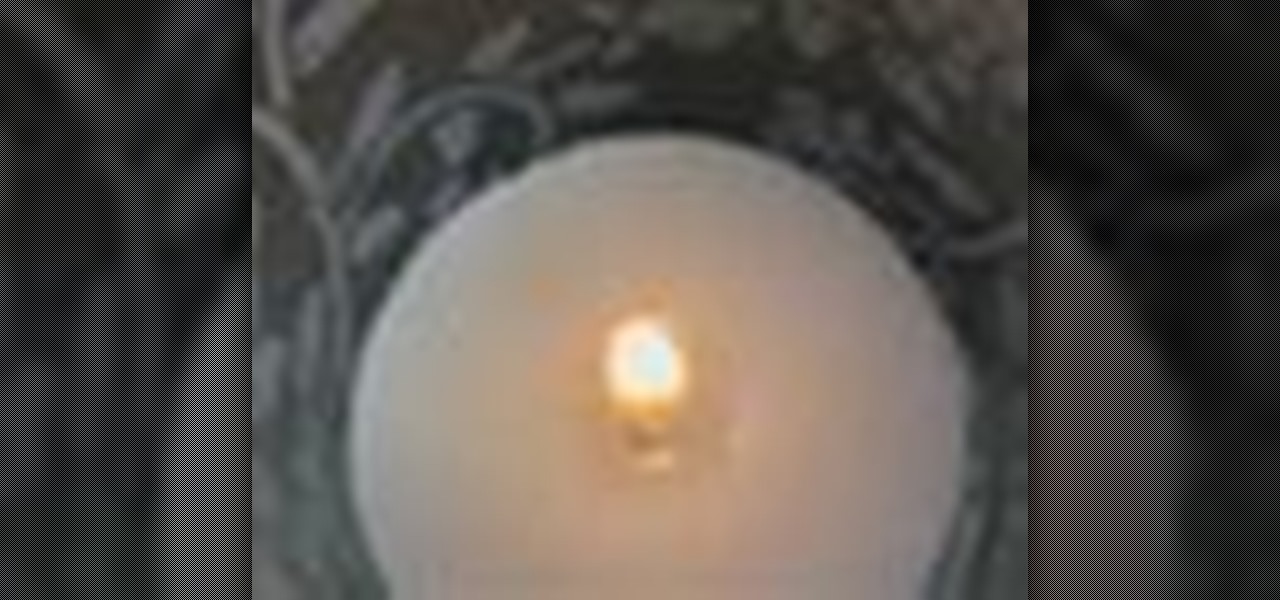
How To: Remove old candle wax from glass
Has your candle melted down and left wax all over your pretty glass holder? Look no further, this video has all the tips you need to get that ugly wax off of your nice votive or glass tabletop.
How To: Make brand new paper look antique
Whether it be for a school project or just a funky looking journal or letter, making your paper look antique is very easy. Antique paper is great for invitations, props, unique stationary..lots of things! This tutorial will teach you how to age your brand new paper instantly for a neat, old fashioned look.

How To: Create an autumn inspired mini-scrapbook
In this multiple part scrapbooking tutorial, learn how to make a 5"x5" fall mini scrapbook. This scrapbook uses fall-themed papers and products to create that autumn look. Use this six-part series as a guide for your next mini scrapbook creation!
How To: Crochet a cow finger puppet
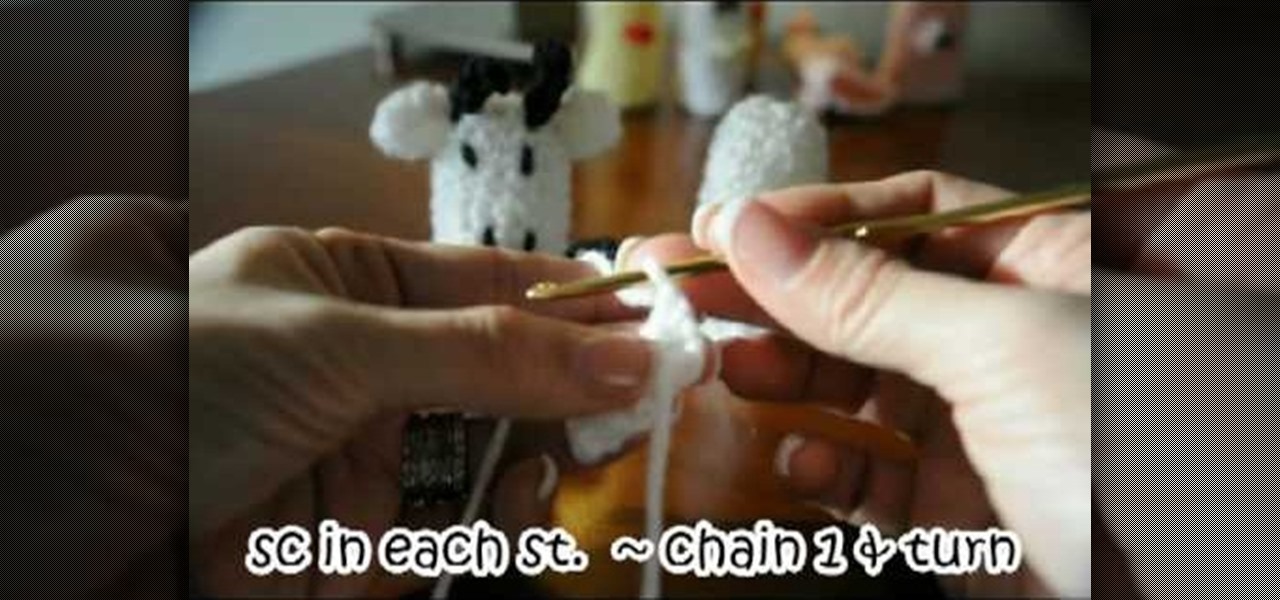
Crochet a little special something for the little ones in your life! In this two-part video tutorial, learn how to crochet an adorable cow finger puppet. These small items would be perfect as party gifts, gift wrap toppers, or stocking stuffers! Warm the hearts (and fingers) of those you love with a special hand crafted finger puppet.

How To: Crochet a sweater for your dog
Are you looking to dress your dog in style? Give your pooch the VIP treatment by making him his very own dog sweater! In this three-part video tutorial, learn how to crochet a special sweater to keep your special friend warm in the winter!
How To: Cross stich with beads
Add a little flare to your creative sewing projects by adding beads! In this two-part video tutorial, learn how to cross stitch with beads to enhance your needlwork. Hosted by the Needlework Shoppe, tips are shared for cross-stitching with seed beads and petite seed beads.
How To: Carve a stamp print block
In this seven-part video tutorial, learn how to carve your own stamping printing block for your creative projects. These stamps can be used for anything from scrapbooking to art journaling and make for a wonderful addition to your project. For more information on how to construct these stamps, go here.

How To: Sew a vintage smock
Get creative this weekend and start a new sewing project! In this five-part video tutorial, learn how to sew a stylish vintage frock! Why pay those ridiculous prices on eBay for vintage goods, when you can sew them yourself in the comfort of your own home? Learn all you need to know about sewing this adorable clothing piece in this series of five how-to videos.

How To: Sew a ballgown using a dressmaker
Are you going to the prom and nothing hanging in your retail stores is making the grade? Why not make your own prom ball gown at home? With some sewing skills, you might just top the best dressed list! In this two-part sewing tutorial, learn how to sew a ball gown using a dressmaker.
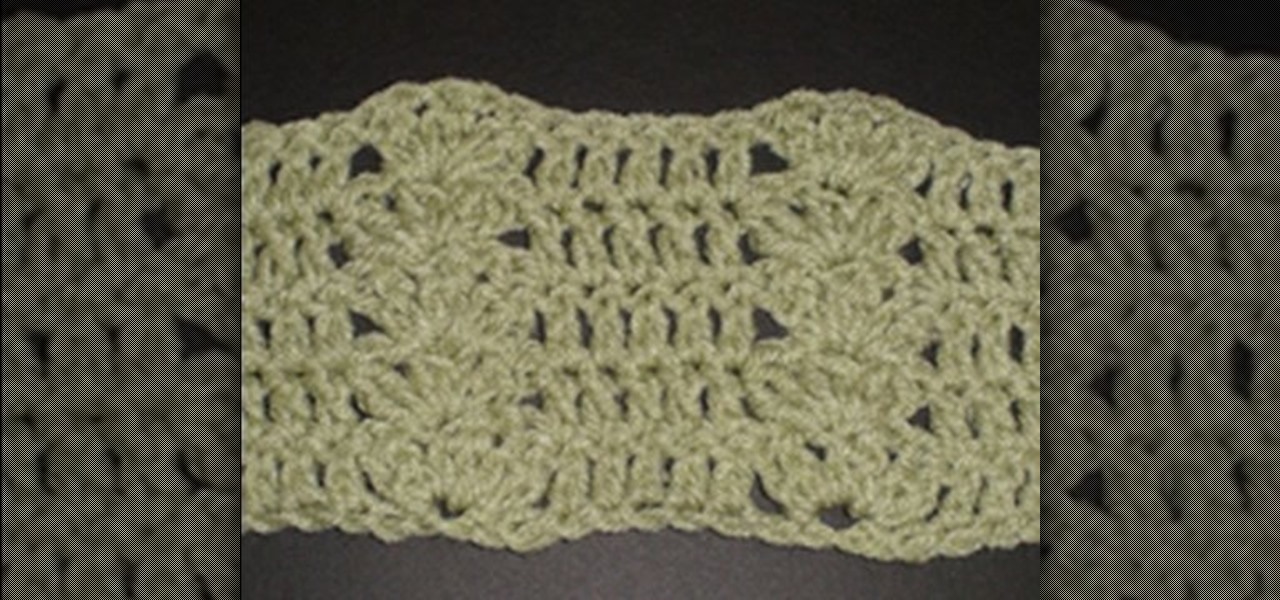
How To: Crochet a cluster shell
Hey crochet junkies, looking to try something new? In this video tutorial, learn how to crochet an adorable cluster shell. For written instructions, you can visit Crochet Mania's blogspot here.

How To: Make a tie dye quilted backpack
Attention tie-dye lovers and neo-hippies! In this two-part video tutorial, learn how to make an adorable tie-dye quilted backpack. Follow these easy step-by-step instructions to make this great accessory to accompany you to the beach or on a picnic.
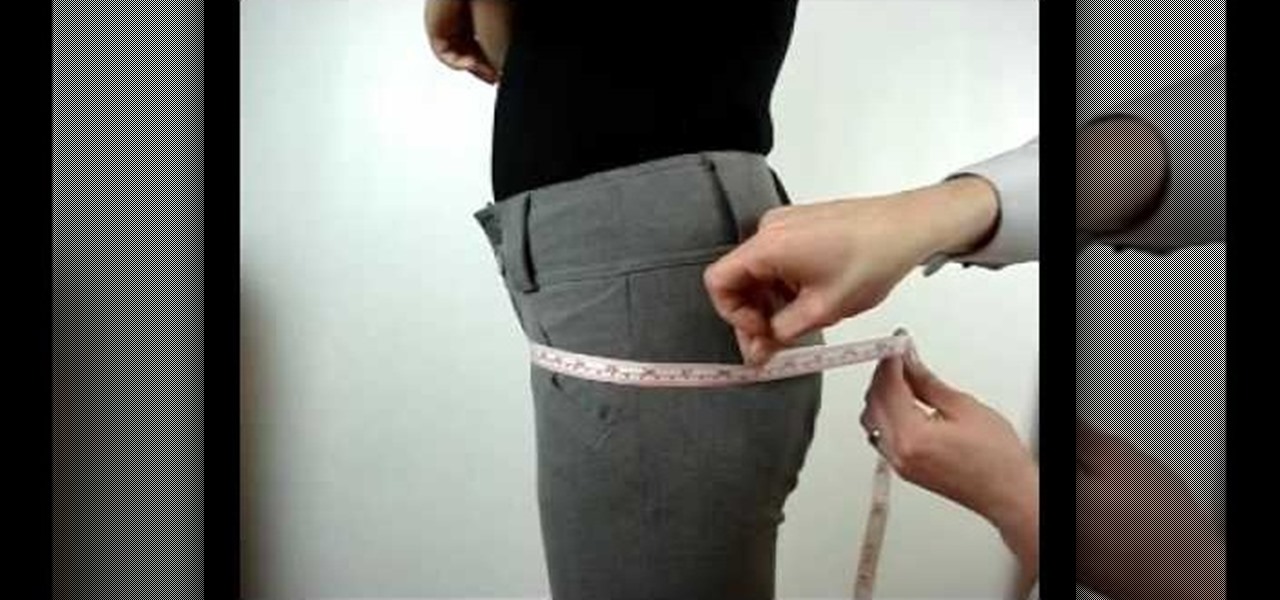
How To: Measure a female's hips for trousers
In this short video, learn how to measure a female's hips for a tailored suit or blouse. Aspiring tailors: With the slightest measurement off, a blouse or suit can be ruined so it is important to watch this guide closely! Good luck with your sewing project!
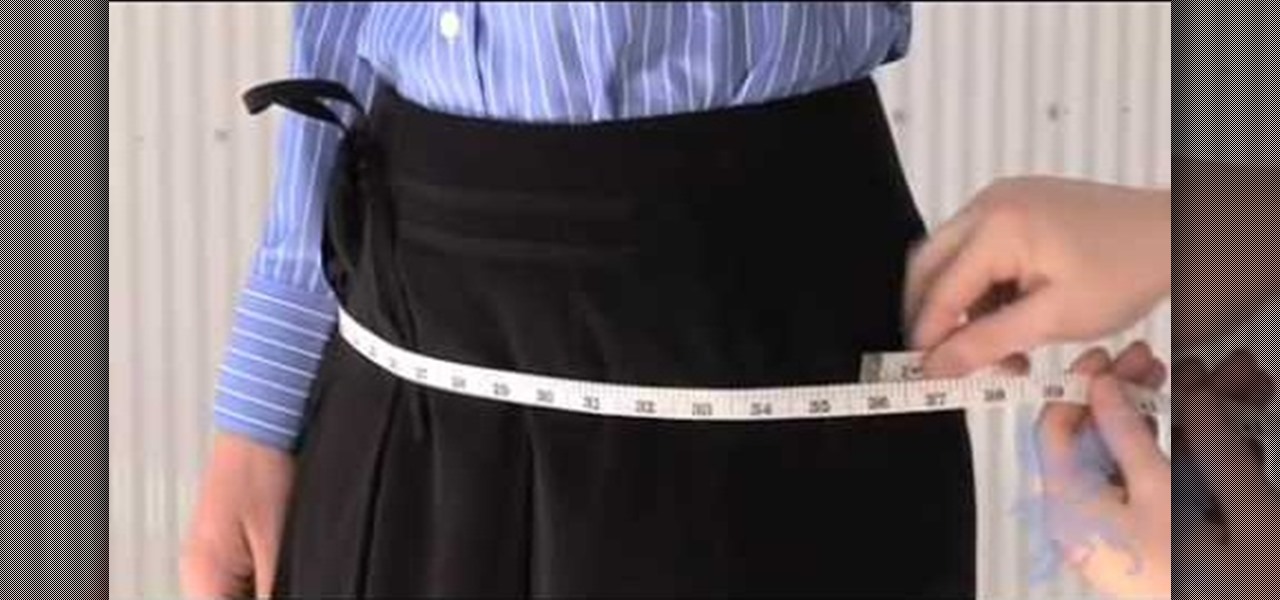
How To: Measure a woman's hip circumference for a suit
If you're interested in making a woman's tailored suit, chances are you will be taking some measurements beforehand.... and important ones. With the slightest centimeter or milimeter, a tailored suit can fit incredibly different than it's supposed to. In this video, learn how to properly measure a woman's hip circumference for a tailored suit.
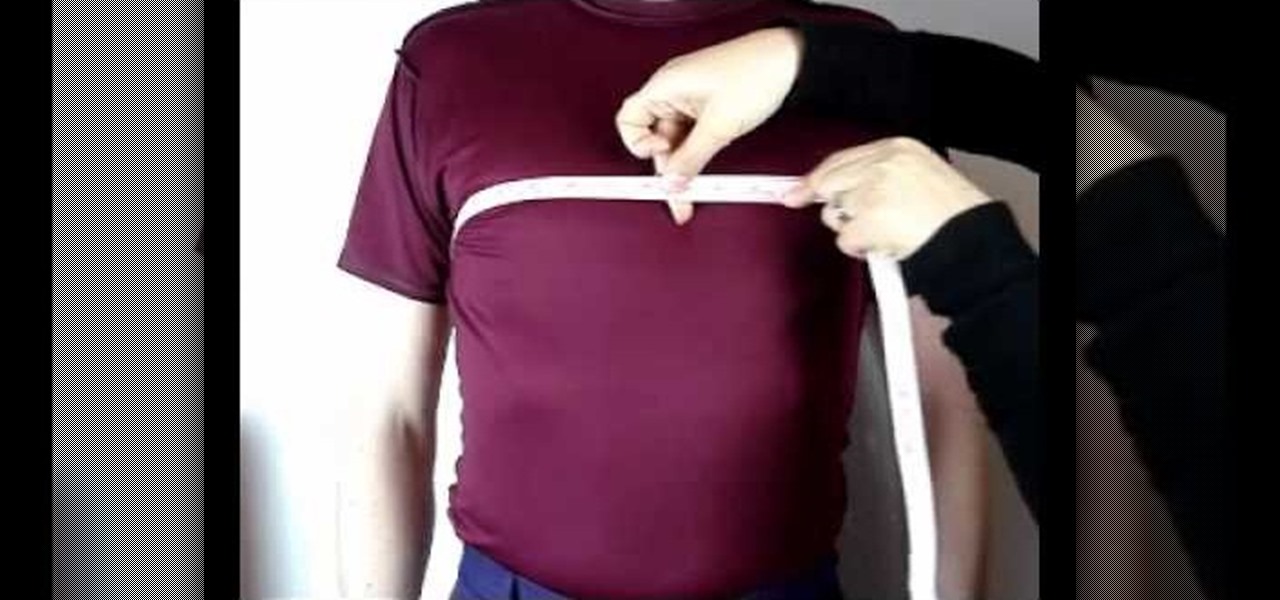
How To: Measure male chest girth for suits
Are you an aspiring fashion designer? Or how about just someone who loves to sew and make clothes? If you're in the market to make male dress suits, it is a must that one learns how to properly measure a man's chest girth for the proper suit jacket fit. Learn how to take this imperative measurement in this video.
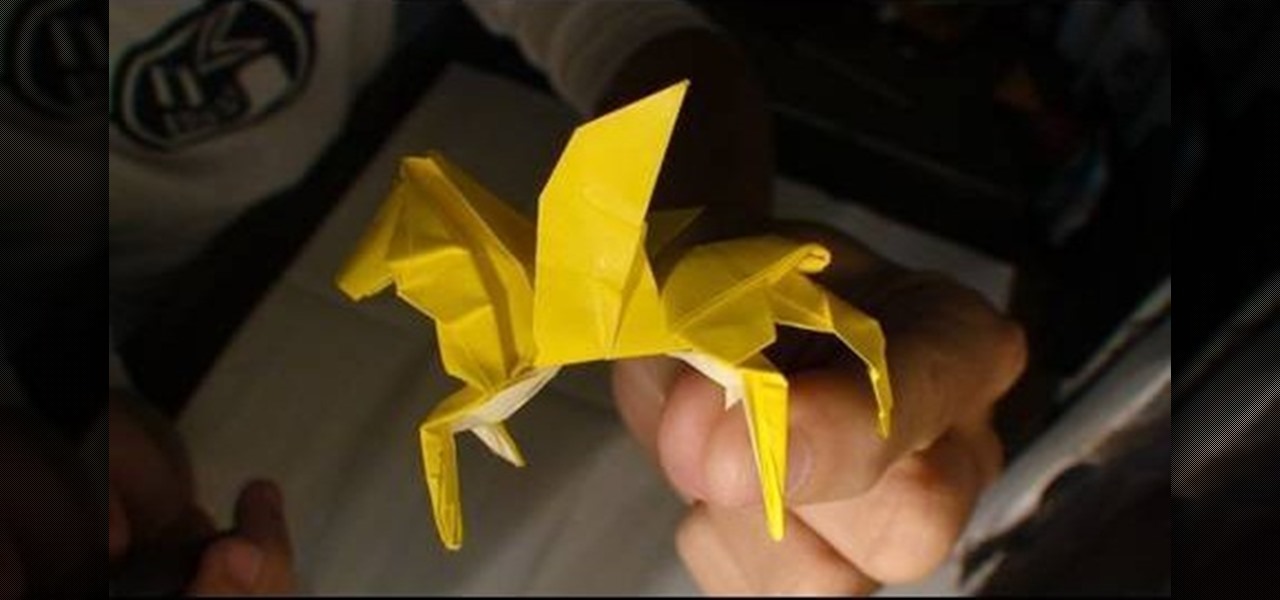
How To: Origami a winged horse
In this video, learn how to make this extensive origami project designed by Anibal Voyer. To find the diagram, go here. In about a half hour, learn how to make a highly detailed winged horse sure to knock the socks off of any origami enthusiast!
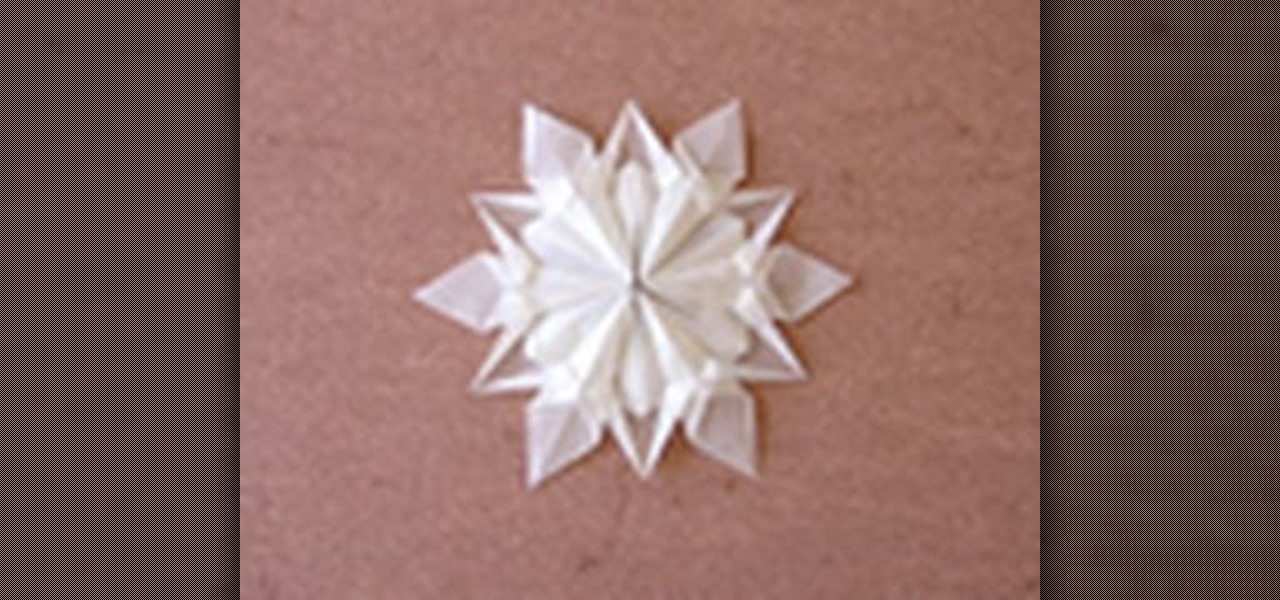
How To: Origami a snowflake designed by Dennis Walker
For all you origami fanatics out there... Why not try this project on for size? In this two-part video tutorial, learn how to origami a pretty impressive snowflake designed by [www.origamidennis.co.uk/ Dennis Walker]. For this project, the recommended paper size is a hexagon with a side length of 10cm (approx. 4in).
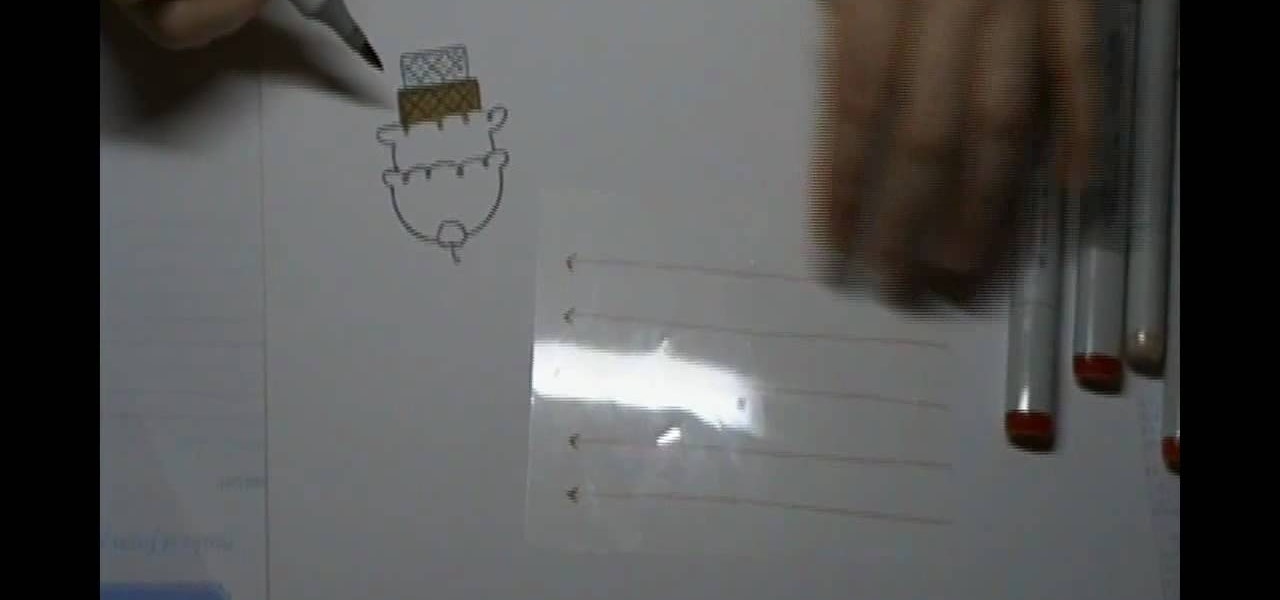
How To: Use Copic pens for beginners
This video shows you the basics in understanding how to use Copics pens. In this video you'll focus on the basics of coloring. You'll learn the do's and dont's in order to achieve a perfectly colored piece for everyone to enjoy. This is a great video if your familiar with Copic pens or just curious how to properly use them.
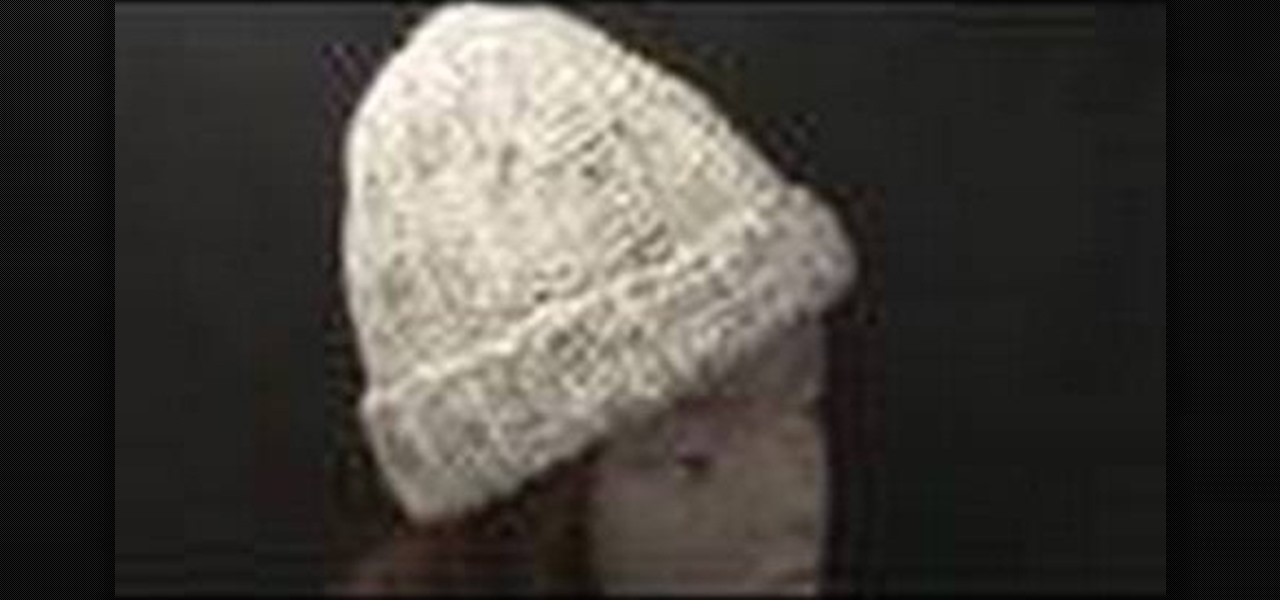
How To: Make a left-handed ribbed crochet stocking hat
This excellent tutorial shows you exactly what you have to do to crochet your very own crotchet stocking, using your left hand. This extensive video shows you the quickest and easiest way to crocheting your own hat to wear, for special and regular occasions.
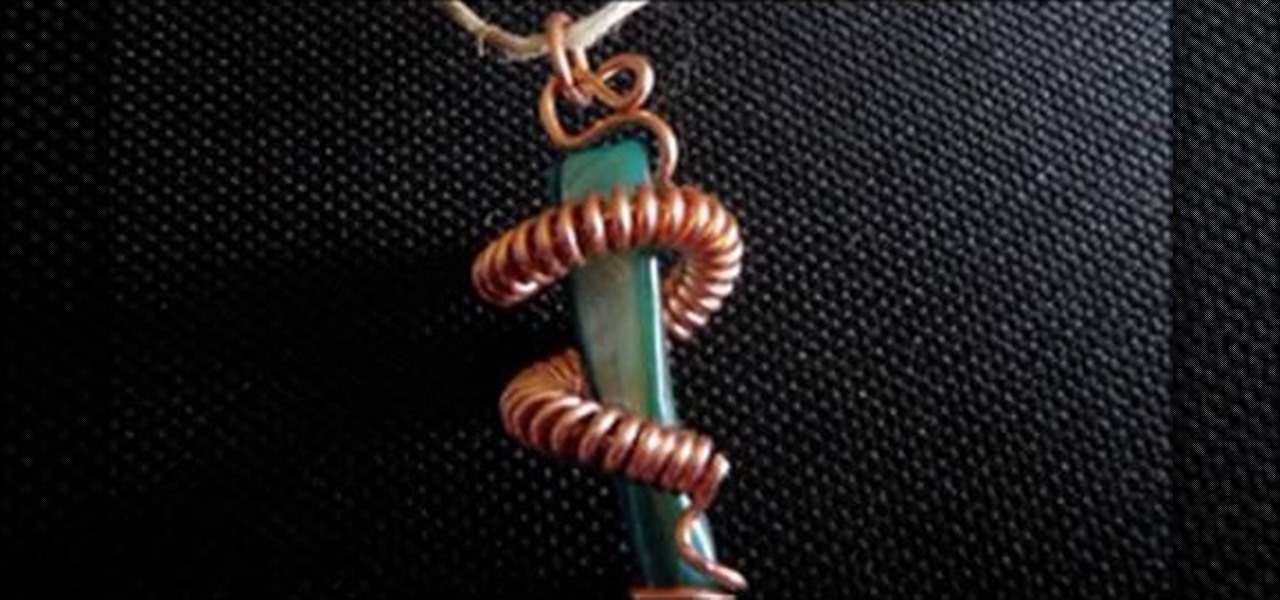
How To: Make saber tooth pendant jewelry from recycled wire
This video shows you how to use household electrical wire to make stunning jewelry pieces for you or a friend. Taking the wire from a renovation project, I stripped the wires of their plastic and then started twisting and creating designs. Make cheap jewelry but expensive designer like stuff with your own hands.

How To: Fold a hat out of newspaper for parties
Save money on your kid's next party by making your own hats! These hats are made with newspaper, which makes them virtually free to create. Making your own hats is also a great activity to do with the kids at a party or anytime!

News: Tough-As-Nails Tattoed Truckers Knit, Too
So why not join the party? (Oh, plus they also happen to quilt, as well). Via WSJ,

How To: Antique your own paper
Aging paper is a great way incorporate learning about antiquities from the past while doing a fun hands on project in the classroom. It's easy and really adds something special to projects or even to do just for fun in your spare time.
How To: Use Swarovski crystal to make unique jewelry pieces
This is a video using Swarovski Crystals to make jewelry. This video shows how to make one with a gold bow. You need a pendant with 2 hoops (in this case it is a gold bow), a pendant holder, a crystal, a bill, and pliers. You take the bill and hook the crystal on it. Then you hook the bow on it and secure it using the pliers. You take the pendant holder onto the top of the bow pendant, and press it down to secure it, and you’re finished. You can also make rings, earrings, necklaces, and many ...
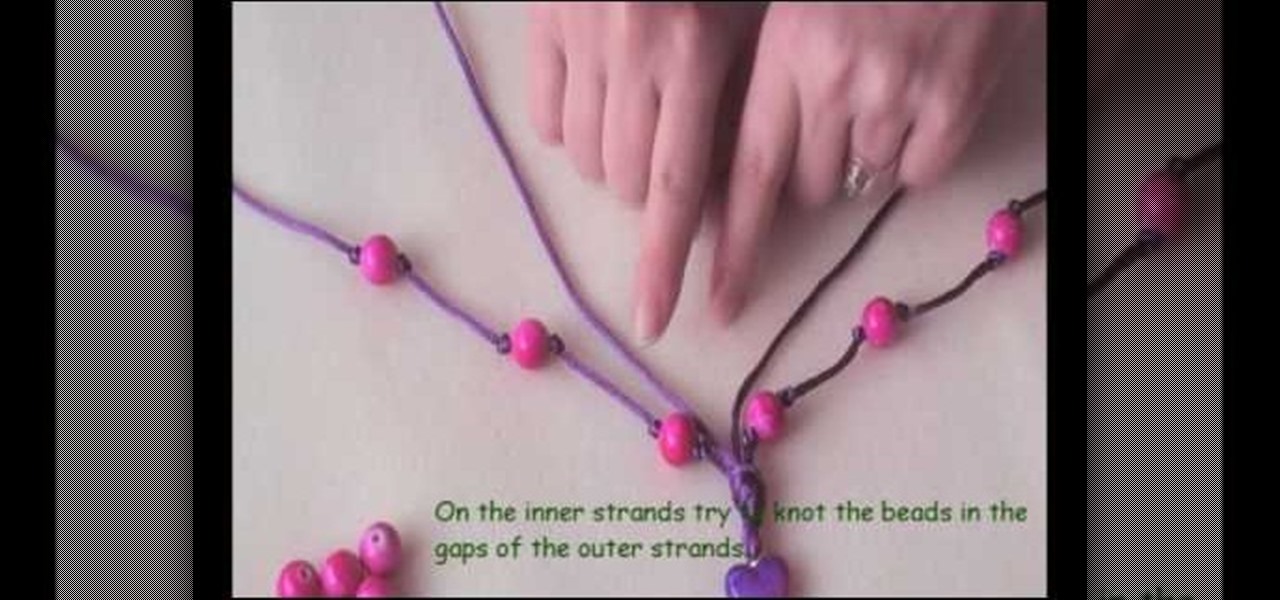
How To: Make a large beaded "rock star in love" necklace
In this video the demonstrator shows how to make an alternative style rock star bead necklace. She uses purple cording, pink round beads, and a pink and purple heart bead to construct this fun, original piece of jewelry. By using a headpin and pliers, she shows how to turn the heart bead into a charm to use in the center of the necklace. She also shows us how to knot the beads in place for a polished look. Follow her unique tips including using nail varnish to sting beads easier, seed beads t...