

Active Arts & Crafts Posts


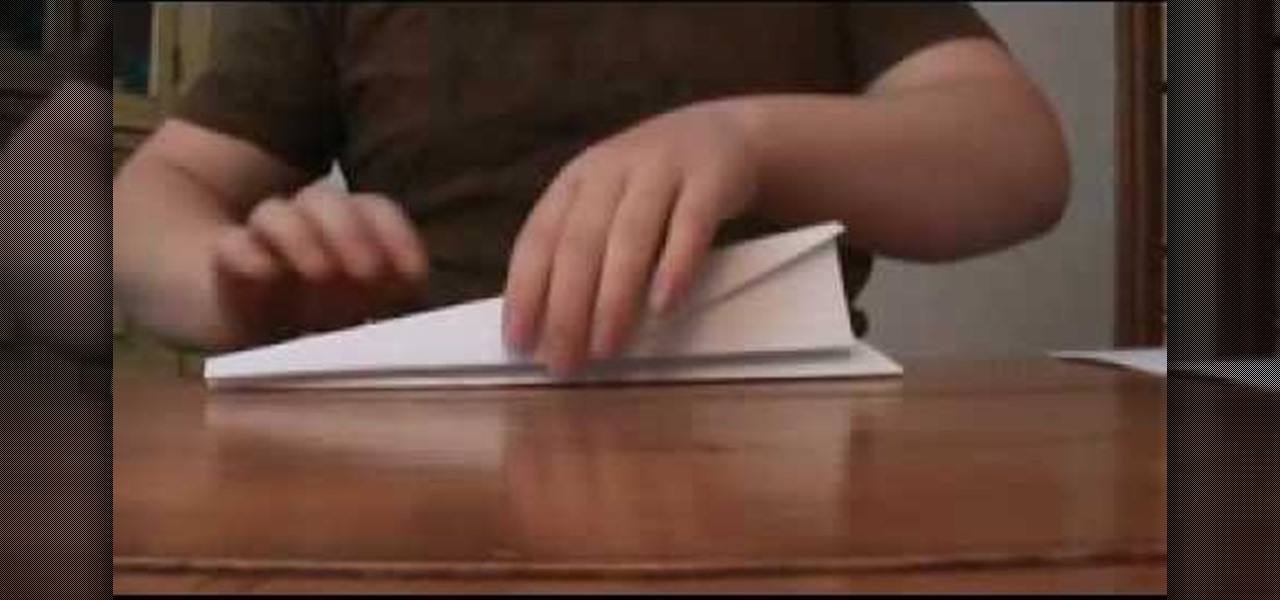
How To: Make a paper airplane glider
Making a paper airplane that will fly far is useful for throwing in a competition. If you want to know how to do that you should watch this. 1. Roll the right corner toward the middle of the rectangular paper and then flatten it. Do it on the left corner. 2. Fold the paper in half (lengthwise). You should have two big wings now. 3. Fold the left wing into half (lengthwise). Do it also on the right wing. You're done. After following these simple steps, you can now challenge your friends.
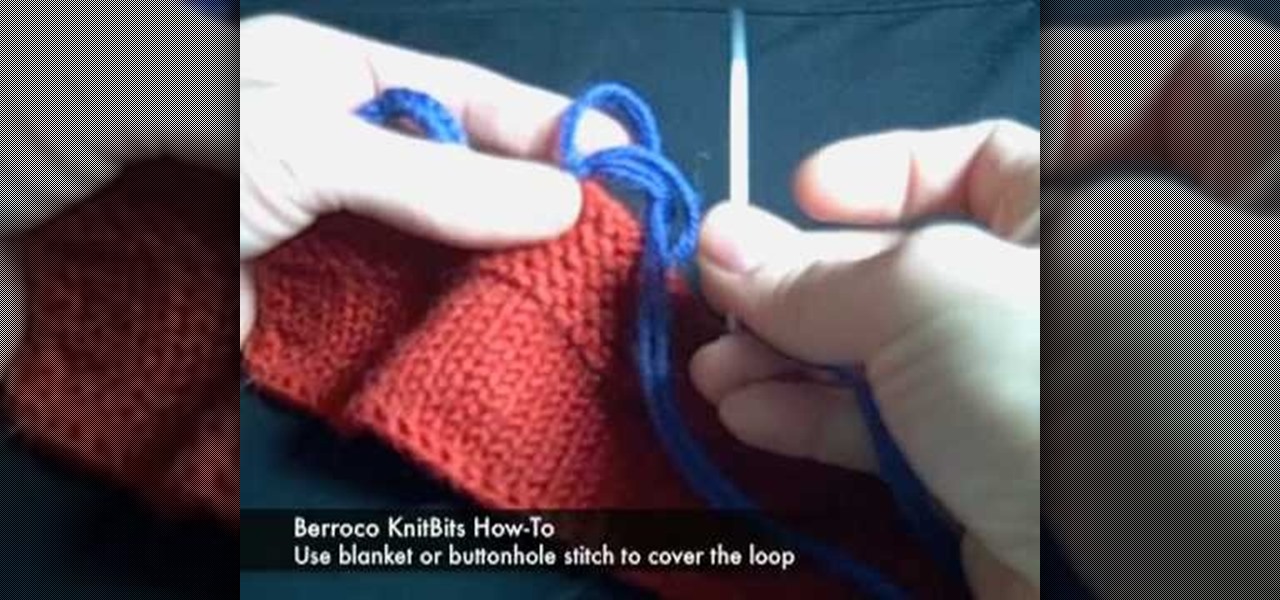
How To: Knit a button loop
Berroco knit bits shows how to knit a button loop easily within minutes. 1) Thread a tapestry needle with a 18-24″ piece of yarn. 2) Knot the end of the yarn and insert the needle where you want your first button loop. 3) Make a second stitch an inch or so away from the first stitch. 4) Tighten up the thread, placing your fingers in between the yarn and the button band creating a loop. 5) Work blanket stitch around this loop, stacking each stitch on top of the previous one until the ent...

How To: Make cute mini cupcake earrings
To make mini cupcake earrings first take a piece of sculpey and make a cylinder. Make vertical indentations around the cylinder, similar to those an the edge of a quarter. this forms the bottom of the cupcake. Next take another small piece of sculpy and role it into a line like a piece of yarn. starting at the edge of the top of your cylinder coil the line of sculpy around the edge and up, similar to a piece of novelty poop. this forms the cupcake. stick a earring finding through the top of t...
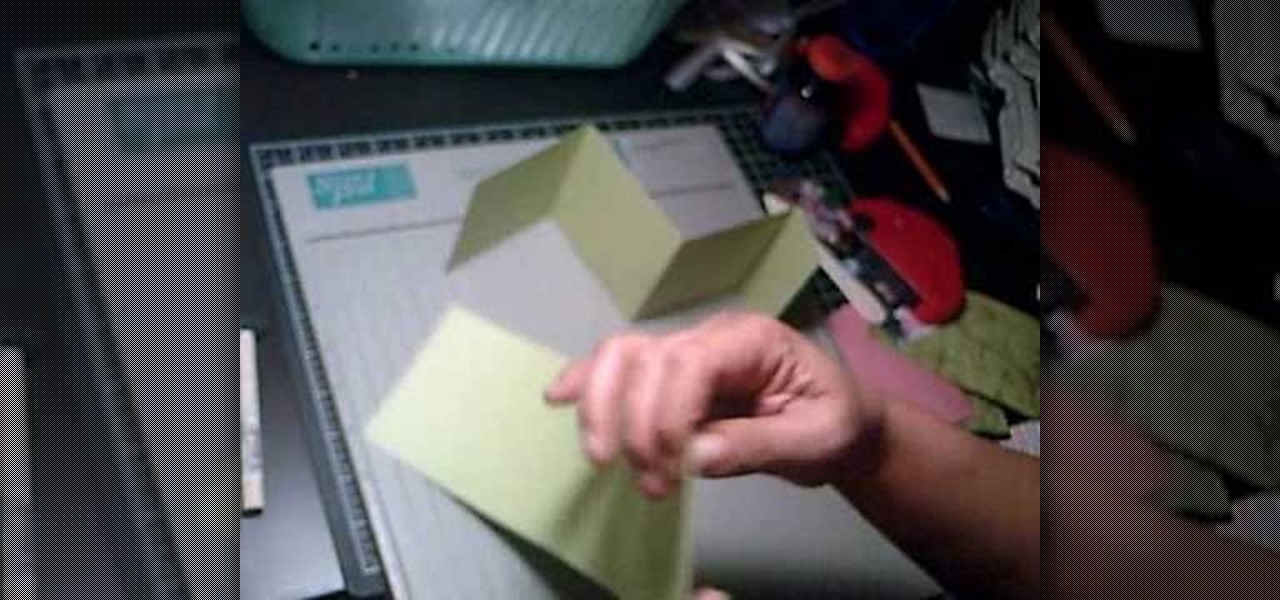
How To: Make a 4x4 mini double accordion album
Maria from [www.stamininspirations.blogspot.com stampininspirations.blogspot.com] shows us how to make a 4x4 mini double accordion picture album. You will need a 4 x 9 in. piece of designer paper, a 4 x 9 in. piece of card stock, a 3.5 x 8.5 piece of designer paper, two 3.5 x 12 in pieces of card stock and two 4 x 4 in pieces of chipboard as well as some smaller pieces of designer paper and card stock and some ribbon. Rubber cement, a scorer and some double sided tape are also needed. Maria s...
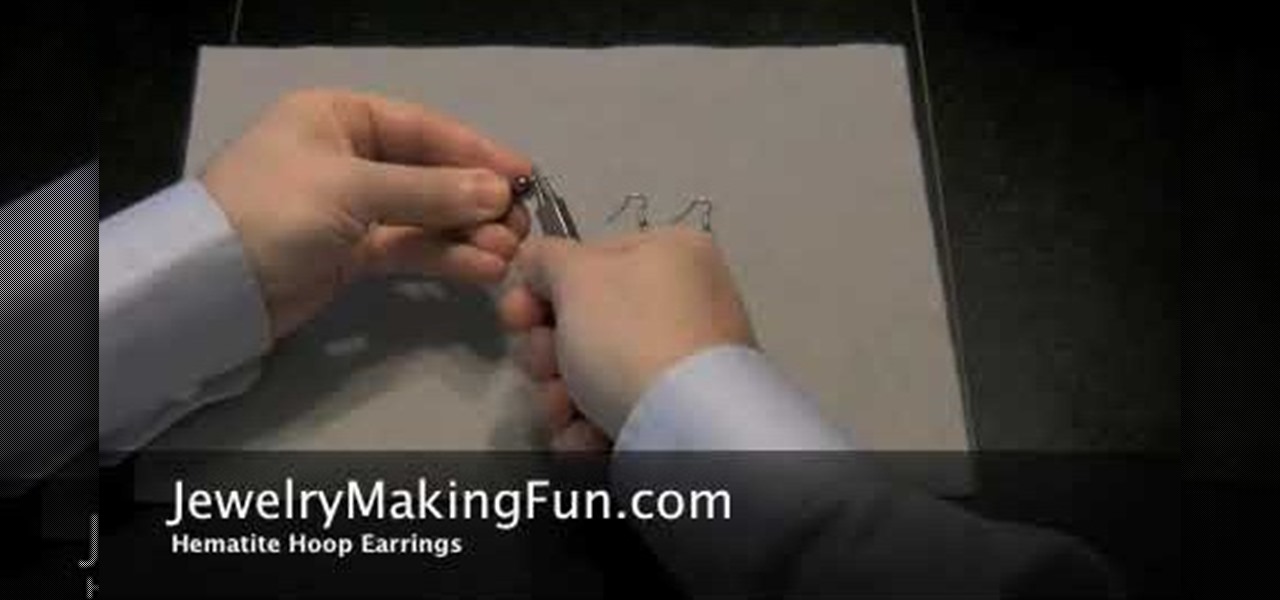
How To: Make a pair of hematite hoop earrings
The first step in making a pair of hematite hoop earrings is to gather your supplies. You are going to need some needle nose pliers, two head pins, a hood bead, a small bead, a bigger bead, and two French earring hooks. First, take a head pin and insert it into one of the holes on the loop bead. Follow with the smaller bead and then the larger one. Then, taking your needle nose pliers, bead the remaining wire of the pin 45 degrees. After that, go above the bend about a quarter of an inch and ...

How To: Make gold-filled beaded hoop earrings
Making your own hoop earrings can be fun and easy. In this video we learn to make gold-filled beaded hoop earrings with some wire, pliers, beads and an empty pill bottle. Take a 6 inch piece of 20 gauge wire and wrap it around the pill bottle. Then you take your round nose pliers and bend the tip of the wire in a 90 degree angle ending in a circle. You can be creative with what you put on for beads. In this video it shows a purple focal bead and 30 plain beads. So you would put 15 of your pla...

How To: Make a rose out of clay
Learn how to make a unique rose from clay that can be given as a gift to your special someone. 1. Make about 20 tear-drop shapes out of the clay. 2. Flatten each of these to form petals. 3. Roll one of the petals up to form the center. 4. Curl each of the other petals around this center. 5. Stretch the base of the flower downward to form the stem. Add clay as needed to make the stem the desired length. 6. Form leaves with the remaining "petals" by creasing them and attaching them to the stem.

How To: Make a Nintendo necklace
You will be using a picture of a Nintendo character and perler beads to make the necklace. Start by making an outline of the character using black perler beads. Then begin using colored beads to fill in the character. The color beads allow you to fill in the character and they also allow you to create all the detail on the character. You can shade and use multiple colors in making the characters. After you have put all the beads on the card put a sheet of waxy paper over the character and iro...

How To: Wrap a textblock for protection
Learn how to wrap a textblock in this video tutorial. Wrapping the block allows you to protect the book's inner pages while you are working on the outside of the book. All you need to do is use some butcher paper, or any other kind of heavy duty paper you may have on hand. Lay the spine flush against one side of the paper. Open the front cover and fold the bottom sides into the book. Tape these ends together. Then, with the excess paper on the non-spine portion of the book, fold those ends in...
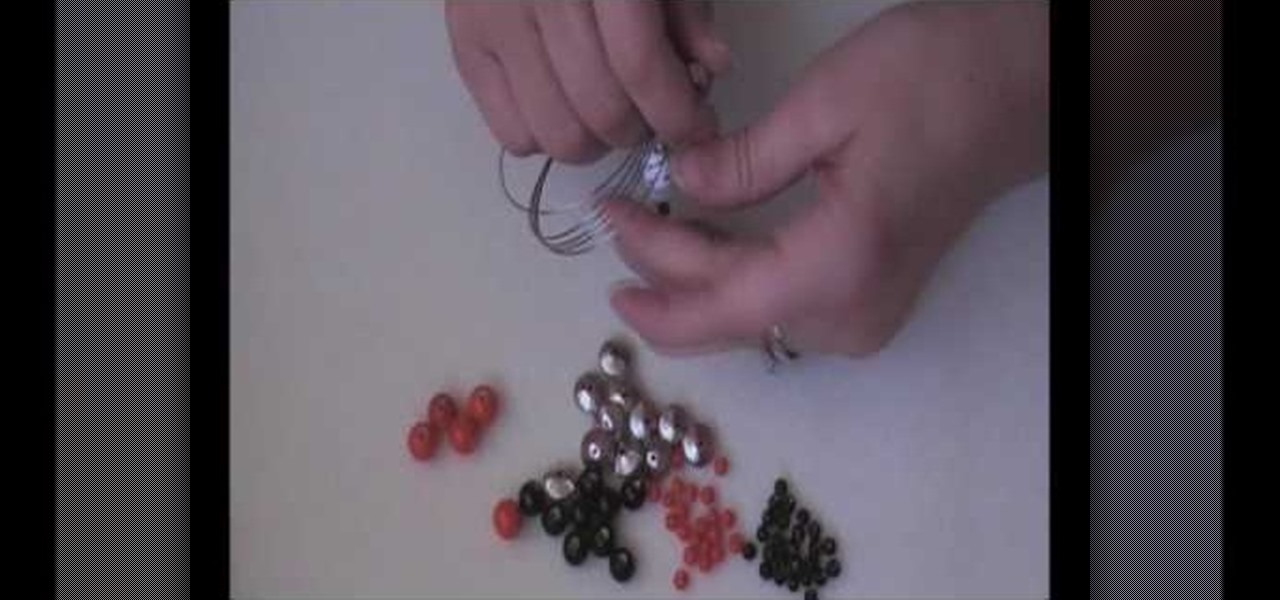
How To: Bead a Halloween skull bracelet
For this project you will need some 4 mm orange beads, acrylic spacers, 4 mm black glass beads, 8 mm black glass beads, 10 mm orange glass beads, memory wire, headpins & skull charms. You also need pliers that include bent nose pliers, chain nose pliers, round nose pliers and memory wire cutters. Ordinary pliers become blunt when used on memory wires. In the first step cut some loops of the memory wire depending on how many loops you want to have on your wrists. Now take a skull charm and a 4...
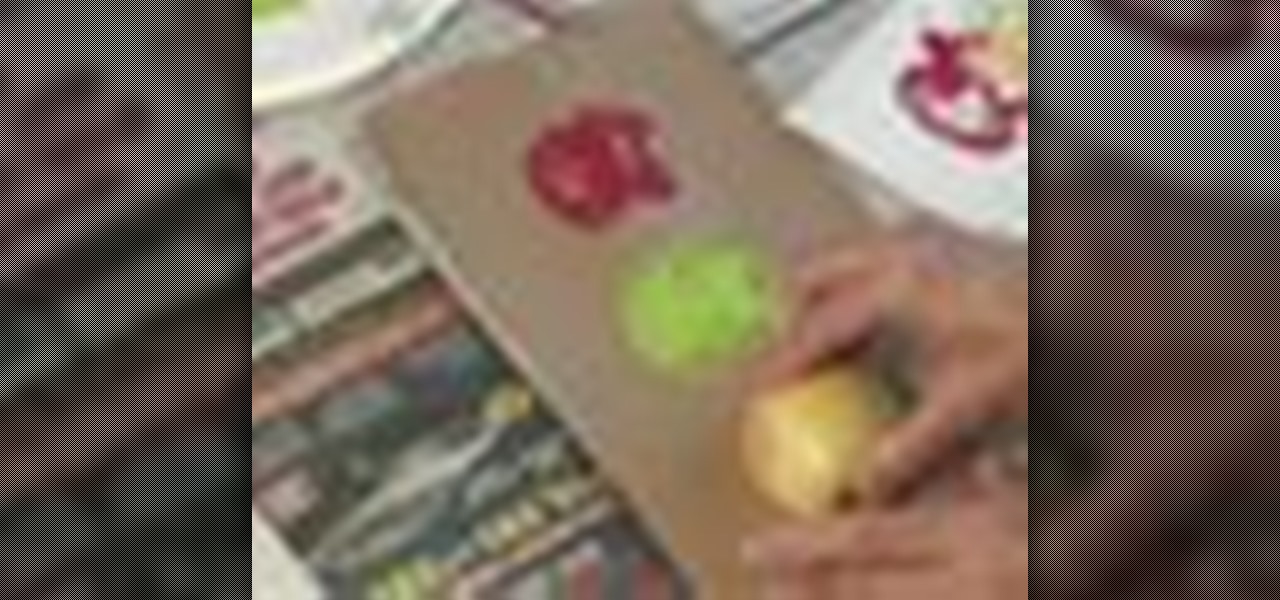
How To: Craft apple stamps
Here's a great craft project you can do with kids or in a classroom. You can use an apple half to stamp apple shapes onto everything from lunch bags to tote bags. This is an easy and cute project to do for the fall.
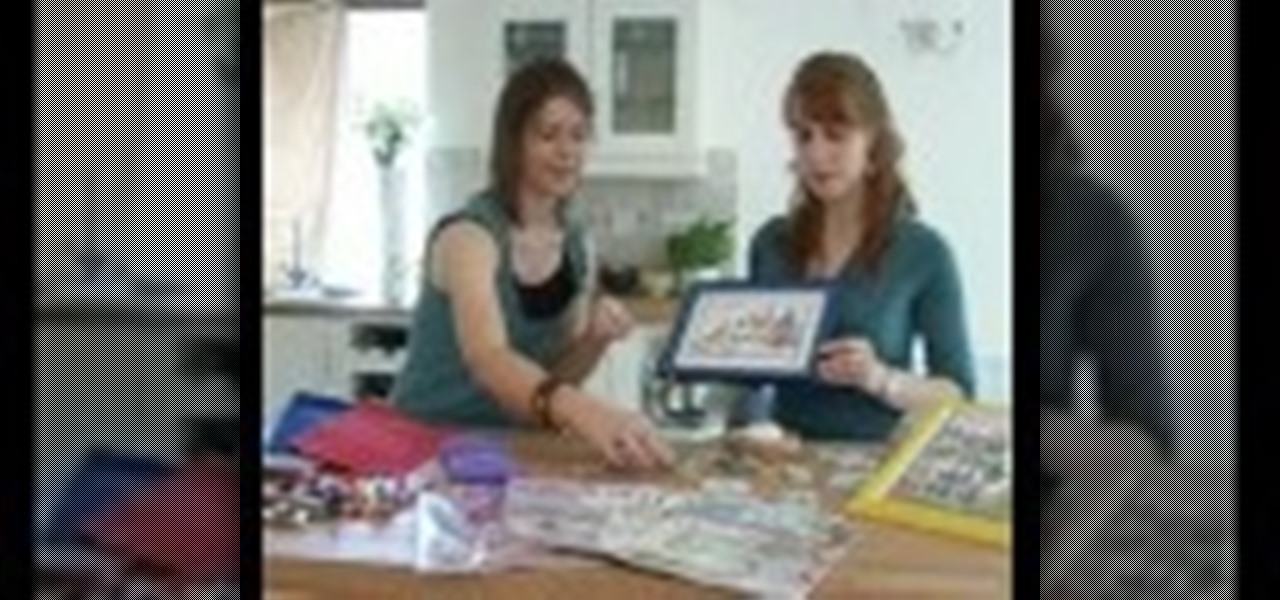
How To: Spice up your cross stitching with beads and charms
This video shows ways to spice up your stitching using beads and charms. It’s a great way to add 3D aspects without having to do complicated techniques. Examples of good places to add beads are eyes, punctuation marks, and similar things. They can be used instead of stitches such as French knots. Sometimes using embroidery needles can make it easier to add beads to the stitching. Since the beads don’t wash well, wash your design after the stitching but before adding the beads. You can also st...
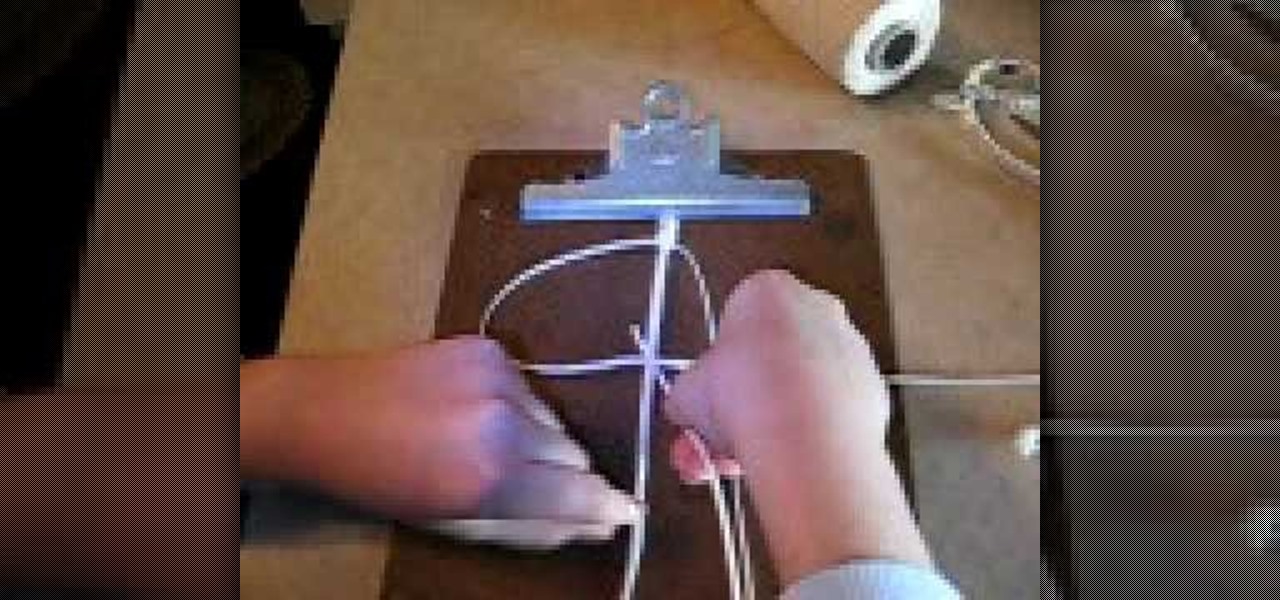
How To: Make a hemp style necklace or bracelet
Hemp jewelry is very trendy and eco-friendly. They are easy to make and don't take long. In this three part tutorial, learn the basics for making your own hemp bracelet.

How To: Make a setup bonnet
This is a great video series for all you serious knitters out there. If you've ever wanted to learn how to make a bonnet, follow the detailed instructions in these two videos and you'll be doing it yourself in no time!
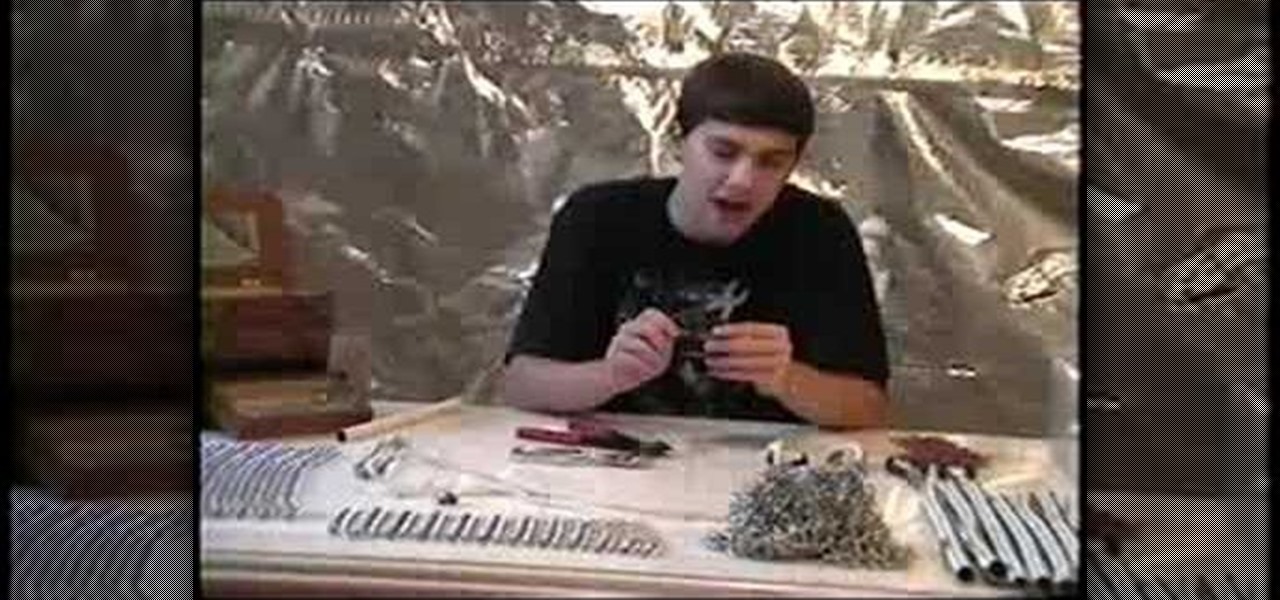
How To: Make chainmail armor at home
Chainmail is quite difficult to make, but with this two part tutorial, you will soon be on your way. In these videos, learn how to make a piece of classic chainmail armor at home. Make smaller pieces to use as jewelry or decoration or make a whole suit for a cool knight costume.
How To: Make decorative chainmail at home
Chainmail is a classic accessory. It is a symbol of strength, royalty and the famous uniform of a knight. This two part tutorial will show in depth how to make the 4 in 1 pattern. This is the first basic pattern in chainmail, but with practice you will soon be maikng 6 in 1 and 8 in 1.
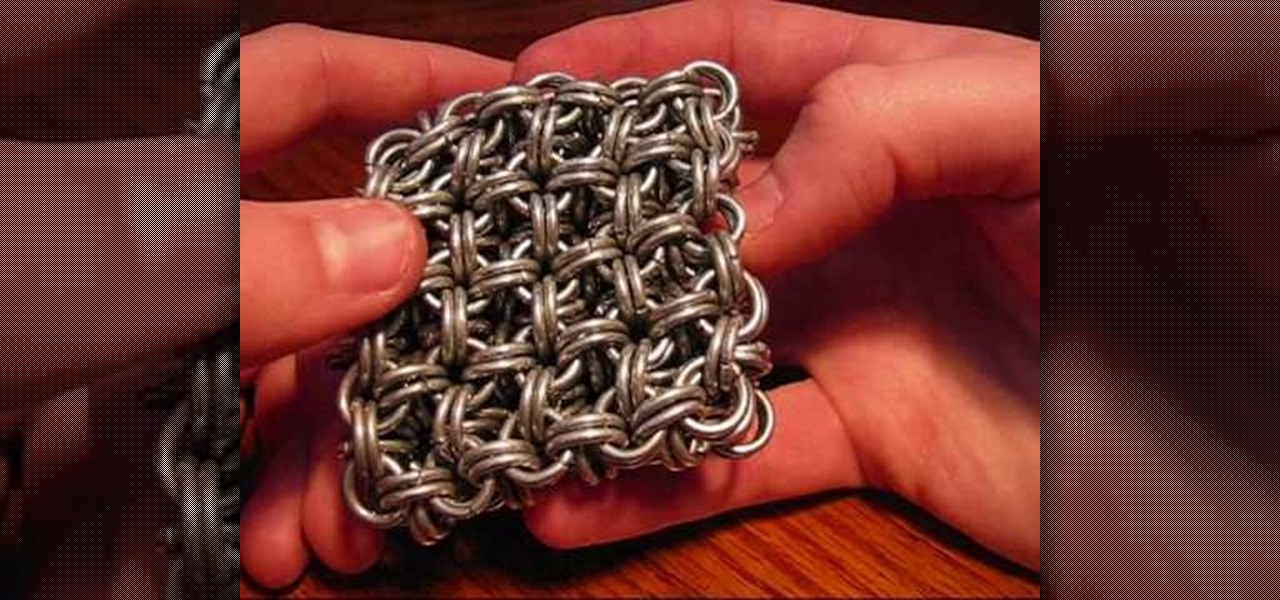
How To: Make your own chainmail cube
This two part video will show you how to make the Japanese 8 in 2 patter, an important part of making a chainmail cube.
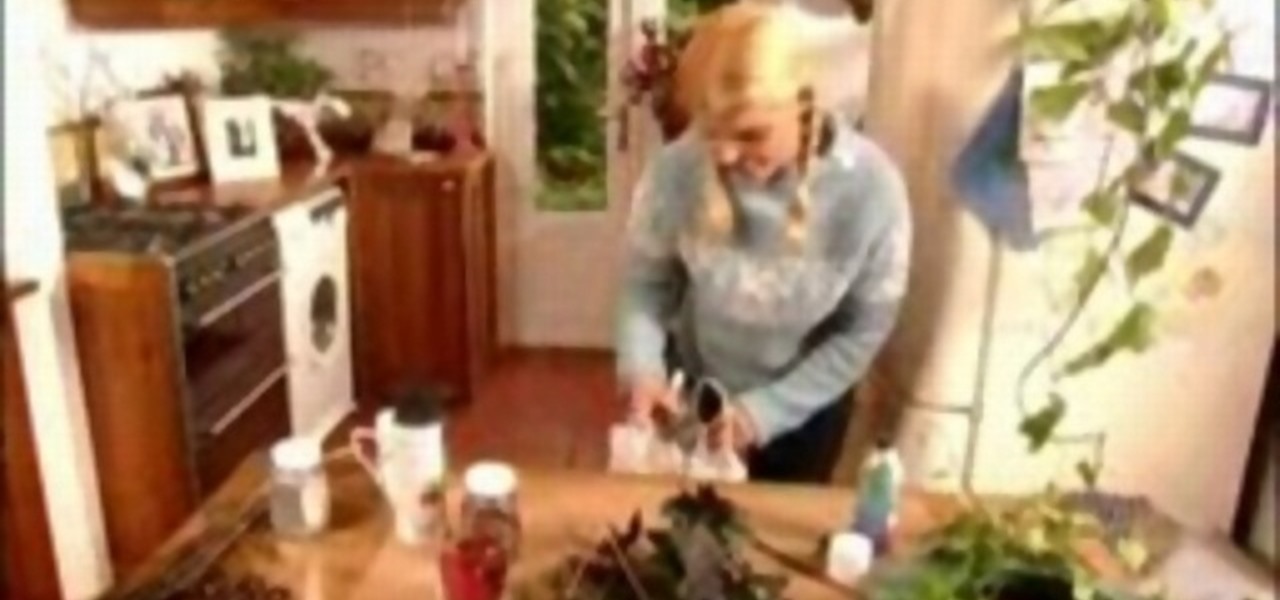
How To: Create your own modern wreath
Danielle Proud shows and discusses her version of how to reinvent the Christmas wreath. She uses black spray paint to highlight the leaves that she uses. After she sprays the leaves with the black spray paint she sprinkles glitter on to the painted areas of the leaves. Using a circular wreath frame she creates her vivid modern Christmas wreath. She makes sure to give you step by step instructions on her vision. When it is all said and done she shows you a finished wreath she has made using he...
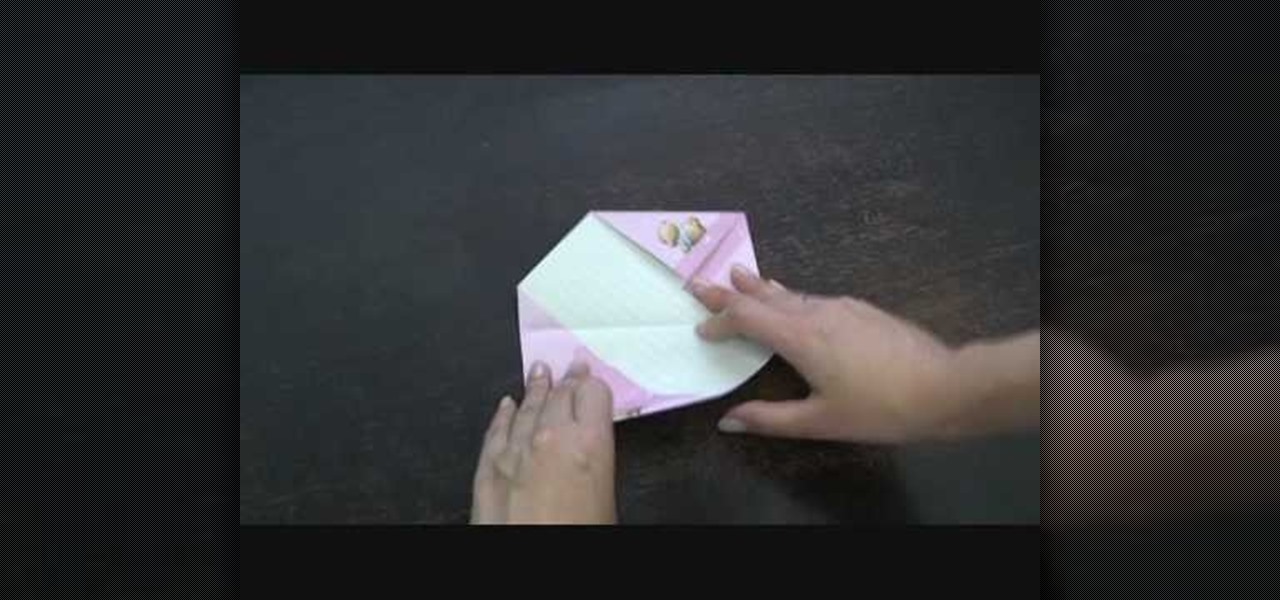
How To: Fold an origami jewelry box
Looking for a unique and inexpensive place to store your small possessions? In this two part tutorial, learn how to fold an origami jewelry box. All you need is paper and your fingers. This is a very cool origami project that is fun and easy to learn.
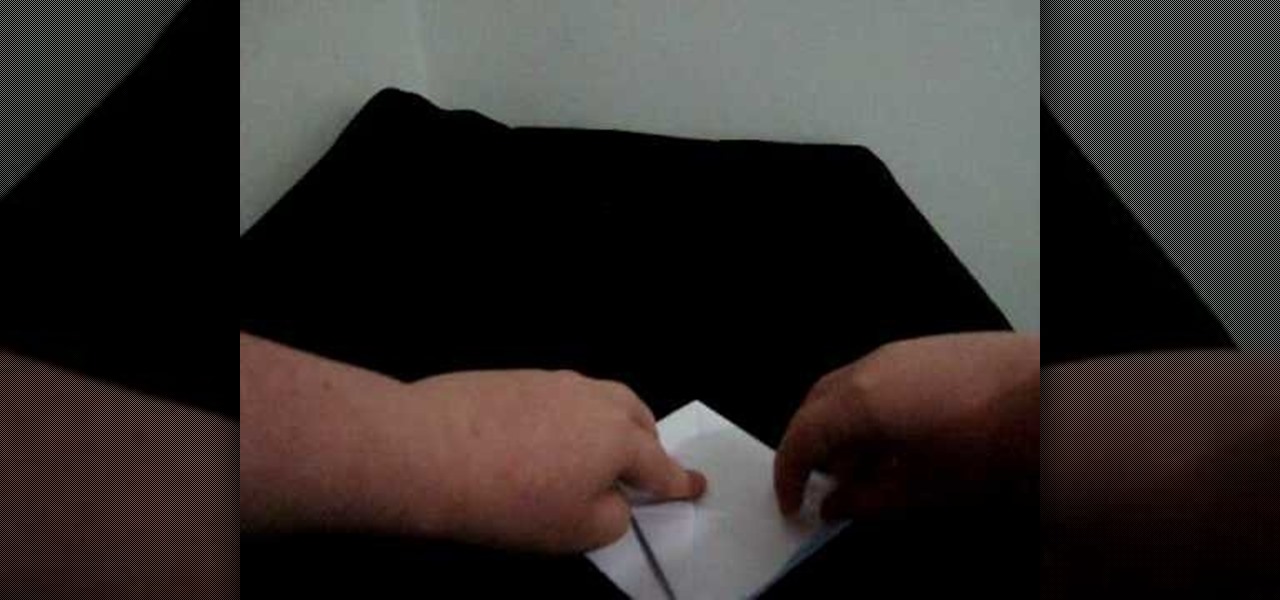
How To: Fold your letter into a cool shape
Sending a special note and don't have an envelope? In this four part series learn how to fold your letter into cool shapes so you can deliver them on their own. The only supplies you will need are your hands and your letter. Have fun!

How To: Make an eye pin for jewelry making
In this jewelry-making basics tutorial, learn how to make an eye pin. To create an eye pin, you will need wire. Size 24 or 22 gauge wire is the best kind of wire to make an eye pin. The thicker the wire, the more difficult it may be to work with. To begin, straighten out your wire and cut the length you need to make your eye pin. Taking some round nose pliers, you will bend the wire up while rolling it toward yourself. Do not pinch the wire too tightly with the pliers because it can leave per...

How To: Make a mini paper corset for a paper doll
Artful Paper Doll demonstrates how to make a mini paper corset for a paper doll. Take two rectangular piece of hard paper which is of measure 4 by 5 centimeters. Cut the edges of the breadth part make it round. Cut the length part inward to make it into shape of a waist. Take a pattern cloth and paste it to shapes. Now take a lace with one end trimmed. Fold it in zigzag way. This should be pasted beautifully to the bottom of the corset. Now take a thin lace and paste it over the zigzag lace i...
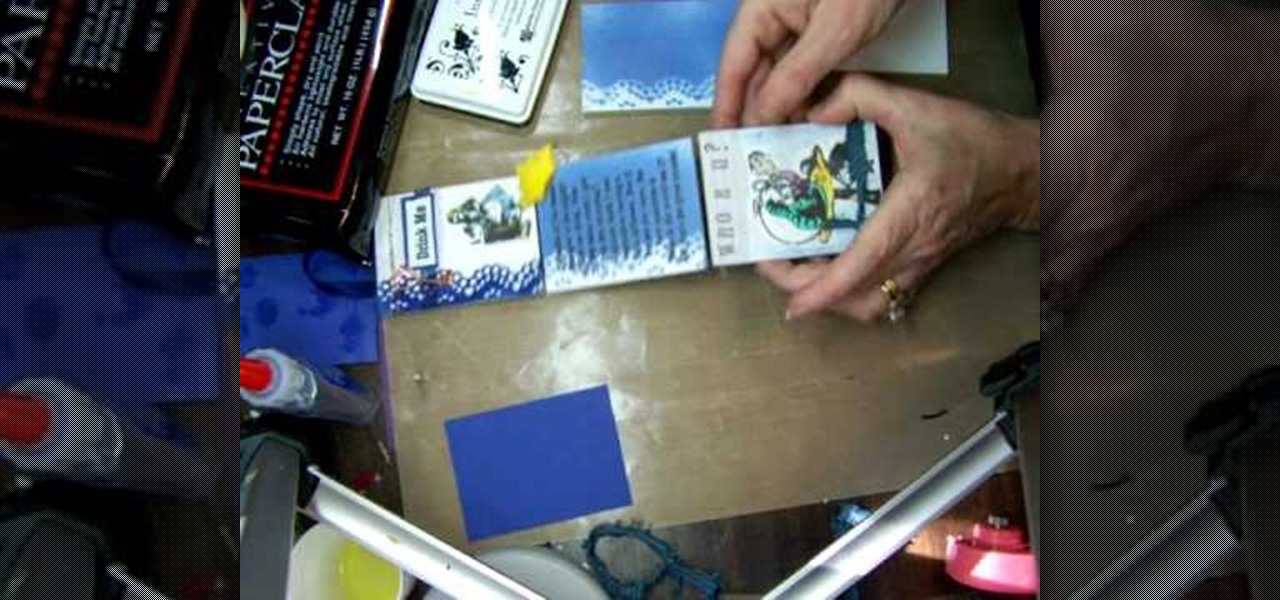
How To: Make an Alice in Wonderland story board craft
This video is about how to make a story board craft. In this case the story is about Alice in Wonderland. In this case 3 Eco art boards are taken of a suitable size of 2 1/2"X3 1/2" the left edge is decorated with a lace spray painted with Memorie mist spray, the rest of the card is also spray painted. Now from Queen Kat Designs the stampings are selected and stamped on each board as per the story. Whilst stamping Indian stamping ink is used as it does not smudges. For extra decoration paper ...
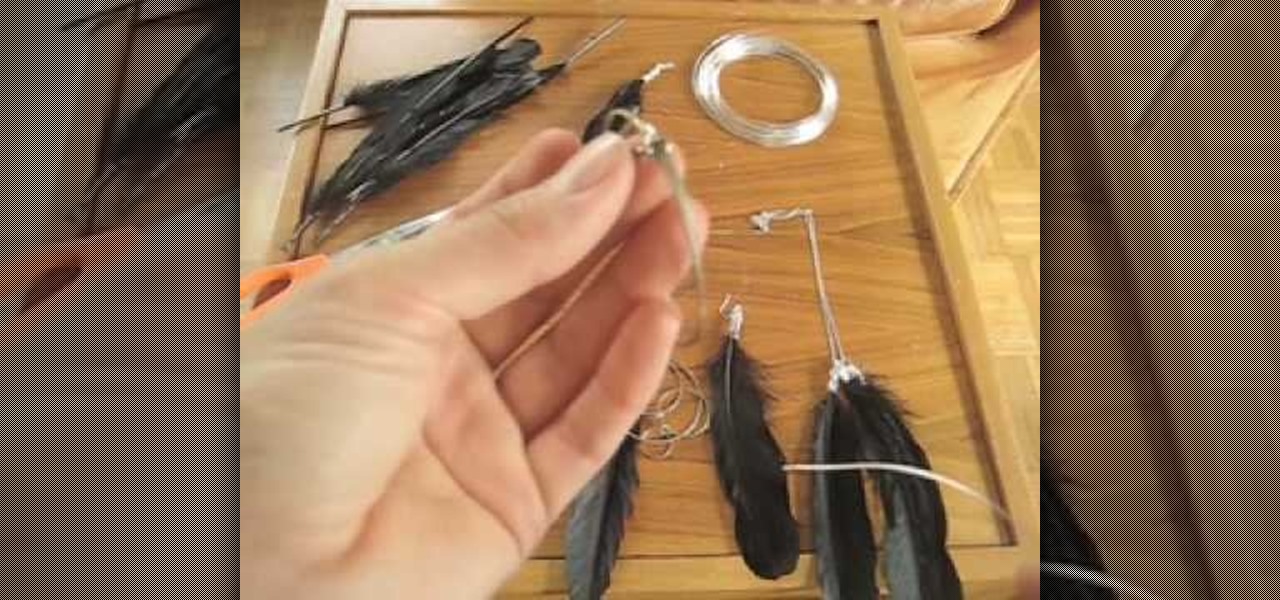
How To: Make feather earrings & necklaces
Here is a way you can make your own jewelry for little money and have fun doing it. In this video we are shown how we can add feathers to existing earrings and necklaces. For this project we need some feathers, a pair of earrings, some silver plated copper wire, needle nose pliers, and scissors. The earrings used in the video are already made circle earrings. The first step is cut about a circle's length of copper wire and grab a feather. Wrap the wire nice and tightly around the quill of the...

How To: Make a simple & classy charm necklace
You want to start by determining what kind of charms and the size of the necklace. Most necklaces are about 16-20". If you wanted to make a choker or a bracelet, then measure out a smaller piece of cable chain. Using a ruler makes it easy to measure and later on to add the charms evenly. Using chain nose pliers and side cutters, you want to cut a jump ring and attach to the trigger clasp and then close the end with the pliers. Take the chain and center it on a ruler, find the middle and that'...
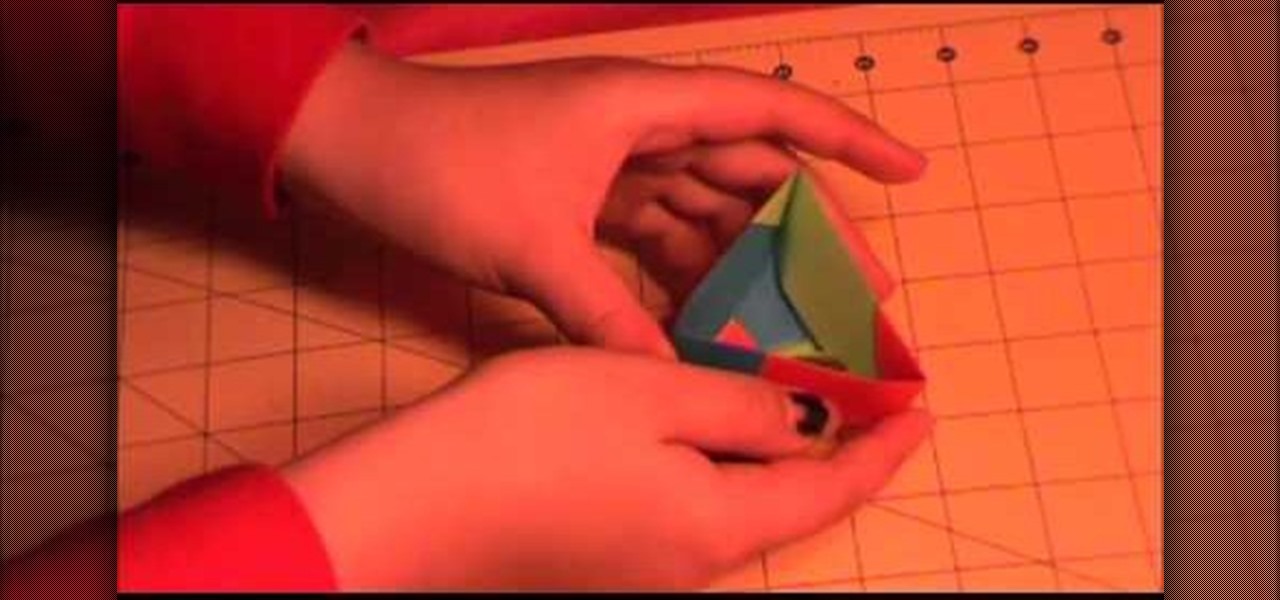
How To: Fold a triangle origami box
The Amazing Origami channel takes you through step by step instructions of how to build a triangle origami box in this video. Six pieces of origami paper, three different colors, are all the supplies you will need to make your very own box! First, separate the origami paper into two groups of three, all three colors should be in both groups. These groups will make the top and bottom of your box. The three pieces of paper used for the bottom will all use the same folding technique, this is als...
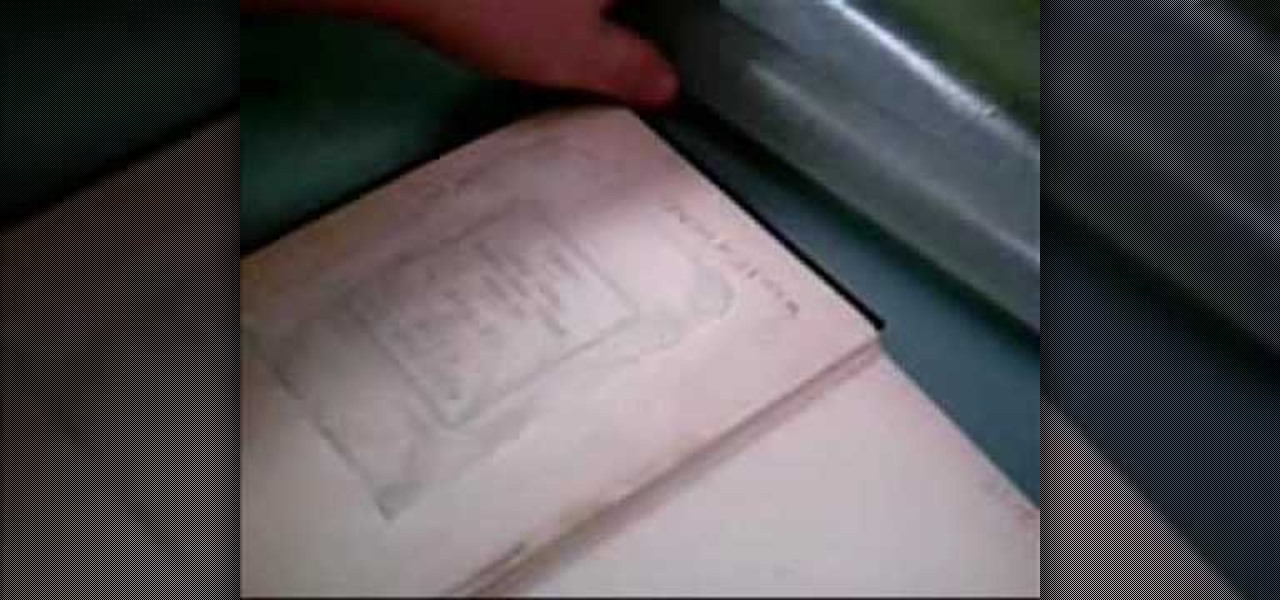
How To: Remove a bookplate
To remove a bookplate, you will need paper towels, wax paper, distilled water, water colored paper, a weight, and a blunt knife. Cut the paper towel slightly larger than the bookplate itself with scissors. Wet the paper towel and blot it dry with another piece so it is damp. Fit the paper towel over the bookplate, put the wax paper on top of it, and let it sit under the weight for twenty to thirty minutes. Once the paper towel has soaked into the bookplate, gently peel the bookplate off with ...
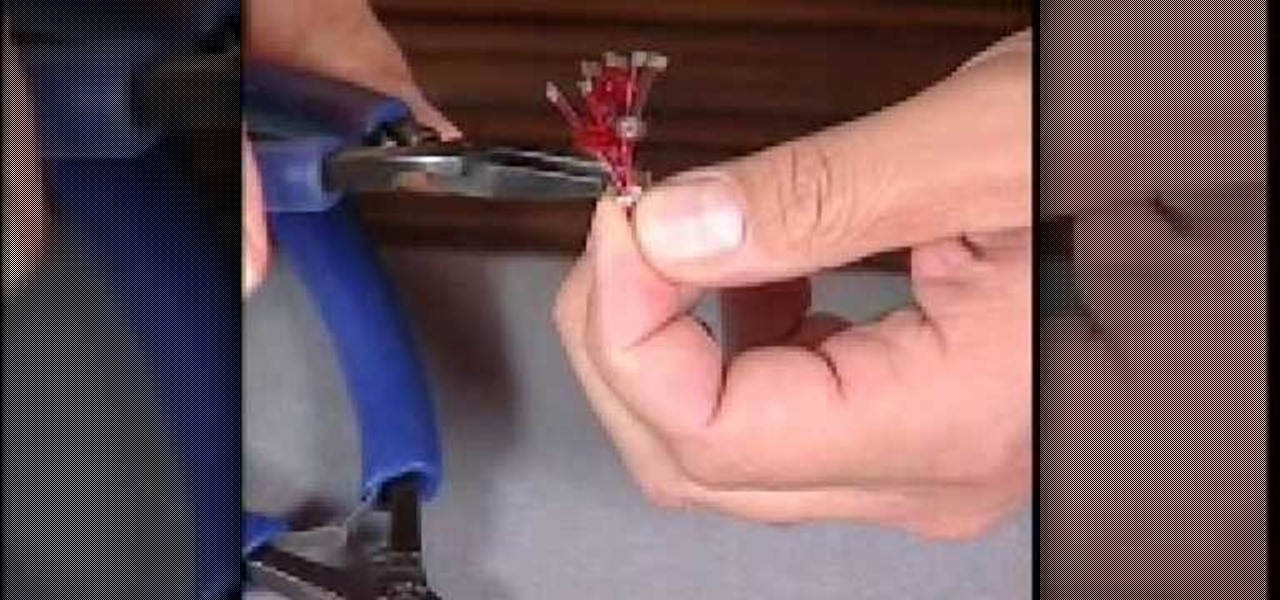
How To: Make fire & ice crystal bead earrings
Mark Nelson accompanied by Rio Grande demonstrate by the start where you need a wire with stiffeners to it of various colors. 3 pieces of different colors of wire each 2 ½ inches long is needed for the earring. Pick a clamp where you can pass the 3 wires twice. First push it half way once and put the other end back in the hole and pull the ends through. This can also be done in an asymmetric way. Now you add 6 beads in any combination of colors. Use it in a 2 mm length and then cut off the en...
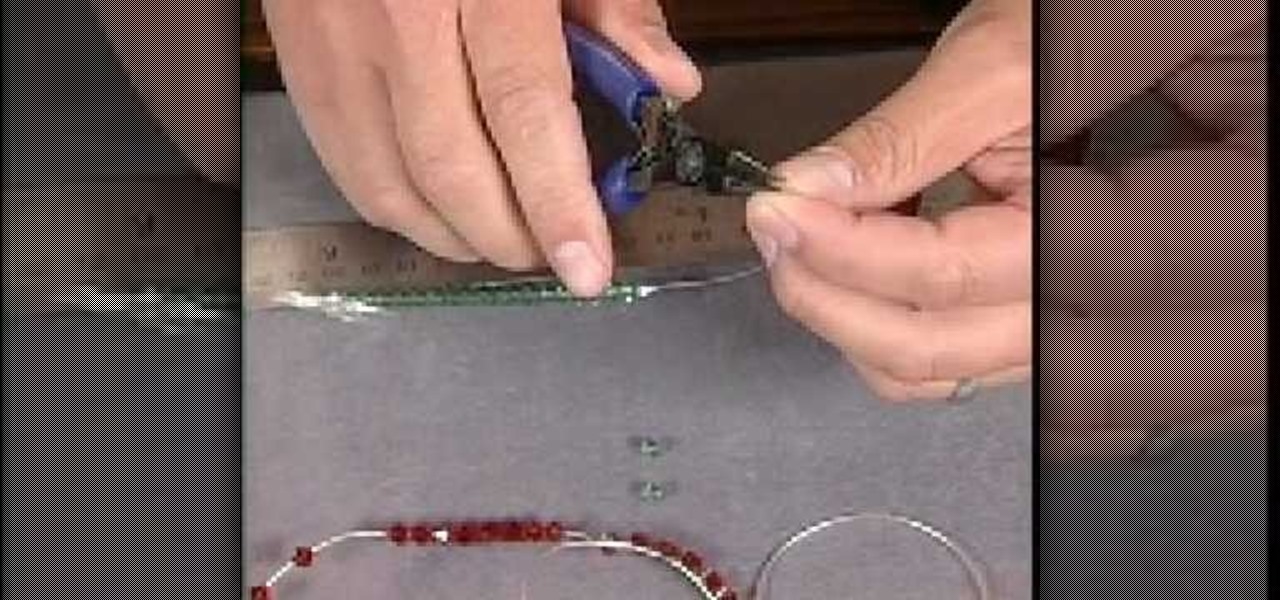
How To: Make a pair of large silver hoop earrings
In this video, Marc Nelson describes how to make large hoop earrings to the wearer's choice out of silver wire and beads. The process if very simple and inexpensive. First he takes a larger gauged silver wire for the actual hoop earring. Then taking the smaller wire for bead placement, he preemptively threads the smaller wire through the beads. Because you have to use the smaller wire for holding the beads in place, the wire must be much longer. It seems with enough practice and know how, mak...
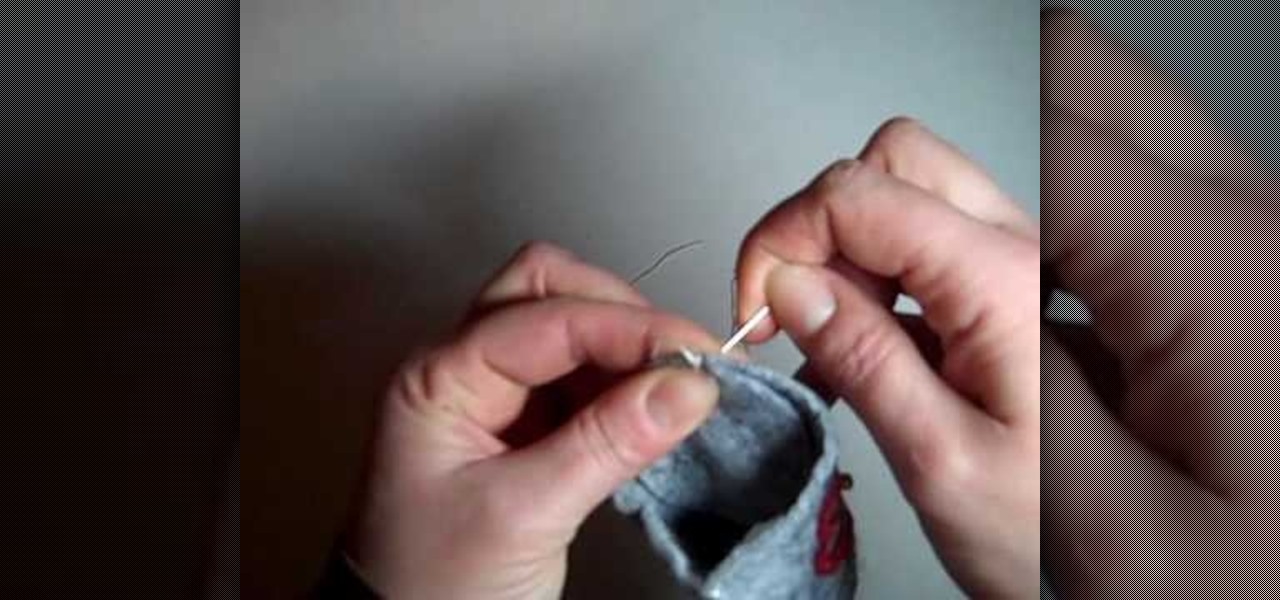
How To: Whipstitch
In this Arts & Crafts video tutorial you will learn how to do Whipstitching. The video demonstrates how to stitch the bottom of a cloth basket to the sides of the basket. A whipstitch is a very basic stitch. Start at one end of the basket; attach the bottom to the sides with a pin. Pass the needle from the inside so that the knot is hidden. All you have to do is taking the thread and whipping it around the edge. At the beginning, give it a bit of binding stitch before stitching the rest of th...
How To: Make a paper football launcher
Use paper to be creative and engage in some easy crafts to create something out of a simple piece of paper. 1. In this paper craft start by creating a paper football and a paper boat. They are quite easy to make, and if you do not know how to do them you can easily find videos which describe how to do each one of them on the internet. 2. Once you have both the paper football and the paper boat you will be able to create a paper launcher by following this video. 3. Start by turning the paper b...
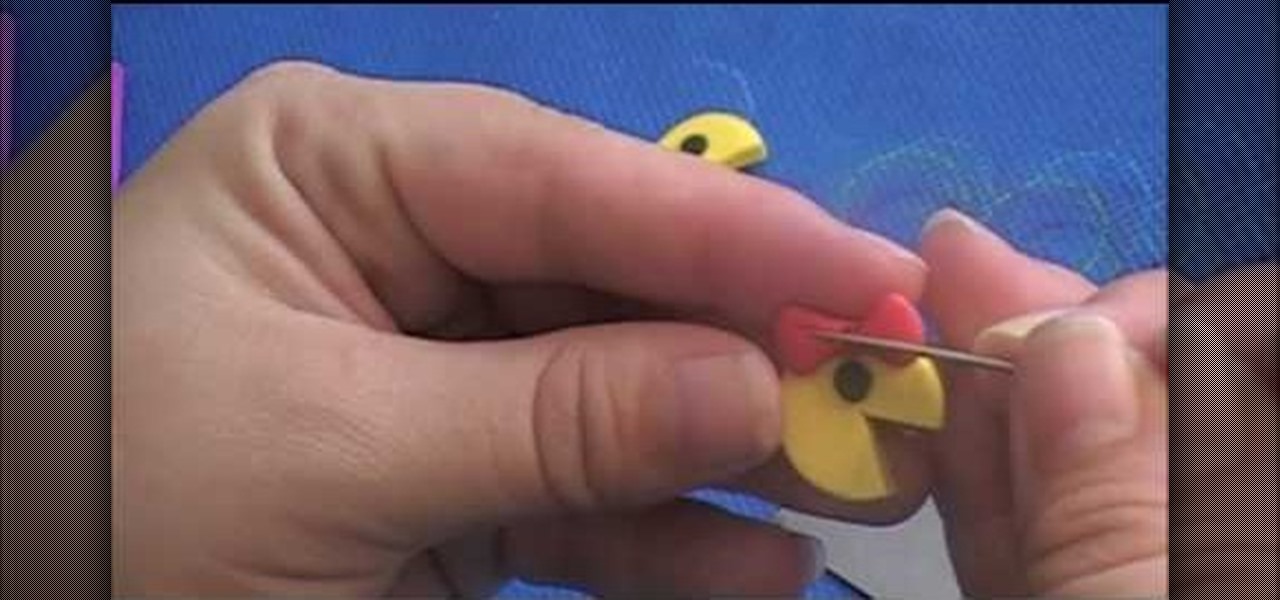
How To: Make a polymer clay charm bracelet
kriquit describes how to make a PacMan charm bracelet in this video. She uses various colors of polymer clay to make Mr.. and ms. PacMan and the little ghosts. The color she uses are red, blue, pink, orange, yellow and white and black for the eyes. She also says that you need some hardware tools: a poster roller, wire tools, quick drying glue, needle tool, a flexible razor blade (to cut the polymer clay), chain for the bracelet, 24 gauge wire and a lobster clasp. She makes the shapes using th...
How To: Crochet a chevron stripe pattern
This video shows how to crochet a chevron stripe pattern using stitching techniques. The instructor shows you to make a patterns of three loop stitches to create the chevron stripe pattern. The instructors shows that after six standard stitches you decrease your stitches to create the waving design in the creases. This pattern is done many times until the you will see the waving formation in the stitches appear. at the peak of the waves you are instructed to do another decrease. Following the...

How To: Make paper roses
This video shows how to make paper roses. Start with several die cut flowers, preferably with six petals. Take one and slit it so that you can fold one of the petals over the other one and glue them so that they are overlapping. Take another die cut flower and cut one petal completely out, again folding the two edge petals and gluing them together so that they are overlapping. Do another flower the same way but cutting out two petals. In the final product each of these will overlap each other...
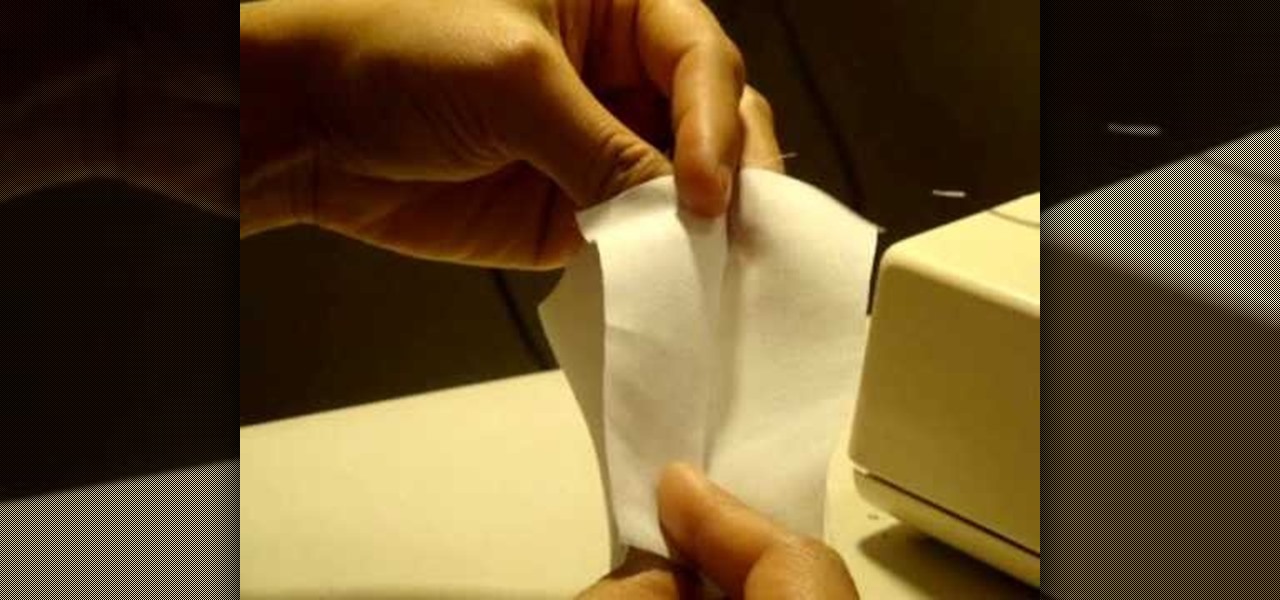
How To: Finish garments with a serger or French seam
The video shows how to finish garments with serger or French seam. If you have a serger sewing machine then you can straight away place the seam along the seam and stitch on the machine. The advantage of this machine is that it gives 3 fledge serger stitch at one go. If do not have a serger machine then you can use the French seam. First the rough seam is stitched on the wrong side of the fabric and frayed edges are trimmed. Now the fabric is turned over and ironed over the stitch and a strai...

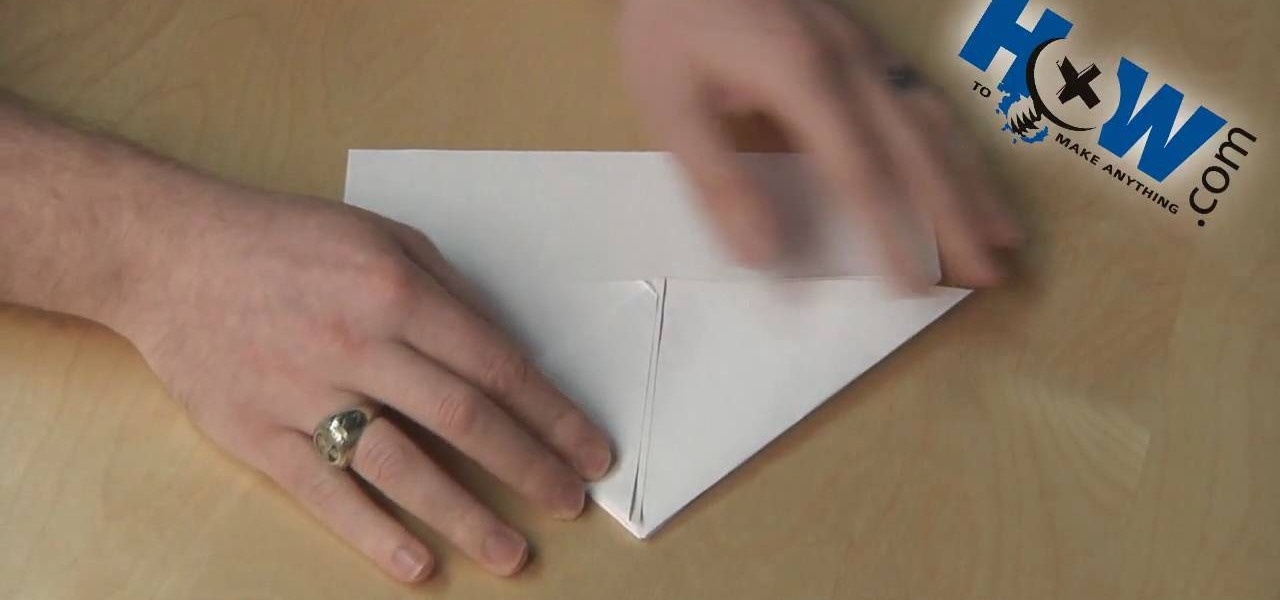
How To: Make a standard paper airplane
Watch this video to learn how to make a standard paper airplane that flies great. You will need one standard piece of paper. 1- Fold the paper in half, long ways. 2- Unfold the paper, take one corner from the top and fold it to the middle. 3- Take the other corner from the top and also fold it to the middle. 4- With both corners still folded down, fold the piece of paper down the crease that was made in the first step. 5- Without unfolding anything, fold each side down, creating wings. 6- Mak...
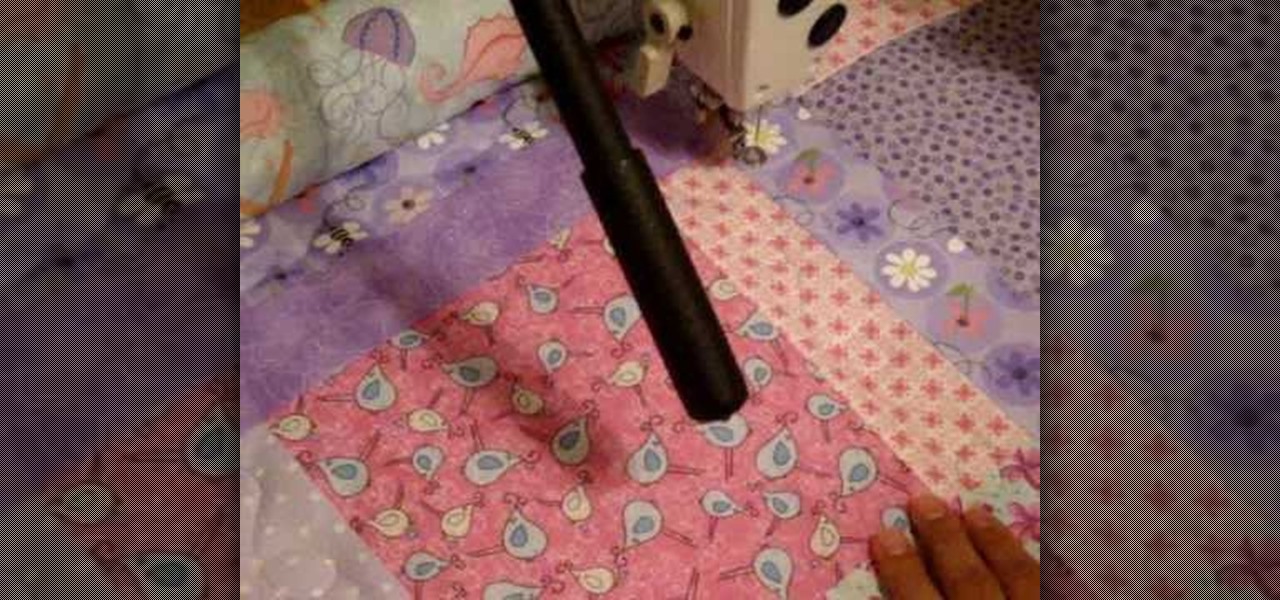
How To: Bast a quilt for free-motion quilting patterns
In this Arts & Crafts video tutorial you will learn how to baste a quilt for free-motion quilting patterns. This video is presented by craftygemini. This method of loading your quilt onto your quilting frame is known as floating where the quilt top and the batting are floated. Neither the top nor the batting are rolled and pinned onto leaders like a backing fabric. First go to the top center point of the quilt top, put the pressure foot down and take a stitch. Bring the bottom thread up, hold...
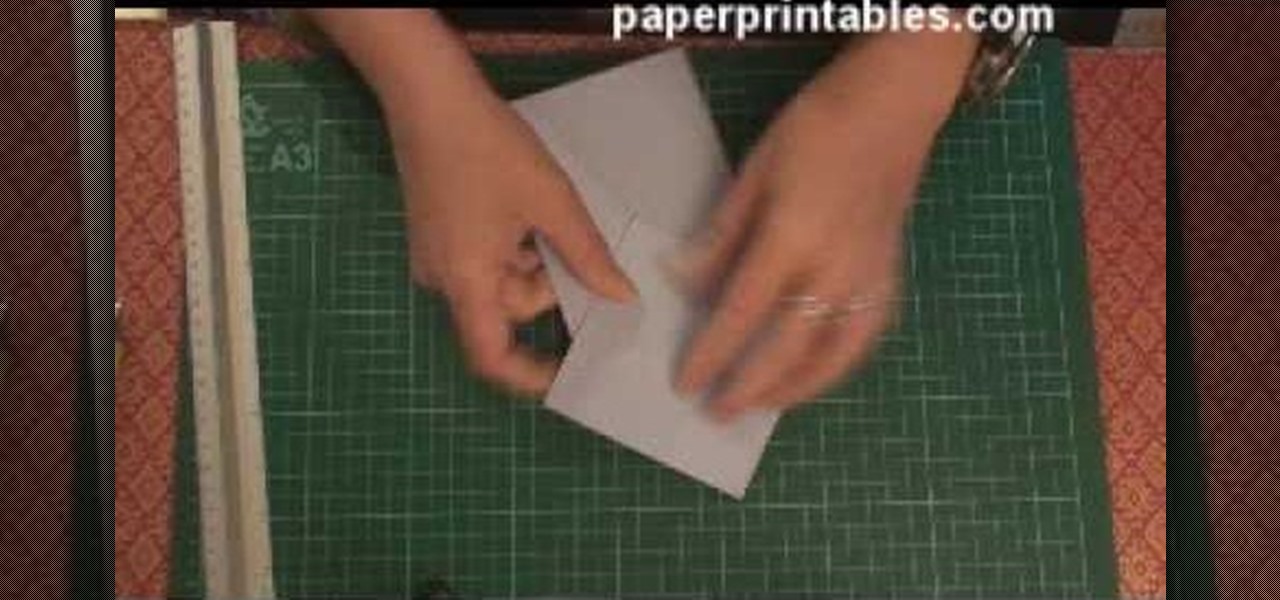
How To: Make a 3D diamond topped card
Watch this video to learn how to make a stunning diamond topped 3d card from a single sheet of A4 paper! 1. You'll need one A4 sheet of paper and some printed papers to decorate. 2. Score at 10. 5cm across length and 10. 5cm from one end. 3. Crease both scores in the same direction (mountain folds). 4. Turn card over mark 13cm from top on centre line an 17. 5cm from top on both edges. 5. Score from central 13cm mark to 17. 5cm mark on each edge. All printed papers used in this tutorial are av...
How To: Make a jumping paper frog
First of all take a rectangular sheet of paper. Now take a corner and fold it across to meet at the corner. Now crease it. Now take another corner and fold it over to the other side and crease again. Now bring in the x as shown so the sides are drawn inside and they form a triangle. Now crease it. Now take one corner of the triangle and bring it to the top. Now crease it. Now do it similar for the other corner. Now fold the bottom piece over and bring it to top. Then fold once again as shown....

How To: Make a paper football with basic folding technique
If you want to know how to make a paper football easily, you should watch this. Things you'll need: paper, scissors. 1. Fold the paper vertically. 2. Fold little triangles starting at the bottom and working your way to the top. 3. When you get to the top, tuck the extra paper into the little pocket of the triangle 4. Flatten out the football. After following these simple steps, your football is now complete. You can now play paper football with your buddy.