Hot Arts & Crafts Posts

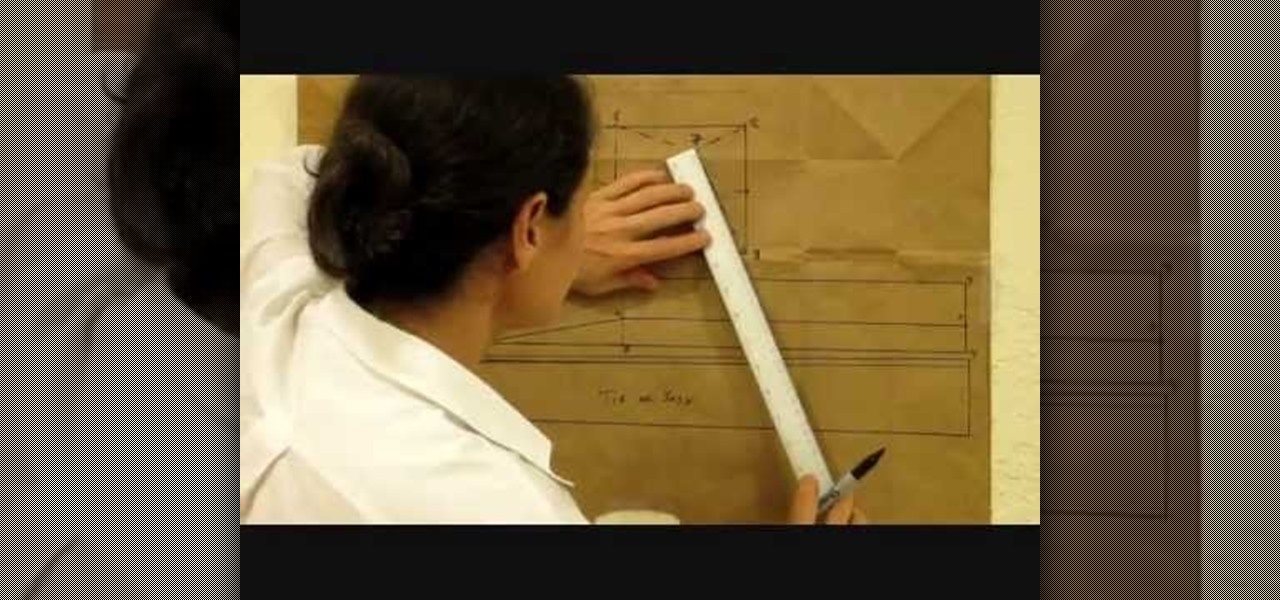
How To: Make a Doo Rag Pattern
Video: . Whether you are gardening, cooking, riding a motorcycle or just want to cover up on a bad hair day, doo rags are easy to make and fun to personalize to suit to your style. If you would rather just download the durag pattern click here.
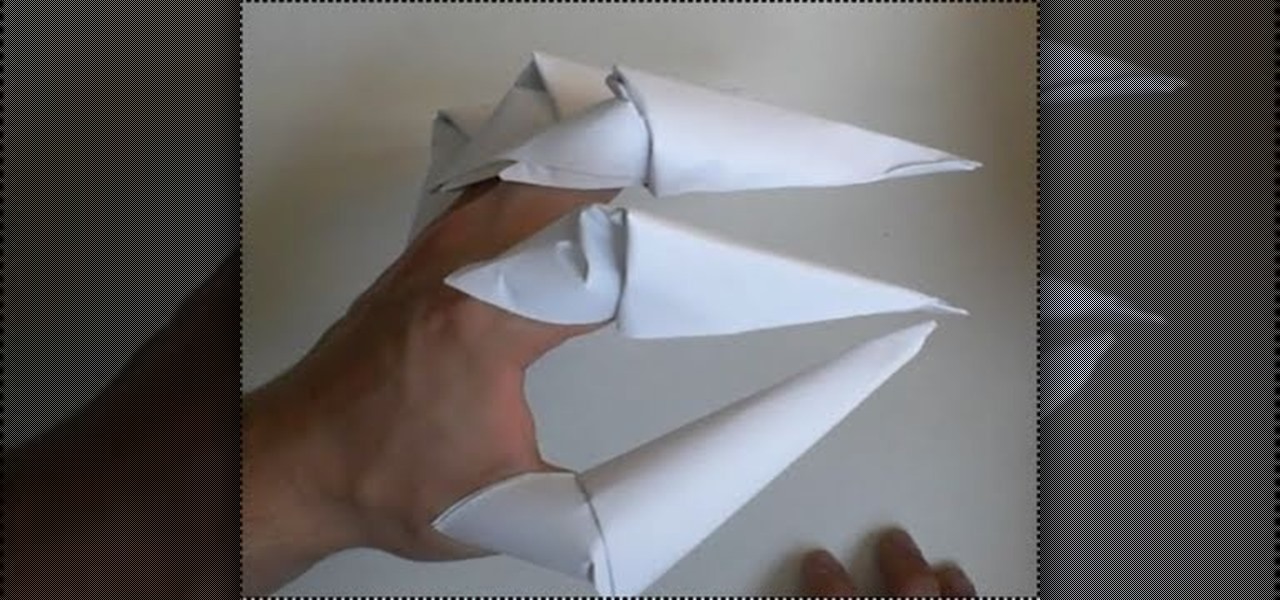
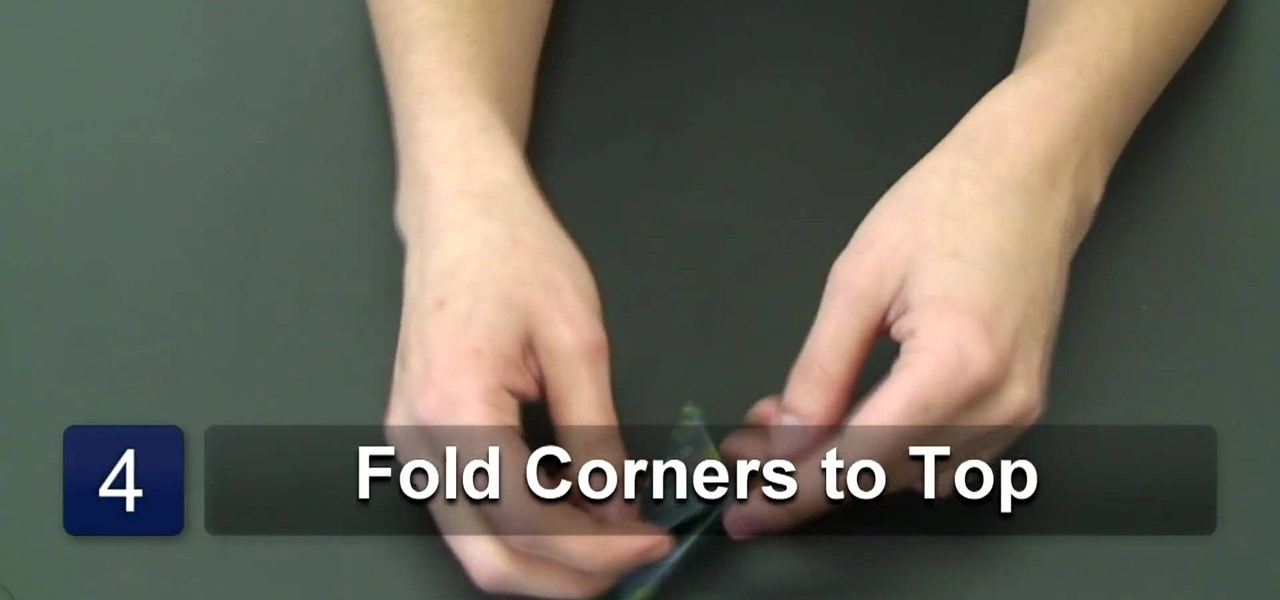
How To: Fold origami Freddy Krueger monster claws for Halloween
Out of ideas for Halloween, or simply don't feel like blowing all your cash on a costume you're only going to wear once? Then take a look at this tutorial for creating origami Freddy Krueger monster claws.
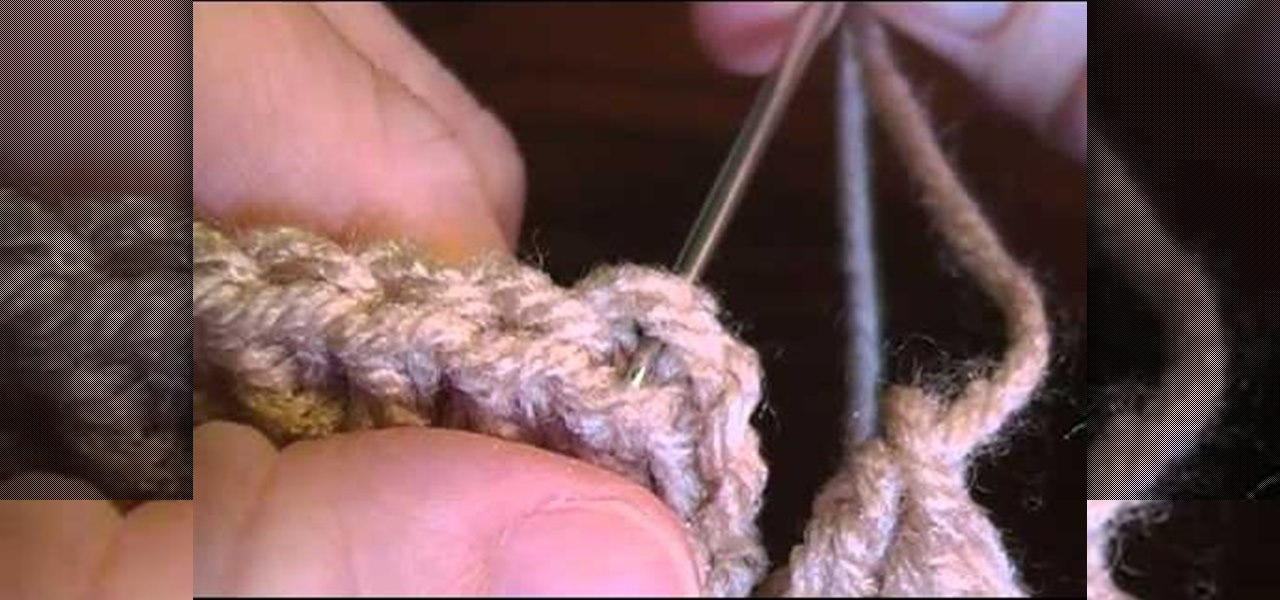
How To: Tie off the end of your crochet project so it does not unravel
You've finished your very first crochet project! Congratulations! But now how do you tie off the yarn in such a way as to keep the whole thing from unraveling? This video demonstrates a simple and easy technique to finish your project and keep it together.
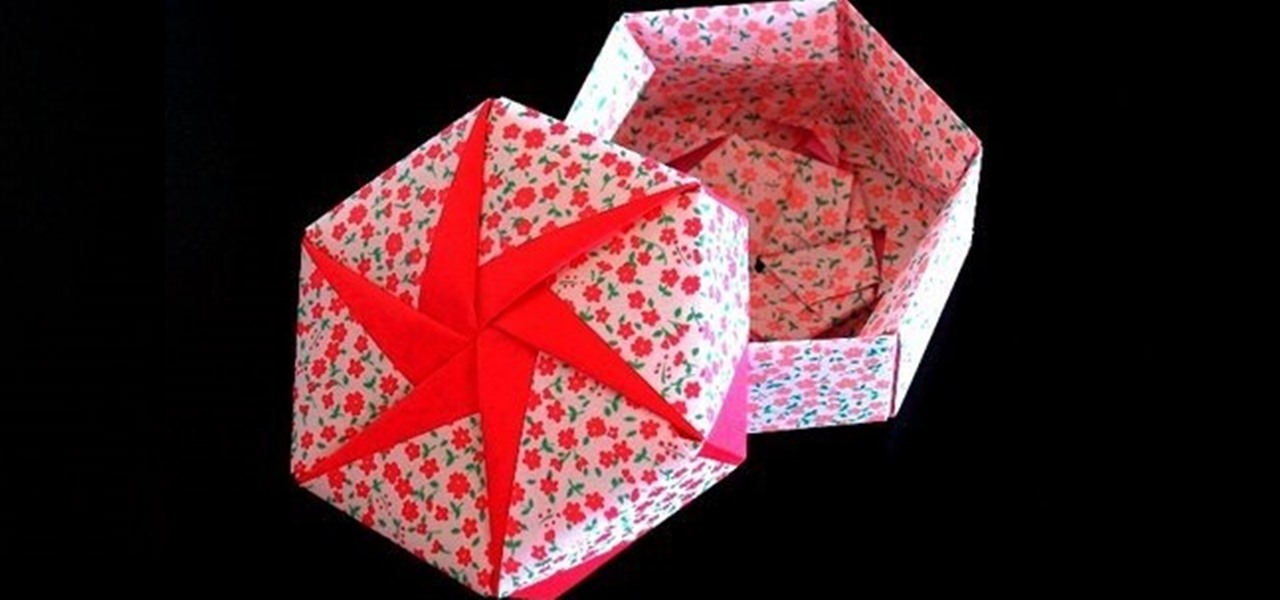
How To: Make a hexagonal origami gift box
Want to make a next-level origami gift box? This video tutorial presents a complete, step-by-step overview of how to make a hexagonal sonobe paper gift box using origami, the traditional Japanese folk art of paper folding. For more information, and to get started making your own paper cubes, watch this arts-and-crafts guide.

How To: Get a loose drawstring back into clothing
If you're drawstring fell out, it may seem like the end of the world, but take a deep breath -- it's possible to put back in!

News: Fully Functional DIY Pump Action Shotgun Made Out of Paper
This is no paper gun like you've ever seen before. Seriously. Tacome1942's homemade paper shotgun is a life-sized, fully functional Remington 870 replica. It would be hard to tell it apart from the real deal, not to mention it practically sounds like an authentic shotgun, too. The shotgun is made of approximately 97% paper, the remaining 3% consisting of pins, wires, and springs. Check out all the videos below to see the finer details, including the trigger group, shell stop, and disassembly ...
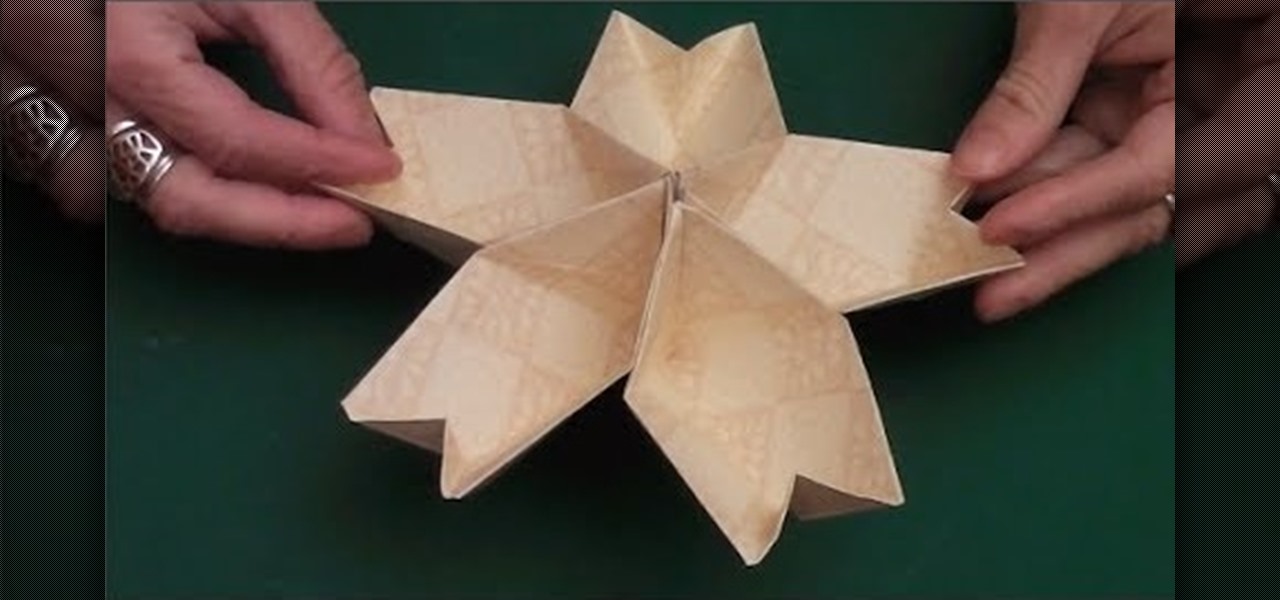
How To: Make the Origami Kusudama Cherry Blossom Flower
I've reached 3,000 subscribers!!! (27/2/2104) So here's an Origami tutorial!

How To: Disassemble your home sewing machine for routine maintenance
Many sewing machine repairs can be made at home, and most repairs can be completely avoided through routine sewing machine maintenance. This tutorial shows you how to carefully disassemble your machine to give it a round of maintenance. You will need a screwdriver - make sure not to lose any of the screws!
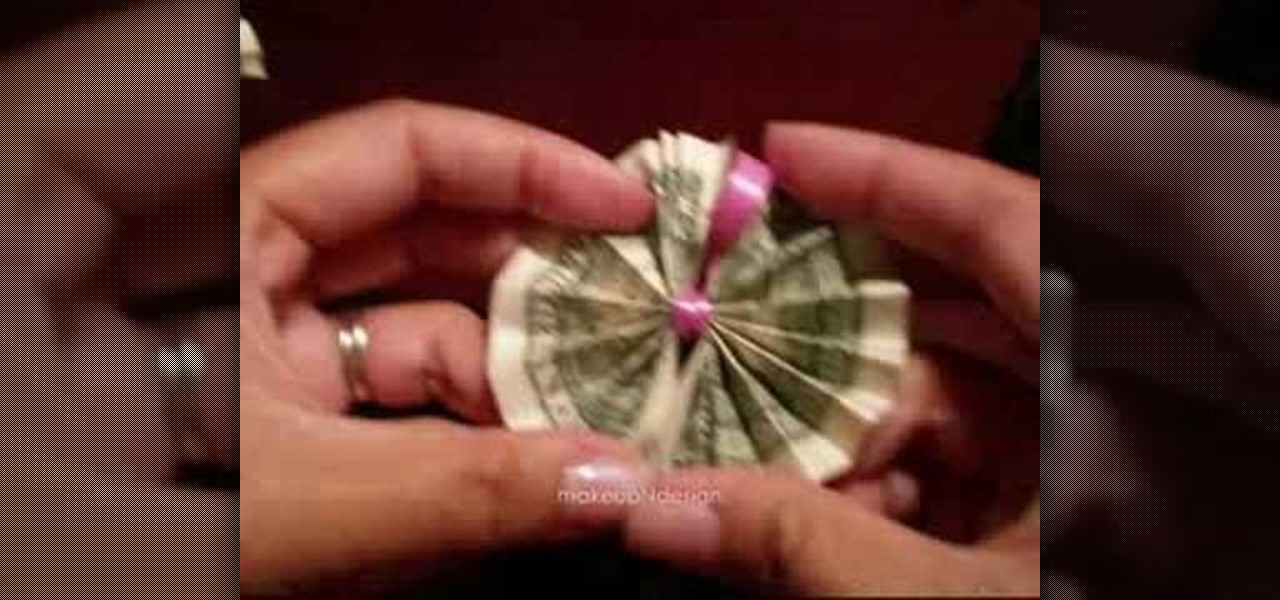
How To: Origami Money to Make a Hawaiian Money Lei
This video origami tutorial shows how to fold up dollar bills and attach them onto a lei necklace to create a Hawaiian money lei. Watch, follow along, and never give a cheap, boring gift again.
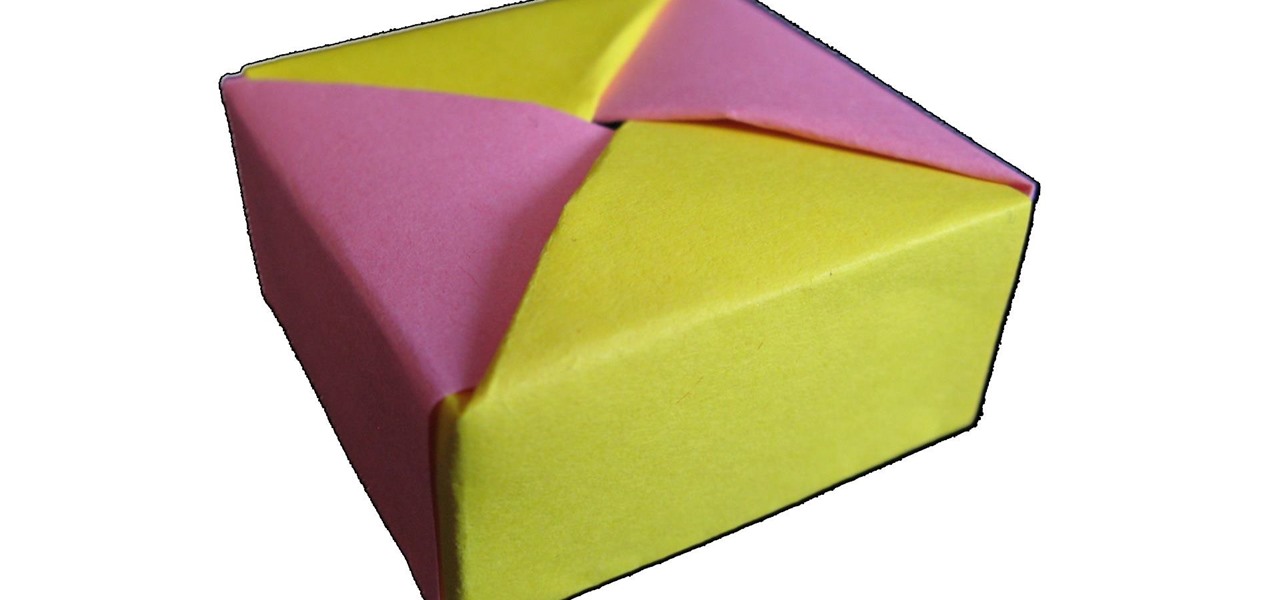
How To: Make Origami Box with Lid
Learn how to make easy origami box with lid instructions: What you need: 4 square pieces of paper for the box
How To: Build a Paper Gun That Shoots Paper Bullets Without Blowing
This how-to enables you to build a power pump gun with auto reload. I had a problem when I was looking for this kind of guide; I couldn't find it; therefore, I built it. So, this is the video of my own invention.
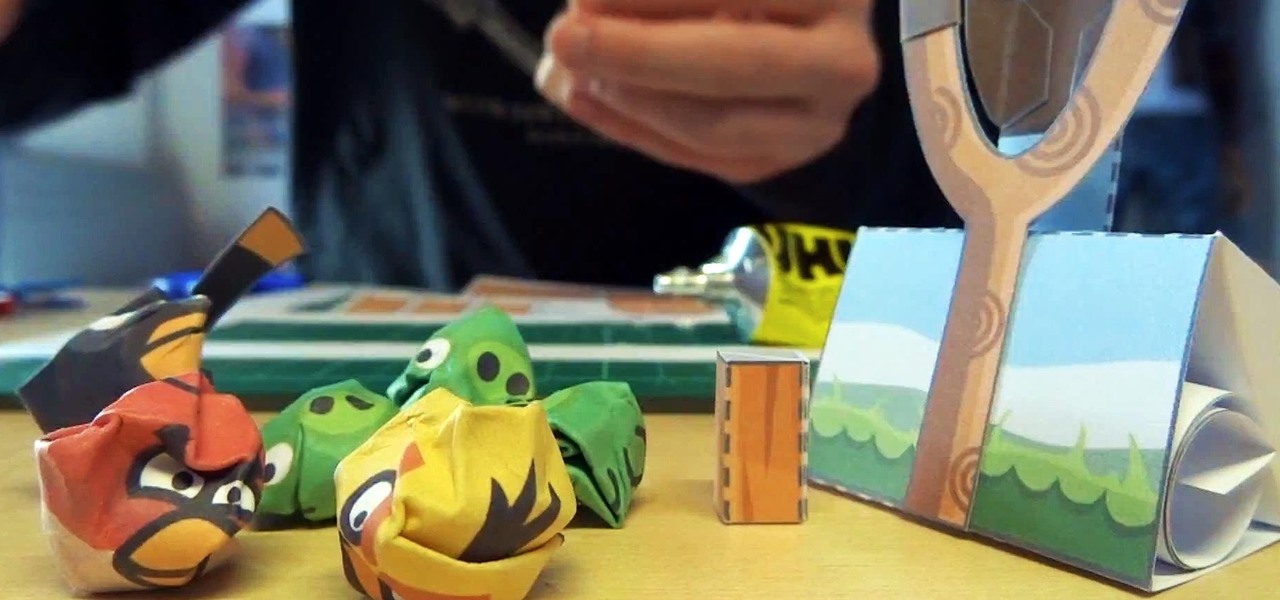
How To: Make Your Own Playable Papercraft Version of Angry Birds
Although it's been several years since Angry Birds first came out, it's still going strong in the App Store, currently third place on the Top Free Apps chart. The new Angry Birds Star Wars is sixth place on the Top Paid Apps chart. What does this show us? Those pesky birds can't be shooed away.
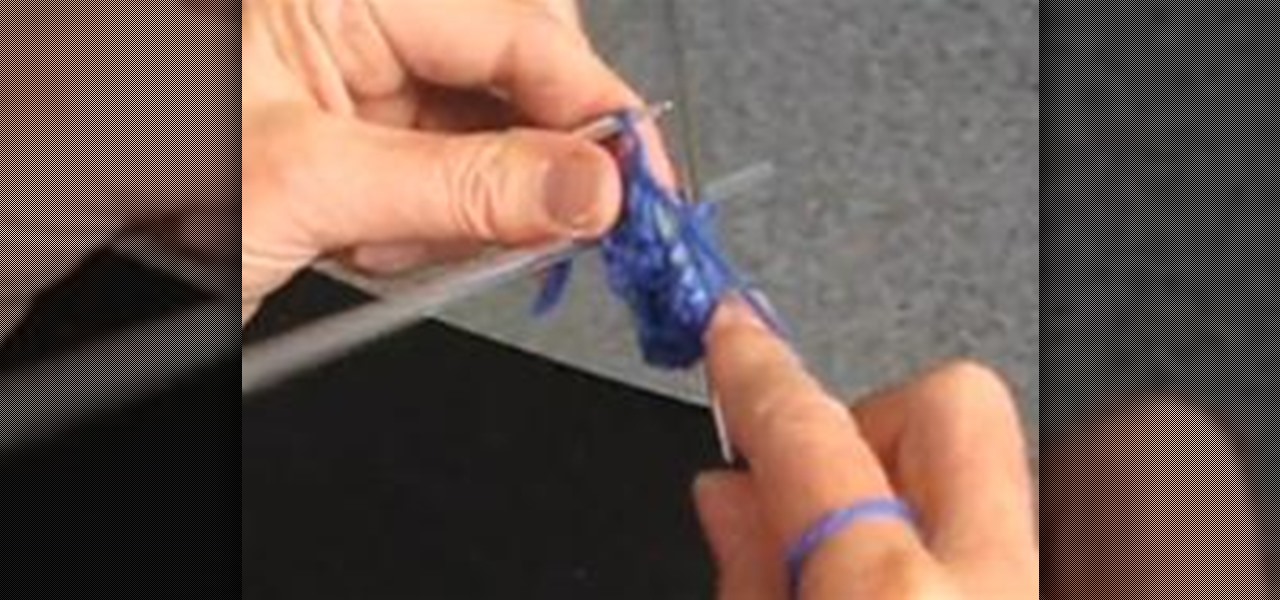
How To: Knit Ribbing on Double Pointed Needles
Ribbing on double pointed needles is quite simple. Here's what to do:
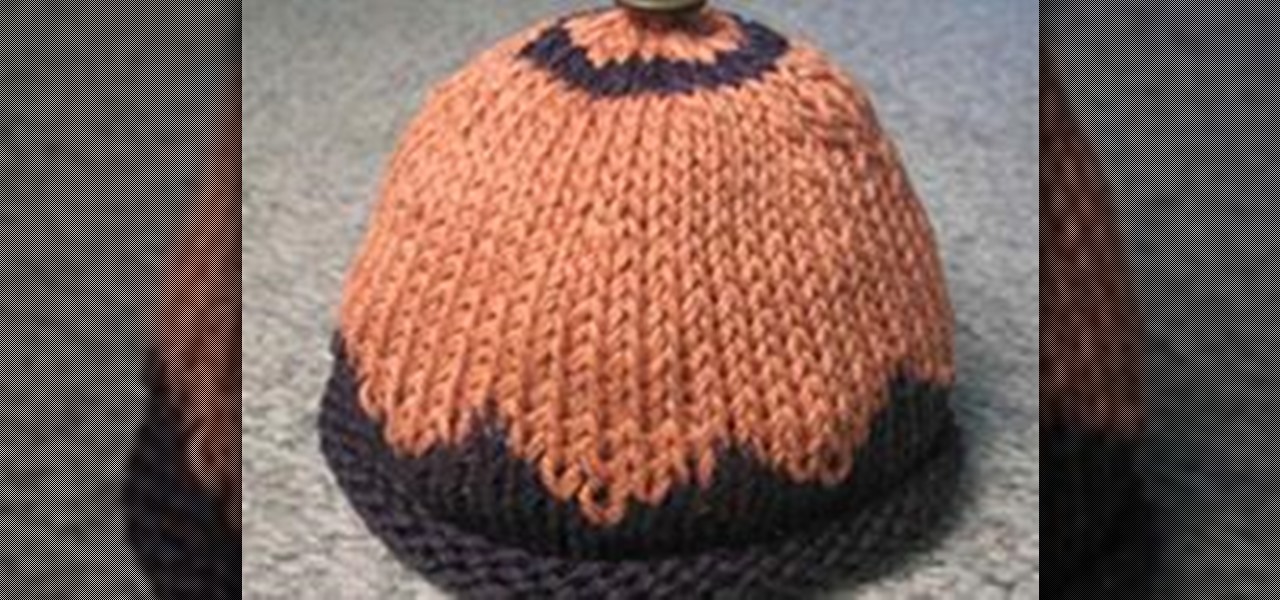
How To: End a Knit Hat
Some time, when you are making a hat and after you have done your decreases for the crown, you will get to the end of your hat pattern and it will simply say "end the hat". Here's what to do.
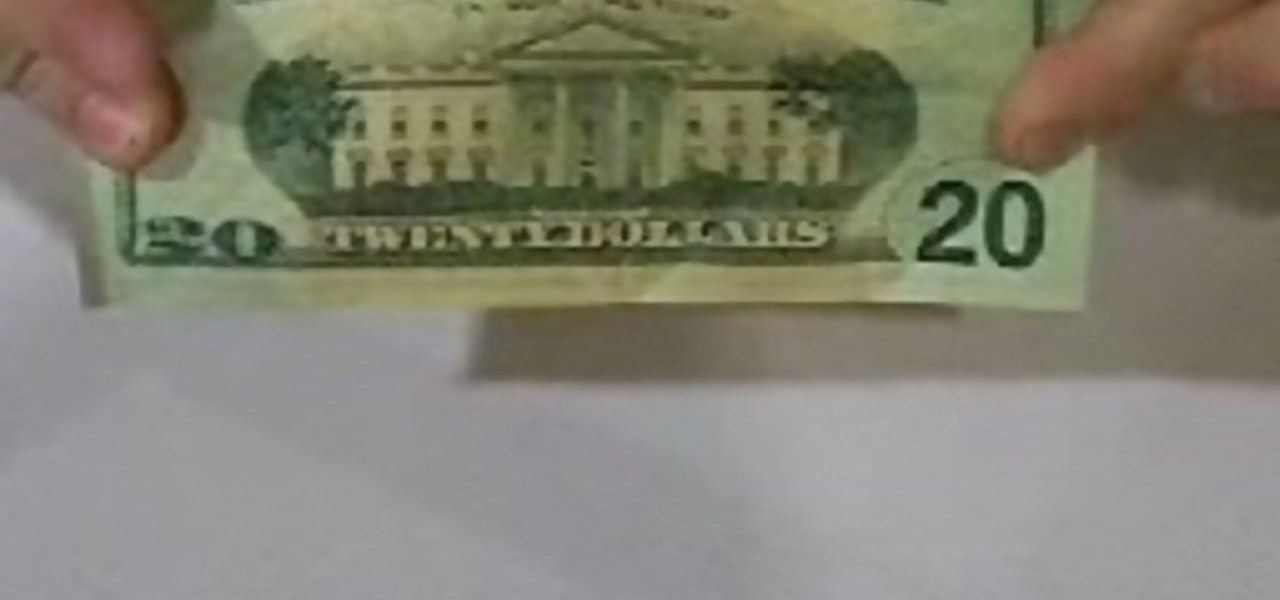
How To: Make a paper football with a 20$ bill
In this tutorial, we learn how to make a paper football with a $20 bill. First, take the bill and fold it in half length wise. Next, take the bill and fold one of the ends into a triangular shape. After this, fold the triangle over and keep doing this until you get to the end. When you reach the end, and tuck the flap on the end into the pocket you created. After this, you can hold the bill up with your fingers, and flick it with your other fingers. You can use any type of bill to make this, ...
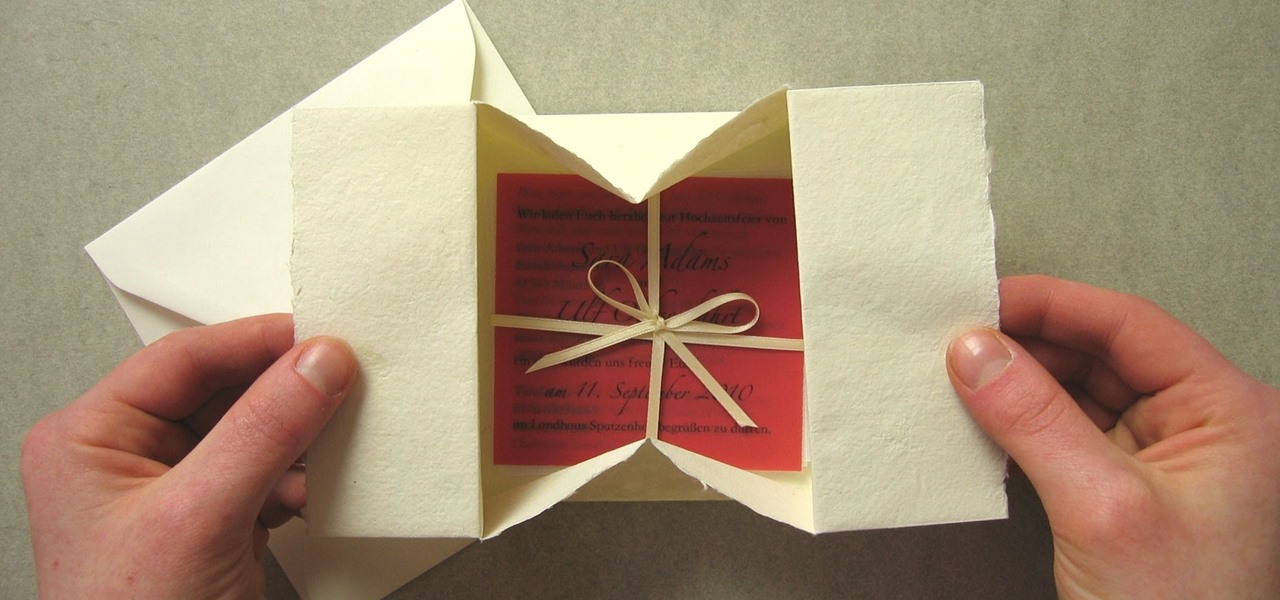
How To: Origami a collapsible gift box
Fold your own gift boxes with this tutorial on how to origami a collapsible box. Traditionally known as a water dish or orisue, this box is a cute way to box up small presents like earrings and necklaces.

How To: Make a paper box step-by-step
Learn how to make a simple paper box with this short video. You will need some strong paper like construction paper or light cardboard, a pair of scissors, and tape. For a neater box you will also need a ruler. First you will draw the shape of the box, which looks like a plus sign. Use a ruler for straighter edges. Then you will need to cut out the shape and fold along the lines. Add decorations to your box if desired. Last, you will be taping it to form a box shape.
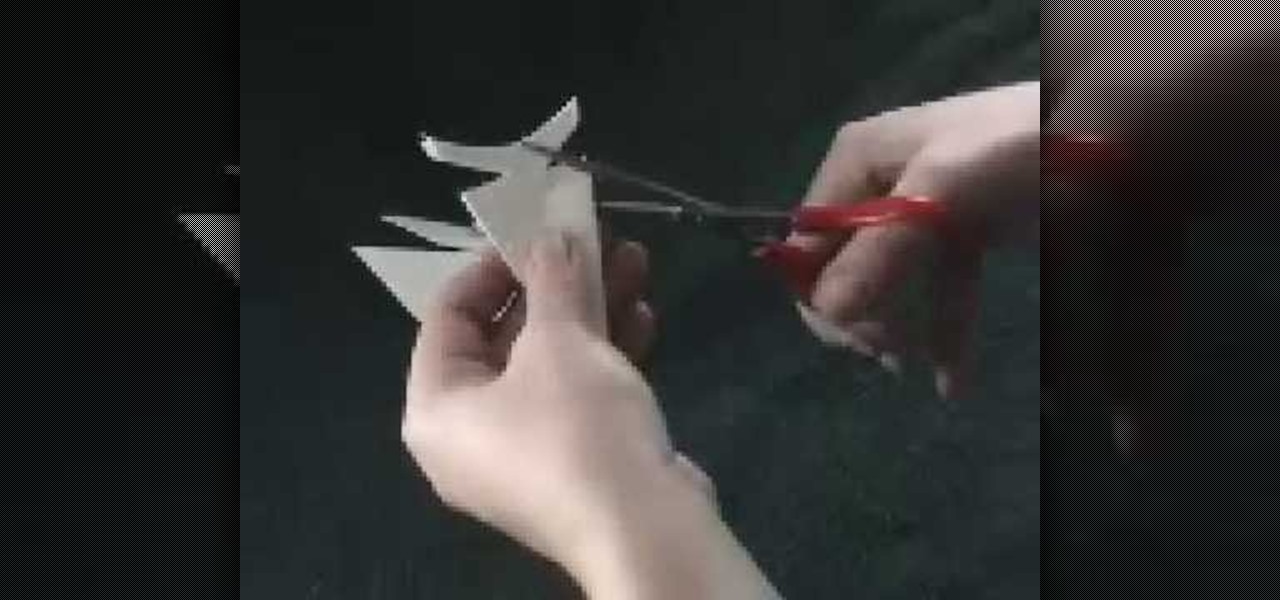
How To: Make a six sided paper snowflake
Most paper snowflakes are not representative of the proper 6-sided shape of snowflakes. This tutorial will show you a method which will allow you to make a beautiful and symmetrical realistic six sided paper snowflake. You will need to start with a square piece of paper, which you will then fold over diagonally to make a triangle shape. Taking the inner edge towards yourself, you will then need to fold the paper over into thirds and cut off the excess on an angle. After this, proceed as you w...
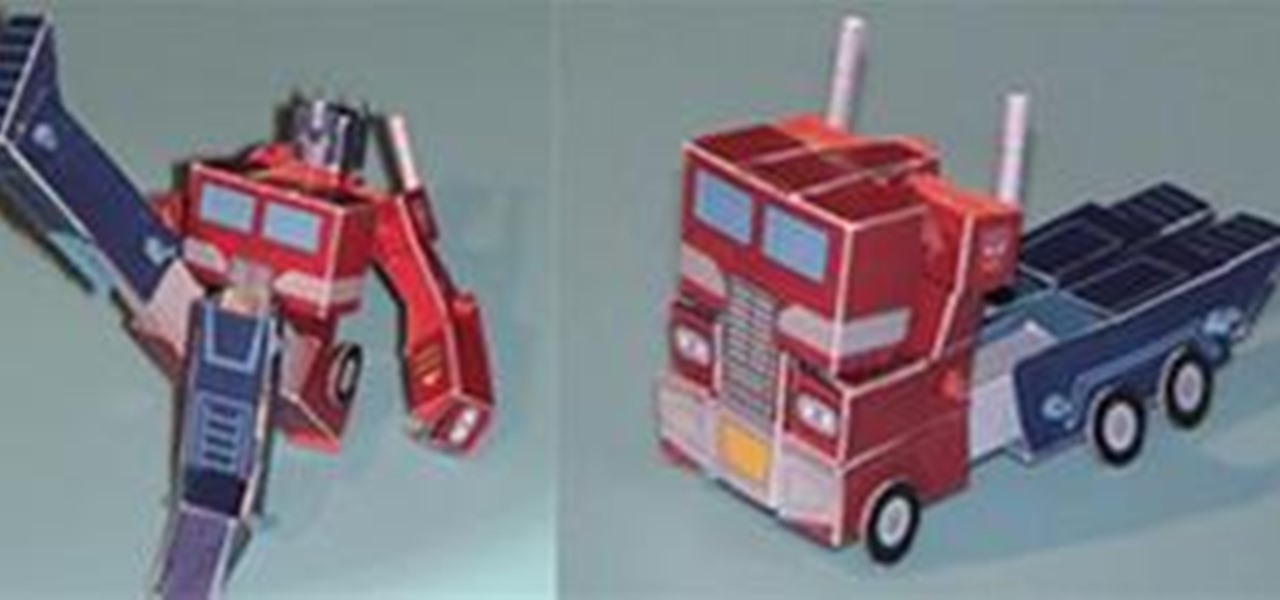
News: Make Optimus Prime Papercraft
Papercraft + Transformers = Fanboy nirvana. Papercrafting is enjoying a renaissance thanks to its nerd-love. Popularity of card modeling boomed during World War II when paper was one of the few items whose use and production was not heavily regulated. Micromodels, designed and published in England, were a popular source of military-themed modeling designs.
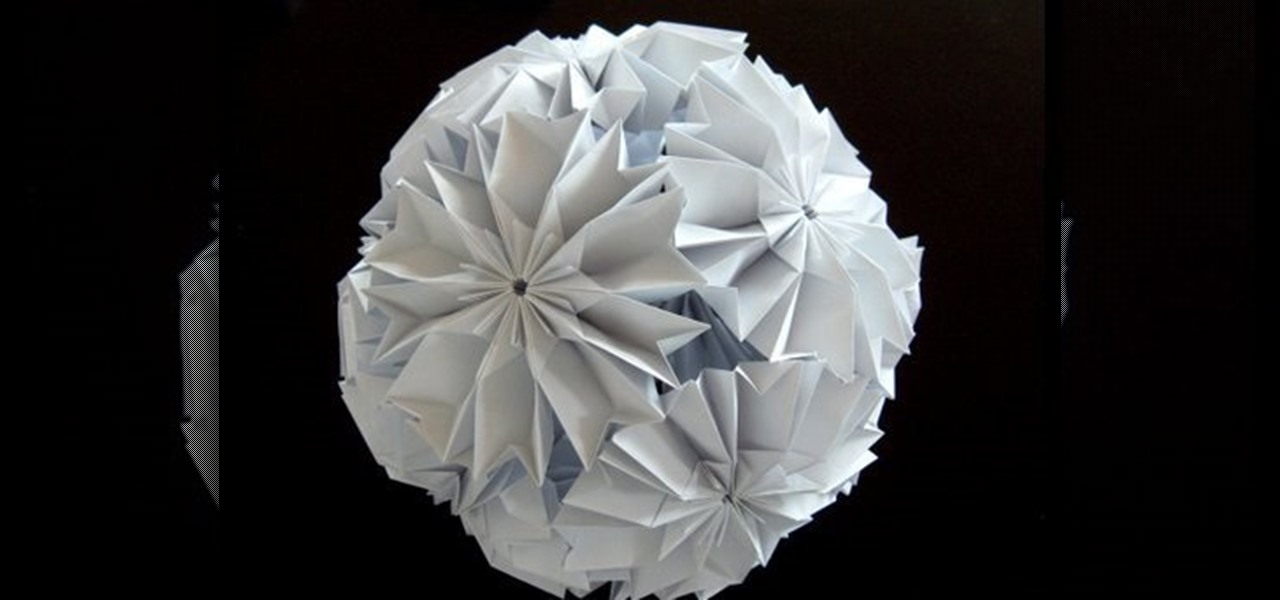
How To: Origami a cherry blossom Ku-Kusudama
Learn how to make this origami cherry blossom Ku-Kusudama. This is a very lengthy, complicated project, so it's probably not a good one for beginners.
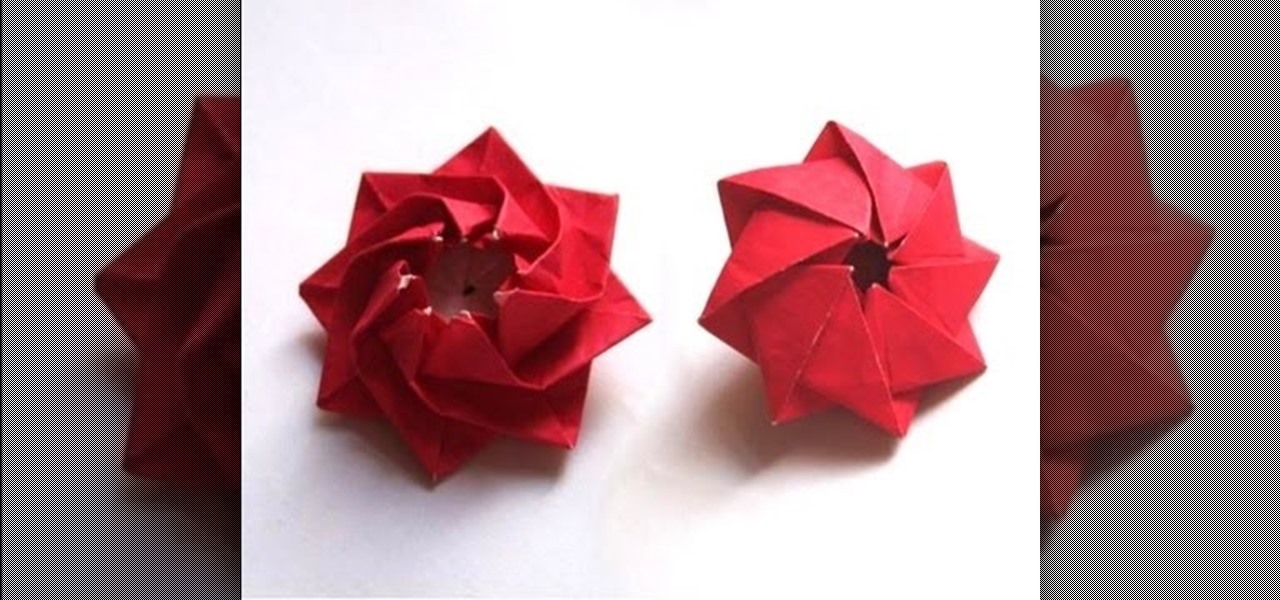
How To: Origami the "Blütenkreisel" pinwheel flower
This video demonstrates how to fold the origami model "Blütenkreisel" that Carmen Sprung designed. Carmen kindly gave me permission to make this video accessible to you. Note that you have to start with an octagon, rather than a square piece of paper.
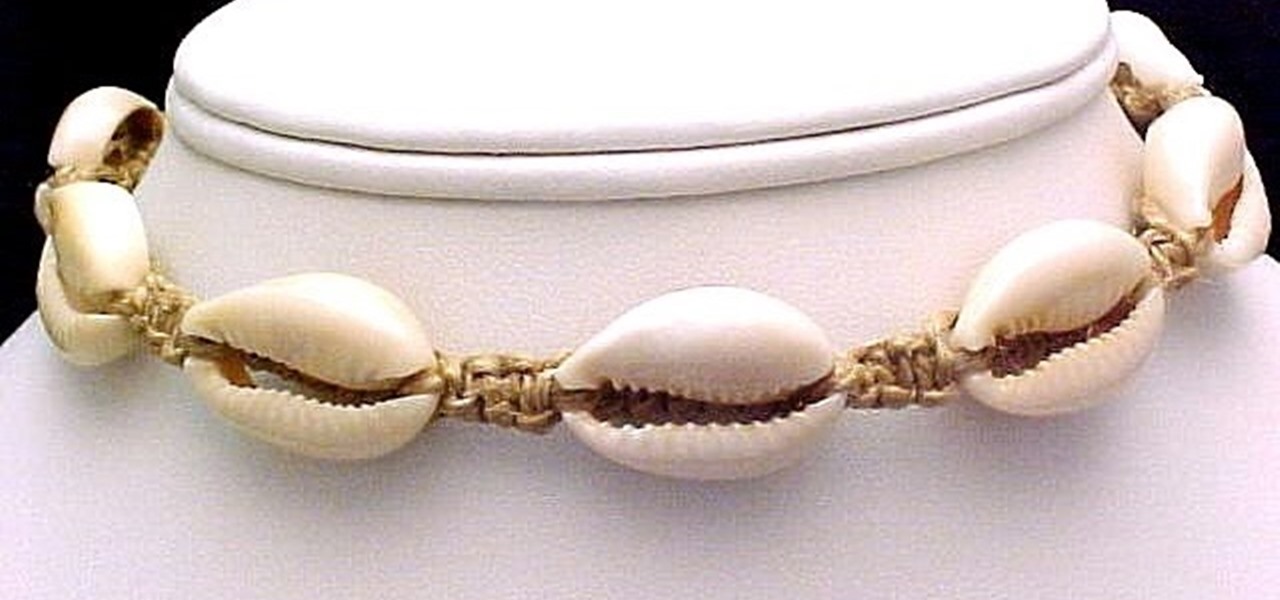
How To: Add a Cowrie Shell onto Hemp Macrame Jewelry
A step by step video tutorial on how to add cowrie shells onto hemp jewelry.
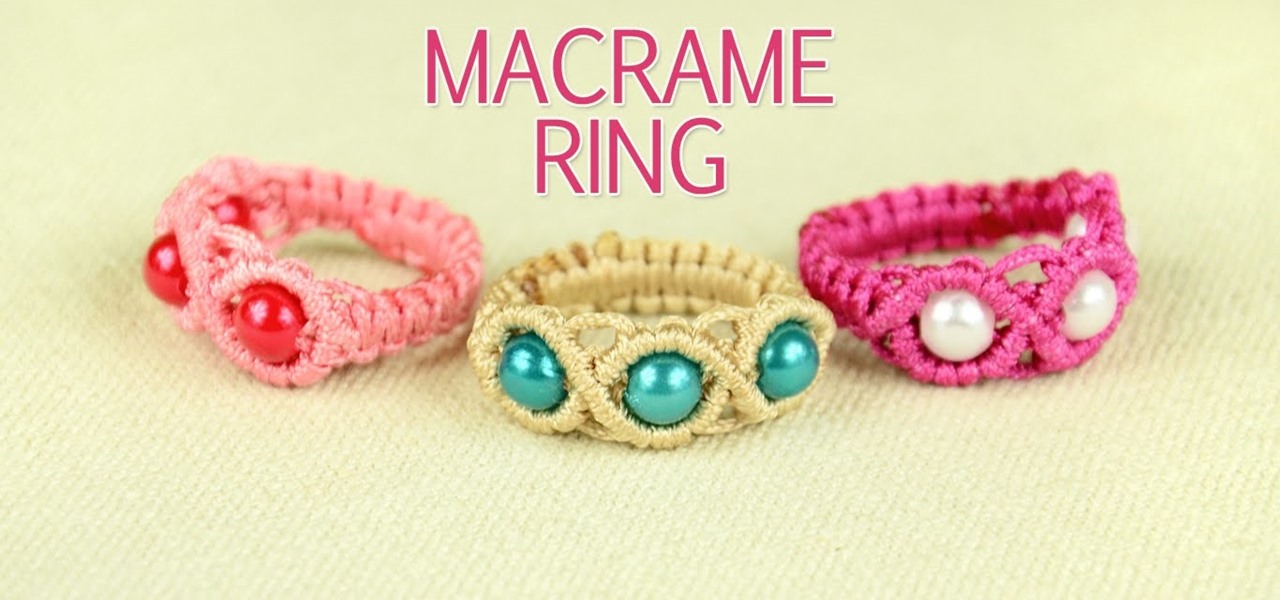
How To: Make a Macrame Ring
How to Make a Macrame Ring with Beads. In this way you can also make a bracelet.. see more in video.
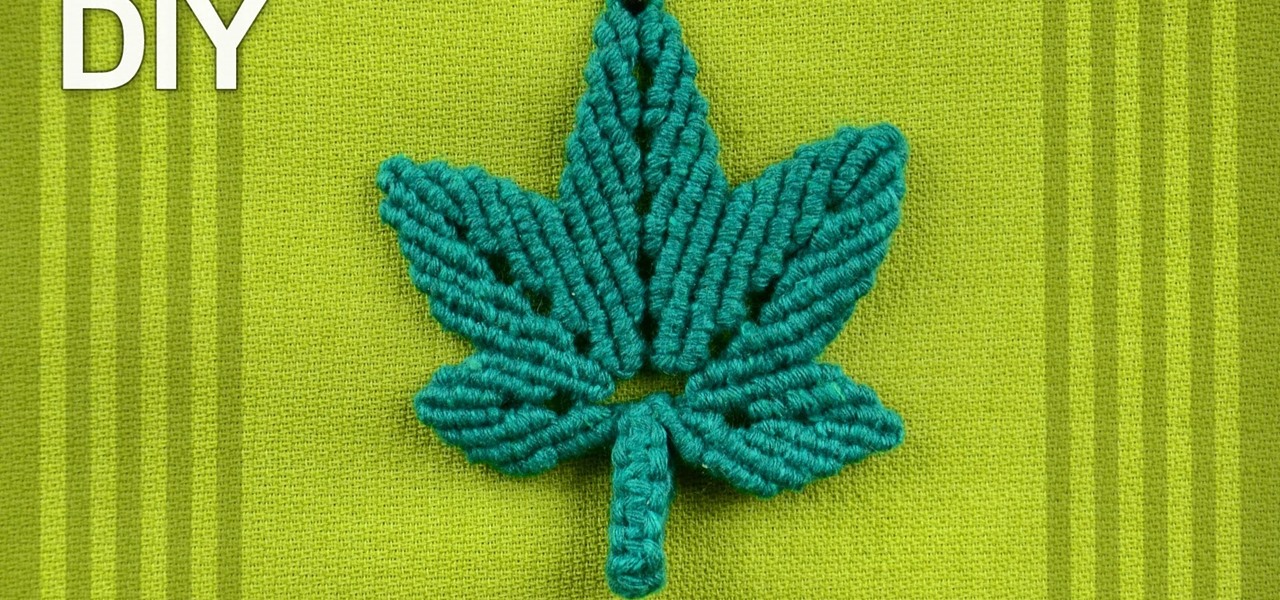
How To: Make HEMP LEAF (DIY)
How to make Macrame leaf. Looks like a hemp leafs.

How To: Make a Perfect Fitting Pants Pattern for Yourself
Pants are here to stay. Women of all ages love wearing pants. Jeans, trousers, slacks, corduroys… whatever. Everyone wants them to look and fit great, while being comfortable.
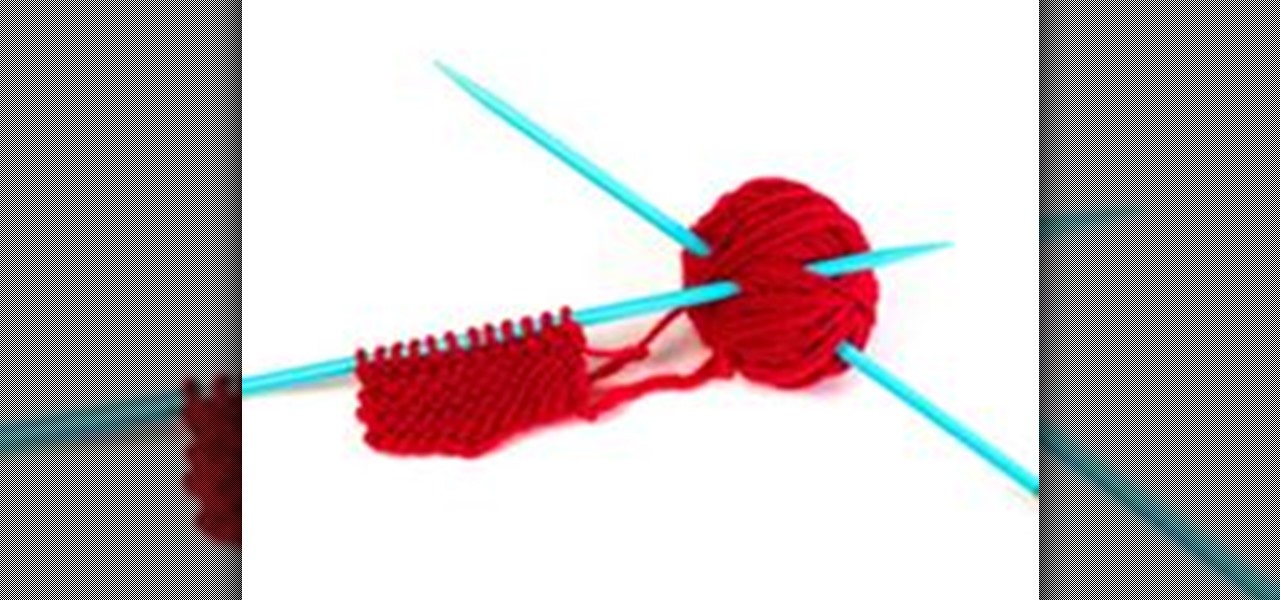
How To: Cast On Stitches at the Beginning of a Row in Knitting
Sometimes your instructions will include having to CAST ON AT THE BEGINNING OF A ROW. It's not difficult and here's how to do it.

How To: Make Fringe
There will be times when you will want to add FRINGE to your work. Scarves, blankets, shawls, etc., sometimes look better with FRINGE added.
How To: Make an origami guitar out of a dollar bill
This is a great bar trick you can use to amuse your friends with! Or, you can be the cool aunt or uncle at the family reunion. All you need is a dollar bill (larger denominations will obviously also work). Then just follow a few steps outlined in this video to fold the bill into the rough shape a guitar. It might take a little bit of practice, but you can memorize all the steps in just half an hour or so.
How To: Fold a cute origami dollar bill shirt and tie
We know that Father's Day seems ions away, but spring is approaching swiftly (we see the snow melting outside already) and the occasion will be here sooner than you think! Get ready for Father's Day by folding this simple origami shirt complete with a tie.
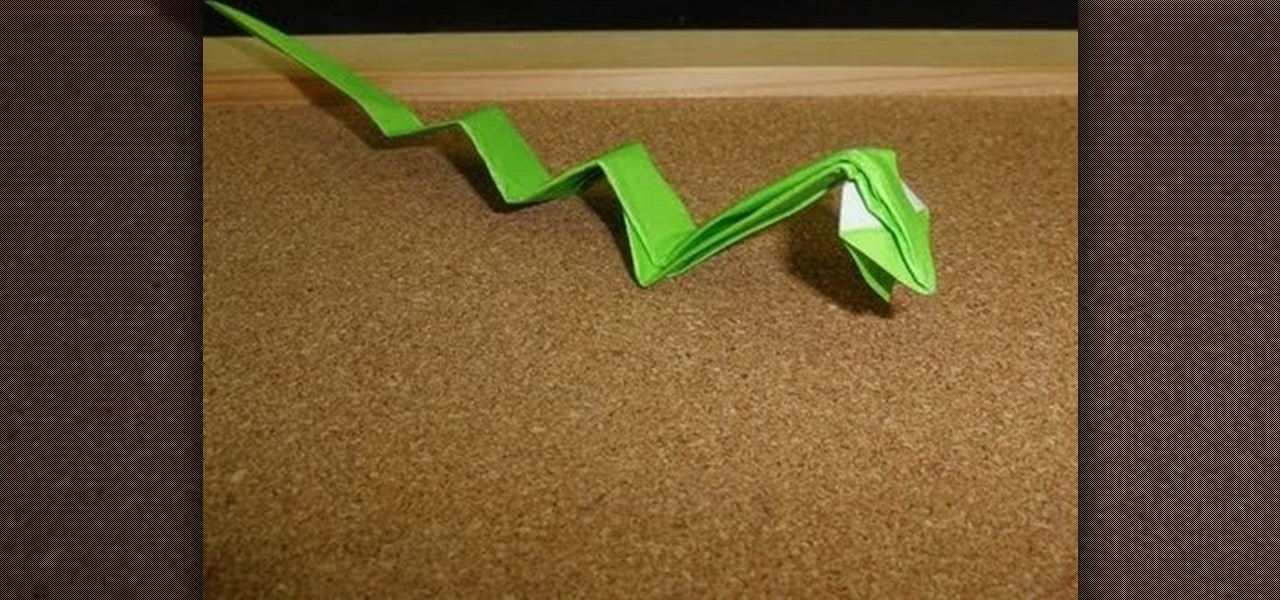
How To: Fold an origami snake from the Chinese zodiac
Happy Chinese New Year! Now that the beginning of another year is upon us, celebrate the cycle of life and of time by making one of the twelve animals from the Chinese zodiac. Check out this video to learn how to fold an origami snake.
How To: Make an elegant four leaf clover pendant ring
Part 1 of beading video showing how to make a four leaf clover ring and pendant. Part 1 of 3 - How to Make an elegant four leaf clover pendant ring.

How To: Rig up a harness out of rope to carry large boxes
You will need around twenty feet of thick, sturdy rope (something smooth like jute or nylon will also prevent the harness from digging into your skin). Tie as demonstrated in this video, and you'll have an instant messenger bag for carrying boxy things around!

How To: Fold a five pointed shooting star out of origami paper
Make a wish! I wish... I knew how to fold a falling star out of origami. Well, now your wish is granted! This is an easy and fun tutorial that shows you how to fold a five pointed shooting star from origami paper!

How To: Fold an origami bow tie with a dollar bill
Going to a black tie affair and don't have a bow tie? Well, this video won't help you in the least - but, while you're trying to figure out what to do, you can nervously fold an origami bow tie out of a dollar bill... Don't know how? Watch this video from Fold Something.

How To: Make a paper cookie-cutter dodecahedron with origami
Looking for an easy modular origami project? This video tutorial presents a complete, step-by-step overview of how to make an impressive 3D dodecahedron using origami, the traditional Japanese folk art of paper folding. For more information, and to get started making your own modular dodecahedrons, watch this arts-and-crafts guide.
How To: Fold an elegant origami butterfly
This video explains how, with the help of paper, we can make a beautiful butterfly. Now take a square paper; you can have a nice one so that it looks beautiful. Now fold the paper into half and again fold the paper in half. Now make triangles by folding again. Now open from between and shape up the wings. This nice butterfly can be used to decorate cards and folders and gifts, too. This looks so beautiful just like real one.

How To: Double crochet intarsia using a chart or graph
In this five-part video tutorial, learn how to double crochet intarsia using a graph or chart. Intarsia knitting is an advanced knitting method, used to knit with several colors of yarn. The simple heart chart used in this video is available here.
How To: Crochet spiral scrubbies with a pattern
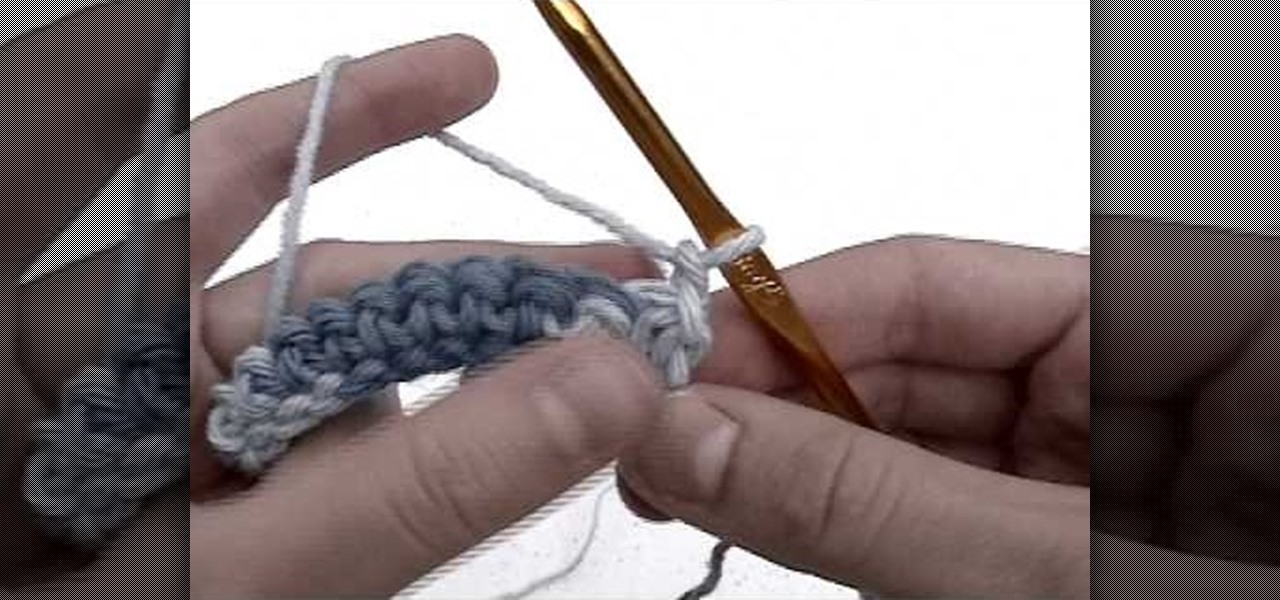
Learn all there is to learn about yarn from Naztazia... watch this video tutorial to learn how to crochet spiral scrubbies with a pattern.

How To: Origami a cat box Japanese style
Fold an origami cat box. Origami Club in English is a free origami information site, with origami animations and origami diagrams.
How To: Fold an origami shuriken (ninja star)
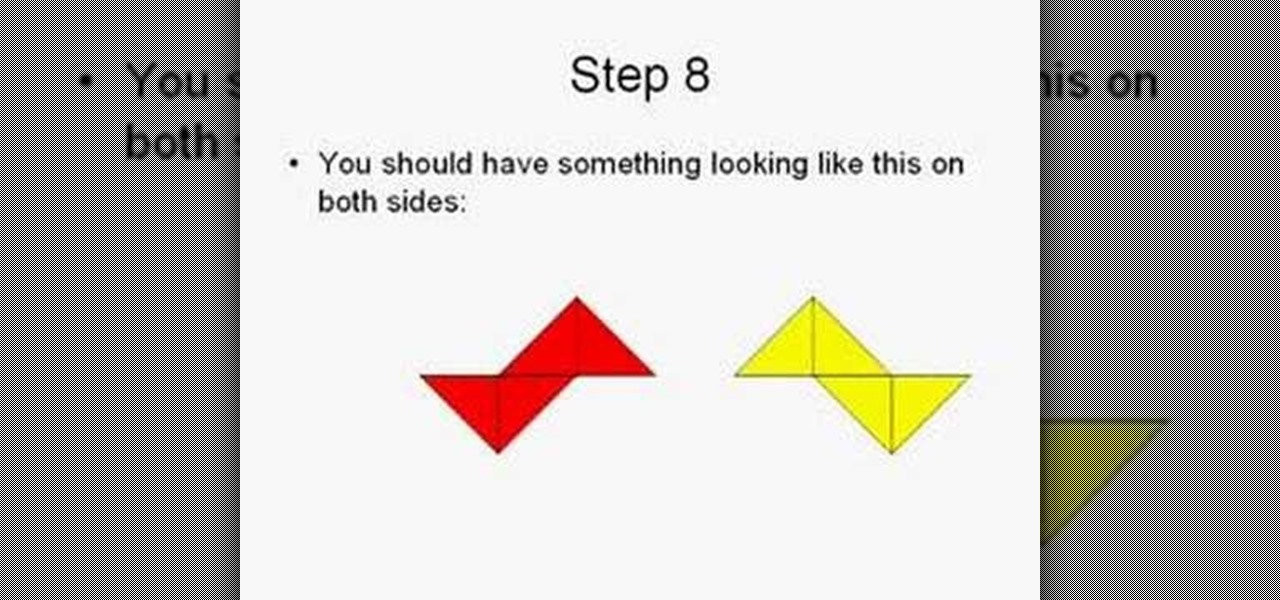
A full guide to making the perfect ninja star. I've seen loads of videos of how to make Ninja Stars, and I don't have a clue what they mean. So I decided to make this how to video on paper ninja stars (aka shurikens) and it's easier to understand and follow, especially for young children. Pause the video at any time, if you think the timing is too fast, Enjoy! ;)


