Hot Arts & Crafts Posts


How To: Make a paper shotgun that shoots
To make a paper shotgun you will need some tape and three pieces of paper. With the first piece of paper roll it up into a medium size tube and tape down the ends. The other piece of paper is going to work as the handle. Roll that piece up into a tight roll and secure it with tape to one of the ends creating the handle. The last piece of paper is going to be used as the bullets. Cut this piece into three even pieces and roll each piece into a cone shape sealing the end of each cone with tape....
How To: Fold an origami paper cube
In this video tutorial, viewers learn how to make paper cube. Begin by folding the paper diagonally in half and cut the bottom bottom edge off to make a squared paper. Open the paper up and fold diagonally on the other side. Open it up and pinch in the two upper corners. Align the two corners together and fold the inside to flatten it out. Do the same on the other side. Grab a corner and fold it up to the center. Do the same for the rest of the corners. Grab a flap and fold it to the center a...
How To: Close the toe with a kitchener stitch
If you've made it this far, you want to finish your knit sock the right way so you can fully enjoy the fruits of your labor. The kitchener stitch is the perfect way to finish knitting a sock. This video will show you to close the toe with a kitchener stitch.

How To: Make an evelope without scissors
This video will show you how to make an envelop without using any scissors. You’ll just have to fold the paper into a diamond and fold in all of the points to the intersection line. At about the halfway point fold the bottom half up and the top flap half way down. You’ll have to estimate that manuver to get the envelope look. The great thing about folding your own envelop is you can make it out of whatever you’d like including colorful magazine pages.
How To: Measure a quilt for binding
This is a great instructional video on how to measure a quilt for binding. This video teaches you about binding. First you have to get your quilt and tape measure. You need to know the size of your quilt. You have to be careful while measuring a quilt. You can measure the breadth with your measuring tape first. Then you can measure the breath as well accurately. You can take measurements down the center of the quilt. In some cases you can measure from one side, the center and the other side. ...
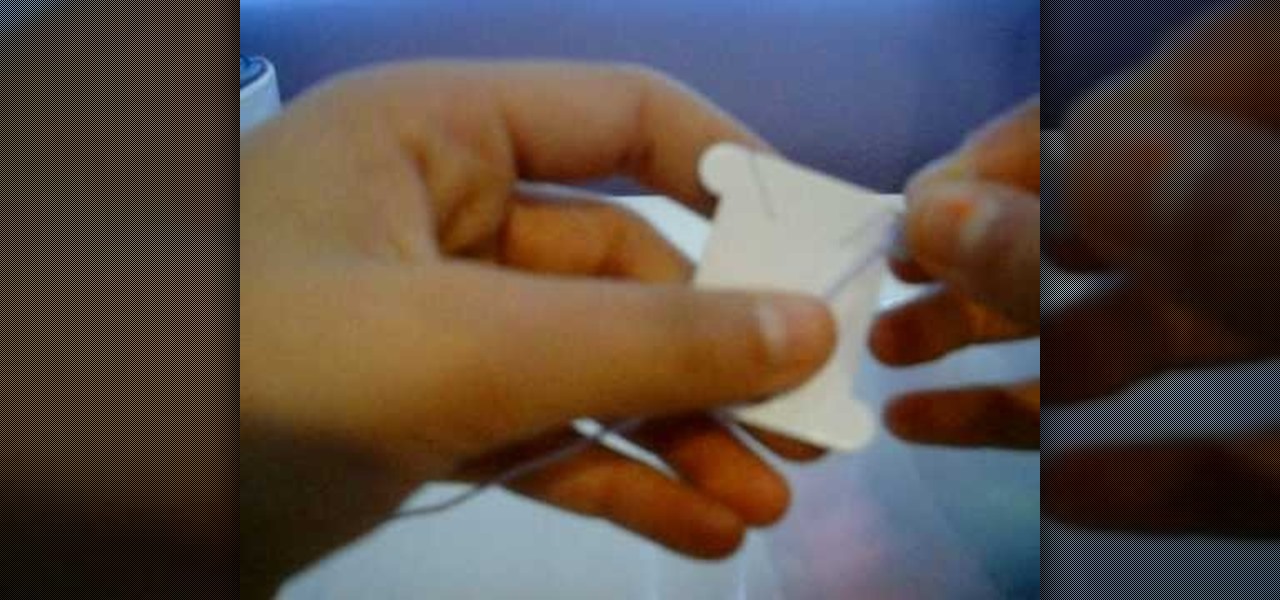
How To: Wrap embroidery thread around a bobbin
In this how-to video, you will learn how to wrap embroidery thread around a bobbin. In this example, the embroidery thread is both purple and light purple, but you can choose whatever you want. First, take the end of the embroidery thread and place it through one of the slots. Hold it back, and then wrap the embroidery thread around the bobbin until you get near the end of the thread. The end should be placed in a different slot on the bobbin. By viewing this video, you will learn how to quic...
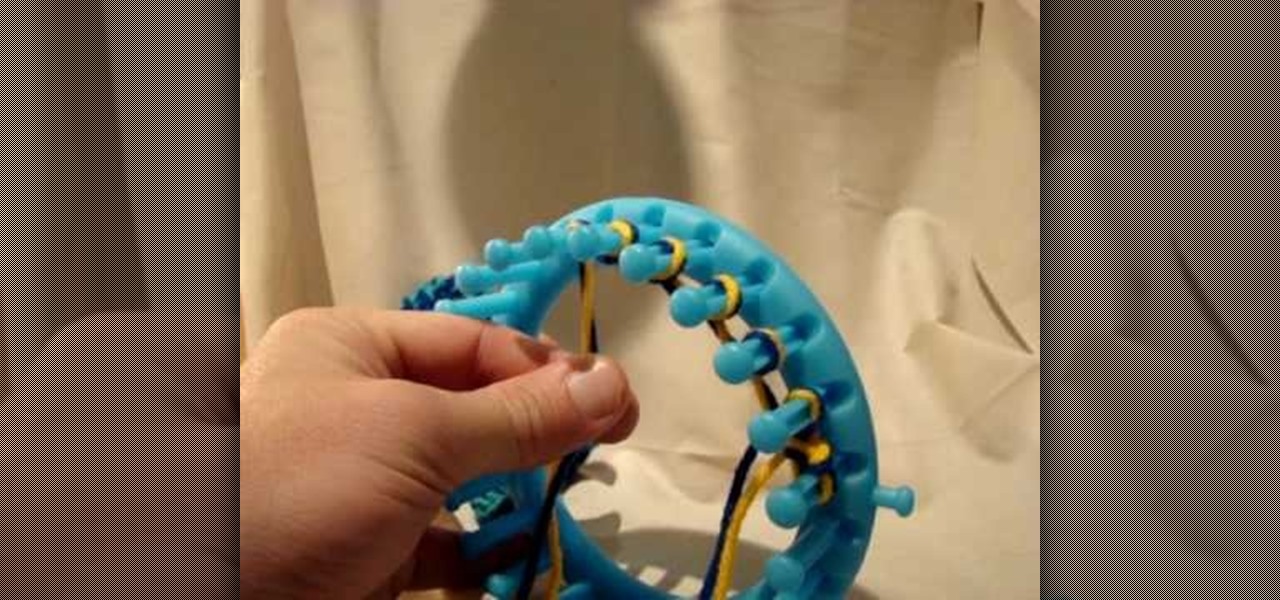
How To: Loom Knit Newborn Baby Mittens
When making these knit newborn mittens use 2 strings at the same time for warmth. Wrap the string around your finger twice to create a slip knot (back loop over the forward, and then pull it down to leave the loop). Use only 7 pegs from the 24 peg loom. Use the anchor as the starting point. Put the slip knot over the first peg. If you're right-handed, work towards the left; and likewise, if you're left-handed, work towards the right. Now, wrap over and back down the peg beside your first peg....
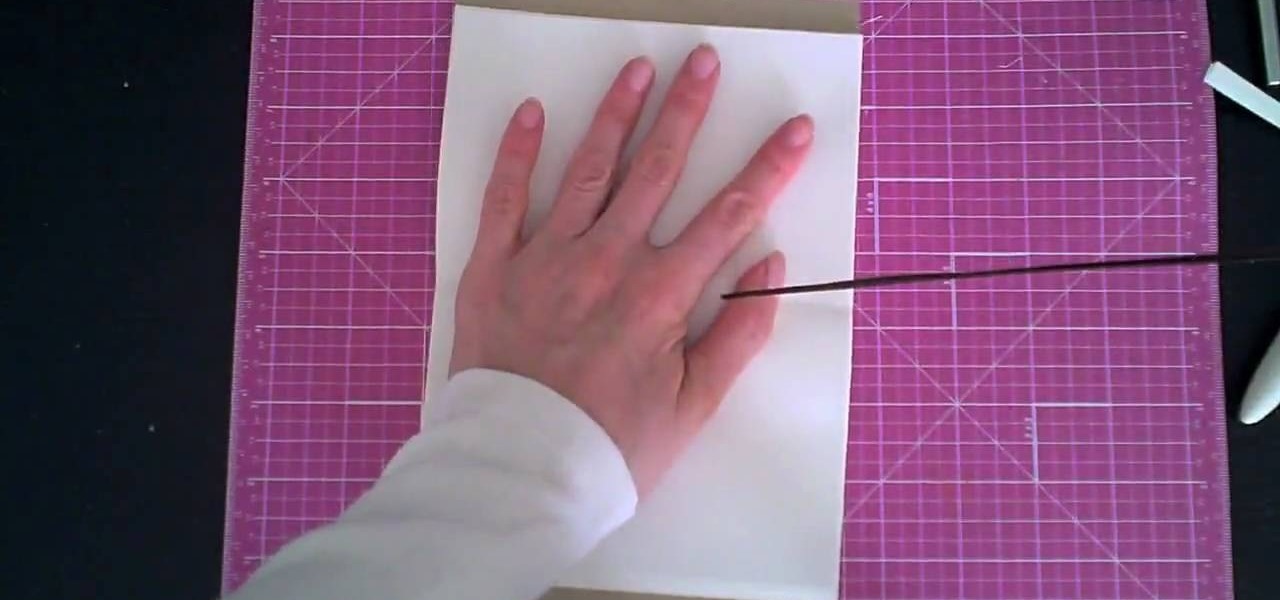
How To: Make a notebook with ribbon binding
This video demonstrates how to make a notebook with ribbon binding. Take a stalk of plain white paper and it would be 5 1/2" long and 8" wide. Fold it in half. Trim off the excess with a ruler. Then align the edges of the white paper. Put this in a cardstock which is 8 1/2" wide and 5 1/2" long. Cover rapid around the white paper stalk to make sure that it the spine is bounded. Take the grid ruler and center it and mark the center and also 1" from the center at each side to the left and right...

How To: Make Chinese paper lanterns with origami
This video illustrate how to make Chinese paper lanterns with origami. here are the following steps.Step 1: Take a string for holding the lanterns.Step 2: Now take a square sheet of paper and fold it diagonally so that two diagonal intersecting crease are formed.Step 3: Now hold the crease together and push it upwards to form a triangle.Step 4: Now fold the triangle into two equal triangles, do the same with the other side also.Step 5: Now fold one triangle and crease it to the center, repeat...
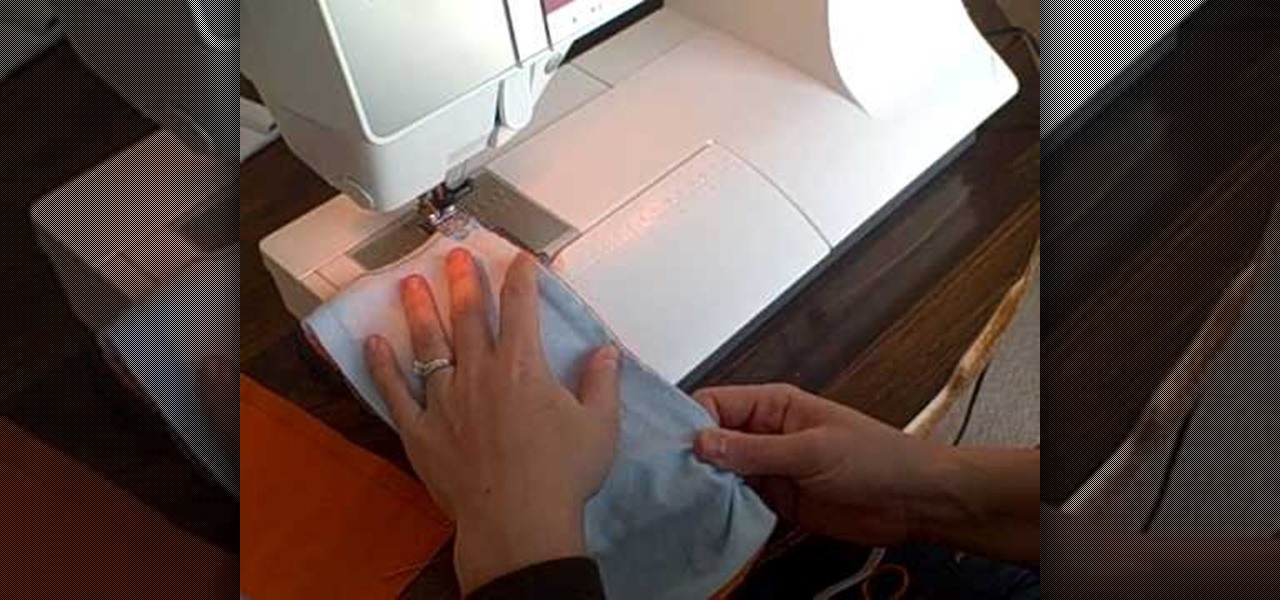
How To: Sew elastic (polybraid & Lastin)
This video is a tutorial on sewing both polybraid elastic and lastin elastic. Polybraid is a very sturdy fabric elastic, while lastin is a thin, clear, very stretchy elastic, good for use in diapers. It is important to buy name brand lastin elastic to ensure good quality.
How To: Attach binding to a quilt
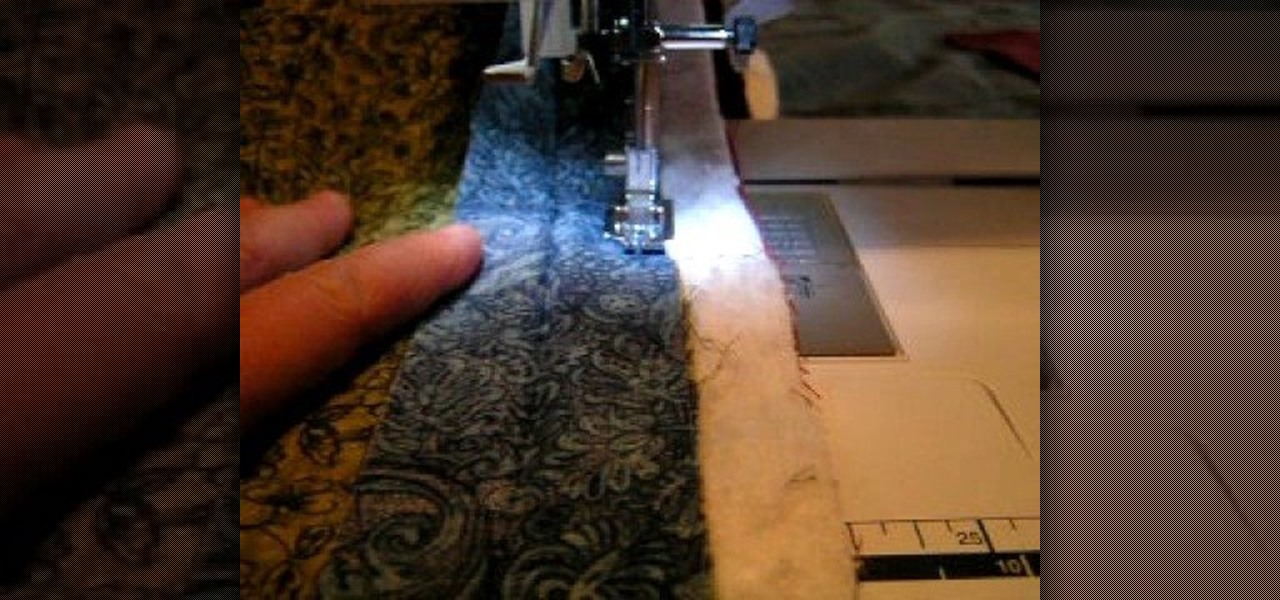
This video demonstrates how to attach a binding to a quilt. At the point of the video, your quilt should be complete up to attaching the binding. It should already be pinned and basted. You should have quilted together all of your squares into your desired pattern. Your batting should be cut. You should be in the final stages of assembling the quilt.

How To: Make a boring paper clip into a really fun spinner
In this video tutorial, viewers learn how to make a plain paper clip into a spinner. The materials required for this spinner are a paper clip and a pair of pliers. Take the paper clip and straighten it. Now use the pliers to bend the tip of the clip at 90 degrees. Then bend it 90 degrees to left side and start bending the wire into a circular shape. The shape will look like a pretzel. Now bend the end tip of the wire 90 degrees to the opposite direction of the first bend. You should end up wi...
How To: Origami a paper envelope without glue or tape
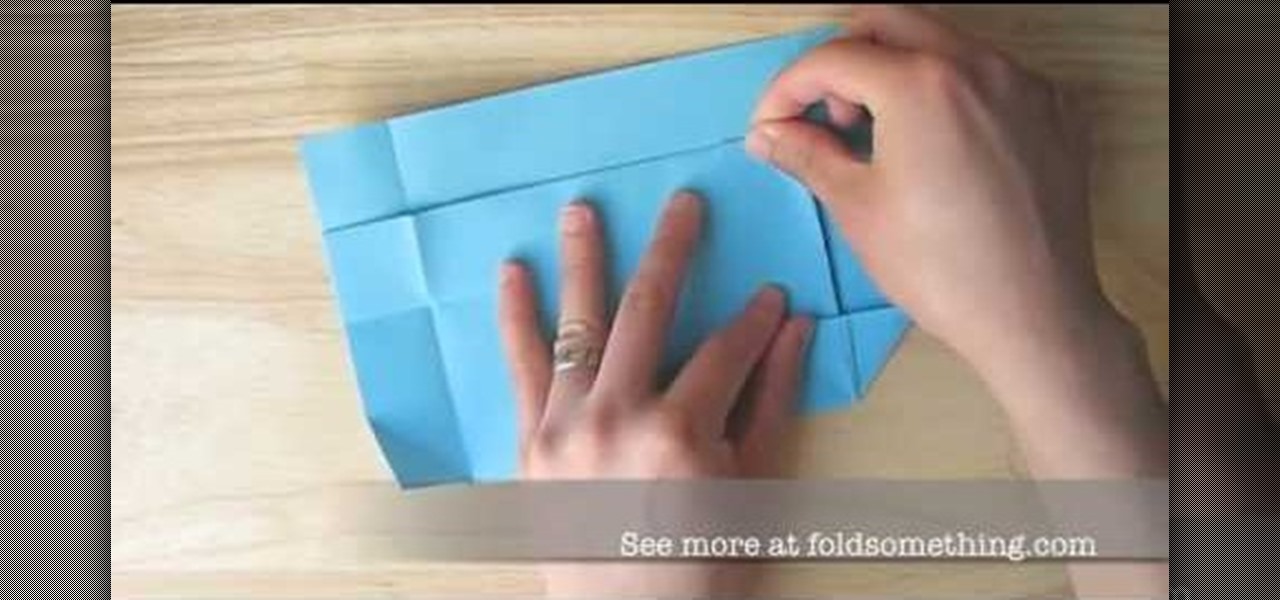
In this Arts & Crafts video tutorial you will learn how to Origami a paper envelope without glue or tape. Take a piece of paper and fold it in half hamburger style. Fold the open edge of the top sheet of paper back on itself so it reaches the closed edge. Repeat this step again. Give it a good crease, open it up and fold the open edge back to the middle crease and fold it back along the middle crease. This becomes the bar of the bar envelope. Now fold the other open edge of the paper so that ...
How To: Make a double-crochet edge
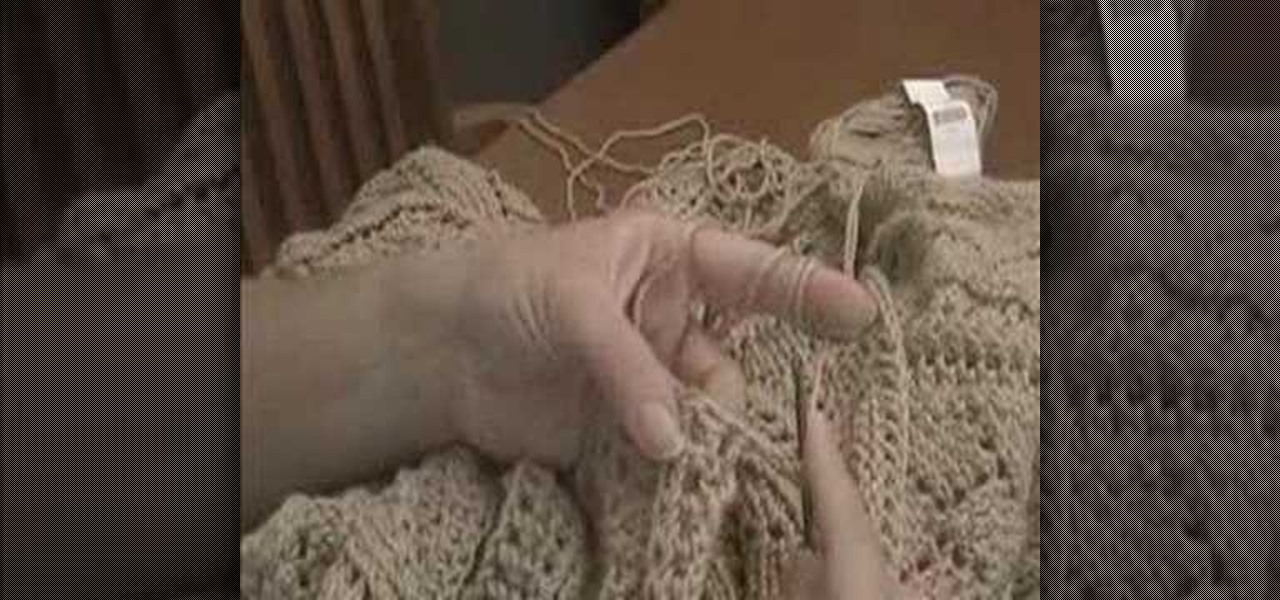
This video demonstrates how to make a double- crochet edge. The video uses a large cardigan neck to create a double crochet edge on. First, back the yarn around the hook and go into the next stitch. Then pull through a loop on to the hook. Take another loop on to the hook. Next, go through the first two stitches at the end of the hook. Then take another loop onto the hook and go through the last two stitches. So, you wrap, insert through next stitch, pull on another loop, draw the hook throug...

How To: Make a stained glass picture frame
In this Arts & Crafts video tutorial you will learn how to make a stained glass picture frame. This video is from Artists Resource. You will need a Marabu GlasArt kit, some white spirit, a china graph pencil, scissors, a ruler, sheets of scrap paper, lead tape and a picture frame. Take the frame and remove the clips. With the ruler and china graph pencil mark off and draw 6” squares. Rub off the center lines with a tissue. This is where the photo will fit. Next you fill the squares with the g...
How To: Measure a woman's hip circumference for a suit
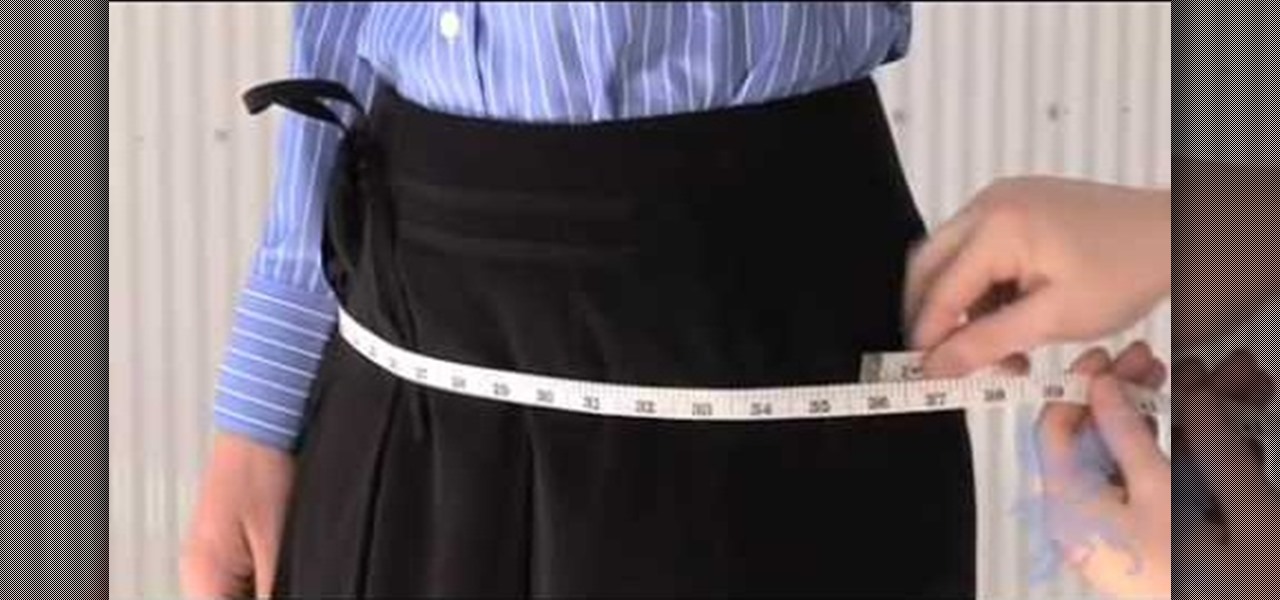
If you're interested in making a woman's tailored suit, chances are you will be taking some measurements beforehand.... and important ones. With the slightest centimeter or milimeter, a tailored suit can fit incredibly different than it's supposed to. In this video, learn how to properly measure a woman's hip circumference for a tailored suit.
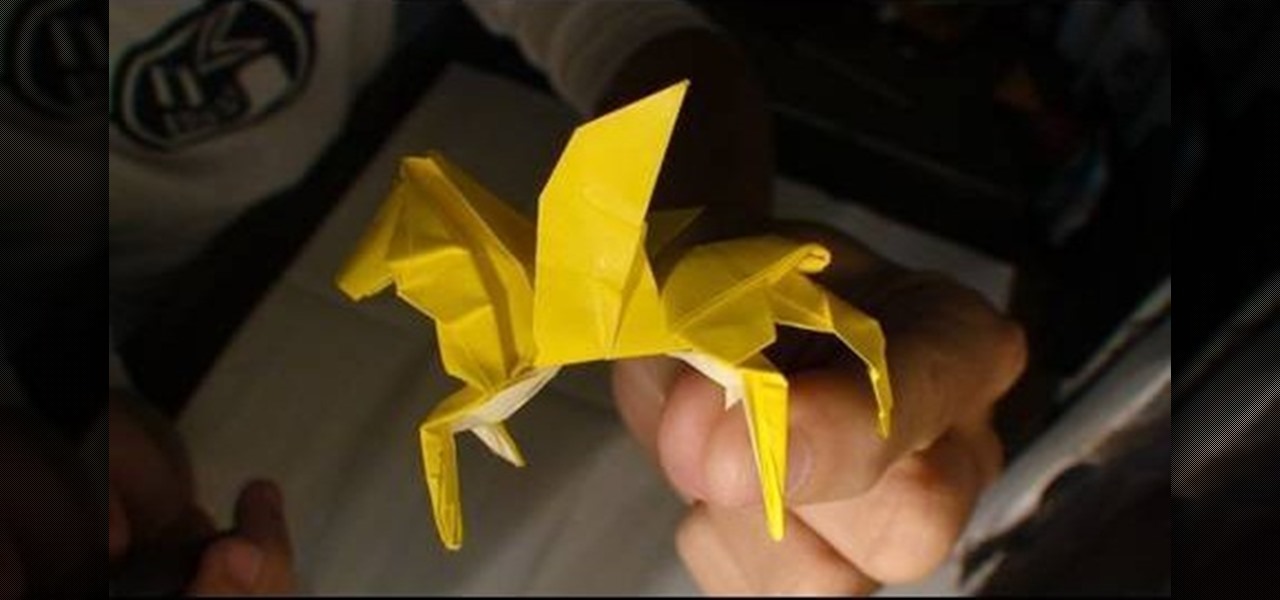
How To: Origami a winged horse
In this video, learn how to make this extensive origami project designed by Anibal Voyer. To find the diagram, go here. In about a half hour, learn how to make a highly detailed winged horse sure to knock the socks off of any origami enthusiast!
How To: Make a Victorian-inspired necklace using a ribbon
This video is in the Arts and Crafts category and you will learn how to make a Victorian-inspired necklace using an old ribbon. This is a very simple and easy way of making a necklace. Take a ribbon of about an arm’s length, tie it around the neck and check that the length should be OK. Then you can take a bunch of beads or a flower or some such suitable item which is fixed on a wire to put on the ribbon. Tie a knot around the wire and then turn the wire around the ribbon and your necklace is...
How To: Make a pocket mod or mini-book from a piece of paper
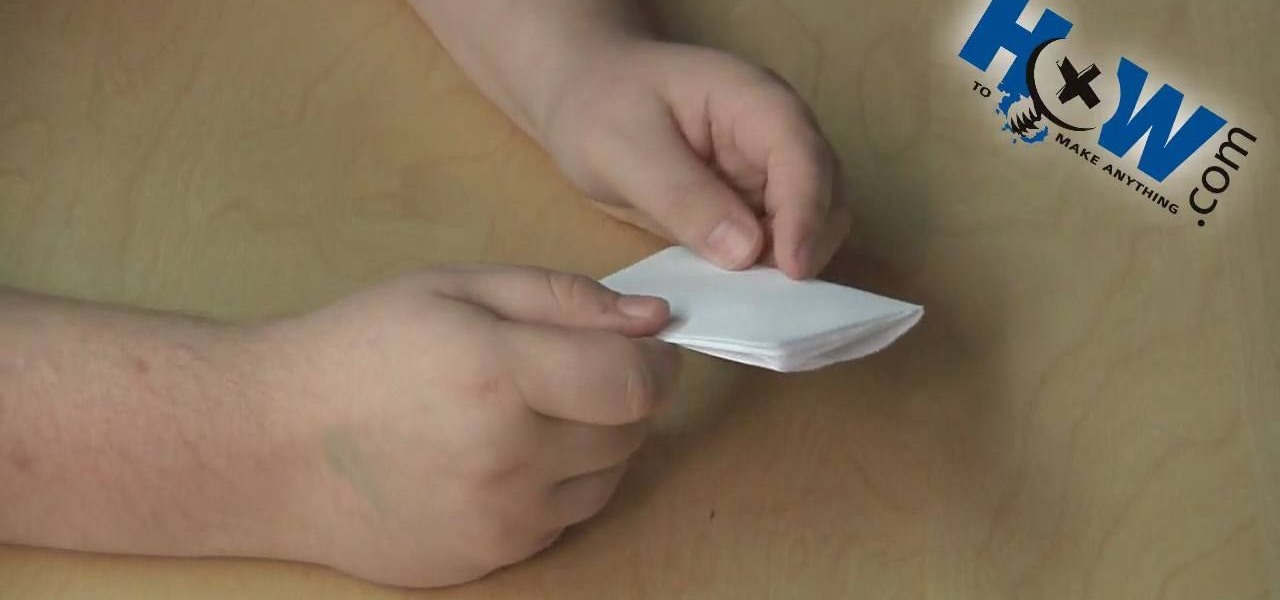
"How to make anything" is going to show you how to create a pocket mod, which is very handy and more elegant then just tearing a sheet of paper and stuffing it into your pocket. This demonstration is going to show you how to create the pocket mod using a regular piece of blank white paper. First, you want to fold the piece of paper "hamburger" style, and then fold each flap back towards the crease. Fold the paper again in half the "hamburger" way and unfold the paper so there's a ridge in the...

How To: Make DIY guitar pick earrings
In this video you learn to make earrings out of guitar picks. You will need round nose and regular pliers, wire cutters, 2 regular picks, bead reamer, earring hooks, jump rings, and long silver strands. Use the bead reamer to make a nice clean hole on the top edge of the guitar pick. Use the jump ring through the hole you just made to attach the silver strand. This makes the earrings dangle. On the other end of the silver strand connect the earring hook with another jump ring. This completes ...
How To: Fold an origami paper flag
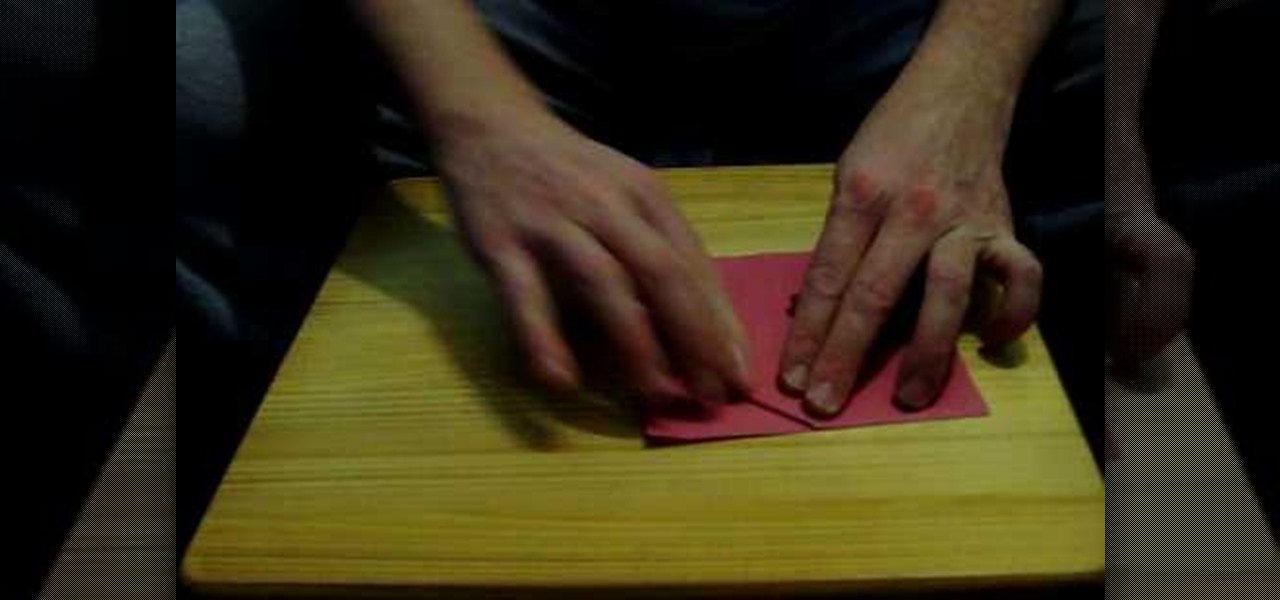
The man describes and demonstrates how to create a paper flag using basic paper folding methods. You need an oblong piece of paper. Then fold the paper in half the long way and crease it down the middle. Then fold it the same way in half again and recrease then open the paper back up one time. Fold a corner into the middle and then crease it on both sides and unfold it. The you need to open up a flap and let it fold into a point and crease it. At the end of the tutorial you need to open it up...
How To: Make a paper box for fun
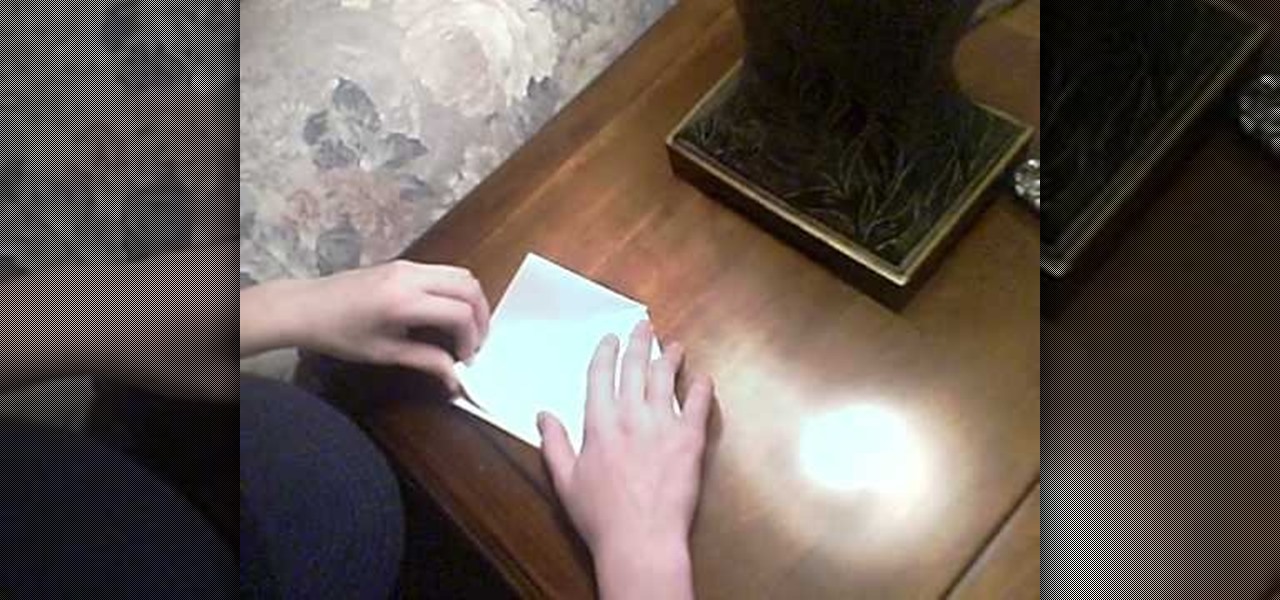
This is a video clip about "how to make a paper box". To make the paper box get a hard sheet paper and follow the instructions. Fold the paper into a half and unfold it and fold the other ending of the paper into half. Then, fold the one corner side of the paper and make a triangle to fit the center as the right triangle and do the same procedure for the other corner side of the paper. After that, fold the bottom side of the paper upwards and repeat the same process for the rest of three corn...
How To: Fill a handheld butane torch with fuel
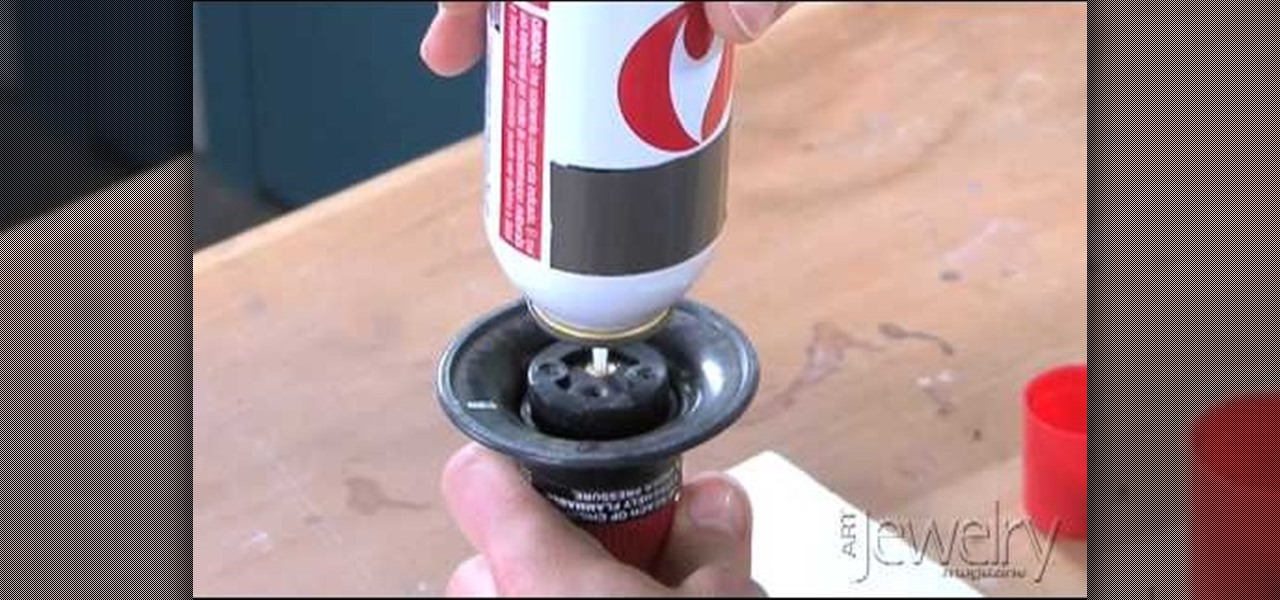
Jill Erickson of Art Jewelry Magazine demonstrates how to fill a handheld butane torch with fuel. You can purchase butane fuel at a grocery store or at a hardware store. First, uncap the butane fuel can and hold your butane torch upside down. There will be a small opening valve where you will vertically insert the top of the butane fuel can nozzle. Make sure the components are aligned straight up and down. Then, use direct downward pressure to get the fuel into the torch. The fuel can will hi...

News: Gameboy Goes Papercraft
Papercraft video game art by French design duo Zim and Zou. The insertable cartridge is particularly awesome. Don't miss the Tetris (all the way at the bottom).

How To: Make a paper box step-by-step
Learn how to make a simple paper box with this short video. You will need some strong paper like construction paper or light cardboard, a pair of scissors, and tape. For a neater box you will also need a ruler. First you will draw the shape of the box, which looks like a plus sign. Use a ruler for straighter edges. Then you will need to cut out the shape and fold along the lines. Add decorations to your box if desired. Last, you will be taping it to form a box shape.

How To: Make a paper ball
Place the paper colored-side down on the table. Fold the piece of paper in half to form a triangle. Match the upper right corner to the bottom left corner. Run your fingers along the edge of the triangle to complete the fold. Shrink the triangles size again and fold it in half once more. Match corner to corner. This fold forms a smaller triangle. Ensure the corners match up evenly. Run your fingers along the edge of the smaller triangle to complete the fold. Open up half of the triangle. Pres...
How To: Make 1,000 origami cranes fast
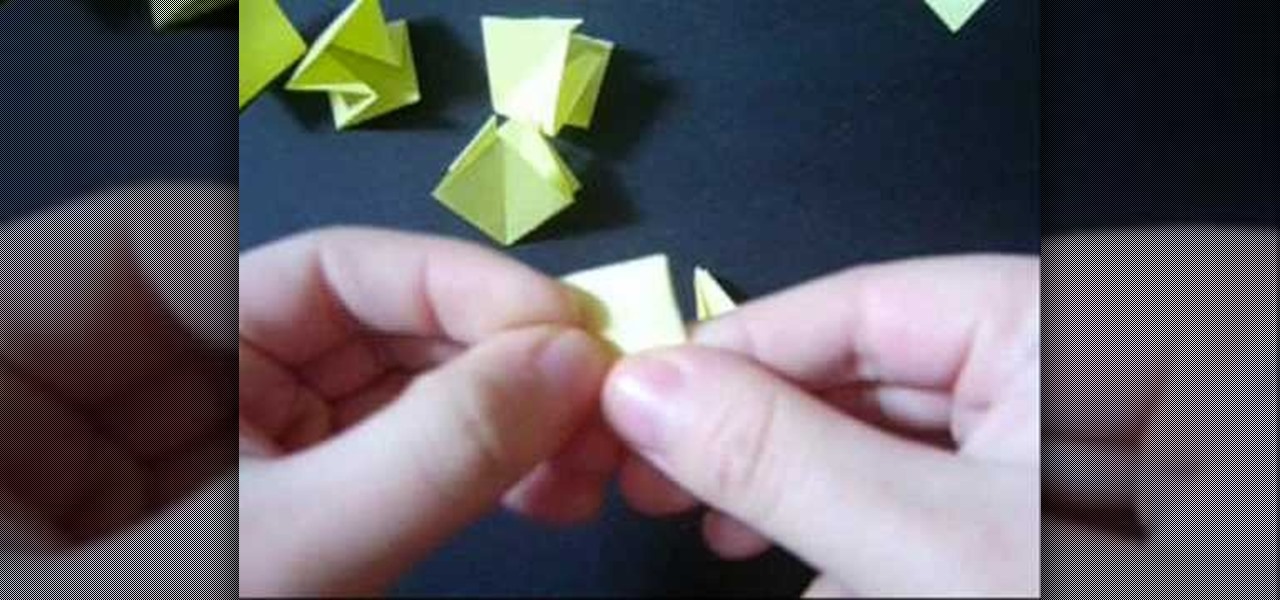
This video is a tutorial on how to quickly make 1,000 origami paper cranes, also known as senbazuru. You should start by gathering paper squares. The video then shows you how to fold these squares into the familiar crane shape. You then learn how to thread these cranes together in order to get your desired design. The number of cranes you make will depend on the size of decoration you want for your home or for your beautiful gift.
How To: Make a circle friendship bracelet
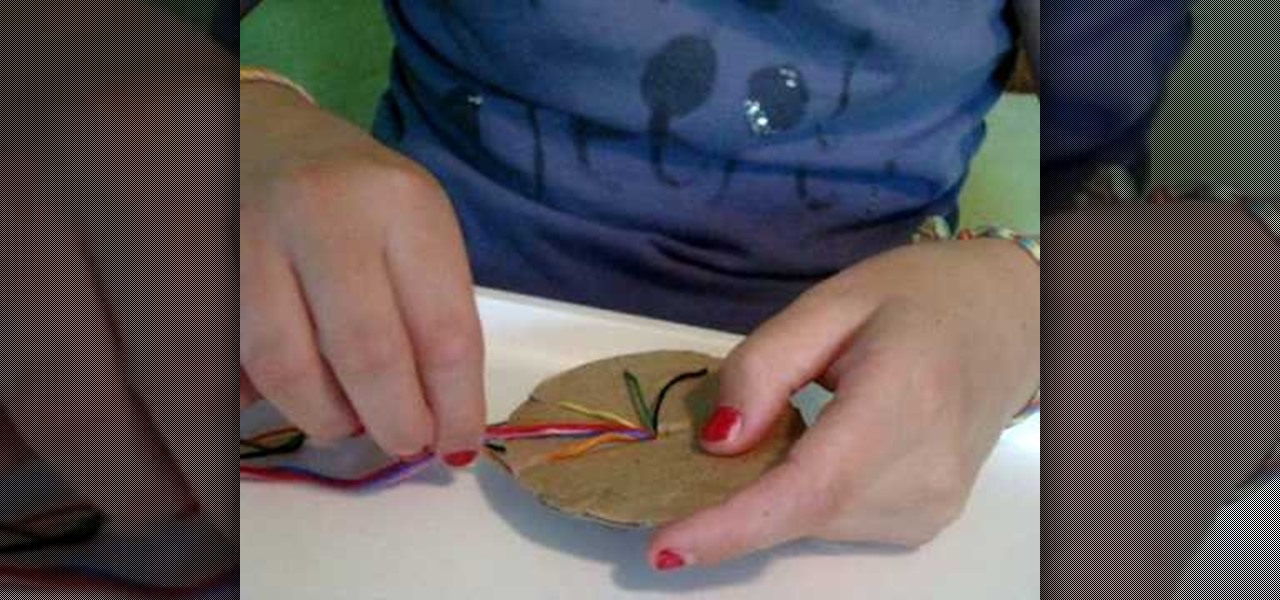
A little girl from Live Love Embroidery explains, in this video, how to make a circle woven friendship bracelet. The process involves seven strands of embroidery thread tied at the end with a simple half-hitch knot. The knot is fed through a small hole in the center of a circle of cardboard. The strings are then individually latched through seven of eight notches located at the end of the cardboard. After that, rotating in a circle pattern around the cardboard, the strings are exchanged aroun...
How To: Fold an origami praying mantis
Fold an origami praying mantis! You need two sheets of paper to join to first sheet on square base. Start folding after making rectangle, after folding the rectangle again from the other direction grebe than on fold. Make a triangle than fold on other direction to make a triangle. Neat into square shape take a bottom edge folds to increase both the same on the other side. Now take this top corner folded on guide line backup. To push the paper up folded down to same on the other side. Bottom e...

How To: Make cool 3D paper snowflakes
This video is about how to make a cool snowflake using a paper. For this you have to take six equal square of any paper. Cut 4 silts on both the sides. Do not join cuts. Take 1 piece of paper and place tap .Flip over one repeat on all . This will be one side of snowflake. Repeat on all the pieces of paper. Staple together ends. Join all 6 in the middle .The 3d cool snowflake is ready to use it.
How To: Tie four basic knots in jewelry design
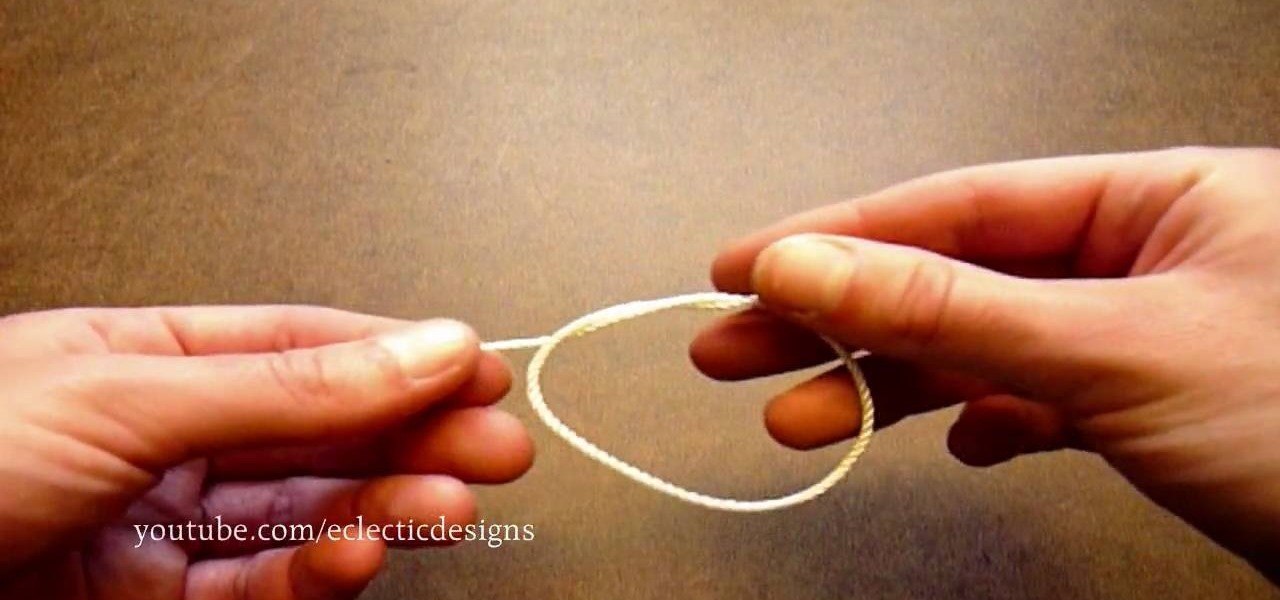
To tie the overhand knot, make a loop and pass one end of the string through the loop and tighten by pulling both ends. To tie a double overhand knot, make a loop and pass one end of the string through the loop twice before pulling both ends to tighten the knot. To tie a surgeon's knot, take the left string and bring it over and around the right string twice. Then take the right string over and around the left string and pull both ends to tighten, leaving a complete loop of string below the k...
How To: Crochet a teen/adult beany hat
Mikeyssmail, the crochet instructor helps us how to crochet a binnie hat for an adult/teen. The hat is made for around 22-23 inches which has the same size as his as an add-out. He has incorporated two colors in it.
How To: Make a paper wakizashi/katana sword
-First, take some papers to make hard papers from it, and make make the papers fold as shown for fabrication. Make it fold twice.

How To: Fold an origami royal crown napkin design
Treat your guests like royalty with this cool origami napkin idea. Watch the short video tutorial to see how to fold an origami royal crown napkin design. Decorative origami napkins are perfect for any table and any occasion. Folding napkins into 3D objects is not only beautiful on the table, but fascinating. Origami napkin folding should be a trick up every table decorator's sleeve. Celina Table Linens shows you the simple steps involved in the napkin origami royal crown.

How To: Make a double-sided origami shuriken ninja star
Following a kind of silly little skit, this video will teach you how to make a double-sided, origami version of a shuriken throwing star. Shuriken are the throwing star weapons you've seen ninjas use in the movies. If you've already made the single-sided shuriken, this is a good follow-up project. But while they are made of paper they do still have sharp edges, so be very careful about where you throw them.

How To: Knit a shaker rib stitch
Follow this quick video demonstration to see how to knit a shaker rib stitch. The shaker rib is also known as the half fisherman, and that's because it's not as bulky as the fisherman rib. During this process, you'll even see how you can knit one below, or k1b.
How To: Change colors in the middle of the row when knitting
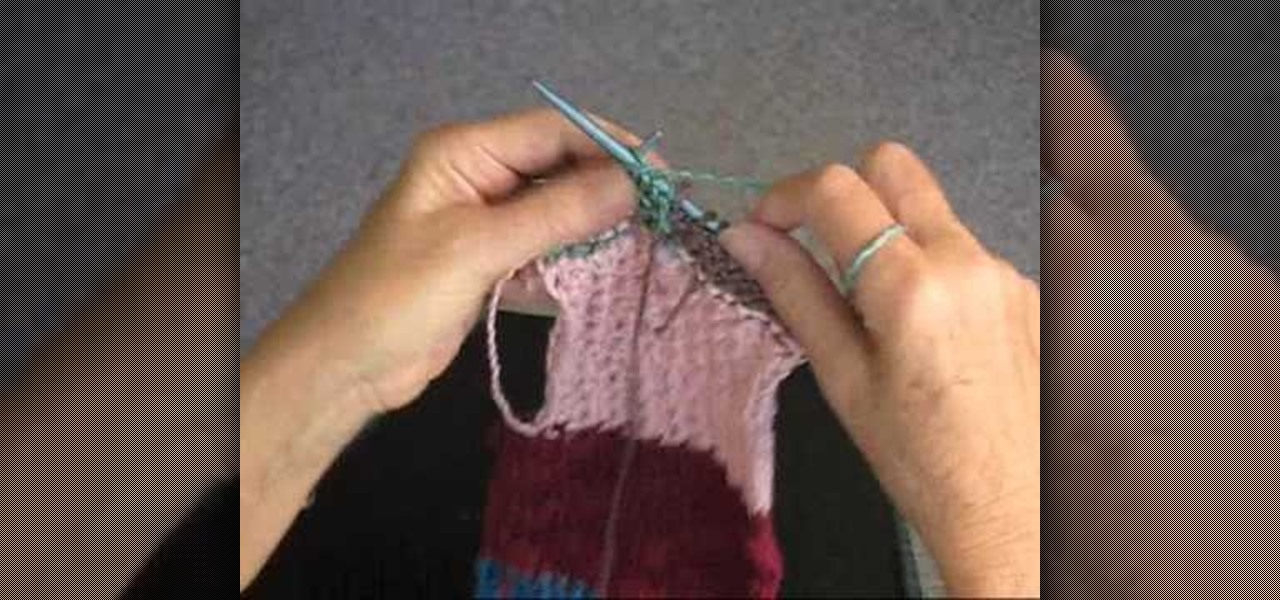
It's easy to add a new yarn color in the middle of your row. See how to change colors in the middle of the row when knitting, with this easy, up close demonstration by Judy Graham, Knitter to the Stars.
How To: Switch from a straight needle to a round needle
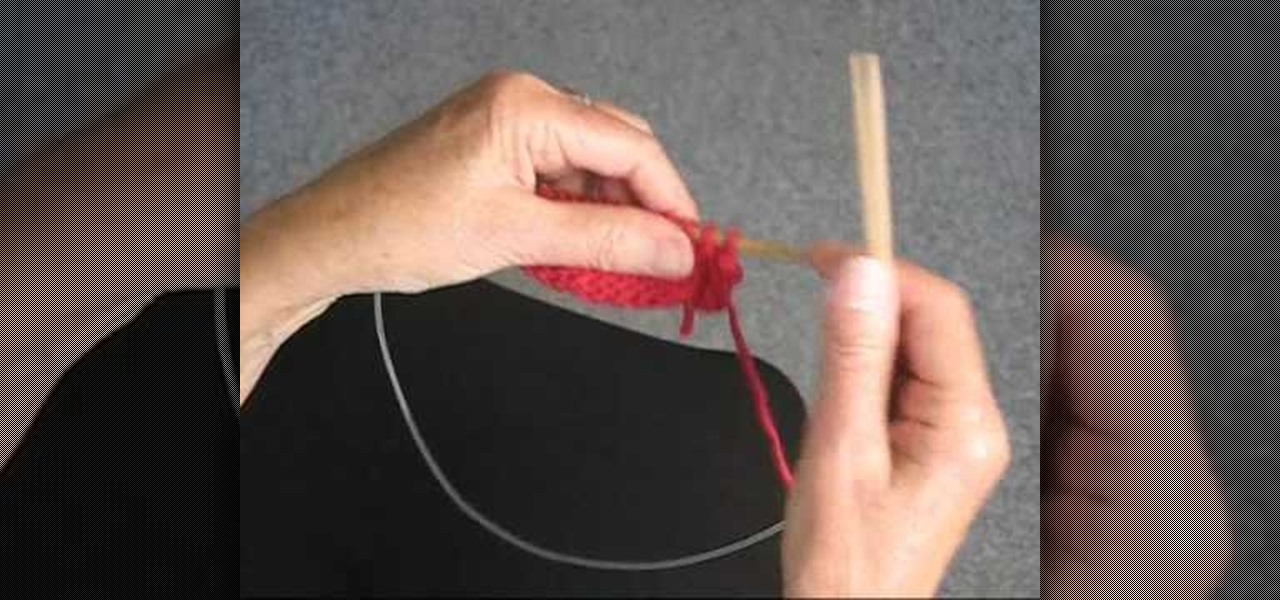
This is a great knitting tip. See how to switch from a straight needle to a round needle when knitting, and why, with this easy, up close demonstration by Judy Graham, Knitter to the Stars.
How To: Turn old watch faces into a bracelet
Turn old watch faces into appealing bracelets by using an eco-friendly recycling technique. You Will Need
How To: Fold and fly the Boomerang paper airplane
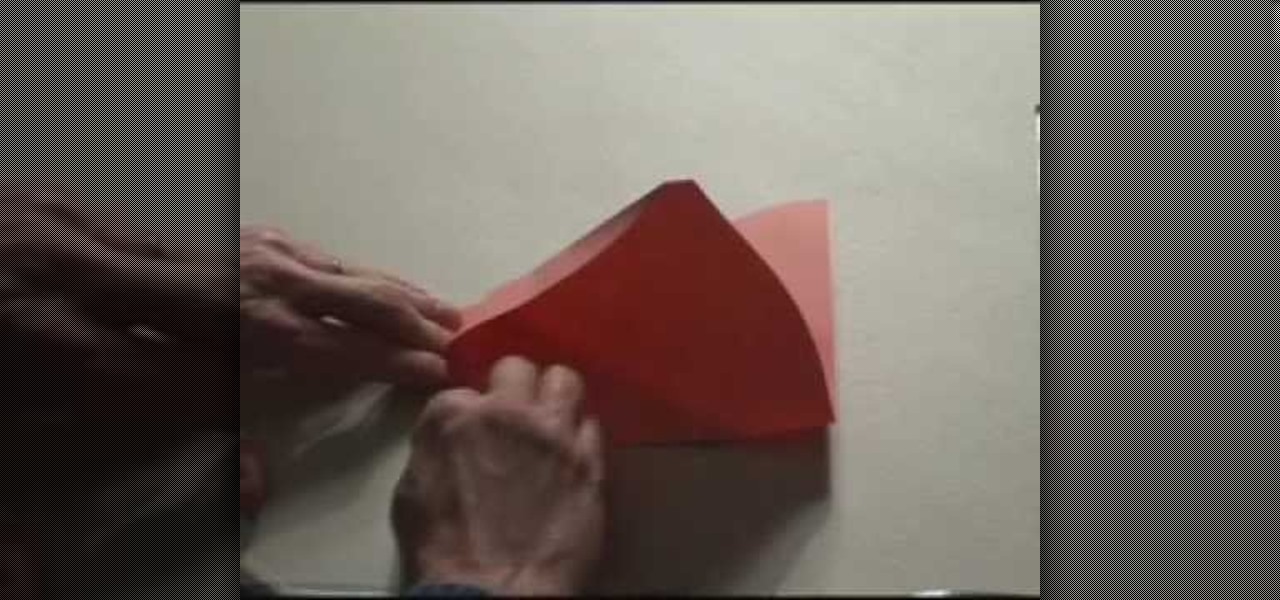
Learn to fly... paper airplanes. In this video tutorial, John Collins, The Paper Airplane Guy, shows you how to fold and fly the Boomerang paper airplane.


