Hot Arts & Crafts How-Tos


How To: Make the best paper snowflakes
In this video, we learn how to make the best paper snowflakes. First, take a dark blue and white piece of paper and fold it up into a square, then fold into a triangle. Next, grab a pair of scissors and start to cut along all of the sides of the paper. You may have to do this a couple of times to get the shape right, it will be helpful to use a diagram to show you where to place the scissors. When you are finished, open up the piece of paper to see your snowflake! String this with other snowf...

How To: Make a paper snowflake from scratch
In this tutorial, we learn how to make a paper snowflake from scratch. First, take a CD and trace around it on a piece of paper so you have a perfect circle shape. After this, take your scissors and cut out the circle. Next, take the circle and fold it in half, then fold it from the right to the left in half again. Then, take it and flip it so the "v" is pointing towards you, then take it from the right to the left and fold it again. After this, face the point away from you, then use your pen...
How To: Perform a simple crochet
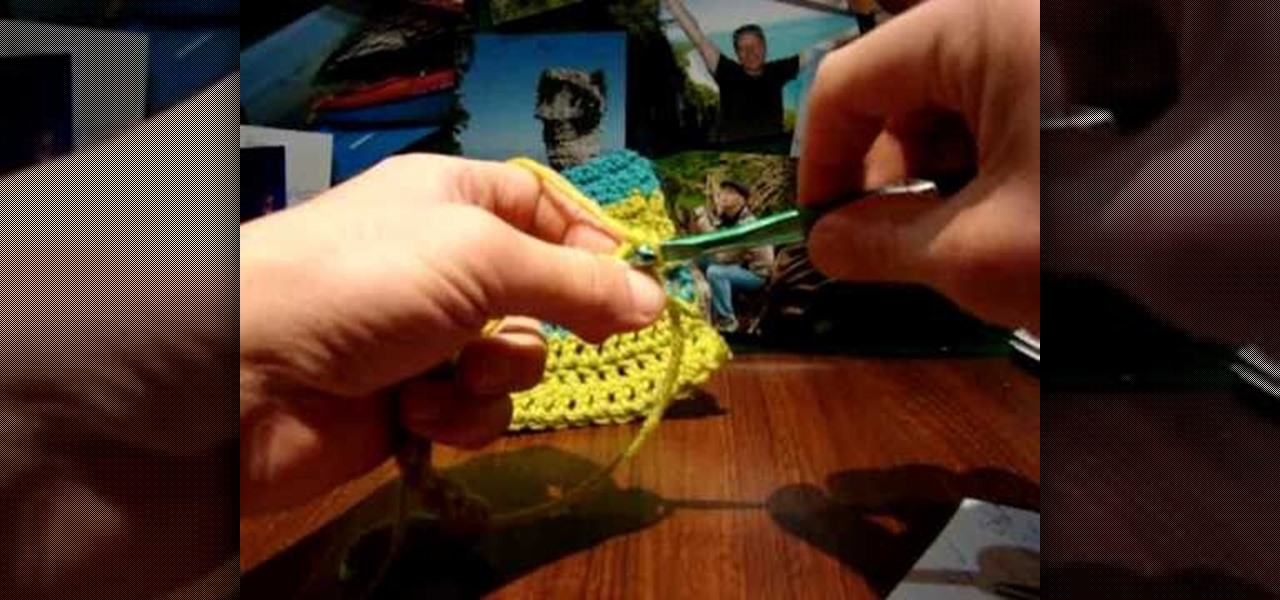
In this tutorial, we learn how to perform a simple crochet. Using the double crochet and single crochet opposite to each other gets rid of the same look when you are creating a pattern. The concept is simple and can make a big difference in your creation. First, take your size K hook, then wrap the yarn around your finger. Go back and forward, then push up and you will have knotted your hook with the yarn. Now, chain one and then two, then chain one and two again. Continue to do this until yo...

How To: Mix and make paper mache
In this tutorial, we learn how to mix and make paper mache. To do this, you will need: flour, water, and a large mixing bowl. Start off by pouring the flour into the mixing bowl, then adding in warm water in the same amount as the flour. After this, mix it together until you have a thick consistency. It should not be like water, more like a thick soup. Add more of the ingredients until you have this consistency. After this, dip your strips of paper into the mixture. Use them to place on your ...
How To: Identify common knitting abbreviations
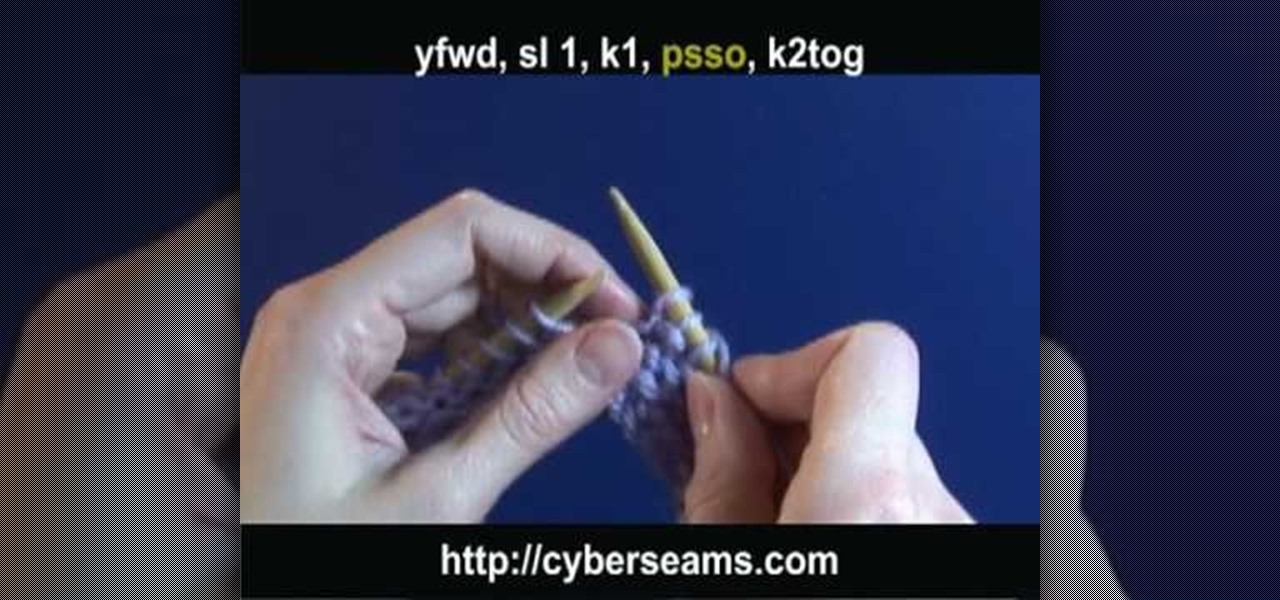
In this tutorial, we learn how to identify common knitting abbreviations. A yfwd is also known as a yarn forward. An sl 1 is also known as a slip 1 and a k1 is also known as a knit 1. A psso is a pass slipped stitch over and a k2tog is known as a knit 2 together. These are common abbreviations in knitting patterns, when you learn these you will be able to knit more quickly when you are reading a pattern that is written on text. After this, you can make any creation you want and read the direc...
How To: Fold an origami Millennium Falcon from Star Wars
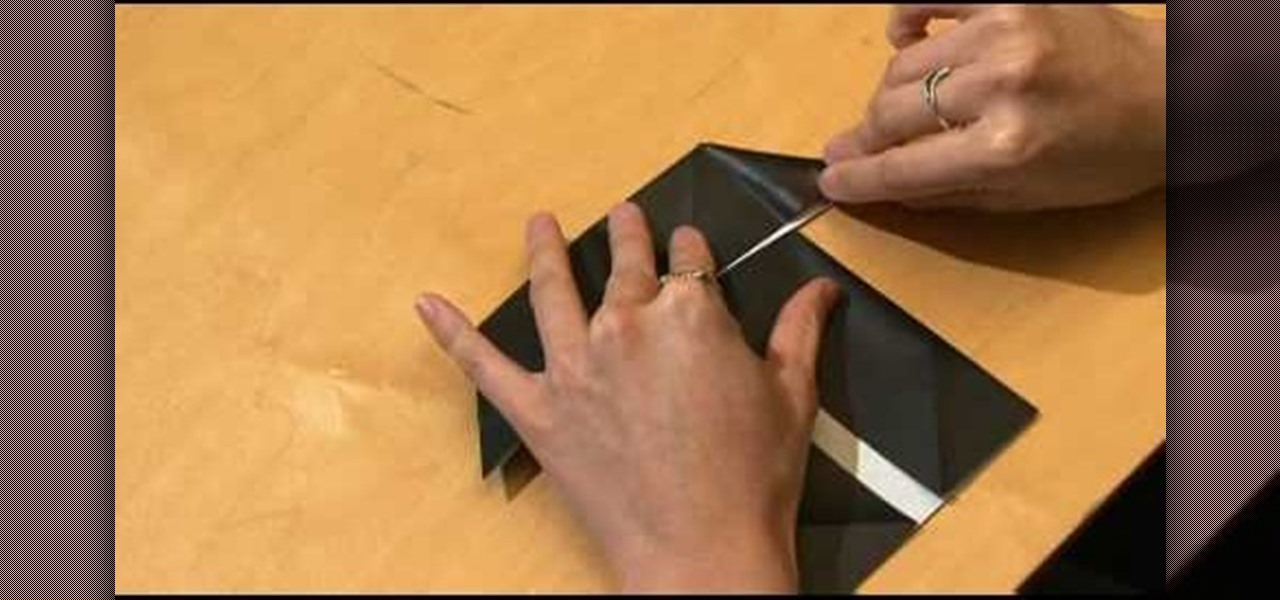
For those who have no idea what a Millennium Falcon is, watch the Star Wars movie franchise. It is the name of the spacecraft piloted by Harrison Ford in the original movie.
How To: Make zebra and tiger prints with Ranger's alcohol inks
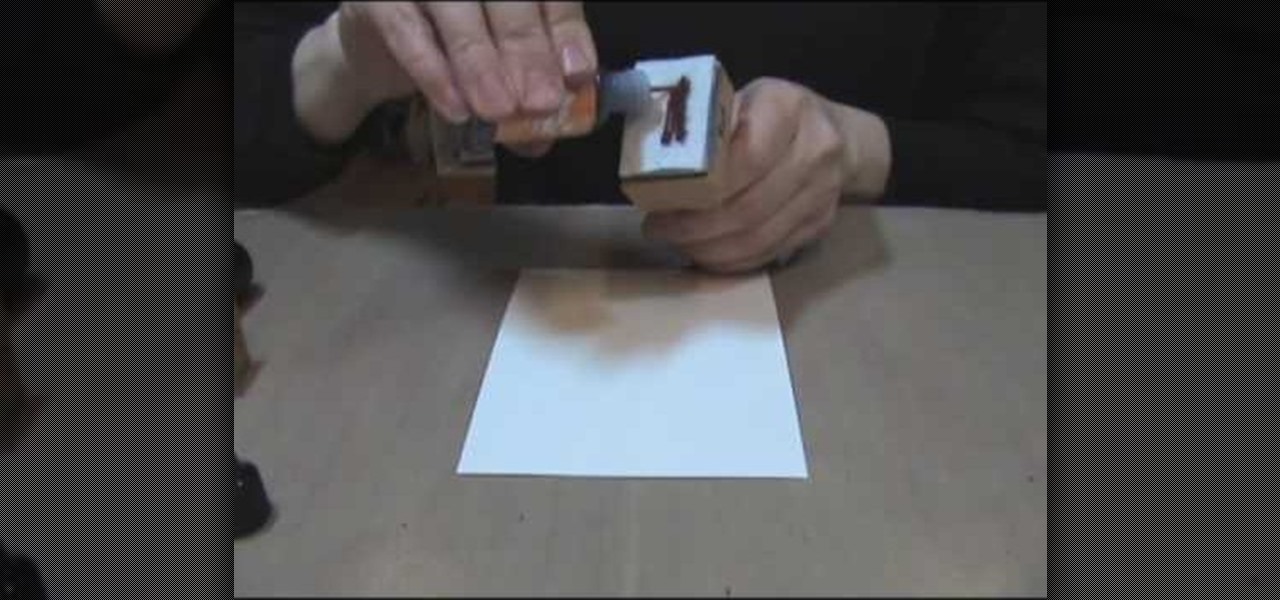
In this video, we learn how to make zebra and tiger prints with Ranger's alcohol inks. First, you will need some alcohol ink in black, gloss paper, a stamp, and felt. Now, take your felt and cut it into small strips. Make lines like a zebra or tiger would have. Next, push these strips onto the stamp bottom, arranging them to look like a zebra. After these are stuck on securely, trim off any edges and make some pointed. After this, you will squirt the black ink onto the bottom of the stamp on ...
How To: Make a confused-style friendship bracelet
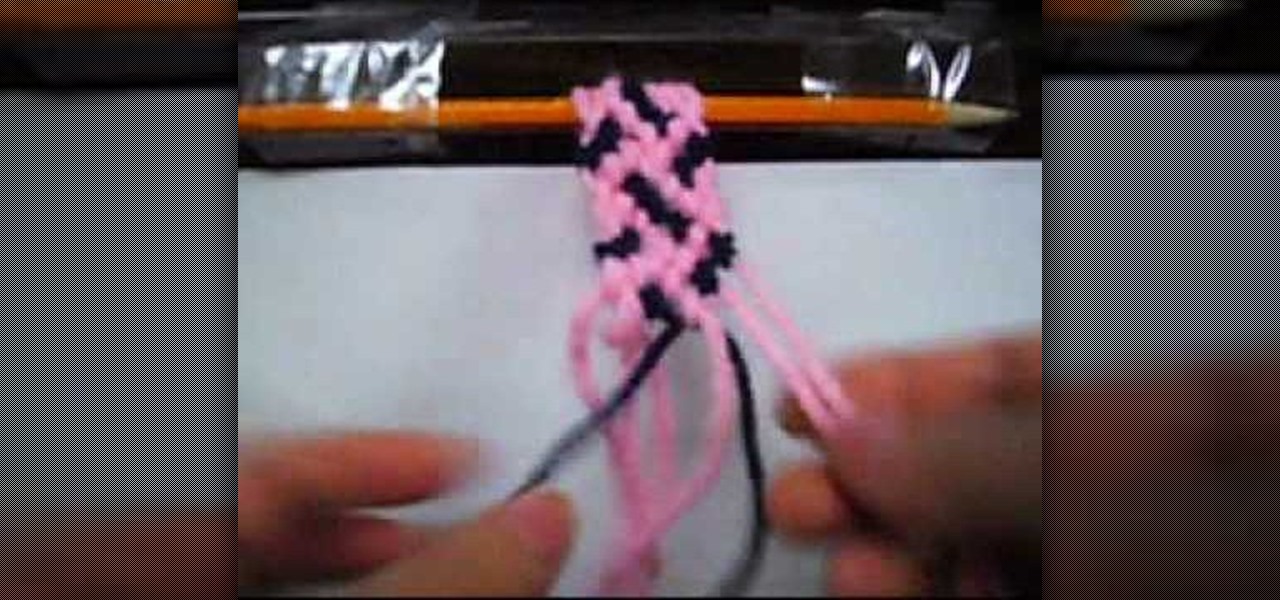
In this tutorial, we learn how to make a confused-style friendship bracelet. First, you will need to clip down your thread on the top and then start to braid the thread together. You will need to have two different colors, white and blue. Then, you will tie the right and left side together and start to braid the middle of it. Then, you will start to braid the bracelet together until you reach the bottom. When you are finished, you can tie this around your wrist and wear it whenever you would ...
How To: Crochet a left handed baby high top bootie
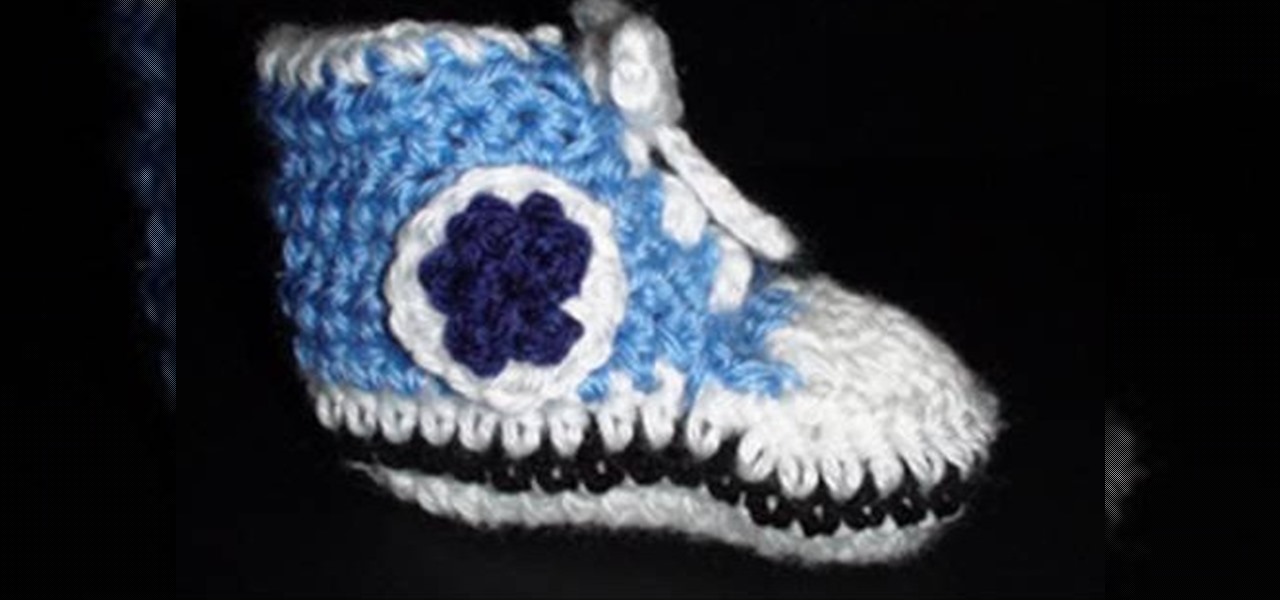
In this tutorial, we learn how to crochet a left handed baby high top bootie. Throughout this design, you will be doing several different rounds for the sole, front of the bootie, and the rest of the sections. You will use a 10 foundation half double crochet in the sole of the bootie, followed by several more rounds. For the top of the toe, you will start with a magic circle then work in 8 half double crochets and pull shut, working two more half double crochets. Continue to finish the rounds...

How To: Crochet a left handed air freshener angel cover
In this tutorial, we learn how to crochet a left handed air freshener angel cover. Start out with a chain one, then pull the loop up. After this, work 16 half double crochet through the loop and then join with the beginning half double crochet. Next, do a chain one and pull the loop up. Work in two half double crochets in each stitch around, then join with the first half double crochet. Next, chain one and single crochet in the same stitch. Then, single crochet in the next stitch and continue...
How To: Make a duct tape flower pen
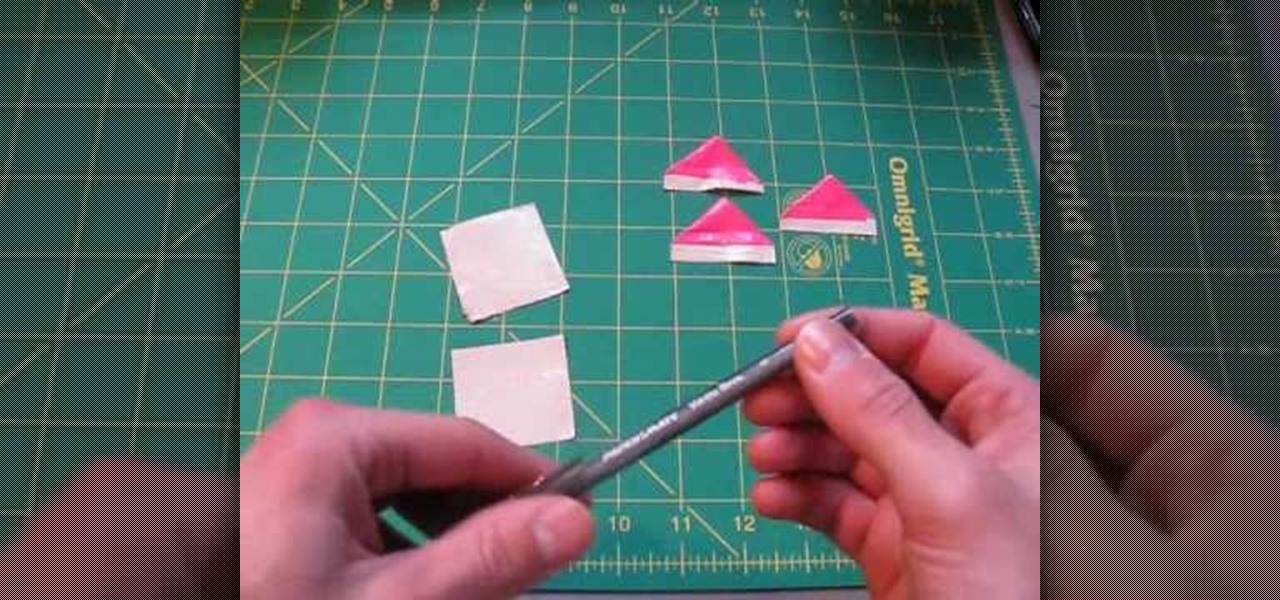
In this tutorial, we learn how to make a duct tape flower pen. First, make three triangles the same size out of pieces of duct tape. Leave a sticky part at the bottom and color the rest of it red. You can also purchase red duct tape if you find it available. Now, wrap the pieces of tape around the bottom of the pen where there is no ink. As you wrap this, you will see a flower start to shape with the more tape you add. Continue to do this until you have no tape left, then you will end with a ...
How To: Make a dual-colored line friendship bracelet
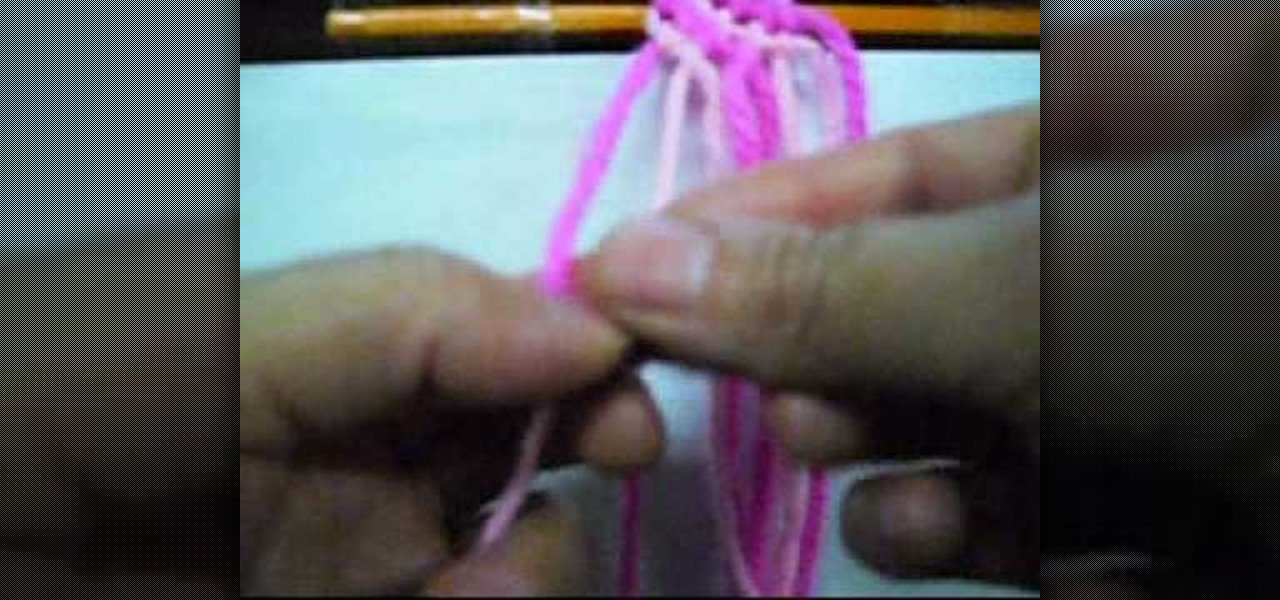
In this tutorial, we learn how to make a dual-colored line friendship bracelet. Start by creating knots in the strings going from left to right. After you have covered all of the strings on the bracelet, you can start to braid. Make sure the strings are clipped at the top to keep them in place. When you start to braid, take the two to strings on the left, and braid them in with the others going from left to right. Then you can continue to do this process until you reach the end of the strings...
How To: Make Ebenezer Scrooge using Stampin' Up punches
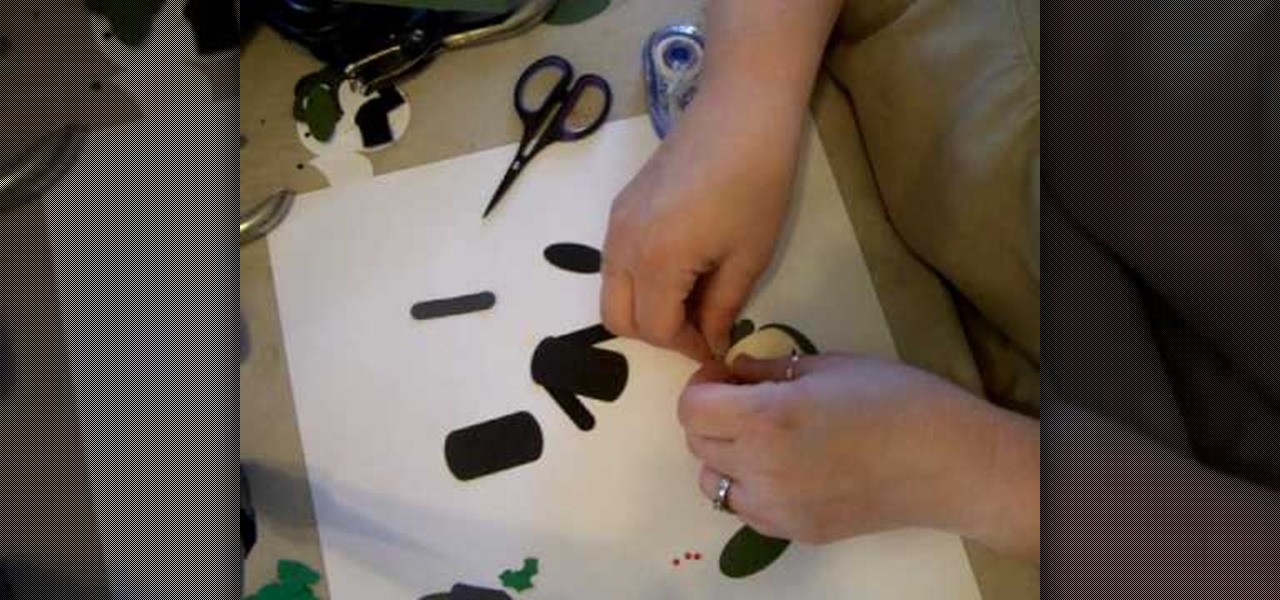
In this tutorial, we learn how to make Ebenezer Scrooge using Stampin' Up punches. First, you will need to grab the guide that tells you which punches to punch out to make the character. Once you have all the colors and shapes punched out, then you will be able to put them together. The hat should be tall with a holly leaf and berries on it. Around his face should be a beard and a scarf around the neck. He should be wearing long sleeves with two buttons down the middle. Use a black gel pen to...
How To: Make origami llamas
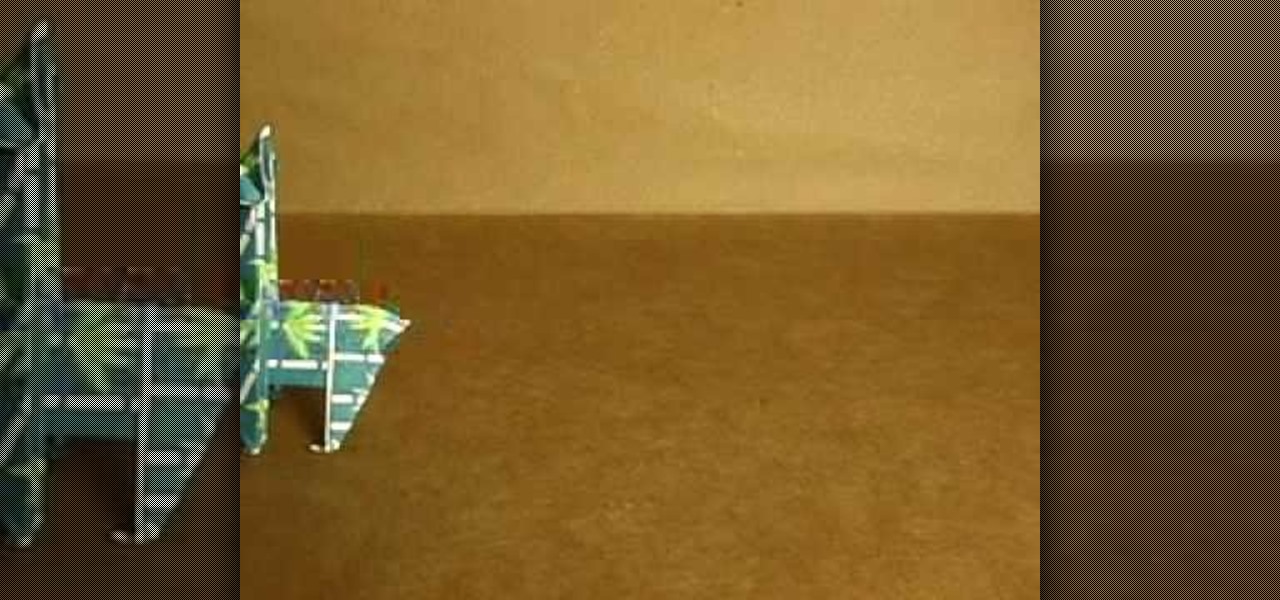
This is a video tutorial in the Arts & Crafts category where you are going to learn how to make origami llamas. Take a square sheet of paper and fold it in half. Open the fold and then fold each half further in halves. The sheet is now divided in to 4 parts. Next fold the outer flaps inwards so that they meet at the center. Flip the folded sheet and fold it in half to make it a square size. Next you fold the top back over itself in a triangular shape. Open up the last fold and watch the video...
How To: Make a double arrowhead friendship bracelet
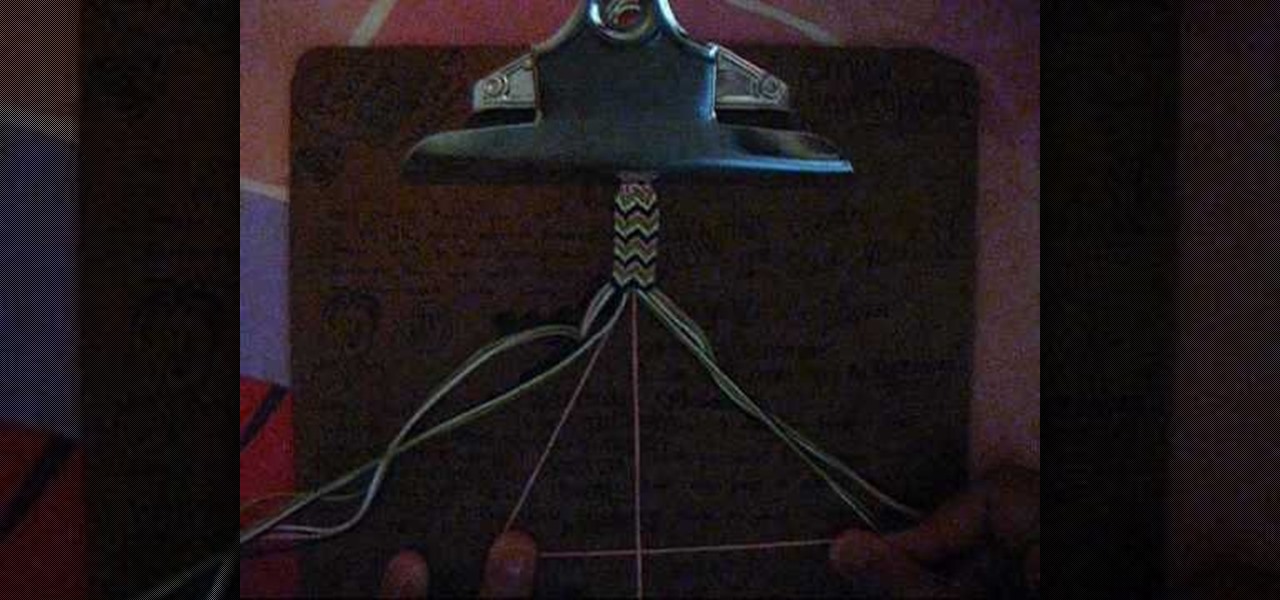
In this tutorial, we learn how to make a double arrowhead friendship bracelet. First, you will need two strings of the color you want that are 70 inches long. Then, tie these into a knot and put it underneath a clipboard. Now, separate these into four groups, then start to separate into colors. After this, find the color in the middle and start to braid and pull twice. Then, you will start to braid the other pieces of string in together so you are making to arrowheads right next to each other...

How To: Finish a crochet never ending granny square
In this video, we learn how to finish a crochet never ending granny square. There is a spiral effect happening in this, because there is no place that is stopping, it's going in a continual circle. To finish one of these, you will see that the corners should be perfect. But, you will need to choose one corner to finish it off at. Go across, then choose a side to stop at. Then, chain over and double crochet in. When you come across with another color, you can weave in the end so that you can't...
How To: Crochet a beanie hat as a beginner
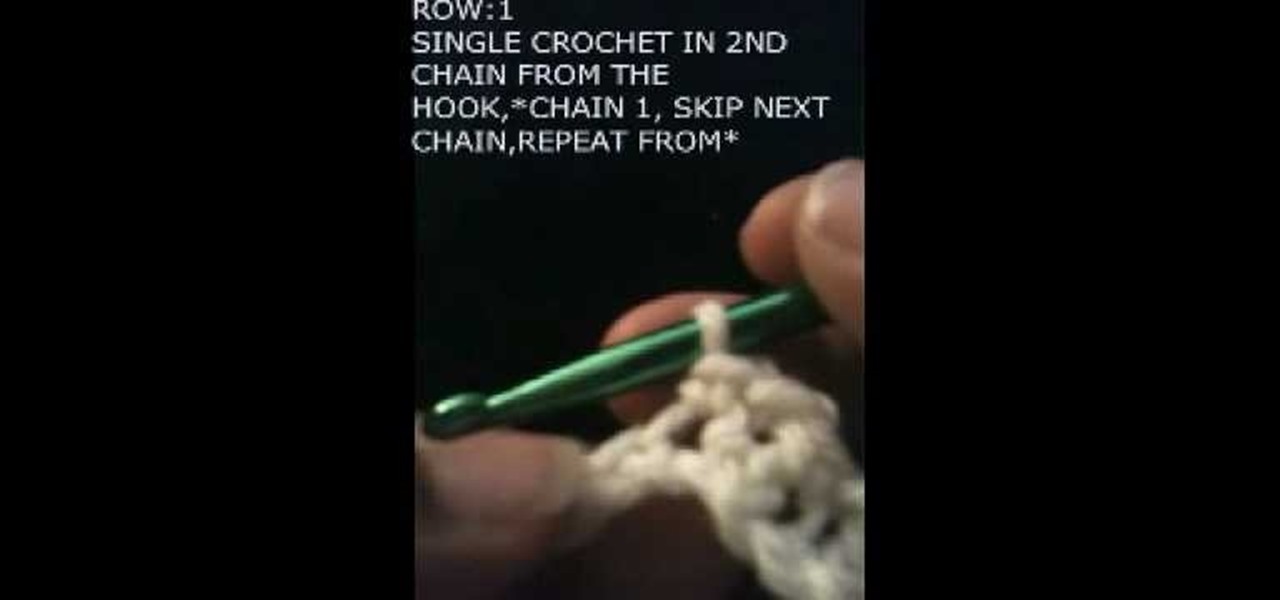
In this video, we learn how to crochet a beanie hat as a beginner. Start out with a slipknot then chain 50 chains. For row 1, you will single crochet in the second chain from the hook. Then, chain one and skin the next chain. Repeat this 24 times total. After this, single crochet in the 2nd chain from the hook and then chain one and skip the next chain. Continue this until you reach all the way around and make a beanie that is your desired size. Bind the knot off at the end, then you can wear...
How To: Make a flamingo using Stampin' Up punches
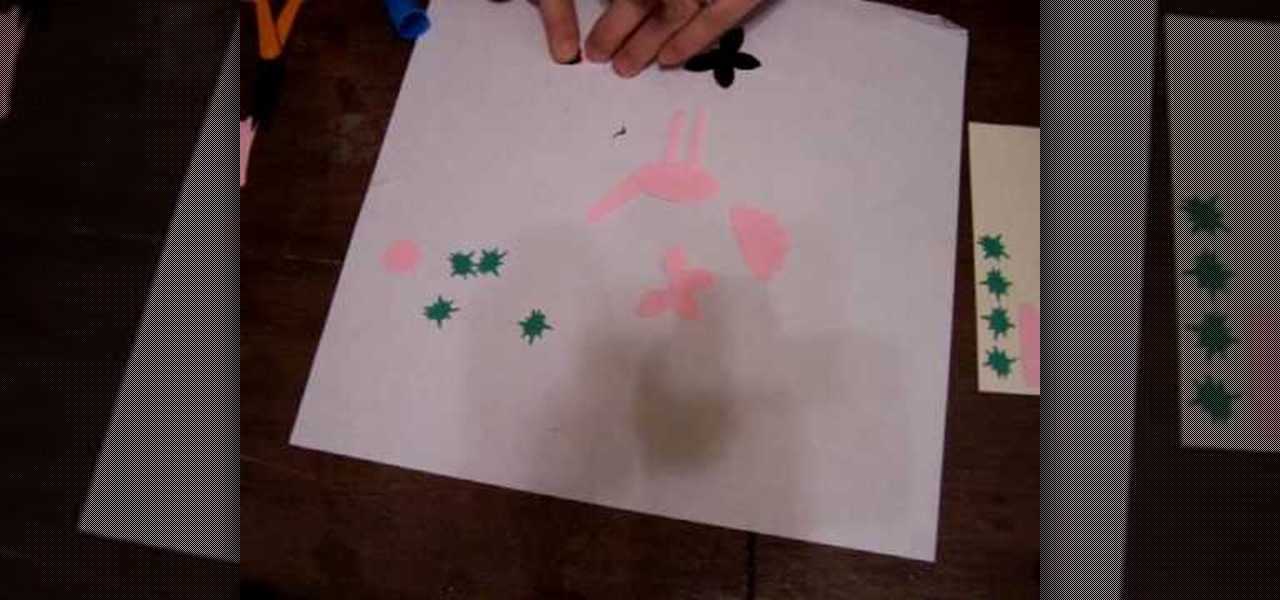
In this tutorial, we learn how to make a flamingo using Stampin' Up punches. First, you will need to punch out two five petal punches (black and pink), pink scalloped punch, large oval pink punch, 1/2" circle punch, and 2 long window punches in pink. Also, four green star punches. First, put the long lines together to make the legs, then attach to the oval shape and another long one to make the neck. After this, make the beak, head, and wings of the flamingo as well. To finish this, draw on e...
How To: Make a DG3 art gel collage jewelry pendant
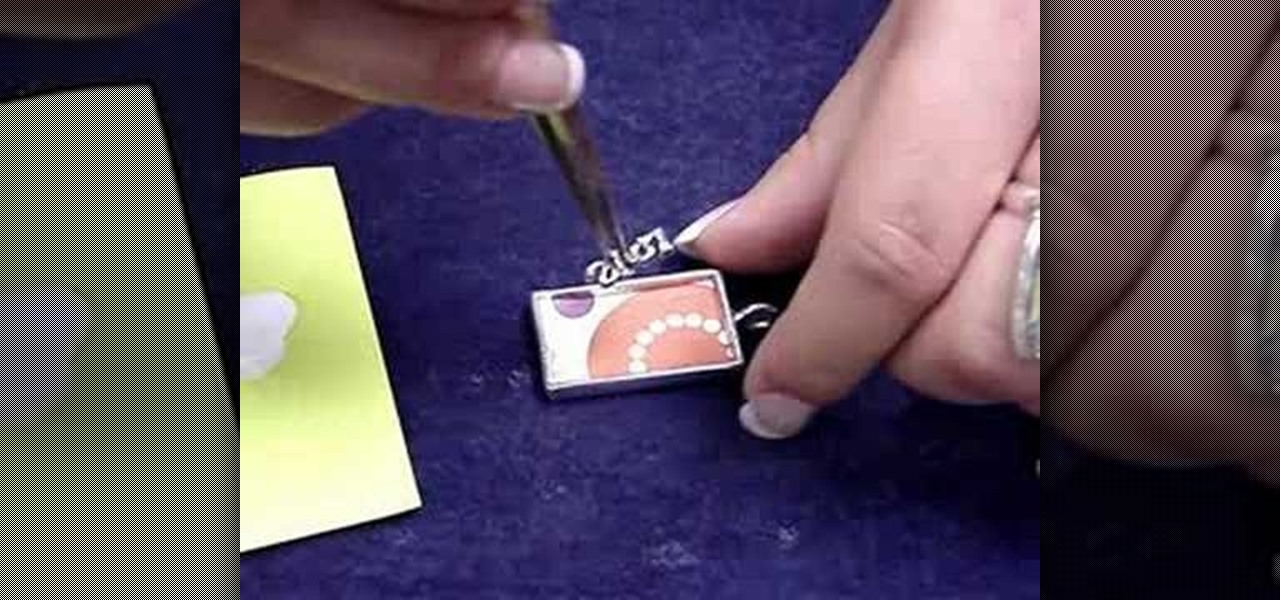
In this tutorial, we learn how to make a DG3 art gel collage jewelry pendant. After you have all your tools together, you will need to trim the scrapbooking paper to fit into the frame for your pendant. Once this fits inside, then grab a charm and glue it into the frame where you would like. Then, squirt the clear craft glue into this and let it set. Brush the paint brush over the pendant, then go over it again with the glue when it dries. To wear, attach a chain to your pendant when it's dry...
How To: Make a 12" by 24" two-page scrapbook layout
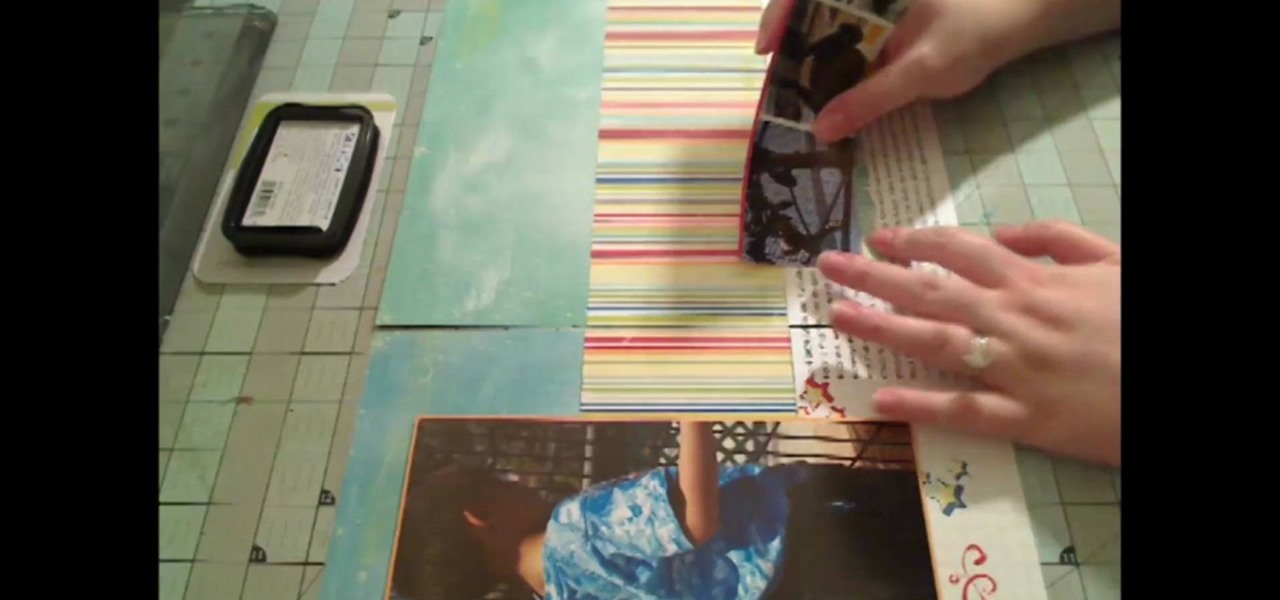
In this tutorial, we learn how to make a 12" by 24" two-page scrapbook layout. First, you will need to gather all of your papers and stickers that you want on your pages. Also, grab your pictures you want to use. Next, figure out where you want to place your photo, then glue it down. After you do this, add on an additional photo in another space of the paper. Place a background underneath the picture first if you want to give it a matted look. Also make sure to place in any stickers that you ...
How To: Clip curves when sewing with rounded seams or edges
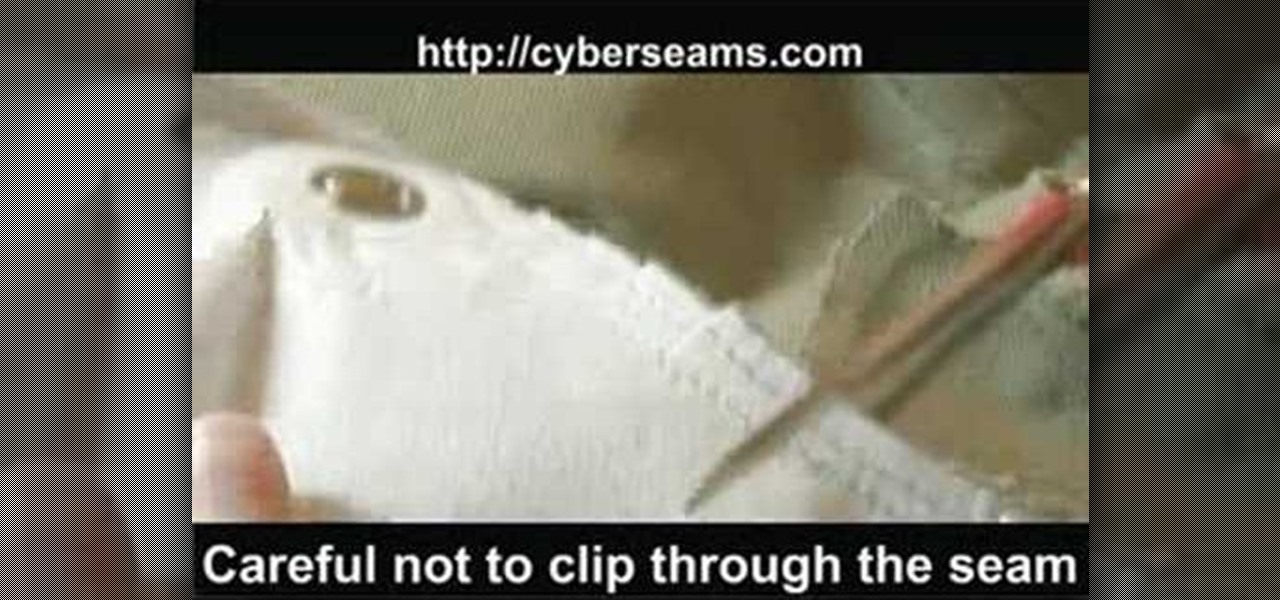
In this tutorial, we learn how to clip curves when sewing with rounded seams or edges. First, you will take your piece of clothing, then grab your scissors. Put the edge of the clothing (with the seam) and lay it flat. Then, put the scissors onto the seams with the very back of the scissors over the fabric. Clip close to the seam, but do not clip through the seam as you are cutting. Once you are finished, you will be able to sew in curves and will be able to easily get around the seams withou...
How To: Crochet a kingston cap left-handed
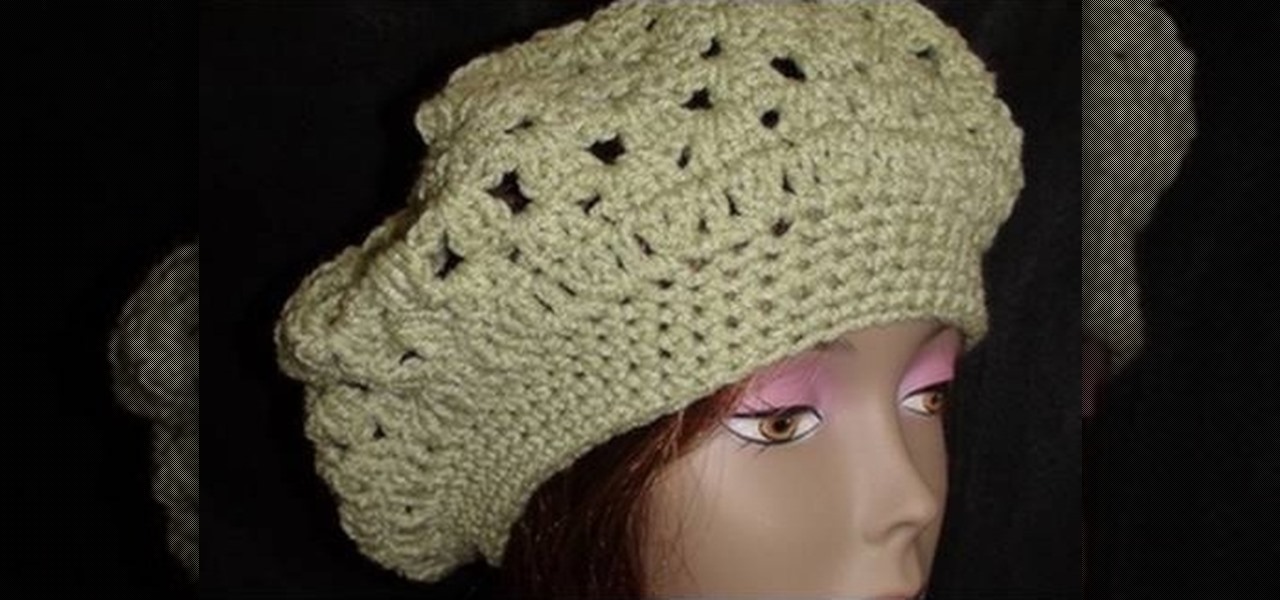
In this tutorial, we learn how to crochet a Kingston cap left-handed. Start round one by doing a chain one, then doing three double crochets and a chain one. Then, work a single crochet and then use a chain 1 to join. After this, do another chain one and pull up, then do 3 double crochets followed by chain one in the same space. After this, work a single crochet to join. For round 4, do a chain one, then work 3 double crochets again and chain 1 in the same space. Continue to do this process u...
How To: Make a monkey with Stampin' Up punches
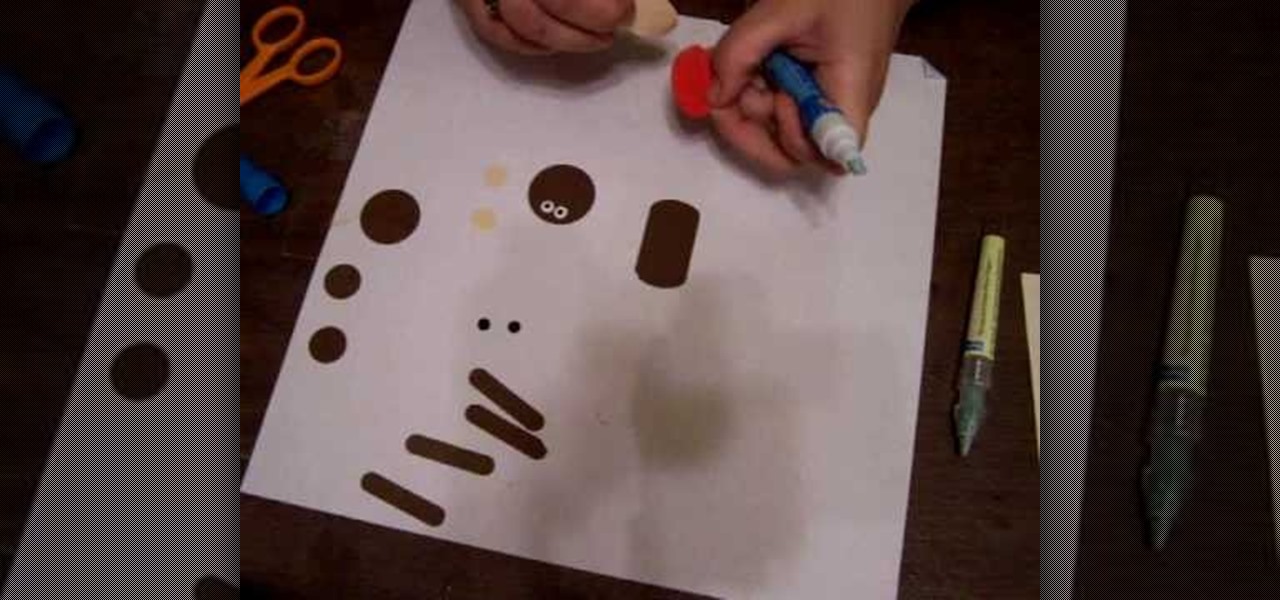
In this tutorial, we learn how to make a monkey with Stampin' Up punches. First, you will need to punch out all the appropriate punches that you need to make this. Once you have them, start to assemble by starting with the head. Place the eyes and the mouth on the appropriate spots, then use a black pen to add in further details on the face. As you continue, make sure to glue the different pieces together until you reach the bottom. Once you are done, add any additional details with the black...
How To: Make a Tractor using Stampin' Up punches
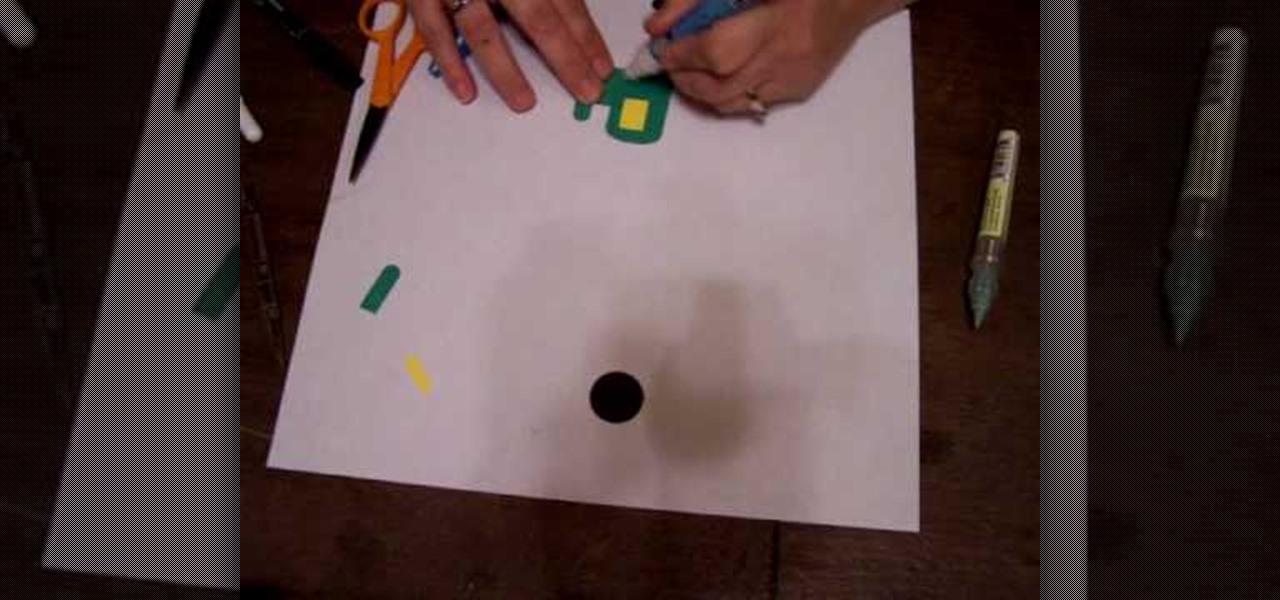
In this tutorial, we learn how to make a Tractor using Stampin' Up punches. First, you will need to punch out a black scallop circle, another black circle, two yellow circles, a yellow square, and four green square shapes. After you have these cut out, you will glue the black scallop circle to the yellow circle so it's underneath. Then, take the green piece and glue it with the other yellows to create the shape of the tractor. Glue the circles at the bottom to make the wheels, then save this ...
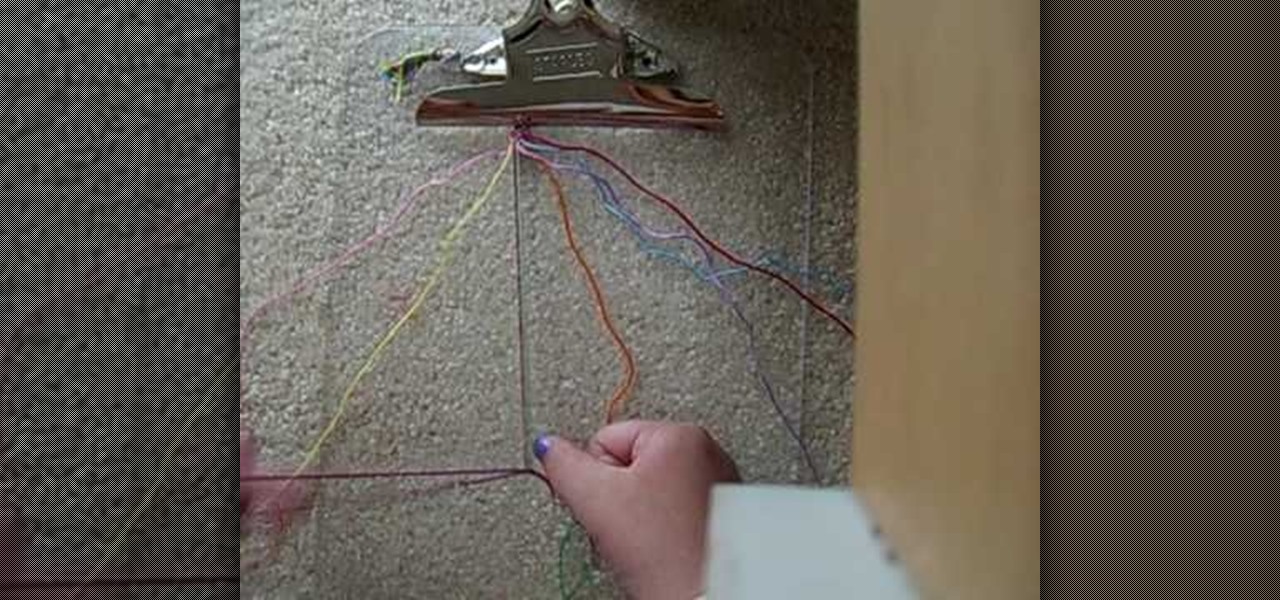
How To: Make a rag rug style friendship bracelet
In this tutorial, we learn how to make friendship bracelets: the rag rug. First, grab eight different colors and arrange them all spaced out. Clip them to a clipboard at the top, then take your first strand and make a knot around your second strand twice. From here, you will take your third strand and tie it around your fourth strand. Continue to do this until you reach the rest of the colors that you have twice. Next, take the seventh and sixth strand and make a backwards knot. Then, do the ...
How To: Make a piñata, step-by-step
In this video, we learn how to make a pi–ata, step-by-step. First, you need to soften up the balloon and then blow it up until it's the size that you want it to be. After this, set the balloon aside and then make the glue for the pi–ata. Take flour and put it in a bowl with warm water. Mix this together until it's well combined and is a thick liquid. Next, grab a newspaper and use strips of it to dip into the liquid and paste onto the balloon. After this has dried, decorate the paper by paint...

How To: Make a double point needle holder
In this tutorial, we learn how to make a double point needle holder. First, you will need to grab four of your needles, two small objects that have holes in the bottoms, stretchy bead cord, crimp beads, and pliers. Then, you will drill the holes in the bottom of your objects if they aren't already taken out. After this, poke a hole through them and thread the stretchy bead cord through the ends of one and around the other. This should make a circle. Then, you will tie a knot and use a crimp b...
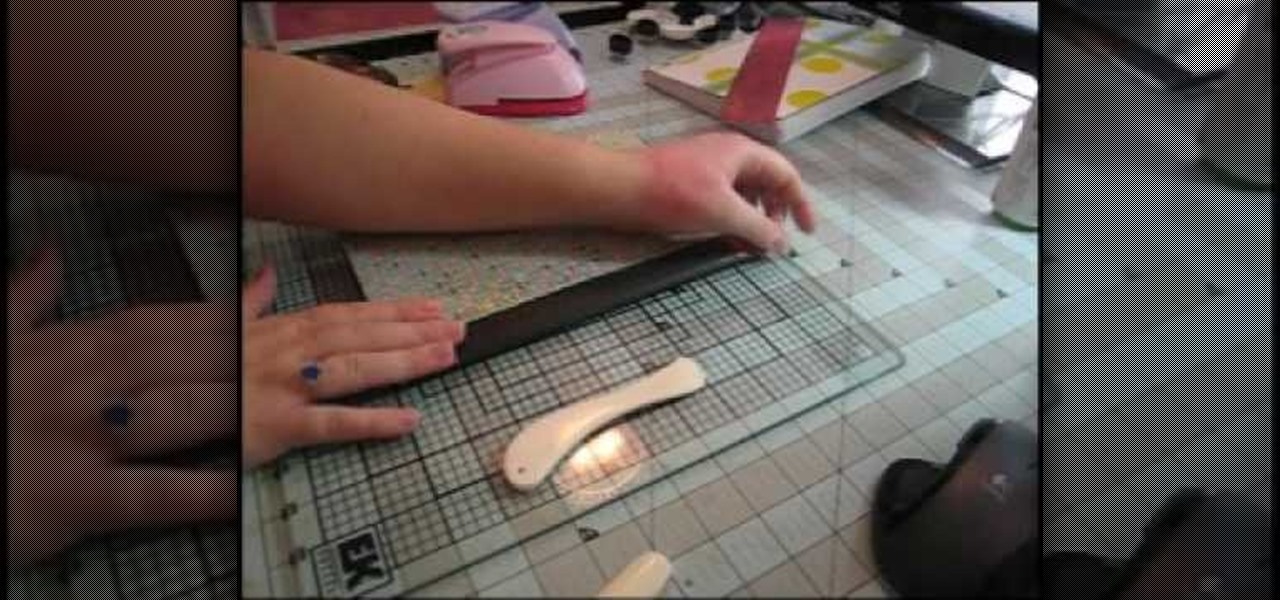
How To: Turn a composition book into a decorative notebook
In this video, we learn how to turn a composition book into a decorative notebook. First, measure your composition book, then measure out that same size on a piece of decorative paper. Next, put adhesive on the back of this on all four edges, then diagonally. Now, you will have a solid attachment for the paper to be placed on top of the composition notebook. Use a straight edge to push it down and it's completely flat. Then, use scissors to cut any excess paper off of the edges and corners. Y...
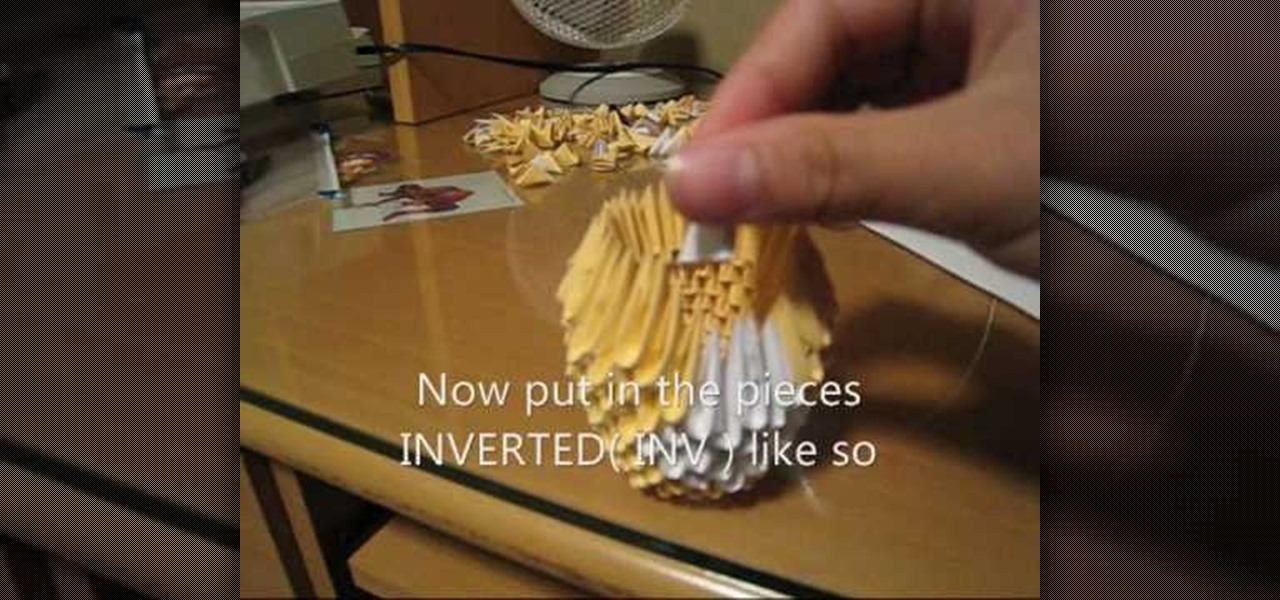
How To: Make a modular origami fox
This is a video tutorial in the Arts & Crafts category where you are going to learn how to make a modular origami fox. First you make a lot of triangles of yellow, white and one black color. Join two yellow triangles as shown in the video to make a unit. Make 18 units and combine them in to a circle. Next you add another level but with 3 white pieces. Now add 4 white pieces on the 3 whites. Then you add 5 whites on the 4, 4 whites on the 5 and 3 whites on the 4. Fill up the body with yellow p...

How To: Make mini album pockets
This is a video tutorial in the Arts & Crafts category where you are going to learn how to make mini album pockets. Take a 6 x 6 piece of card stock and cut it at 3 1/2. Now score it at the halfway mark and fold it backwards. Next score it at 1/2 from both longitudinal edges. Then you cut out along the 1/2 score line on one half of the card. Take a 2 1/2 " circle punch and punch a circle out of scrap paper. With this draw a semi-circle on the wider half of the card and watch the video for fur...
How To: Jacmel crochet a granny square left-handed
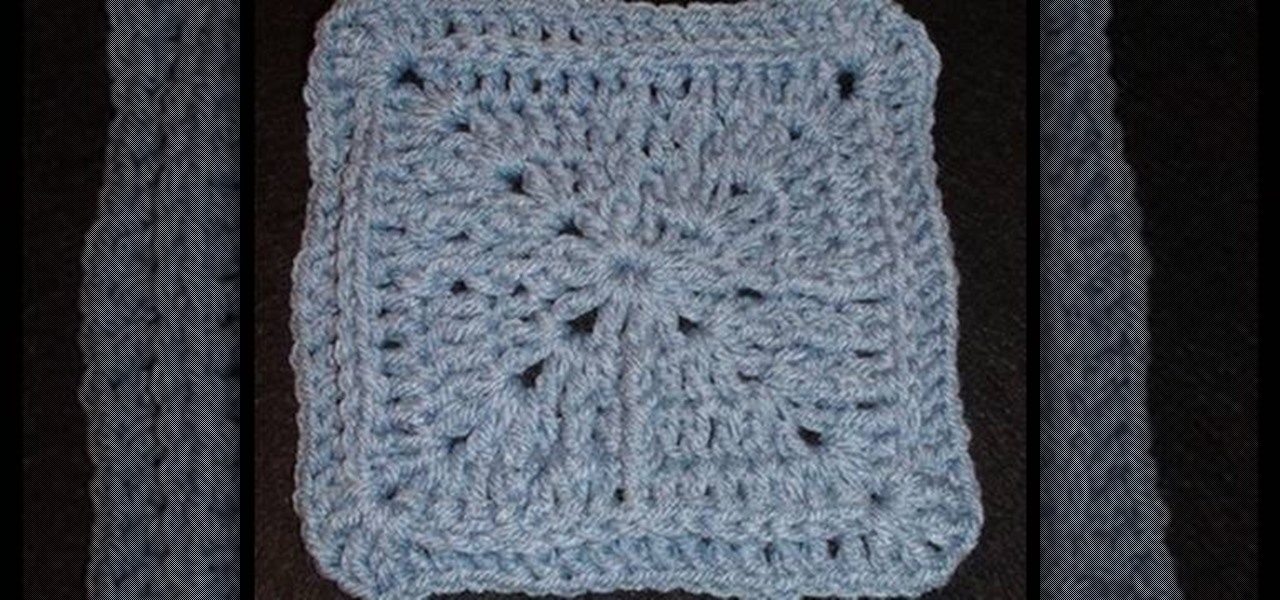
In this tutorial, we learn how to jacmel crochet a granny square left-handed. In round 1, you will chain 1, then work 3 double crochets. Then, chain one four times from the original stitch and end with a single crochet. For round 2, you will chain 1 and work 2 double crochets in the same space. Next, work a double crochet in the next stitch and work over the next stitch. Work in 2 double crochets in the next chain 2 space, then chain 1 and chain 4 times ending with a single crochet. For the n...
How To: Make a clown punch using Stampin' Up! products
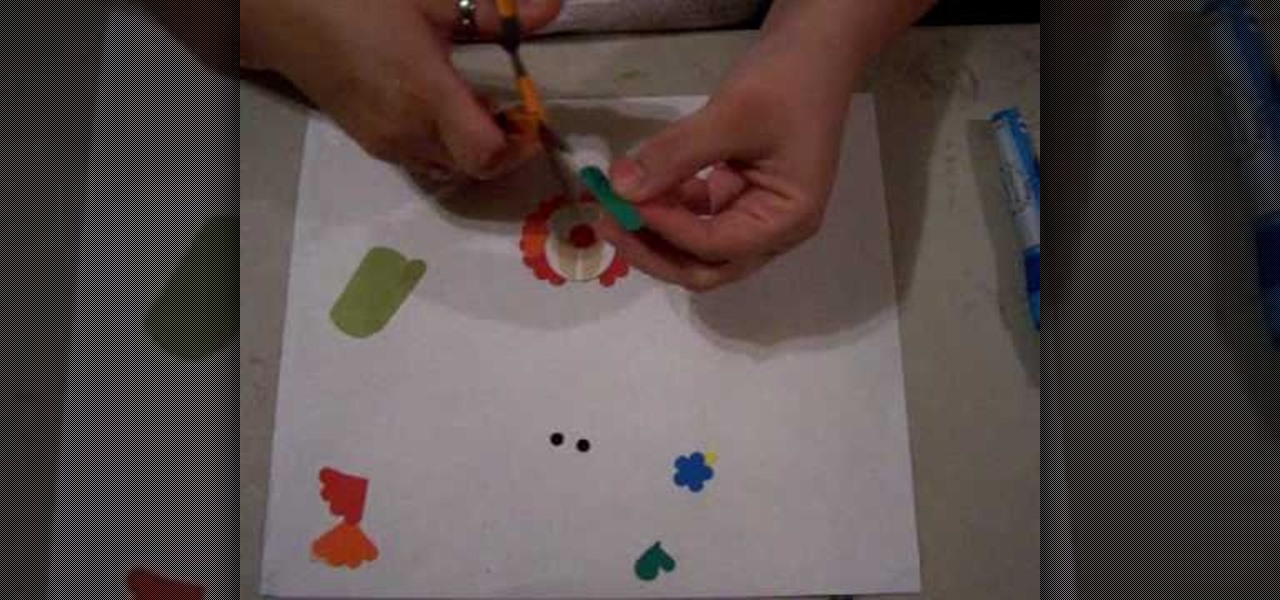
In this tutorial, we learn how to make a clown punch using Stampin' Up! products. You will need: a red scallop circle, green key punch, orange scallop circle, heart shape, circle, oval, red circle, flower, black eyes, and a yellow small circle. After you have these punched out, make the hat out of the green large and oval shapes, then apply the flower to the top of the hat. Next, glue the circle behind this, then cut up the orange and red scalloped circles to create hair on the sides. Next, a...
How To: Make a scrapbook about all of the books you've read
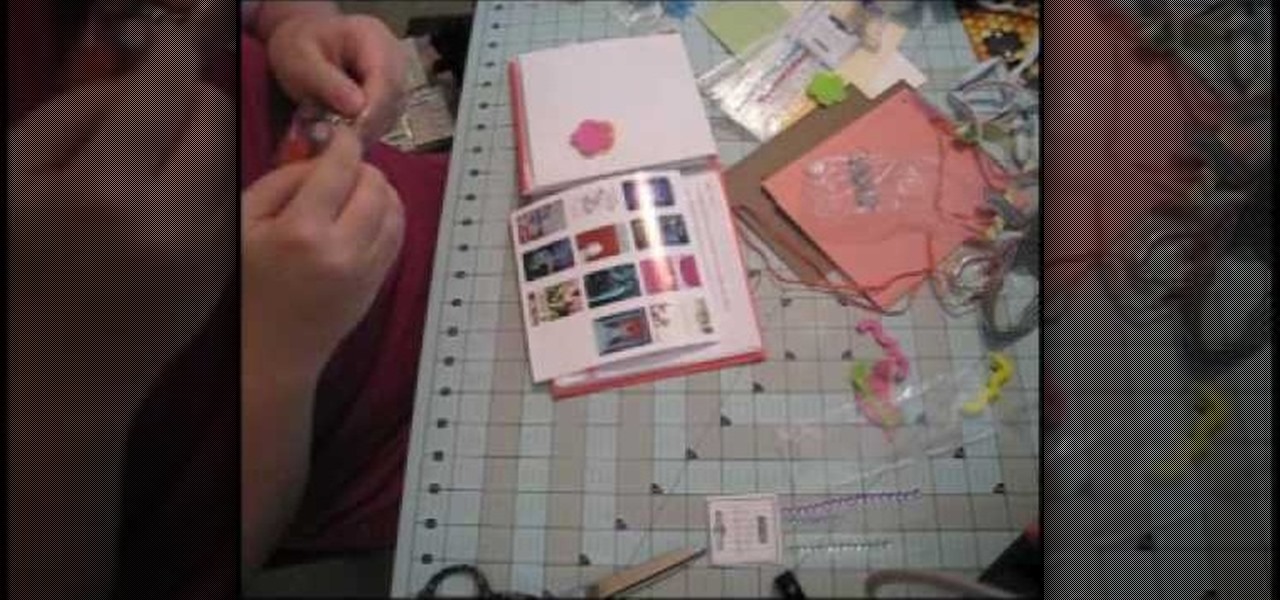
In this tutorial, we learn how to make a scrapbook about all of the books you've read. First, you will want to take a part from the pages that meant the most to you. Type out the text that was written, then glue it onto a similar sized piece of card stock. Adhere this to the top of a picture that has the same theme as the text that you just wrote out. After you do this, decorate your page even more until it's completely finished. You can also take pictures of the books that you have read and ...

How To: Crochet a puffy Valentine heart
In this tutorial, we learn how to crochet a puffy Valentine heart. First, you will make 8 foundation half double crochet. After this, you will work 4 half double crochets in the same stitch, then work 1 half double crochet in the next 6 stitches. Continue to do this until you have four more after this. For the second round, pull up and then half double crochet in the first stitch you made. Then, half double crochet for 6 stitches and then increase your stitches until you have 28 half double c...
How To: Make Life Savers treats
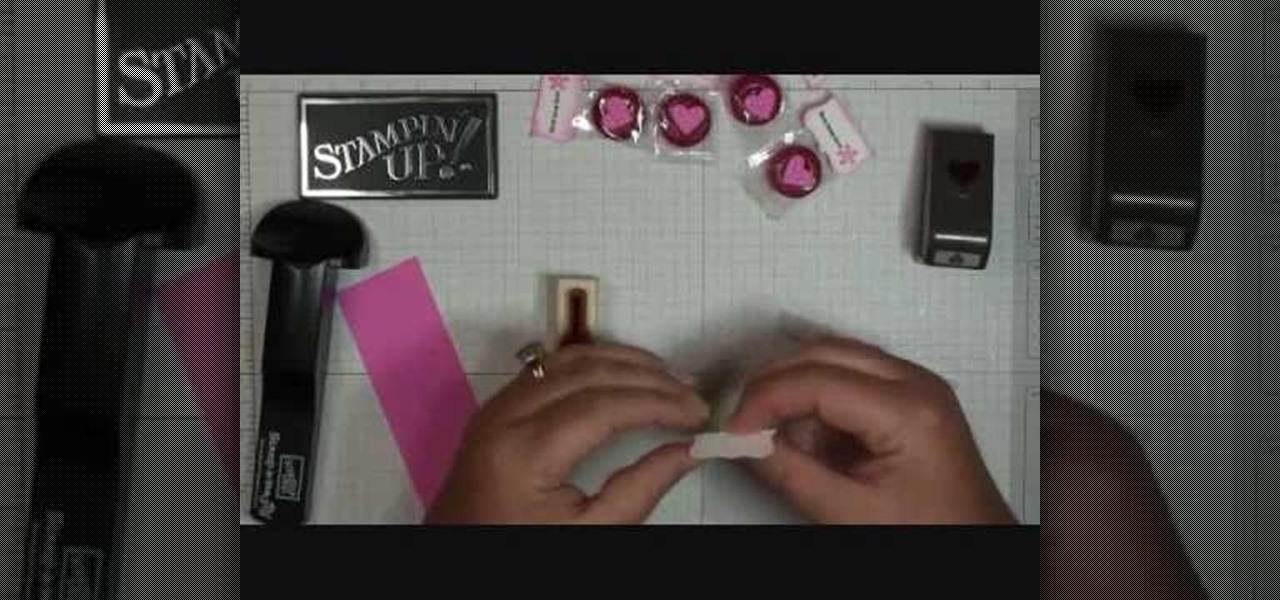
In this video, we learn how to make Life Savers treats. First, use the curly label punch and punch it out of a white paper. Next, fold this in half and then use your stamp-a-ma-Jig on card stock with a love and flower stamp. Use a black and pink marker to fill in the colors of the stamp. Next, stamp this on the piece that was folded in half, then punch out a heart and use sticky strip to adhere the individual life saver to the middle of the sentiment. Once finished, apply the heart and you ar...

How To: Sew a two-tier waist-high skirt
In this video, we learn how to sew a two-tier waist-high skirt. First, fold the fabric in half, then fold the right sides together and draw a half circle. Next, anchor your chalk with a spool of thread and swing around the half circle to create another. Now, cut out the circle with scissors. Then, draw a smaller circle using the same method at the bottom and snip it away. This will be the first layer of your skirt. Repeat these steps with another type of fabric for the other layer of your ski...
How To: Create a sexy Poison Ivy costume for Halloween
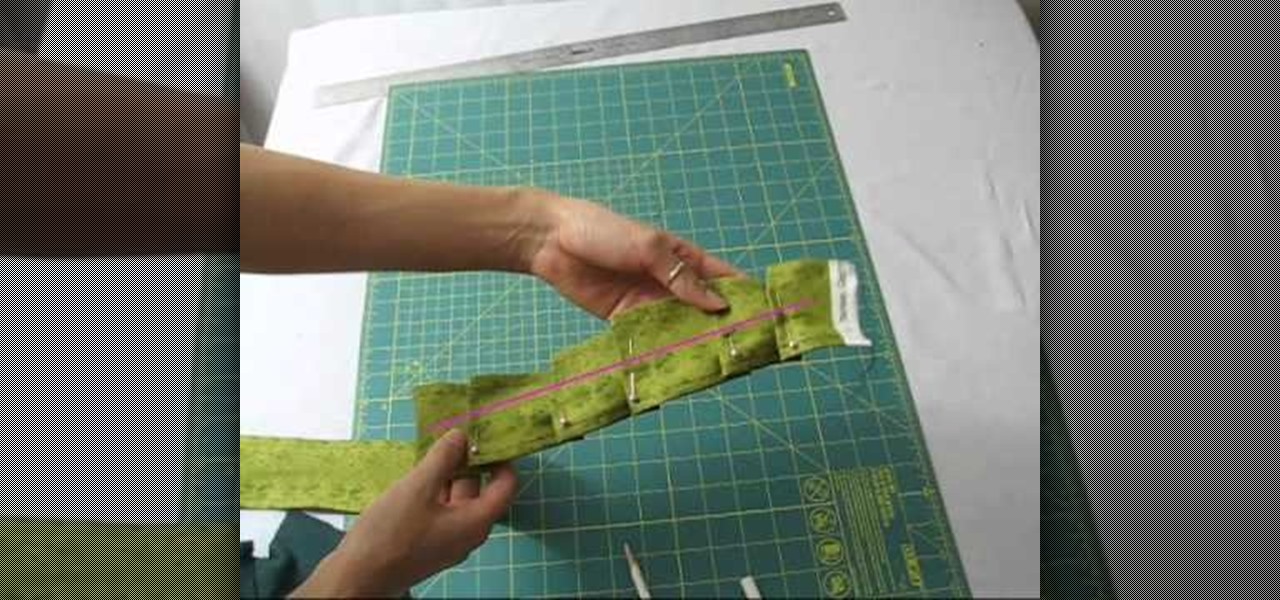
Before Christian Bale and Christopher Nolan there was the original "Batman" with with George Clooney as the masked hero and Uma Thurman as the villainous Poison Ivy. While the movie is ranked as one of the worst superhero flicks of all time, Uma Thurman's getup was probably one of the most fascinating and beautiful superhero costumes we've ever seen.
How To: Prepare the mixture for paper mache
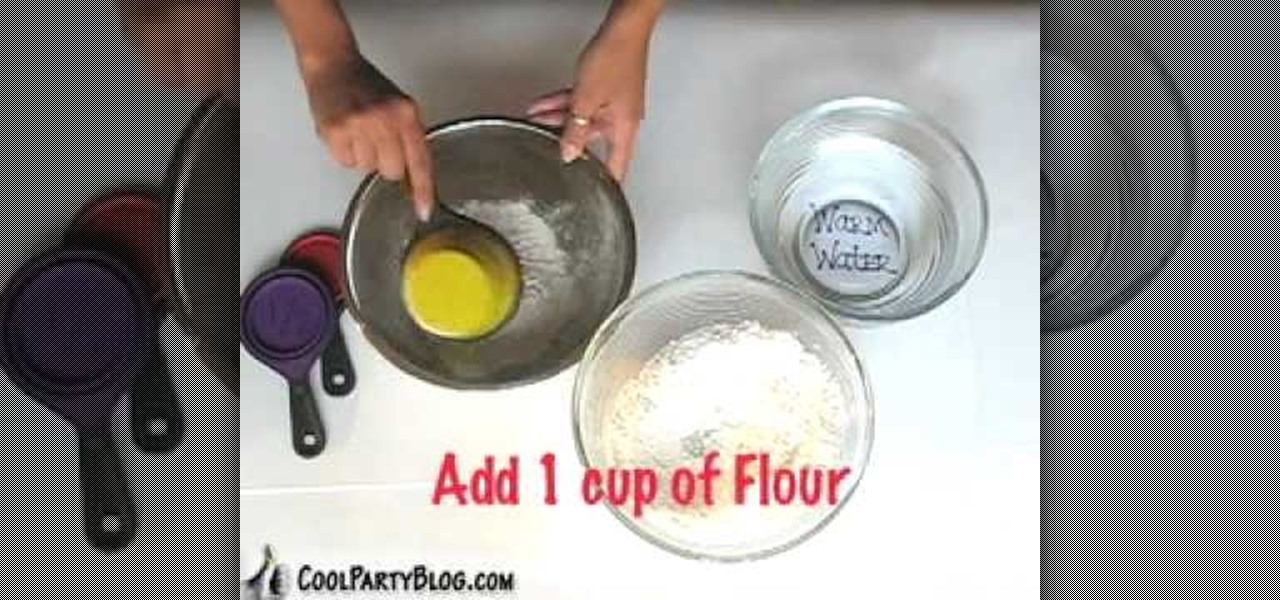
In this video, we learn how to prepare the mixture for paper mache. First, take a cup of flour and a cup of warm water and mix it together until well combined and a paste is made. Add in more water or flour if needed to make the right consistency. After you have done this, continue to mix until there are no flour lumps left in the mixture. Once you are finished, use this to dip your newspaper into so you can correctly make your paper mache. Make sure it's not too thick or too thin so you have...

How To: Create a crafters tool caddy for your desk
In this tutorial, we learn how to create a crafters tool caddy for your desk. First, you will need to gather a few pieces of chip board coasters and cut them to the specifications you would like your caddy to be. After you have done this, put your caddy together by locking them together using cut lines inside the middle of each of them. Once you have finished this, place additional pieces of chip boards inside to create different sections of the caddy. Once you are finished, place in your mat...
How To: Make an owl with Stampin' Up punches
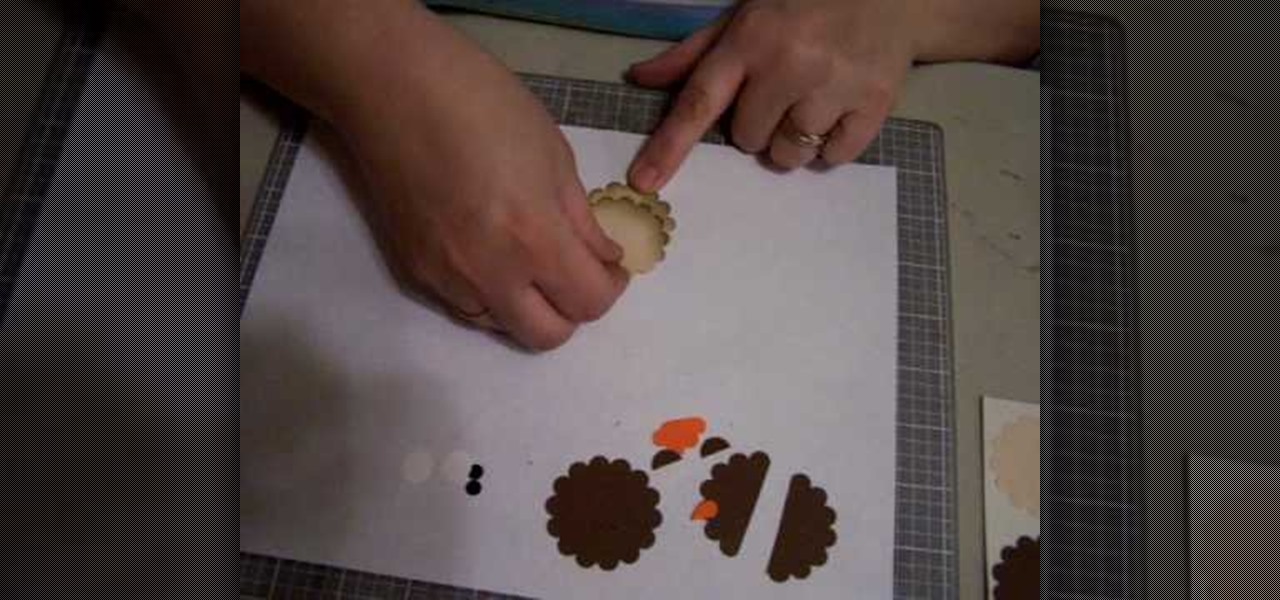
In this video, we learn how to make an owl with Stampin' Up punches. First, cut out two dark brown scallop circles, then two light brown scallop circles. After this, cut out two orange flowers, two black small circles, three white circles, and an orange heart. To put these together, cut one of the dark brown punches in half so you have two pieces. Then, cut off half the flower on both of the flower shapes. Next, put all the pieces together, using the dark brown for the face along with white a...


