Hot Arts & Crafts How-Tos

How To: Make a silver vintage-style bead necklace
In this tutorial, we learn how to make a silver vintage-style bead necklace. First make sure you have silver wire and glass beads in the color that you prefer. Now, you will string the beads through individual wires and close them so these can be applied to the center of the necklace. This will create a long chandelier like quality on the necklace. After this, you will create the base of the necklace with the same color beads and silver. You will want to follow the pattern of creating silver ...
How To: Make an elastic Bali bead & crystal ring
In this tutorial, we learn how to make an elastic Bali bead & crystal ring. First, you need to get all of your supplies together, which include: elastic cord, crystals, glue, beads, and scissors. Start by cutting a 6 inch piece of the elastic cord, then string a bead to the middle of it. Then take a crystal and string it onto one side along with another bead and a silver bead. After this, place more beads around the other side of the middle bead then put it around your finger to see if it's t...
How To: Make a multi-pocket/tag envelope page for mini scrapbo
In this video, we learn how to make a multi-pocket/tag envelope page for mini scrapbook. To start, you will need to put the different pieces of paper together. You will need to use a standard number 10 envelope, then trim off each end so that the envelope body is nine inches long. Then, stick down the flap and then score from one end out four inches to the middle. Then, fold this down. After this, you will cut the ends off and two pockets will be created. Now, cut out half circles to create s...
How To: Make lollipop flowers out of fabric
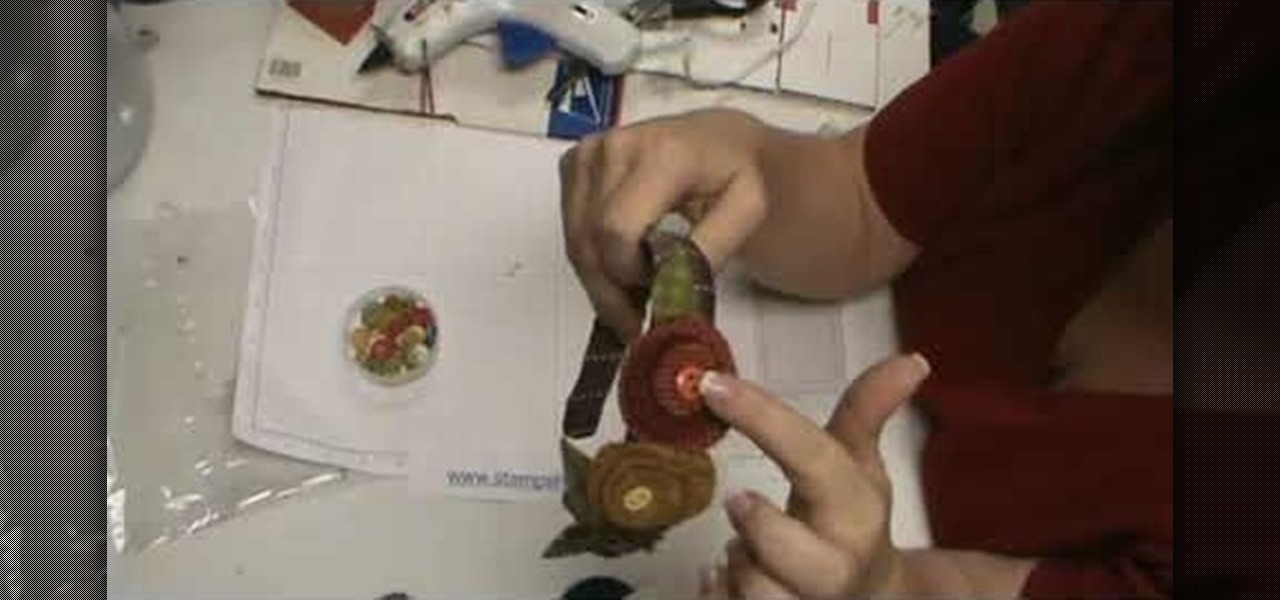
In this video, we learn how to make lollipop flowers out of fabric. First, start out with dye that has four circles in different sizes. You will also need the Big Shot to cut out the circles and wool cut out to fit on the cutting board. Put the board through the machine and your circles will be cut out. After this, start with the largest circle and start to add the other circles on top with a hot glue gun. Now, add a button to the middle of the top smallest circle using a hot glue gun. Add a ...
How To: Create an origami bird
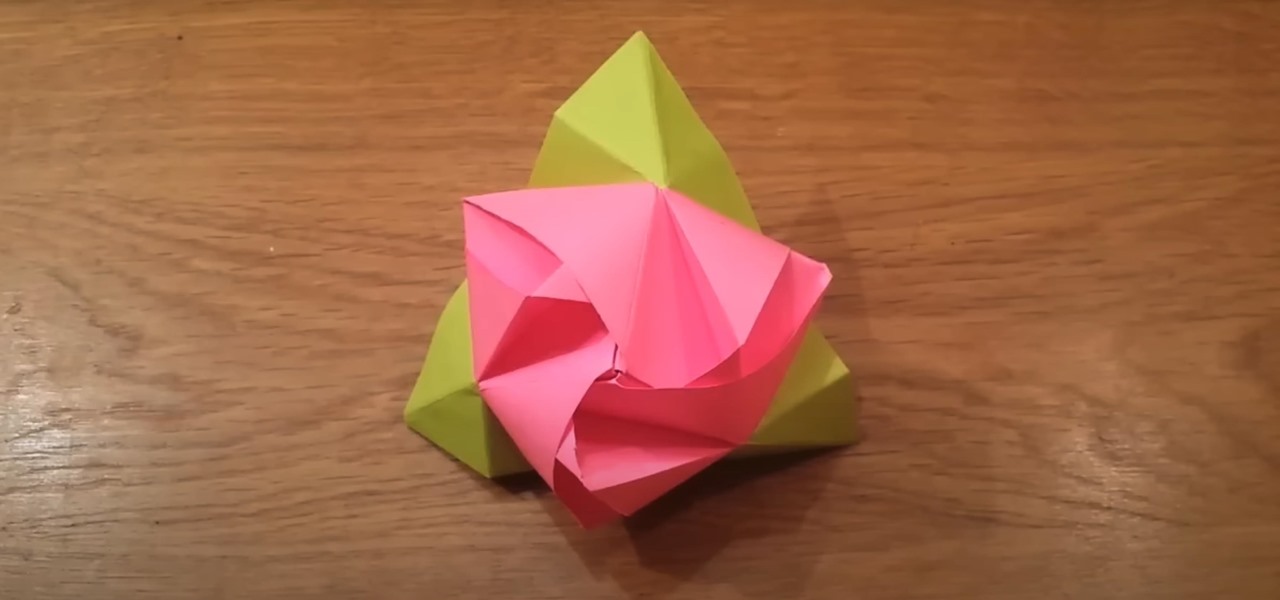
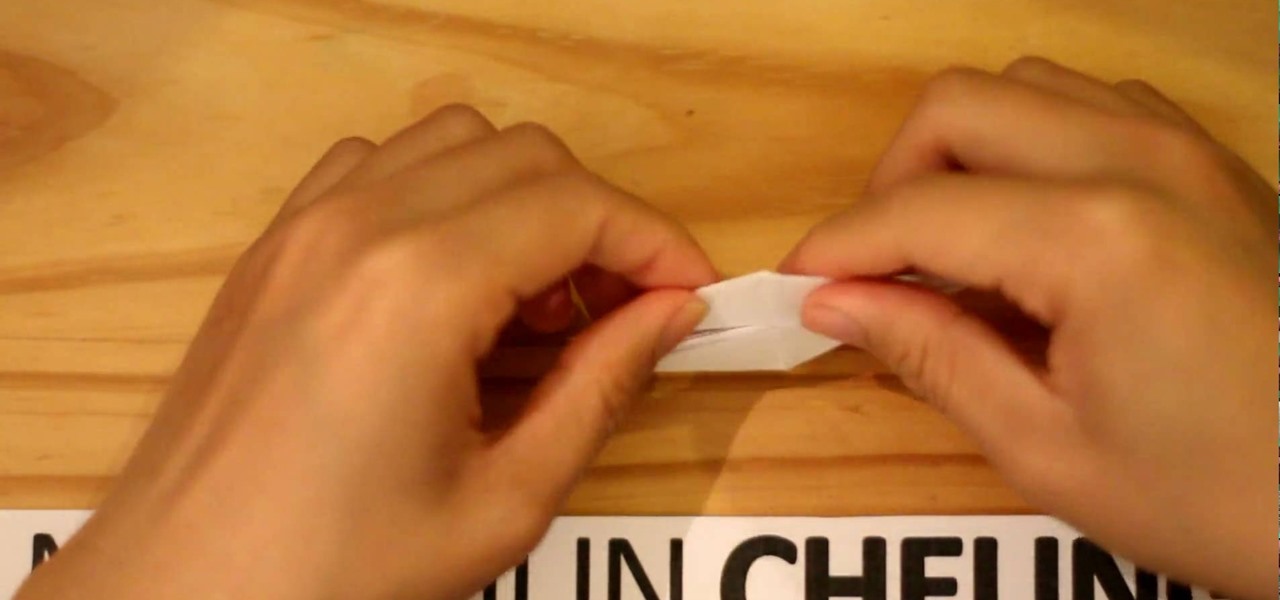
In this tutorial, we learn how to create an origami bird. Start with a rectangle, then fold a triangle into the end of it. After this, fold a crease down the middle of the triangle and tear it off. Next, fold this triangle in half, then in half on the other side. Push down in the middle crease to make a diamond shape on both of the sides as well, then fold down to reach the bottom of the diamond. Fold the top up and the bottom up, then bring the edges into each other to create a pocket. After...
How To: Hold a hook and yarn in crochet
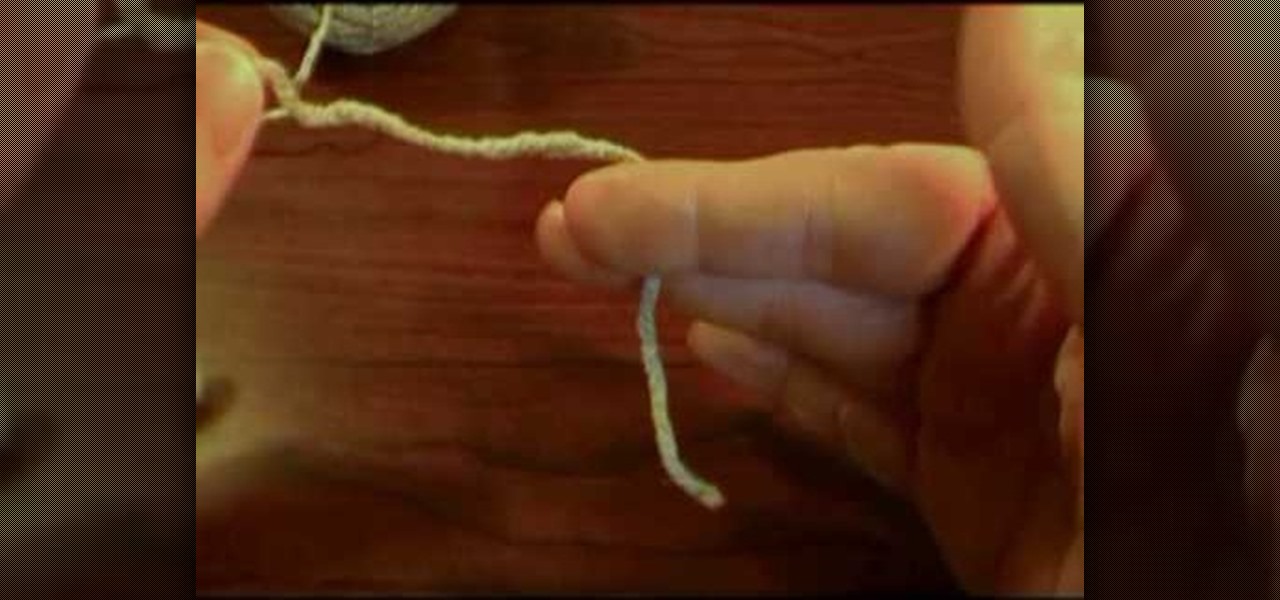
In this video, we learn how to hold a hook and yarn in crochet. First, grab your hook at the thumb grip. Then, practice how you like to hold your hook so it feels most comfortable with your hand. After this, grab your yarn and wrap it around the hook, placing tension in the string. To do this, wrap it around your pinkie then your pointer. Then, hold in between the thumb and middle finger. After this, you will be able to place the hook in the yarn easily to start out your stitch. After this, s...
How To: Make earrings with Swarovski Crystal & coiled wire
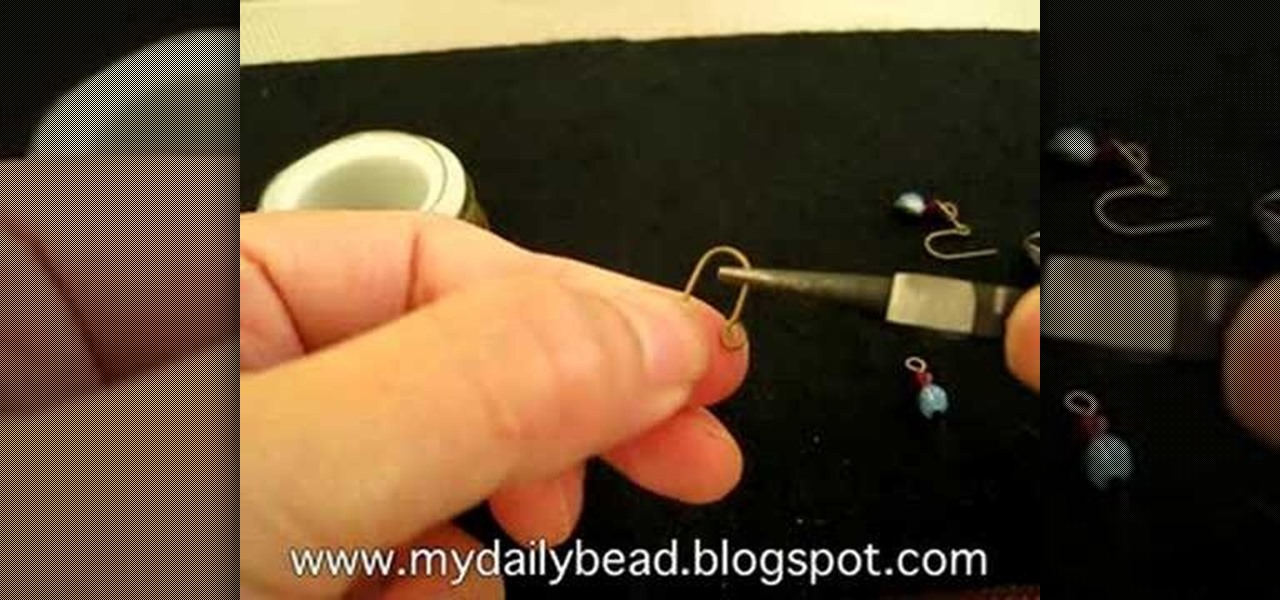
In this tutorial, we learn how to make earrings with Swarovski Crystal & coiled wire. You will need: 6 mm round bead, 4 mm Swarovski crystal, 2 inch head pin, and coiled wire. First, place the beads on to the head pin then bend the pin to 90 degrees. Cut this around 8 mm with a wire cutter, then use pliers to curve the bottom of the pin into a loop. Now grab the wire and cut it into a small strip. Form a loop at the bottom, then twist it into a wired circle. Attach this to the loop on the ear...
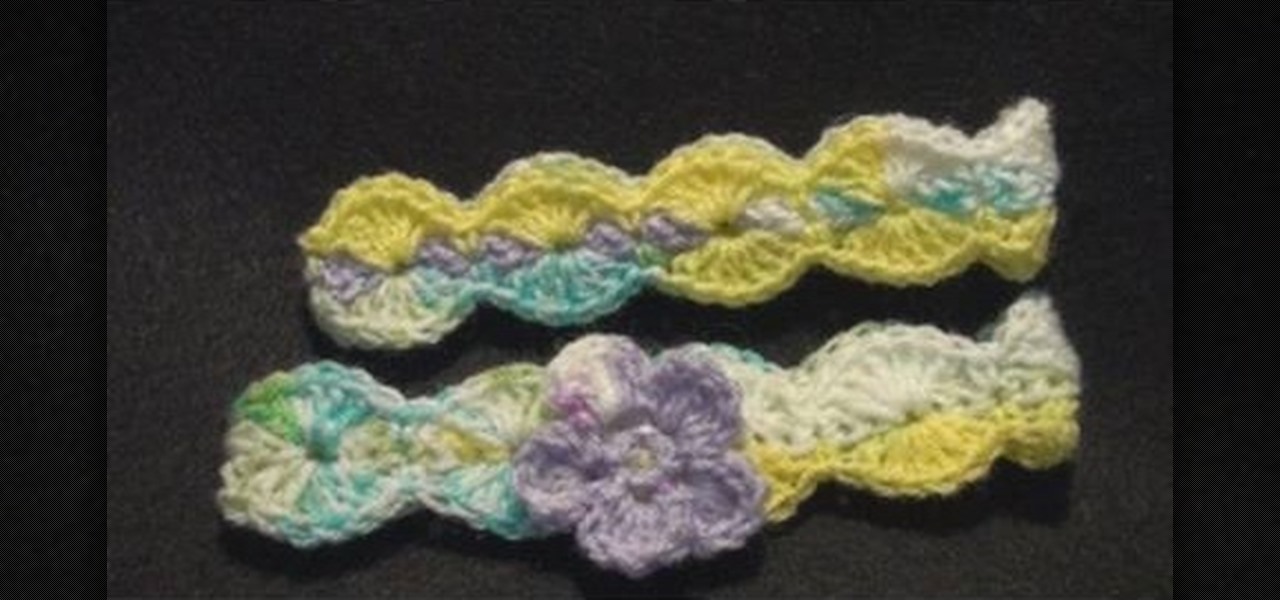
How To: Crochet a left handed headband with optional flower
In this tutorial, we learn how to crochet a left handed headband with optional flower. To start, you will make the foundation by crocheting a single crochet 54 times. Once you have made the base, you can take another color and start to crochet it on top of the first foundation. You will use a single crochet on the top, then to make larger humps double crochet for part of it. When you reach the end, take another color and repeat the same process going over the last color. You can continue arou...

How To: Crochet a left handed streamer hat
In this tutorial, we learn how to crochet a left handed streamer hat. For the first round, you will chain four, then double crochet through the loop. After this, repeat nine times from the beginning then slip stitch to join the beginning chain 3. For round 2, attach contrasting color of yarn, then chain 2. Single crochet in the previous chain 1 then go over the double crochet. Work 2 single crochets in the next crochet 1 then work a single crochet in each space. Slip stitch to join with the b...

How To: Crochet a left handed slinky flower
In this tutorial, we learn how to crochet a left handed slinky flower. You will first start row 1 by working a single crochet in the second chain from the hook. Then, chain 2 and skip a chain. Continue across, then make the last chain 2 and single crochet. After this, start to make the petals. For the first petal, you will do a chain 1, then do a half double crochet followed by a chain one all in the same loop. Continue to repeat the petals until you have seven of them in total. When finished...
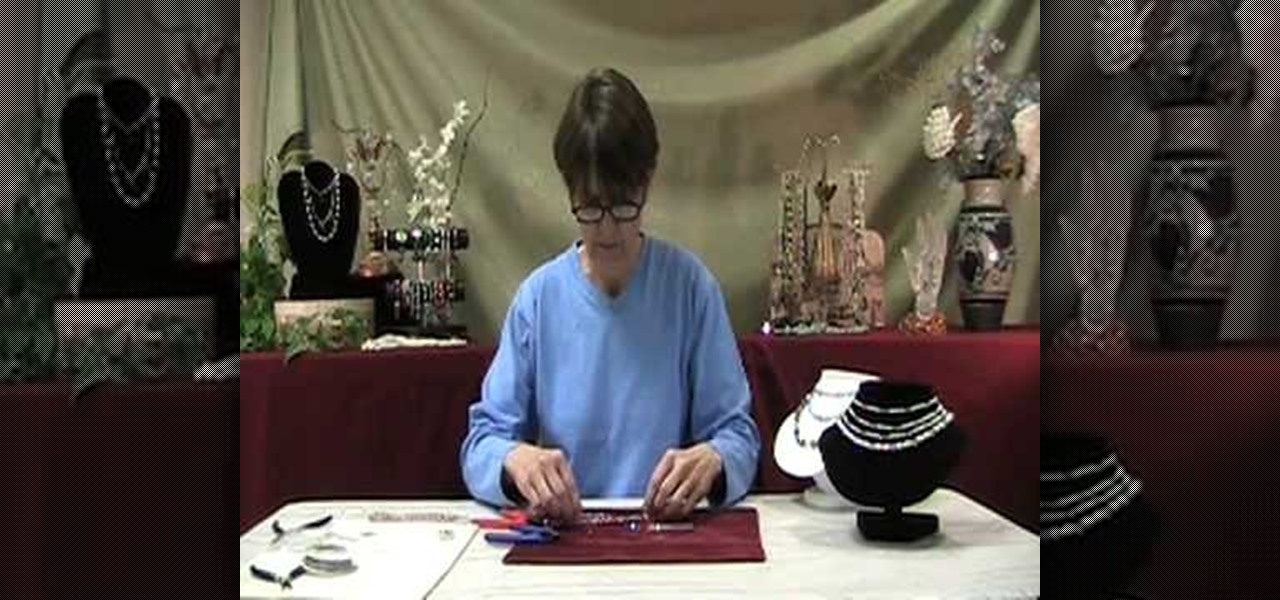
How To: Make a interchangeable beaded watch band
In this tutorial, we learn how to make a interchangeable beaded watch band. First, cut your beading wire to appropriate length, then slide a crimp bead and lobster trigger clasp to one side of the wire. Then, bring the end of the wire back through the crimp bead creating a snug fit. Using the rear notch on your pliers, crimp the bead tightly. Then, add a crimp bead cover using the front notch on the pliers to close the bead tightly. Next, string your chosen beads, then repeat the first steps ...
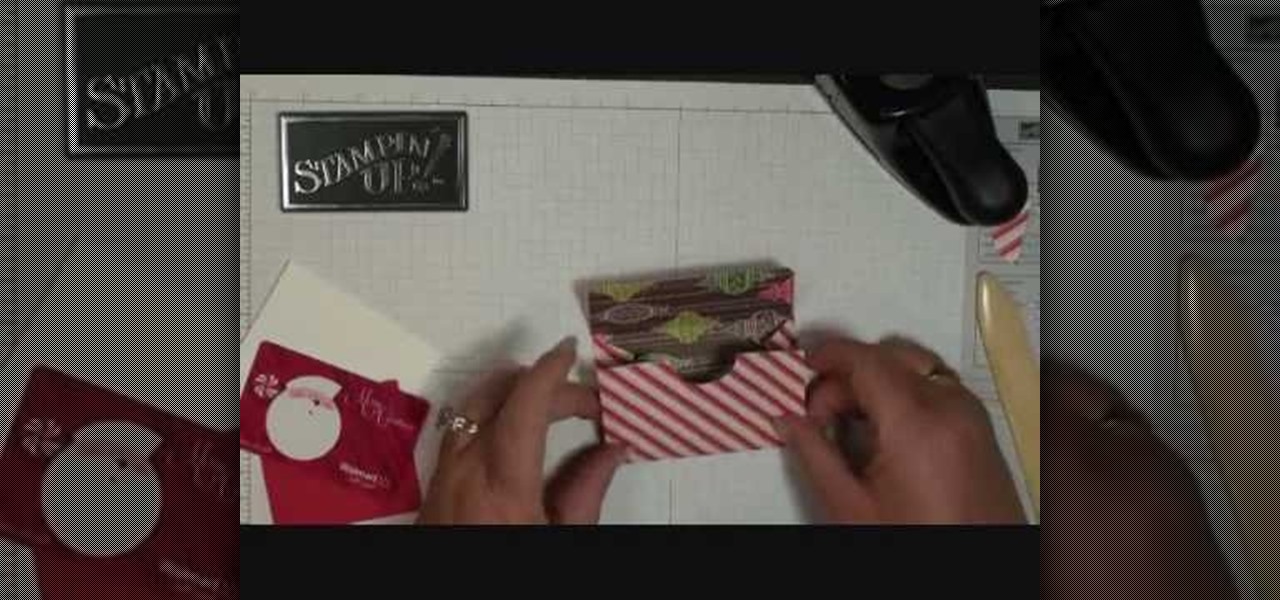
How To: Make a mini gift card envelope with Stampin' Up!
In this tutorial, we learn how to make a mini gift card envelope with Stampin' Up!. First, take a piece of card stock that is red and white. Score this 3/4" on both sides, then turn on the 6" side and score at 1 1/4" and 3 3/4". Once finished, fold this up and cut along the sides that you have scored. Put adhesive on the bottom of the gift card holder to seal up the bottoms so you can place the gift card in. Now, punch a hole in the bottom of the paper so you can see the gift card peak out of...

How To: Make a tubular peyote bracelet
In this tutorial, we learn how to make a tubular peyote bracelet. To get started, string your beads onto the string and leave a 10 inch tail. Then, bring it into a loop and tie it into a square line. After this, use a needle to sew more beads through the beads that you just strung on. As you do this, skip beads so that you have interchanging colors around the circle. You will have a total of four beads on top of the eight that you started with. Continue to do this until you reach rows that go...

How To: Perfom a cable cast-on
In this video, we learn how to perform a cable cast-on. Start this with a slip knot, then grab your working yarn and create your first stitch. After this, go between the two stitches with your other needle, then tighten the last stitch that you just made. Now, go in between the last two stitches and tighten up the yarn again. Continue to do this by making different stitches and as you go down you will have a cable cast-on. As you finish, you will have a longer and longer row, so tie off when ...
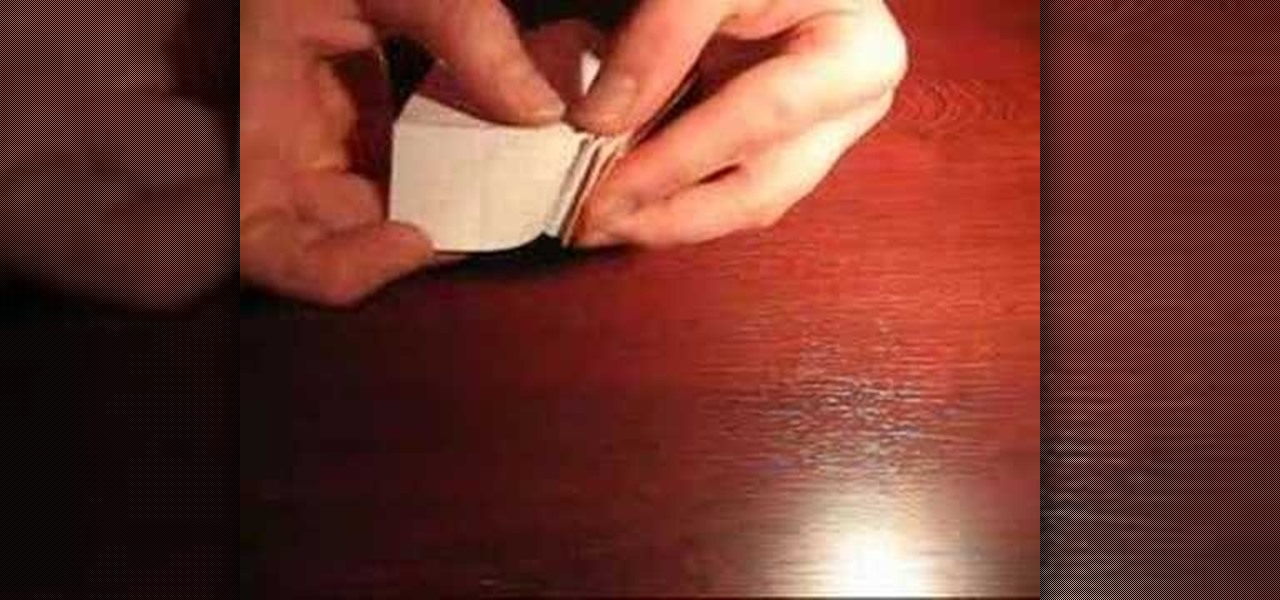
How To: Make an origami book
This video will show viewers how to fold a small book out of origami paper. You will need a square piece of paper for this project. First, fold the paper downwards in half, then fold it into quarters by folding down both edges of the paper to meet in the middle. Unfold and fold the two top sections down to make eighths on your paper. Then turn the paper around and repeat. Mountain fold both sides of the paper until you reach the middle, after which you should have a strip of folded paper. At ...

How To: Make a bohemian loose sleeve maxi dress with Gianny L
A maxi dress, or a loose dress with an empire waistline, is not only a summer staple. If you add some length to the bottom hemline then you can easily wear a maxi dress during the fall that'll keep you warm, comfortable, and gorgeous looking.
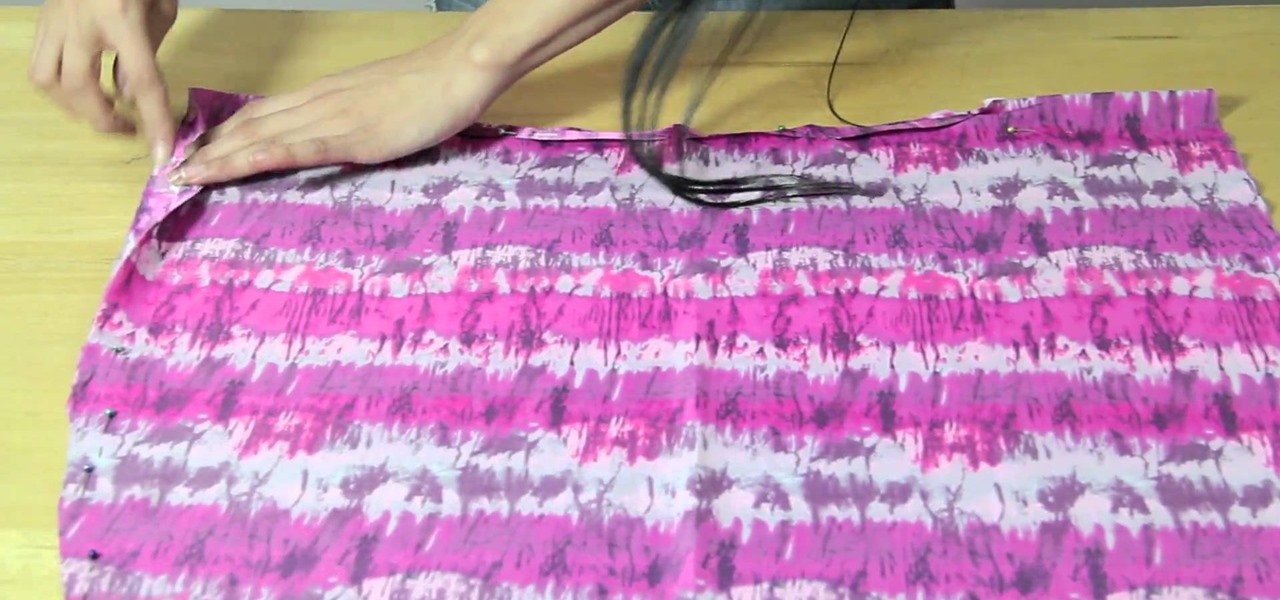
How To: Recycle old fabric into a fashionable banded off-shoulder top with Gianny L
There's no need to drop mad stacks at a department store in order to wear clothing that looks fashionable. In fact, you may not know it yet, but you probably have a few gems waiting to shroud your figure in your garage.
How To: Repurpose plastic bags into tote bags, pouches, and a wine bag
Let's face it: Despite knowing that we should always carry around our recycled, reusable tote bag to the store to cut back on plastic bags, we've still got a whole closet load at home. It's nearly impossible to always have a reusable tote with you, or enough usable totes for each shopping trip.

How To: Make a pink 2 strand bohemian goddess headband with a bow
We never thought you could wear anything that would make you look cute and sexy all at once, but this bohemian headband with a cute pink bow proves us wrong. Rather than simply teach you how to make a simple two strand bohemian headband in the style of Nicole Richie, your instructor teaches you how to make that headband and attach it to a bow for extra girly appeal.
How To: Carve a bloody and gory Halloween pumpkin using power tools
Tim the tool man Taylor would do his famous grunt in favor of this manly way of carving a pumpking. Rather than use your typical pumpkin carving tools like a mini knife and sharp picks, you'll learn how to employ a faster course of action by using power tools to blast those contours off.
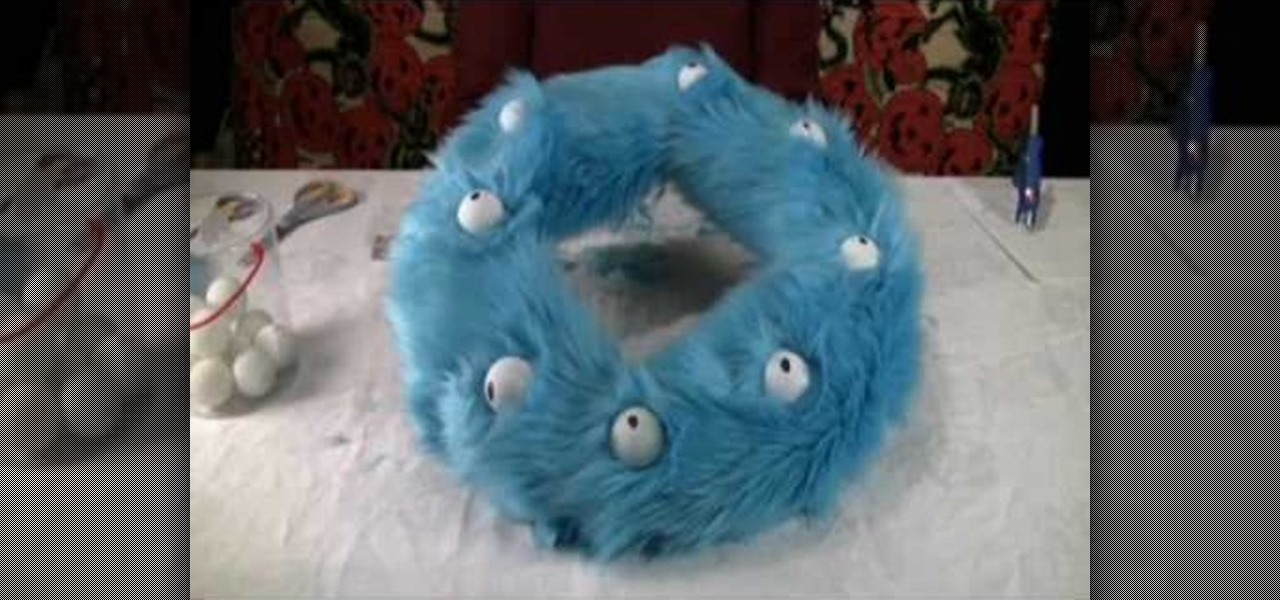
How To: Create a fun and kooky fuzzy monster eyeball Halloween wreath
This wreath's got its eye on you...literally. Freak out trick-or-treaters and perplex adults with this kooky and spooky monster eyeball Halloween wreath. Skeletons and spiders? Psshh, that's SO last year. This wreath is made of fuzzy blue "monster" fabric and adorned with eyeballs made from golf balls.
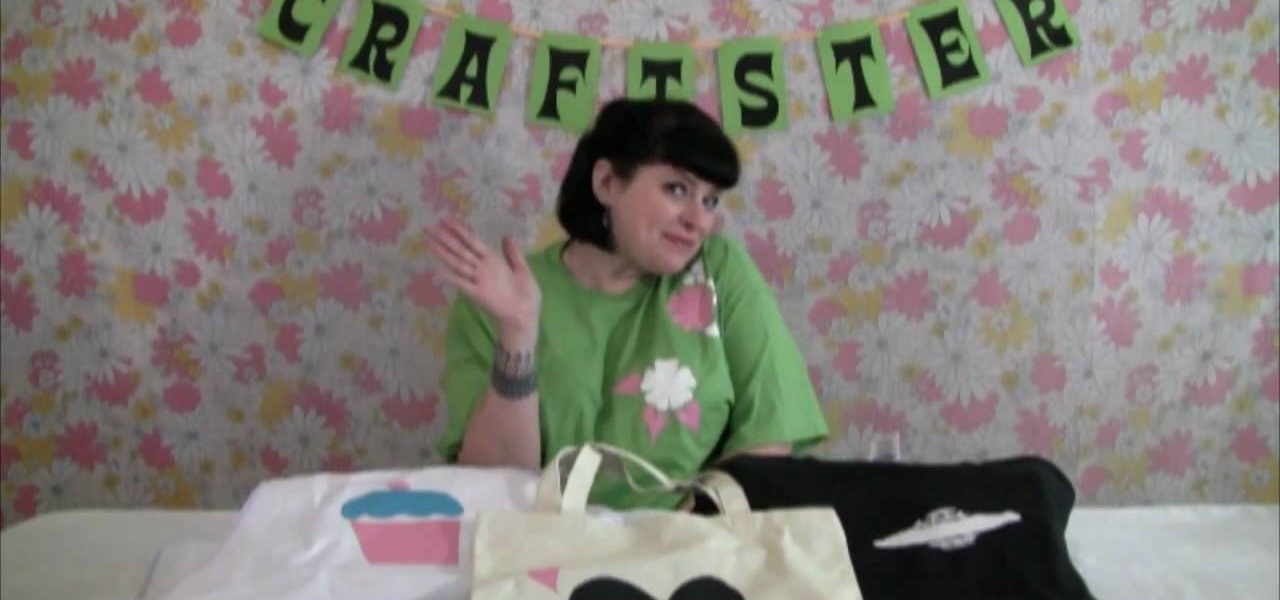
How To: Craft a freezer paper stencil to put a flower design onto t-shirts
Freezer paper isn't just for the freezer. In fact, with a little ingenuity garnered from this crafting video you'll learn how to transform blah and boring freezer paper into a stencil that you can use to decorate t-shirts, jeans, tote bags, or whatever you want!
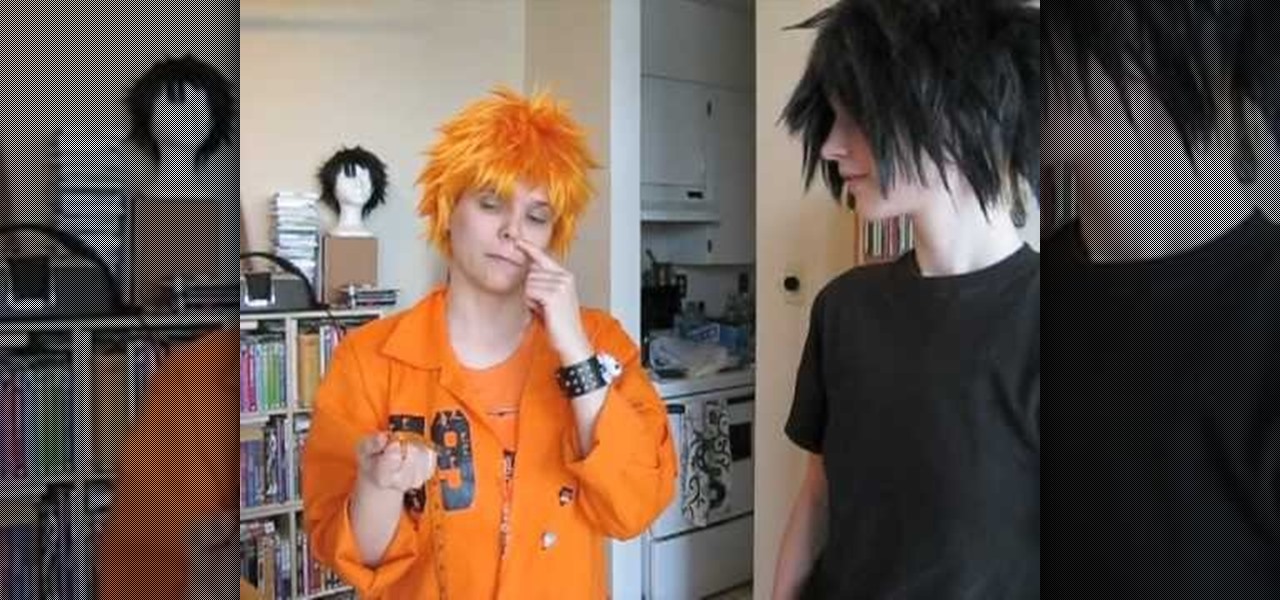
How To: Sew a great DIY cosplay costume
Sewing your own cosplay costume requires a massive investment of time, energy, and sewing skills. Before you get started, you should watch all of this three-part video tutorial on sewing cosplay costumes. It covers everything from buying fabric to the actual sewing and everything in between, and should have you ready for you next anime convention in no time.

How To: Make a cute Devil-horned ducky melt and pour soap
Melt and pour soaps are some of the easiest soaps to make, given that actually making a soap by yourself from scratch - you know, harnessing glycerin, coloring, etc. - could easily explode into your face, literally, if you mix things in the wrong order.
How To: Make a DIY Silent HIll 1 Nurse cosplay costume
Silent Hill might be the single scariest game of all time, and it has spawned many sequels and films of wide-ranging quality. If you like the games and want to cosplay as one of the sexy yet demonic nurses from Silent Hill 1 and the film, this video will teach you everything you need to know, from what fabric to get to the pattern and how to put it all together.
How To: Make fun pixelated fuse bead coasters
Remember the heyday of video games during the '80s when all video games were 8 bit and super pixelated? While we're glad to have video games that look so real we mistake them for reality sometimes, pixelation is still a cool way to add retro flair to any crafts project.
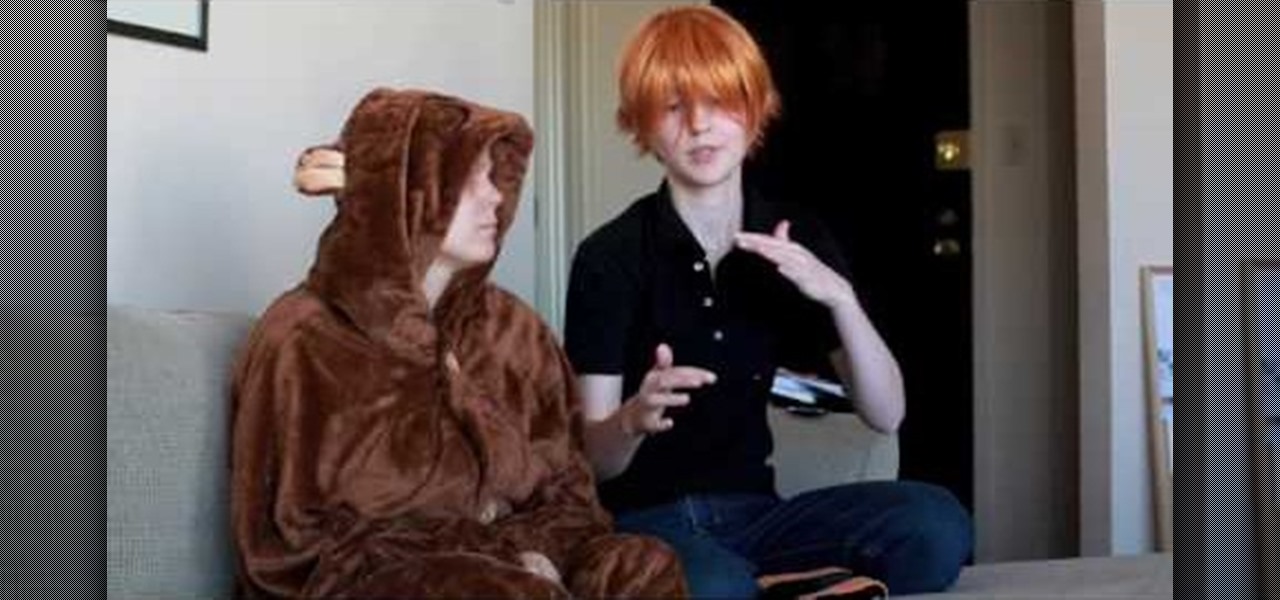
How To: Choose the right character to make a costume for and cosplay as
Cosplay is a fine art these days, and if you want to get into it, deciding which of the thousands of characters you have to choose from to cosplay as can be tough. Making a good costume is hard work, so you want to make sure you choose the right character for you before you invest your time and money. This video features several regular cosplayers giving you all sorts of tips and advice for picking your character based on body type, personality, and other factors.
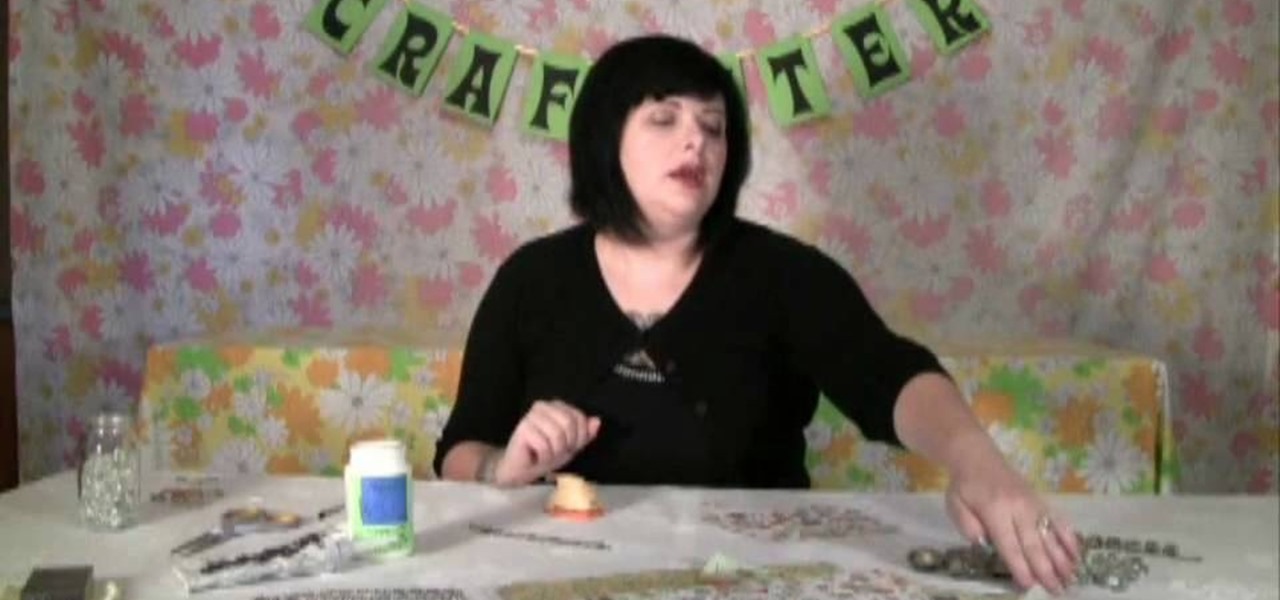
How To: Craft pretty marble magnets and a picture marble charm bracelet
You probably haven't played with marbles since you were a kid (anyone remember Chinese checkers?), but more likely than not you still have some marbles lying around your house, especially if you have a kid.
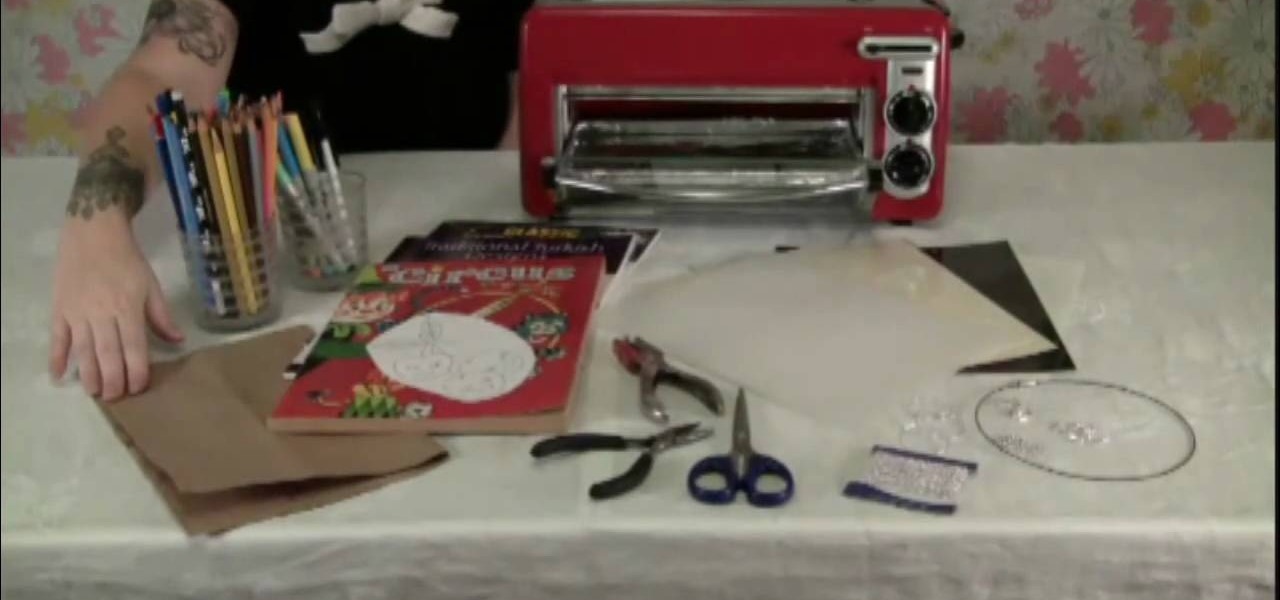
How To: Craft a shrink plastic cherry necklace and accessories
If your little girl loves jewelry making but you're scared she's going to poke her eye out with a wire when you're not looking, sleep soundly at night by teaching her how to craft shrink plastic jewelry. Perhaps the safest and easiest forms of jewelry making, it involves only shrink plastic and a mini oven (which you would help out with).
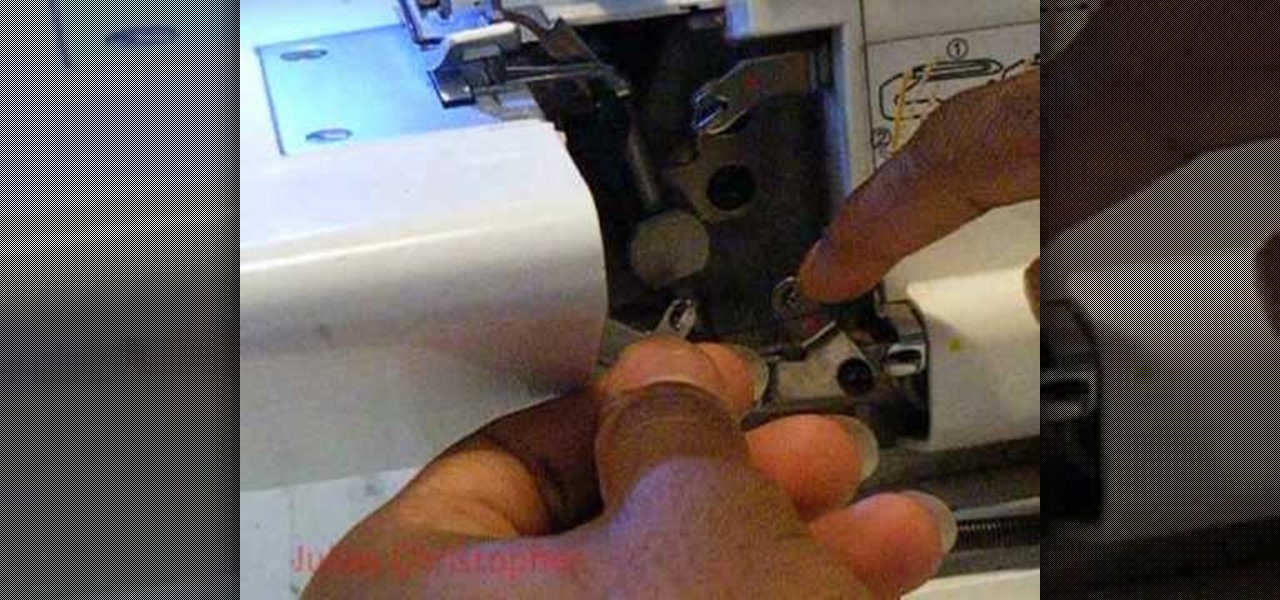
How To: Thread a Singer Finishing Touch serger sewing machine with differential feed
Sewing with a serger sewing machine can be quite difficult, if you're lucky enough to own one. Even threading the beastly sewing machine can be pretty tricky. But this two-part video tutorial should help you to properly thread one. This covers the threading of a Singer Differential-Feed Finishing Touch serger sewing machine (14SH654), which has 4/3 thread capability. Singer also has a PDF available with detailed threading instructions.

How To: Make furry gloves for a fursuit
If you want to go furry, don't want to spend the money on a professionally-made fursuit, and have some sewing skills, you've come to the right place. This video will help you get your costume started by showing you how to make a pair of fursuit gloves yourself. They are durable, easy to move around in, and super cute.
How To: Craft a Greek goddess/bohemian three strand headband
We don't know about you, but anything that says "Greek goddess" in the label gets us instantly interested. In this tutorial, you'll learn how to look like a Greek goddess by making a knitted headband composed of three strands that tie at the back.
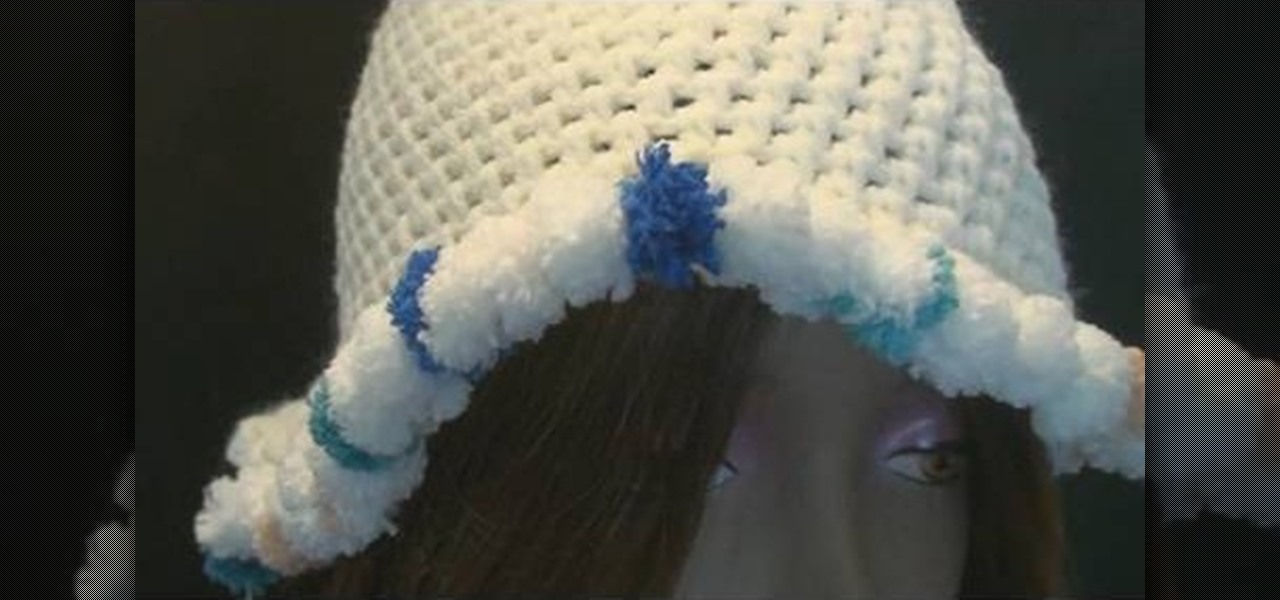
How To: Crochet edging for a cap using Pomp-A-Doodle yarn
Despite what you may believe, making a crochet cap doesn't end at the last knitting row. In fact, crochet caps can be embellished in a number of different ways, including this Pomp-A-Doodle trim.
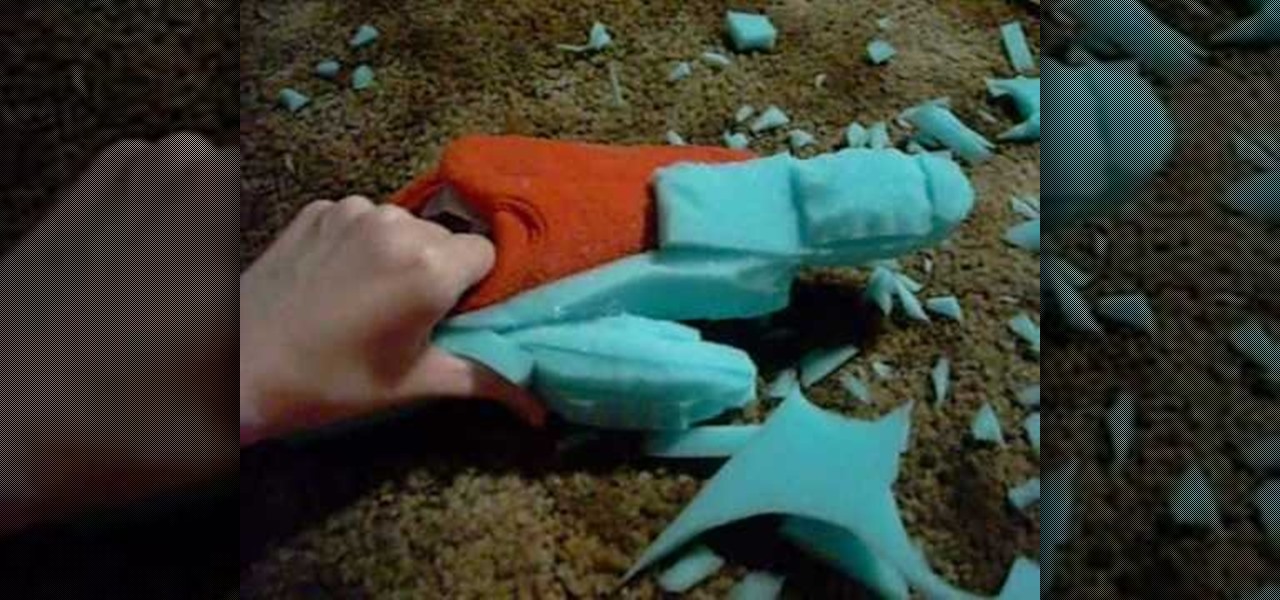
How To: Make koala footpaws for a fursuit out of slippers for cheap
If you're into fursuits, check this video out. It will show you how to make cheap, durable footpaws for a koala, lemur, or other primate costume out of slippers and other cheap materials. Now get out there and fur it up!
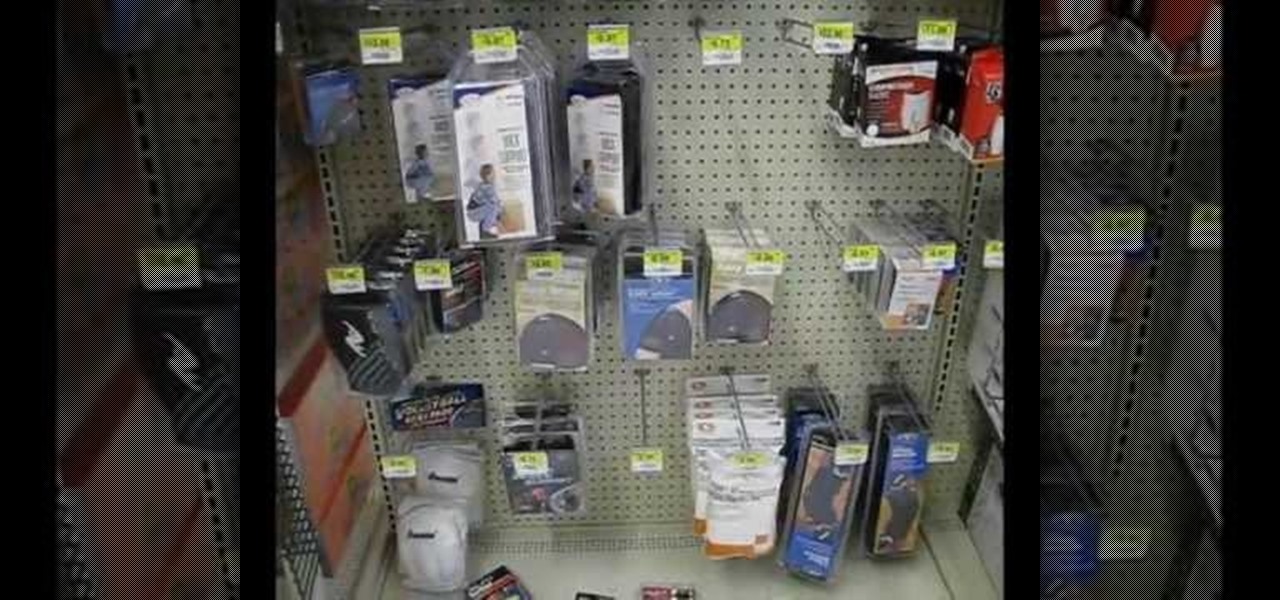
How To: Use and get the right materials for making a fursuit or other costume
Cosplay-friendly conventions are going through a sort of renaissance right now. AnimeExpo, ComiCon, A-Kon, PAX. All over the country people are dressing up as anime characters and furry animals and filling exhibition halls to mingle. If you want to have a really badass costume, you're going to need the right materials. In this video, a semi-professional costume-maker will walk you through the materials you need to make a great fursuit or other elaborate costume and where to get them.
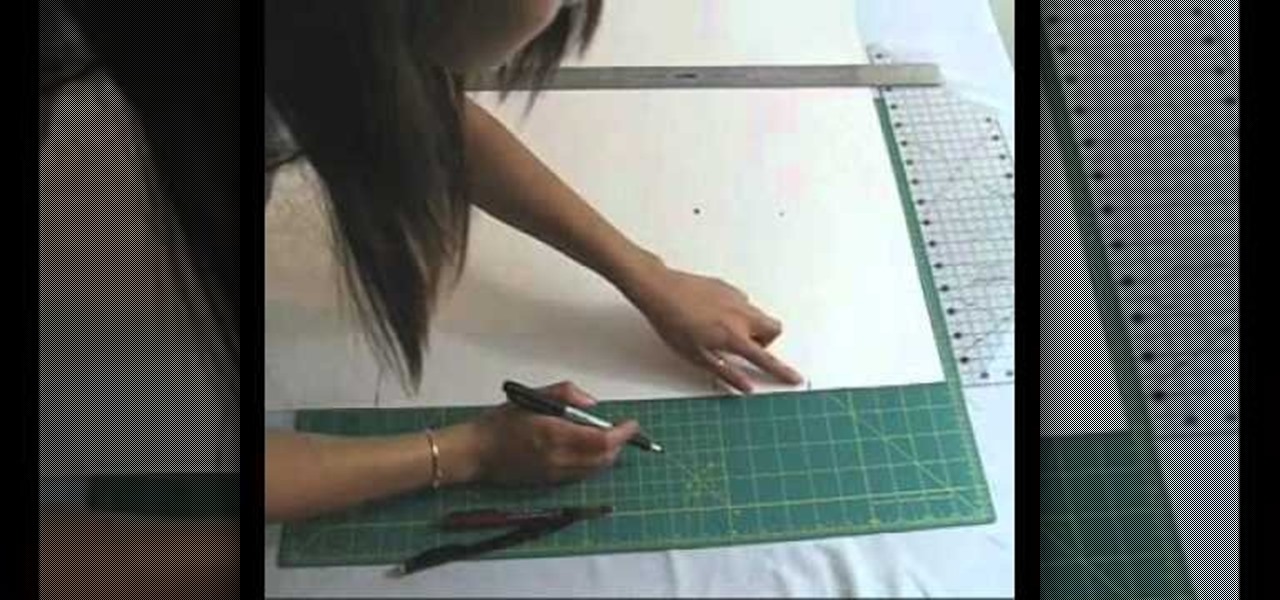
How To: Make your own customizable tank top pattern for beginners
What's the most efficient way to become a fashion designer? By challenging yourself to creating your own clothes from the ground up. And while you probably already know this means cuting, sewing, and embroidering your fabrics, it also means making your own patterns.
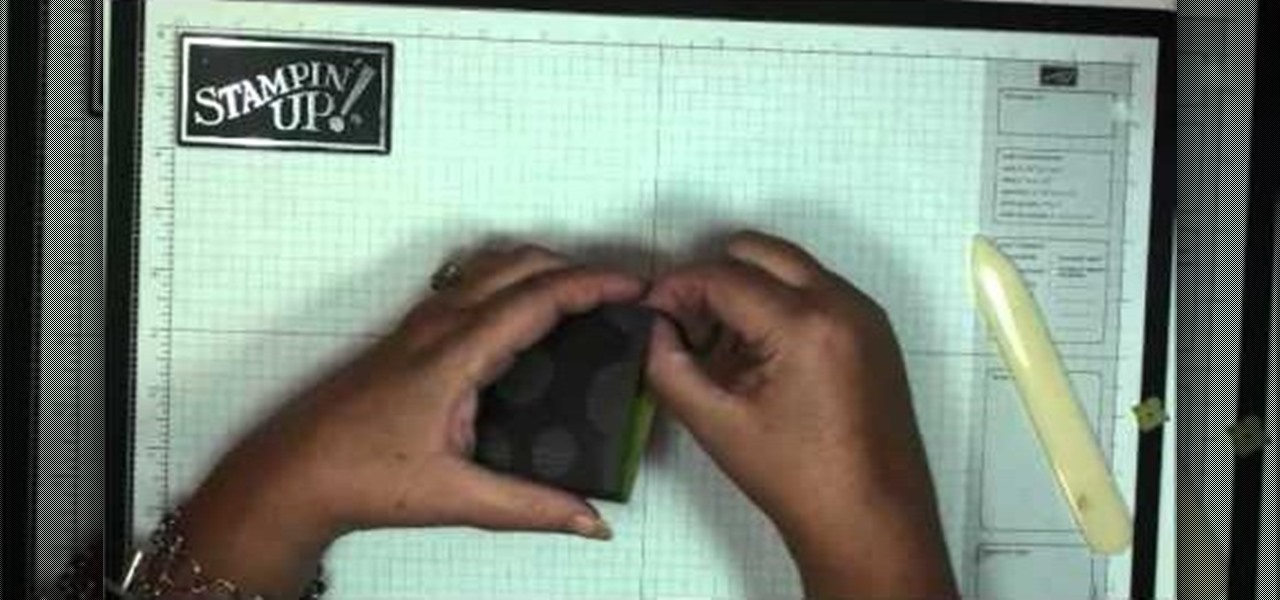
How To: Create a cute spider-embellished Halloween box with ribbon loop
Are you ready for the spookiest time of year yet? Get yourself in the mood for macabre (Halloween is in only two months!) by checking out this crafting tutorial for making a cute spider stamp-embellished Halloween box equipped with a ribbon holder.
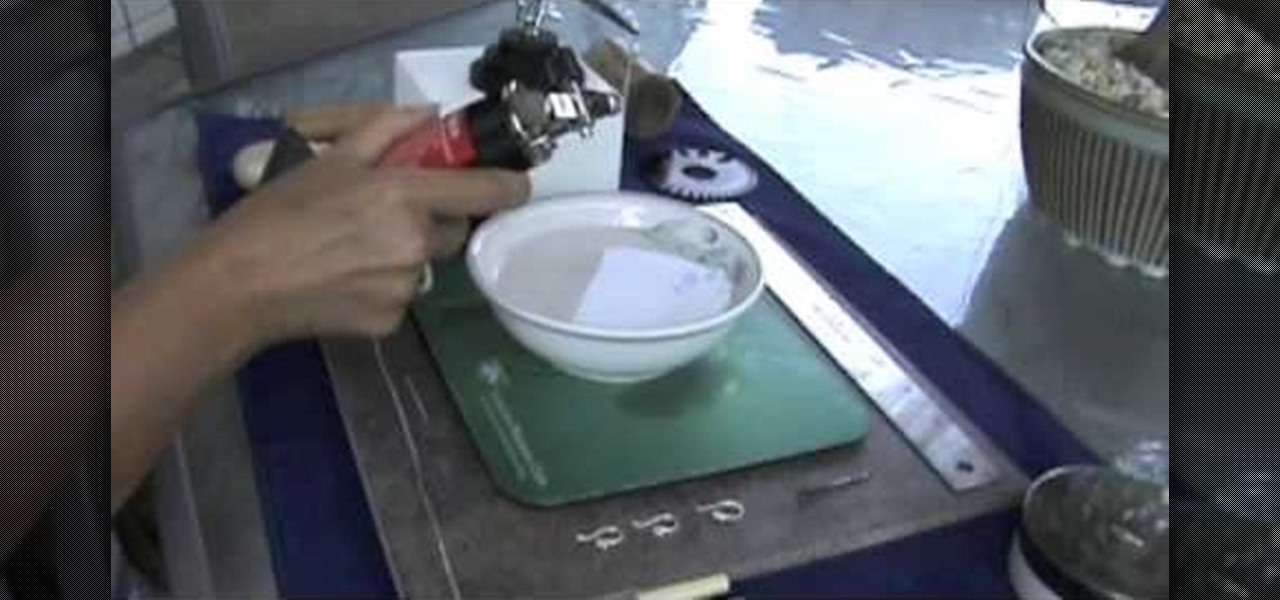
How To: Make fine silver ball earring wires
Make fine silver ball earring wires

How To: Do a single crochet going through back loops only
In this video, we learn how to do a single crochet going through back loops only. First, do your foundation crochet, then start doing single crochets. With the chain, there is two loops, the back and front. To the back loop, you would go through these with your crochet hook, then pull on the yarn to continue to crochet. Make sure you find the difference between these so you know which loop to go through. Start to do back loop crochets and continue until you reach the end of the line. Make sur...

How To: Use French wire when jewelry making
In this video, we learn how to use French wire when jewelry making. First, you want to take your wire and cut it to the length you need, using wire cutters. After this, you will place a stopper next to the pendant or bead that you are applying inside the necklace. Next, string on the clasp to the wire and then bend the end of the wire to the inside of the stopper, then cut the end of that with wire cutters. When finished, your clasp should be secure at the end of the wire and ready to hook on...


