


DIY Christmas Porch Light Decorations: Transform Your Home in 30 Minutes
Difficulty: Novice
Time: 30 minutes
Cost: ~$5
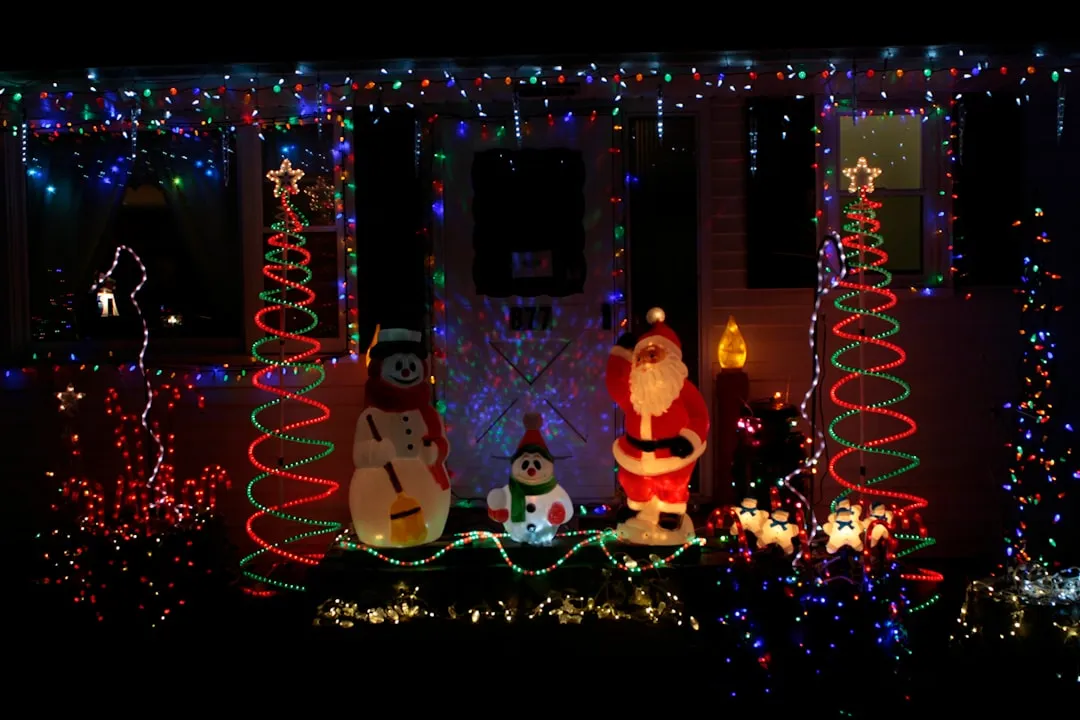
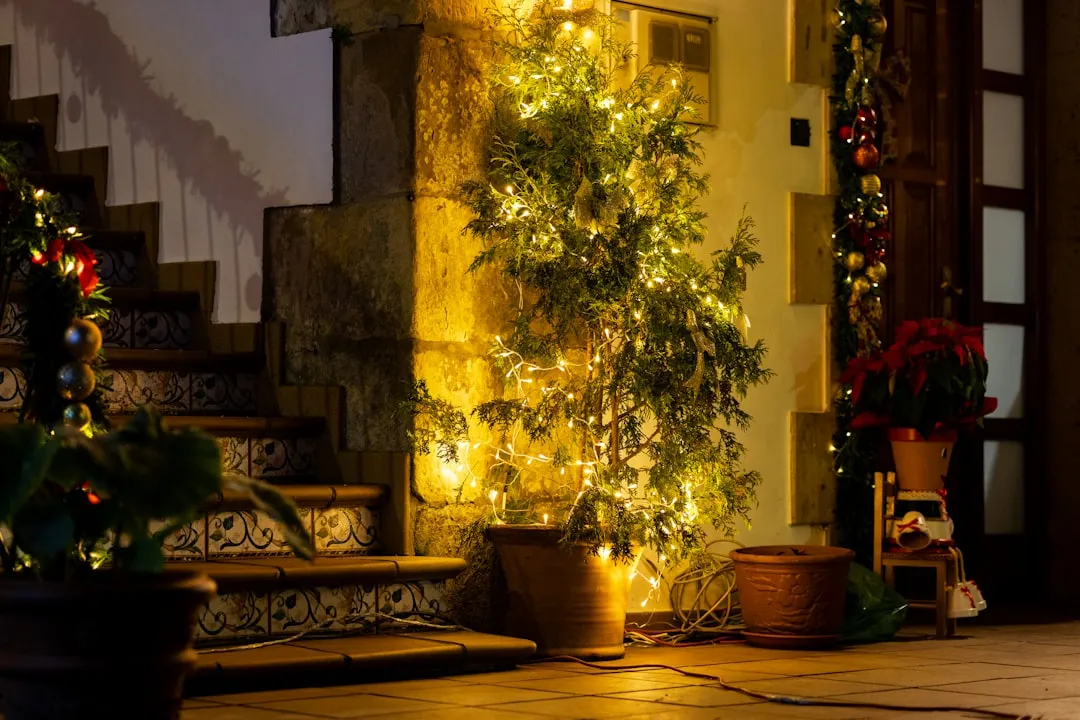
Ready to deck your porch with festive flair? Creating stunning Christmas porch light decorations does not require a huge budget or professional skills. With a few basic materials and about 30 minutes, you can turn your entryway into a welcoming holiday scene. According to DIY experts, each decoration costs around $5 to make and can last up to four weeks with fresh greenery. The best part, you can tailor the colors and textures to your home, then let that soft holiday glow invite neighbors to pause and smile. Imagine the scent of fir when you open the door. Nice, right?
What You'll Need
Materials
- 1 green foam block, floral foam, or search "oasis floral foam 4-inch blocks"
- Fresh greenery: Douglas fir, scotch pine, boxwood branches, 2 to 3 branches each, or an artificial alternative
- 1 wire coat hanger
- 4 green chenille stems, search "craft pipe cleaners green"
- Red opalescent ribbon, 2 to 3 feet, or weather-resistant velvet ribbon
- Small ornaments or pine cones, 3 to 4 lightweight pieces
- U-shaped florist pins or straightened paper clips
Tools
- Wire cutters
- Craft scissors
- Small bowl of water, for fresh greenery
Safety First
Adult Supervision Required when using wire cutters or working with coat hangers.
- Work with a partner when hanging decorations at height
- Pick a mild, well lit day for installation
- If you add lights, test every connection before you hang
- Keep extension cords clear of snow, water, and foot traffic
Safety experts emphasize that outdoor electrical safety is crucial, match your power needs to extension cord amperage and avoid connecting more than three standard light strings per cord. When using battery-powered LED lights, make sure all connections are rated for outdoor conditions.
Steps
-
Shape your wire coat hanger into a sturdy hook that can support the finished piece.
- Tip: Form a loop at the top, then run a straight section down to anchor into the foam.
-
Hydrate the foam base if using fresh greenery. Dip it in water, then let it drain for a moment. Hydrated foam keeps the greens perky for weeks.
- Secure the hanger to the foam with chenille stems, wrapping tightly around the wire and through the block.
- Push the wire deep into the foam for stability.
-
Prep the greenery. Cut stems into 4 to 6 inch pieces with clean angled ends so they slide in easily.
- Mix Douglas fir with pine and boxwood for a full, textured look.
-
Start layering greenery from the bottom up, like shingles on a roof.
- Insert pieces tightly so they grip the foam.
- Tip: Work around the foam in a circle to keep coverage even and avoid bare patches.
-
Tie a bow with the red opalescent ribbon. Three sets of loops, two tails, done.
- Attach it with a chenille stem.
- Nudge it slightly off center for a natural, not too perfect look.
-
Add decorative elements. Tie on small ornaments or pine cones with chenille stems.
- Tip: Go light so the greenery does not sag.
- Space the accents so your eye travels, do not cluster everything in one spot.
-
For a lighted version, weave battery-powered LED string lights through the greenery and secure with small clips or chenille stems.
- Confirm the lights are rated for outdoor use and moisture.
-
Test the hanger strength before you climb a ladder. Lift the arrangement and give it a gentle shake.
- The wire should not wiggle, the foam should feel solid.
-
Hang the decoration from your porch light fixture and adjust the hanger length for the right drop.
- Aim for clear of head height, low enough to be seen from the sidewalk.
-
If wind is an issue, add weight by inserting a few heavier greenery stems or small decorative weights near the bottom of the foam.
Why it works: The foam acts like a sturdy anchor, it grips stems so the shape holds through winter weather. The layered approach builds fullness and hides the mechanics, and hydrating the foam keeps fresh greens looking lively outdoors.
Cleanup & Disposal
Stash leftover materials in a dry spot for next year. When the decoration reaches the end of its four week run, send fresh greenery to yard waste collection. Save the foam blocks, chenille stems, and ribbon if they are still in good shape.
Tip: Snap a few photos of your finished piece so you can recreate the bow size, greenery mix, and placement next season.
Troubleshooting
Problem: Greenery looks sparse → Fix: Keep layering, fill gaps with shorter pieces at different angles.
Problem: Decoration spins in wind → Fix: Add weight at the bottom or use a sturdier hanger with extra anchor points.
Problem: Bow looks flat → Fix: Fluff the loops, trim or stagger tails, then secure with another chenille wrap.
Problem: Foam peeks through → Fix: Tuck in shorter fillers from several directions until the block disappears.
Variations & Upgrades
Cheaper option: Forage everything and swap store ornaments for pine cones and berries from your yard. Search "free Christmas greenery trimmings" in local community groups.
Upgrade version: Add battery-powered LED lights with timers, or choose a weather-resistant velvet ribbon for a richer look. Search "outdoor LED string lights timer" for easy automation.
Apartment-friendly variant: Make mini versions for balcony railings with small foam blocks, or use suction cup hooks on glass doors to avoid damage.
Theme variations: Match your home's palette. Silver and blue for a winter wonderland feel, or gold and burgundy for classic warmth.
This project proves that DIY outdoor Christmas decorations can look polished without draining your budget. With a handful of supplies and simple techniques, you will get a custom piece that rivals store-bought options. The best part is the moment you step outside, catch that hint of pine, and see neighbors slow down to admire it. That little spark of pride makes the half hour totally worth it.


Comments
Be the first, drop a comment!