


Transform Your Porch Light Into a Christmas Focal Point With Greenery
Difficulty: Novice
Time: 15 minutes
Cost: ~$8
Why you'll want this festive upgrade
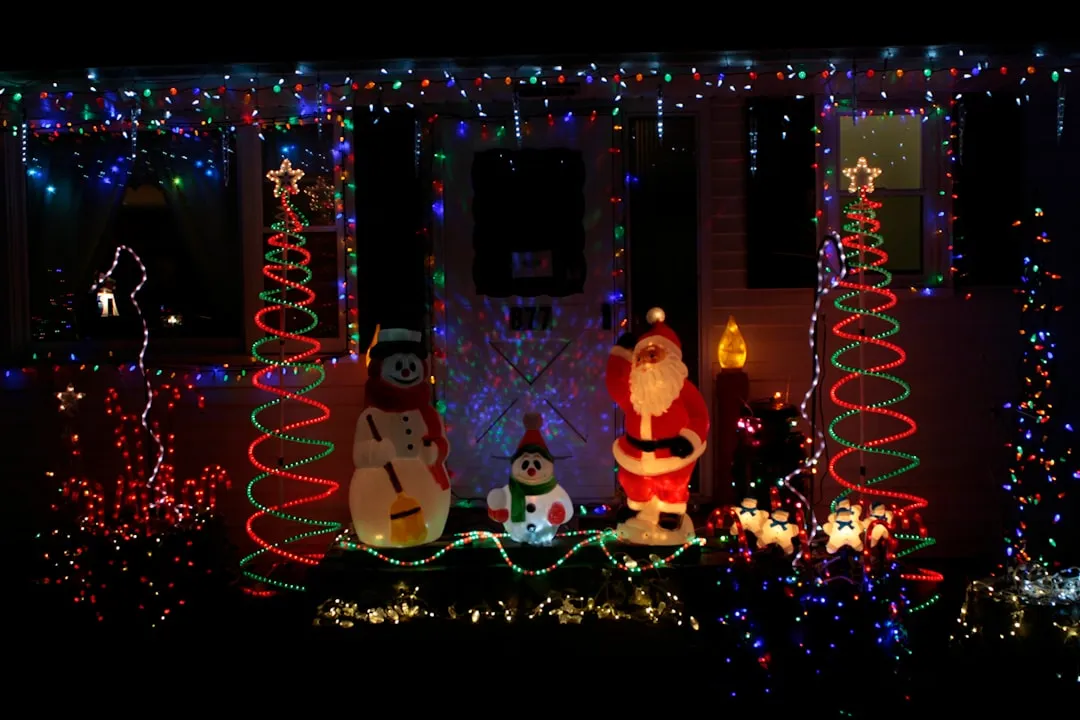
Got 15 minutes and want to give your porch some serious Christmas sparkle? This quick project turns an ordinary light into a little showstopper with a handful of budget supplies. Outdoor holiday lighting creates that magical ambiance everyone loves (Home Glow DIY), and decorating with lights gives you beauty plus function (Four Generations One Roof). String lights around your home or porch and you get instant, classic holiday appeal (Four Generations One Roof). Add this greenery topper and, boom, the entry feels ready for carols and cocoa.
What you'll need for this festive upgrade
Materials
- 1 block florist foam, green preferred, 4 x 4 x 3 inches
- 1 wire coat hanger
- 12 to 15 evergreen sprigs, 6 to 8 inches each
- 3 feet holiday ribbon, 2 inches wide
- 6 to 8 chenille stems or pipe cleaners
- Small florist pins or straightened paper clips
Tools
- Wire cutters or pliers
- Scissors
- Small bowl for water, optional
Safety first
- Adult supervision required when using wire cutters or pliers
- Wear gloves when handling wire to prevent cuts
- Keep decorations away from hot light bulbs, maintain 6 inch clearance to prevent fire hazard
- Ensure foam is secured tightly to prevent falling and potential damage to your light fixture
Steps
-
Shape your wire hanger foundation. Straighten the coat hanger completely. Bend it into a U shape that hooks securely over your light fixture. The U should be wide enough to cradle the foam block without wobbling.
- Tip: Test fit the hanger on your fixture before adding greenery. A 20 second check now saves a headache later.
-
Attach the hanger to your foam base. Push the wire ends into opposite sides of the foam block to create a stable cradle that spreads the weight. Wrap chenille stems around the wire and foam to lock everything in place.
- If the wire feels loose, add more chenille stems for extra security. Better to over secure than watch it tumble.
-
Prepare your greenery base. Dip the foam briefly in water to help keep stems hydrated longer. This step can extend freshness by about a week, which matters because fresh greenery releases natural oils that create that classic Christmas scent (Make Everyday an Event).
-
Insert greenery strategically. Start with longer stems at the top and bottom of the foam, then fill the sides with shorter pieces. Push each stem firmly into the foam until it feels secure.
- Why this layering works: varying heights add depth and mimic natural growth, a simple design trick that reads as professionally arranged.
-
Create your finishing bow. Make a simple bow with your ribbon and leave 6 inch tails for movement and visual weight. Secure the center with a chenille stem, then attach it to the top center of your greenery. I like a slight tilt, just enough to look lively.
-
Hook and adjust for the perfect look. Carefully hang your decoration on the light fixture. Step back. Fluff, nudge, and shift pieces until the shape feels balanced and full. Do not hesitate to move stems around, the foam can take it.
Cleanup & disposal
- Store leftover foam in a dry place for future projects, it is surprisingly reusable
- Compost fresh greenery after the holidays, it makes great garden mulch
- Save chenille stems and ribbon for next year's decorating adventures
Troubleshooting
Problem: Greenery keeps falling out → Fix: Push stems deeper into foam or switch to smaller, firmer pieces that grip better
Problem: Decoration slides on light fixture → Fix: Adjust wire hanger width or add small rubber padding where it contacts the fixture
Problem: Arrangement looks sparse → Fix: Add more short stems to fill gaps, focusing on the front facing areas guests will see first
Variations & upgrades
- Budget version: use clippings from your yard instead of purchased greenery, pine, fir, or even holly work beautifully
- Weather resistant option: substitute high quality artificial greenery for year round reuse, great for harsh climates
- Festive enhancement: add small pinecones or battery operated fairy lights woven through the branches for extra sparkle that might make your neighbors a little jealous
Why it works so well
This project mixes simple engineering with natural beauty. The foam base holds moisture, so stems stay fresh for weeks. The wire hanger spreads the weight across your light fixture, which protects the fixture and creates a secure mount that can handle winter weather. Layering longer and shorter sprigs builds depth and movement, turning a handful of clippings into a polished focal point with minimal time and money.


Comments
Be the first, drop a comment!