



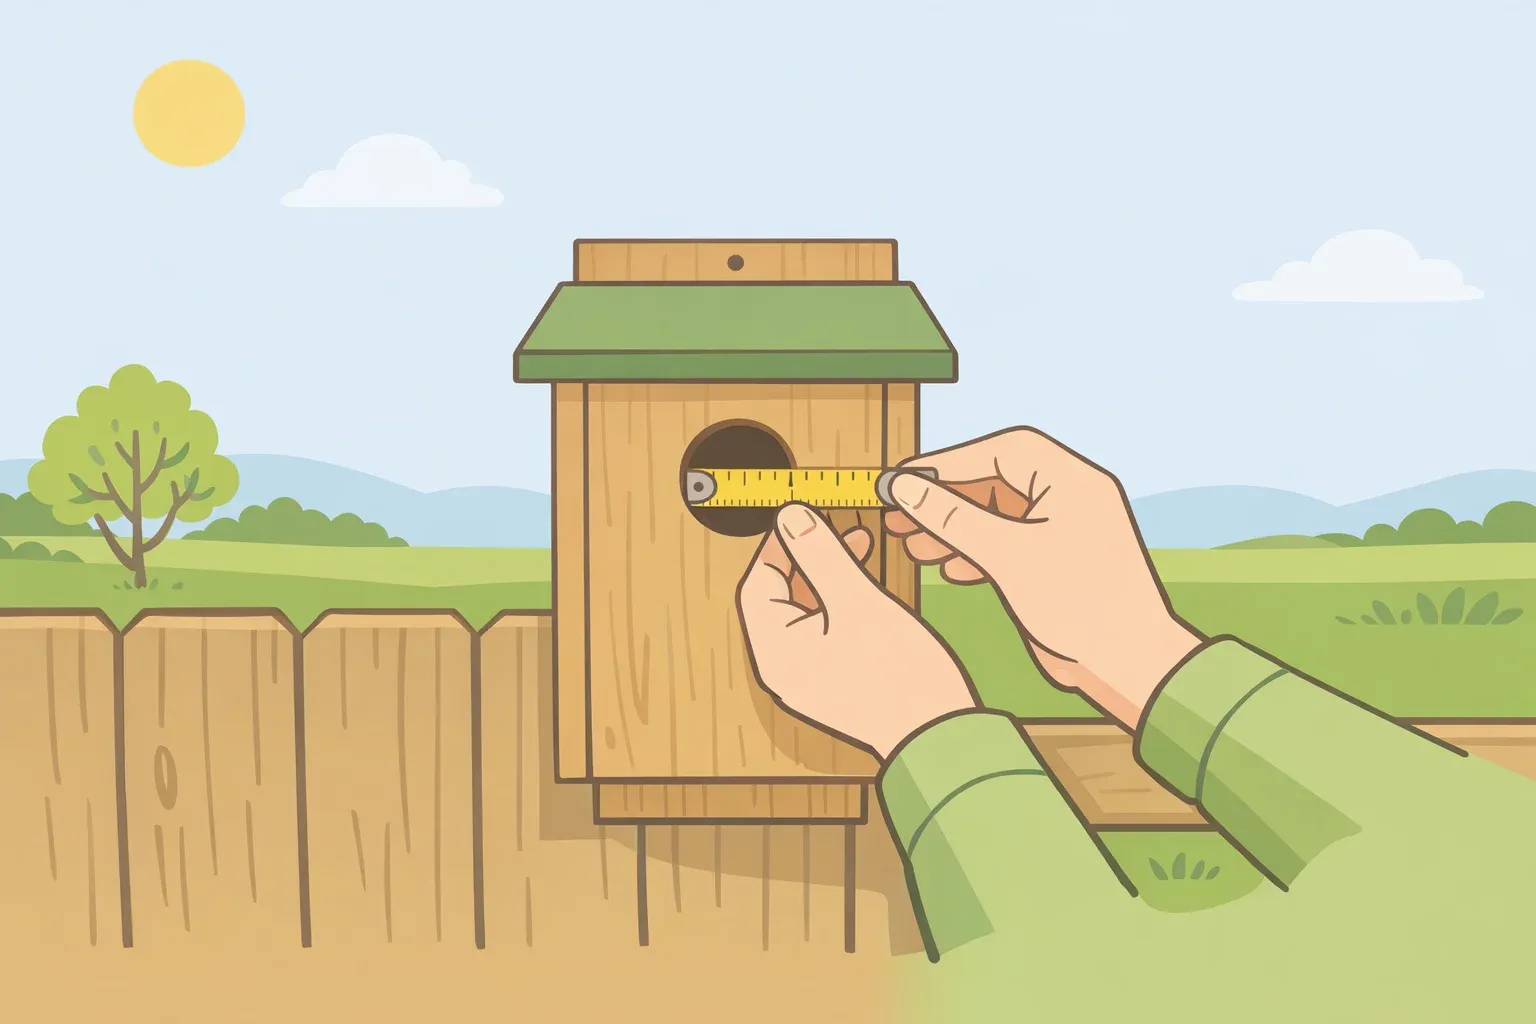
How to build a bluebird house: plans, dimensions & siting
Eastern bluebirds are picky enough that a wrong entrance hole diameter, an imprecise floor size, or a poorly chosen location means they move on and don't come back. As Family Handyman put it earlier this month: "Get any of that wrong, and they'll skip right past your yard."
This guide walks through how to build a bluebird house from a single cedar board, site it correctly, and maintain it through the season. The woodworking takes one to two hours and costs between $10 and $60 in materials (Family Handyman). A correct hole size won't save a box in the wrong place, and a well-sited box won't compensate for a dirty one. All three have to be right.
By the end, you'll have a correctly dimensioned nesting box installed in a working location and set up for monitoring the full system, not just the woodworking.
Cavity-nesting birds depend on dead and dying trees that most homeowners remove for safety or aesthetics. Well-built nest boxes fill that gap in a way a decorative birdhouse never will, according to Oregon State Extension. Clemson's 12-box monitored trail fledged 161 bluebird chicks over five years using exactly that approach: correct boxes, open habitat with nearby mature trees, and weekly monitoring from February through September (Clemson University HGIC).
Prerequisites: This build uses eastern bluebird specifications. If you're in the western United States, consult your local extension service for western or mountain bluebird dimensions before cutting anything; they differ from the specs below. The build requires a miter saw capable of 10- and 45-degree cuts, a drill with a 1½-inch Forstner bit, and basic measuring tools. It is not a hand-tool-only project.
On timing: Bluebird scouts appear early. Oklahoma State University Extension recommends having the box installed by late January, which means building in fall of the preceding year. Nesting activity for many cavity-nesting species runs from mid-April through the end of July (Oregon State Extension).
Bluebird house dimensions at a glance
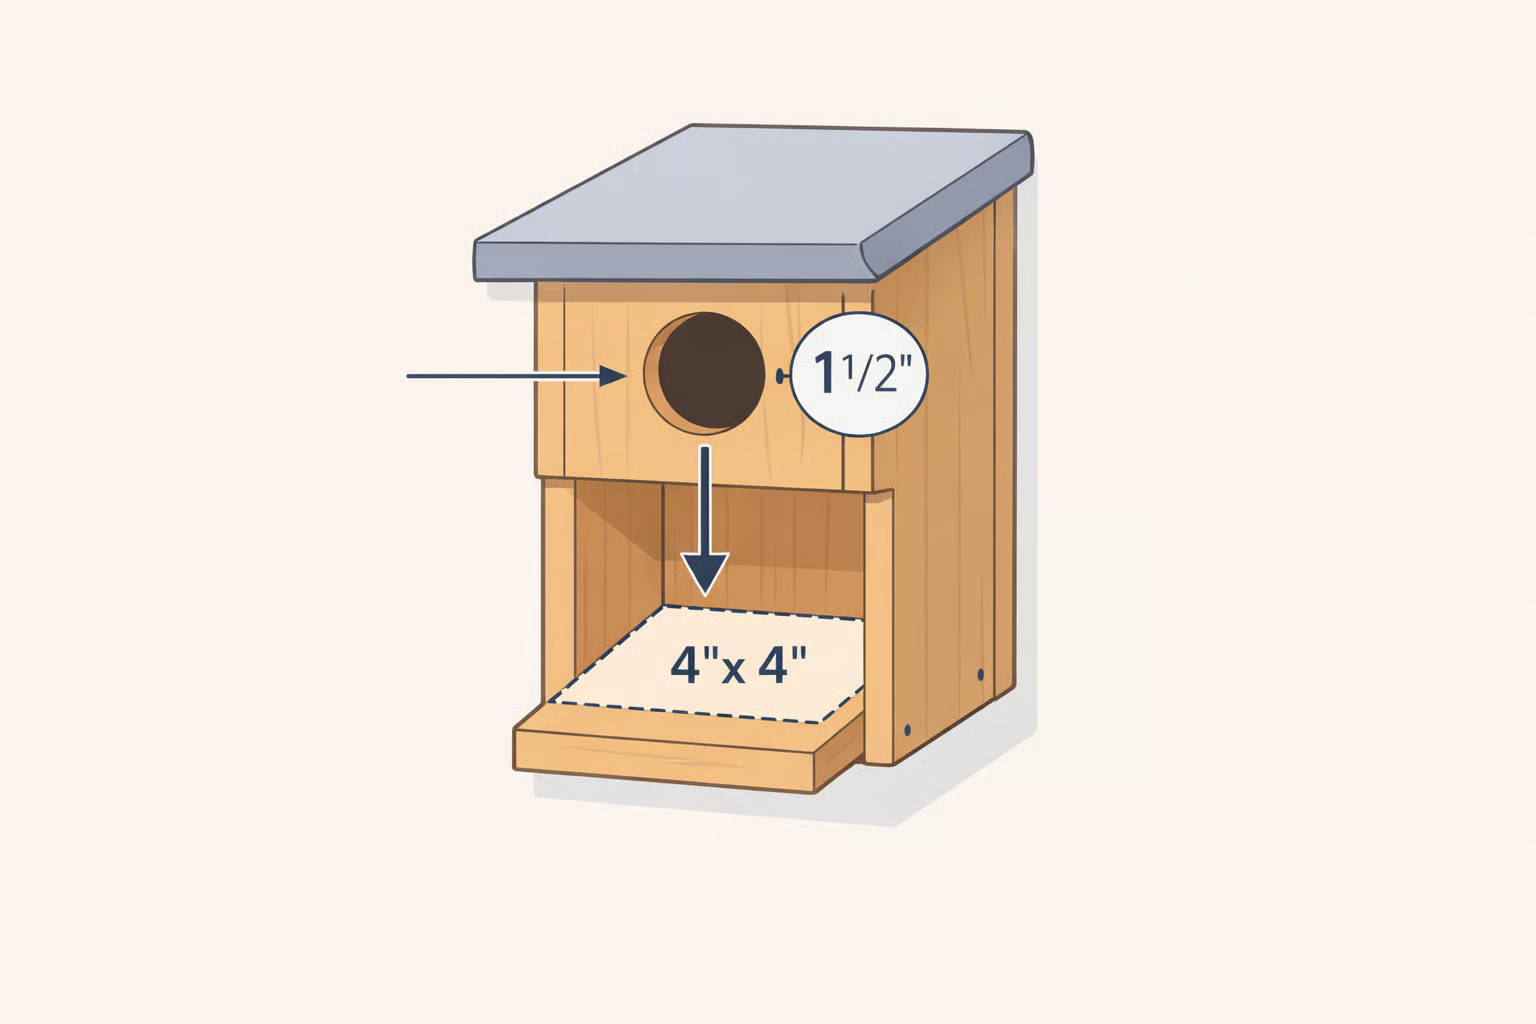
Before touching a saw, know these numbers. They are not approximate.
| Dimension | Spec |
|---|---|
| Interior floor | 4 × 4 inches (minimum) |
| Interior height | ~12 inches |
| Entrance hole diameter | 1½ inches (exactly) |
| Hole placement | 6–10 inches from floor |
| Ventilation gap | ¼ inch at roofline |
| Pole mount height | 4–6 feet above ground |
| Perch | Never |
Sources: Oklahoma State University Extension; Family Handyman
These measurements come up again in the cut list and build steps. Having them in one place now saves cross-referencing later.
What eastern bluebirds actually require before you cut anything
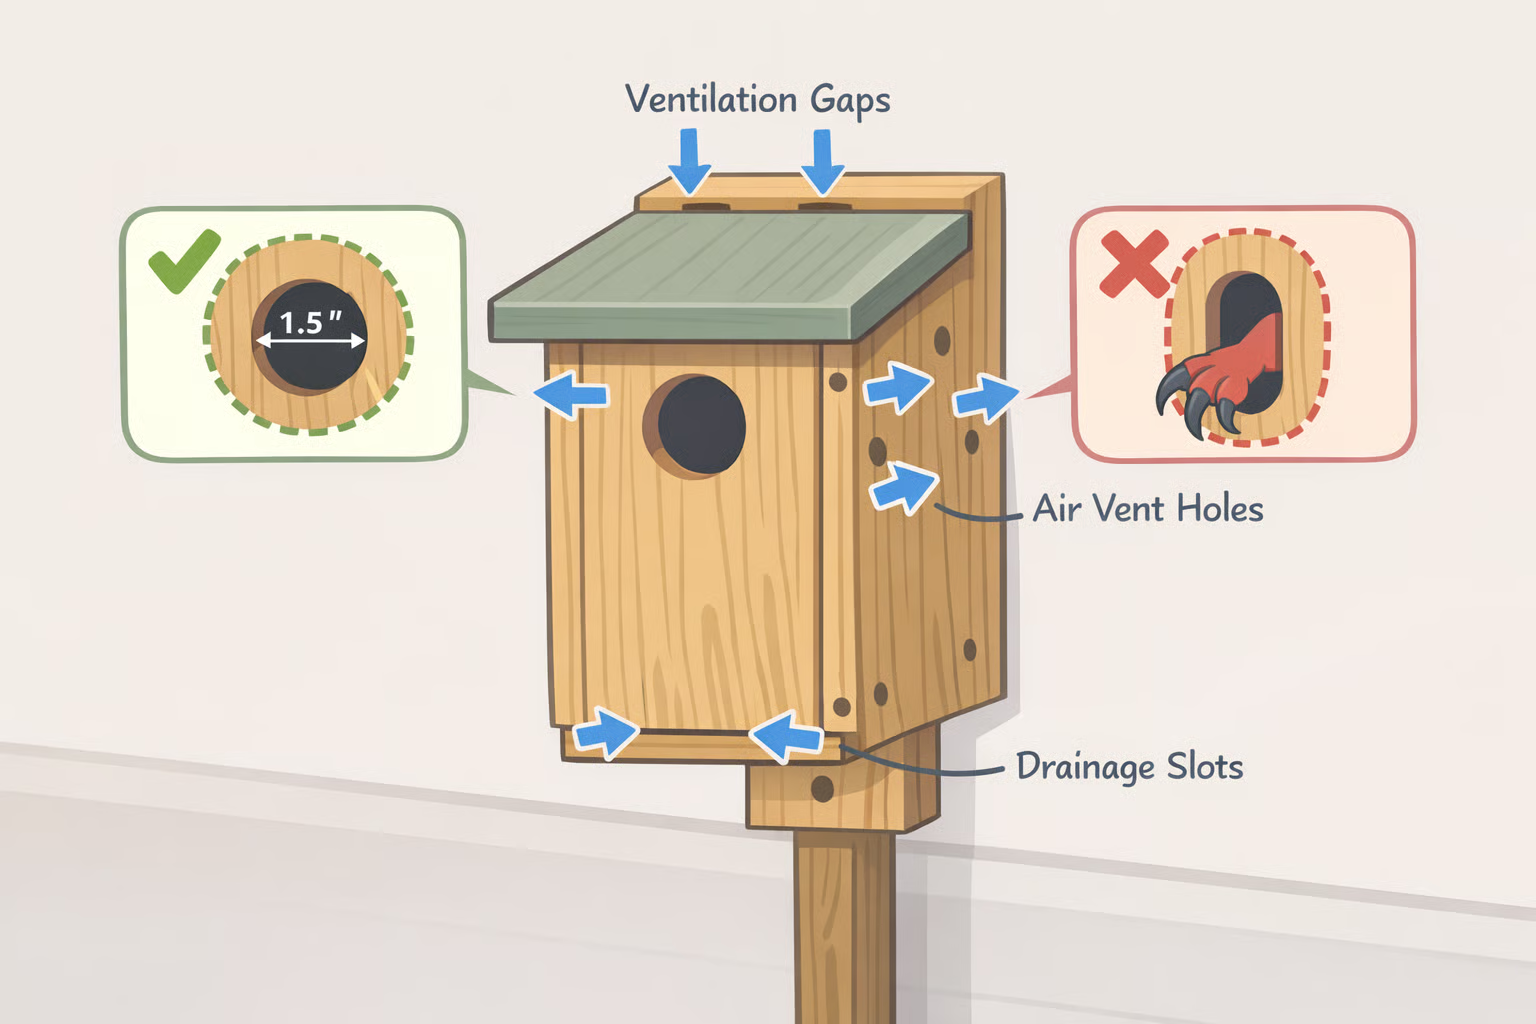
The single most common birdhouse mistake is treating dimensions as approximate. For eastern bluebirds, they're fixed requirements. The interior floor must measure at least 4 by 4 inches, box height should be approximately 12 inches, and the entrance hole must be exactly 1½ inches in diameter, positioned 6 to 10 inches up from the floor (Oklahoma State University Extension). Oregon State wildlife specialist Dana Sanchez describes entrance diameter as "really important" it controls which species can get in and limits access by predators and competing cavity nesters like house sparrows and European starlings (Oregon State Extension).
Four design rules that cannot be improvised around:
- No perch on the front panel. Birds don't need it. Predators use it. Both Oklahoma State and Oregon State Extension are unambiguous on this point (Oklahoma State University Extension; Oregon State Extension)
- Untreated cedar or pine only. These woods weather without chemical treatments that can harm nestlings. Metal overheats and should be avoided entirely (Oregon State Extension)
- Drainage and ventilation are structural requirements, not finishing details. Notched floor corners prevent water pooling under the nest. Without the ventilation gap at the roofline, nest boxes can run more than 6°F hotter than outside air and reach temperatures above 107°F on hot days, which is lethal to nestlings (Audubon)
- Build in cleanout access from the start. One side panel must pivot open on a screw. Oregon State Extension recommends designs that can be partially disassembled for seasonal cleaning; boxes that can't be opened can't be maintained
On paint and heat, a conditional decision: Plain, unpainted cedar is what most cavity nesters prefer, and Oregon State Extension recommends it as the default. That said, research on eastern bluebird boxes found that white-painted exteriors stayed up to 8°F cooler than bare wood, and none of those white boxes reached lethal interior temperatures during the study period (Audubon). If the site gets direct afternoon sun in a warm climate, white exterior paint is worth considering as a heat-mitigation measure. Never paint or treat the interior.
Bluebird house plans from one board: cut list and materials
All pieces come from a single 1x6 cedar or pine board, 8 feet long (actual dimensions: 5½ inches wide, ¾ inch thick). One board yields every component for one complete box (Oklahoma State University Extension; Family Handyman). Label every piece before the first cut.
Pieces from the board:
- (A) Front panel: 5½ inches wide × 10¾ inches tall; top edge beveled at 10 degrees; 1½-inch entrance hole centered, 2 inches down from the top edge
- (B) Side panels × 2: 5½ inches wide; one long edge at 10¾ inches, one short edge at 9¾ inches the height difference creates the roof slope; tops cut at 10 degrees
- (C) Back panel: 5½ inches wide × 10¾ inches tall; top edge beveled at 10 degrees
- (D) Roof: 5½ inches wide × approximately 7 inches long; back edge beveled at 10 degrees
- (E) Floor: 4 × 4 inches with ½ × ½-inch triangles removed from all four corners at 45 degrees
Additional hardware:
- Exterior-rated 18-gauge brad nails, 1¼-inch
- Two 2-inch deck screws (pivot hinge), one panel clip with ½-inch screw (cleanout latch)
- Four ¾-inch screws (mounting bracket)
- One smooth 1-inch steel conduit, 7–9 feet total (4–6 feet above ground, 3 feet driven into soil)
- One pole-mounted predator baffle
Step-by-step: building the box
Step 1: Mark and label all pieces on the board. Using a tape measure and speed square, lay out every component in order, leaving ⅛-inch gaps between pieces to account for blade kerf. If the cedar has a rough face and a smooth face, orient each piece so the rough side will face outward on the finished box this affects weathering, not just aesthetics. Label each piece clearly before cutting (Family Handyman).
Step 2: Make the angled cuts. Set the miter saw to 10 degrees and cut the sloped top edges of both side panels (B). Use the same 10-degree setting for the top edges of the front (A), back (C), and the back edge of the roof (D); these cuts make everything sit flush at assembly. Switch to 45 degrees to remove the ½ × ½-inch corner triangles from all four corners of the floor piece (E) (Family Handyman).
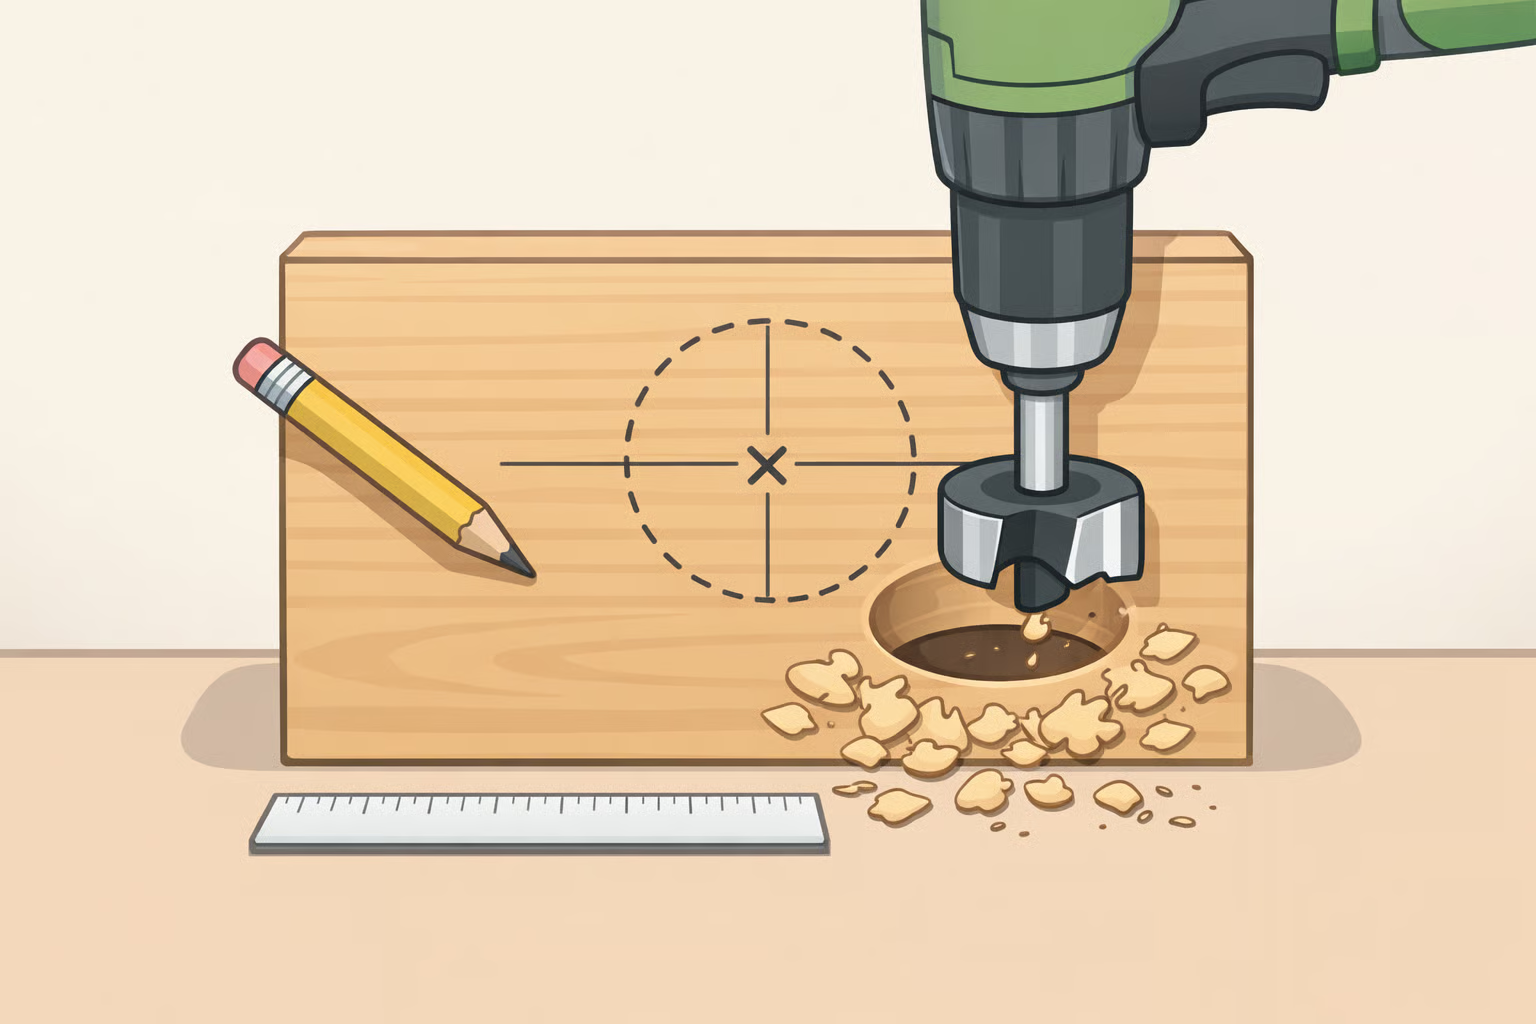
Step 3: Drill the entrance hole. Find the horizontal center of the front panel (A) along its top edge and mark a point 2 inches straight down. That's the hole center. Back the panel with a scrap board to prevent blowout, then drill through with a 1½-inch Forstner bit. Do not estimate this diameter. A hole even slightly too wide admits house sparrows and starlings; too narrow blocks eastern bluebirds entirely (Family Handyman; Oklahoma State University Extension).
Step 4: Dry-fit before fastening. Clamp all pieces together without any fasteners and confirm every edge sits flush. Correct any misalignment now. Once nailed, adjustments are nearly impossible. Rough side faces out on every exterior surface; smooth side faces in (Family Handyman).
Step 5: Assemble back, sides, and front. Using exterior-rated 1¼-inch brad nails, attach the back panel (C) to one side panel (B), add the second side, then the front panel (A). Keep edges flush throughout (Family Handyman).
Step 6: Install the floor. Insert the floor piece (E) recessed ¼ inch up from the bottom edge of all walls. This keeps it dry from ground splash and ensures the corner notches can drain freely. Nail in place (Family Handyman).
Step 7: Install the pivot cleanout panel. On the front panel (A), mark a point 1½ inches down from the top edge and ⅜ inch in toward the entrance hole. Transfer that exact mark to the back panel (C) using a speed square. Pre-drill at both marks and drive 2-inch deck screws, snug but not tight, so the side wall pivots freely. Attach a panel clip to the lower back edge to hold the door closed during nesting season. This access is not optional: boxes that can't be cleaned accumulate parasites and stop attracting birds (Oregon State Extension; Family Handyman).
Step 8: Attach the roof and leave the gap. Nail the roof (D) into place using the beveled back edge for alignment. When correctly attached, a ¼-inch gap remains between the underside of the roof and the tops of the side walls. Leave it open. That gap is the primary ventilation mechanism; closing it raises interior temperatures enough to matter on a hot day, potentially to lethal levels (Family Handyman; Audubon).
Step 9: Attach the mounting bracket. Center the mounting bracket on the underside of the floor panel. Pre-drill four shallow holes and secure with ¾-inch screws. This bracket connects to the top of the mounting pole (Family Handyman).
Where to put it: siting and installation
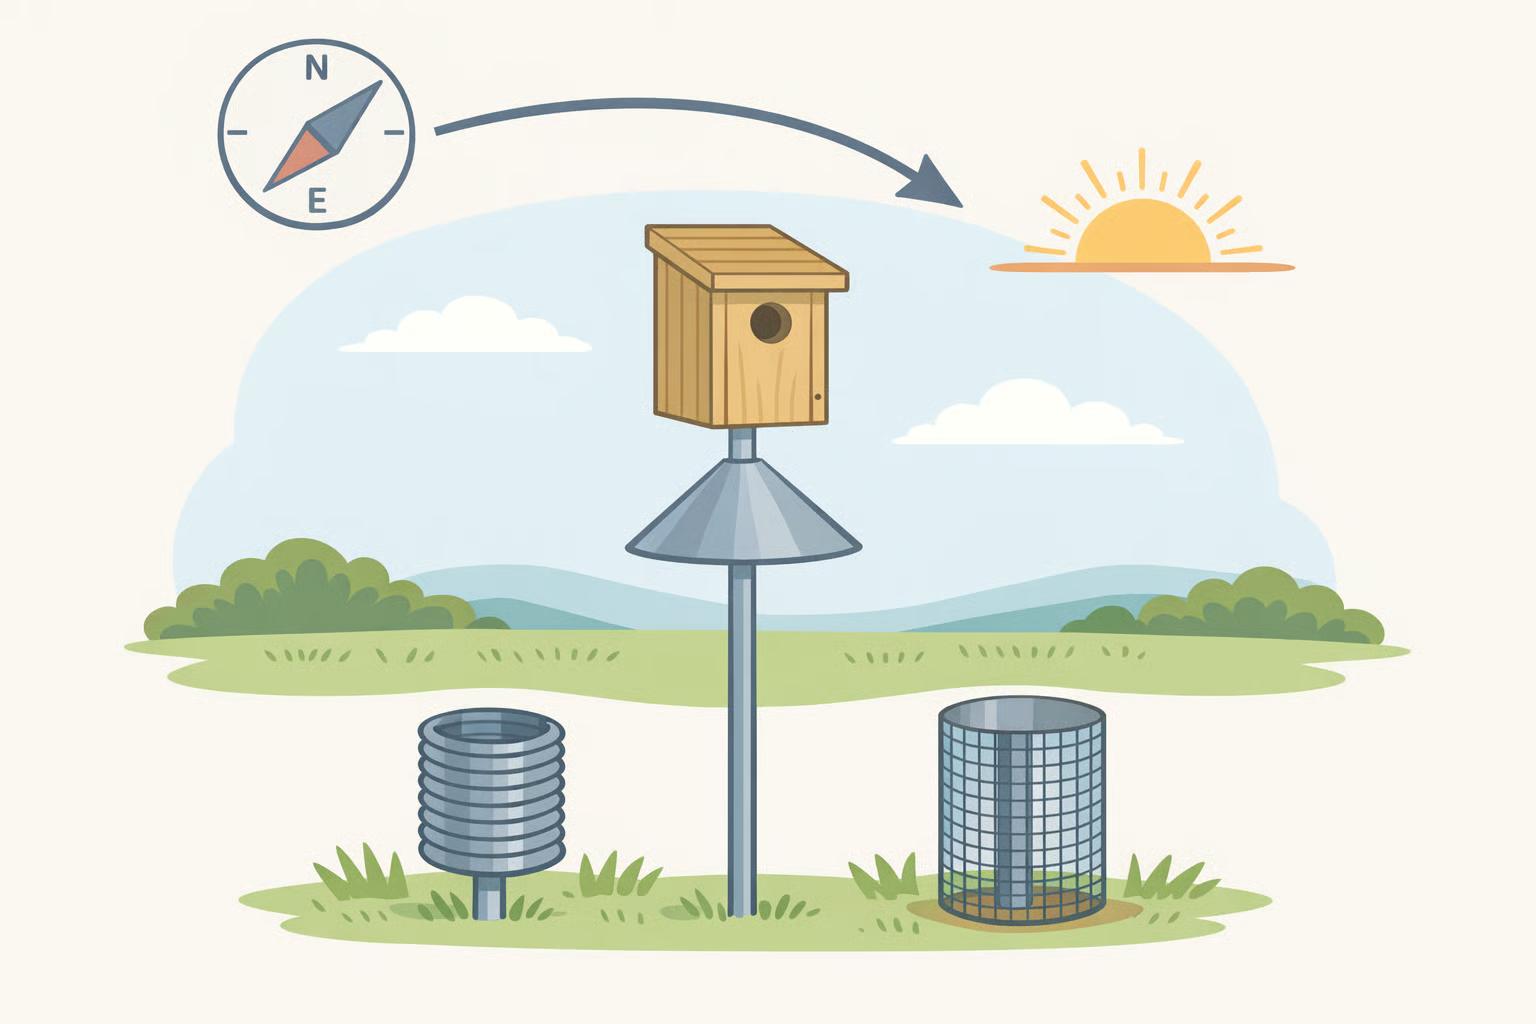
Mounting: Install on a smooth 1-inch steel conduit pole, 4 to 6 feet above ground, not on a tree where squirrels and raccoons have direct access. Drive the pole 3 feet into the soil for stability. If cats or other predators are a problem in the area, Audubon recommends mounting the box at least 6 to 8 feet up. Mount a predator baffle below the box regardless of height (Oklahoma State University Extension).
Orientation: Face the entrance east or southeast. Morning sun warms the nest; afternoon shade keeps it from overheating. Family Handyman and Audubon's heat research both point in the same direction: keep the entrance out of direct afternoon light (Audubon).
Habitat: Open lawn or meadow is the right starting point, but fully exposed sites underperform. Five years of data from Clemson's monitored bluebird trail showed that boxes in open habitat with nearby mature trees consistently outperformed boxes placed in open fields with no adjacent structure (Clemson University HGIC). Keep the box away from feeders and high-traffic areas; Family Handyman specifically advises against placing boxes too close to feeders.
Spacing if installing multiple boxes: Eastern bluebirds defend feeding territories of one to two acres in early spring and won't nest near other bluebirds (Audubon). Separate individual boxes, or pairs of boxes, by at least 300 feet. Within a pair, space the two boxes 15 to 20 feet apart. That pairing strategy works because it lets a second non-bluebird cavity nester, a chickadee or wren for example, occupy the nearby box without competing directly for the same cavity (Audubon; Oklahoma State University Extension).
How to keep it working: monitoring, maintenance, and troubleshooting
Monitoring during nesting season: Check the box regularly from mid-April through July. If house sparrows are coming and going, they're nesting inside. Remove their nesting material promptly and repeatedly until they lose interest; if that fails, temporarily remove or plug the box (Family Handyman). Oregon State Extension puts it plainly: "Don't hang it and forget it."
Off-season cleaning: After nesting season ends, clean the box with warm water, no detergents, and reinstall before late January to be ready for early-season scouts (Oregon State Extension; Oklahoma State University Extension). The pivoting side panel built in Step 7 is specifically for this purpose.
When the box sits empty, a decision guide:
- First full season with no occupants: Normal. Oregon State wildlife specialist Dana Sanchez notes that many boxes take an entire season before attracting birds. Don't relocate it yet (Oregon State Extension)
- Empty after year one: Try a different location. Too much shade, full-day sun exposure, proximity to feeders, or no nearby trees are the most common reasons boxes underperform. Add a second box to give birds a choice
- Non-native species moving in repeatedly: Increase monitoring frequency and remove nesting material consistently. House sparrows and European starlings are persistent; the only reliable counter is sustained removal
- No predator baffle installed: Add one before the next season. Oklahoma State University Extension recommends a baffle as standard practice for any pole-mounted box
- Box was not cleaned: Clean it before late January. Old nesting debris carries parasites; Oregon State Extension recommends warm-water cleaning as standard seasonal upkeep
Wrapping up
One cedar board, a few precise cuts, about two hours of work. The construction is genuinely beginner-friendly. What makes the difference is everything that comes after: where the box goes, and whether it gets checked and cleaned.
Build before fall. Install by late January. Face the entrance east, mount on a smooth pole with a baffle, and find a spot with open ground and a mature tree somewhere nearby. Check every week or two through summer. Clean it after the season ends. If the first year is quiet, don't move it yet.
Clemson's 12-box trail ran that system for five years and fledged 161 chicks (Clemson University HGIC). The box is where it starts, not where it ends.








Comments
Be the first, drop a comment!