


Stained Glass for Beginners: How to Make Your First Panel
This guide walks you through choosing a beginner-appropriate first pattern, assembling the tools you actually need, and completing the copper foil process from paper pattern to finished panel. By the end, you'll have a clear picture of what each step demands and where first-timers typically lose time or break things.
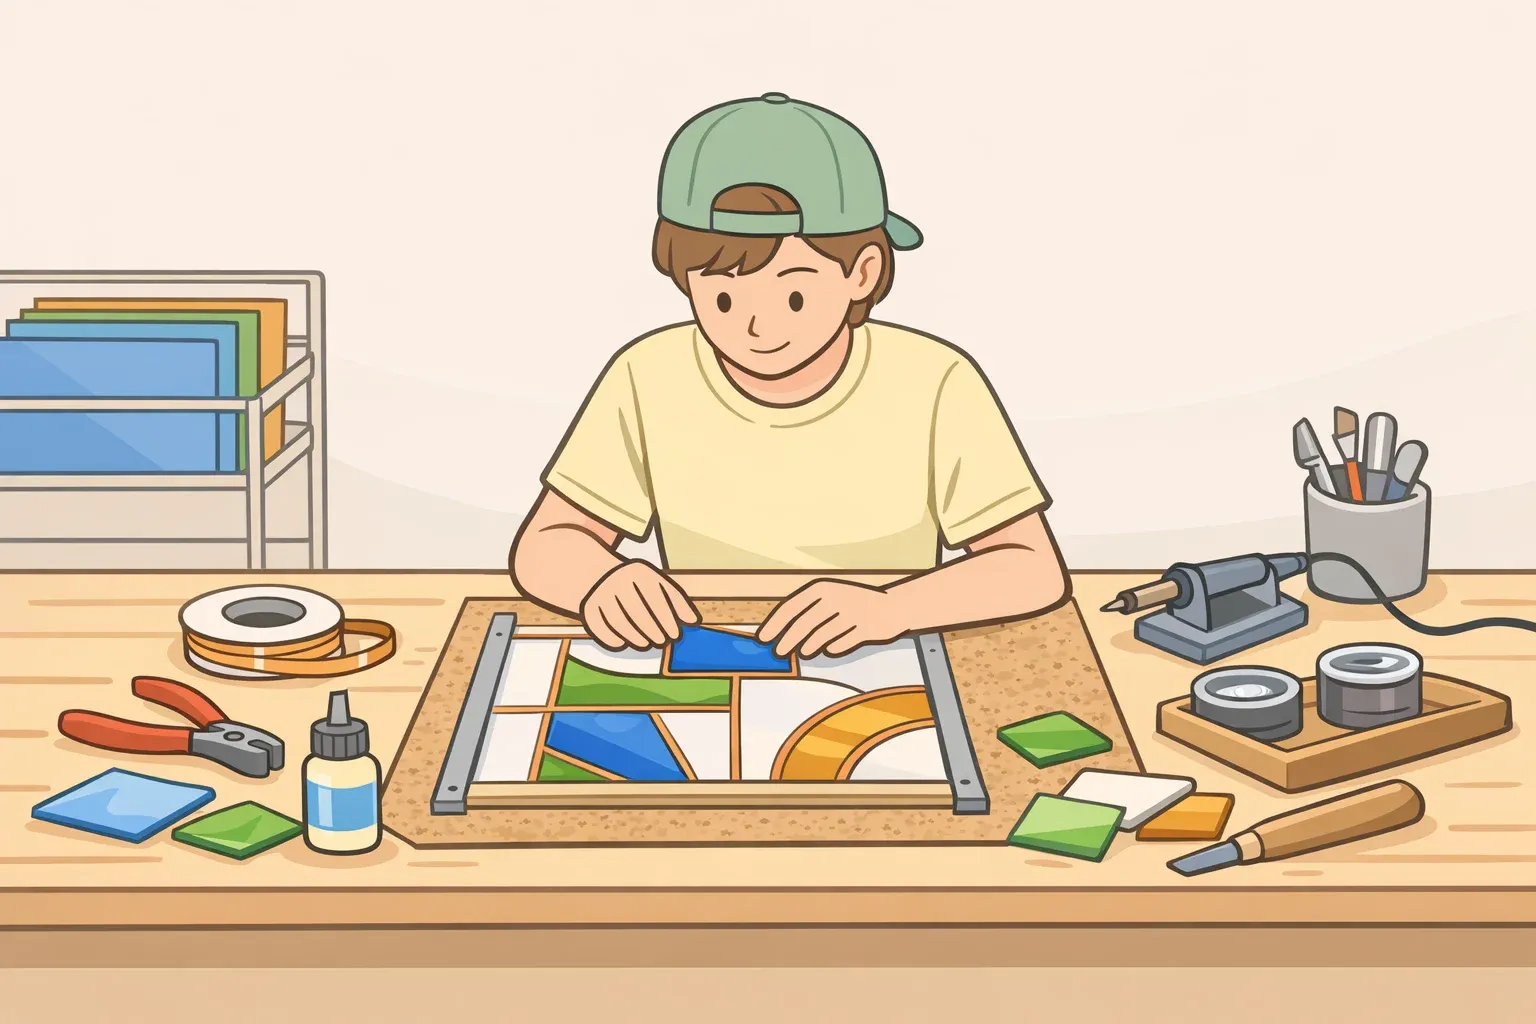
The honest framing upfront: stained glass for beginners is best approached through the copper foil method not because it's effortless, but because it gives you direct control over fit and design at a small scale. The foil wraps each piece individually, so adjustments happen piece by piece rather than all at once. It's approachable to set up, demanding to execute well, and produces results that reward patience. That's the deal.
The technique dates to the late 19th century, developed to handle the tight curves of Art Nouveau lampshades. Rather than fitting channeled lead strips around glass edges, copper foil wraps each individual piece in adhesive-backed tape before soldering them together, as OzGlassArt Patterns described in September 2023. The core skills built on a small first panel transfer directly to lampshades, window insets, and three-dimensional pieces. The upgrade path is skill-based, not technique-based. That's worth knowing before you start.
Choose the right first project: why pattern selection comes before tool shopping
The most expensive mistake in beginner stained-glass happens before anything is purchased. Picking the wrong pattern undermines every step that follows.
A finished piece's quality is partly determined before the first cut. Wavy or oversized leadlines in the final piece almost always trace back to a pattern that outran the maker's cutting and foiling accuracy, according to Stained Glass Hobbyist in December 2024. Copper foil produces precise, thin leadlines suited to small and symmetrical designs, but pieces with large unsupported spans or thick structural lines tend to sag over time as the solder joints bear weight.
Use these criteria to evaluate any pattern before committing:
Piece count: 8-15 pieces is manageable for a first project. Forty or more is not.
Shape: Geometric forms squares, rectangles, simple diamonds before organic curves or sharp points.
Leadline width: Avoid designs with wide gaps between pieces. Copper foil is at its best with tight joins; wide gaps expose structural weakness and look unfinished.
Overall size: Keep the panel to roughly 8x10 inches. This keeps cutting, fitting, and soldering within beginner tolerance.
A brief word on the alternative: lead came, which uses H-profile metal channels fitted around glass edges, has genuine advantages in large-format work. For small, detailed pieces, it's less dimensionally accurate than copper foiling and can produce a panel that runs slightly off its intended size, as Stained Glass Hobbyist noted. Copper foil for the first project; revisit lead came later when you have a reason to.
Every choice downstream tools, workflow, finish follows from picking an achievable pattern. Get this right and the rest of the guide becomes concrete rather than theoretical.
Stained glass tools for beginners: what you actually need
Before the first session, you need a flat, stable work surface with access to ventilation. The glass grinder requires water; the soldering iron produces fumes. Neither is compatible with a kitchen table you also eat at.
Must-have before the first session
Soldering iron (temperature-controlled, with a tip at least ¼-inch wide). Temperature control prevents overheating the solder and scorching the foil, both of which produce uneven bead lines, per Stained Glass Hobbyist.
Glass cutter (pistol-grip style for ergonomics)
Running and breaking pliers
Glass grinder smooths each cut piece to exact dimensions and makes the copper foil sit flat. Skipping it to save money shows directly in the finished piece, as Stained Glass Hobbyist confirmed.
Copper foil tape
Flux (liquid or gel; gel is easier to control for beginners)
60/40 lead-tin solder. Lead-free solder is available but notably harder to work and produces a different finish, according to Verrier Processes in March 2026.
Pencil and permanent marker
Eye protection
Useful but deferrable
Copper foil dispenser (a genuine time-saver when foiling many pieces in sequence, but not essential on a first project)
Cork or fid (valuable for textured glass; improvise on smooth glass)
Patina solution (a finish-step item skip it if budget is tight on a first panel)
Starter kits typically include a soldering iron and glass pliers, per Stained Glass Hobbyist. That's a reasonable starting point, but verify the iron has temperature control before assuming.
Don't skip the grinder. Beginners who try to foil rough-cut edges spend twice as long on the foiling step and get worse results. It's the one piece of equipment that makes everything else easier.
How to make your first panel: the copper foil workflow
If you're looking at how to start stained glass and wondering whether to read more first or just start cutting start cutting. On scrap.
Before the first cut: practice on scrap
Run the full sequence cut, grind, foil, flux, solder on throwaway pieces before touching your actual pattern. Cutting accuracy and foil centering are physical skills; you can't read your way into them. One practice session on scrap glass will reveal exactly which parts of the sequence need more attention before you've committed your good material. Stained Glass Hobbyist puts it plainly: practice the method before using it in a project, especially as a beginner. This is not optional advice.
The steps
1. Transfer your pattern to paper and number each piece. Use a permanent marker for clean lines. Number corresponding pieces on both the pattern and the glass you'll cut from. This prevents assembly confusion when 12 similar-looking pieces are sitting on a lightbox.
2. Cut each glass piece to pattern. Score along the marked line with consistent pressure using your cutter. Snap the score with running pliers. Expect some breakage and keep scrap for practice. Common mistake: snapping too far from the score line. The break should follow the score, not your instinct about where the glass wants to go.
3. Grind each piece to fit. Run each cut piece against the grinder wheel until edges are smooth and the piece seats cleanly against its neighbors on the pattern. Check every piece against the master pattern before moving on. A piece that's 1/16 inch off will misalign everything it touches.
4. Clean the glass thoroughly. Wipe all surfaces with a clean cloth to remove grinding residue and finger oils. Contamination between glass and foil compromises adhesion. This step is easy to rush and easy to regret.
5. Apply copper foil to each piece. Center the glass edge in the foil tape and wrap it continuously around the full perimeter. The foil should overlap onto both faces by roughly 1/16 inch too narrow and solder adhesion weakens; too wide and the leadlines look heavy, per Stained Glass Hobbyist. Start from an interior edge, not an outside corner; the adhesive backing tends to lift at start points, and a corner start compounds the problem. On textured glass, use a cork to press the foil down hard tools tear the tape against the texture.
6. Burnish the foil flat. Run a fid or cork firmly along every foiled surface, including corners and curves, until the foil sits tight against the glass with no lifting edges. Raised foil at corners causes solder to bridge rather than bead.
7. Assemble the pieces on your master pattern. Lay all foiled pieces together in position. Check the overall fit before any solder touches the piece.
8. Flux all foiled surfaces. Brush or dab flux across every copper surface. Full coverage. Flux helps solder flow along the foil rather than bead up or stick to the glass surface, as Stained Glass Hobbyist noted. Unfluxed areas will pool or run off rather than track along the seam.
9. Tack-solder the assembly. Apply small solder spots at intervals to lock pieces in position. Check alignment against the pattern before committing to full seams. Common mistake: tacking before verifying fit. Once the tack-solder cools, repositioning damages the foil.
10. Bead-solder all seams. Move the iron steadily along each seam, building a consistent rounded bead. Speed matters: too slow and the solder spreads flat; too fast and the bead is lumpy. Solder provides the structural integrity of the entire panel, not just surface finish, as OzGlassArt Patterns confirmed. Flip the piece and solder the back. Uneven bead height is the most visible mark of a beginner piece, and the front face is where it shows most.
11. Apply patina and polish (optional). A chemical patina darkens solder lines from silver to copper or black. Polishing after the patina sets, protects the finish and extends the piece's lifespan, per OzGlassArt Patterns. Skip this on a first project if budget is tight it's a finish detail, not a structural one.
What your first panel will realistically look like
The solder lines will be uneven in places. Some pieces will fit tighter than others. The overall result will still look like stained glass, which is genuinely satisfying, and you'll immediately see two or three things to fix on the next one. That's the normal progression.
Common problems and what's actually causing them
The workflow above tells you what to do. This block tells you what went wrong when it doesn't work.
Foil won't stick or keeps lifting at the edges. The glass wasn't clean enough before foiling, or the burnishing was too light. Any finger oil or grinding residue left on the surface breaks adhesion. Go back to step 4, clean the piece again, and re-foil. Pay particular attention to corners when burnishing that's where lifting starts.
Solder beads up instead of flowing along the seam. The foil wasn't fully fluxed. Solder needs flux to wet the copper surface and run smoothly; on bare or under-fluxed areas it just rolls off. Apply more flux to the problem area and re-run the iron.
Gaps between pieces are wider than the pattern shows. The cut pieces weren't ground back to pattern dimensions before assembly. Even a 1/16-inch cumulative error across several pieces adds up fast. The fix on a first panel is usually to accept it; the prevention on the next one is checking each ground piece against the master before moving to foiling.
A piece shifted during tack-soldering. Tack points were applied before fit was verified, or too few tack points were used to hold the assembly stable. Once cooled solder is involved, the options are limited carefully re-heat the tack and reposition, but expect some foil damage. On the next panel, use more tack points and check alignment before each one.
Stained glass safety tips for cutting and soldering
Editor's note: The primary source for this section, Verrier Processes (March 2026), explicitly describes its content as personal practitioner opinion. The guidance below reflects common hobbyist practice and should not be read as occupational health advice. For extended or regular studio work, consult specialist safety resources.
Stained glass is a widely practiced hobby with manageable risks. The precautions are straightforward.
Ventilation at every soldering session, not just long ones. The fumes come from the flux burning off, not from the solder or lead itself, per Verrier Processes. An open window handles most hobbyist sessions. When natural airflow is limited, a small fan directing air toward the outside covers it, according to the same source. Stronger extraction is worth considering for anyone working regularly or for extended periods.
On lead handling: the main concern is hand-to-mouth transfer, not skin absorption, according to Verrier Processes. Washing hands before eating, drinking, or touching your face after handling lead-containing materials is the consistent recommendation across hobbyist practitioner sources. Keep food and drink out of the workspace during and after sessions.
A few additional basics:
Eye protection during both cutting and soldering. Glass chips and solder spatter are routine hazards, per Verrier Processes.
Cut-resistant gloves during glass handling. For soldering, skin-tight cut-resistant gloves are workable but uncomfortable for long sessions glove use during soldering is a personal call, as Verrier Processes noted.
Keep the workspace separate from food preparation surfaces at all times.
Starting well, not starting perfect
Stained glass basics come down to this: the copper foil technique suits small, geometric panels. It produces tight leadlines, holds well in dry indoor environments, and builds the core skills cutting precision, foil centering, bead control that carry into every more complex project, as Stained Glass Hobbyist noted in December 2024.
Mastery isn't the goal of a first panel. Familiarity with the sequence and an honest read of where precision slipped are.
A diamond grid or simple square mosaic makes a strong first pattern enough pieces to run through the full workflow, simple enough to cut without compound errors. Beyond that, a local stained glass class or guild session is worth finding if one is accessible. Watching someone foil and solder in real time shows you things no written description can convey: iron angle, foil tension, the pace of a good bead pass. For safety detail beyond the basics covered here, specialist occupational health resources will serve better than hobbyist sources.
The same method that produces a first 8x10 panel applies directly to a lampshade, a window inset, or a sculptural piece, per OzGlassArt Patterns. The path forward is built on skill, not on learning a new technique from scratch.


Comments
Be the first, drop a comment!