



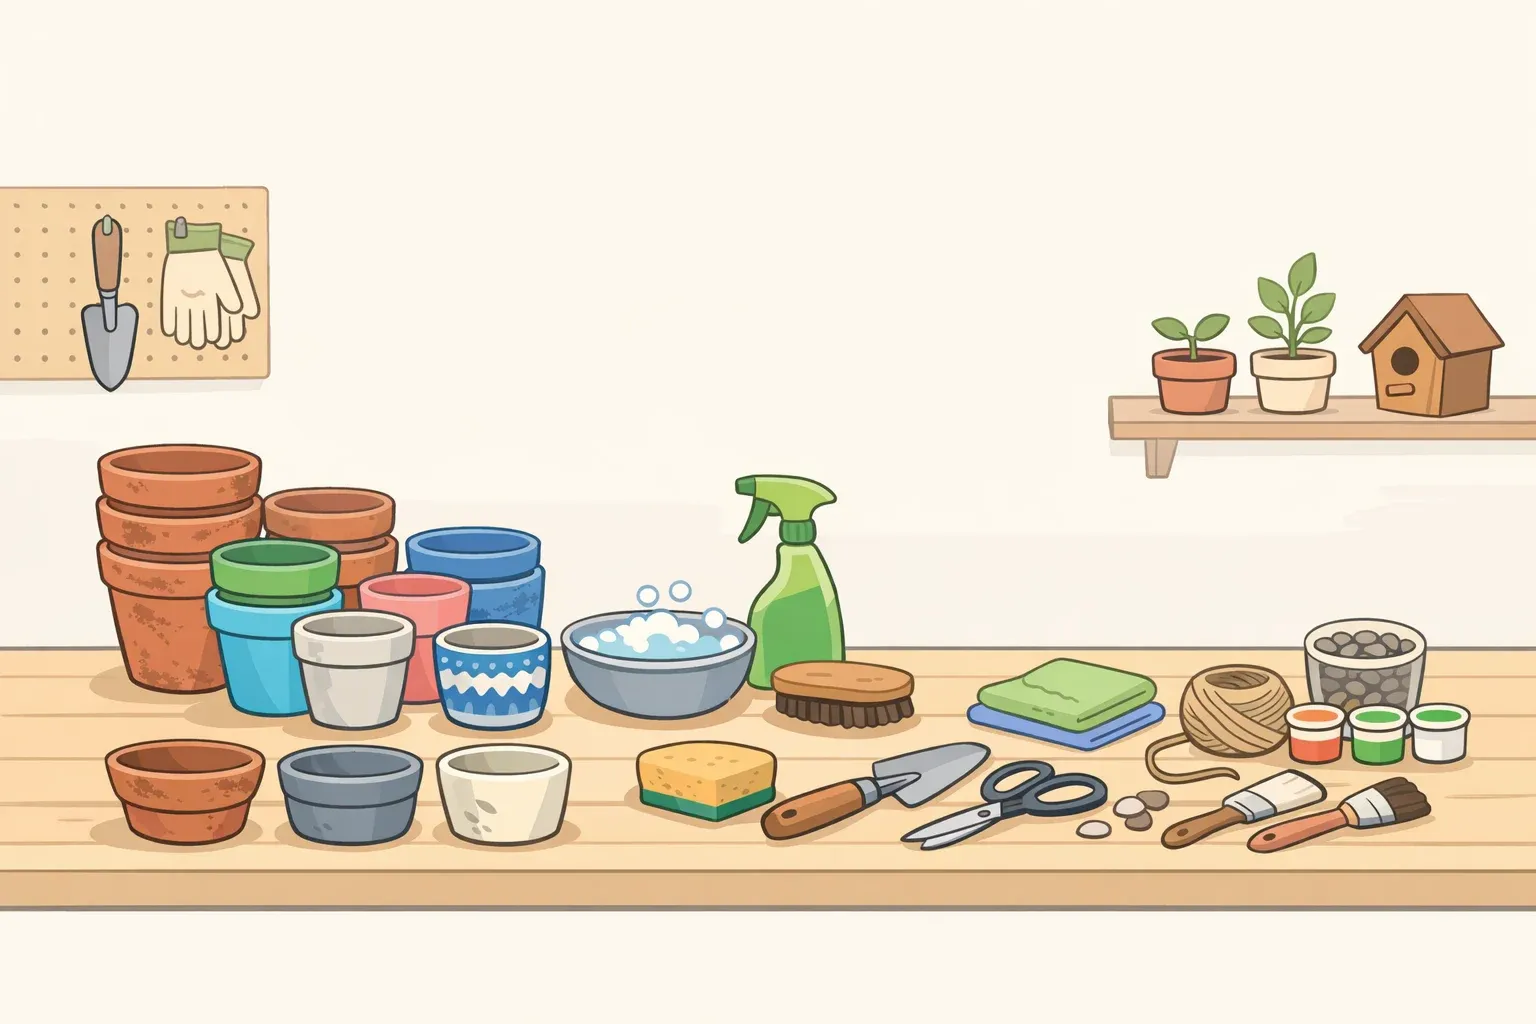
That stack of plastic nursery pots in your garage can do more than take up space. According to Iowa State Extension, plastic plant containers usually cannot go into traditional single-stream home recycling, and dedicated collection programs are uncommon. In many areas, they end up in the landfill unless you reuse them, find a garden-center takeback program, or confirm that a local recycler accepts them.
The easiest way to decide what to do with an old flower pot is to check what it is made of. Plastic, terracotta, and ceramic pots each have different strengths, limits, and cleaning needs.
Start here if you're sorting a pile of old pots.
Plastic nursery pot: seed starting, cuttings, plant divisions, pot-in-pot planting, plant swaps, or garden storage
Terracotta pot: herbs, succulents, bird feeders, plant risers, broken-pot displays, or drainage pieces for non-edible containers
Ceramic or glazed pot: cachepot, countertop organizer, desk storage, bathroom catchall, or accent lamp if the piece is safe to drill
Before you reuse a pot: inspect and clean it
The prep depends on what you plan to do with the pot. For bird feeders, lamps, and organizers, a good scrub is usually enough. For anything going back into planting service, clean and disinfect it first.
Inspect the pot first
Run your fingers along the inside and outside of each pot. On plastic, look for hairline cracks, brittle rims, and sun damage. A plastic pot that cracks under light hand pressure or feels stiff rather than slightly flexible is better recycled or discarded than reused for planting.
On terracotta and ceramic, check for cracks that run through the wall of the pot. Small chips may be fine for decorative reuse, but a cracked pot may split under the weight of wet soil or break when drilled.
Also look for white crust on terracotta. That chalky film is mineral and salt buildup from fertilizer or hard water. If left in place, it can affect new plants, especially around roots and stems.
For non-planting reuse, scrub the pot with a stiff brush and hot, soapy water, then rinse thoroughly.
For any pot returning to planting service, continue to the disinfection steps below.
How to disinfect pots for planting
Old pots can harbor fungi, insects, and other organisms that survive between growing seasons and transfer to new plants. A quick rinse is not enough for pots that will hold fresh soil and plants.
Iowa State Extension recommends washing pots first, then disinfecting planting containers with a solution of one part household bleach to nine parts water.
What you'll need: stiff-bristled brush, dish soap, household bleach, water, gloves, eye protection
Empty and dry-brush. Remove all old soil. Discard it if the previous plant had disease or pest problems. Scrub the inside and outside with a dry stiff brush to clear caked debris.
Wash with soapy water. Use dish detergent, then rinse clean.
Remove mineral buildup from terracotta. Scrub white crust with steel wool or a wire brush. Carefully scrape stubborn deposits, then rinse thoroughly.
Disinfect. Mix one part household bleach into nine parts water; always add bleach to water, not the reverse. Submerge the pot completely and soak for at least 10 minutes. Use the solution within two hours of mixing.
Rinse and dry. Rinse thoroughly, then let the pot air-dry before refilling it.
One-pot shortcut: When a full soak is impractical, wipe all interior and exterior surfaces with undiluted 70% isopropyl alcohol. This is useful for a single container when a bleach bath is not convenient.
Terracotta note for planting: Do not plant into a bone-dry terracotta pot. Dry clay can pull moisture from potting mix, so soak the pot in plain water for about 30 minutes before filling it with soil.
How to reuse plastic flower pots
Cleaned plastic nursery pots are among the most useful items in a gardener's toolkit. They are lightweight, stackable, easy to label, and simple to clean between uses.
Seed starting and cuttings. Small plastic pots are well suited for seeds, cuttings, and plant divisions. Because plastic is nonporous, it cleans easily between rounds. Label each pot, track what is growing in it, and reuse it season after season.
Plant swaps and divisions. Keep a stack of clean plastic pots for dividing perennials, sharing houseplant cuttings, or sending seedlings home with friends and neighbors.
Pot-in-pot planting. Plastic nursery pots can also sit inside heavier decorative containers. This makes it easier to lift plants out for watering, seasonal swaps, or root checks.
Edible container growing. For vegetables and herbs, use containers made for food or gardening when possible. If you reuse a nursery pot, avoid any container that is brittle, degraded, previously used for chemicals, or of unknown origin. The EPA explains that resin codes identify the plastic type, but they are not a food-safety guarantee, so reserve questionable pots for ornamentals.
Drainage is the other requirement. Confirm that drainage holes are open before planting. If a ceramic or decorative pot has no drainage hole, use it as a cachepot with a nursery pot inside rather than planting directly into it.
How to reuse terracotta pots
Terracotta is porous, sturdy, and naturally decorative, which makes it useful even after it is no longer perfect enough for a front-and-center planter.
Use sound terracotta pots for herbs, succulents, cactus arrangements, plant risers, broken-pot garden displays, or drainage pieces in non-edible containers. Because terracotta is porous, clean it thoroughly before replanting and soak dry pots before adding fresh potting mix.
Small terracotta pots can also become simple bird feeders because the drainage hole, rim, and weight already do much of the structural work.
Option 1: hanging suet feeder
The pot hangs upside down, bell-shaped, with suet inside. The shape helps shelter the food while birds cling and feed.
Materials: small terracotta pot, thick rope or wire, twig for perch, strong outdoor-safe glue
Thread rope up through the drainage hole from inside the pot so a hanging loop extends from what is now the top.
Tie a secure knot inside the pot to anchor the rope. Leave a short tail of rope dangling below for perch attachment.
Attach a twig or small branch as a perch below the pot. If it wobbles, add two short stabilizing strings from each end of the twig up to the main hanger.
Pack the interior of the inverted pot with commercial suet cakes, fat balls, or a bird-safe suet mix from a reputable recipe.
Hang it outside.
Because suet can soften, spoil, or melt in warm weather, this feeder is best for colder months. For warmer weather, use the platform feeder below.
Option 2: platform seed feeder
This version uses a terracotta pot and matching saucer. It sits on a stable surface rather than hanging.
Set the pot upside down on a stable surface.
Apply strong outdoor-safe adhesive to the base of the inverted pot.
Press the saucer onto the glued base and let it cure fully before moving.
Fill the saucer with birdseed.
Paint the outside for decoration, or leave the terracotta plain. The platform design is the more practical default if you want a feeder that can stay out through more of the year.
Keep any feeder clean and remove spoiled or wet food promptly. The National Audubon Society notes that feeding birds comes with responsibilities, including reducing risks from disease, window collisions, and predators.
How to reuse ceramic and glazed pots
Ceramic and glazed pots are often more decorative than plastic or terracotta, but drainage matters. Before planting directly in ceramic, check for a drainage hole. If there is none, use the pot as a decorative cachepot with a nursery pot inside.
Hollow ceramic planters also have three useful indoor qualities: a stable base, enough weight to stay in place, and an interior that can hide small items or hardware. That makes them good candidates for organizers and, in some cases, accent lamps.
Project 1: accent lamp
This project requires drilling ceramic and attaching a replacement plug, so follow the lamp-part and plug manufacturers' instructions exactly. Use only intact lamp parts that are rated for the bulb and fixture, and skip this project if you are not comfortable working with electrical components.
Skip the project if the planter is thin-walled, cracked, visibly unstable, or too sentimental to risk drilling.
What you'll need: hollow ceramic planter, pre-wired electric window candle or lamp kit, compatible replacement plug, diamond drill bit, water for cooling, strong adhesive, low-wattage LED bulb
Drill a cord hole. Use a diamond bit designed for ceramic. Spray the surface with water before starting and keep the area wet while drilling. Apply slow, steady pressure and let the drill do the work; forcing it can crack the piece.
Thread the cord. Follow the lamp-part instructions. If the project requires removing and replacing a plug, use a compatible replacement plug and follow the manufacturer's directions exactly.
Secure the light unit. Use strong adhesive inside the planter to hold the unit in position, then let it cure fully before handling.
Install a low-wattage LED bulb. Use a low-wattage LED bulb to reduce heat buildup inside the planter; do not use a bulb that exceeds the lamp part's rating.
The finished lamp can work as accent lighting on a side table, shelf, or entryway.
Project 2: countertop or desktop organizer
This is the easiest ceramic-pot reuse because it requires no modification beyond cleaning.
Glazed ceramic and wide-mouthed terracotta pots — especially those too chipped or shallow to work well as planters — make effective organizers for kitchens, desks, and bathrooms.
Stand several graduated sizes together on a kitchen counter to sort utensils by type. A single medium pot on a desk can hold pens, scissors, and markers. A row of small matching pots on a bathroom shelf can organize cotton swabs, hair ties, and small accessories.
Glazed ceramic wipes down easily, which makes it useful for kitchen and bathroom storage.
More easy ways to reuse old flower pots
Use plastic nursery pots for plant divisions, cuttings, seed starting, pot-in-pot planting, plant swaps, or sorting garden tags and twine.
Use terracotta pots for herbs, succulents, plant risers, broken-pot displays, or drainage pieces in non-edible containers.
Use ceramic pots as cachepots, utensil holders, bathroom organizers, small entryway catchalls, or decorative covers for plain nursery pots.
Quick reference: best reuses by pot material
Plastic nursery pot: Seed starting, cuttings, plant divisions, plant swaps, pot-in-pot planting, and garden storage are the strongest matches. For edibles, use food-safe or garden-grade containers when possible; if a nursery pot is degraded or its history is unknown, use it for ornamentals only.
Small terracotta pot: Use it for herbs, succulents, bird feeders, plant risers, broken-pot displays, or drainage pieces for non-edible containers. A soapy scrub is all the prep required; no bleach is needed for non-planting use.
Hollow ceramic planter: Use it as a cachepot, countertop organizer, desk holder, bathroom catchall, or accent lamp if the piece is stable and safe to drill. Wide-mouthed ceramic and terracotta pots, including those too damaged for planting, need no modification to work as organizers.
Match the reuse to the pot's condition. A sturdy, clean pot can go back to work with plants. A clean but imperfect one can become storage, decor, or a feeder. Anything brittle, badly cracked, or unsafe to drill should be recycled or discarded.










Comments
Be the first, drop a comment!