



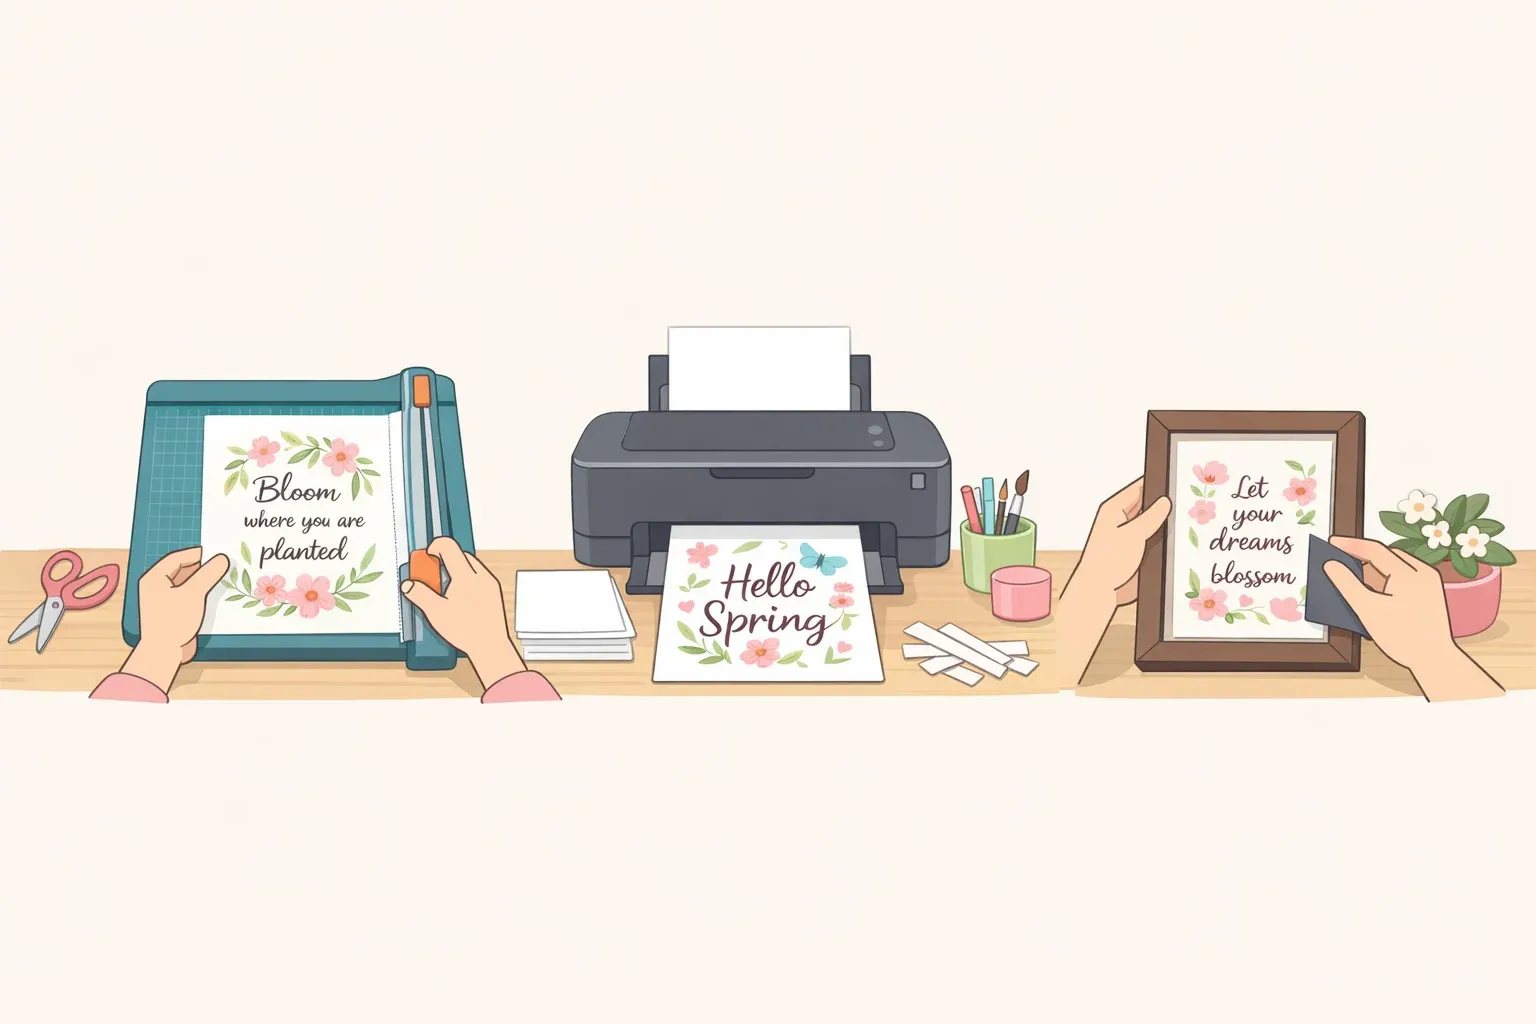
A free printable watercolor art file gets a reader halfway to a finished piece of wall décor. The download page hands over a PDF; paper choice, print settings, and frame size are left to whoever hits print next. This guide works through that entire sequence using one real example: a pair of free spring quote watercolor printables the creator describes as "an easy and budget-friendly decor idea for springtime."
Both files are 5×7 PDFs pairing a floral watercolor border with a short quote, rather than standing alone as plain artwork. When comparing free watercolor art prints to download more broadly, check the listed file type and finished dimensions before picking one. A fixed page size like this one determines every print decision that follows, which is the thread running through the rest of this guide.
This is a specific walkthrough, not a general theory of printable décor. With a printer, the right paper, and a frame already on hand, the process fits into one sitting; without them, expect an extra stop at a print shop or paper aisle before the framing step. The sequence itself — download, verify, print, trim, frame — applies to any similarly sized watercolor quote printable, not just this one.
Before starting, gather a PDF viewer, a printer with color ink, paper (letter-size at minimum, 5×7 cardstock or photo paper for a cleaner edge), and a frame sized to whatever ends up printed.
What's in this floral watercolor quote printable set
The set isn't a single design but two, each pairing a floral watercolor border with a short line of text rather than standing as image-only art. One design reads, "The deep roots never doubt spring will come." The other reads, "Where flowers bloom, so does hope."
Both lines are pitched as aphorisms, short reflective statements rather than plain captions. Displaying just one design still works fine, but the phrasing does more work than a purely decorative print would, so pairing it with unrelated art changes the feel more than cropping a plain floral border might.
Step 1: Download the file and confirm its dimensions
Save the PDF locally rather than printing straight from a browser tab. Opening a saved file in dedicated PDF software, instead of a browser's built-in preview, gives more direct control over print settings, which is worth having if a print later comes out an unexpected size.
Once it's downloaded, check the page size listed in the file's properties or info panel; most PDF viewers include one, usually under a File or Document menu, though the exact label varies by app. It should read 5×7 inches, matching what the source page describes.
If it reads something else instead, such as 8.5×11, don't expect "Fit to Page" to quietly fix that in the print dialog. That setting scales the image onto whatever paper is loaded; it doesn't change the size saved inside the file. Step 3 covers how to handle that mismatch.
Step 2: Check the license before you print elsewhere or share
The available source material doesn't confirm this printable's license terms: whether use is personal-only, requires attribution, allows copy-shop printing, or permits selling a finished piece. Rather than guess, check the creator's download page and any linked terms of use before doing anything beyond a single print at home.
Personal printing, gifting a physical copy, using a commercial printer, redistributing the file, and selling a finished print may be treated differently under the creator's terms. A copy shop is typically acting as a reproduction service on someone else's behalf, which is a separate question from whether the file itself can be redistributed or a finished piece resold. A page that clears one of those doesn't necessarily clear the other.
If the terms on the page don't answer a specific use case, contacting the creator directly beats assuming a default in either direction.
Step 3: How to print free printable watercolor art at 5×7
In the print dialog, set paper size to match what's loaded, and set scale to Actual Size or 100 percent, not Fit to Page or Shrink to Fit. Print dialogs often stack two separate scaling controls: one inside the PDF viewer's own print settings, and another inside the printer driver's properties or preferences panel, usually reached through a button in the same window. Setting the viewer to 100 percent doesn't guarantee the driver hasn't applied its own scale on top of that, so check both before printing.
If the printer's paper-size list doesn't include 5×7 as a preset, look for a custom or manage-sizes option and enter the dimensions directly. Most drivers support that even without a matching preset. If there's no way to specify a custom size at all, printing on letter paper and trimming afterward is the more reliable path.
Every home printer also has a non-printable margin, a strip along each edge it physically can't reach with ink. A borderless print at 5×7 only comes out edge-to-edge if the printer and paper combination specifically supports that mode. Check the settings menu or the printer's specs before assuming it does. If it doesn't, expect a thin white border around the artwork even with the correct paper loaded.
Paper choice matters less than getting the scaling right. Photo paper, cardstock, or standard printer paper will all take the print; heavier stock tends to read more like finished art than a sheet pulled from a copier tray, though that comes down to preference rather than any fixed rule.
Printing directly onto textured watercolor paper is also possible on some inkjet printers, a different setup from a smooth photo-paper print. Check the printer and paper manufacturer's guidance first; Shop Chris and Mary walks through what that process involves for anyone who wants the texture instead of a flat finish.
Choosing between a home printer and a copy shop mostly comes down to what's on hand. With 5×7 stock already loaded and a printer that handles it well, home printing is the simpler option. Without either, especially if borderless mode is unreliable or the right paper isn't available, a copy shop that stocks 5×7 photo paper removes the guesswork, at the cost of a trip and a per-print fee.
Without 5×7 paper and without access to a shop, there's a third path: set this file aside and look for a printable already sized to paper or a frame already owned. Forcing a fixed-size file onto the wrong setup is more trouble than it's worth for something free.
Step 4: Print a test page and check it
Run a single test print before committing a full sheet of photo paper or paying for prints at a shop. Three things are worth checking on that page.
Scaling. Measure the printed image with a ruler. If it's noticeably off from 5×7, the scale setting from Step 3 is wrong, not the file.
Placement. If the image measures close to 5×7 but sits off-center on the page, that's a printer margin issue rather than a sign the file is mis-sized. Note where the white space runs thickest so trimming can account for it.
Color. Compare the print against the screen under regular indoor light. If it looks noticeably off, especially in flat areas of color, check the printer's own color settings before printing more copies.
A test page that checks out doesn't guarantee every later print will look identical, but it catches the kind of problem worth fixing before more paper and ink get spent on a full run.
Step 5: Trim to size if printed on letter paper
If the artwork went onto letter-size paper rather than true 5×7 stock, it needs trimming down. Mark the cut lines lightly in pencil using the measurements from Step 4, then cut with a straightedge and craft knife or a paper trimmer rather than scissors, which makes a straight edge harder to hold. A craft knife is sharp enough to warrant a cutting mat and a slow, deliberate pass rather than rushing the line.
Leaving a sliver of white border just outside the printed image gives room for a second pass if the first cut isn't quite straight. Cutting into the printed area itself can't be undone.
Step 6: Frame and display the finished prints
A print that measures true to 5×7 may fit a frame labeled for that size, though it's worth checking the frame's actual opening before buying one. Some 5×7 frames use a mat that crops slightly into the image, which matters more for a border design running close to the edge than for a print with a wide white margin.
Since the set includes both designs, framing them side by side keeps them displayed as the matched pair they were made as, rather than splitting one off and leaving the other as a leftover file. A desk, an entryway shelf, or a small rotating spot on a larger gallery wall all suit a print this size, and a low-cost print is easy to swap out for a different season later.
Before you frame it
Two checks are worth doing before spending money on a frame or handing a framed copy to someone else. Confirm the license terms actually cover the intended use, since that information wasn't published clearly enough here to assume either way. Then make one test print measured against true 5×7, rather than trusting the print dialog's settings alone.
Both take only a few minutes, and together they catch the two mistakes most likely to turn a free download into a wasted print or an awkward gift. Once a file's real dimensions and the right print settings are confirmed one time, swapping in a different seasonal design later is a short repeat of the same process, not a new project.




Comments
Be the first, drop a comment!